


T-One Models 2.7m F-22 build
 02-06-2020, 02:20 PM
#101

Thread Starter

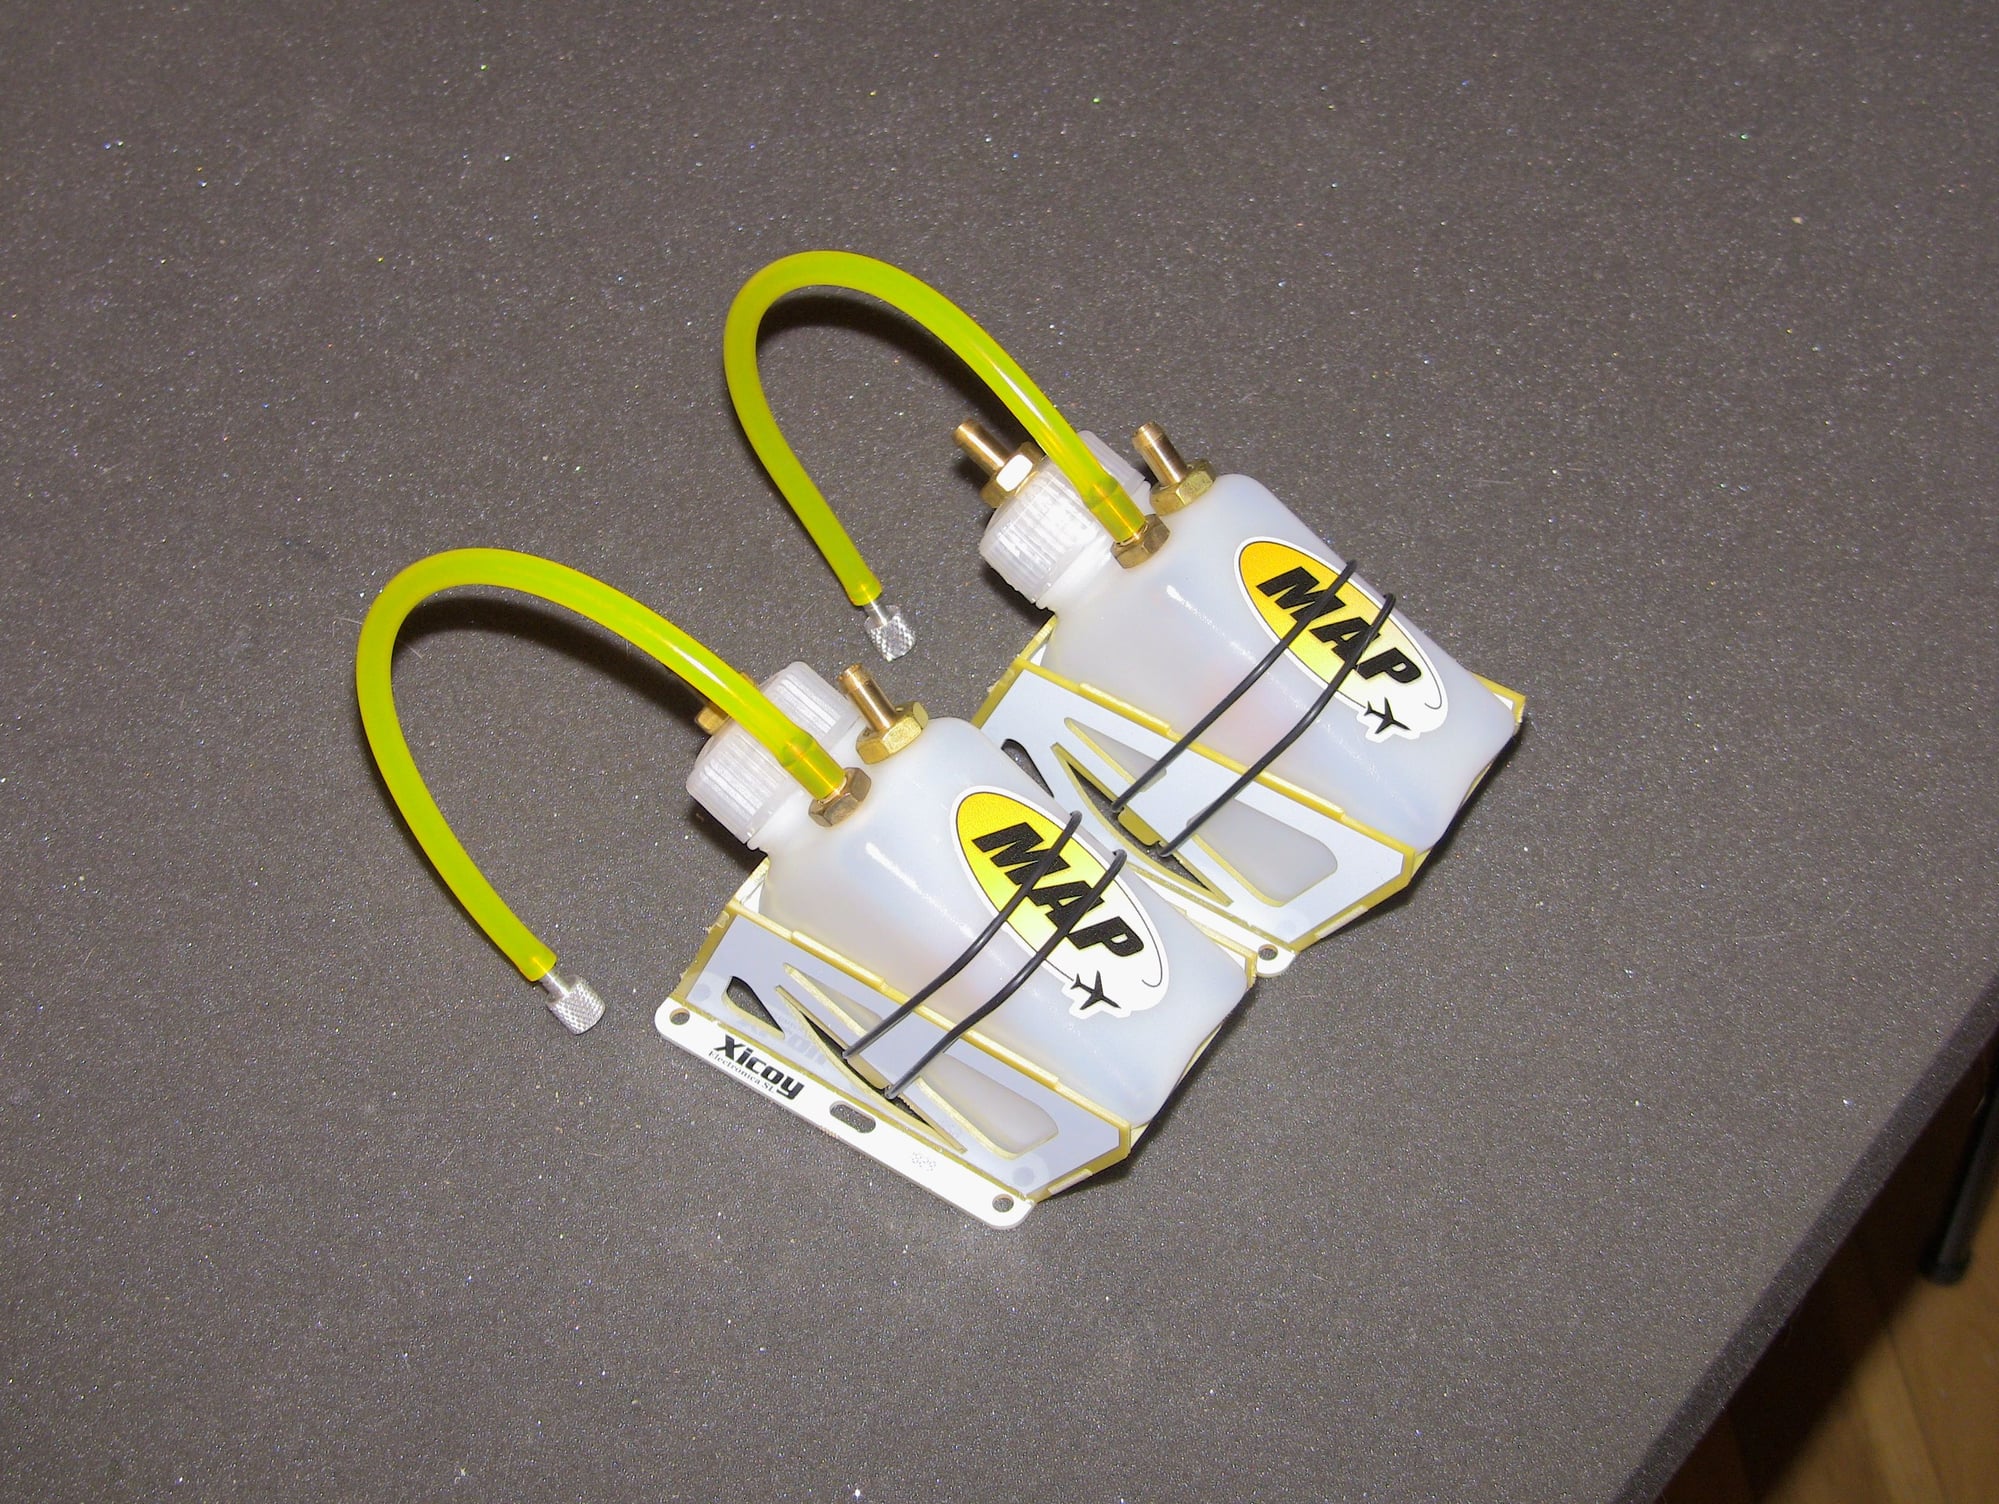
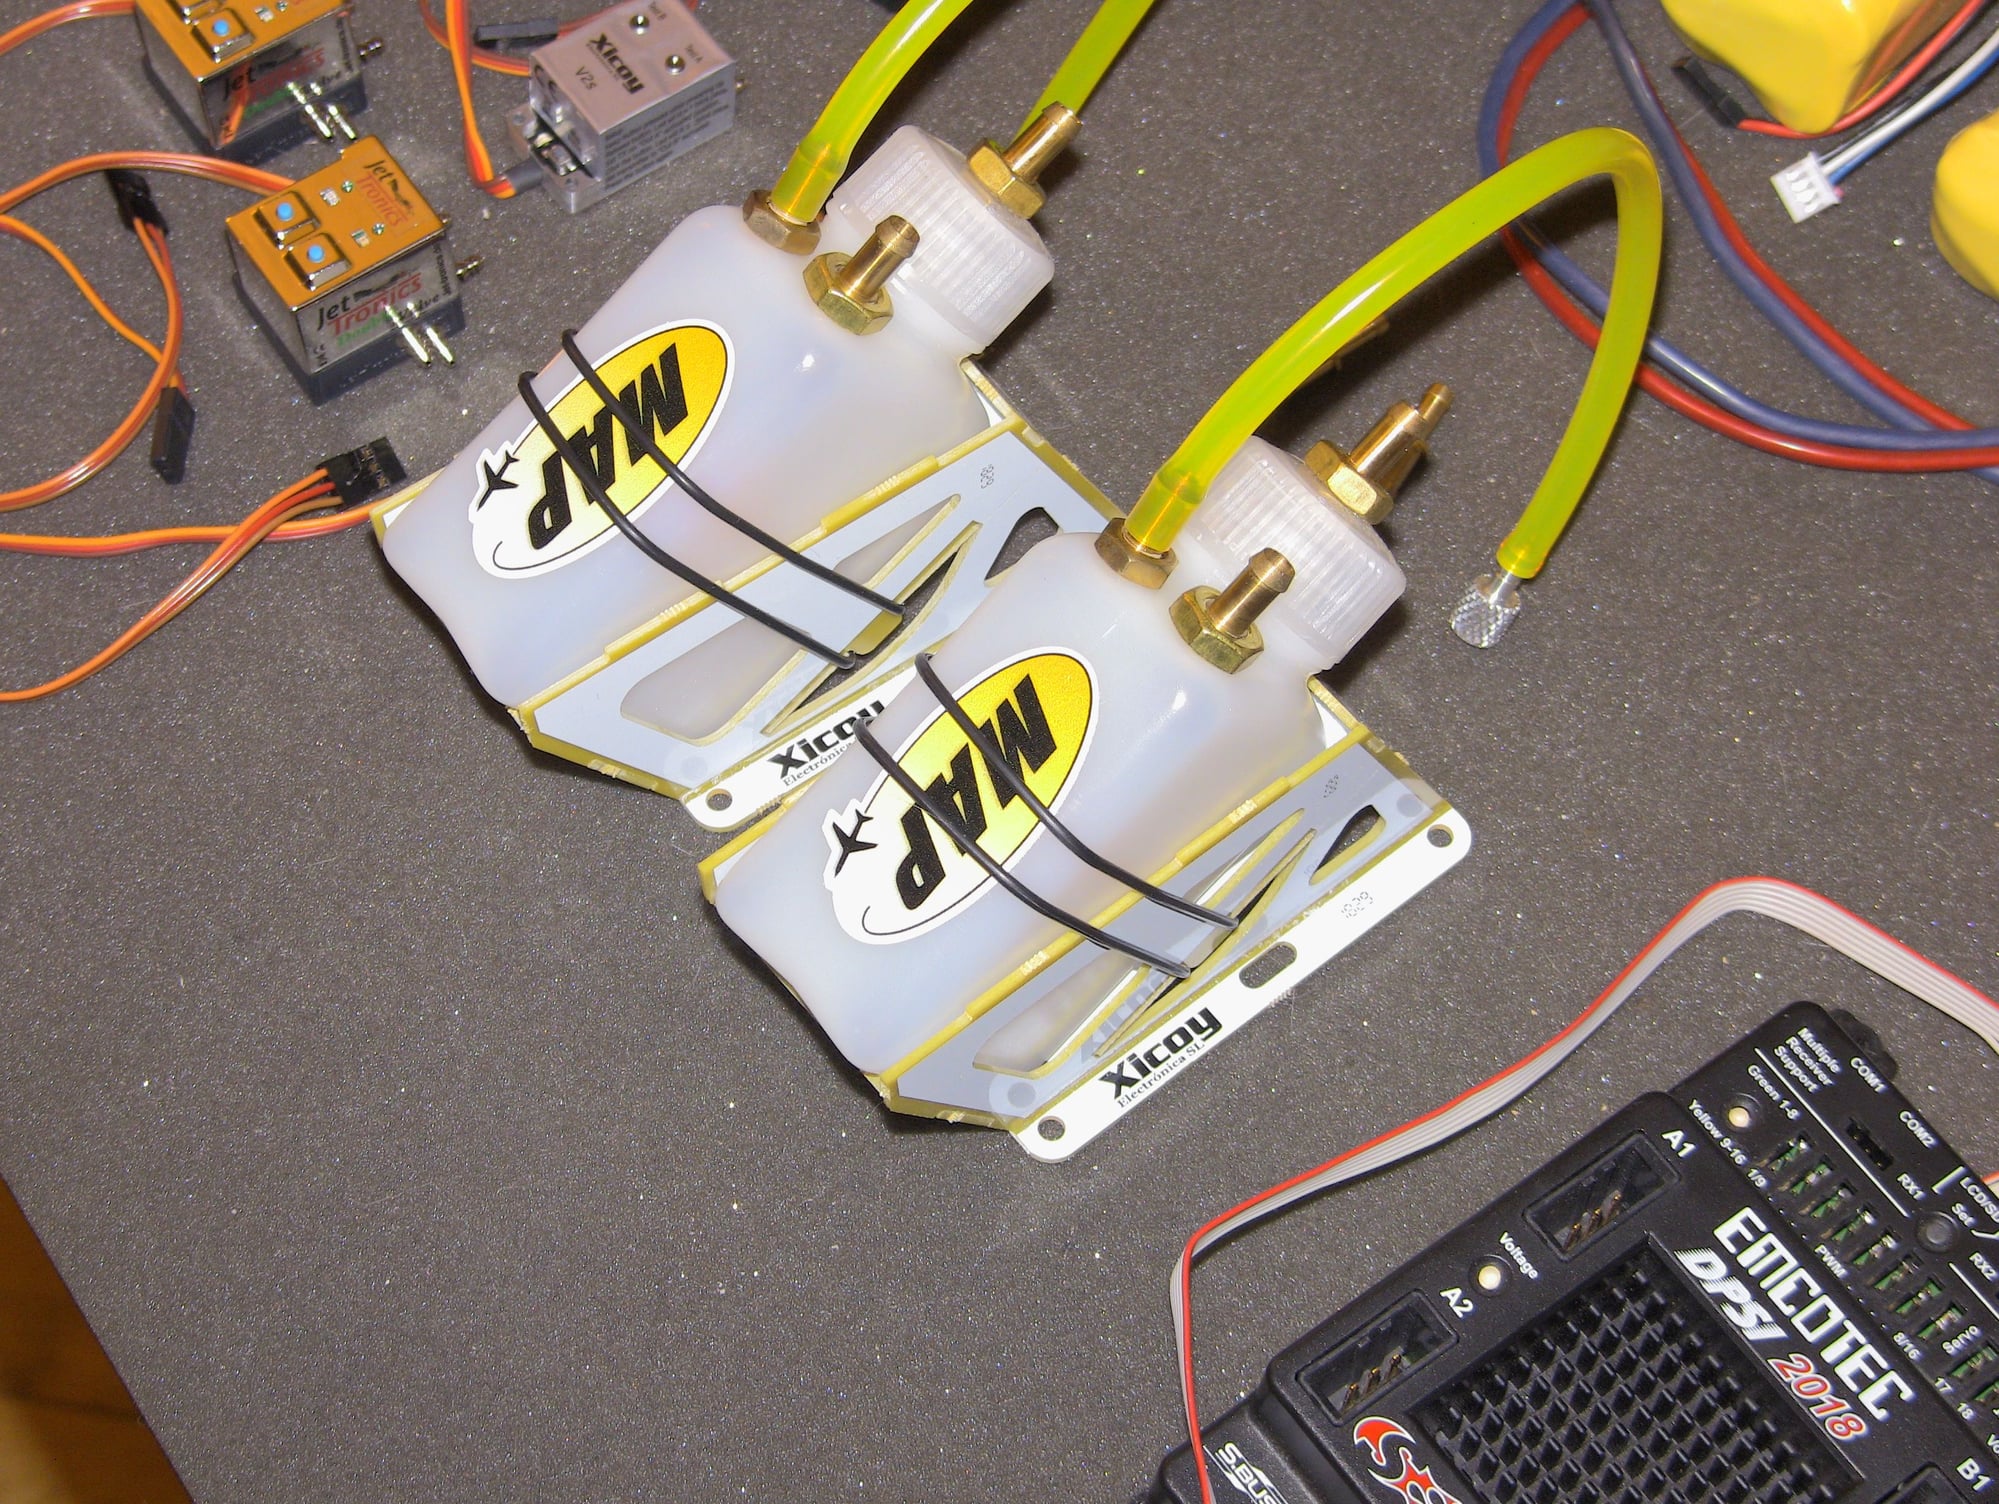
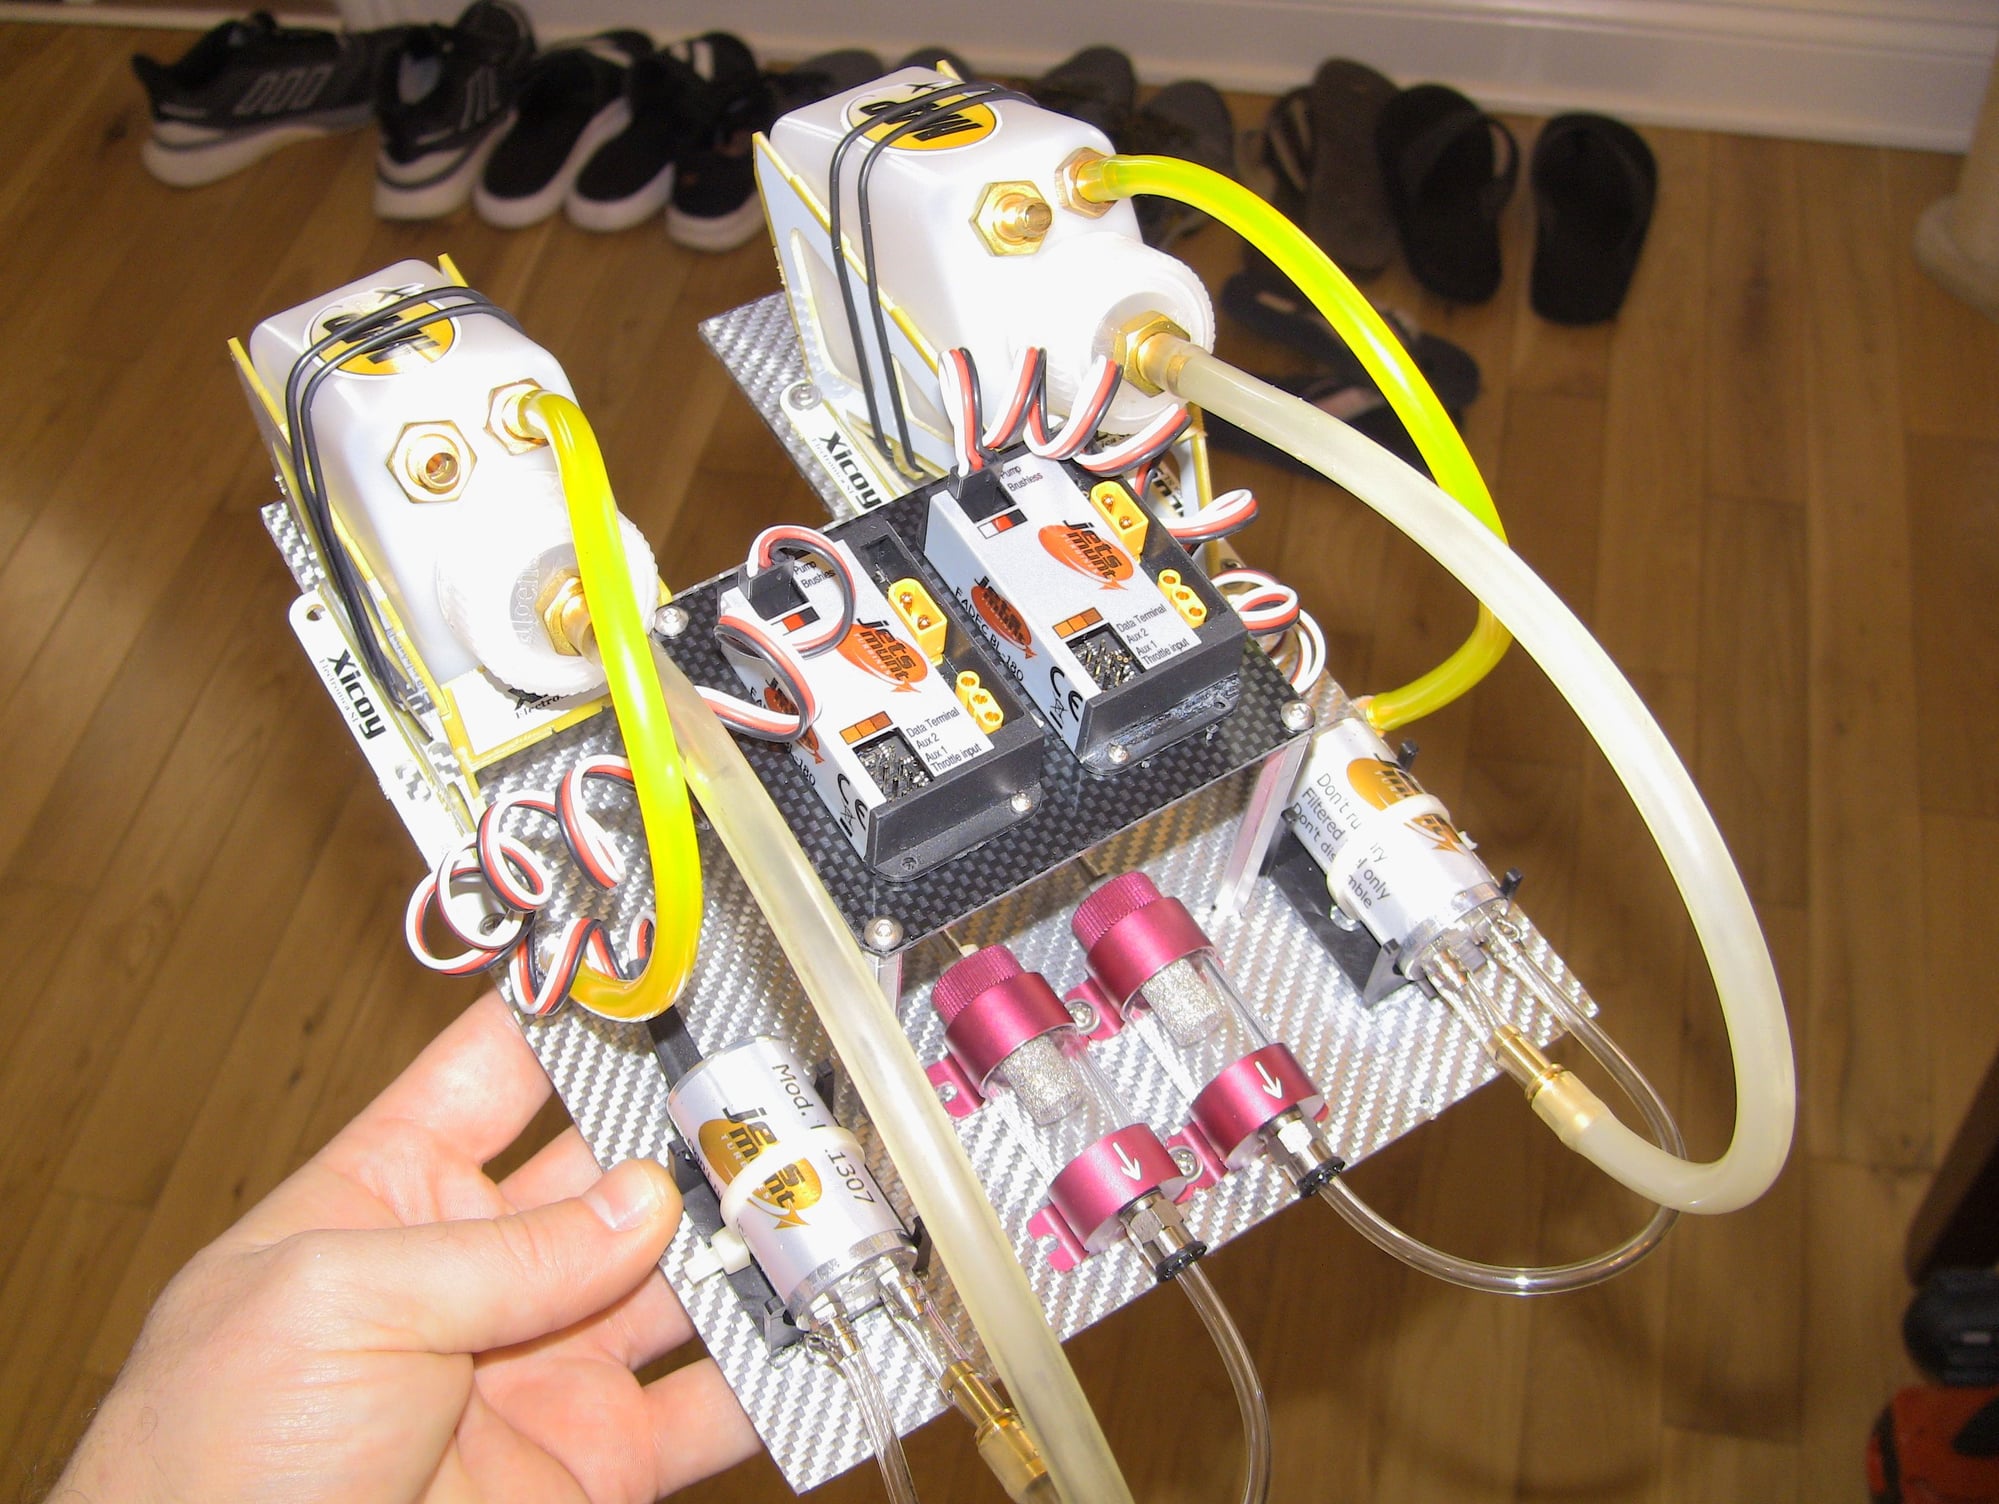
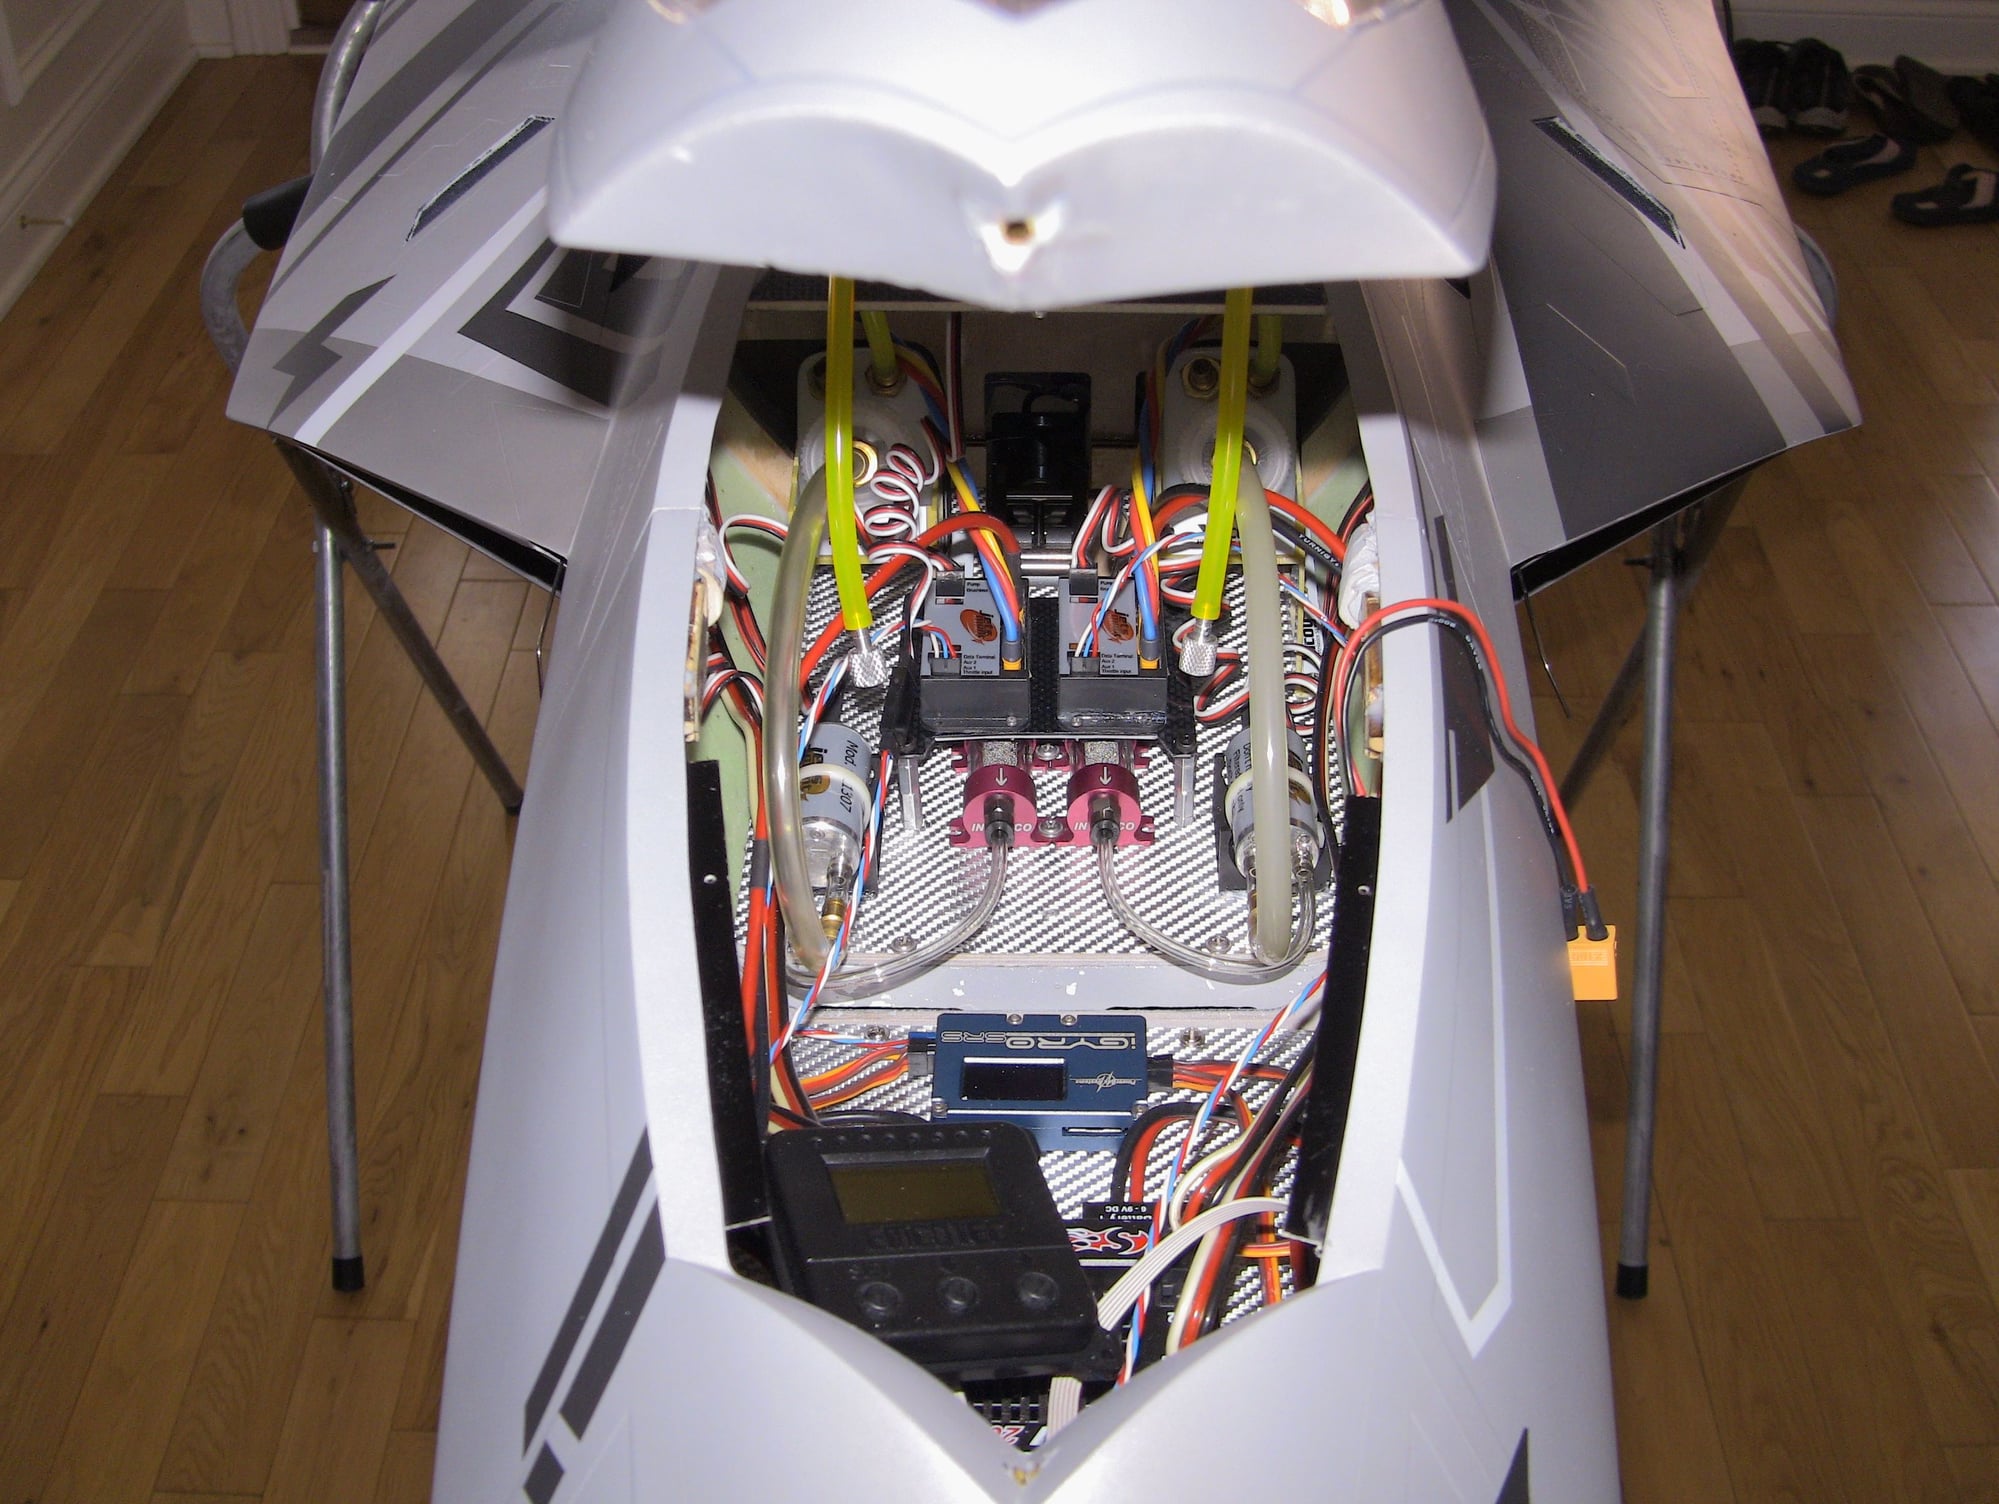
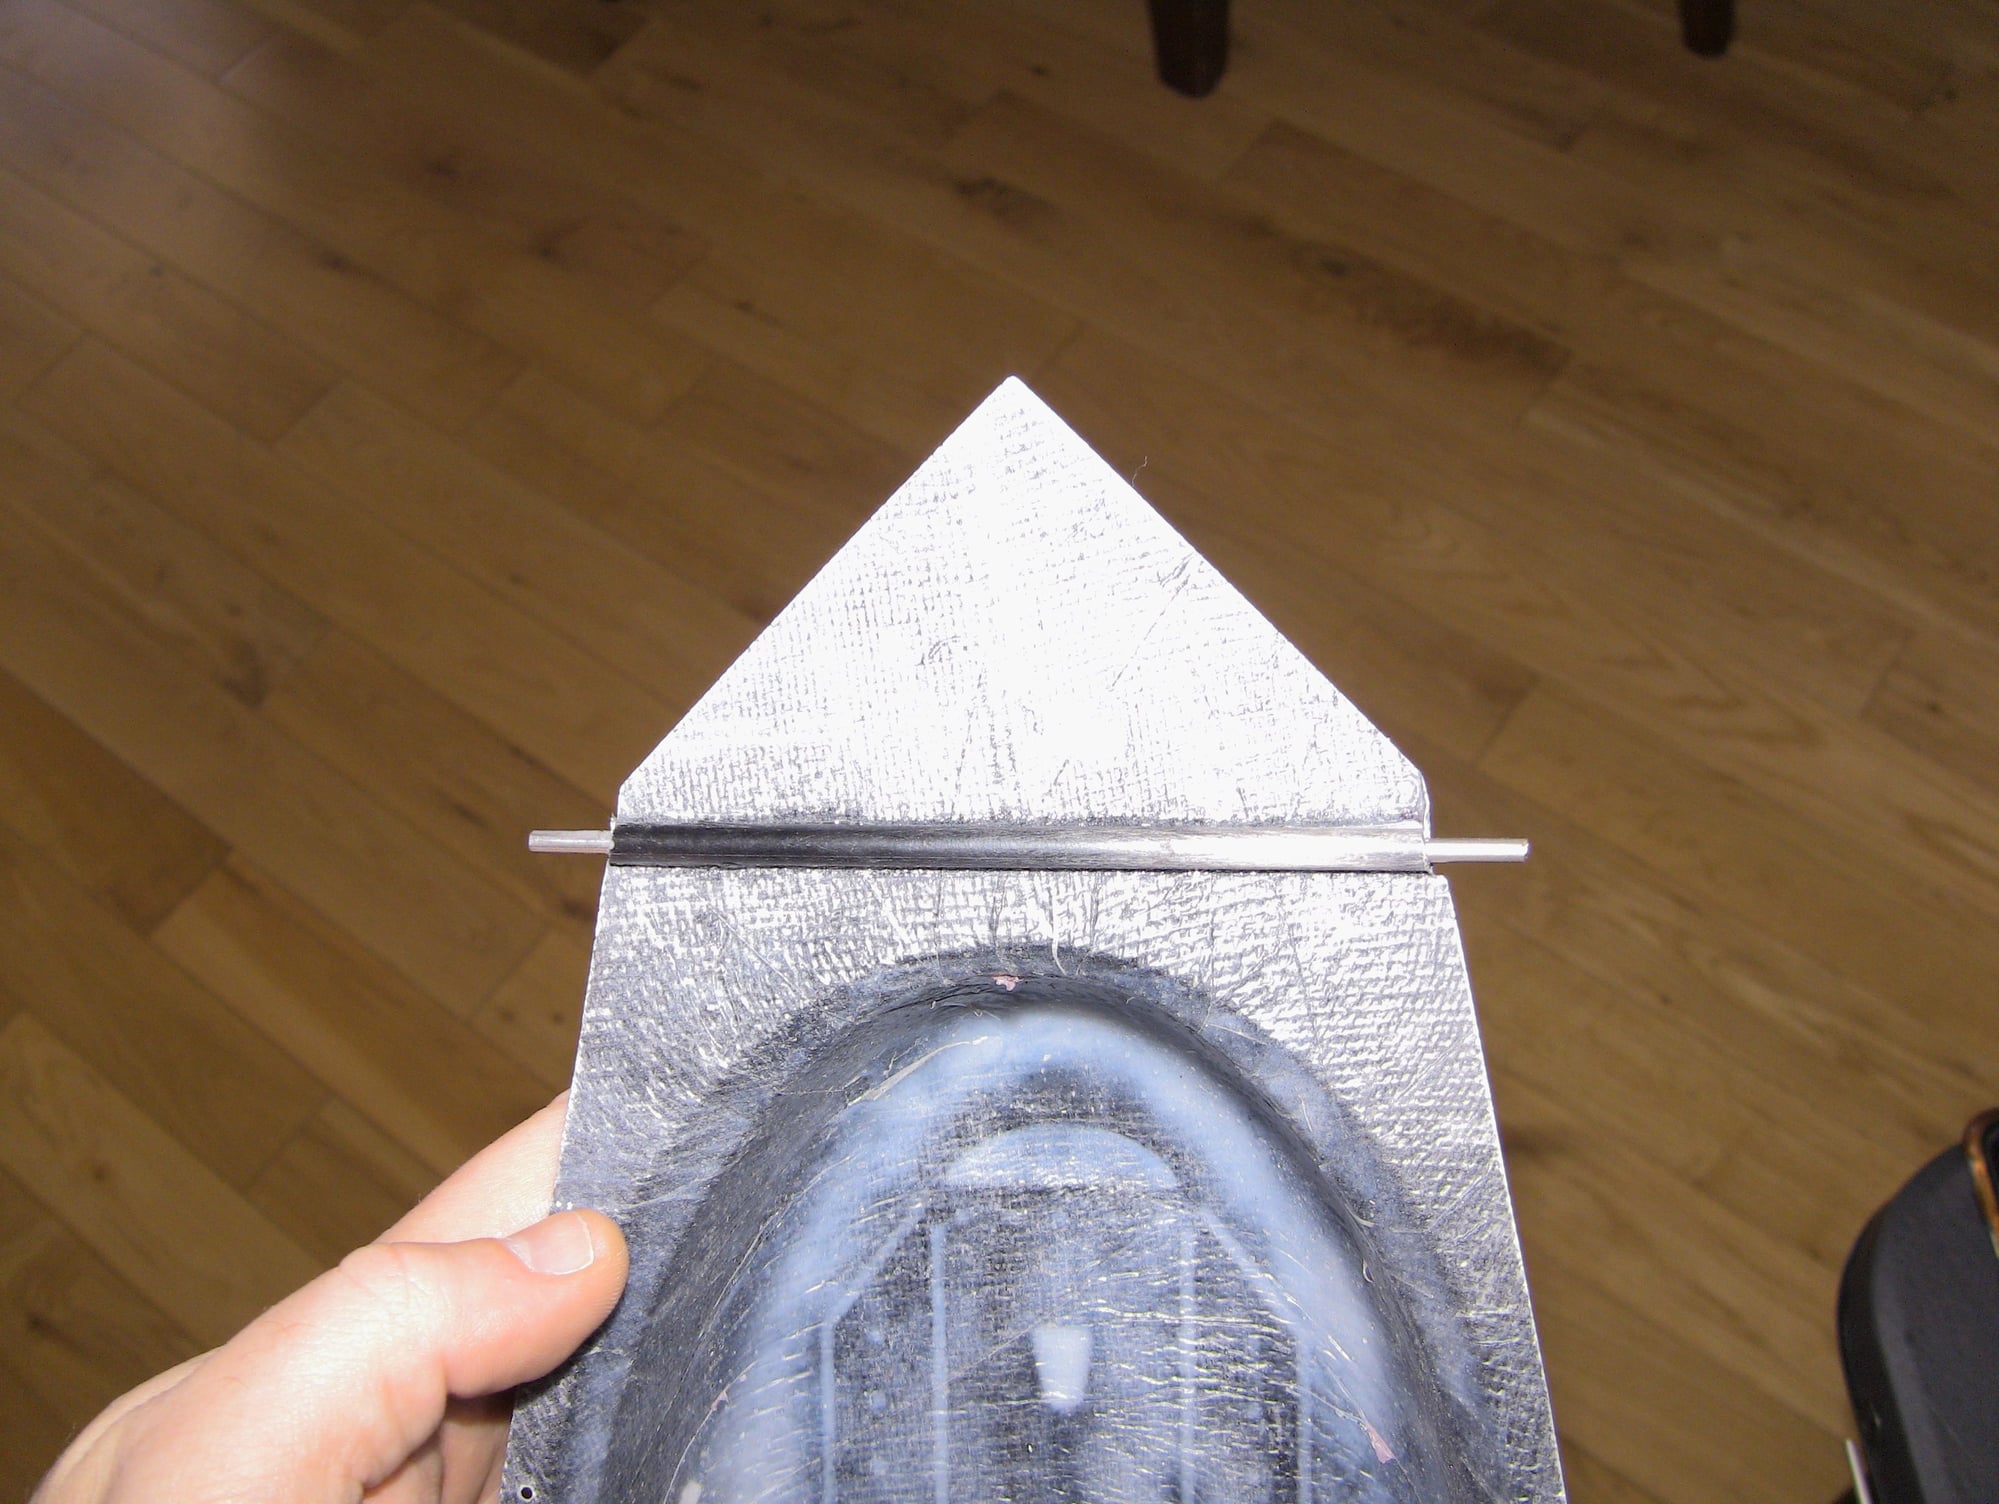
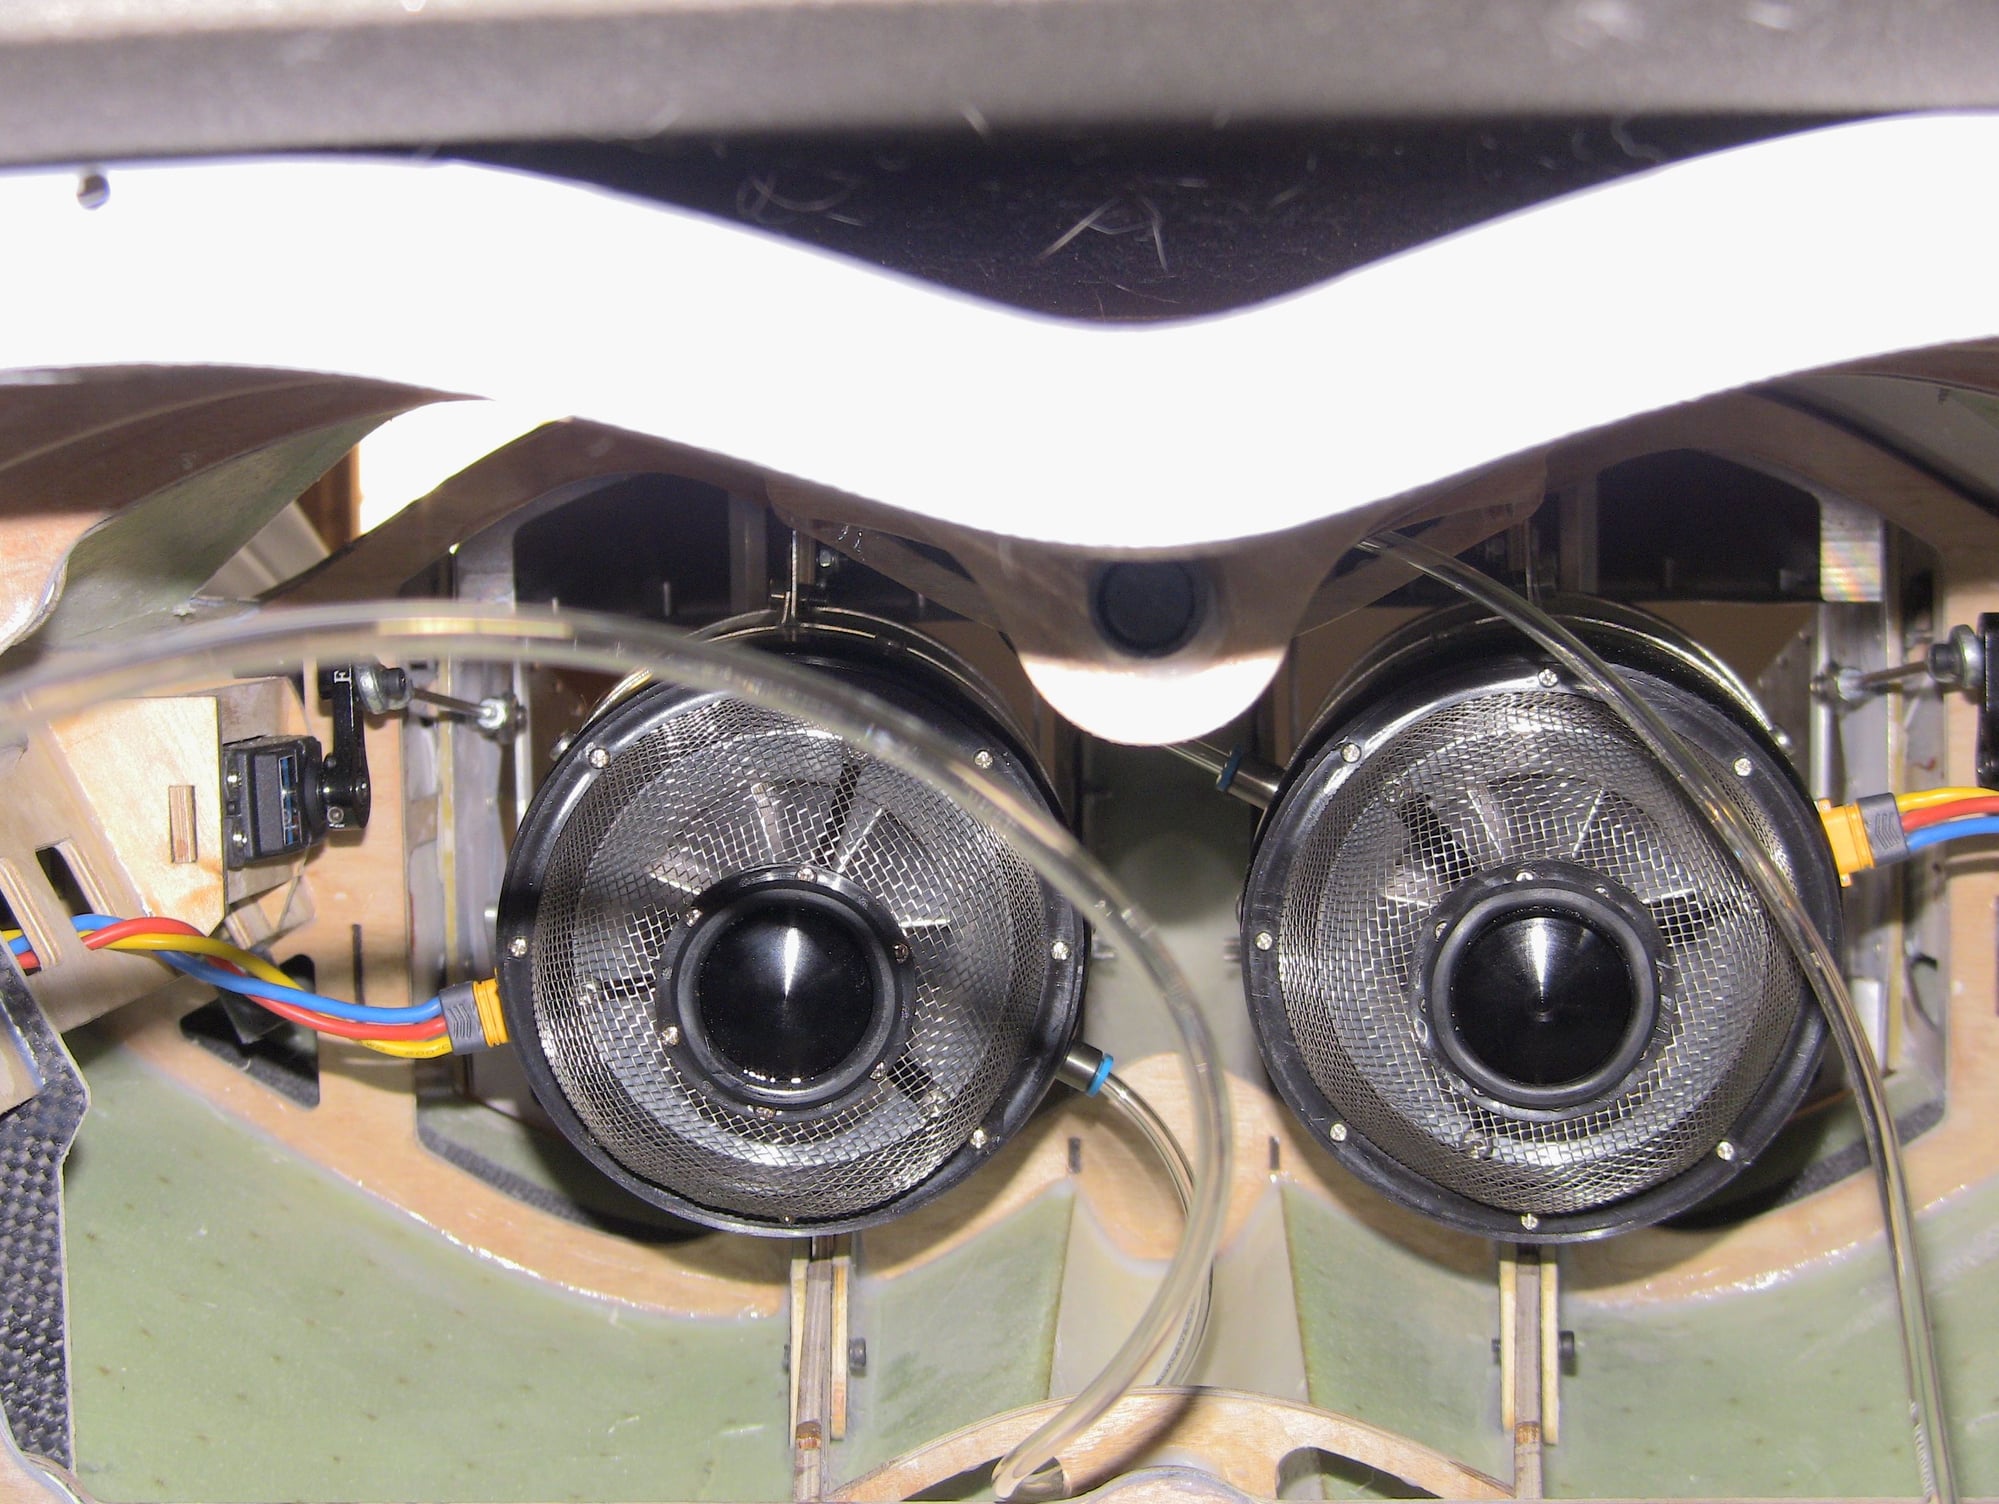
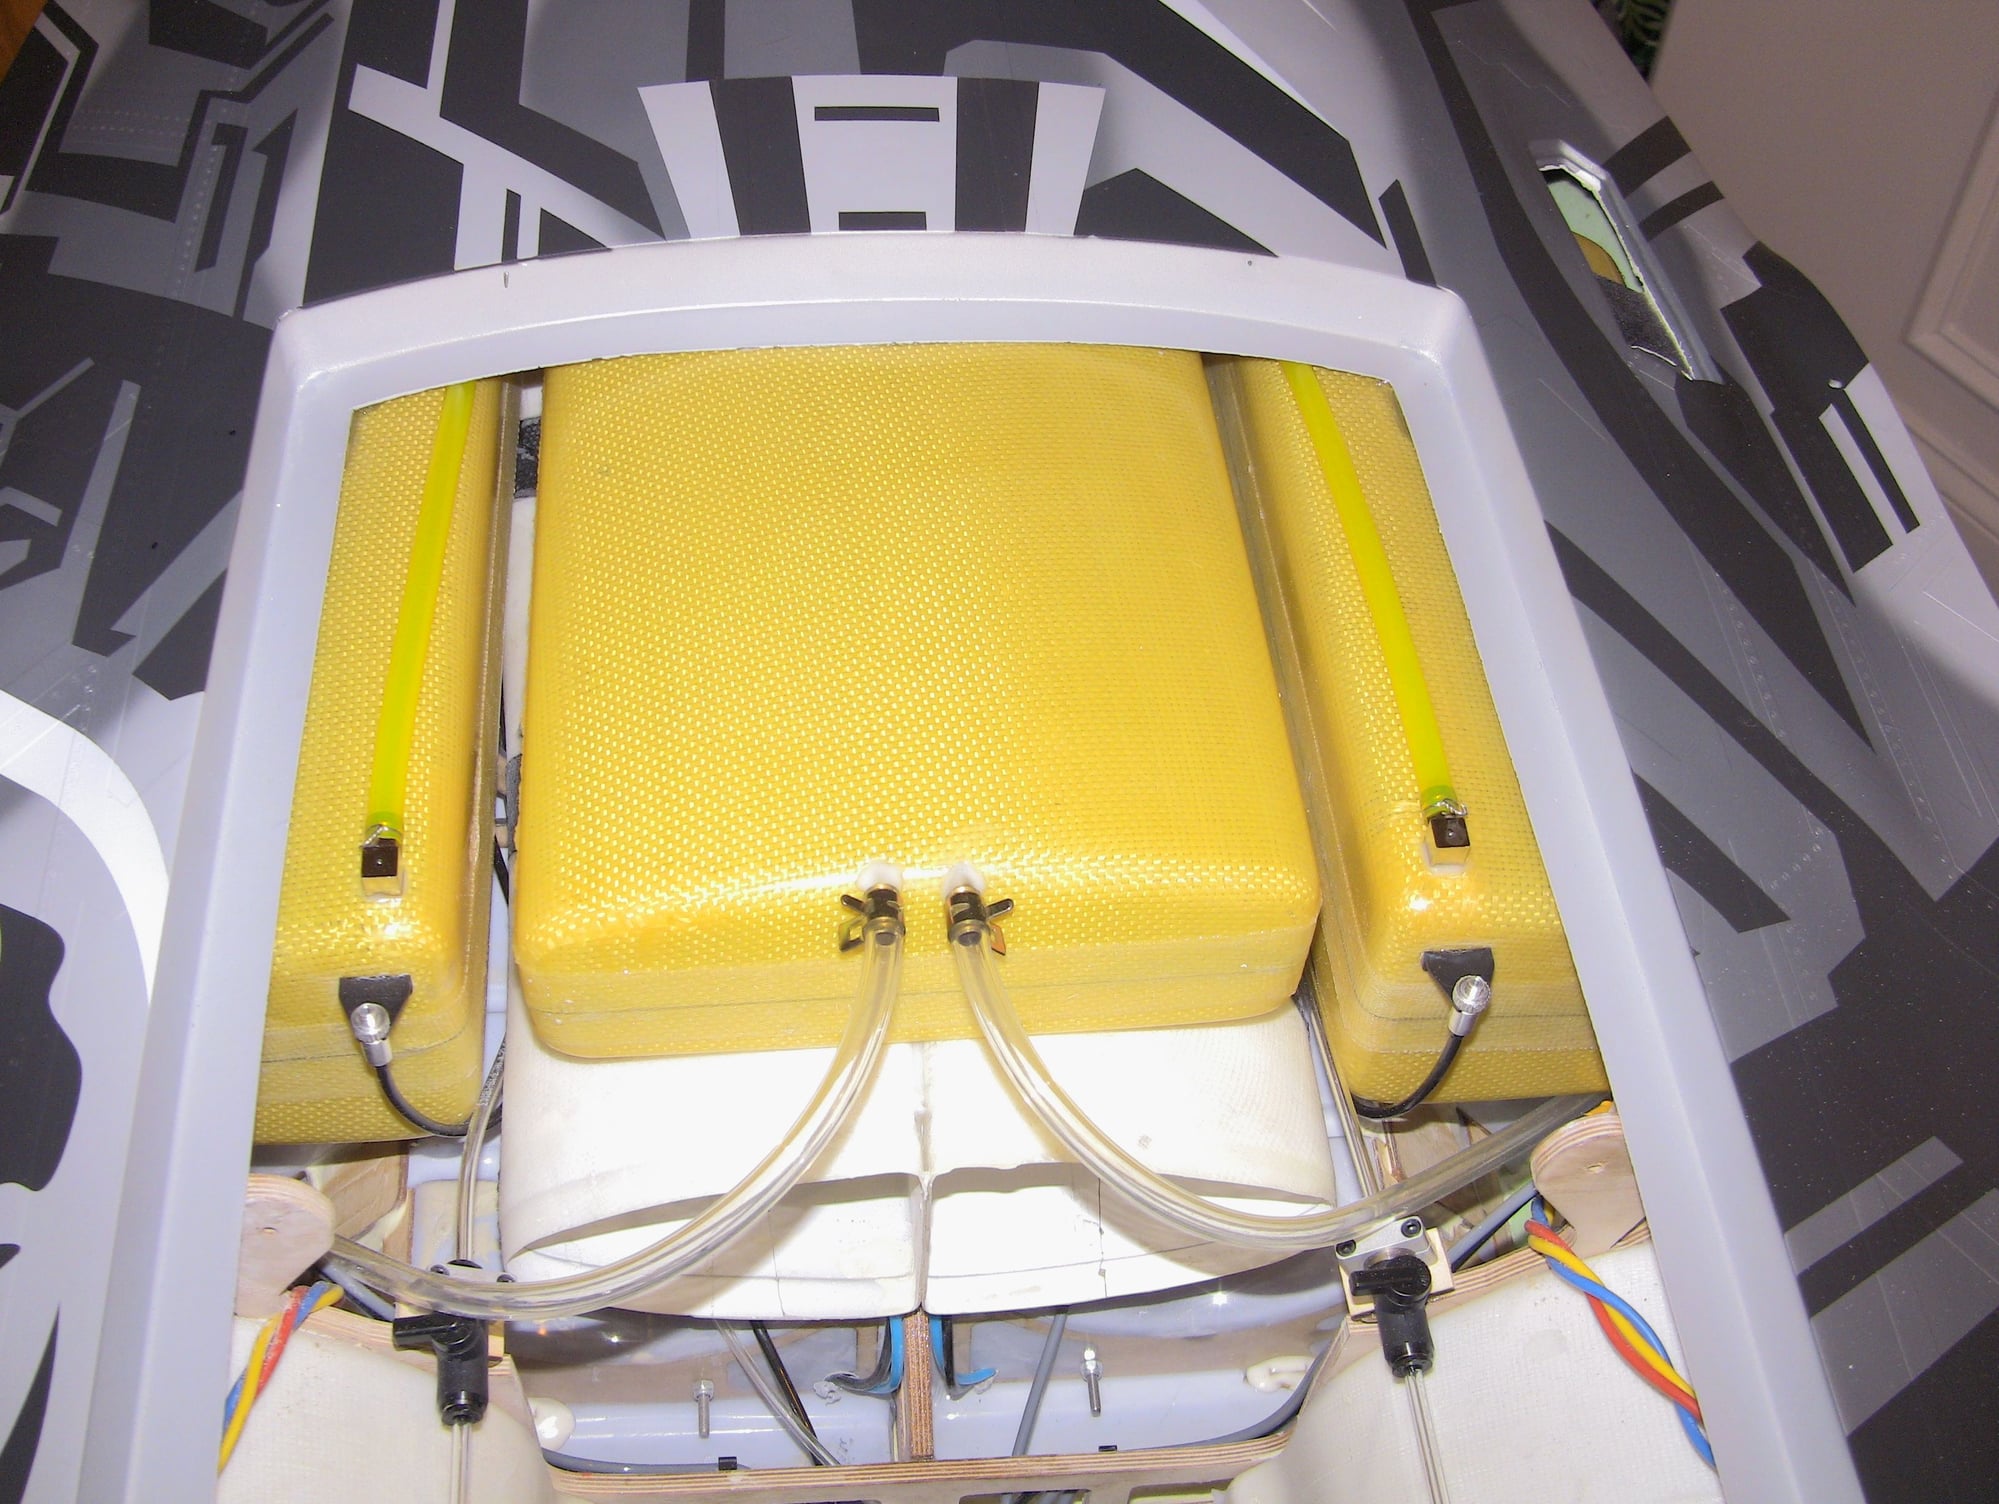
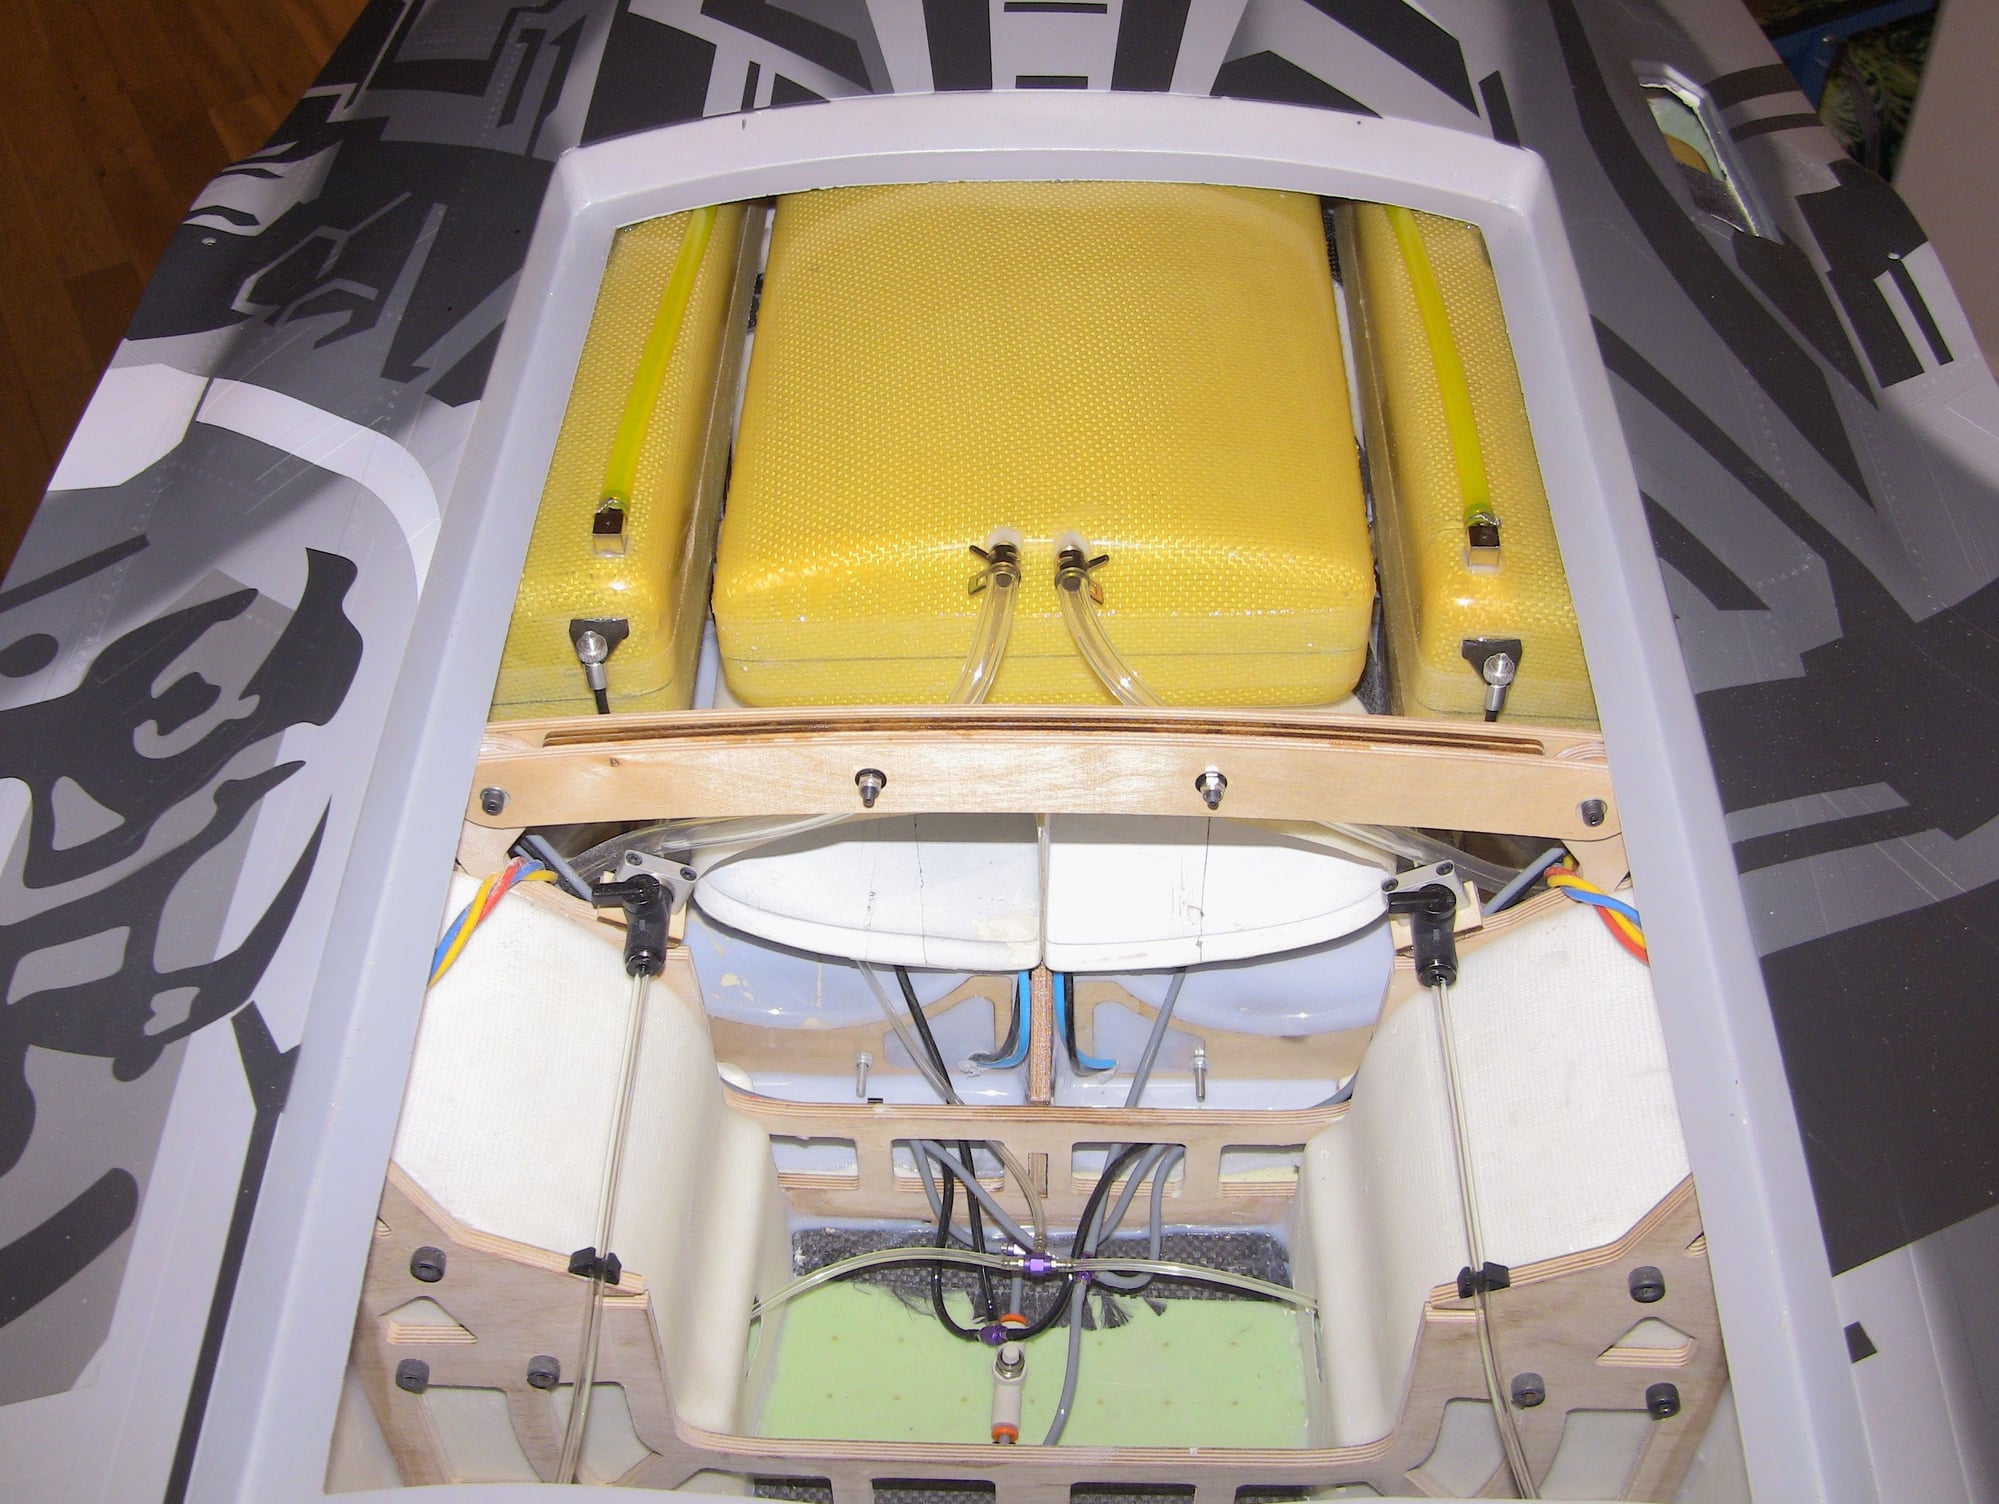
Finished the my canopy lock mod this morning I took the canopy and nose off which made it super easy to get the angle and brass tube glued in. Next I installed the two BVM hi-Flow vent system, the area had carbon fiber laid up so it was the perfect spot, plus this has to be done before I install the saddle tanks since the vents are behind the tanks. Then I finished up the tanks, gave them a good washout to get rid of trash because you would not believe how much trash ends up your turbines. I cant count the number of folks who say the triple filter and still when I tear the motor apart its a dirt/trash problem. Don't for get the vents are not filtered normally so there is always that chance of sucking up dirt on your take off and landings. Anyway tanks are all plumbed with lick wire to secure the BVM hi-Flow tank line, I will say the T-One clunks are a bit over kill on size and weight.
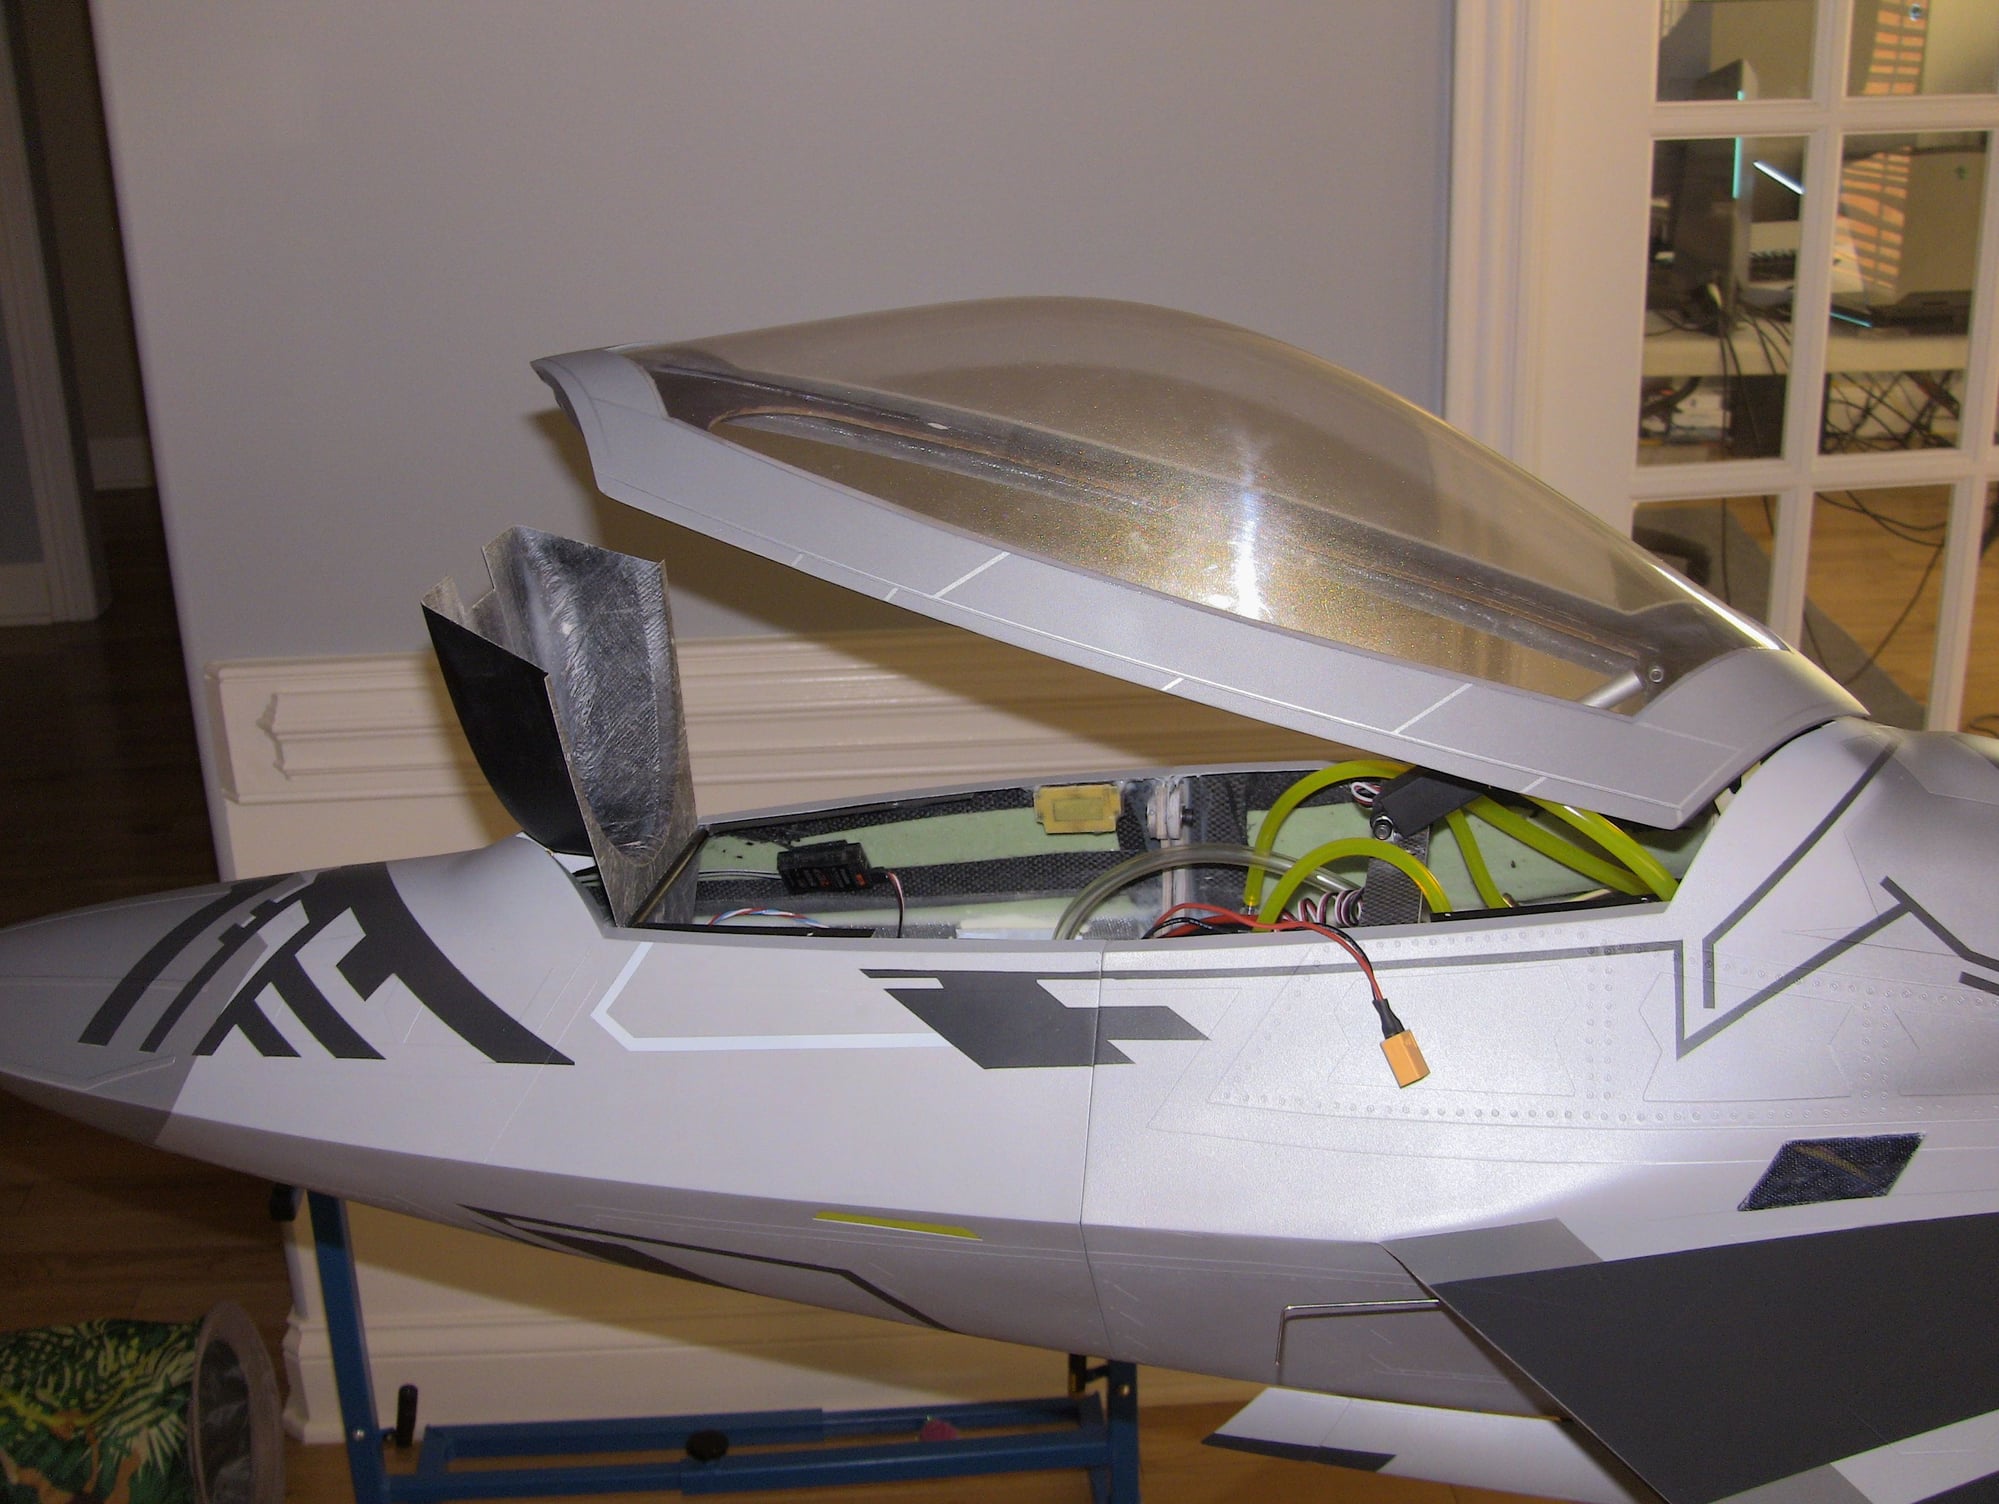
At this point its finally assembly and figuring out where to put everything!
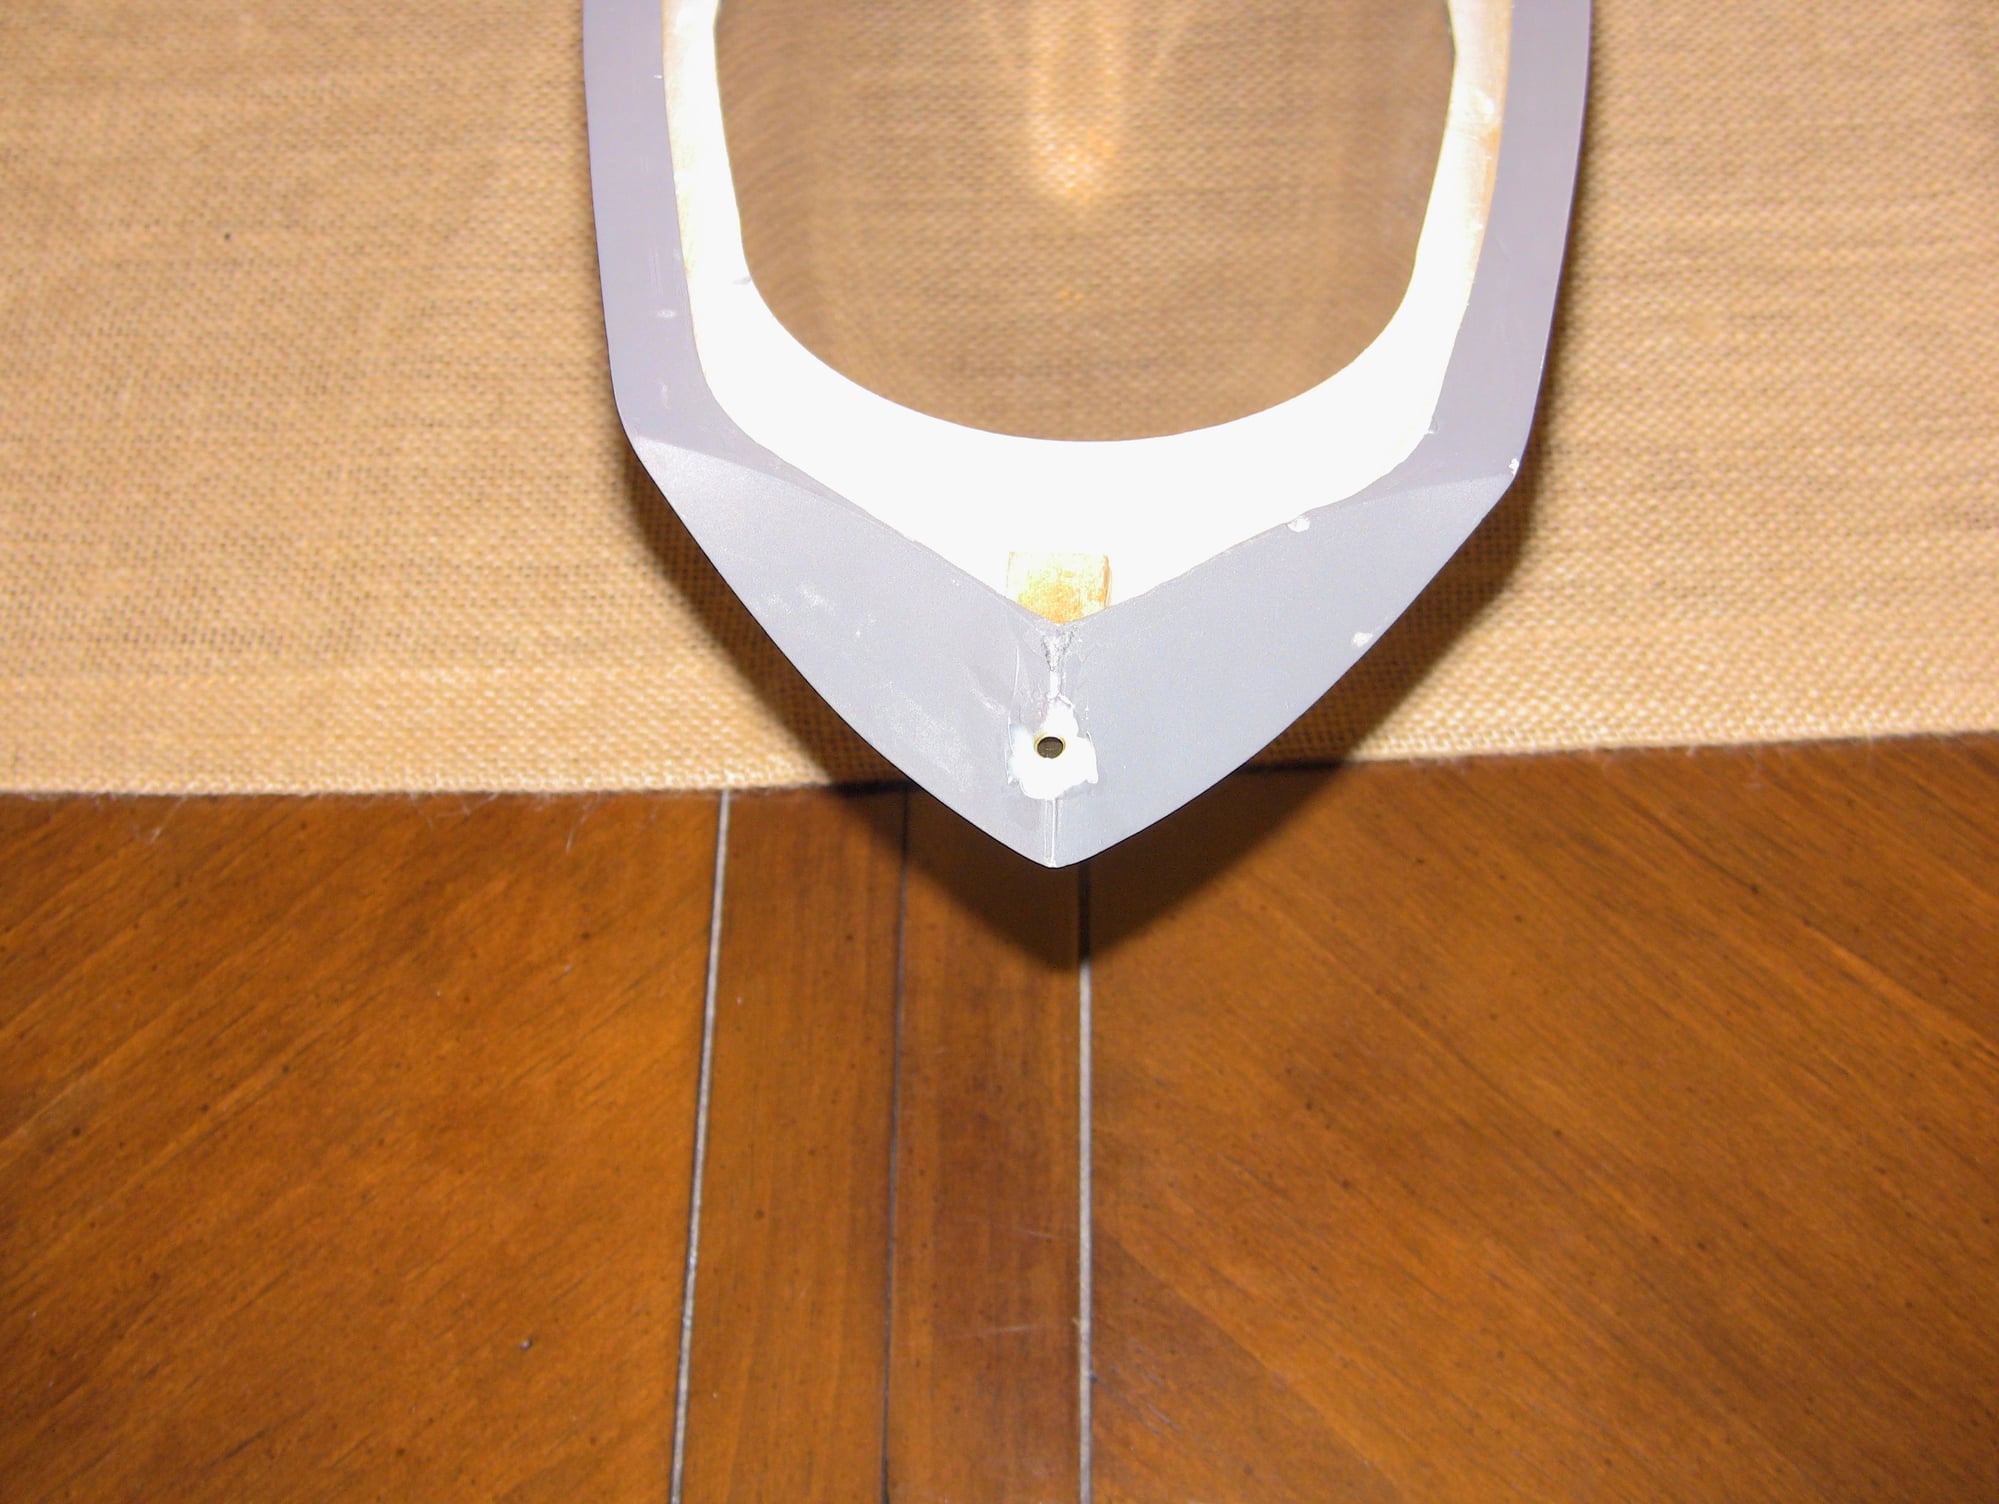
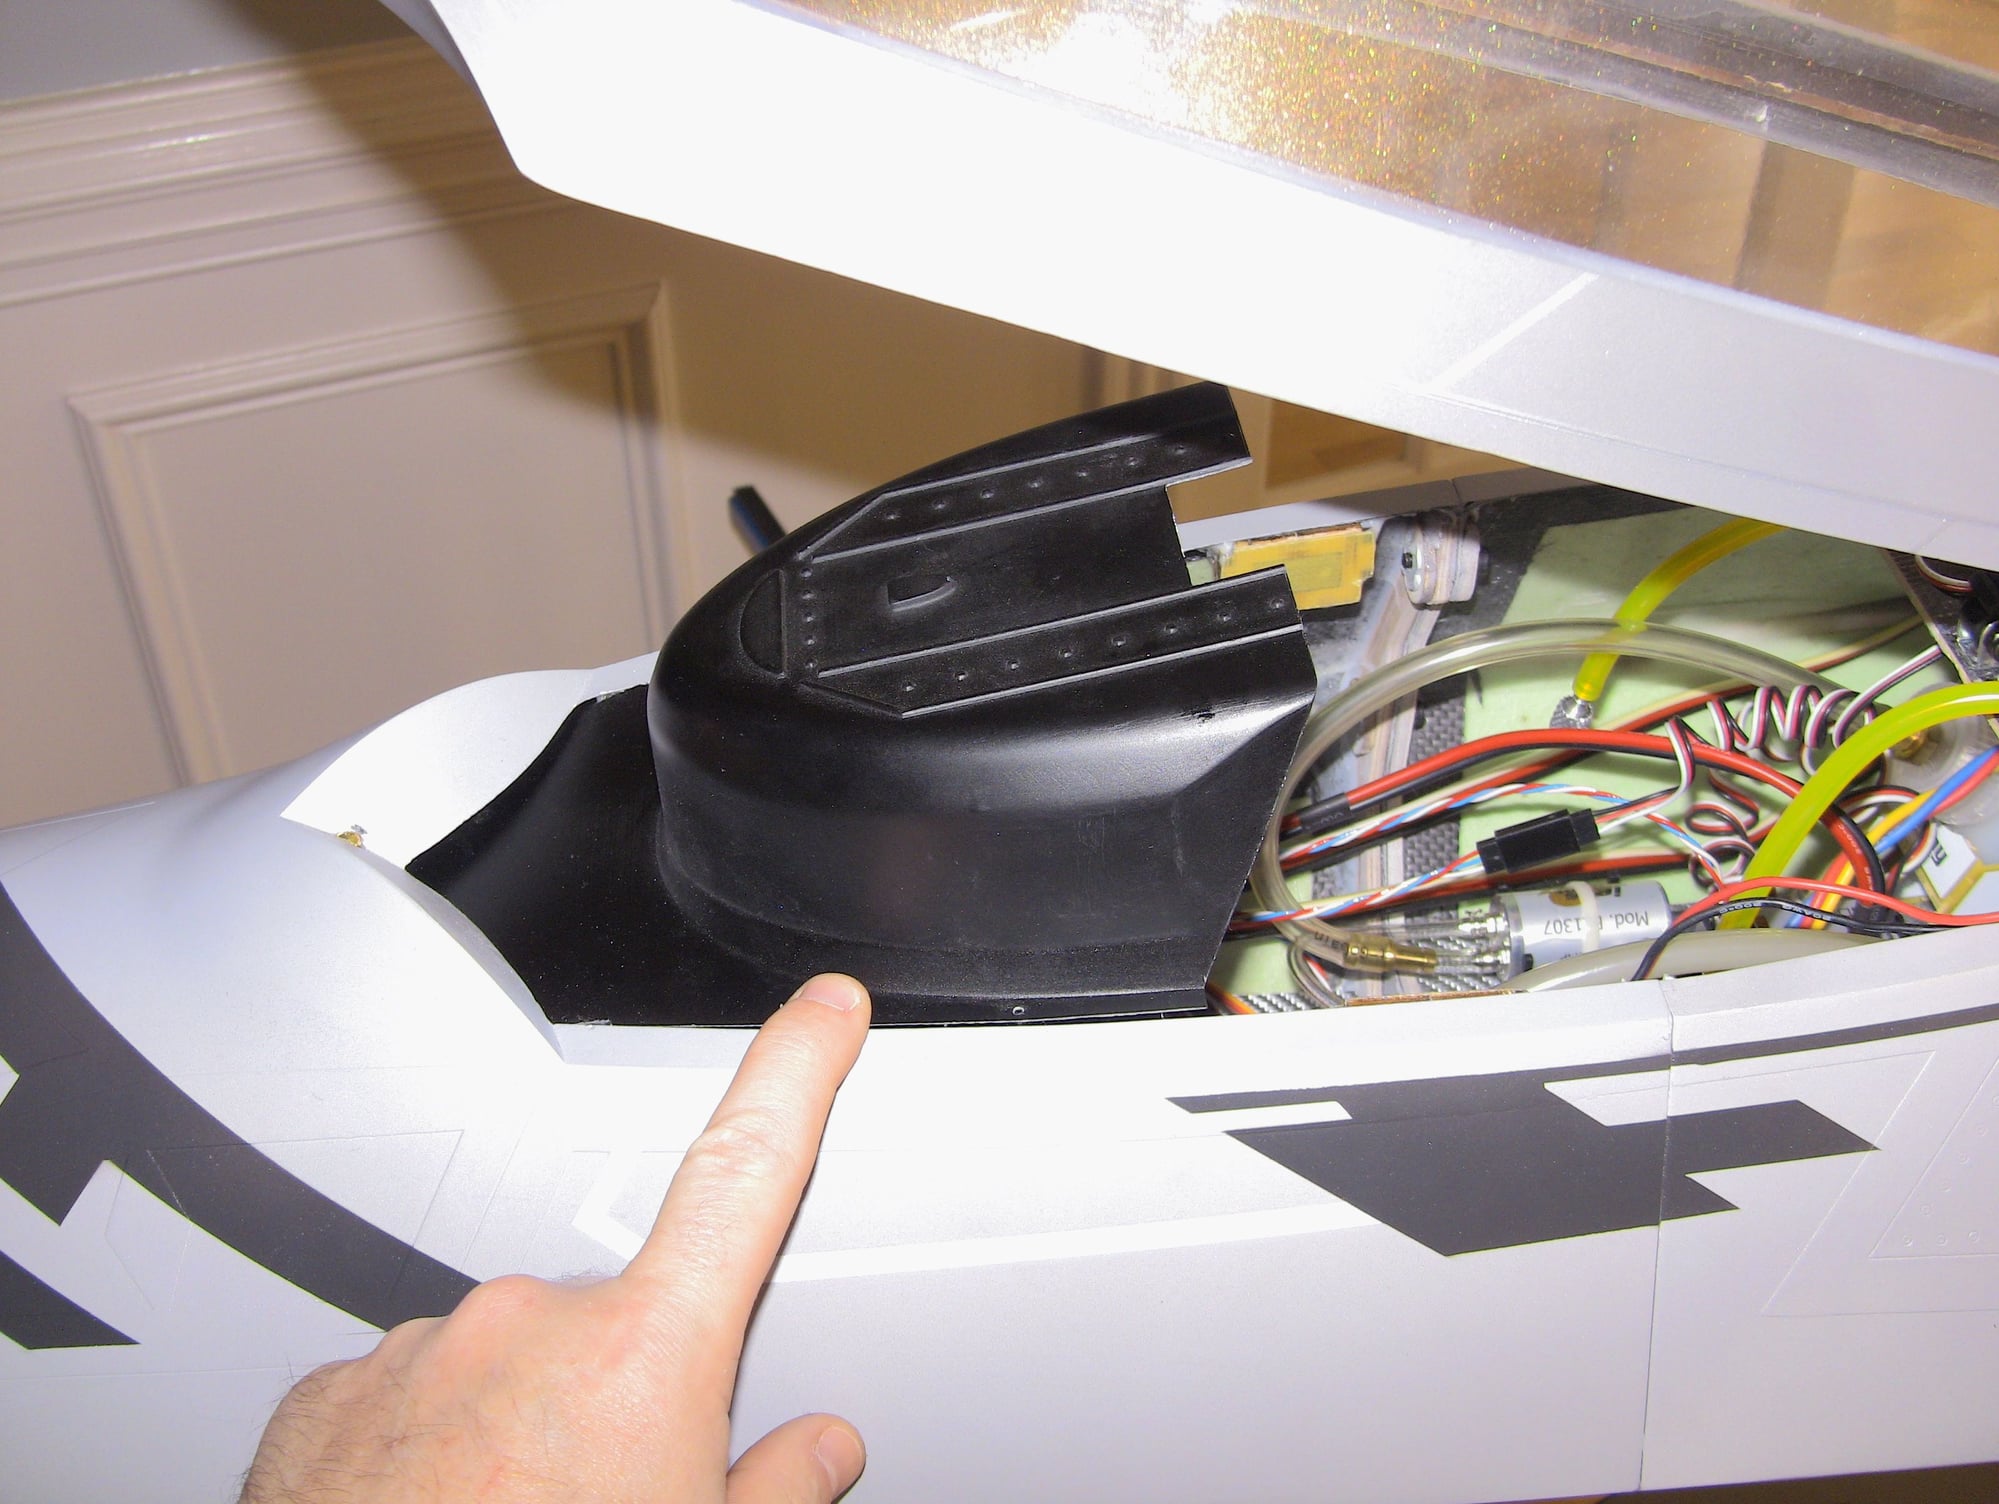
CANOPY LOCK HOLDER INSTALLED
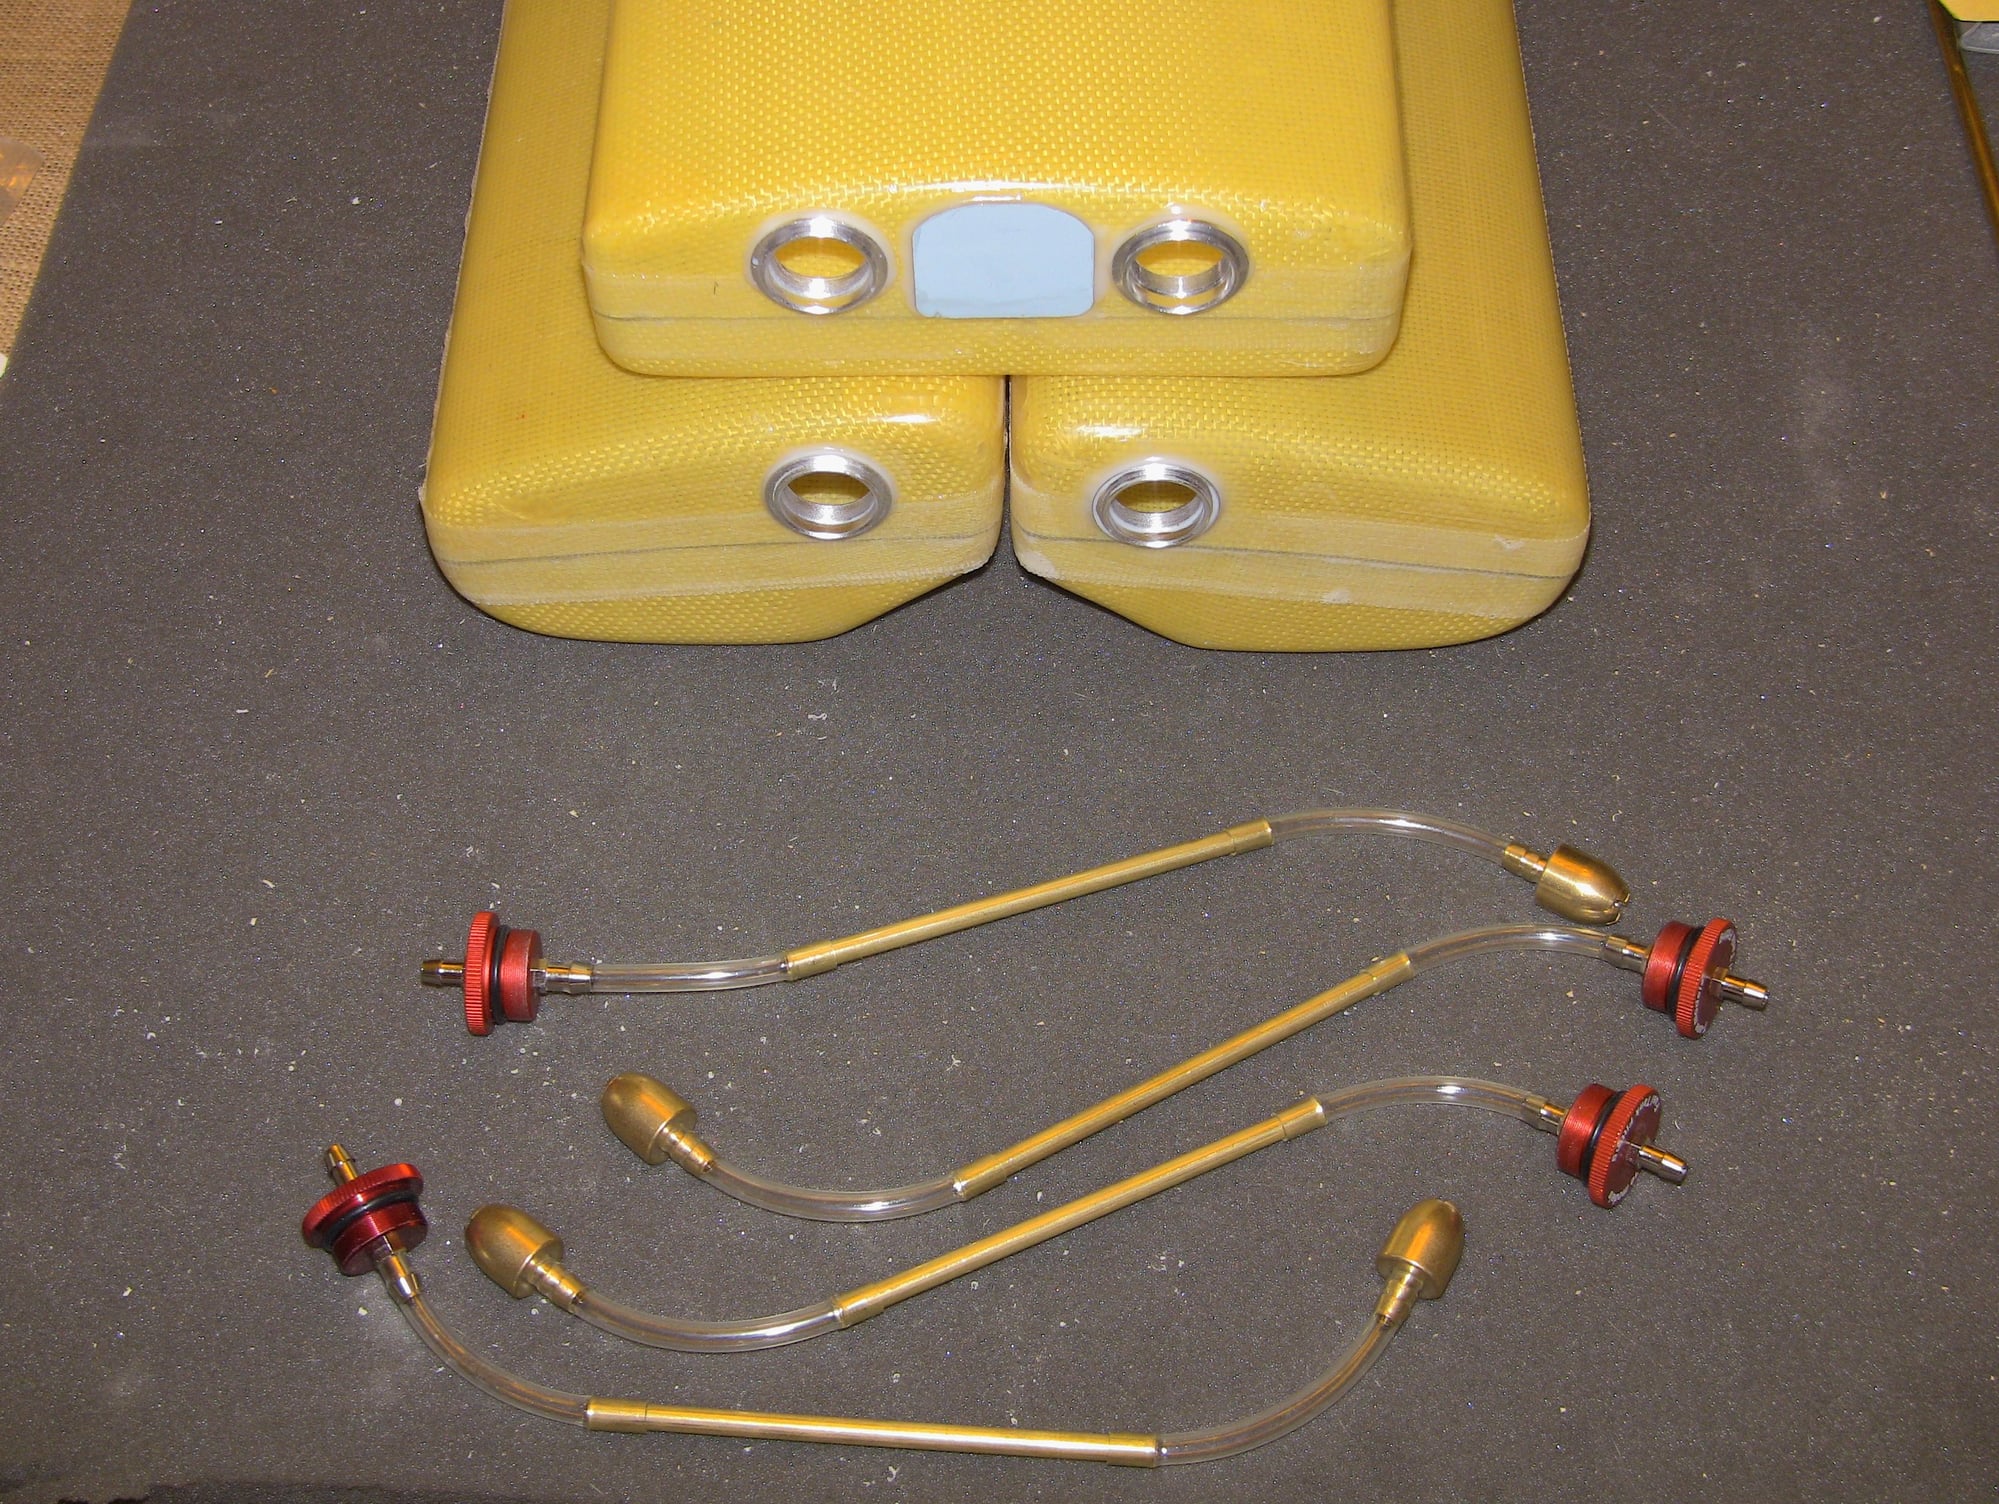
CLUNK LINES MADE UP
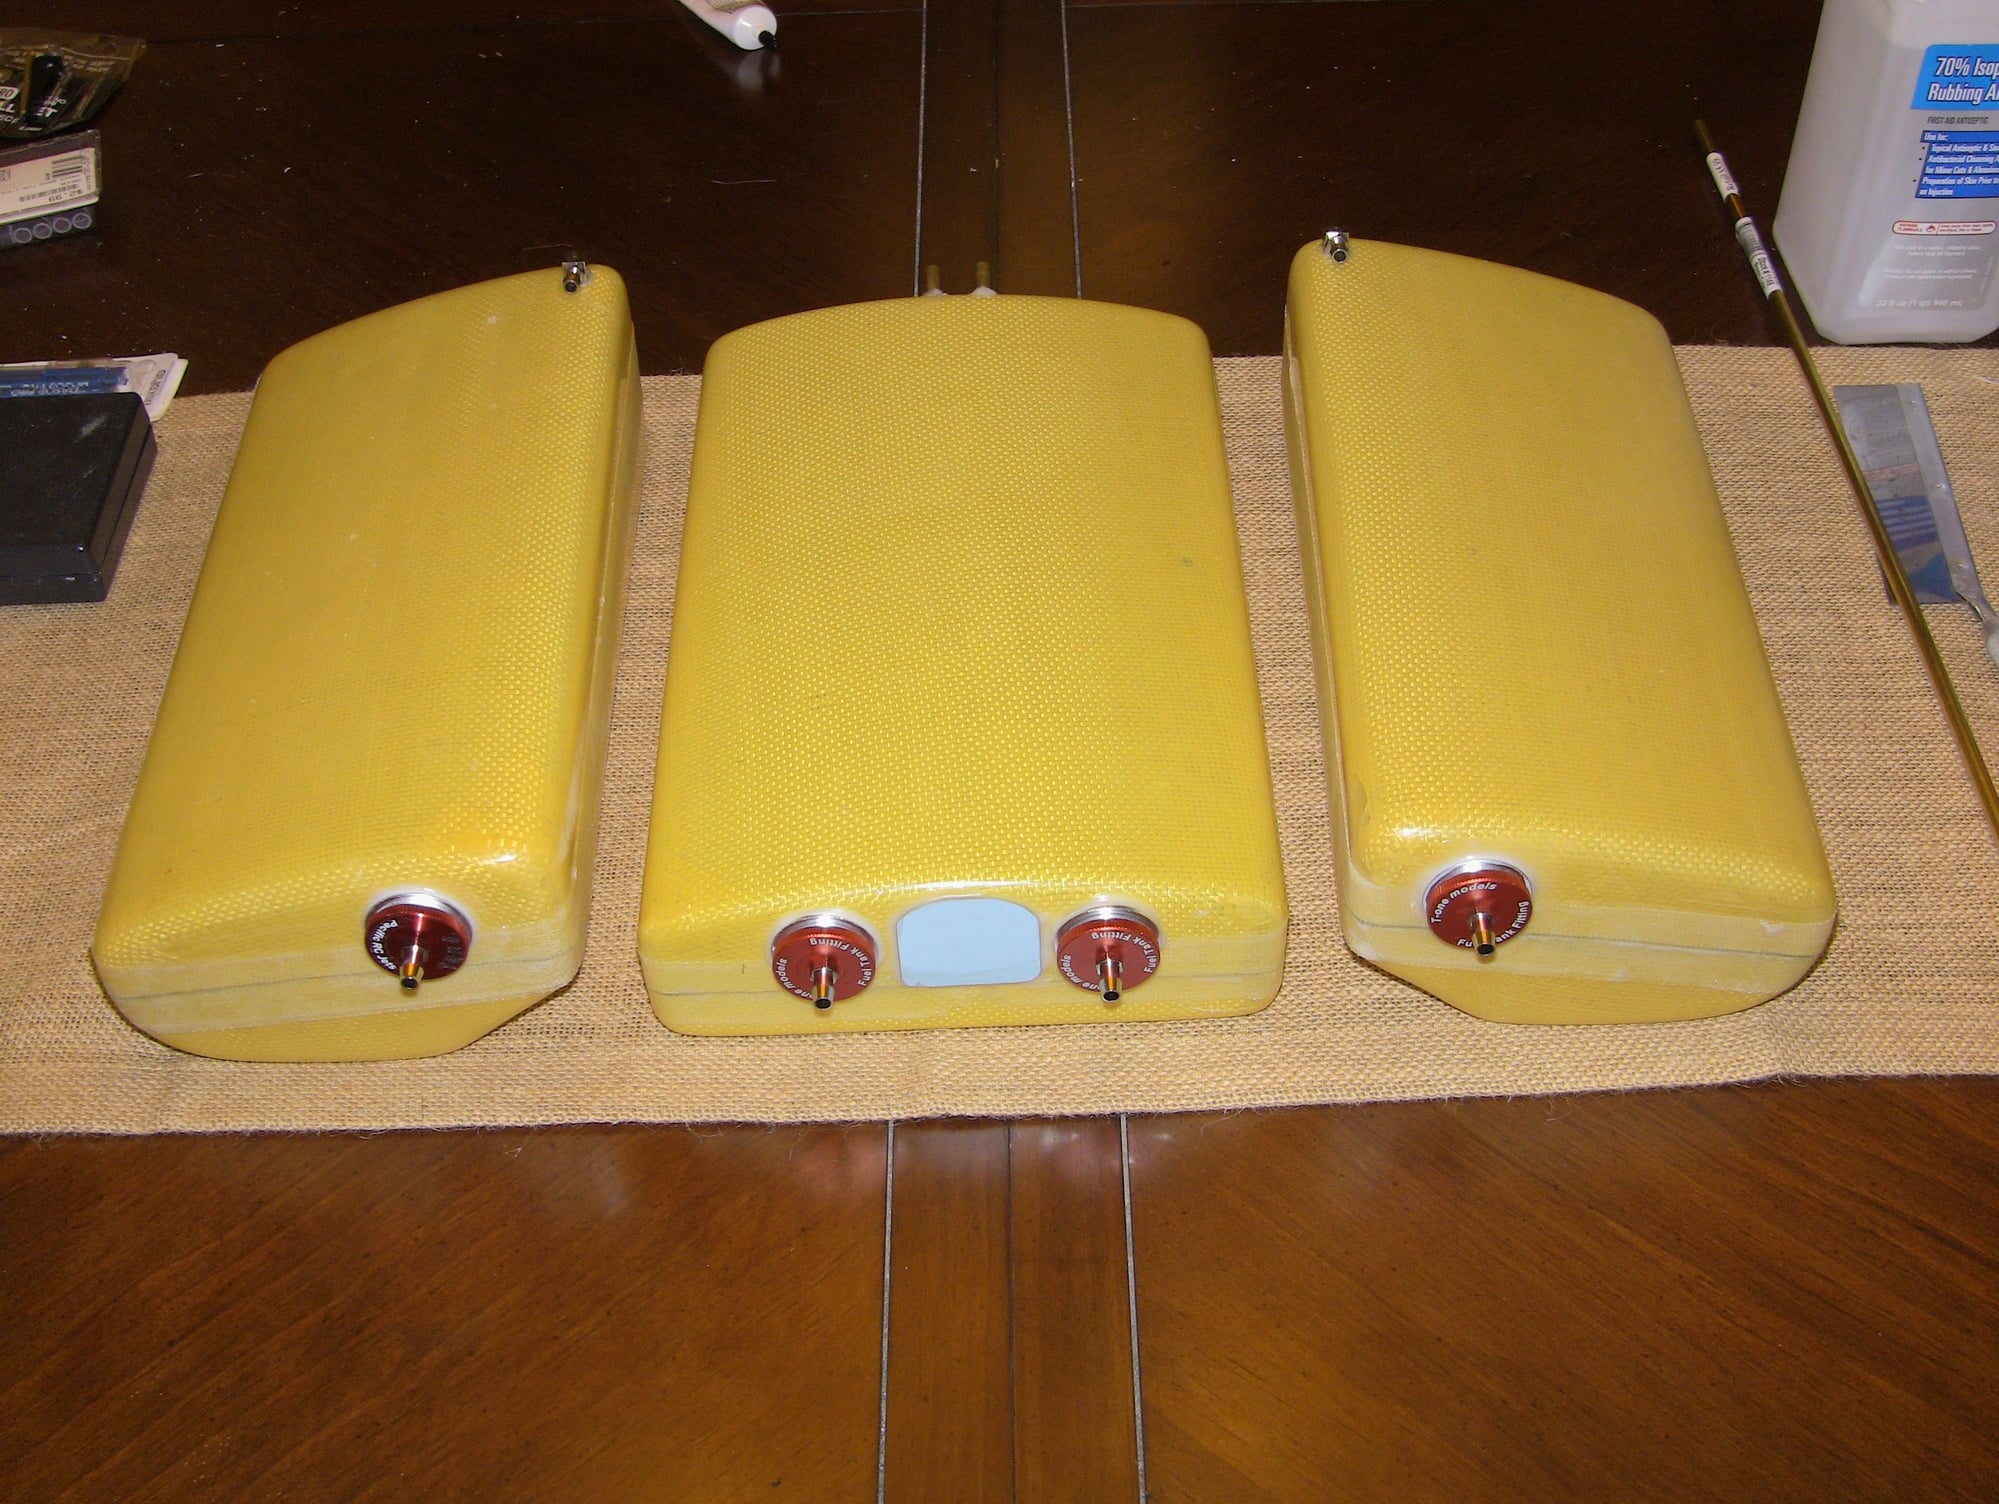
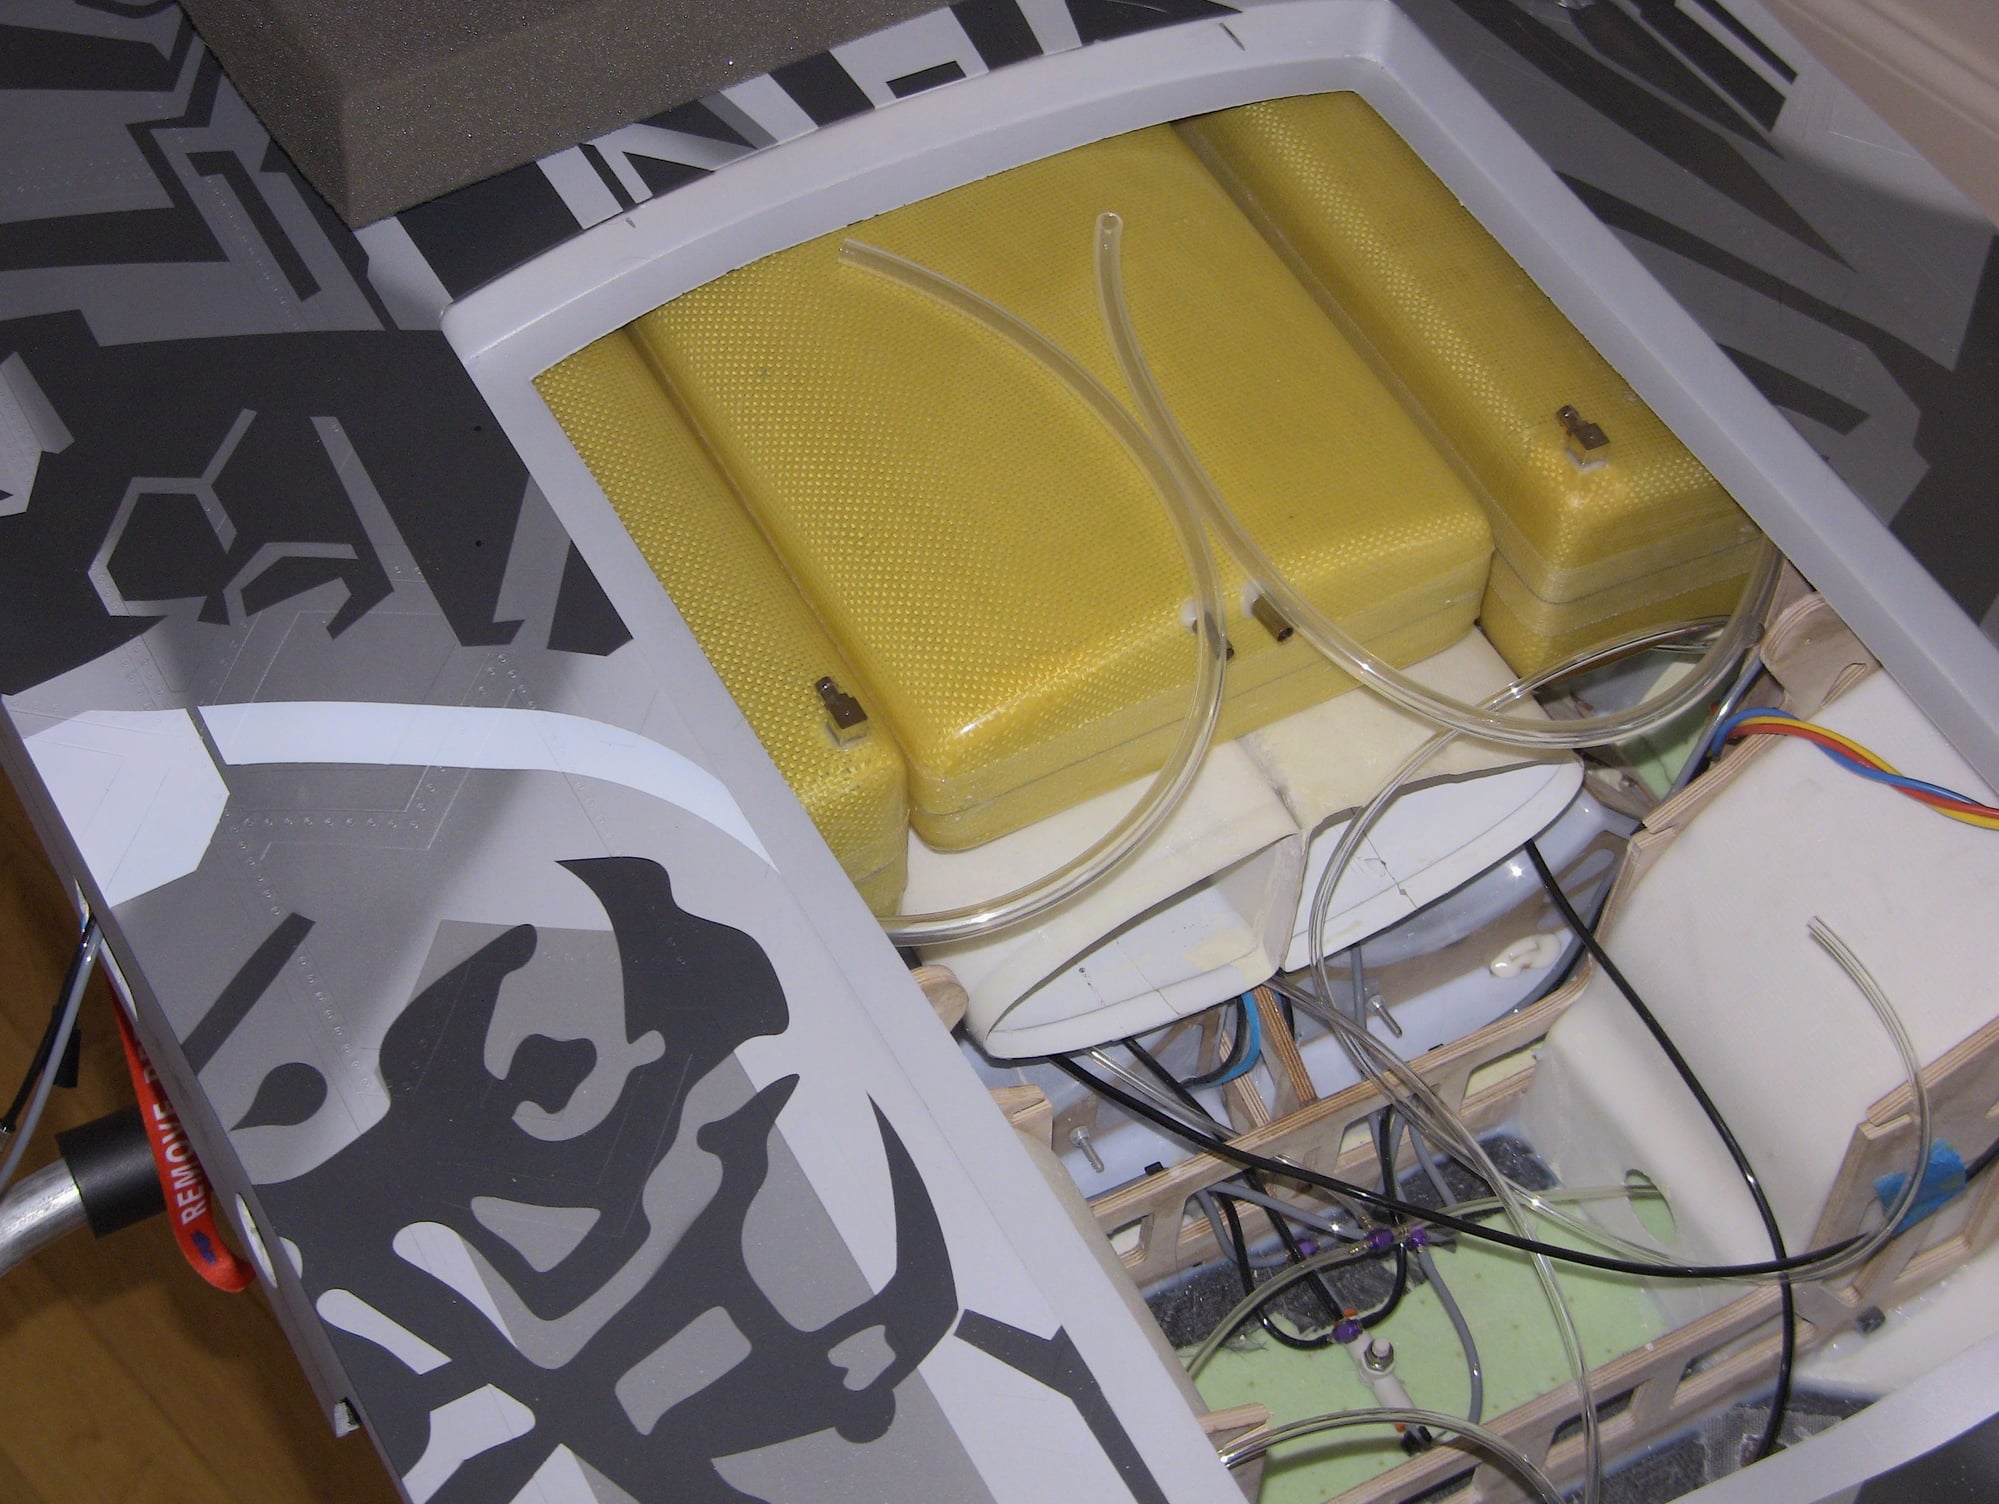
TANKS COMPLETE
ONE OF TWO VENTS UNDER THE LEADING EDGE OF WING
EASY TO GET TO AND HIDDEN
At this point its finally assembly and figuring out where to put everything!
CANOPY LOCK HOLDER INSTALLED
CLUNK LINES MADE UP
TANKS COMPLETE
ONE OF TWO VENTS UNDER THE LEADING EDGE OF WING
EASY TO GET TO AND HIDDEN
 02-06-2020, 05:13 PM
#102
Thread Starter
Not much left to do but install the air system, fuel and run wires! Photo opt
Oh small horribly done video showing the canopy mod I did
and the work so far are uploading on my youtube page

Oh small horribly done video showing the canopy mod I did
and the work so far are uploading on my youtube page
02-06-2020, 05:22 PM
#103

Nice work Keith! and very informative videos.
I too took out the canopy lock air actuator, will be replacing with a micro servo mod instead.
Will you be dampening the two clunks with some filter cloth wrapped around? Looks like some serious smashing of metals inside the central fuel tank otherwise during hard maneuvers.
I too took out the canopy lock air actuator, will be replacing with a micro servo mod instead.
Will you be dampening the two clunks with some filter cloth wrapped around? Looks like some serious smashing of metals inside the central fuel tank otherwise during hard maneuvers.
02-06-2020, 08:20 PM
#104
My Feedback: (15)
You know, when you put all the pieces together, the F-22 is a good size model. Really looking forward to getting this one done, so will be placing an order for the K-260 in the morning.
Keith, how are you securing the center tank (main tank) inside the fuse?
Keith, how are you securing the center tank (main tank) inside the fuse?
Last edited by David Jackson; 02-06-2020 at 08:31 PM.
02-06-2020, 09:17 PM
#105
Thread Starter
Yeah great size.
02-09-2020, 08:57 PM
#106
Thread Starter
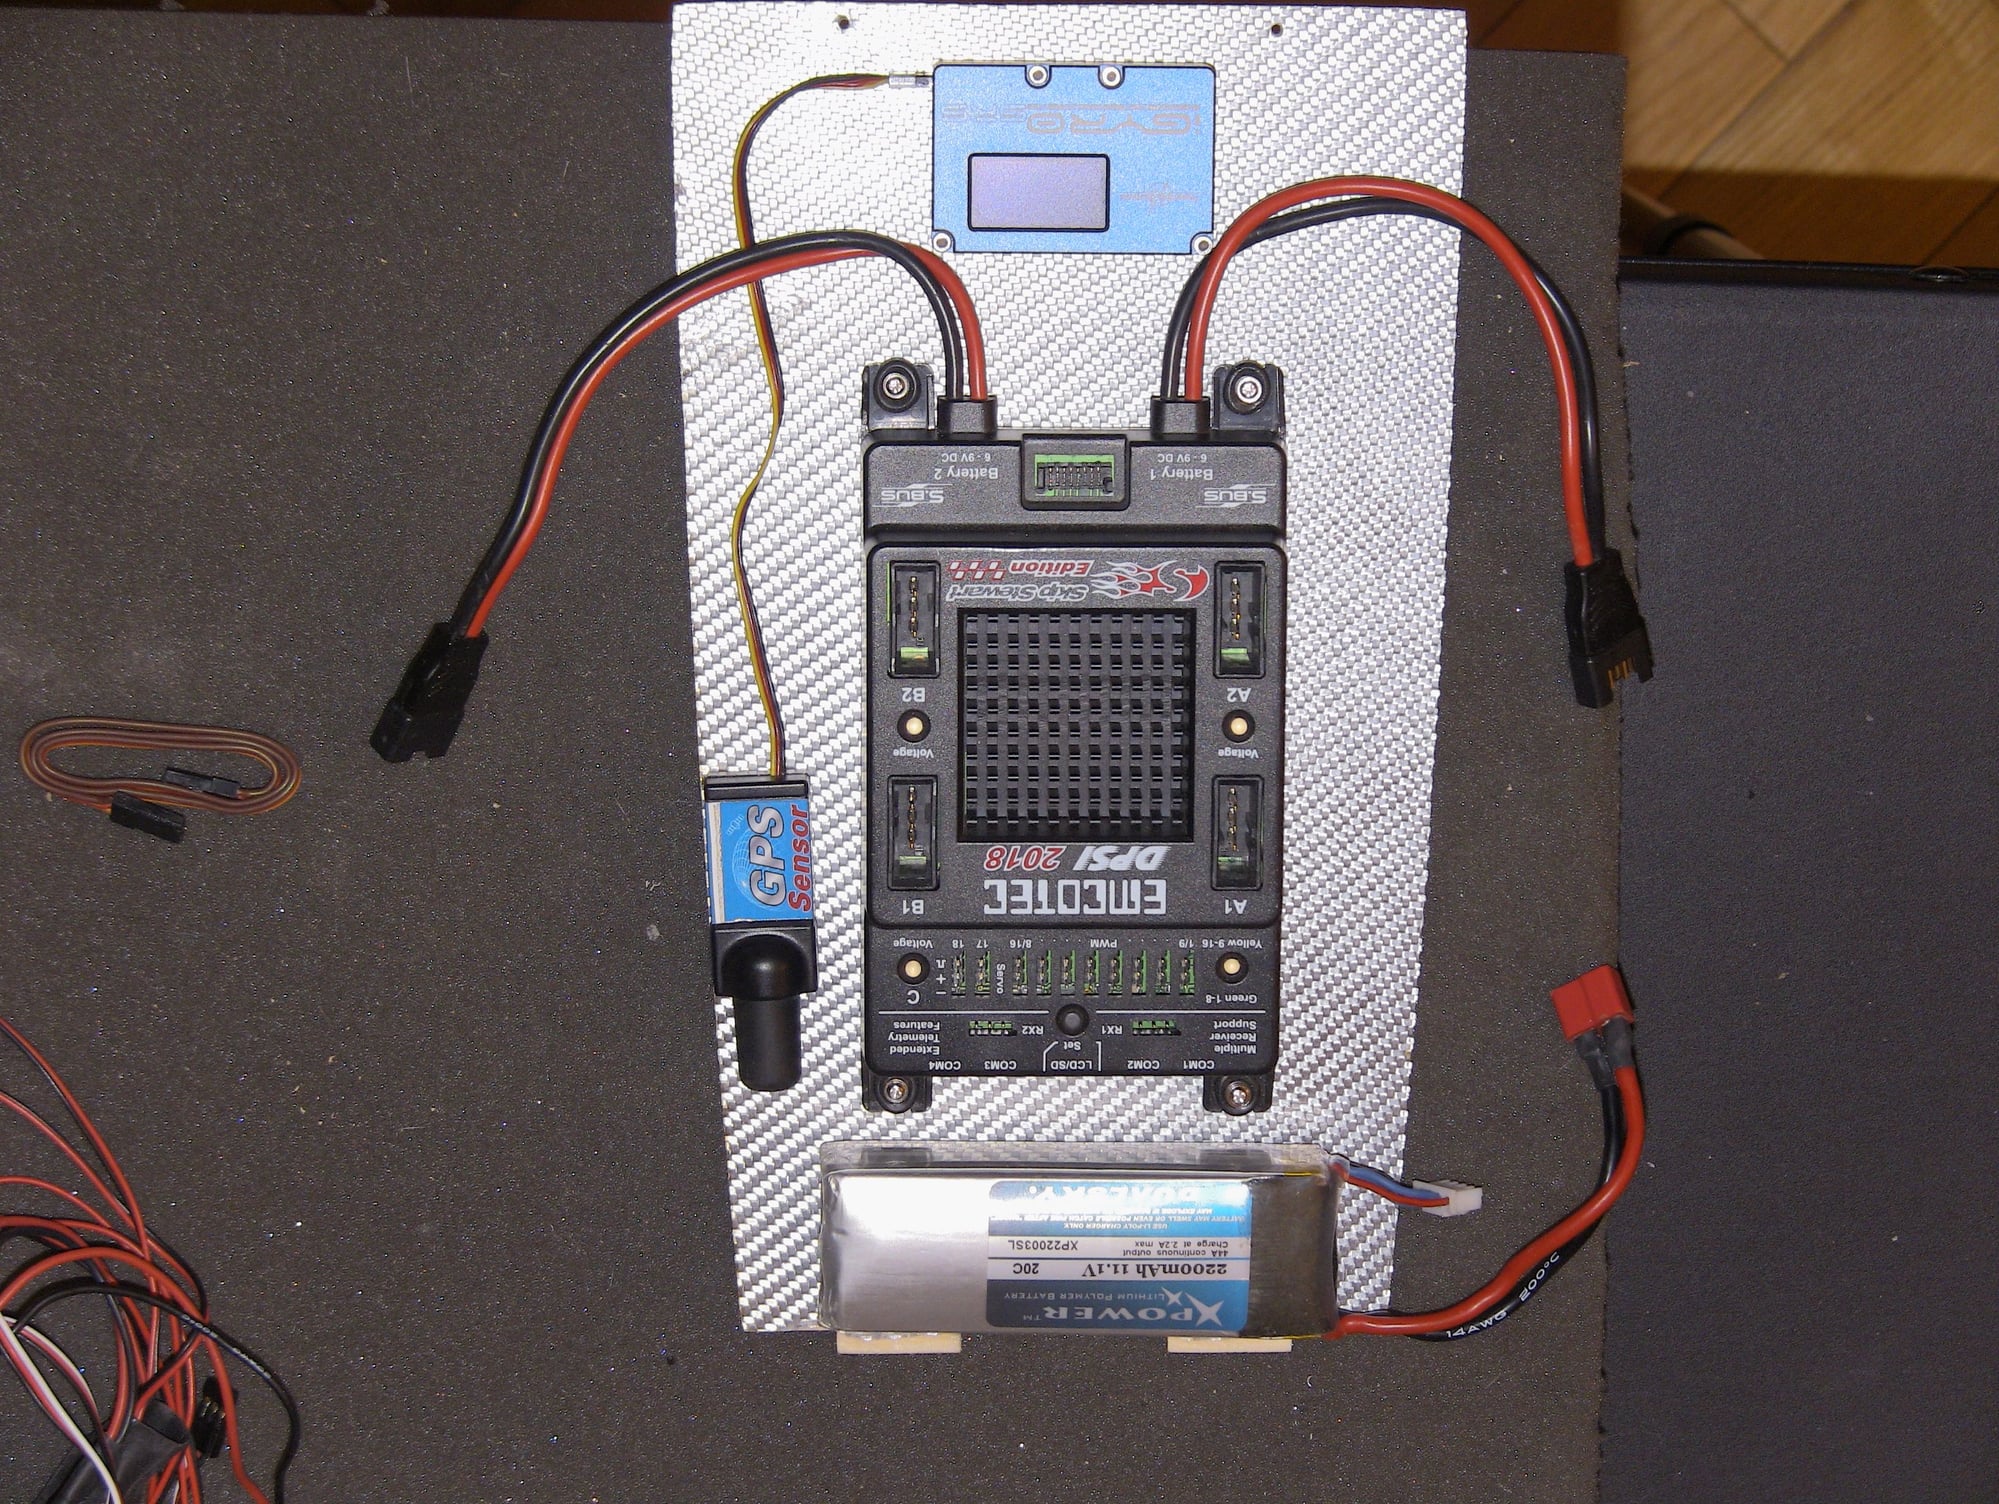
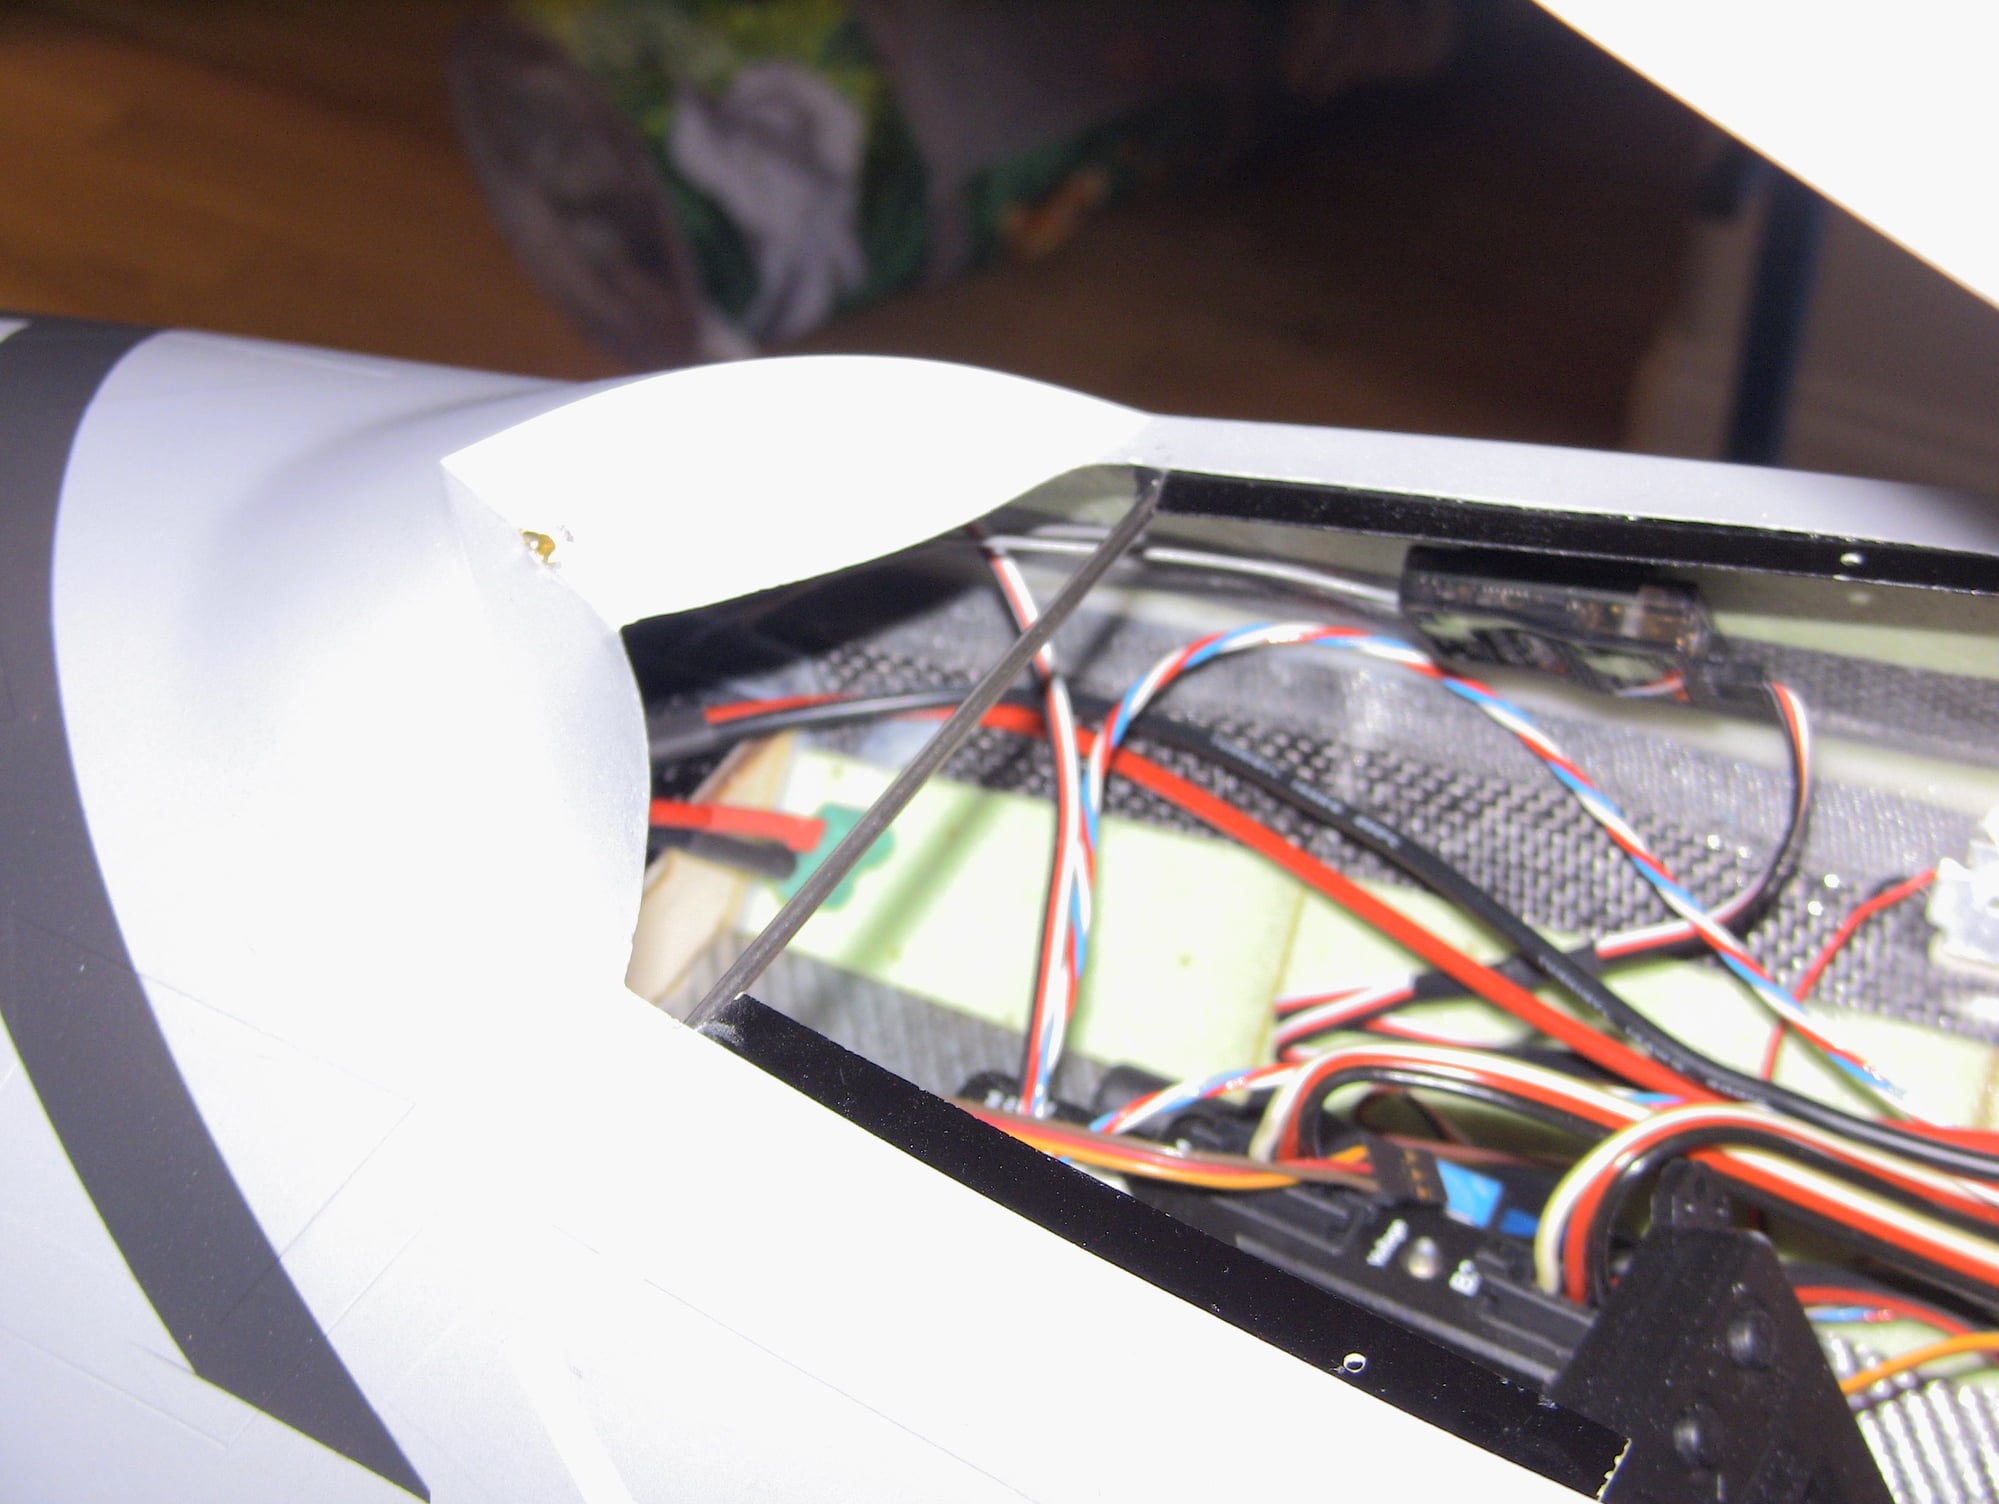
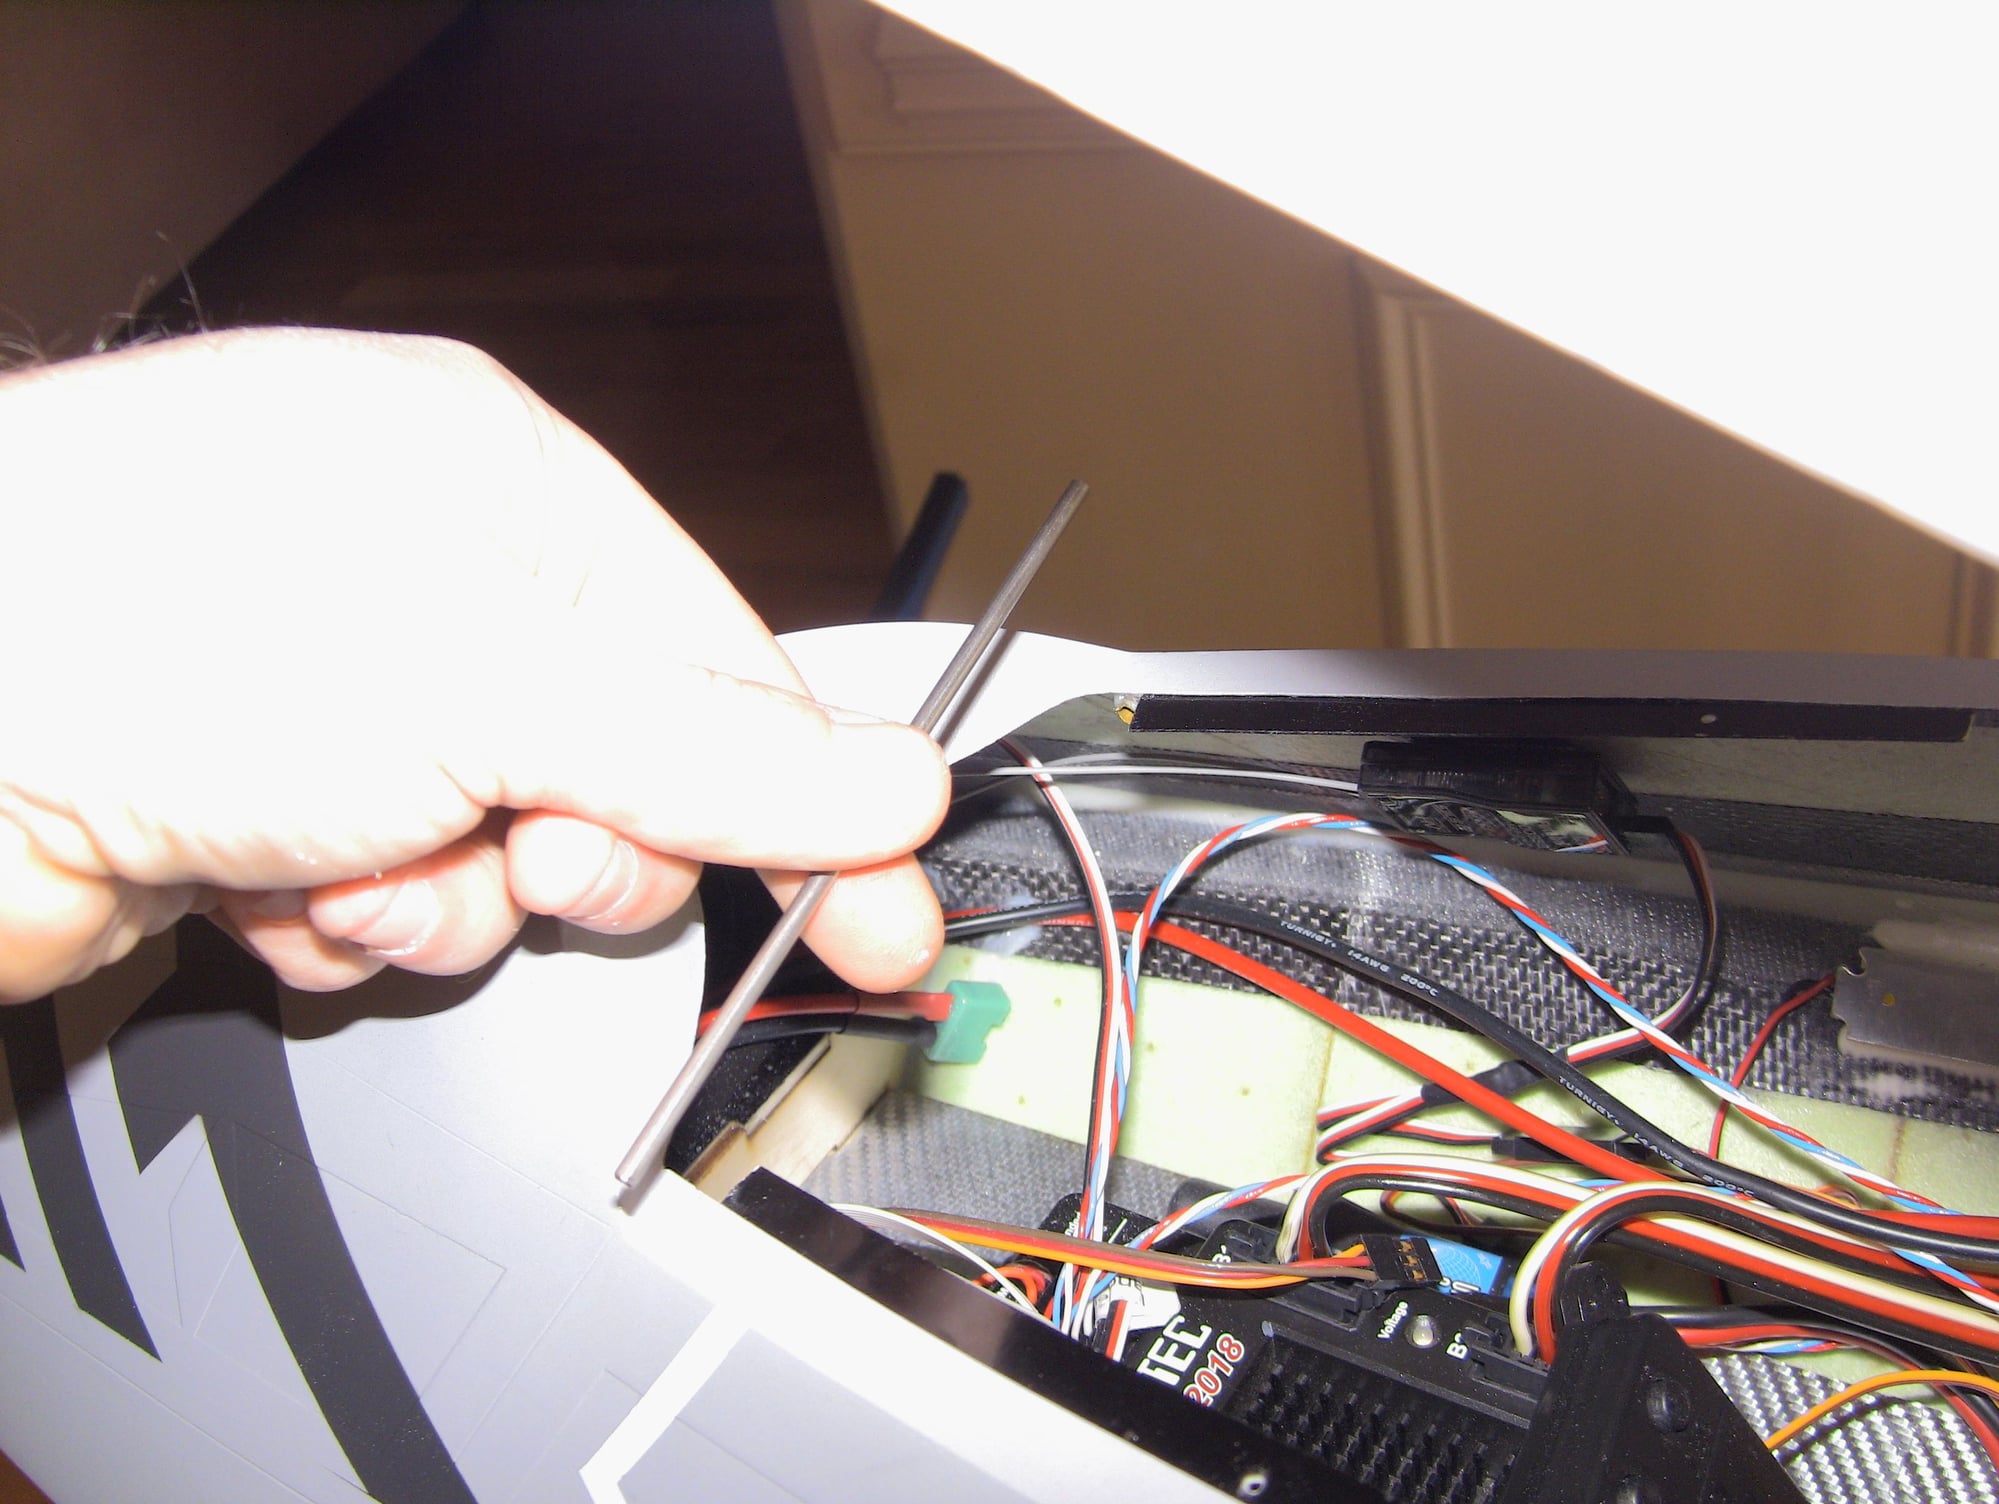
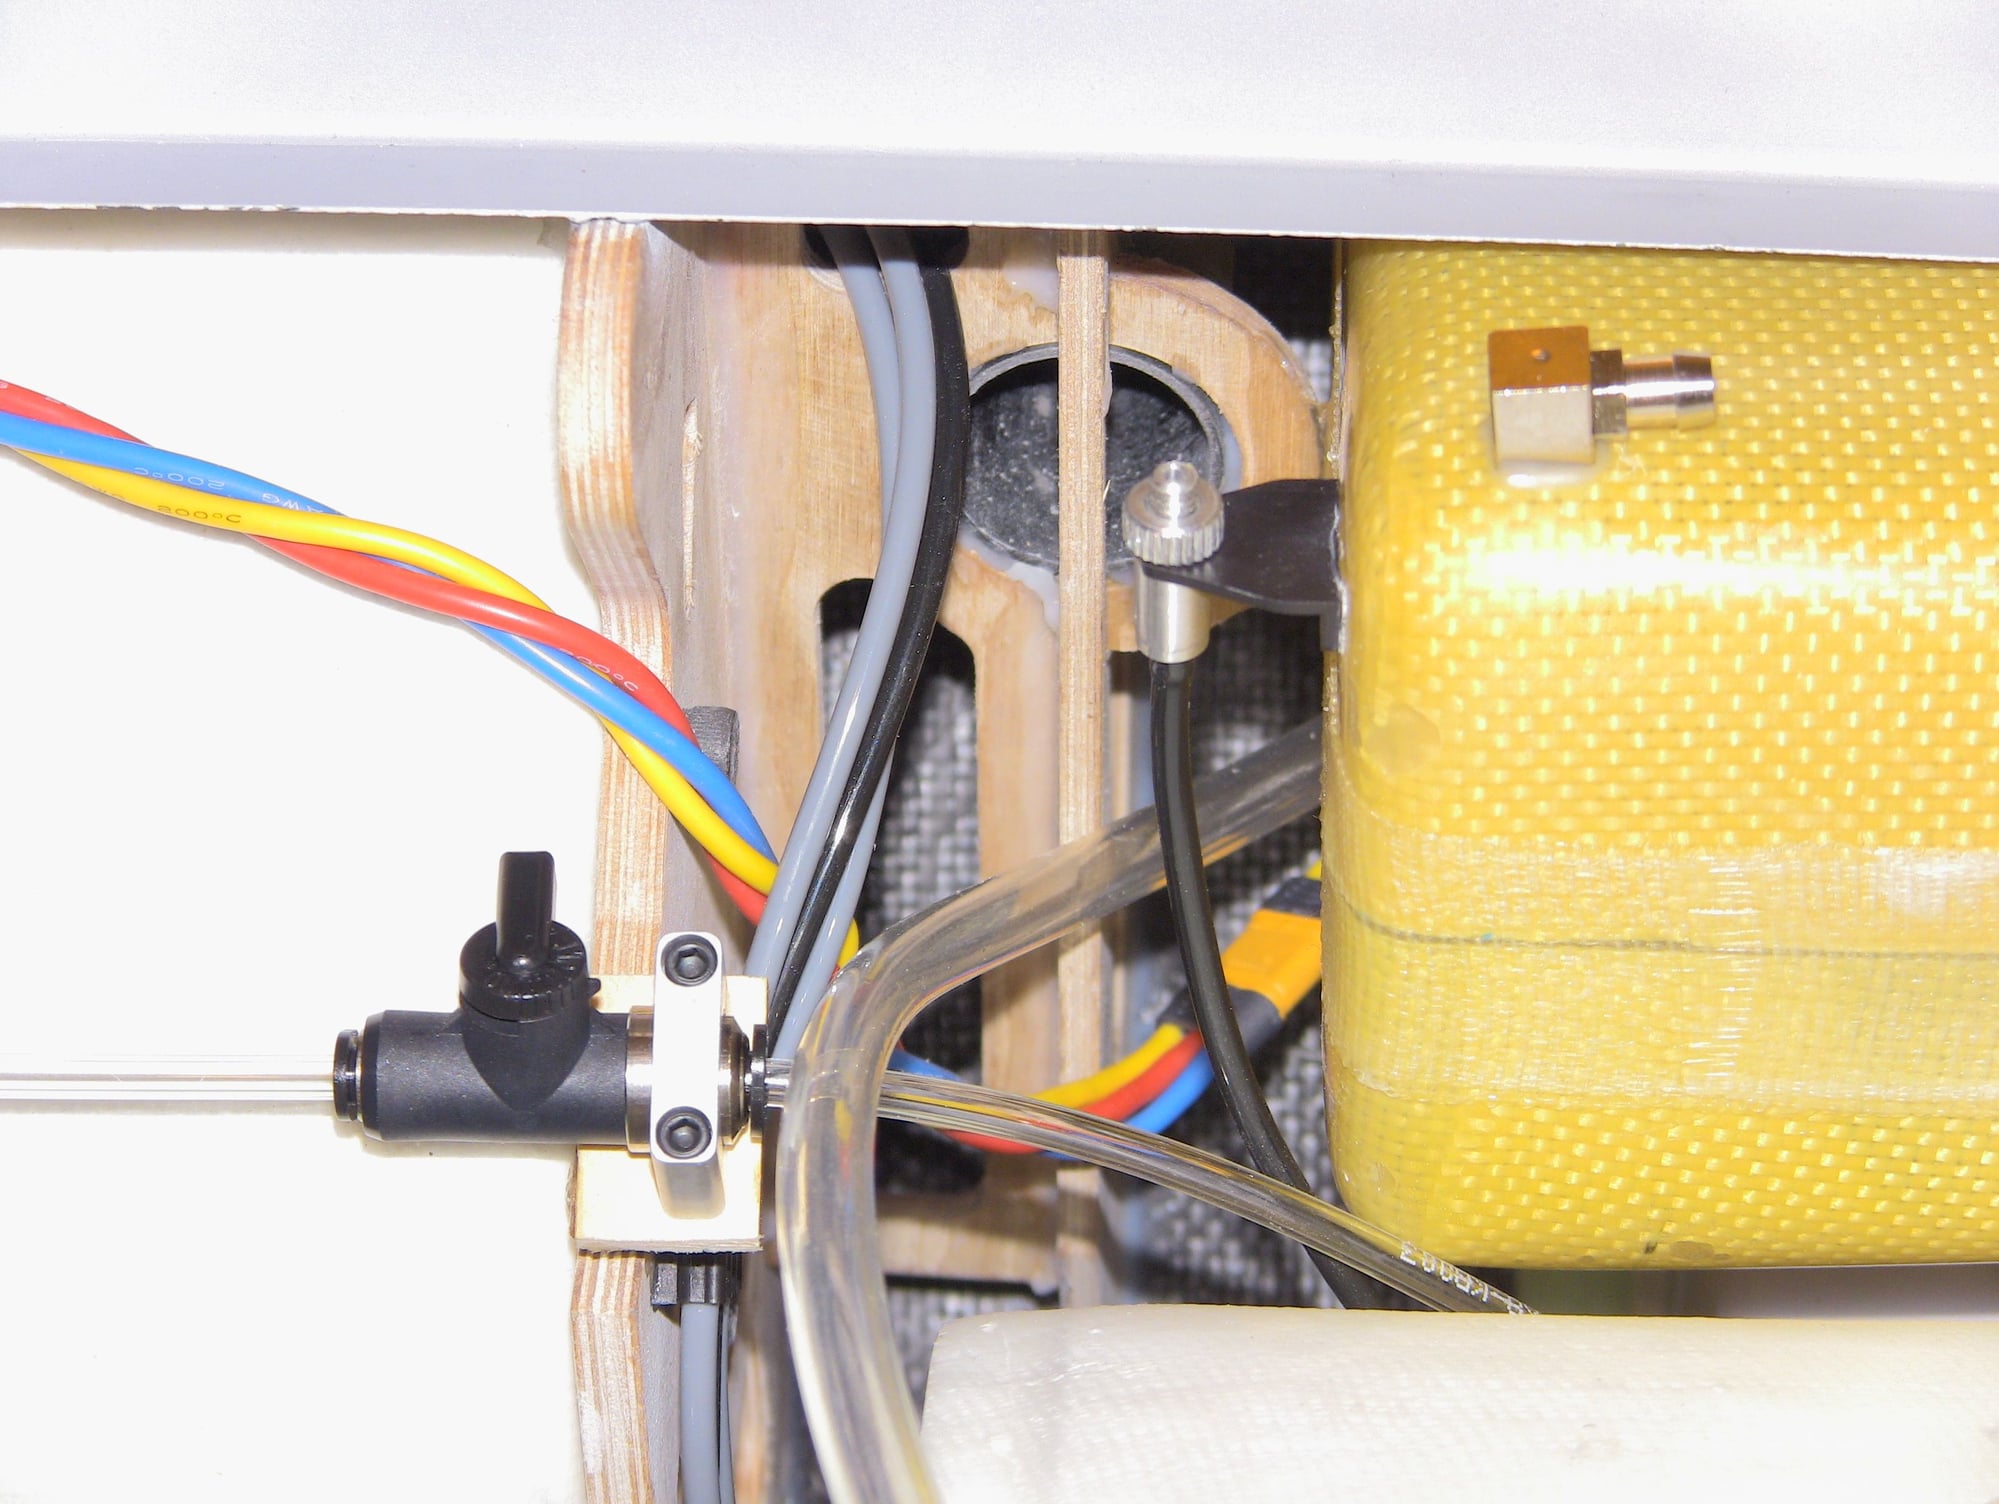
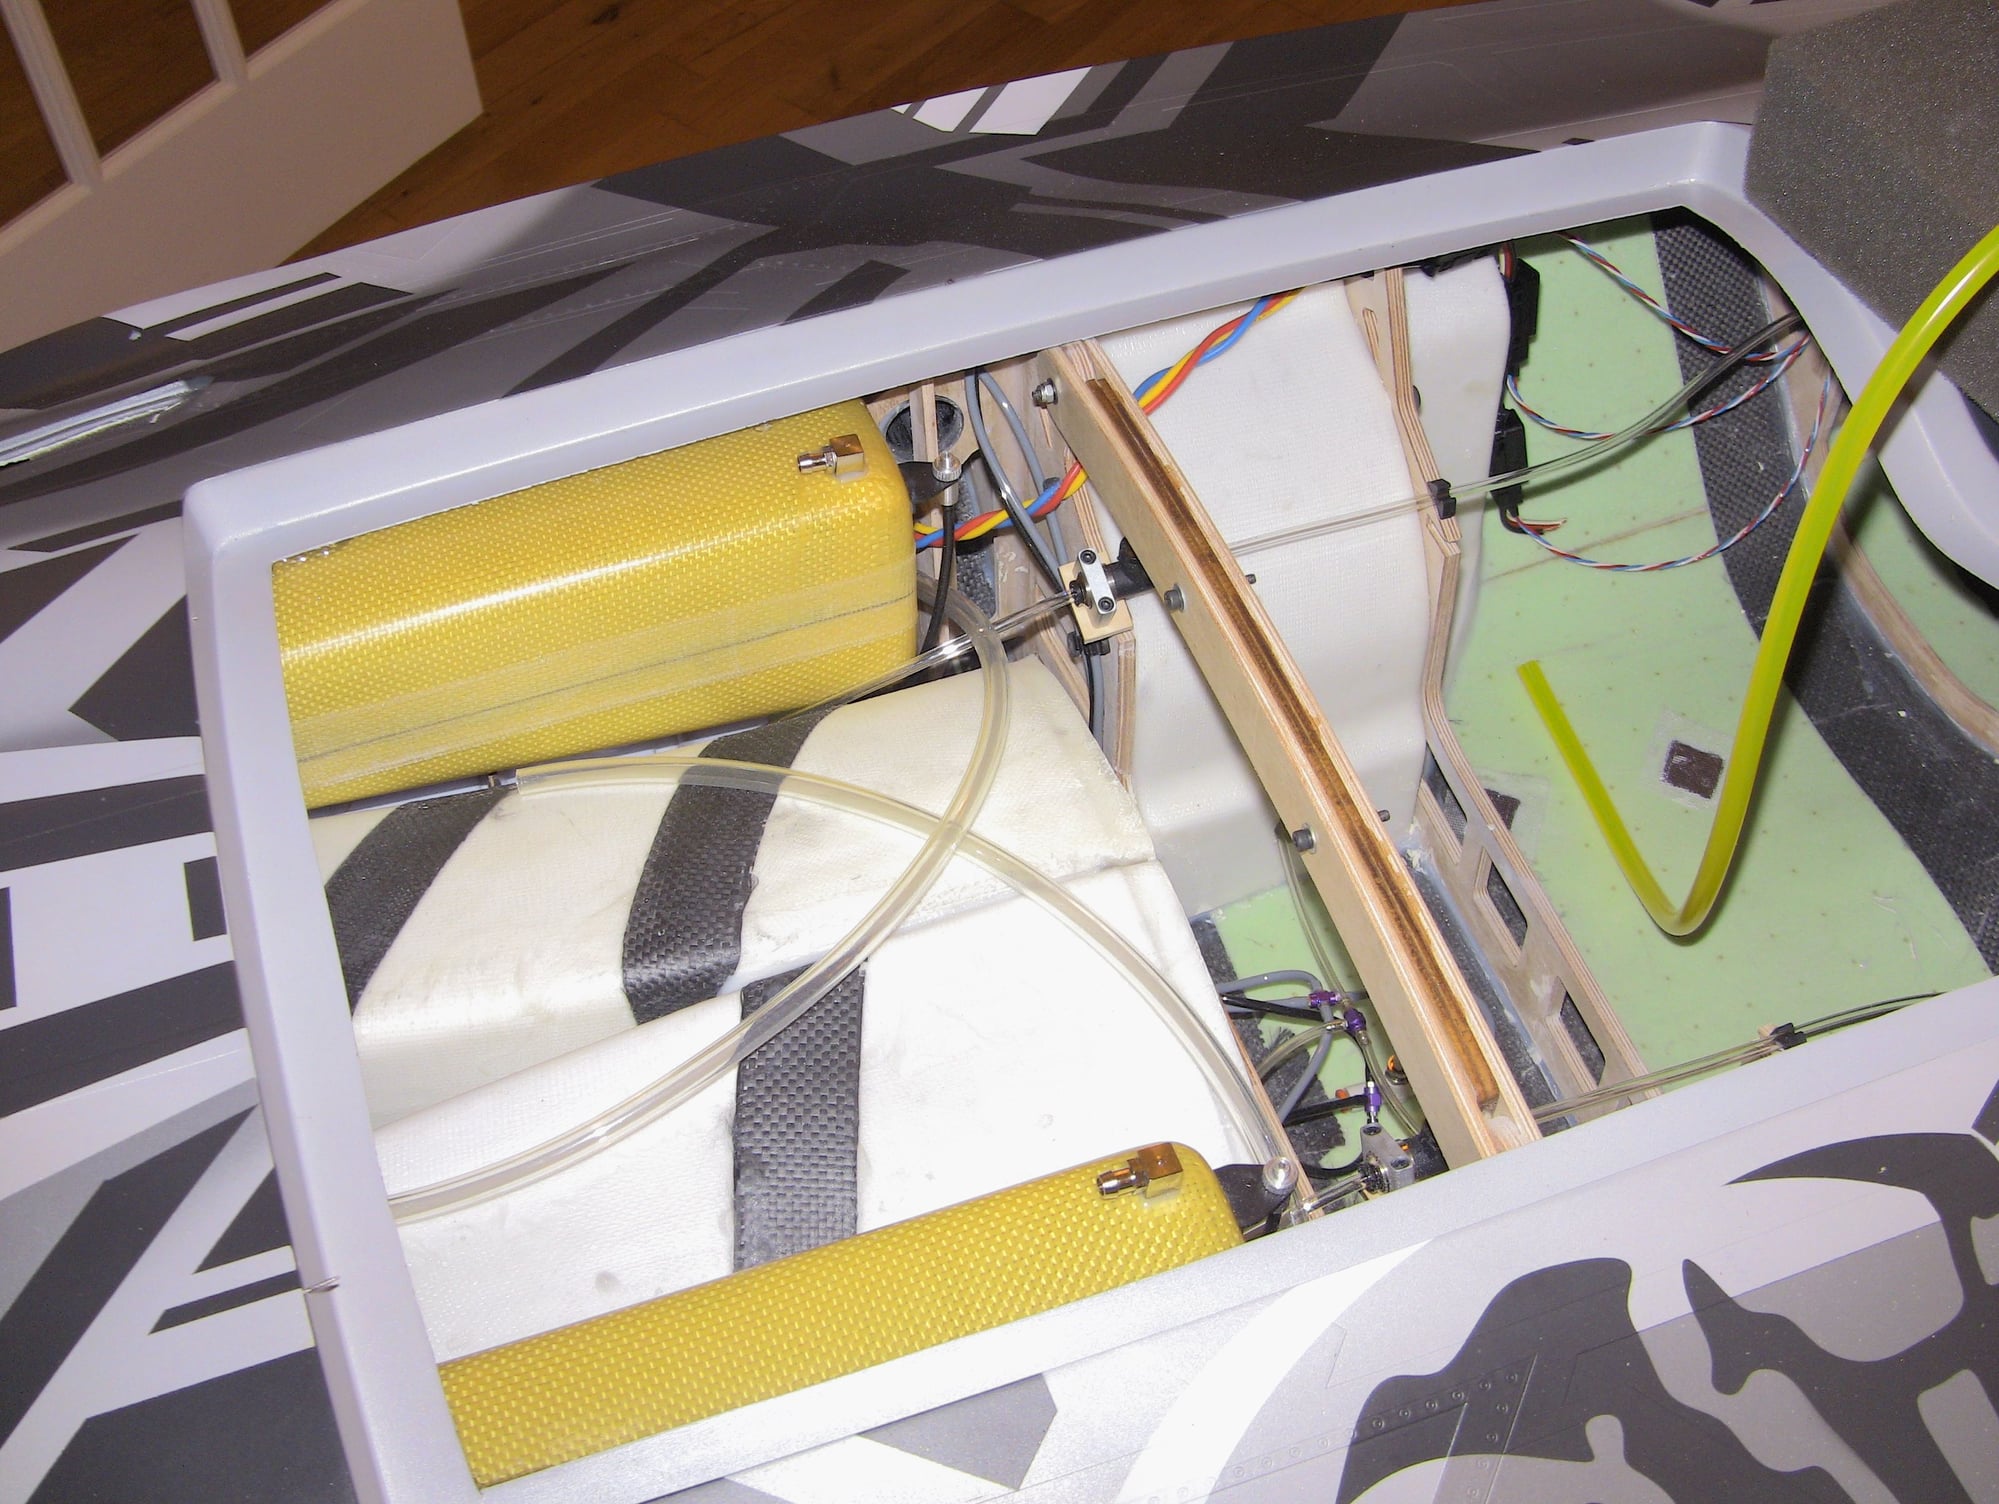
Spent the weekend running leads, air lines, and after a quick CG check to confirm its SUPER tail heavy I made sure to put everything in the nose. Batteries will be in the very tip tray, followed by the radio and air equipment tray and then the fuel/motor tray.
Im still expecting to add some nose weight but hopefully not much.
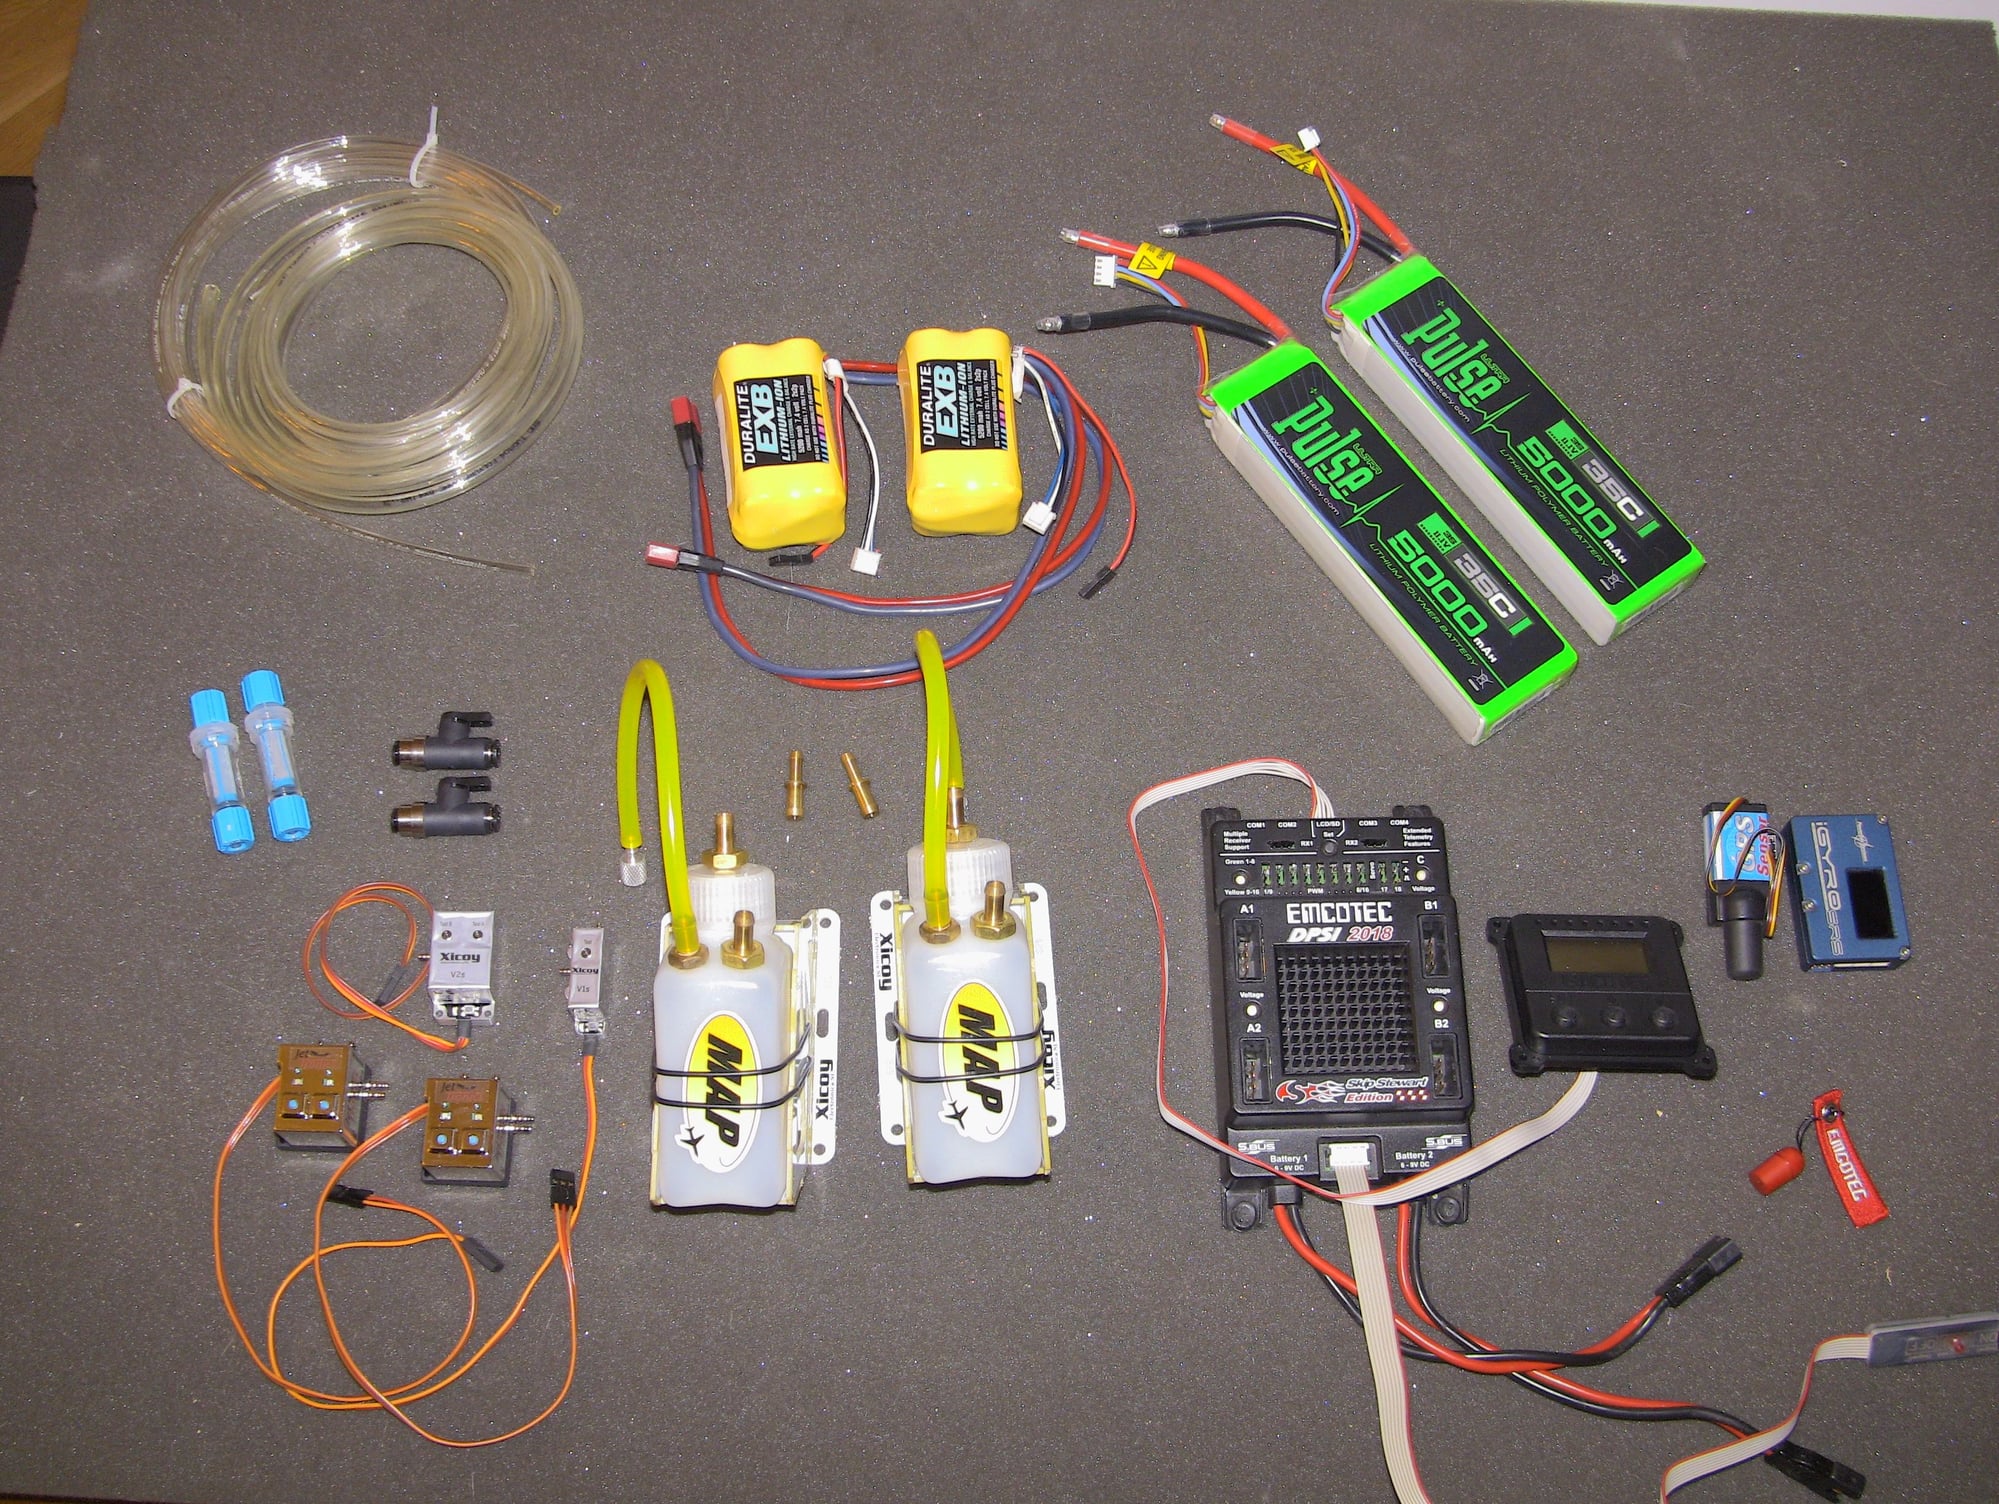

Gear, Doors, Bay Doors and Brake valves I will be using pulse option on the gear and gear doors.
Fuel Tray
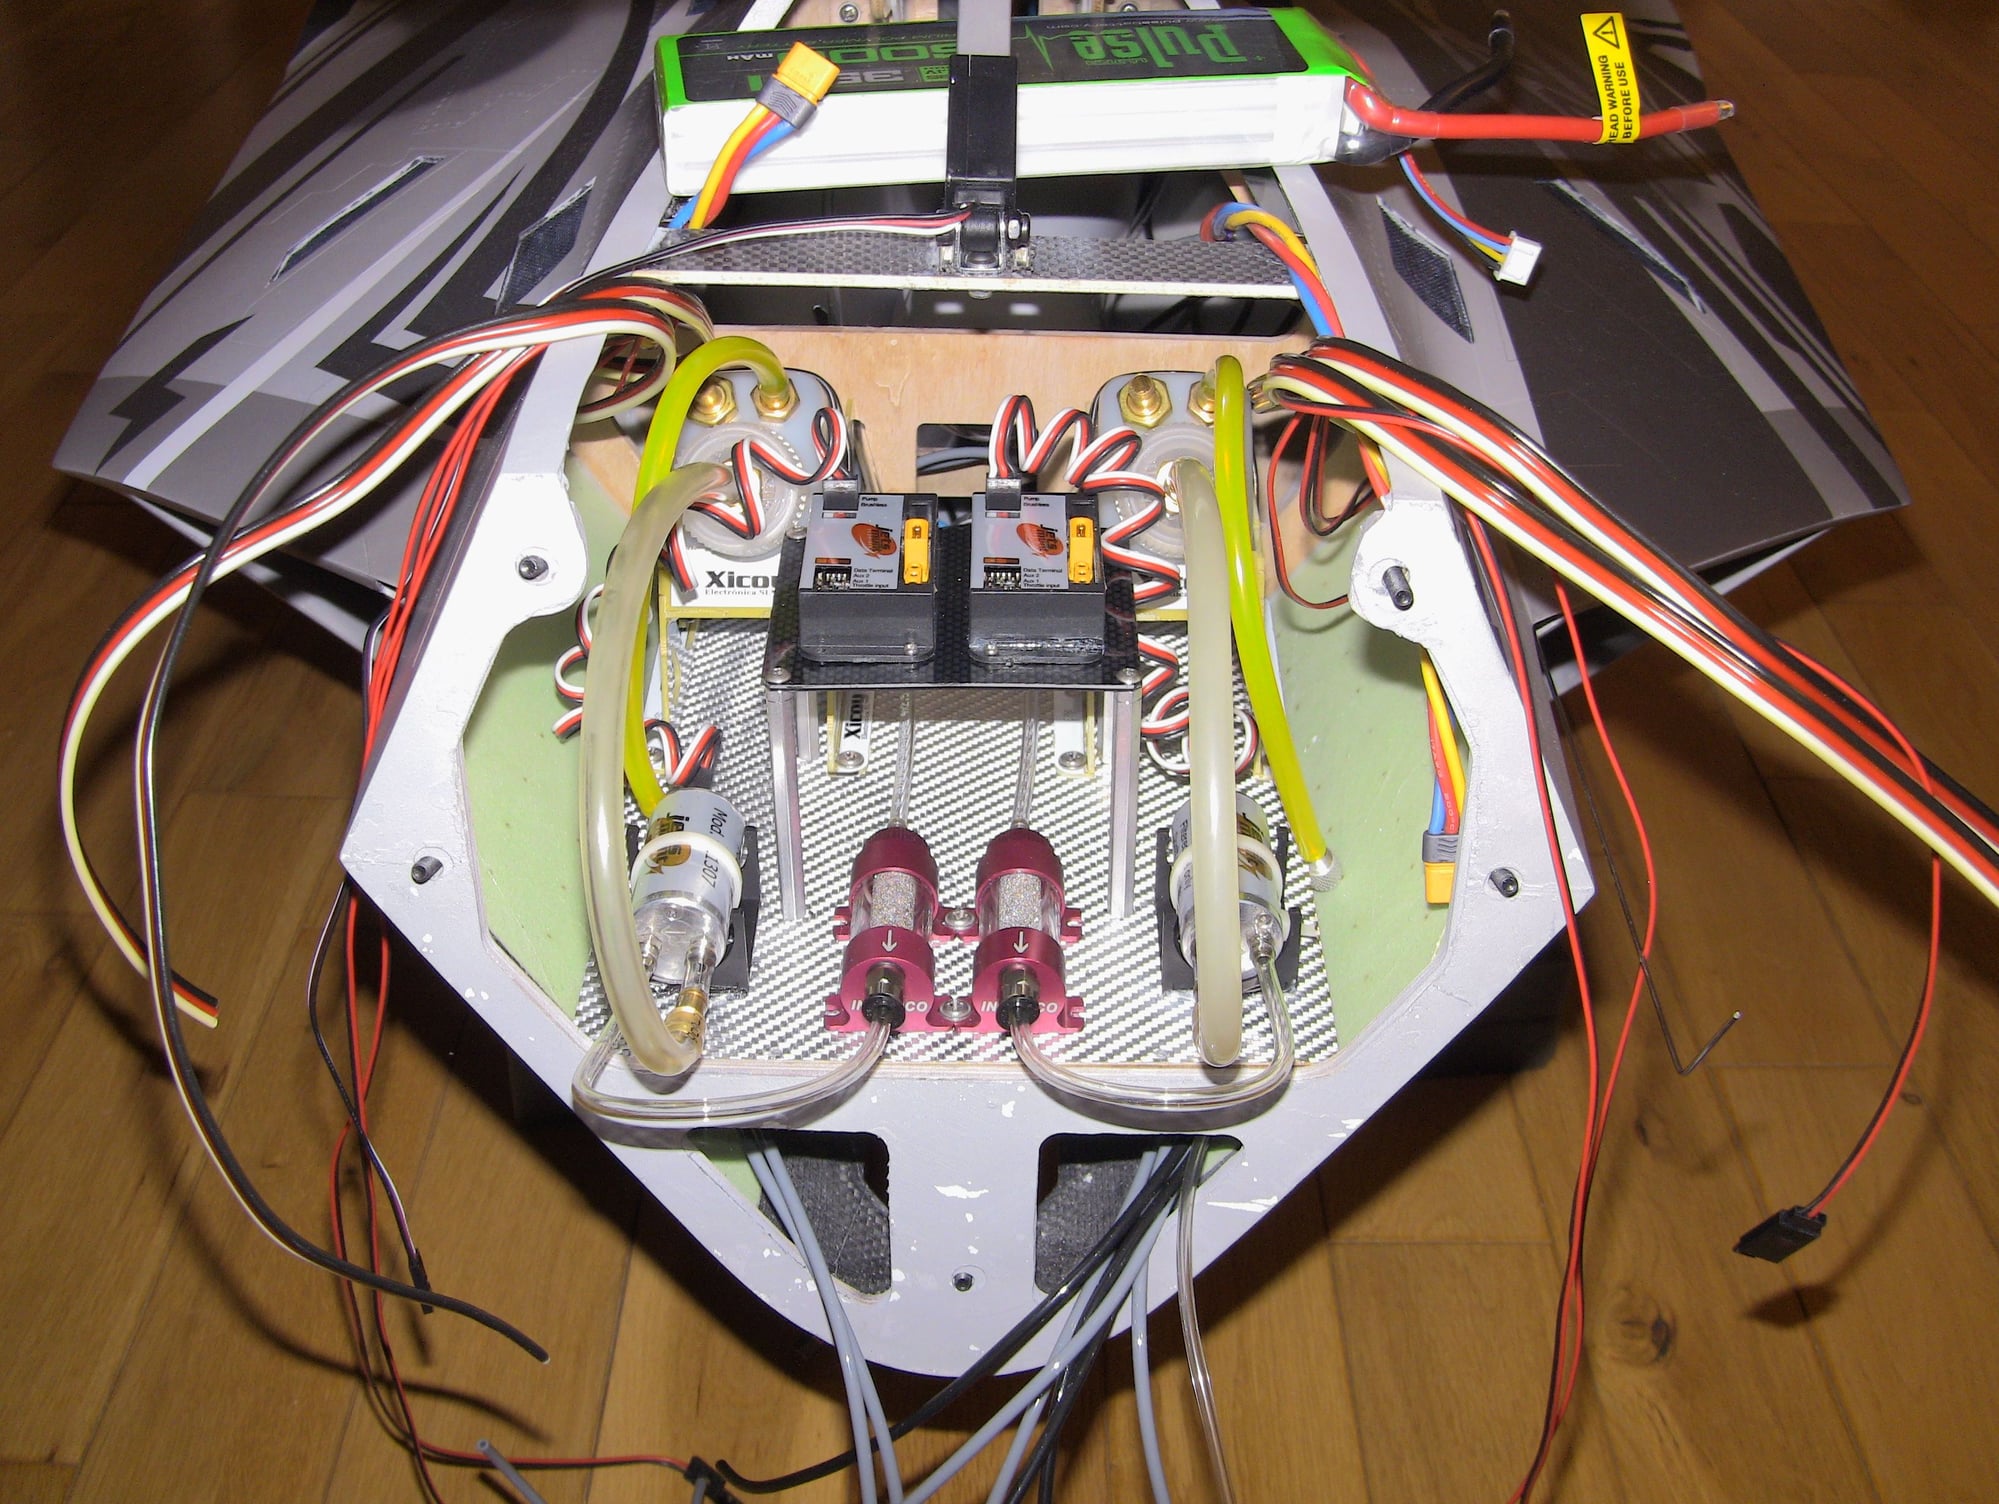

3D Printed battery holders
Air Tray will be under the radio tray
Im still expecting to add some nose weight but hopefully not much.
Gear, Doors, Bay Doors and Brake valves I will be using pulse option on the gear and gear doors.
Fuel Tray
3D Printed battery holders
Air Tray will be under the radio tray
 02-10-2020, 05:25 AM
#109
Thread Starter
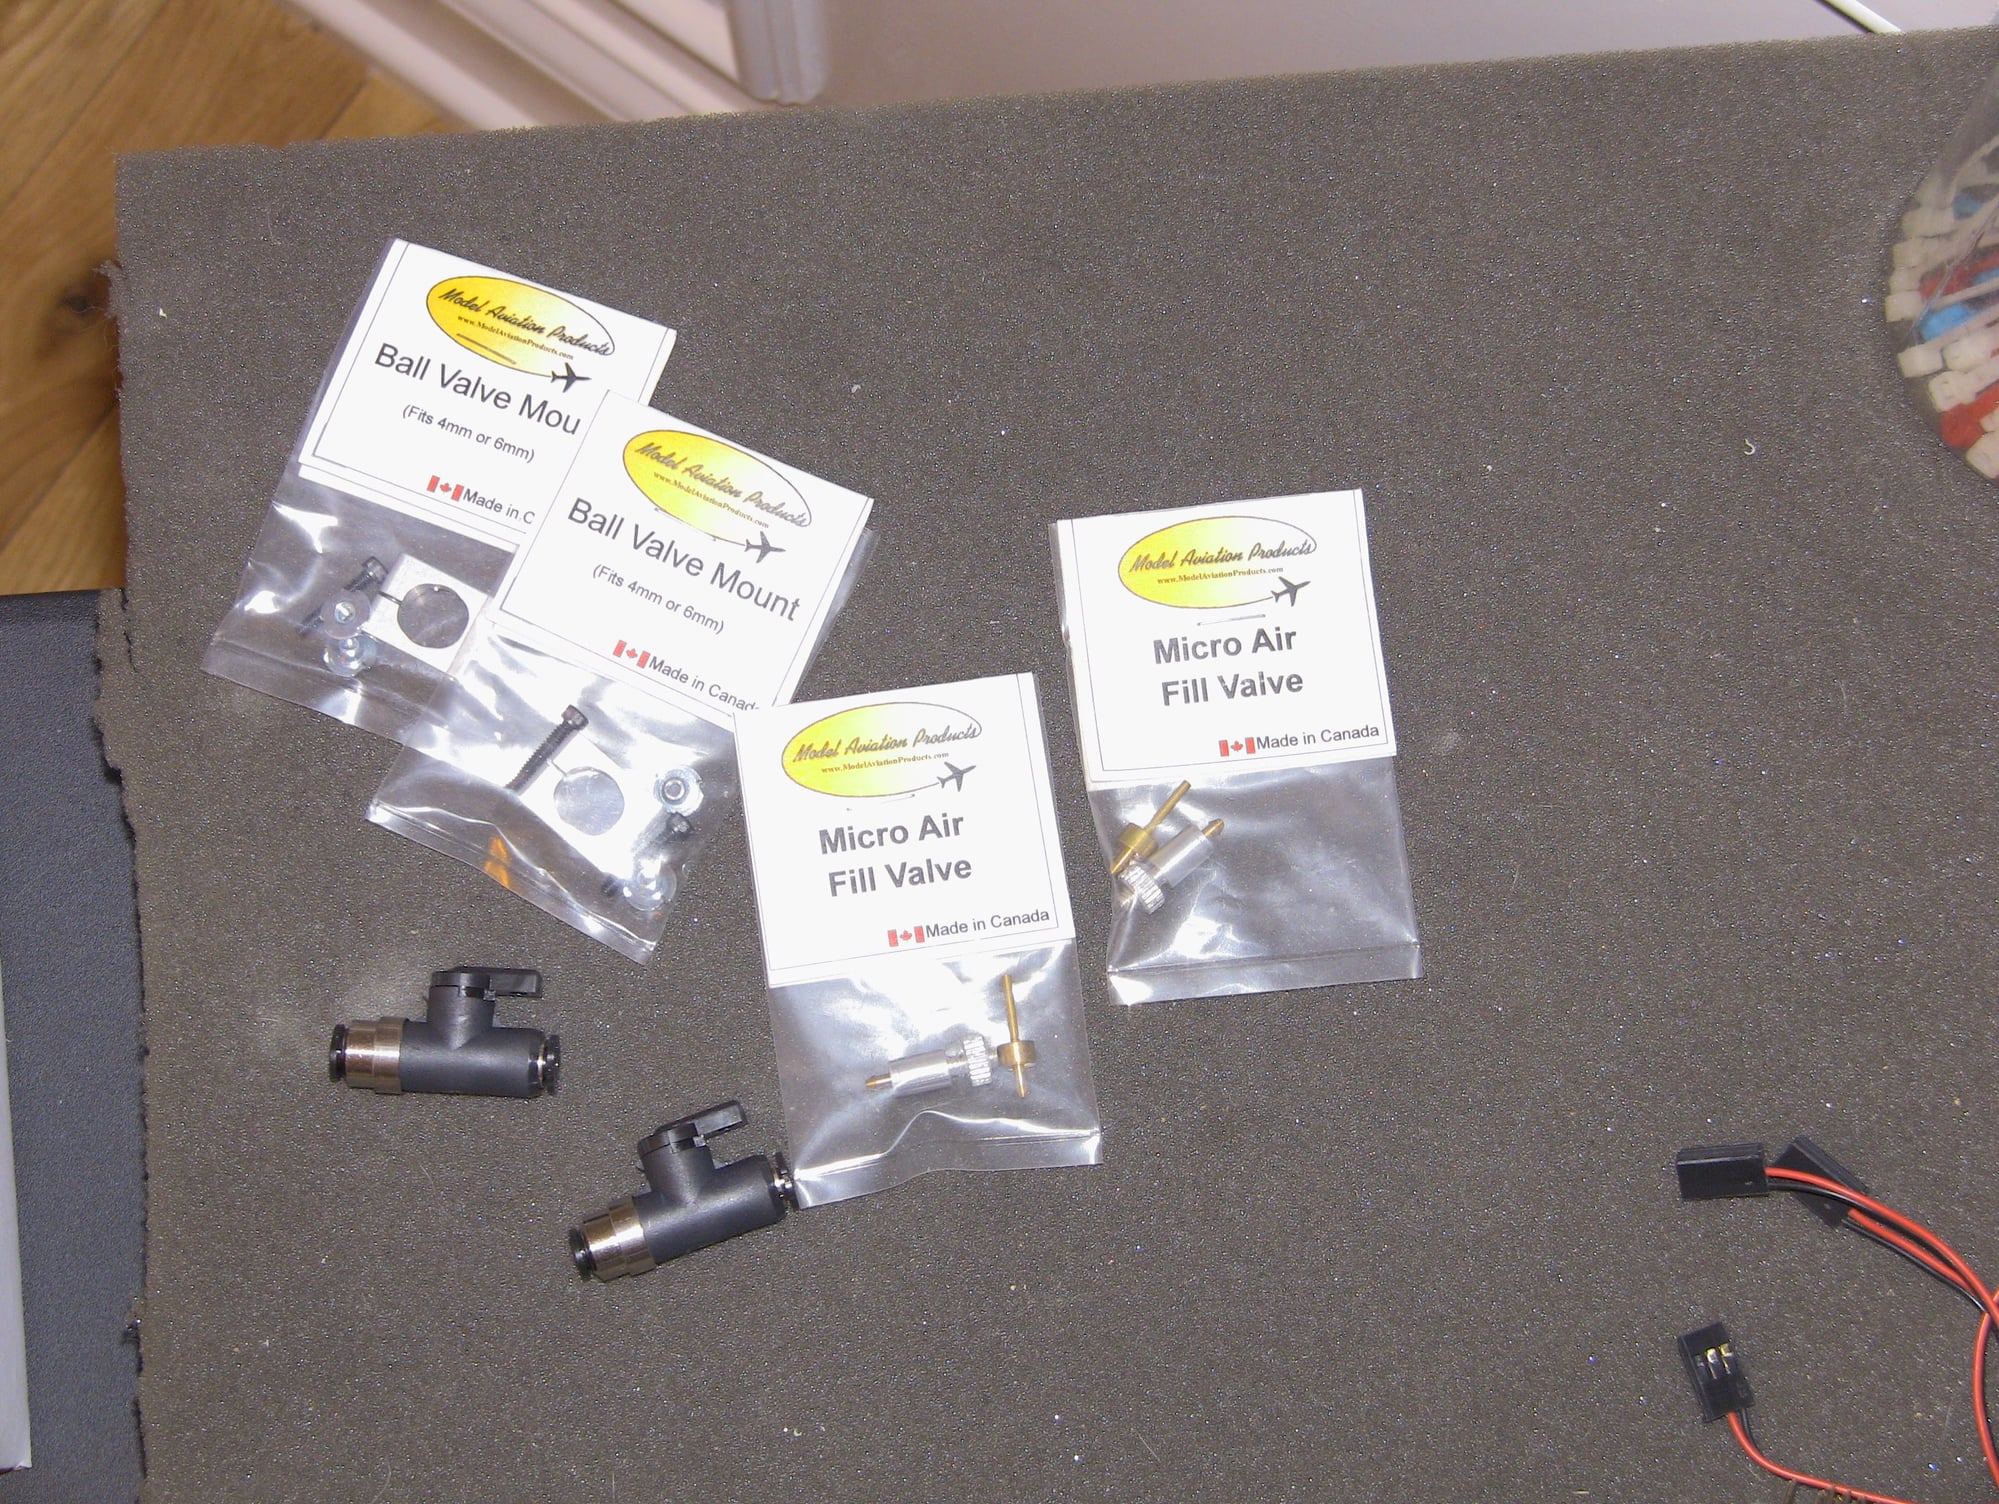
These are older, the arrow is printed wrong direction. They are in the right direction, if you look at a current the arrow is going the direction mine are set to. Good eye though
02-12-2020, 06:24 PM
#110
Thread Starter
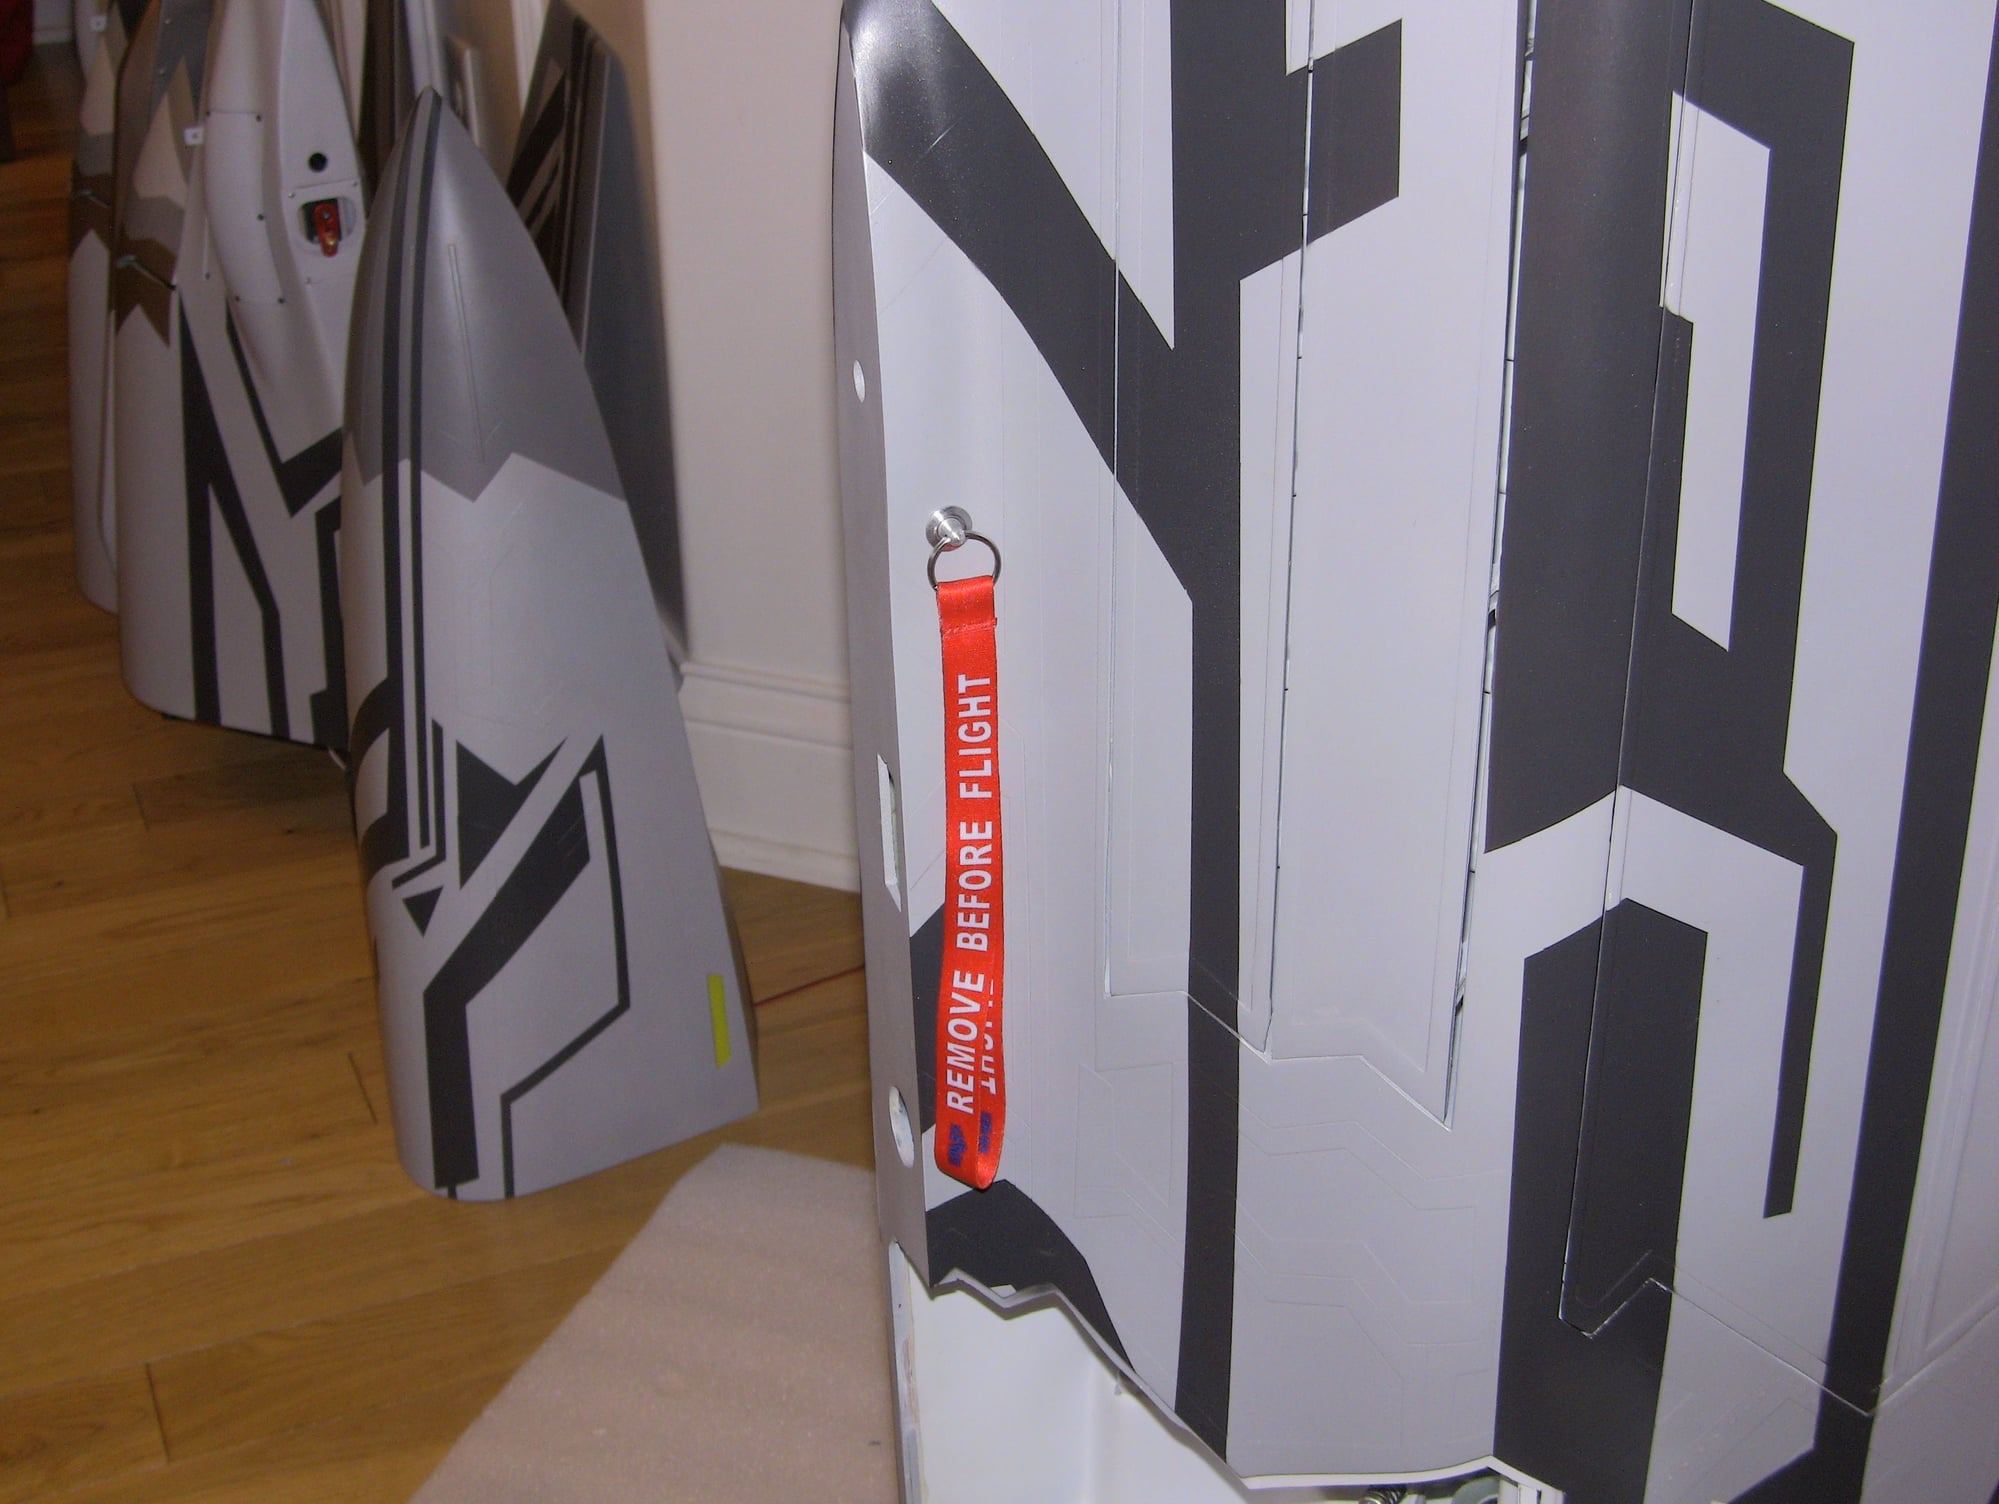
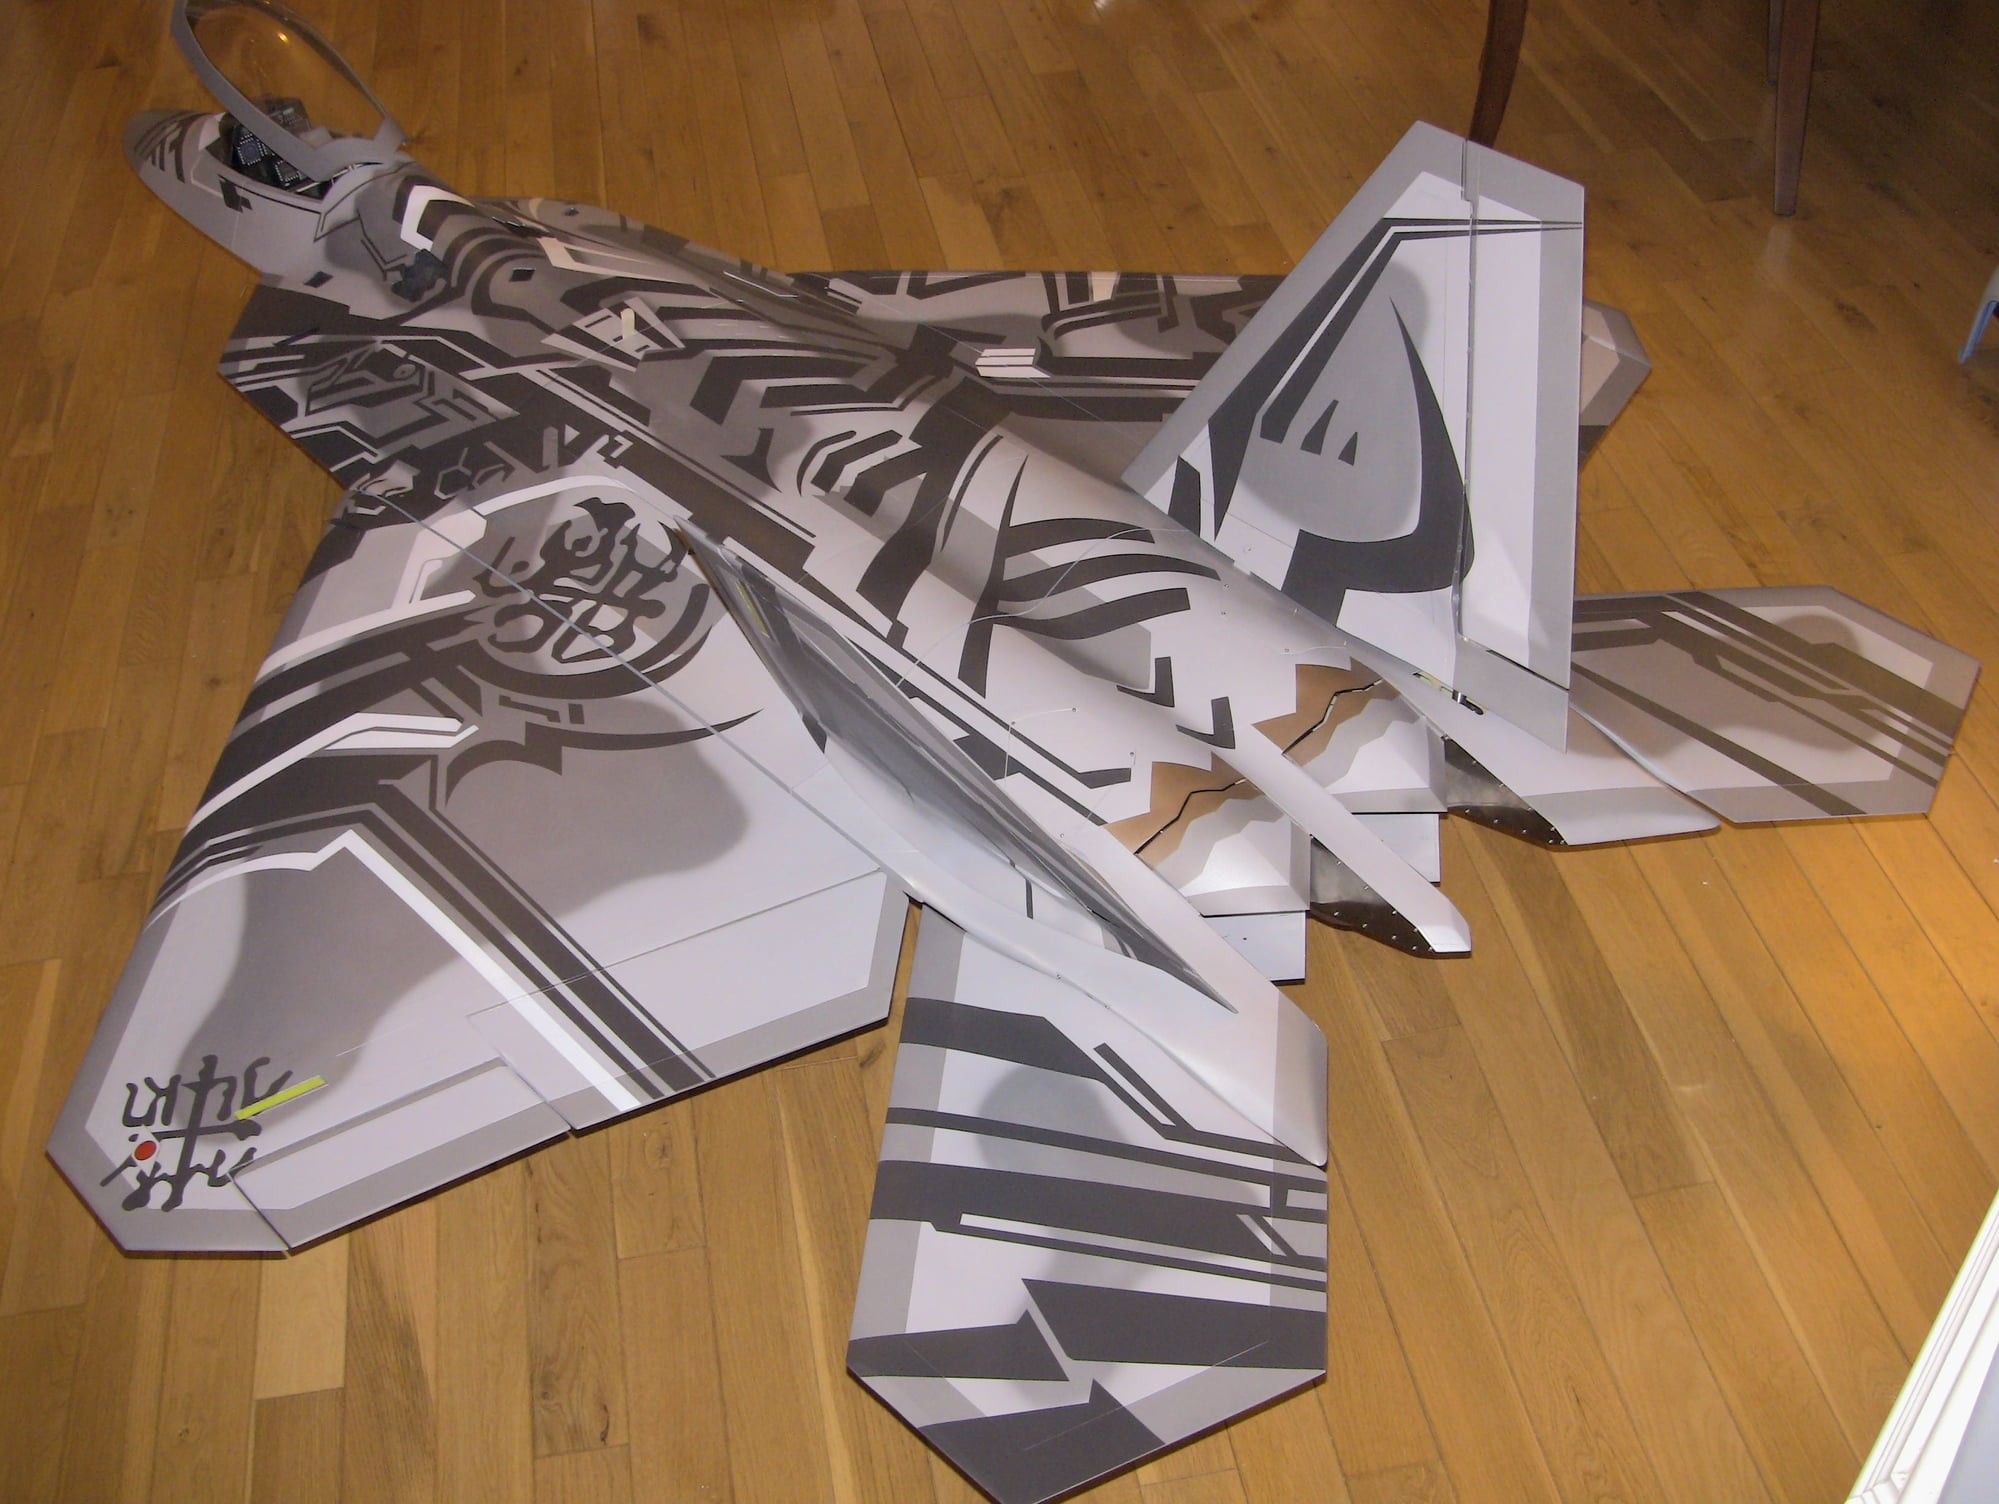
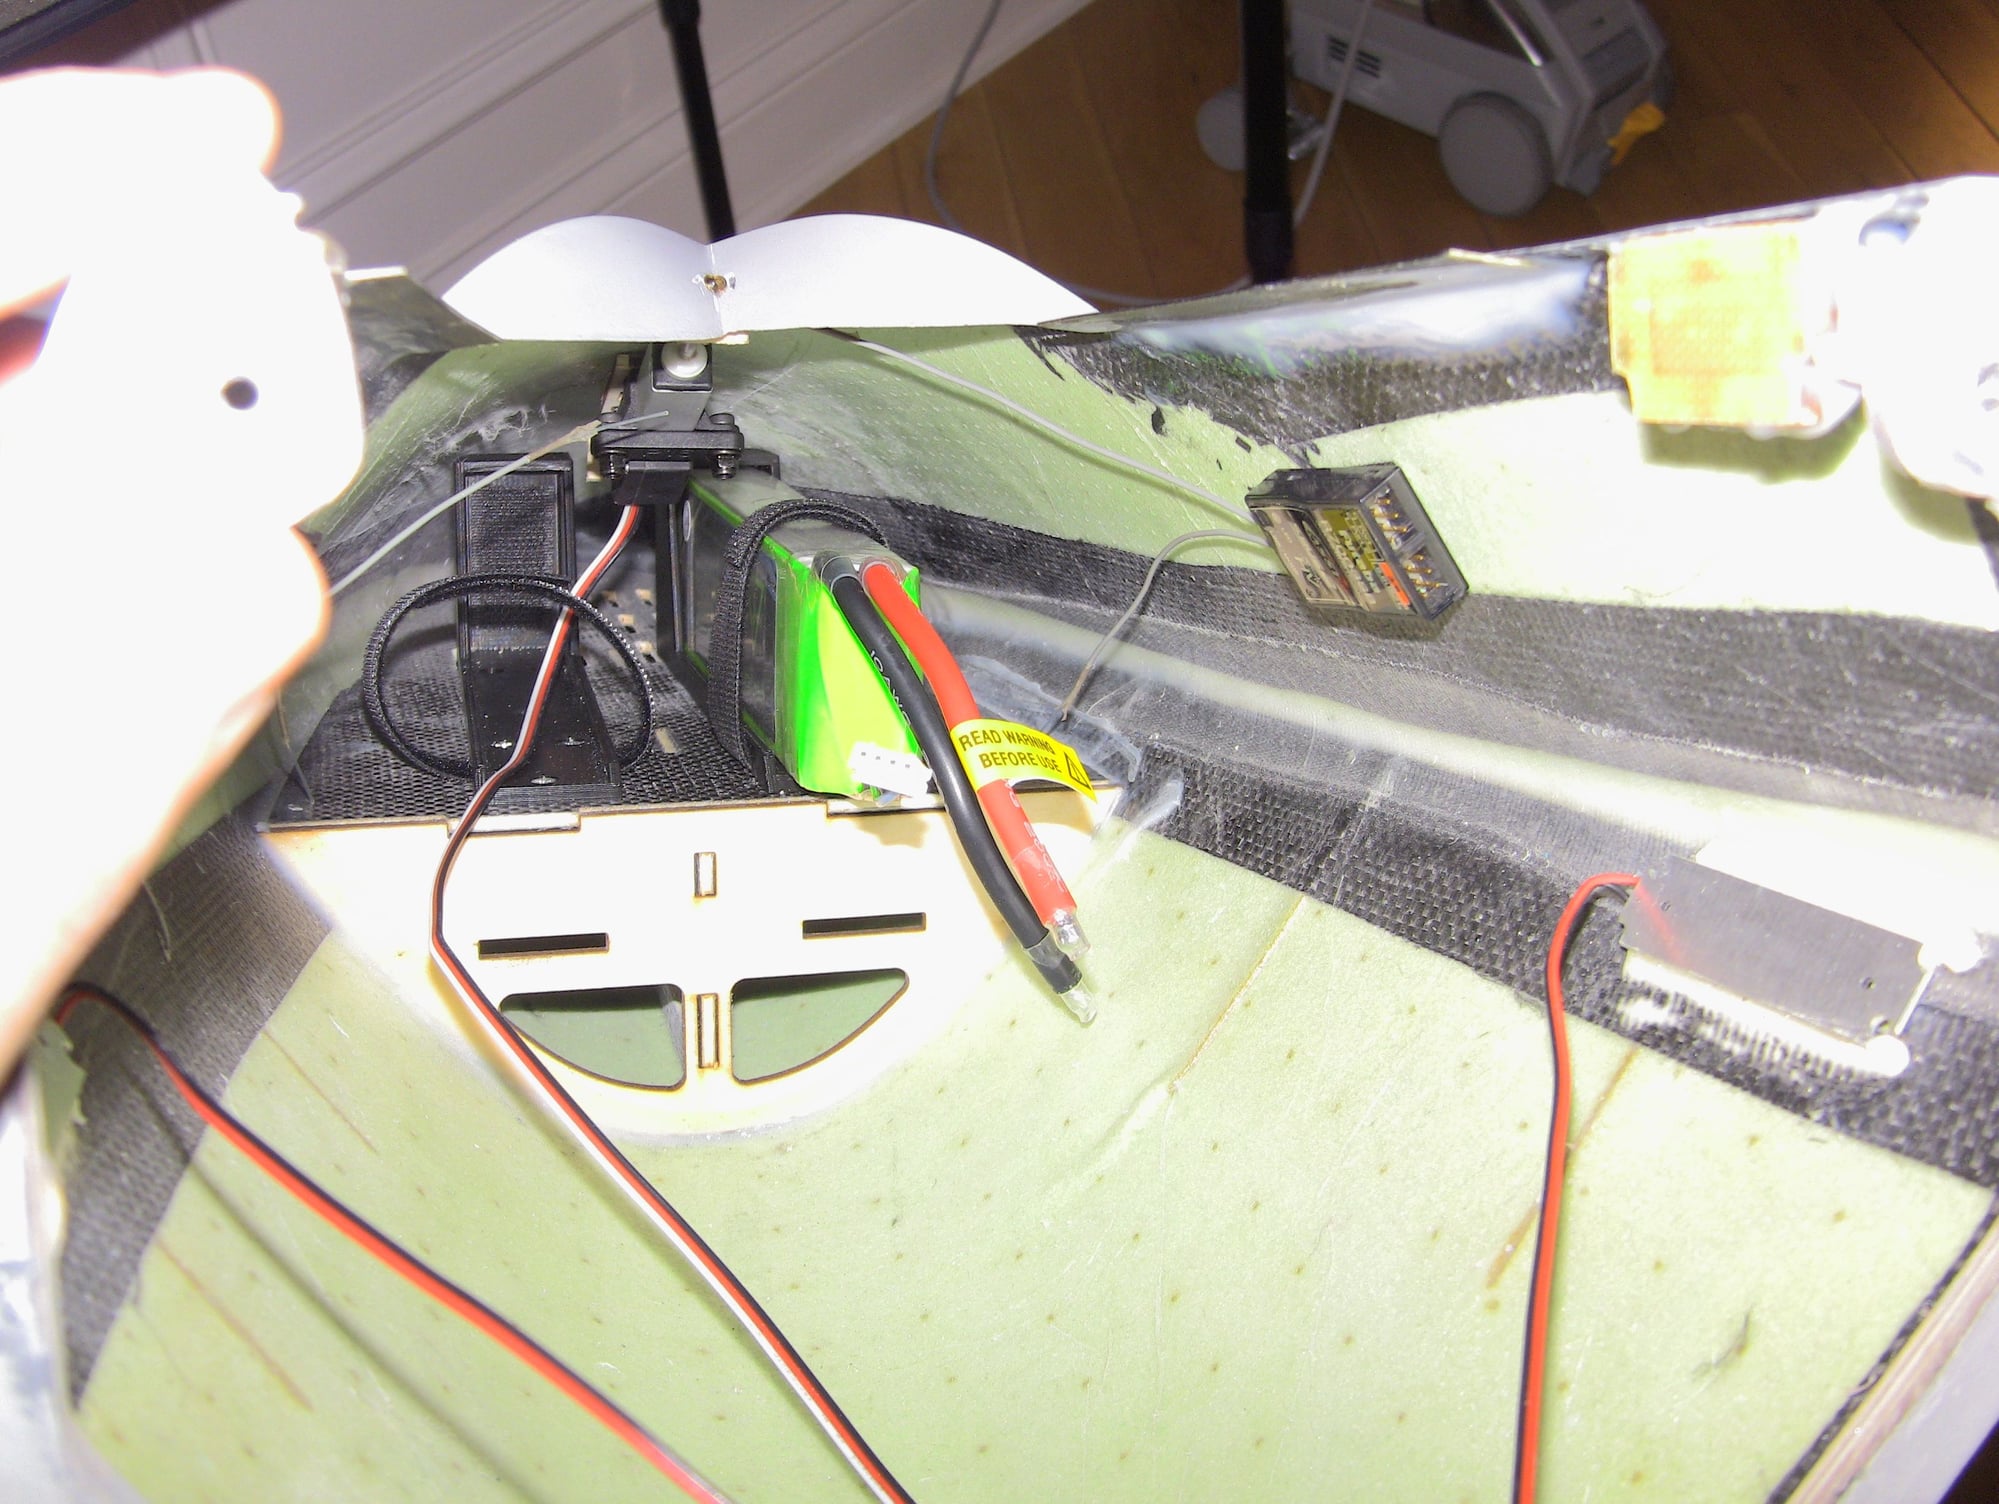
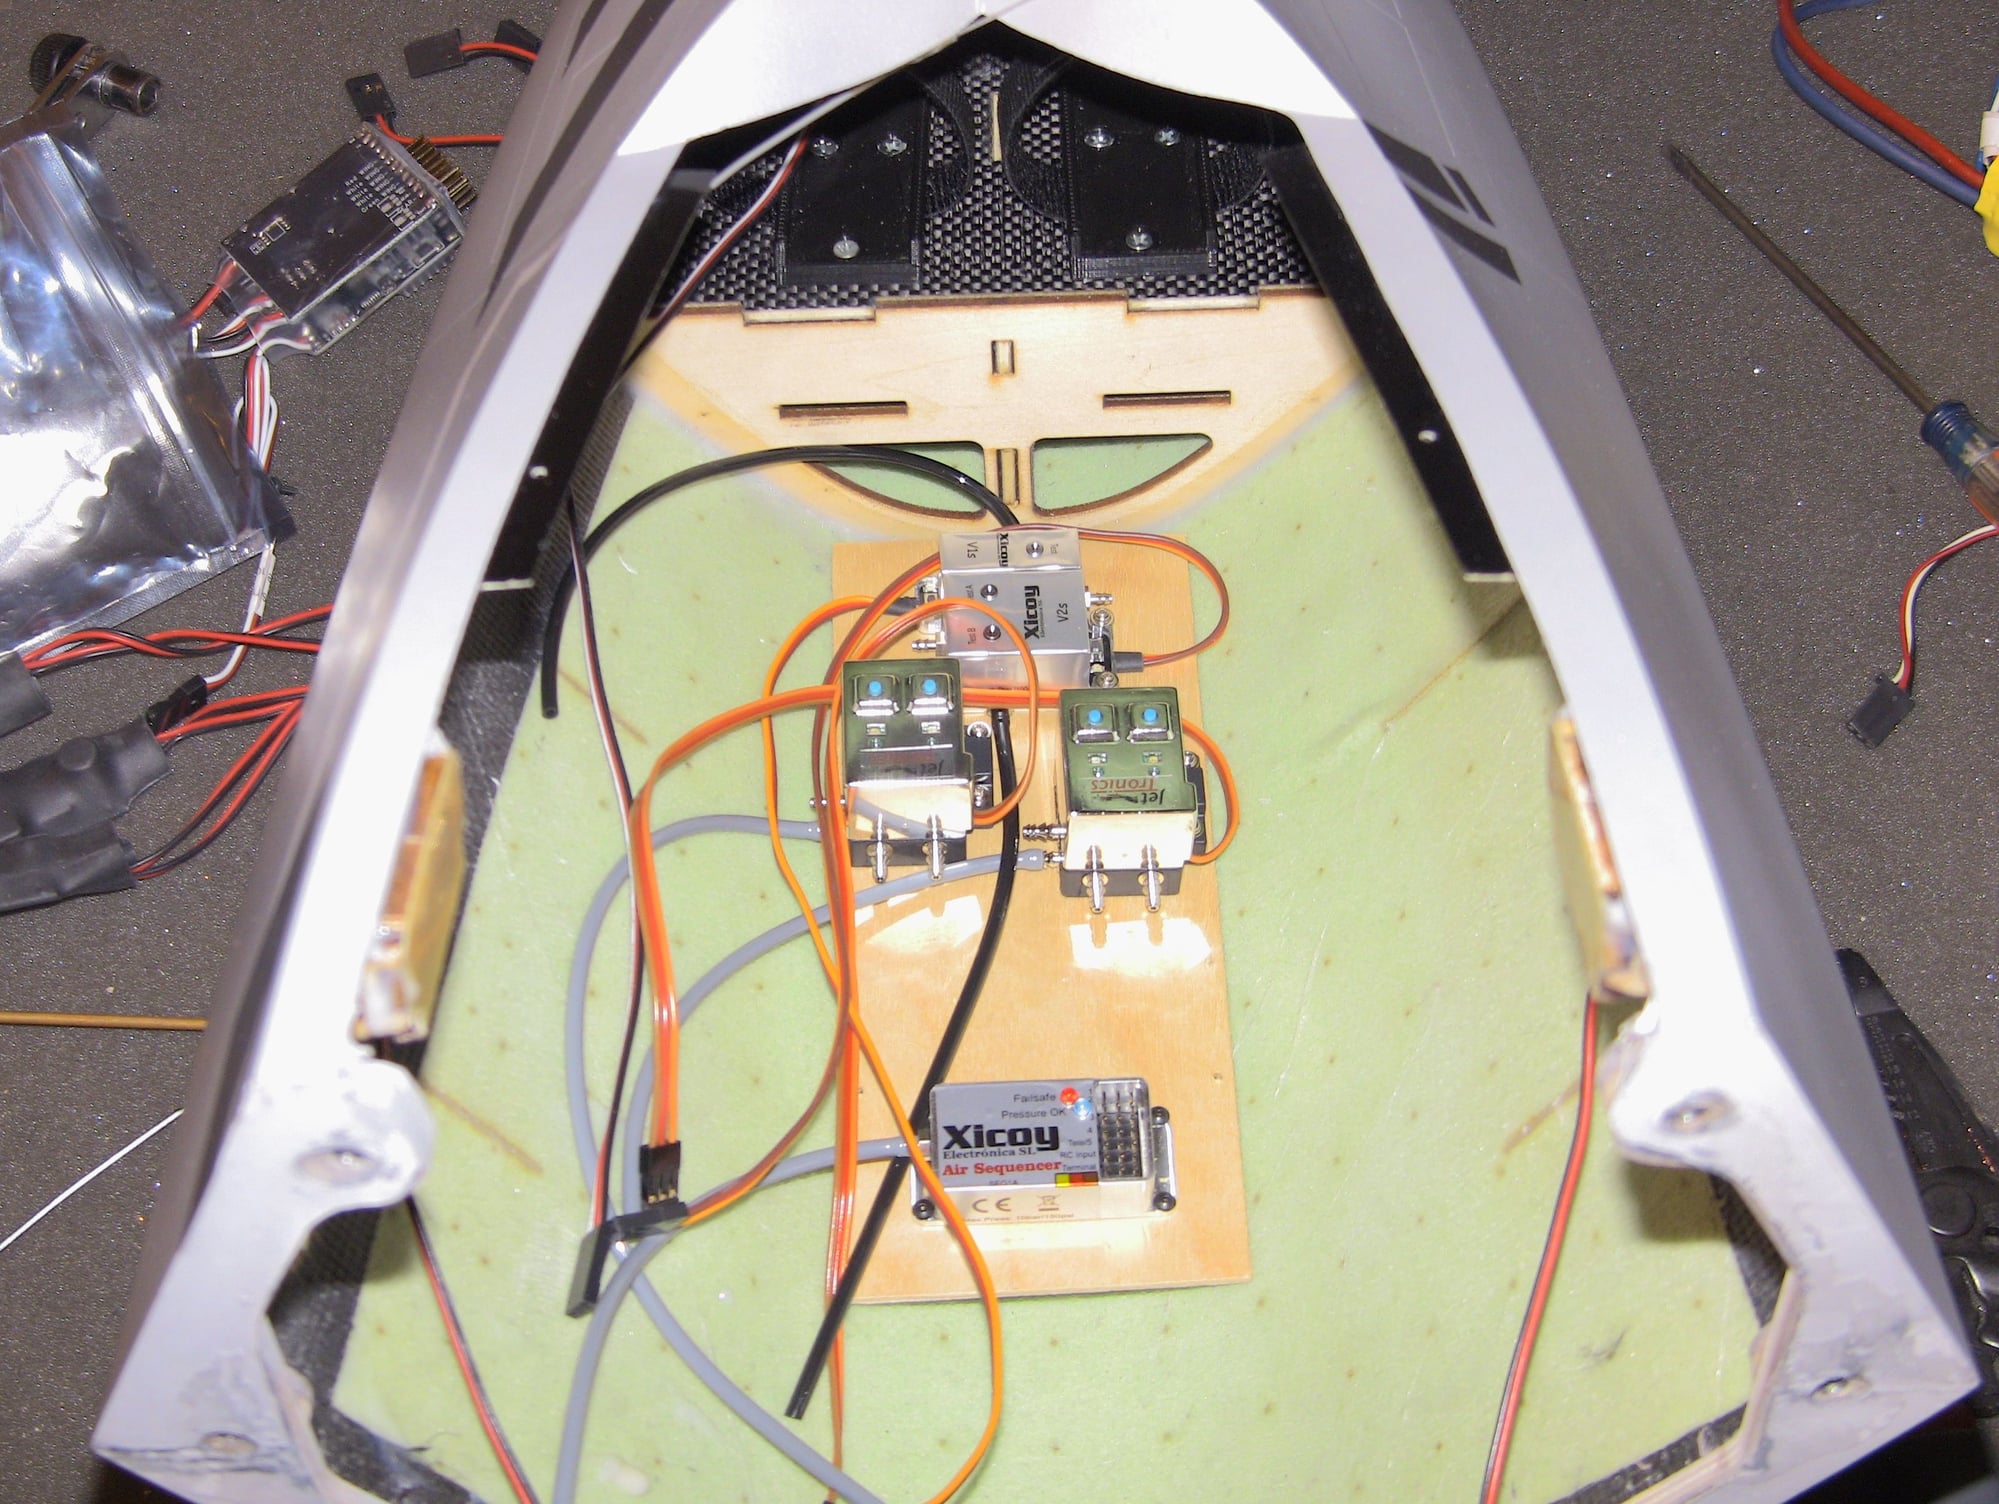
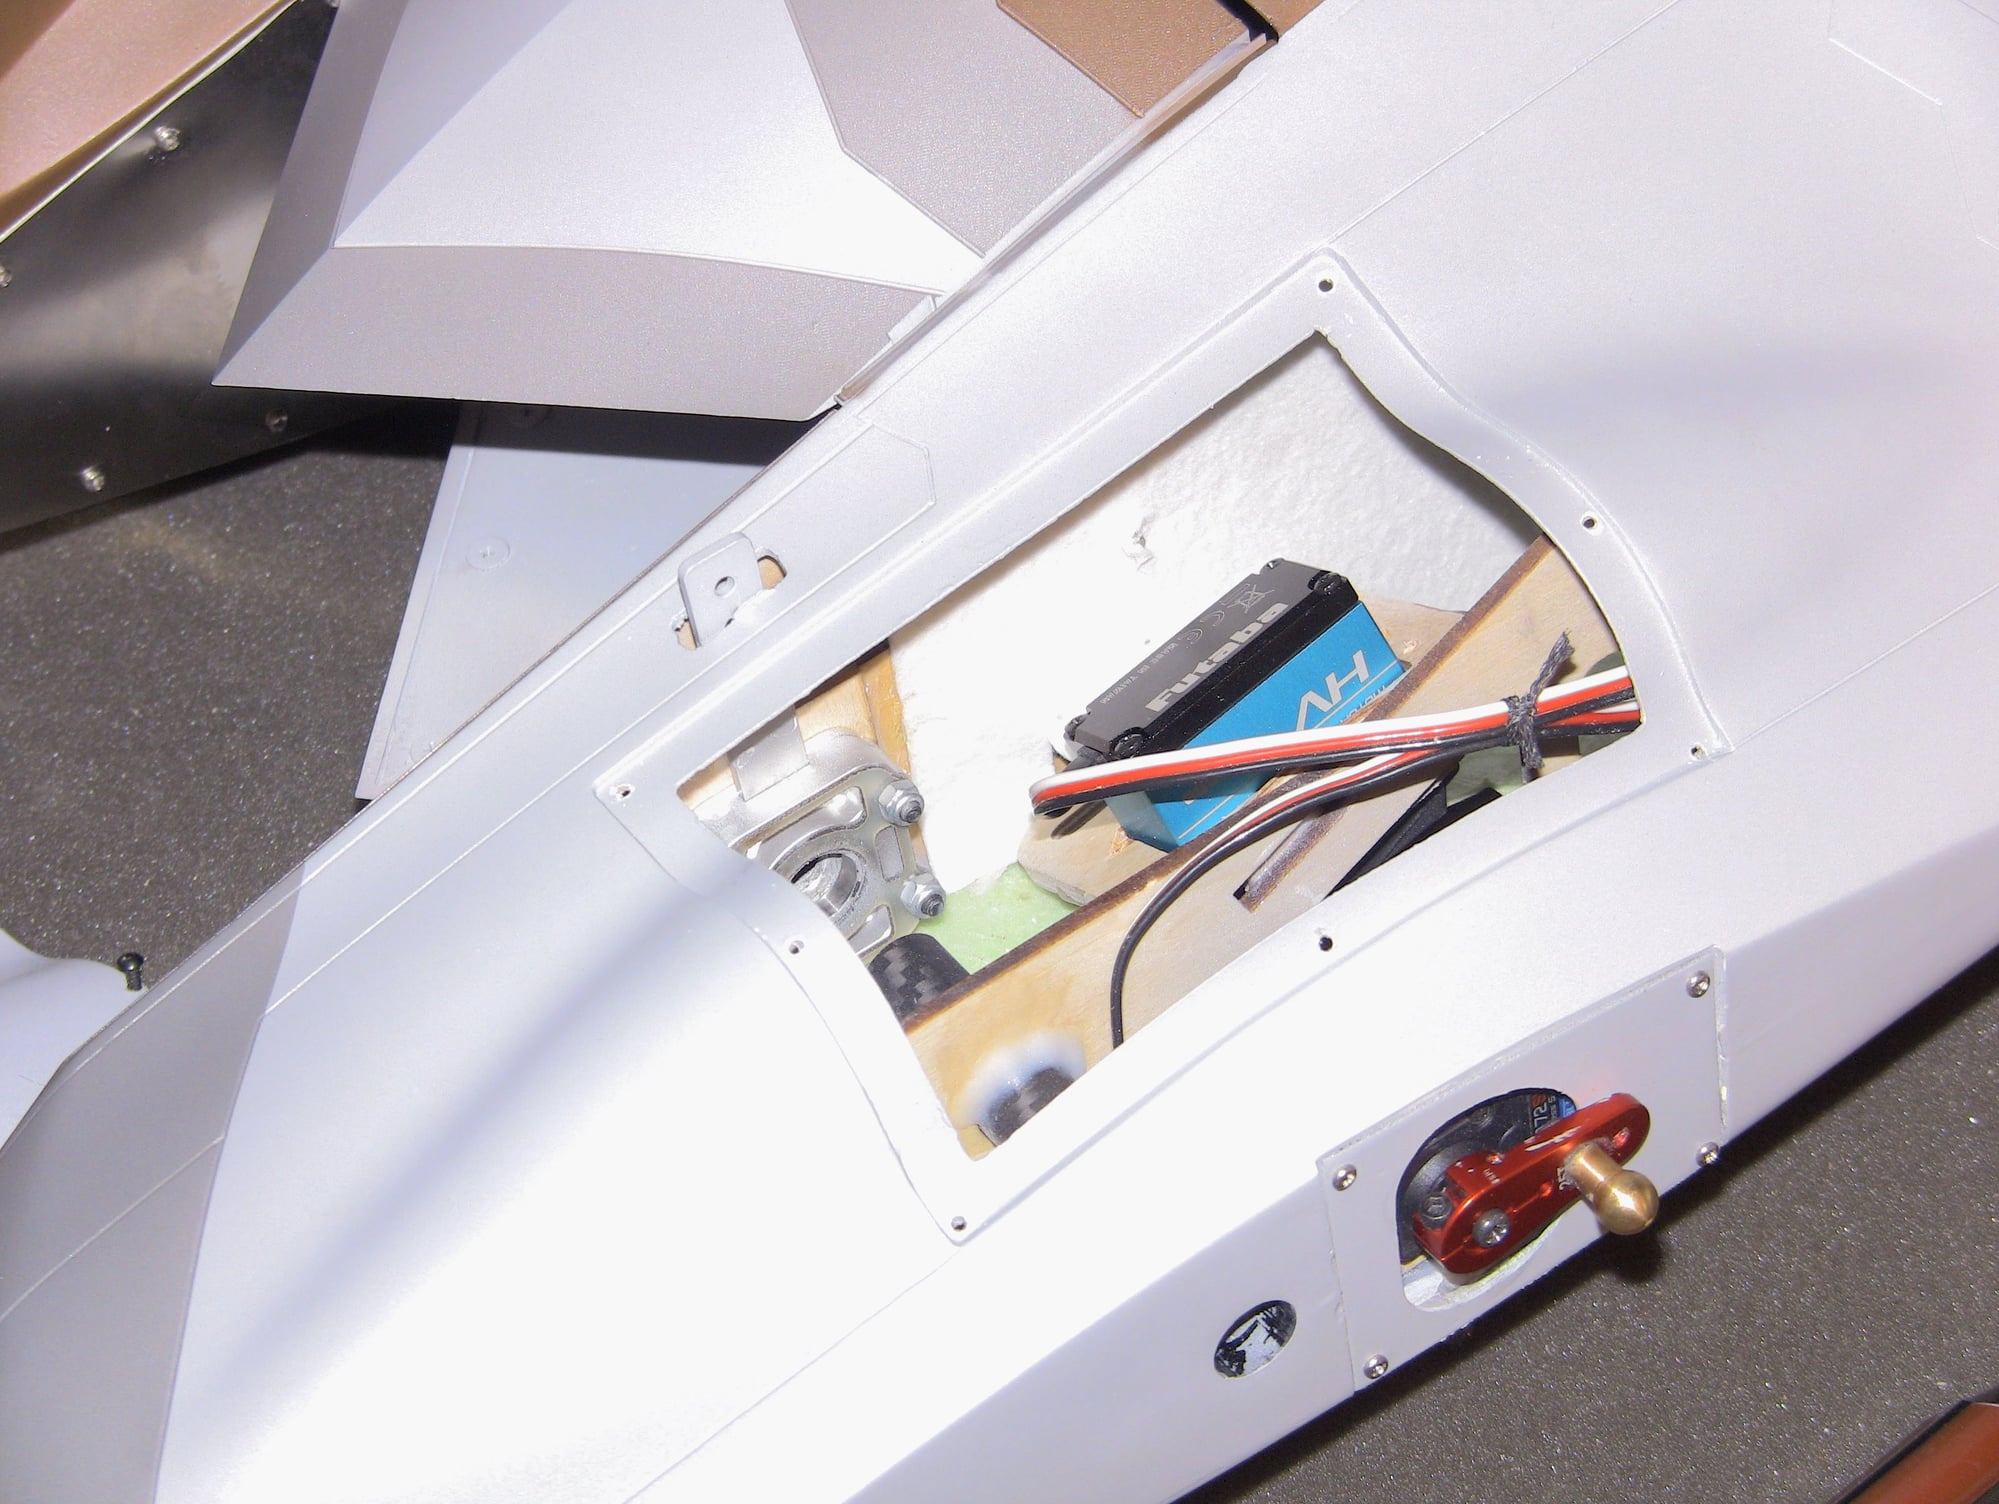
Not much to show since its pretty much done, I mounted the tail section and have all air and servo stuff installed. I managed to figure out the light kit and its all hooked up as well, it will look great for those early evening flights. Trying to figure out why my receivers are not working when plugged into the IGyro, they work fine plugged directly into the power system. Last thing to do really is mount the tanks and CG/setup, I left them out so I could run wires and airlines.
I added some ceramic blanket to keep heat away from the stab servos and I will check the tail area for heat first thing when I run the motors.


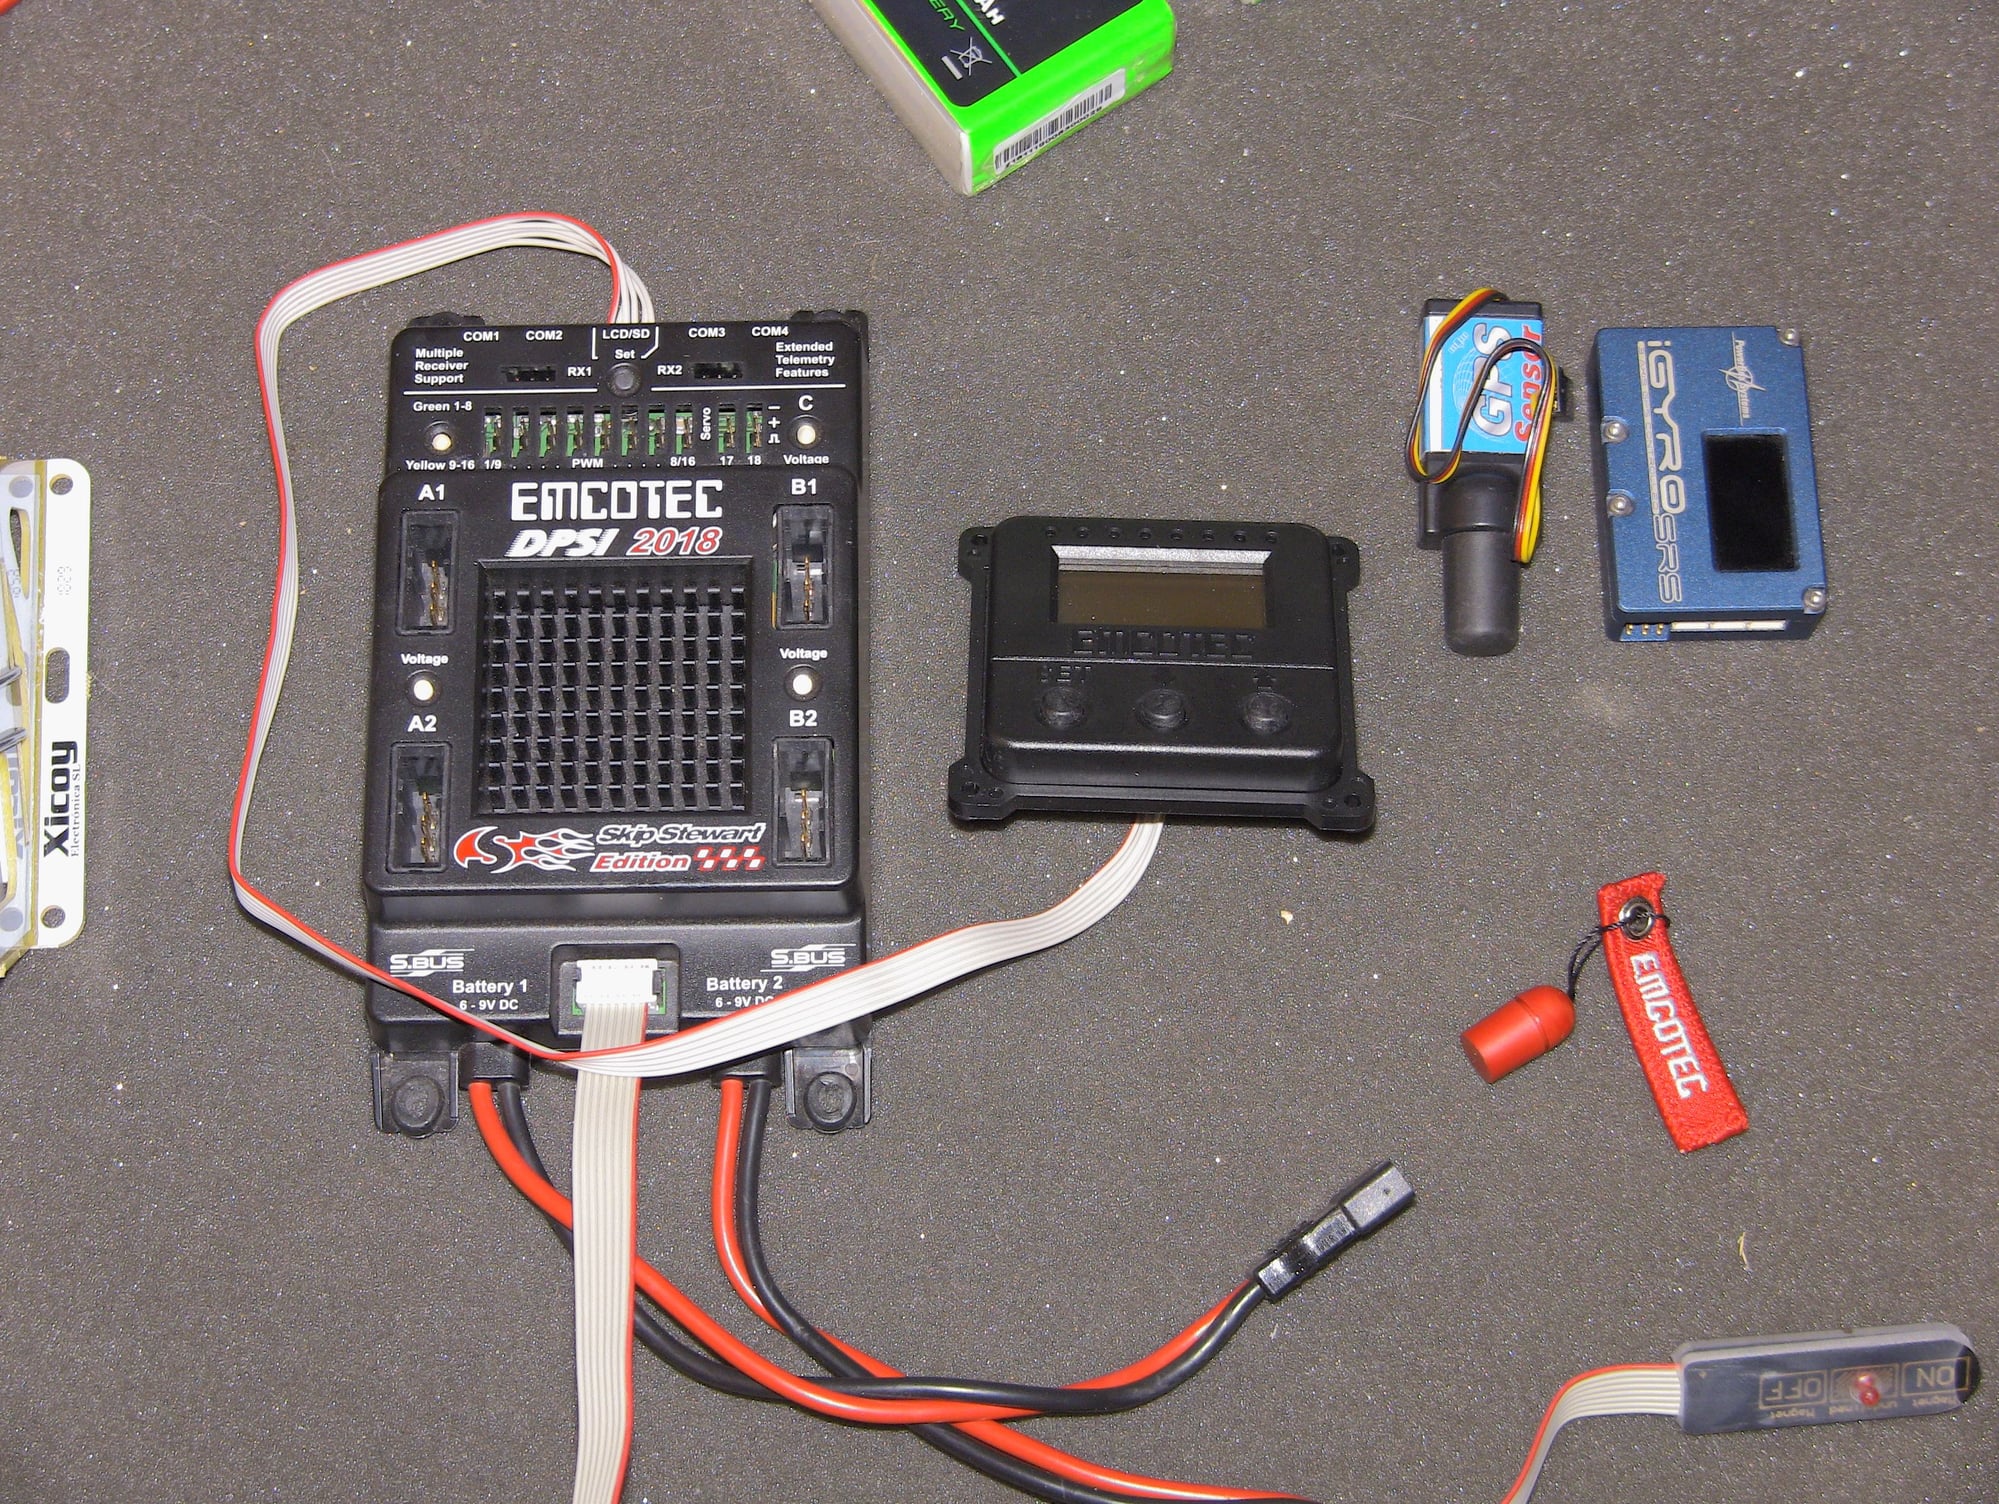
SBUS setup
I added some ceramic blanket to keep heat away from the stab servos and I will check the tail area for heat first thing when I run the motors.
SBUS setup
02-14-2020, 06:34 PM
#115
Thread Starter
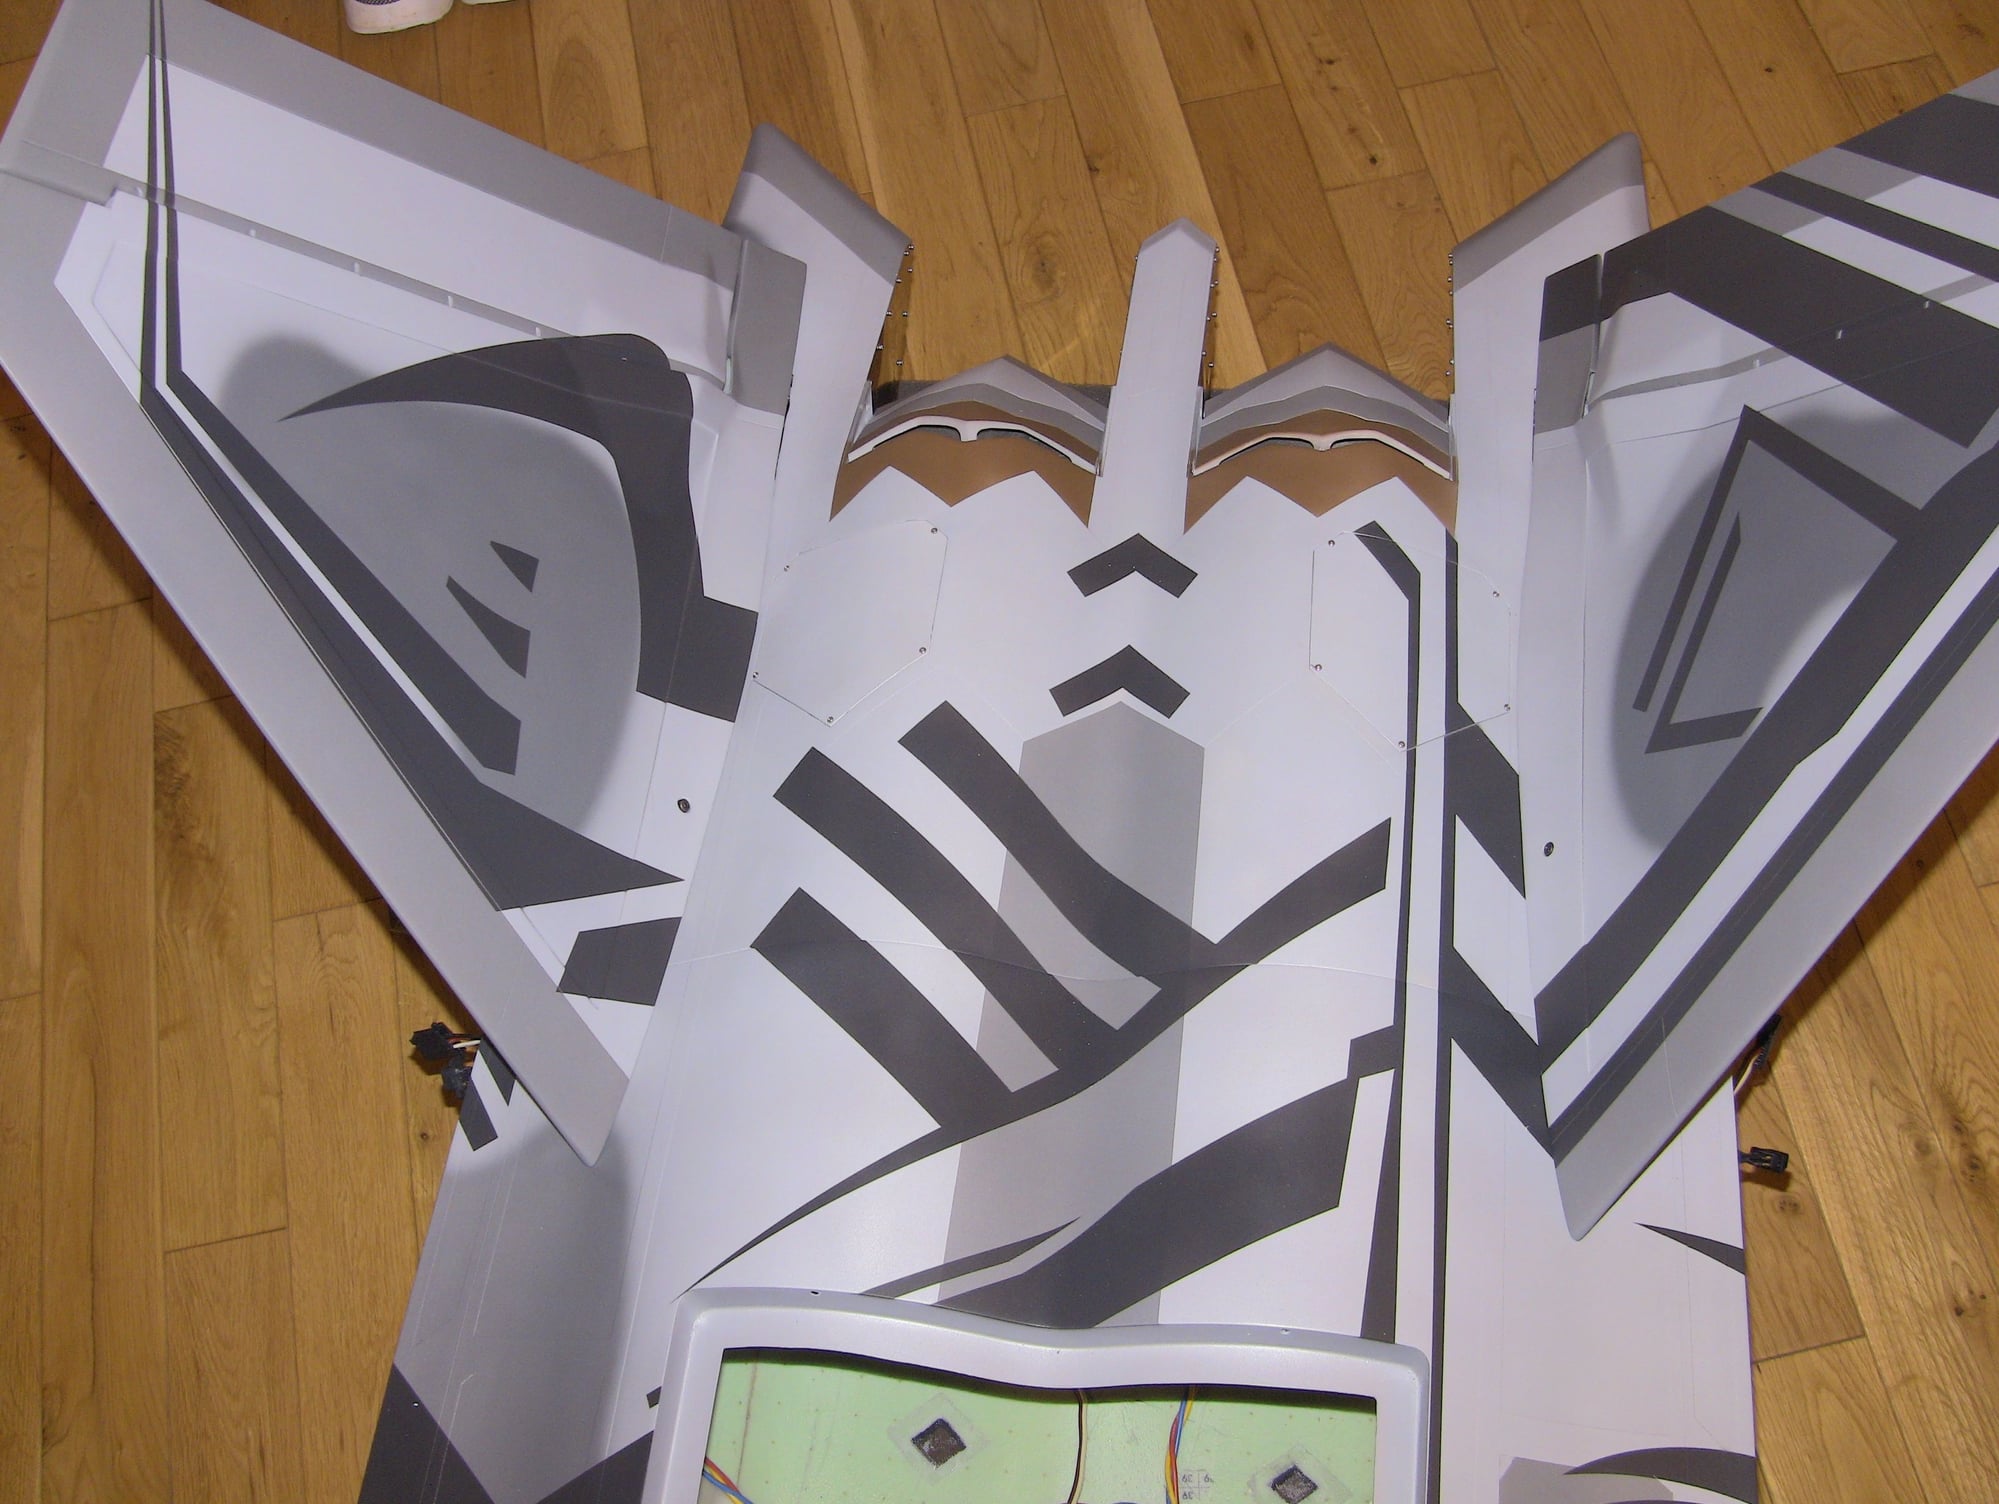
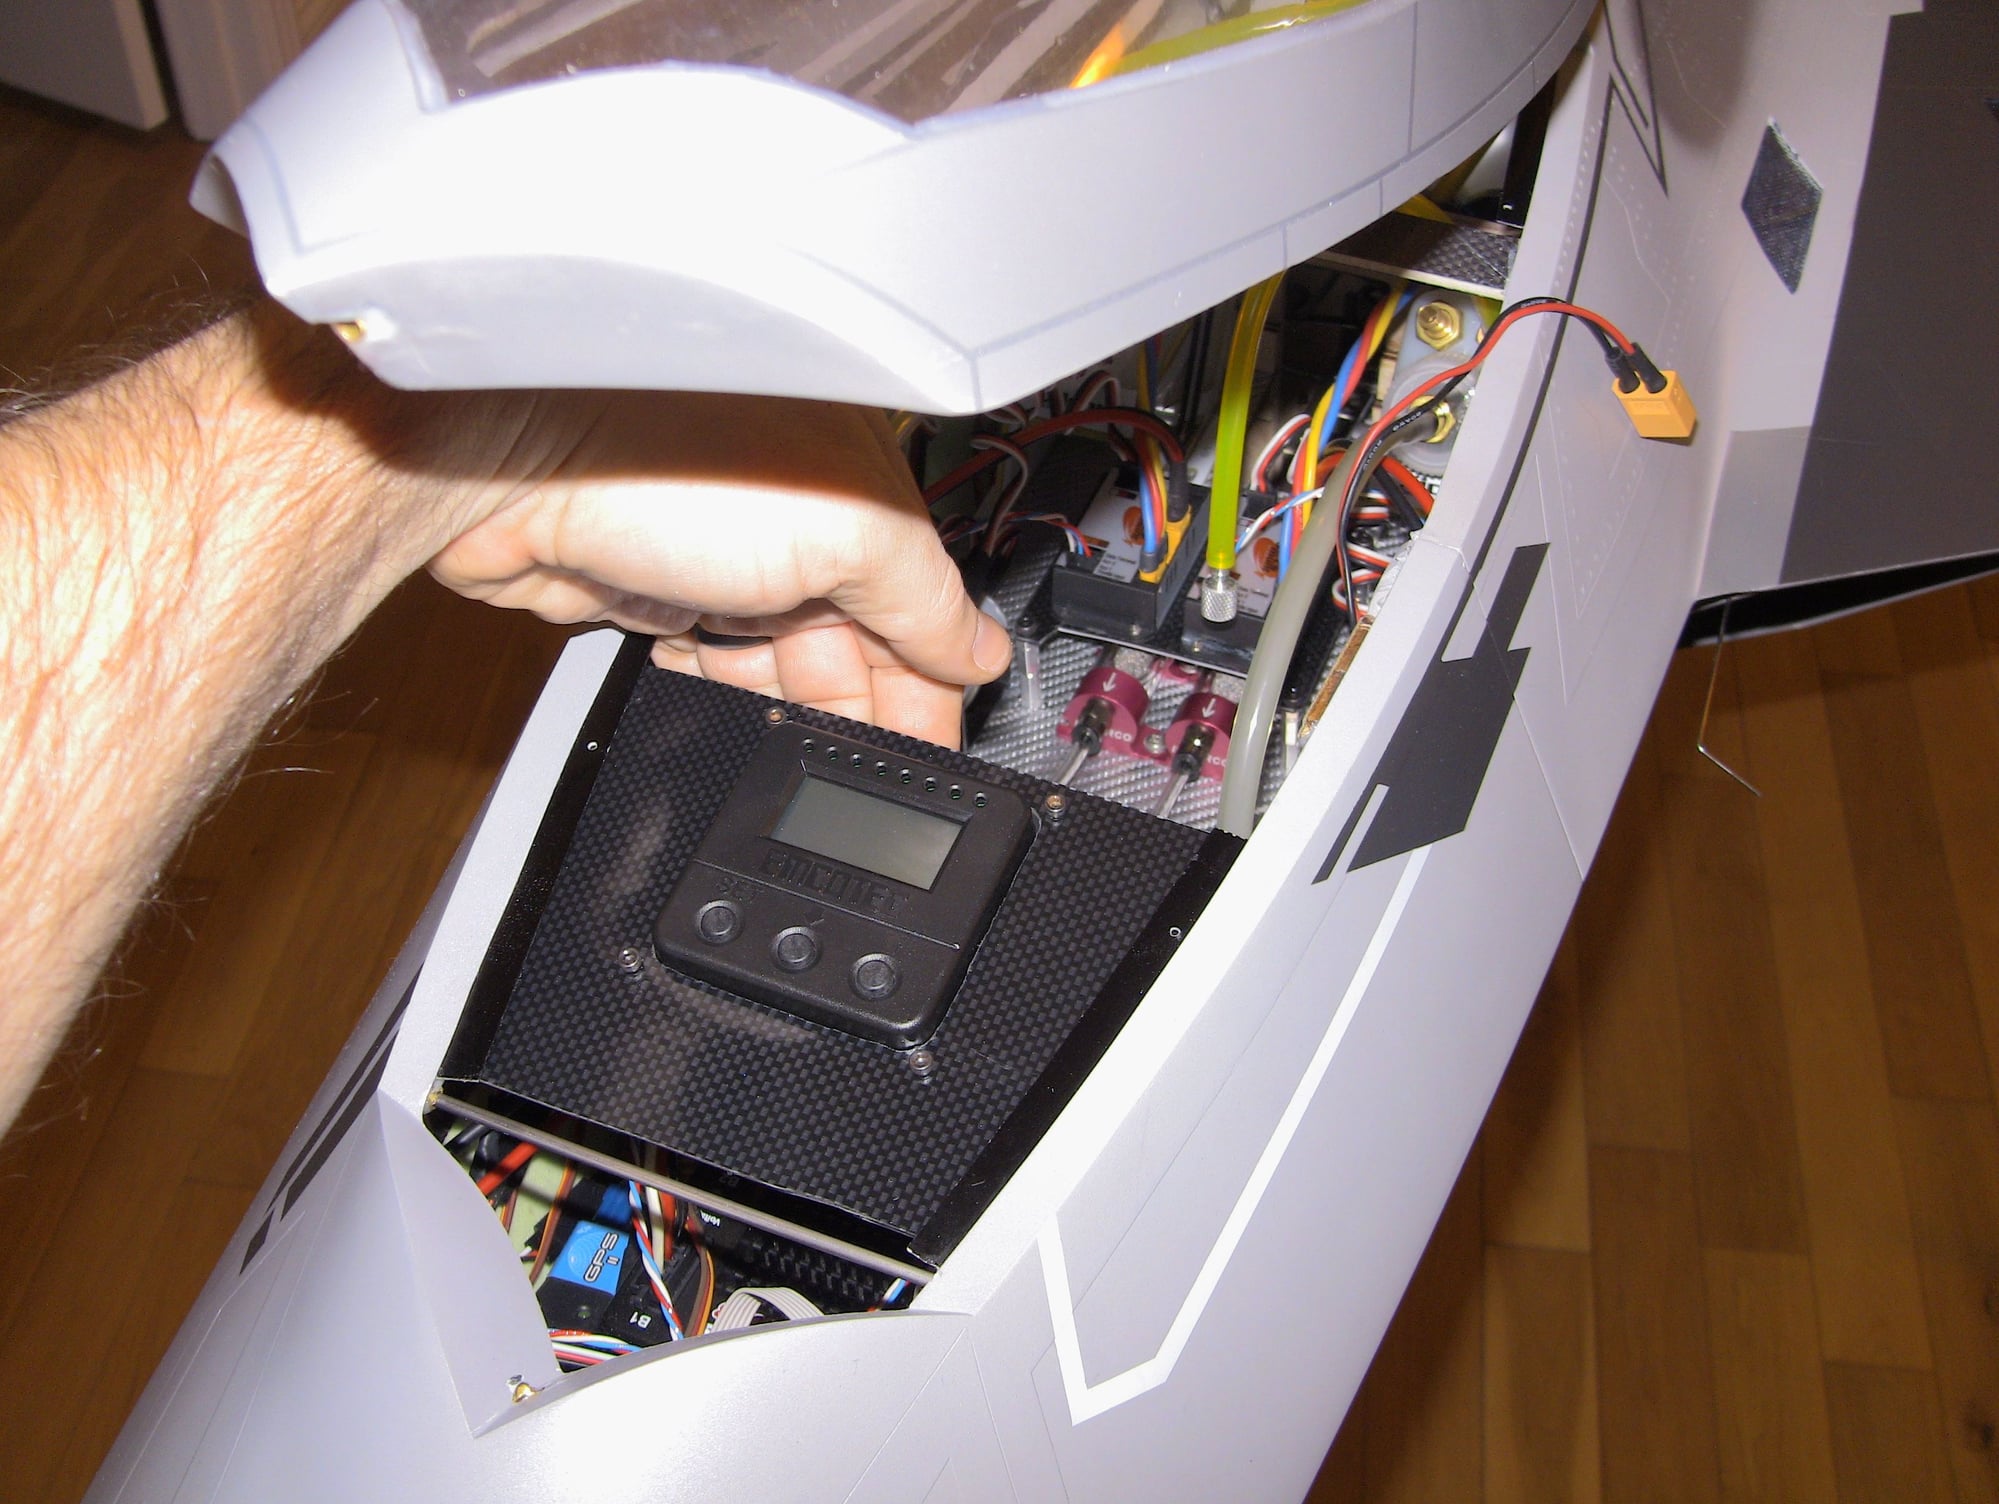
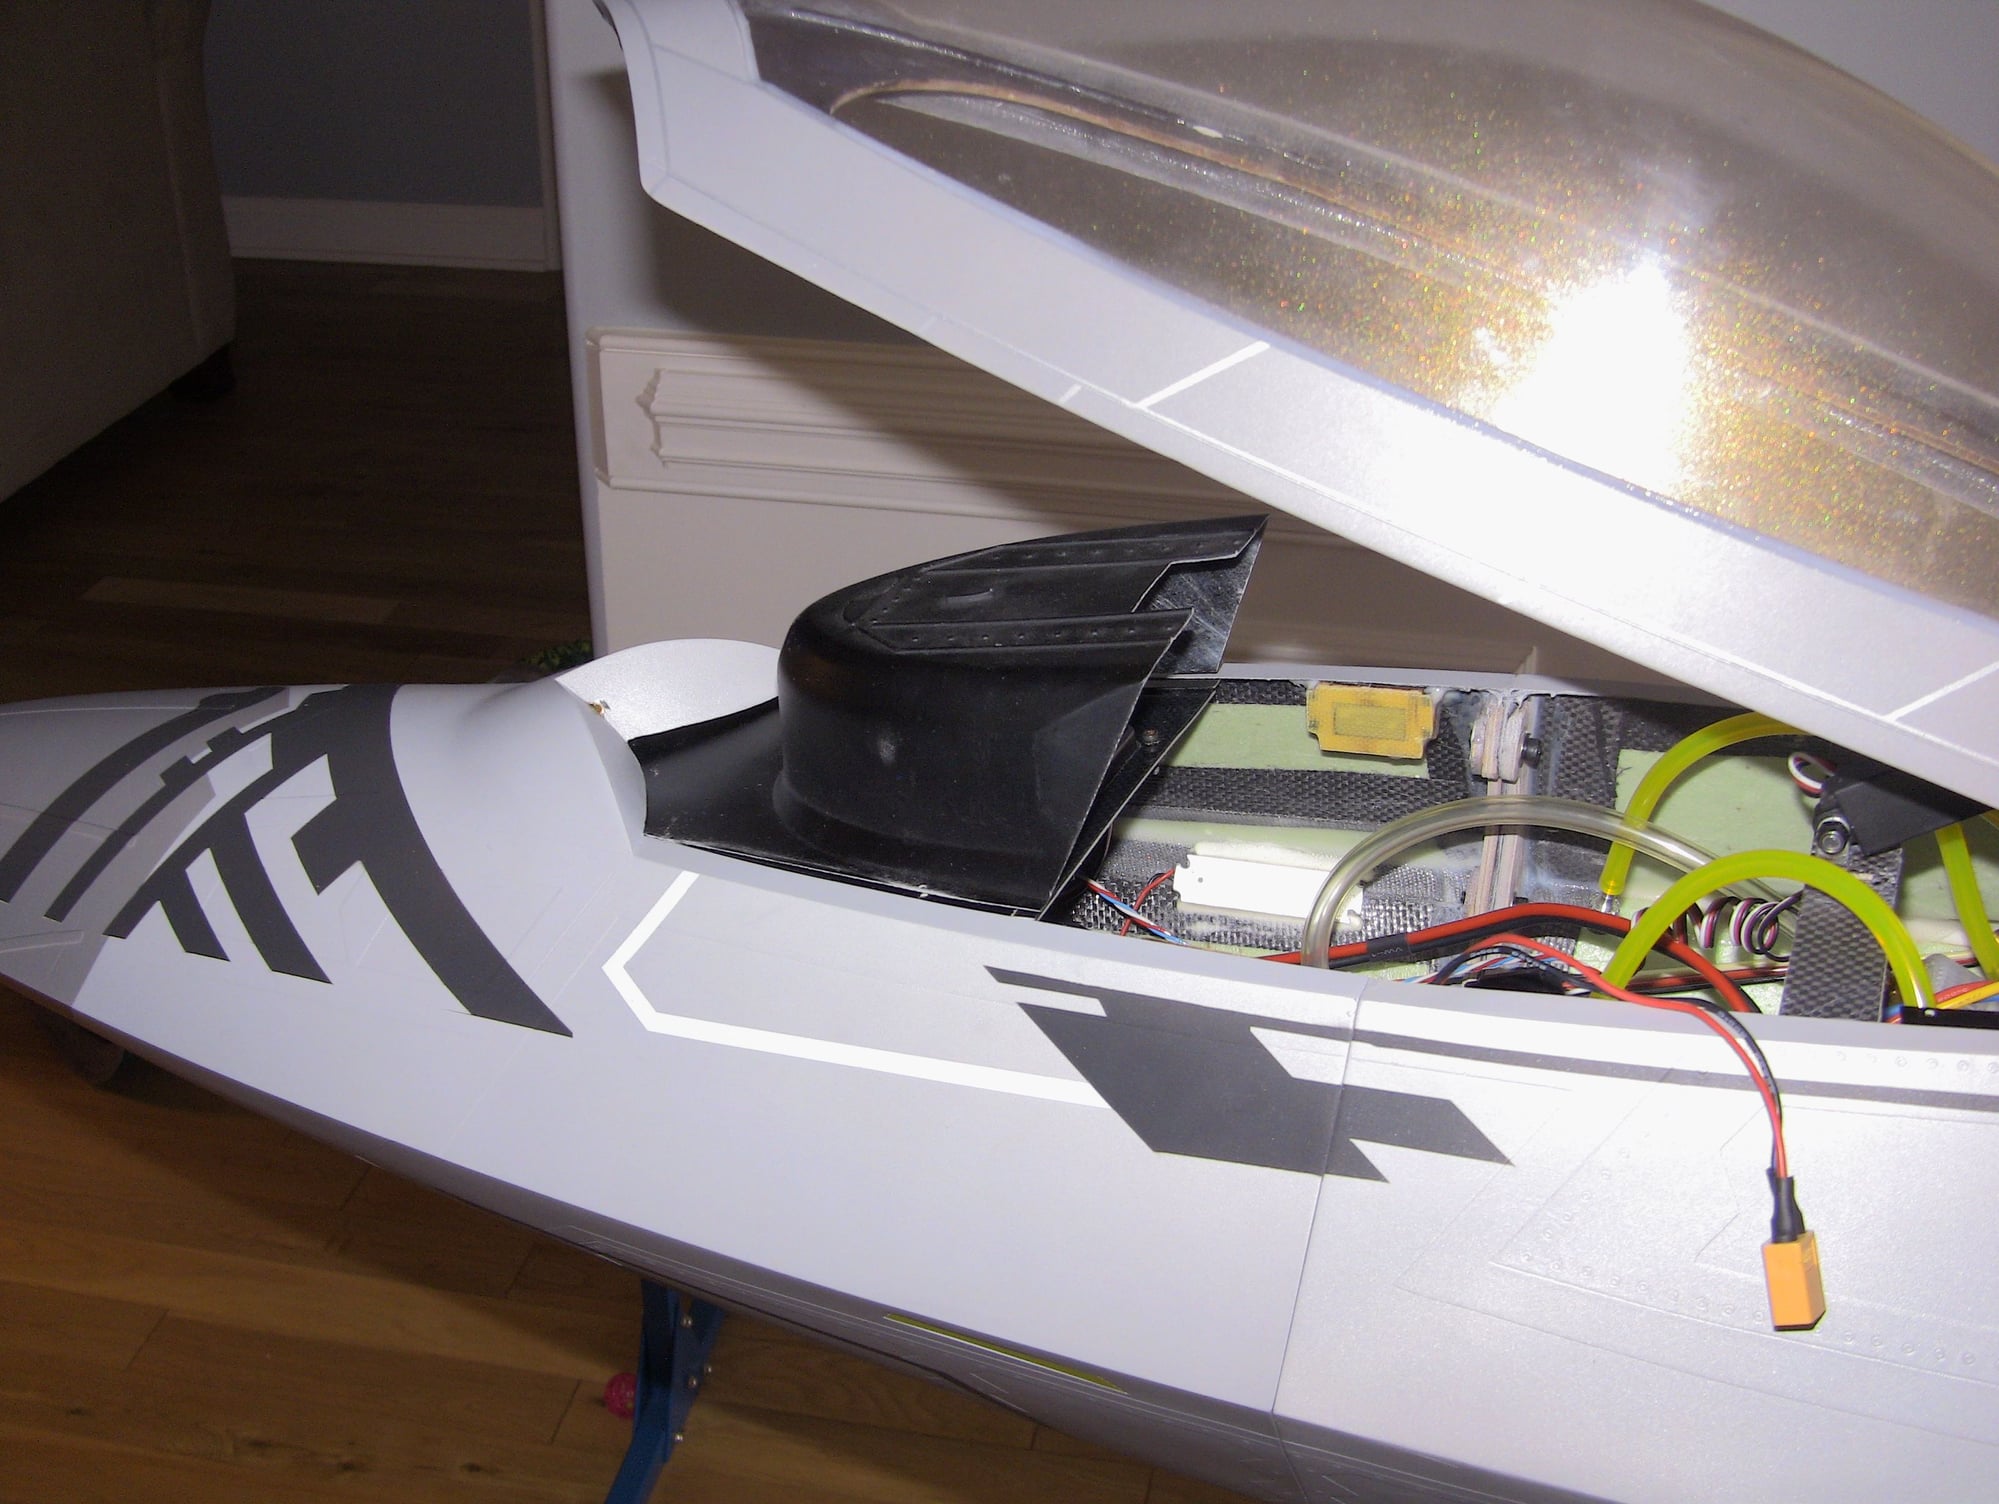
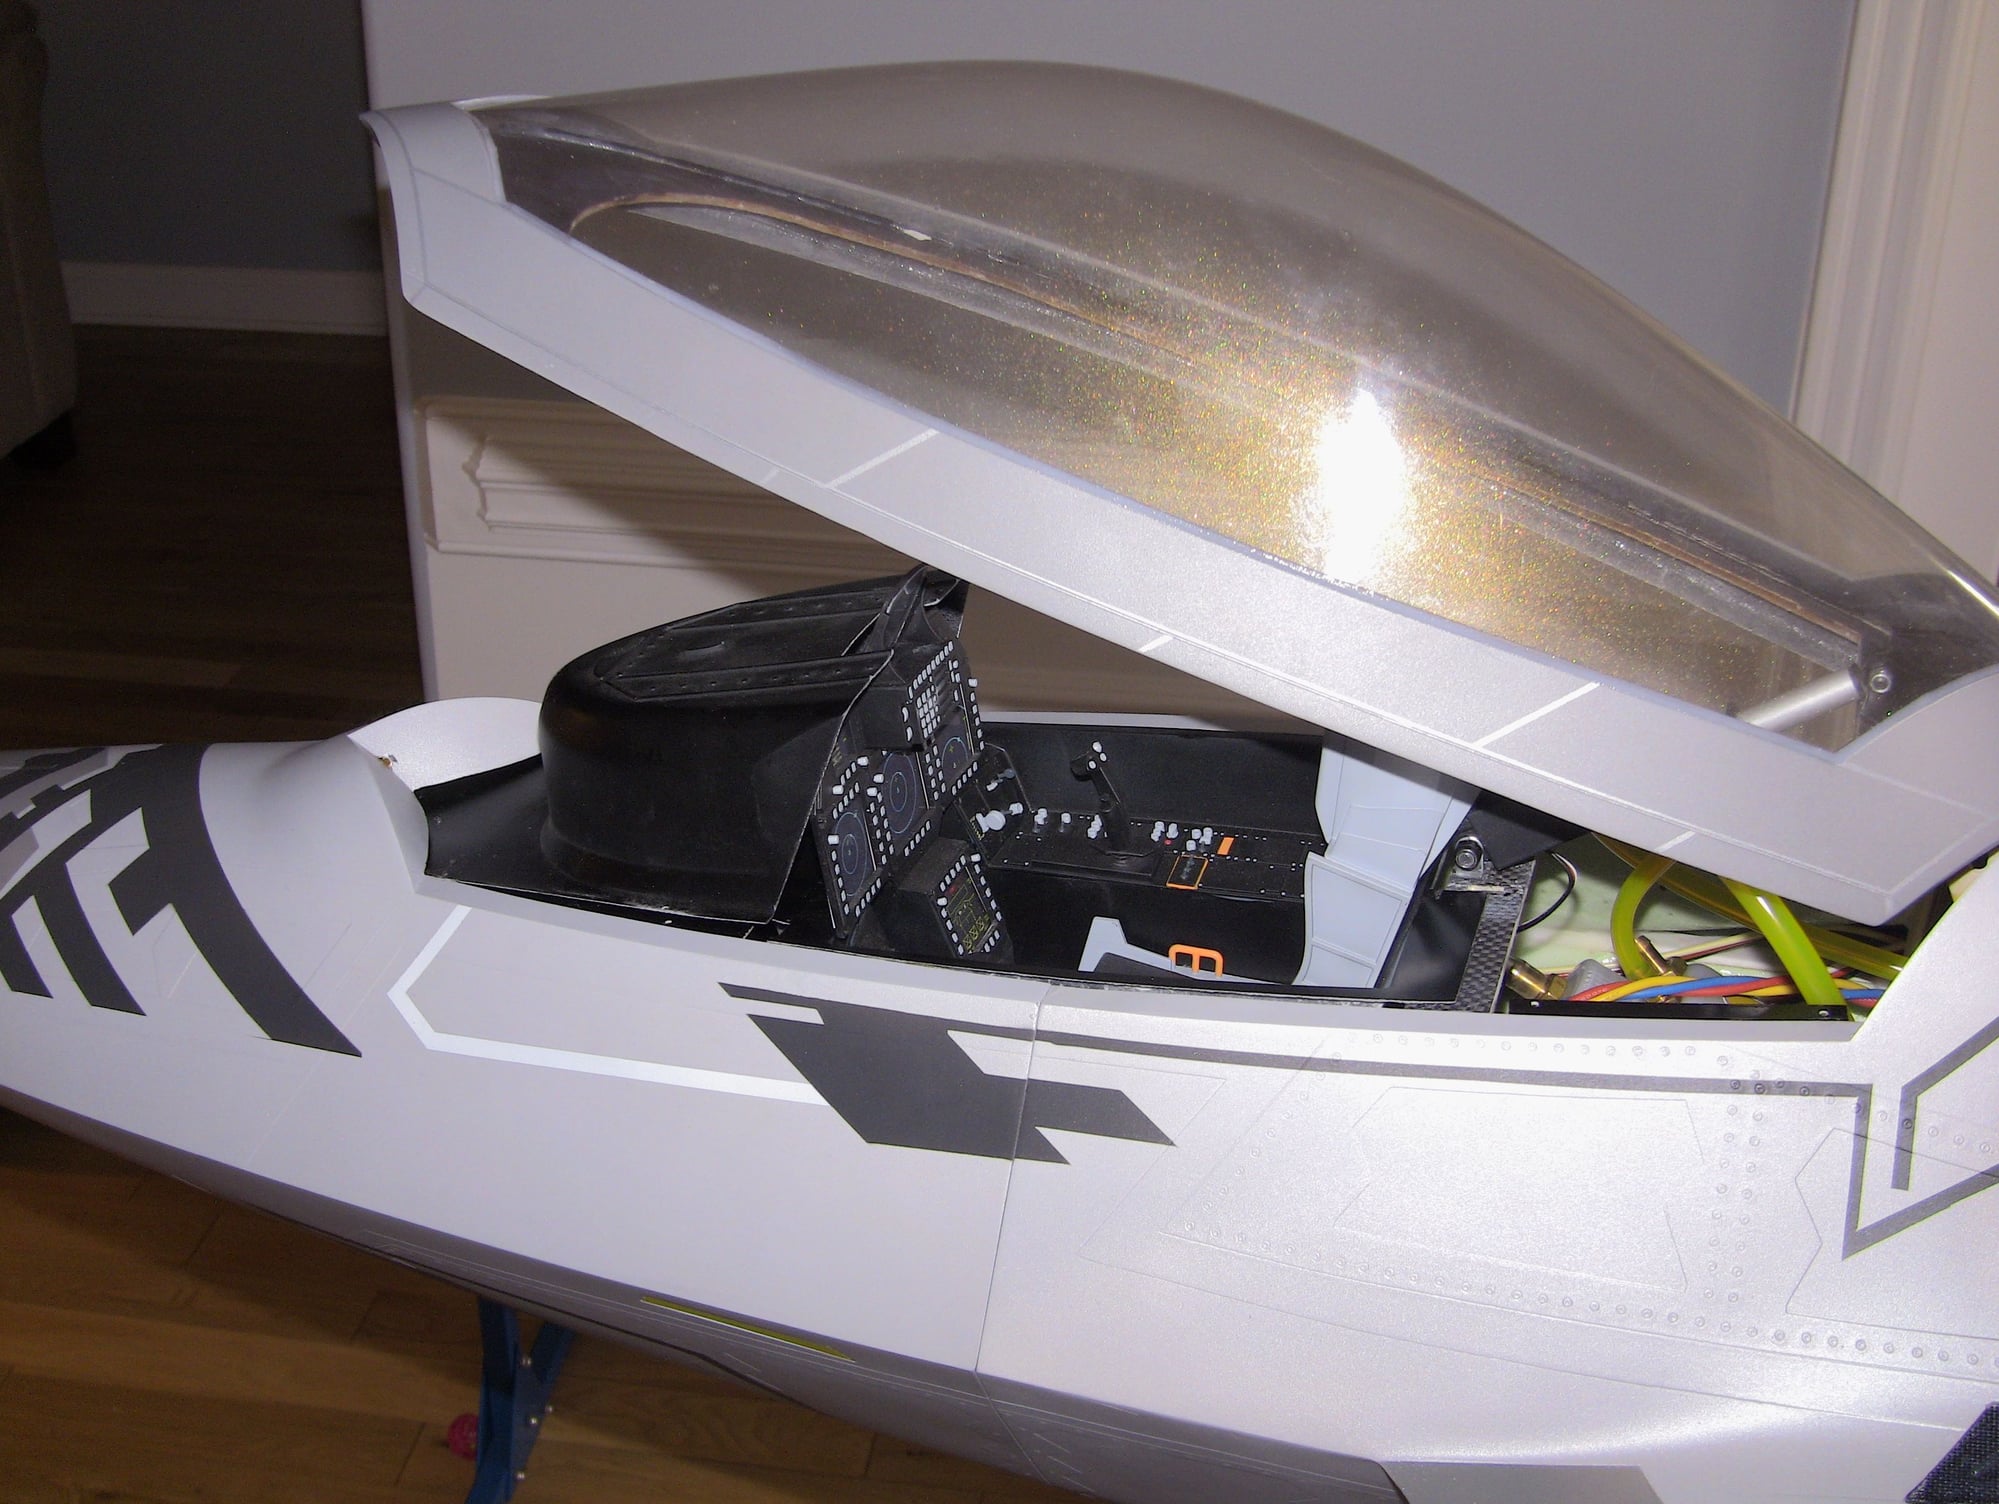
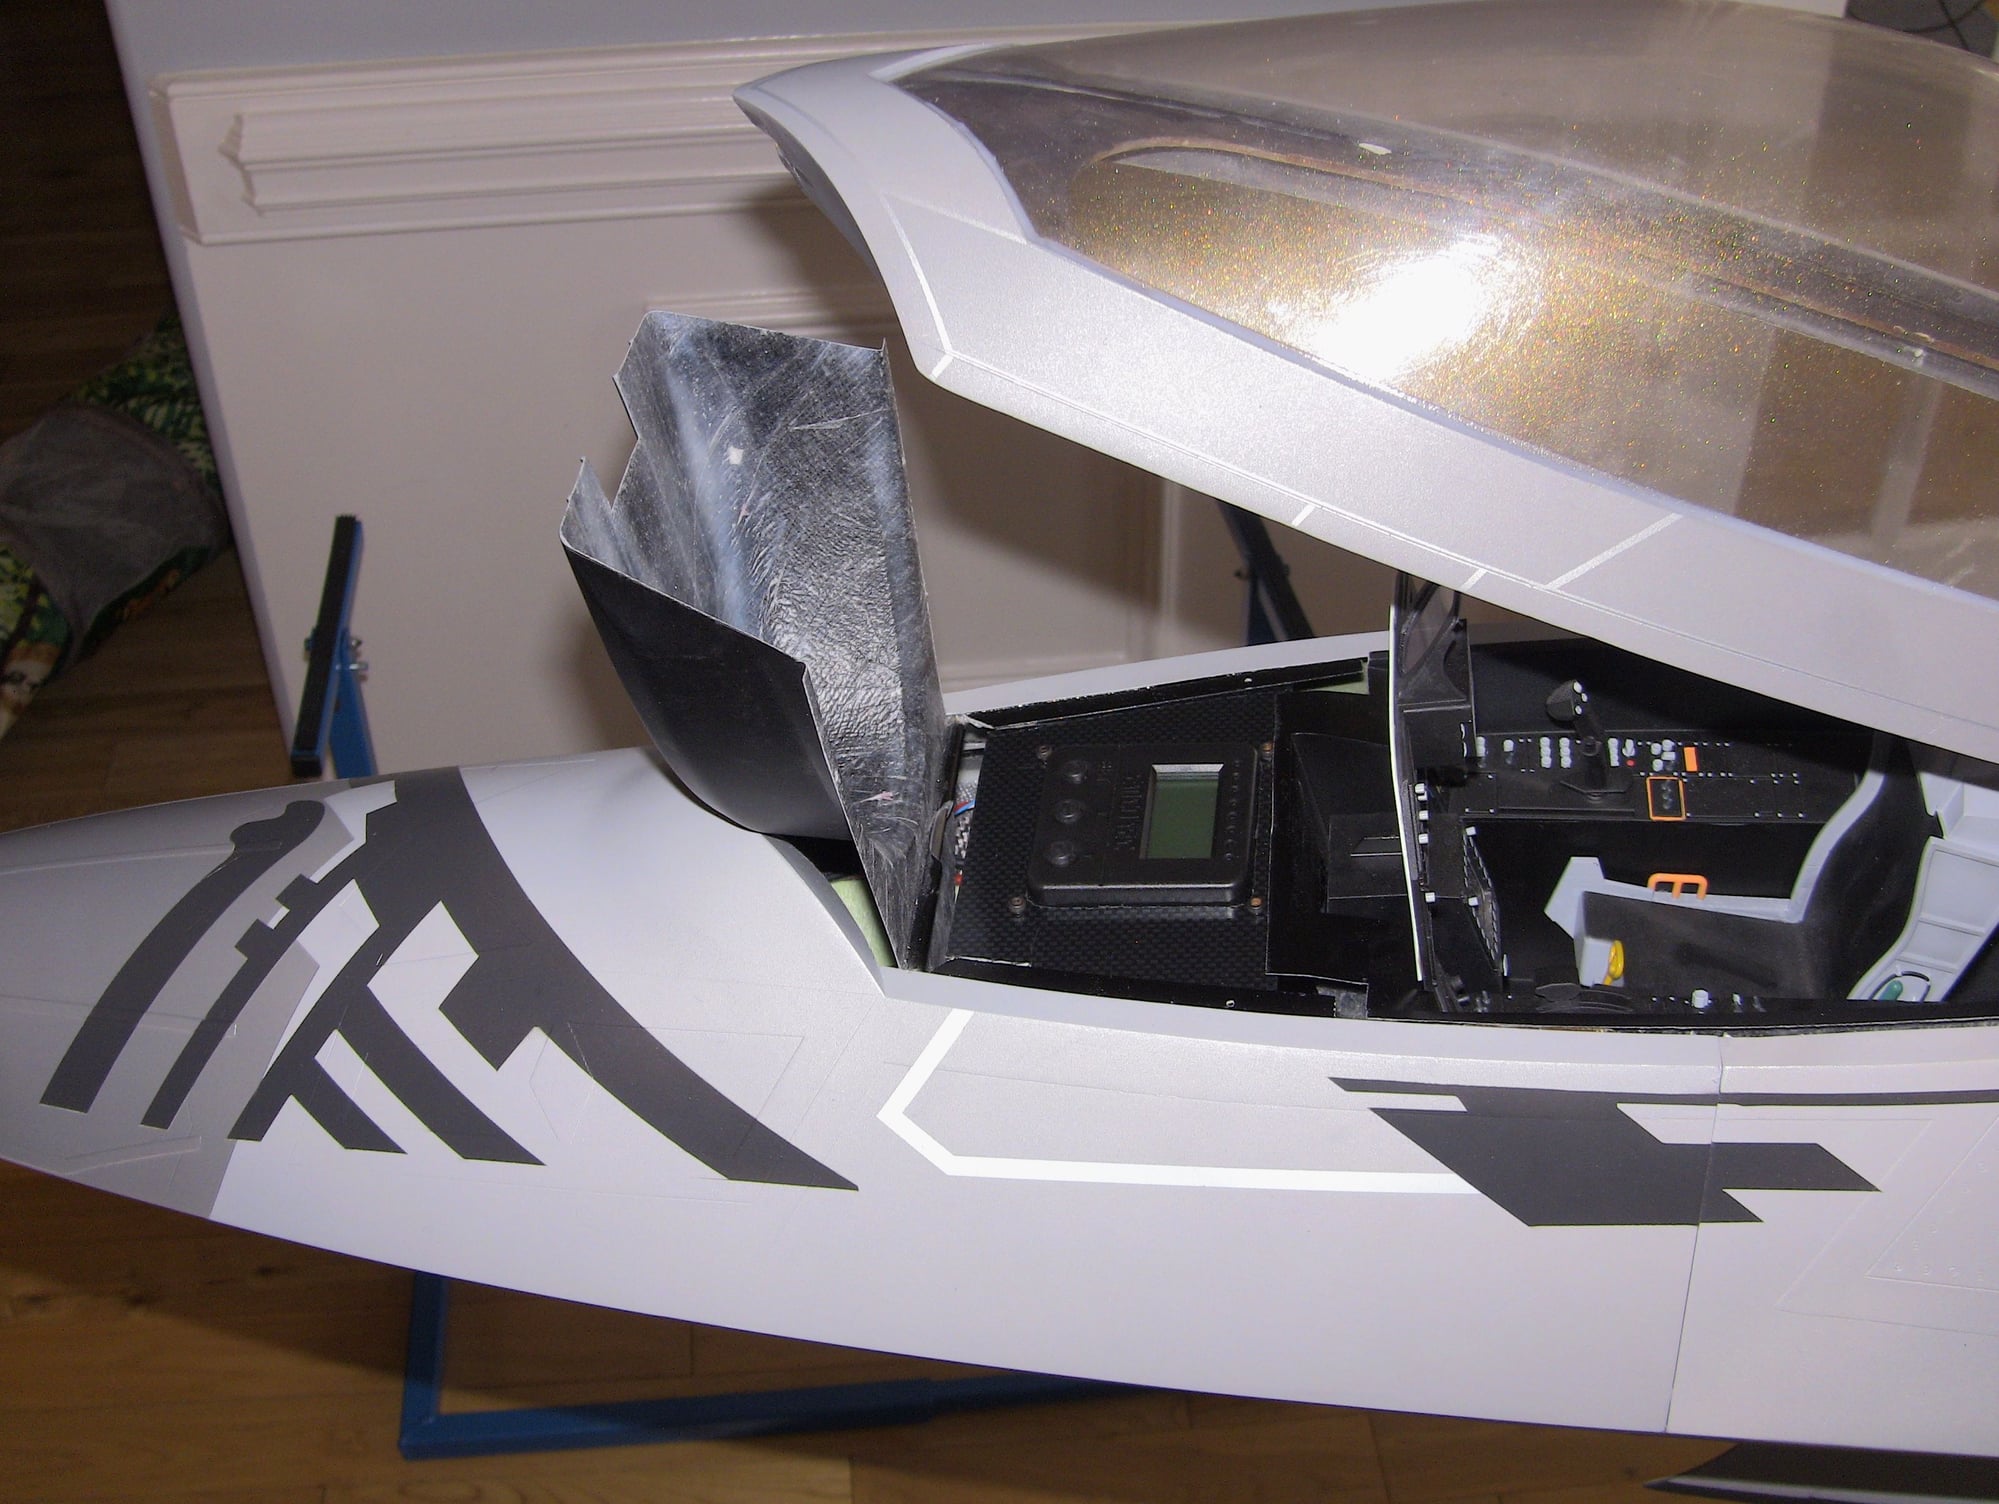
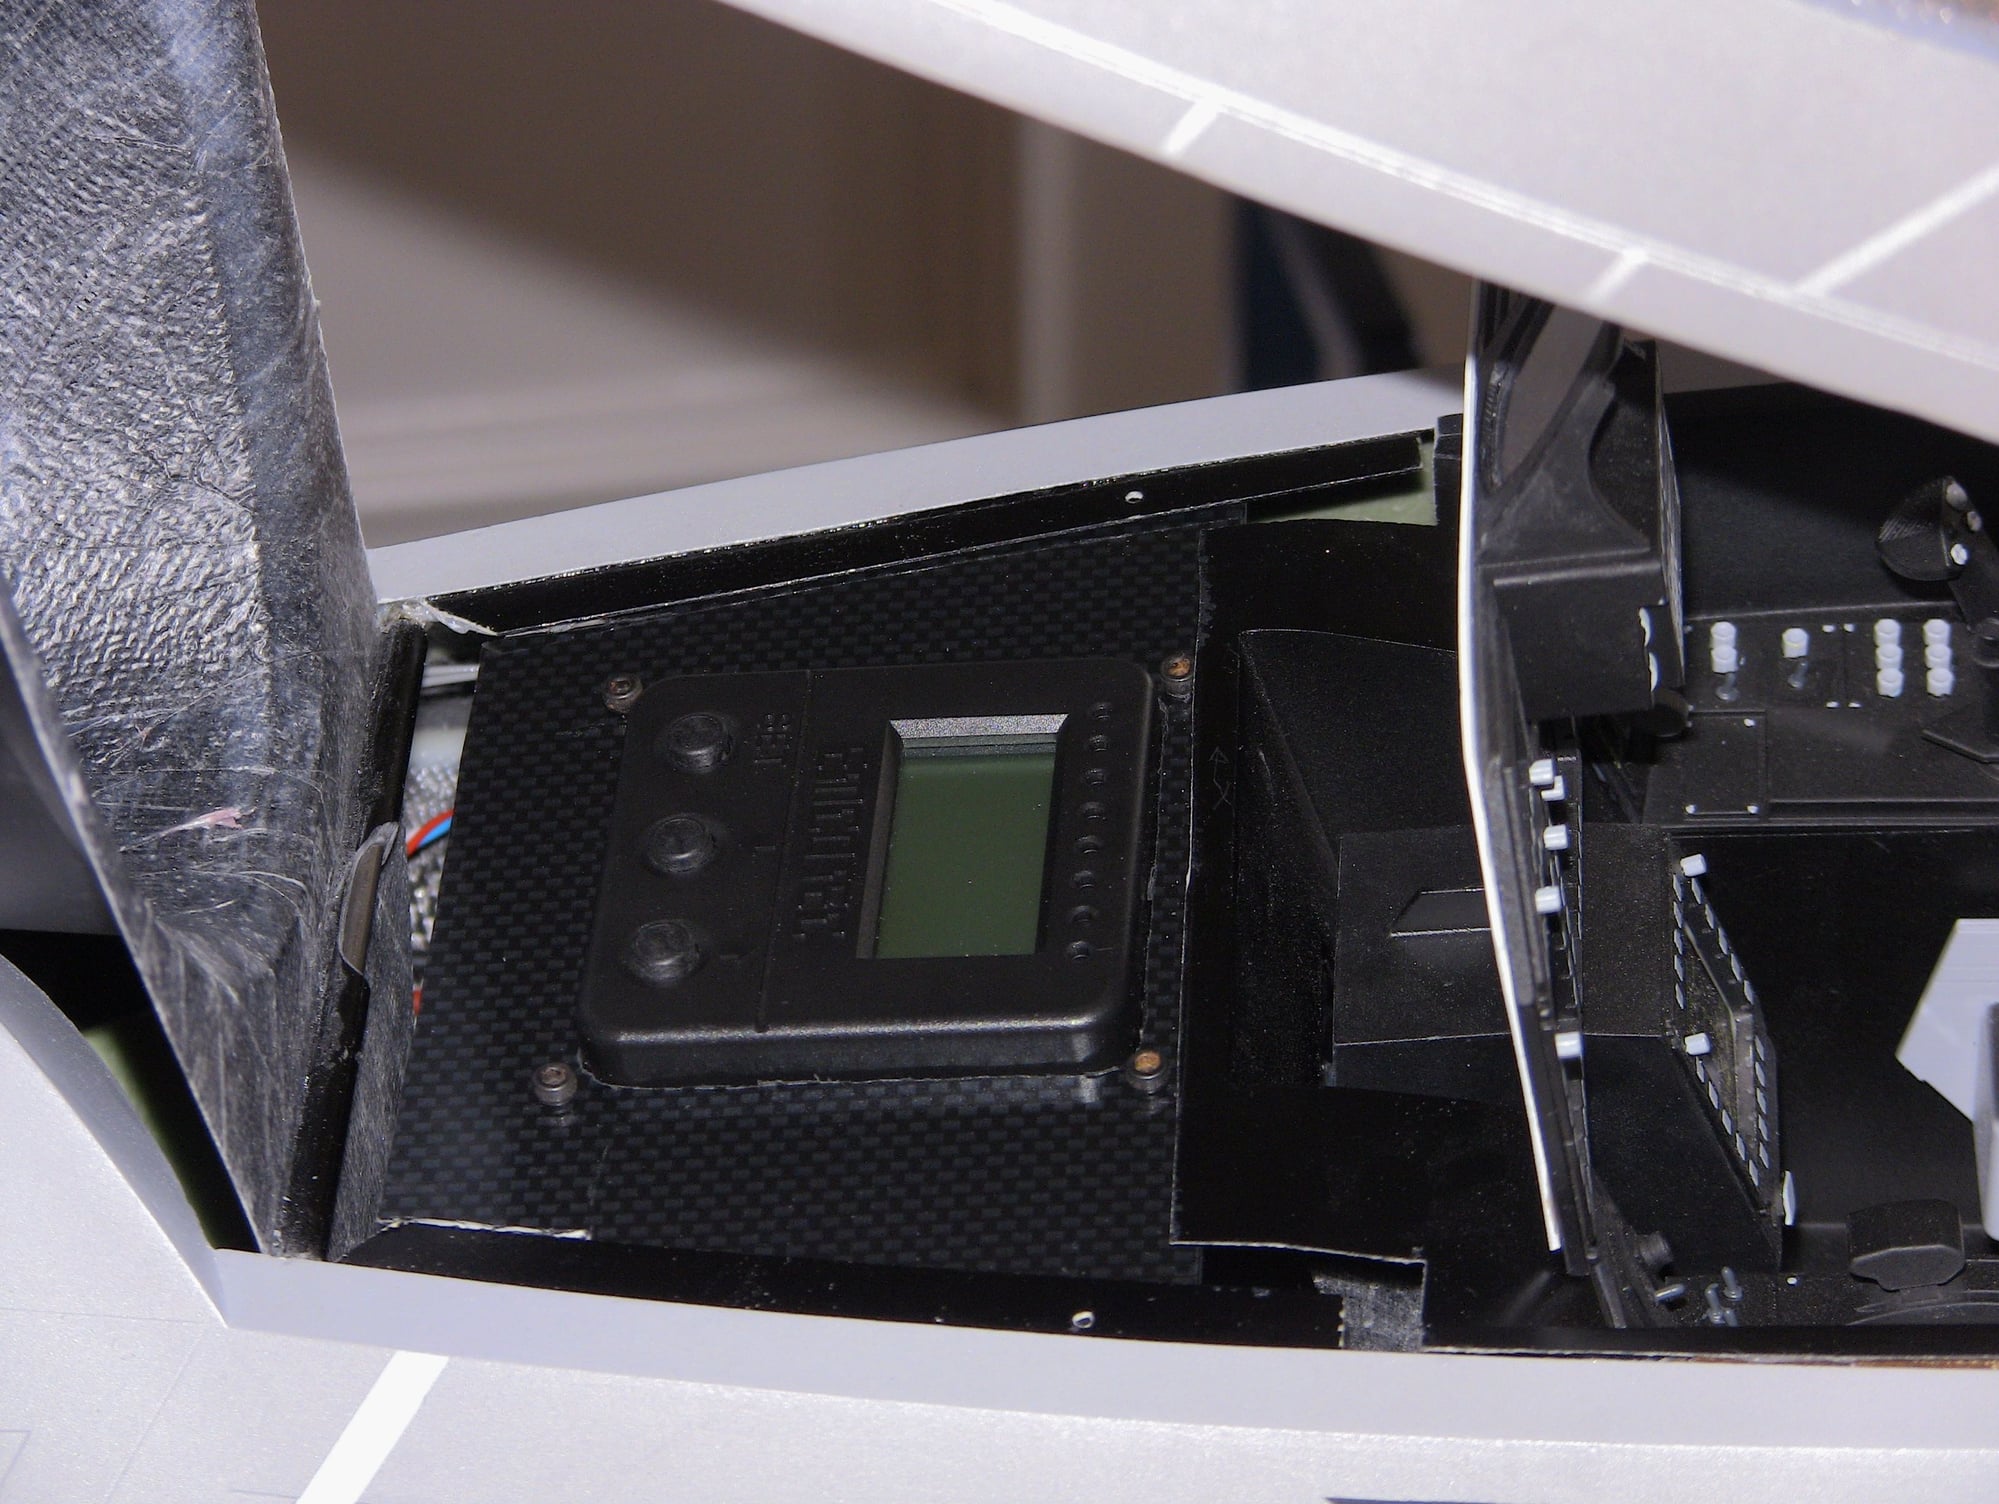
With the jet pretty much done I am in the clean up wiring and setup phase, I still havent mounted the tanks just to allow for ease of setup but thats the last part before balance. I am making the cockpit dash flip up and my emcotec switch will be under it, just a simple tube inside another tube thing. Its removable so if I need to do maintenance I can and removal of batteries.


02-15-2020, 11:44 AM
#116
Thread Starter
Finished the Canopy stuff and the Emcotec switch hide, its all removable and easy to get in and out. Next thing is putting in tanks and she will be done.


 02-17-2020, 12:53 PM
#121
Thread Starter
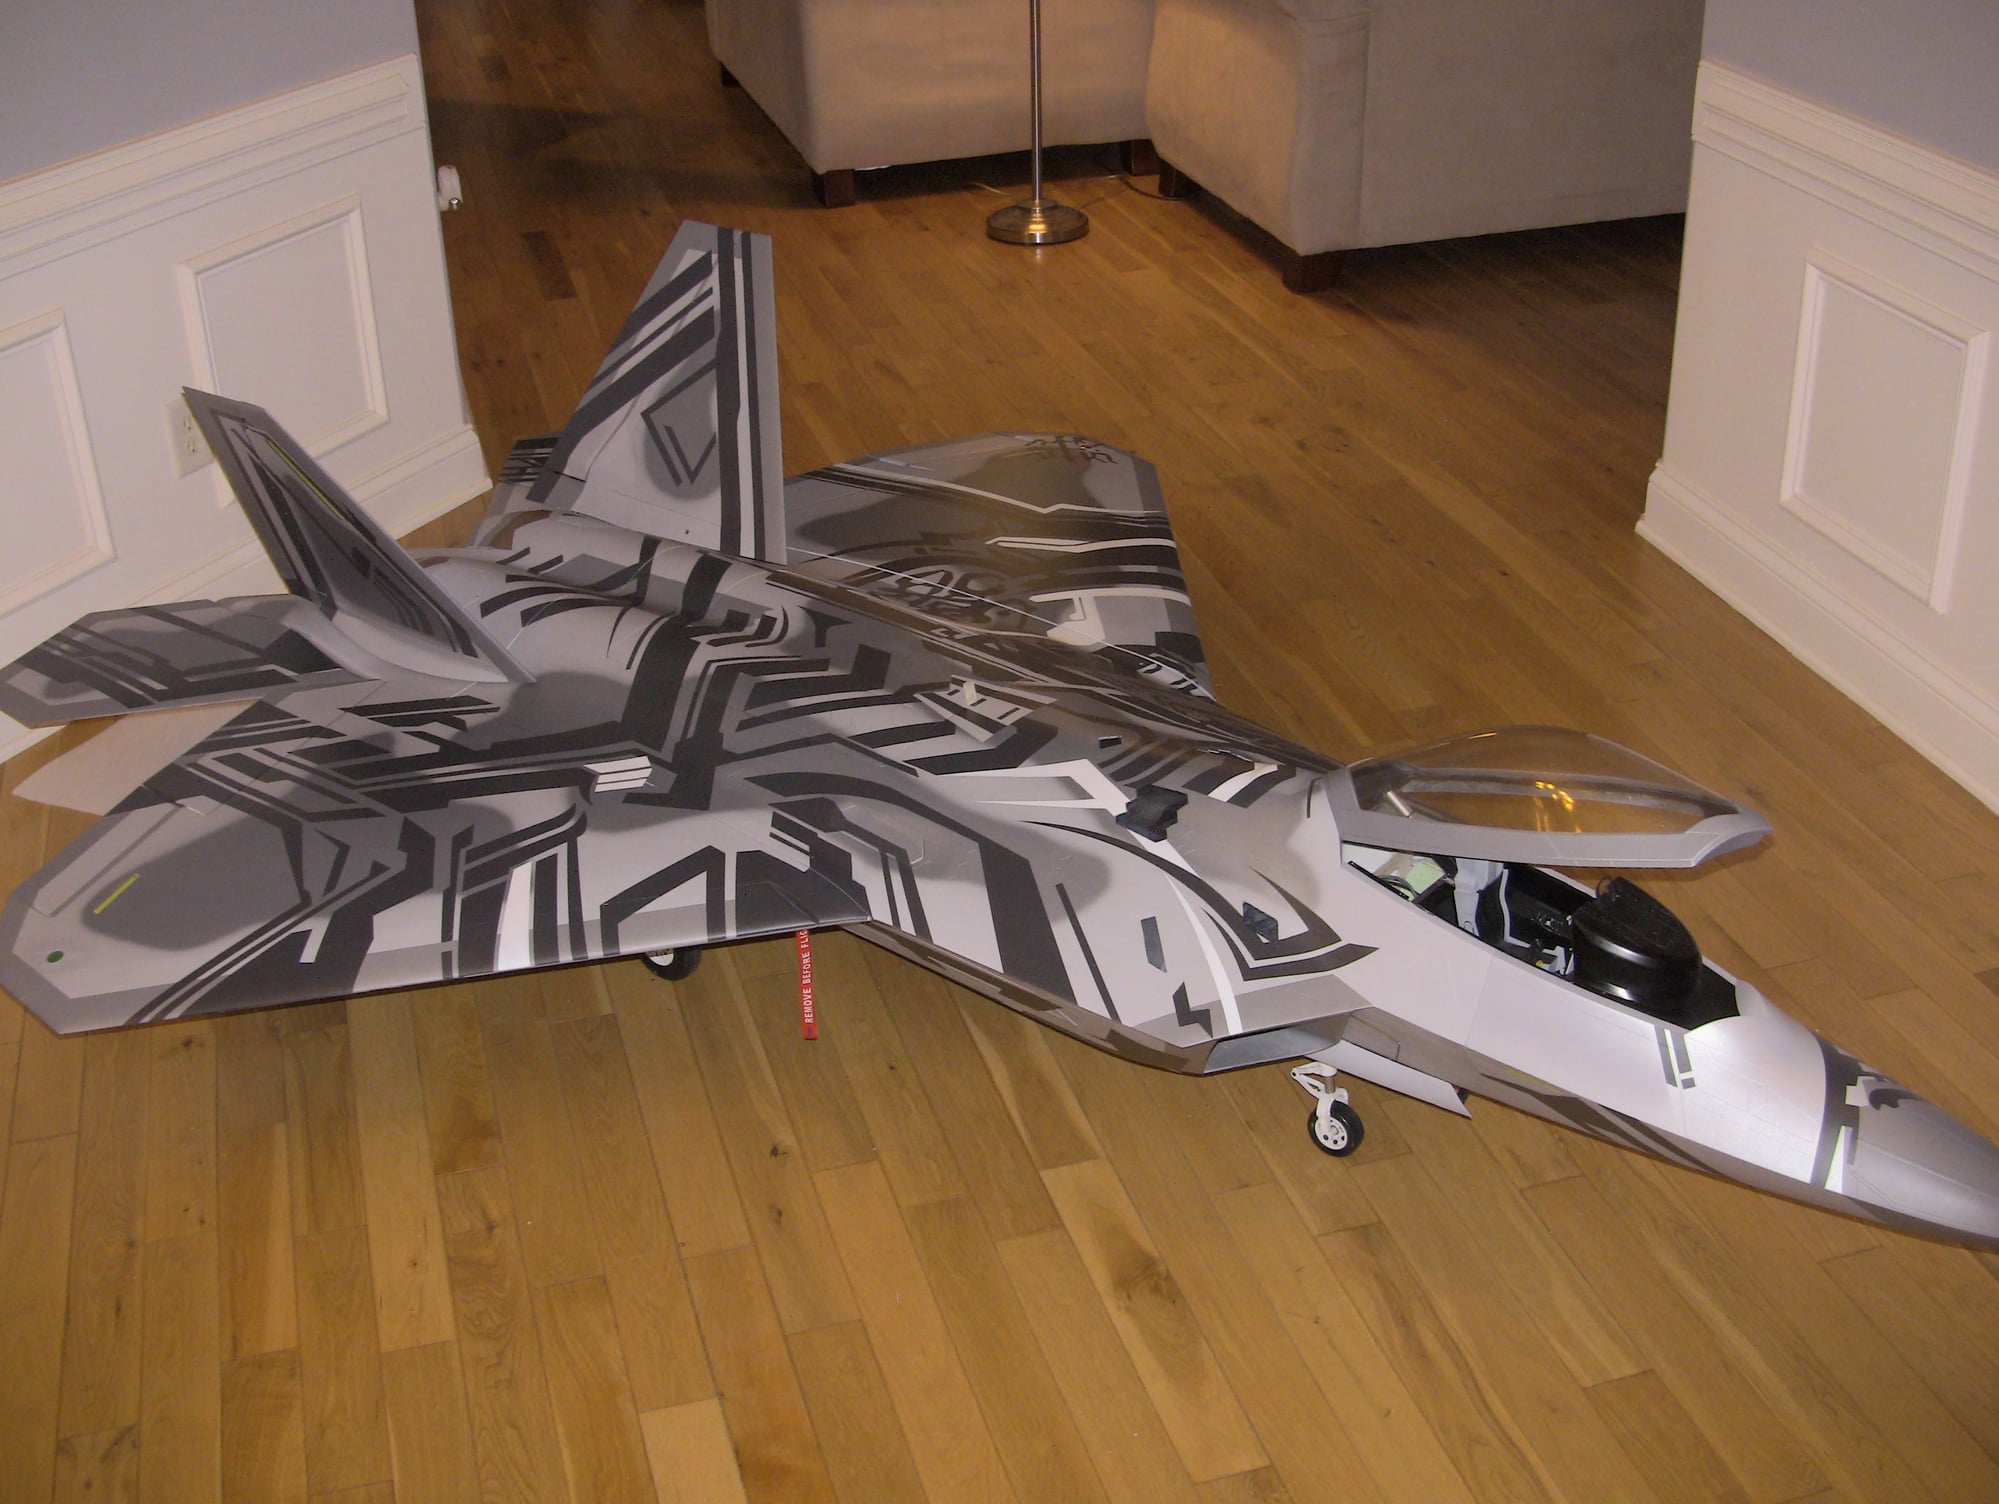
Well managed to CG the jet today, and I am super happy with the results. It only takes 0.5 pounds of weight to CG at 285 and after its test flown if the invert check needs more up than it should I can probably got 290 and remove most of that weight.
Im using BBs in a bag, so once I add some glue to the bag and shove them down in the nose as far as I can it will be less than 0.5 pounds. Im happy with that since my F-14 took a little more weight to balance.

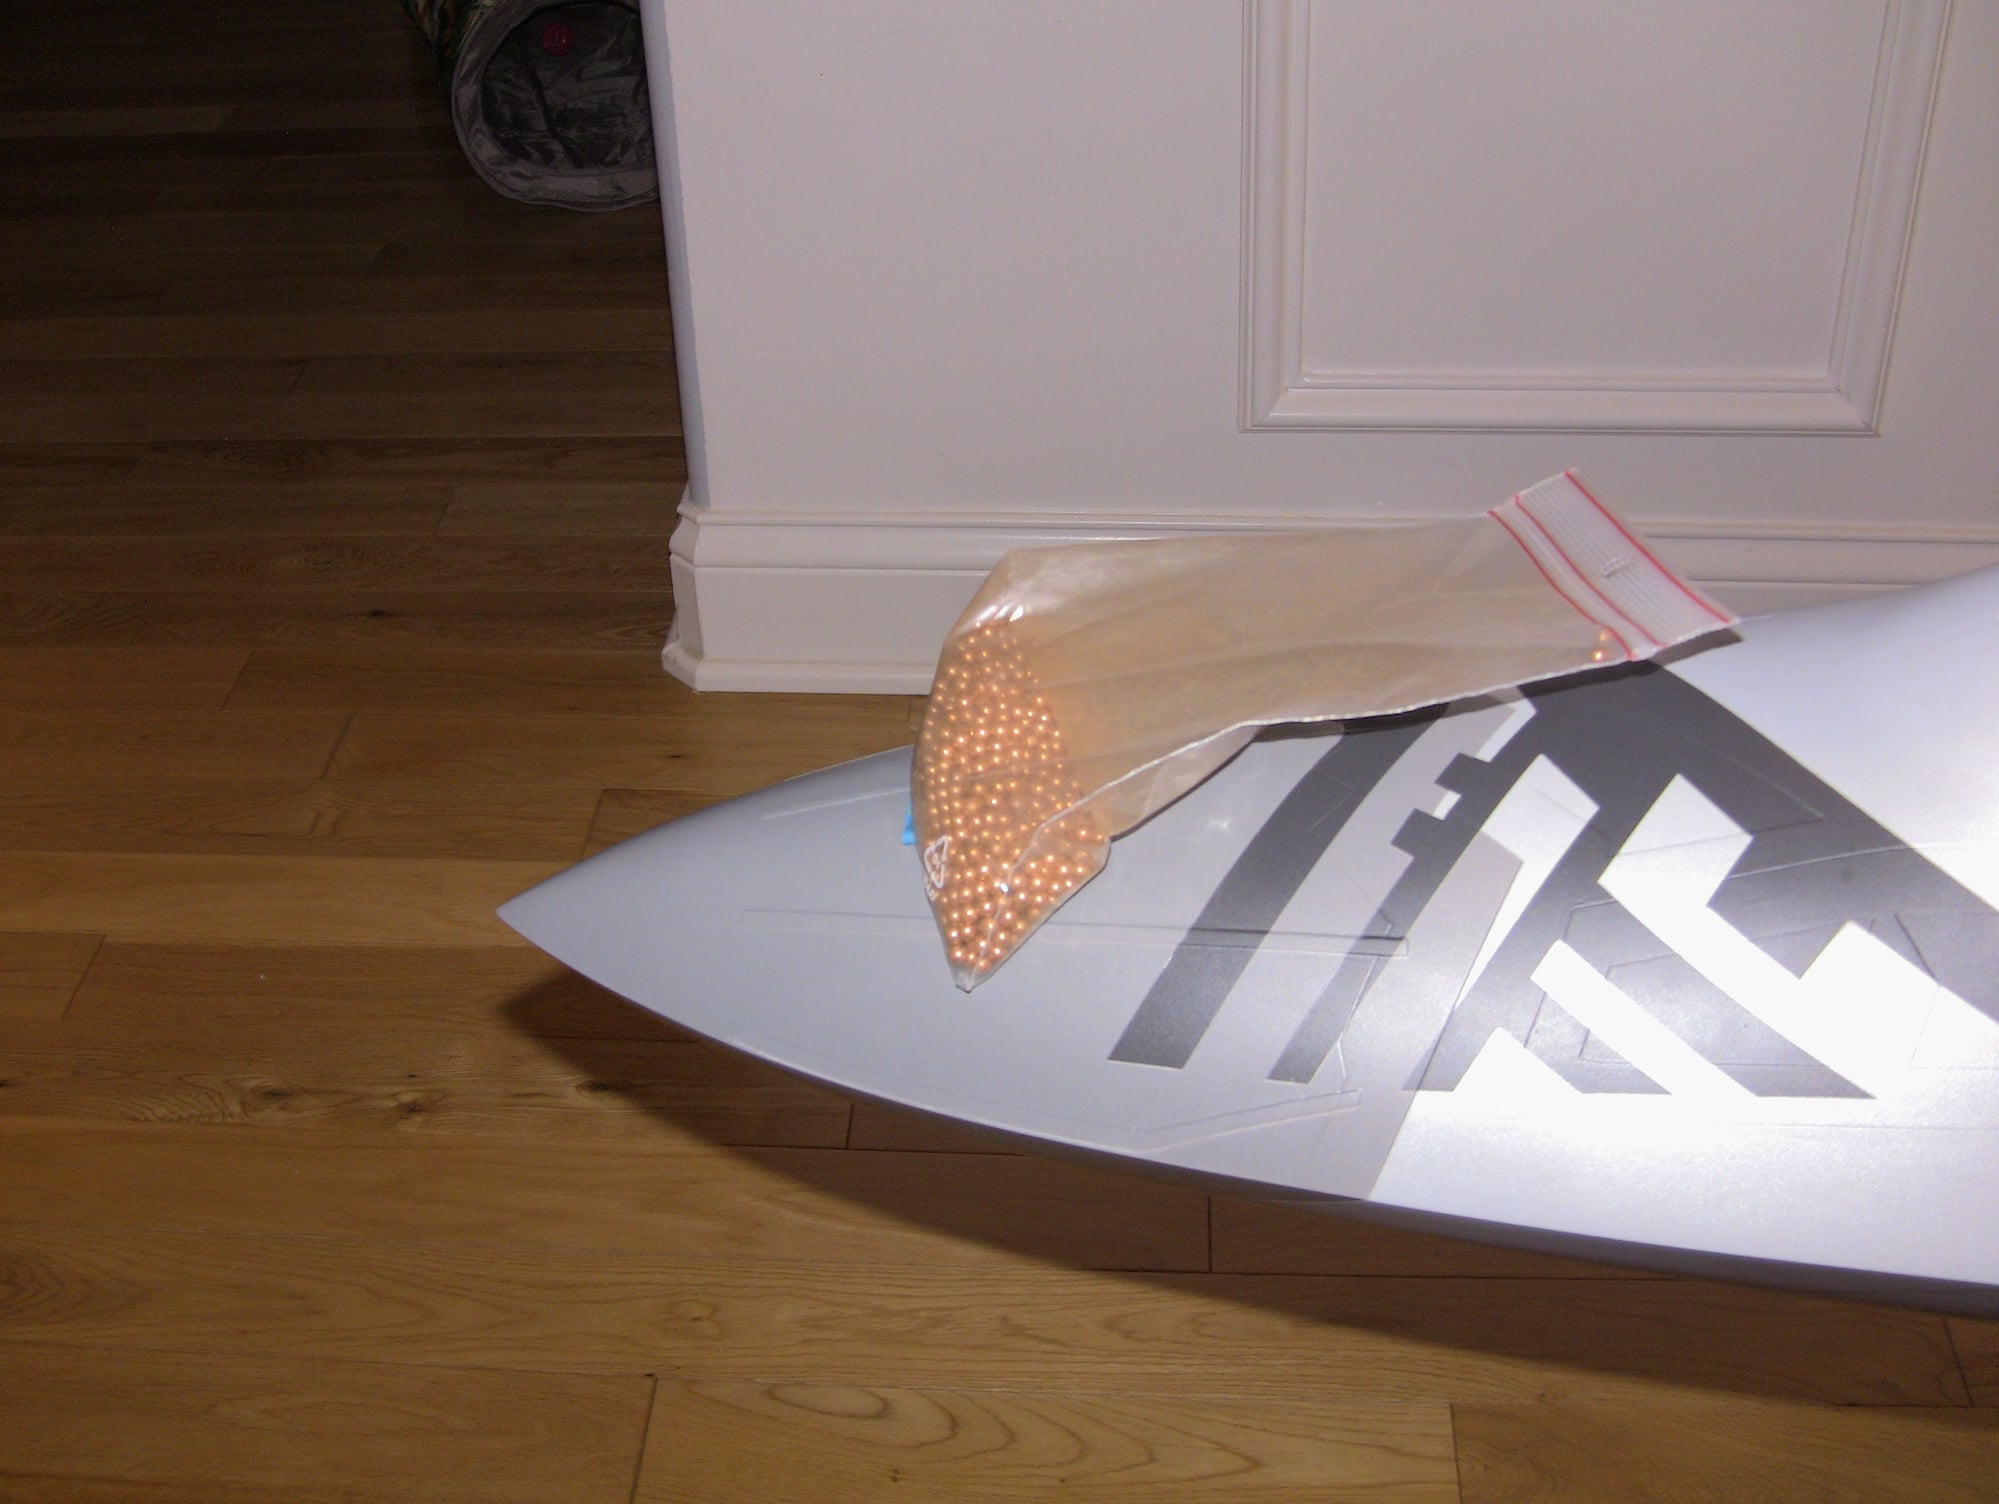
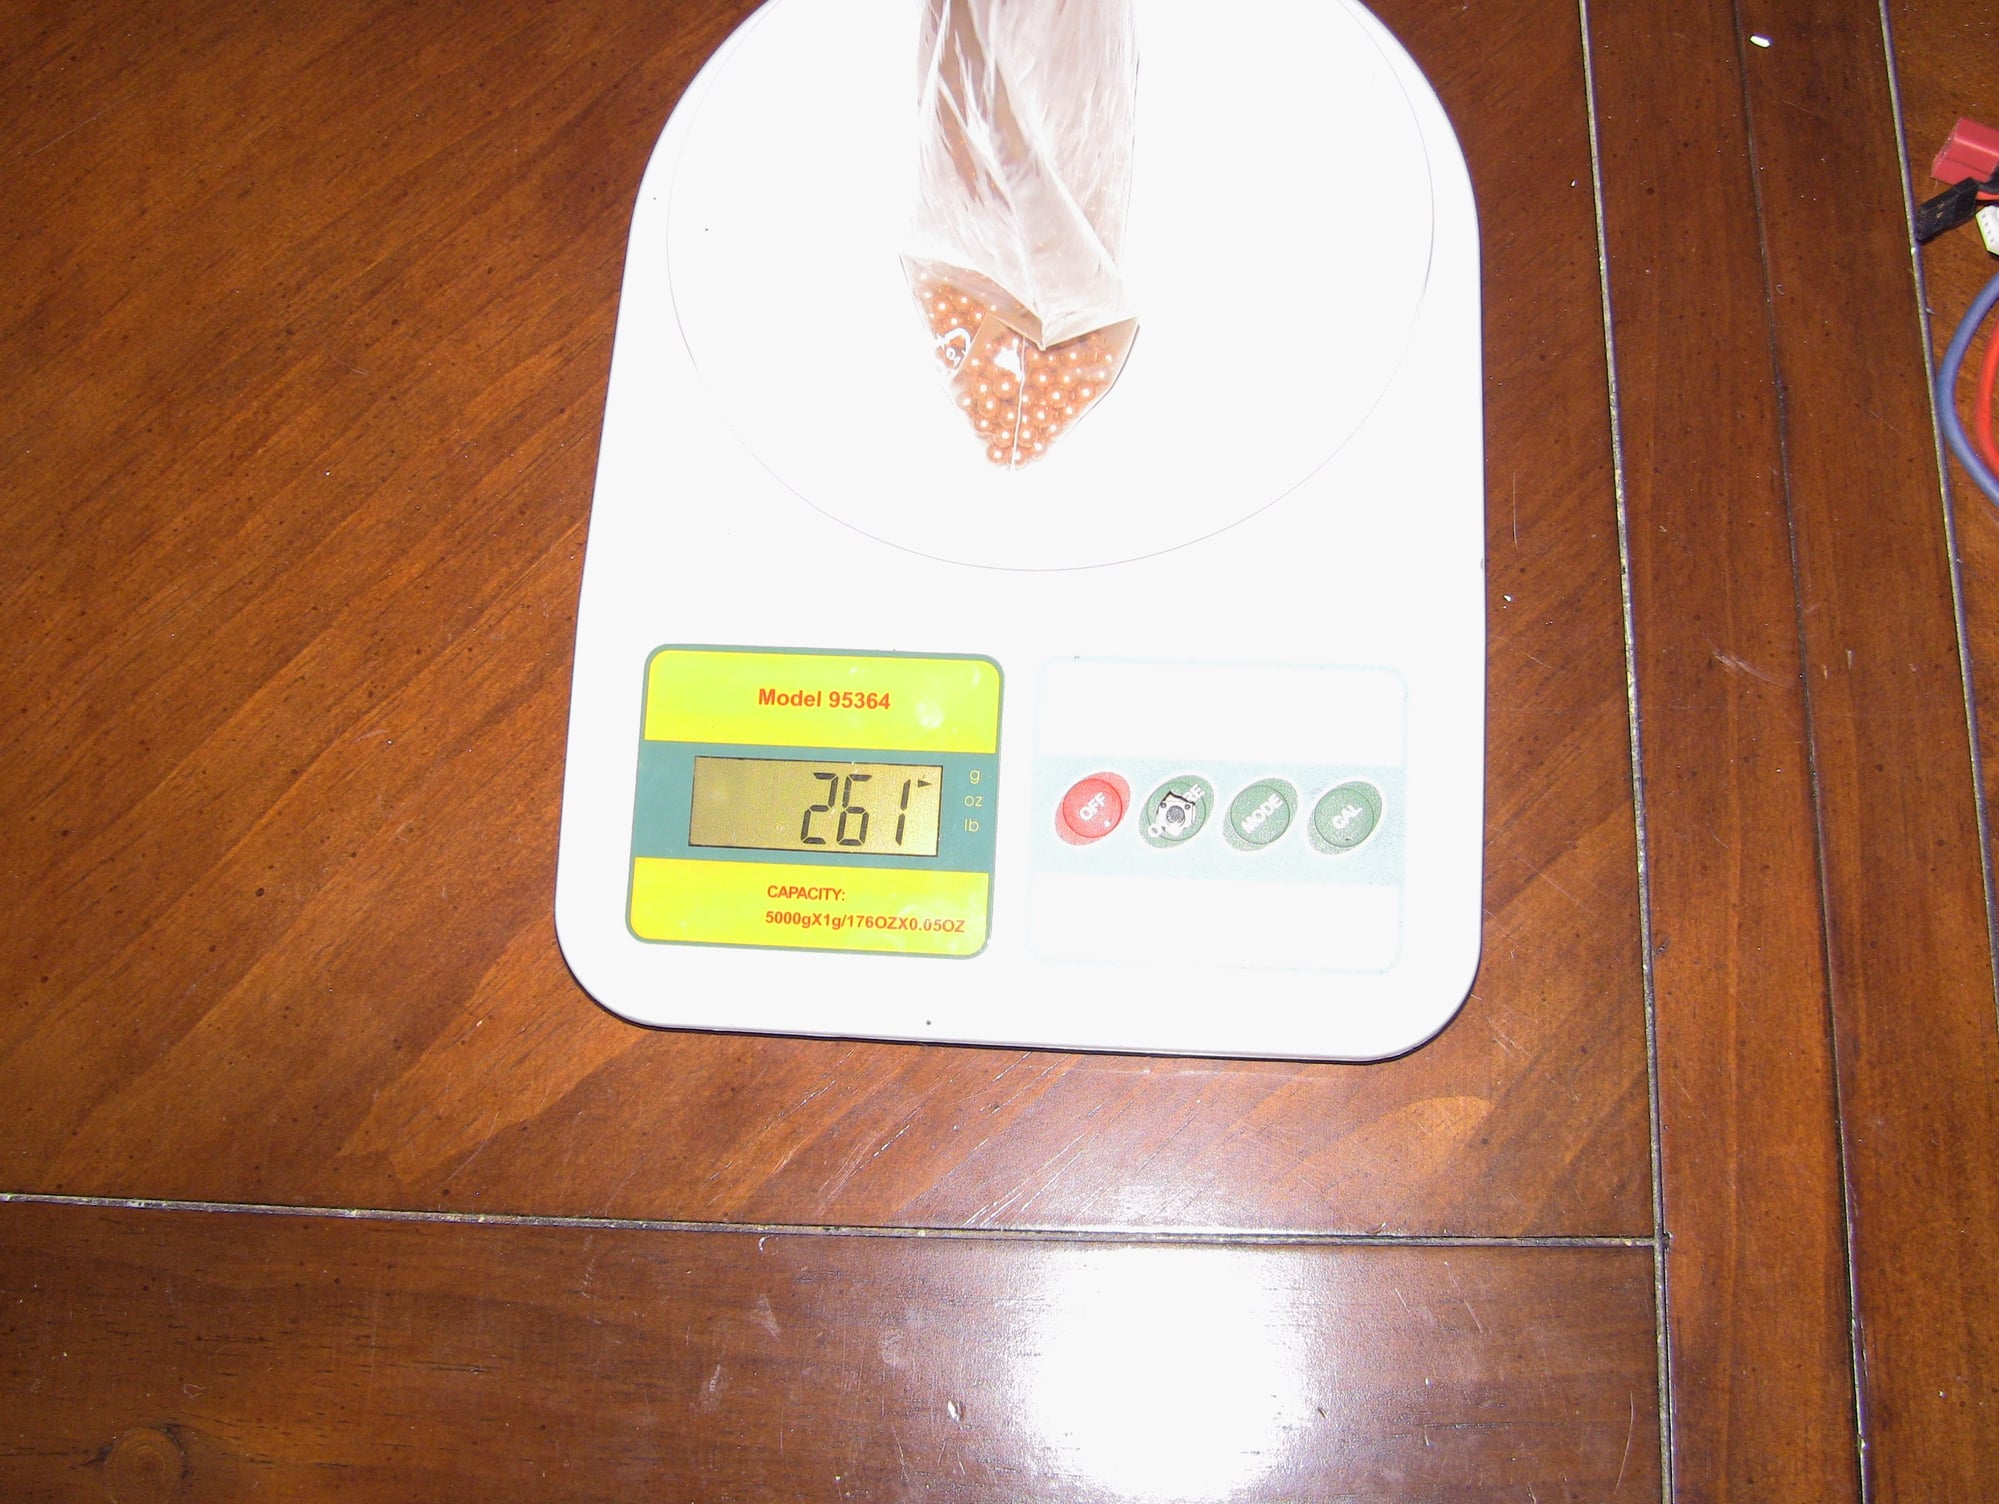
Im using BBs in a bag, so once I add some glue to the bag and shove them down in the nose as far as I can it will be less than 0.5 pounds. Im happy with that since my F-14 took a little more weight to balance.
02-17-2020, 07:14 PM
#122
Well managed to CG the jet today, and I am super happy with the results. It only takes 0.5 pounds of weight to CG at 285 and after its test flown if the invert check needs more up than it should I can probably got 290 and remove most of that weight.
Im using BBs in a bag, so once I add some glue to the bag and shove them down in the nose as far as I can it will be less than 0.5 pounds. Im happy with that since my F-14 took a little more weight to balance.
Im using BBs in a bag, so once I add some glue to the bag and shove them down in the nose as far as I can it will be less than 0.5 pounds. Im happy with that since my F-14 took a little more weight to balance.
Looking forward to hear about the engine starts. Thanks for sharing all these!
02-17-2020, 08:09 PM
#123
Thread Starter
I agree with this, I thought the same thing about the tray in the nose. I have two rather large motor batteries to, two 5800 ion packs and a 3800 9.0 LiFe pack all sitting on the glued in tray. I put the bag of BBs forward of those in the tip of the nose, so the less equipment weight you have the more balance weight u will need. I dont do pilots either so if you use a pilot it would take very little weight, im hoping 290mm works on the CG, I could remove the weight and possible move a a battery back. Anyway hoping to test run tomorrow and check for heat around the tail section.
02-17-2020, 09:52 PM
#124

Well this is by far the fastest I ever seen you build a plane!! That's a good looking balance stand it is sitting on... We really appreciate your honesty during the entire build and Mr. Kim has been watching your build thread and taking notes. Looking forward to your flight reports!!
Cheers,
Dirk
We really appreciate your honesty during the entire build and Mr. Kim has been watching your build thread and taking notes. Looking forward to your flight reports!!Cheers,
Dirk
02-18-2020, 05:46 AM
#125
Thread Starter
Well this is by far the fastest I ever seen you build a plane!! That's a good looking balance stand it is sitting on... We really appreciate your honesty during the entire build and Mr. Kim has been watching your build thread and taking notes. Looking forward to your flight reports!!
Cheers,
Dirk
We really appreciate your honesty during the entire build and Mr. Kim has been watching your build thread and taking notes. Looking forward to your flight reports!!Cheers,
Dirk
 I always try to give a good positive feedback and the fact Mr Kim takes the good and bad feedback in a positive way to improve his product is the single most exciting part to all of this. Its a very well thought out model and its very obvious they take pride in things, its a very well thought out and refined model so far, few simple tweaks and it would be damn near perfect.
Last edited by FenderBean; 02-18-2020 at 05:48 AM.