MK Akromaster Build Handover
 12-18-2019, 06:56 PM
#1

Thread Starter
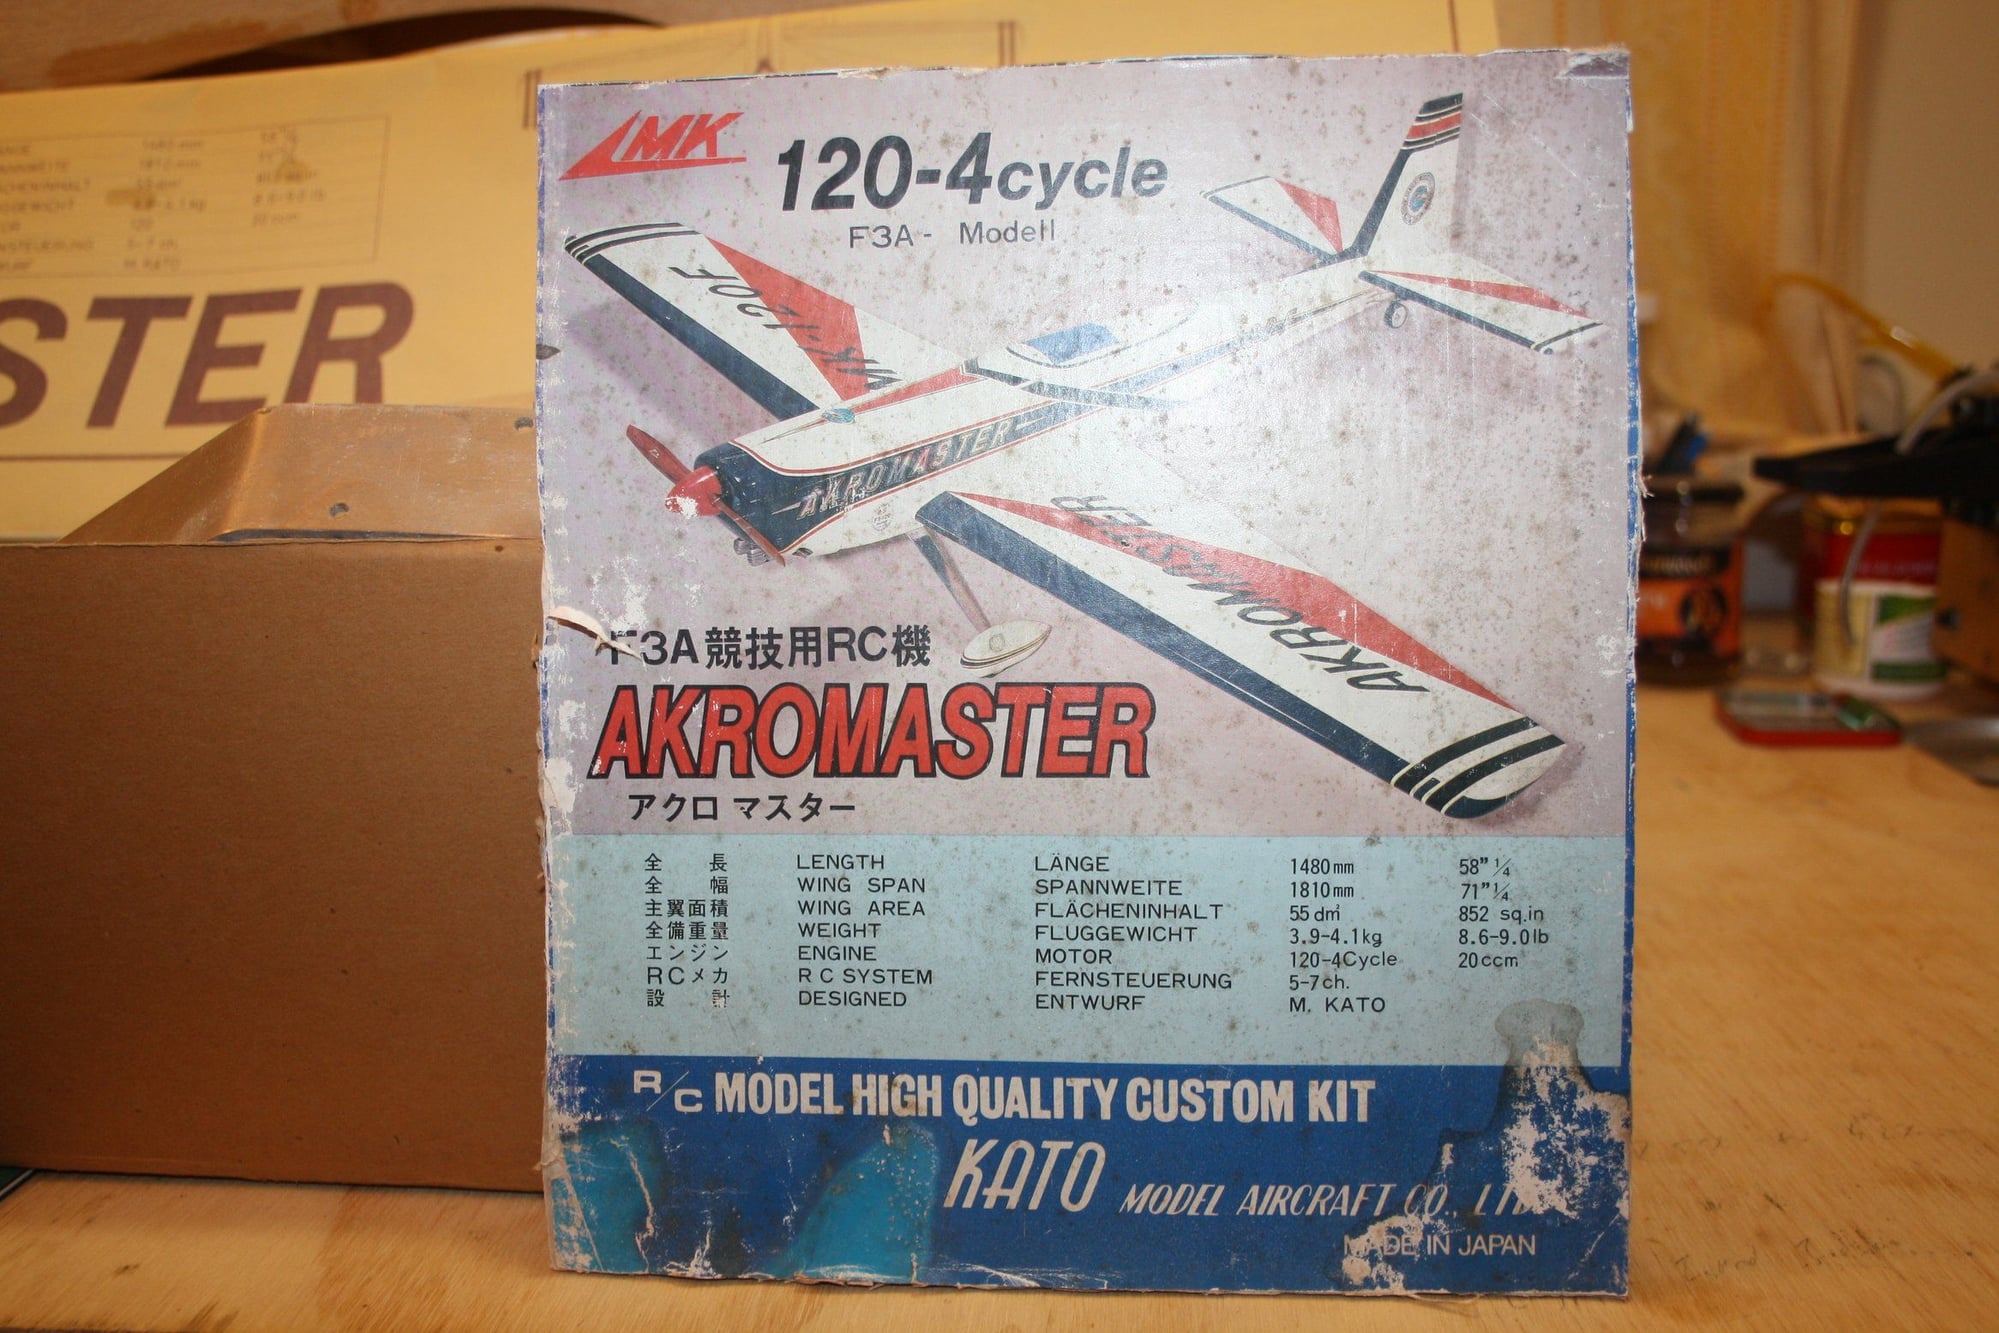
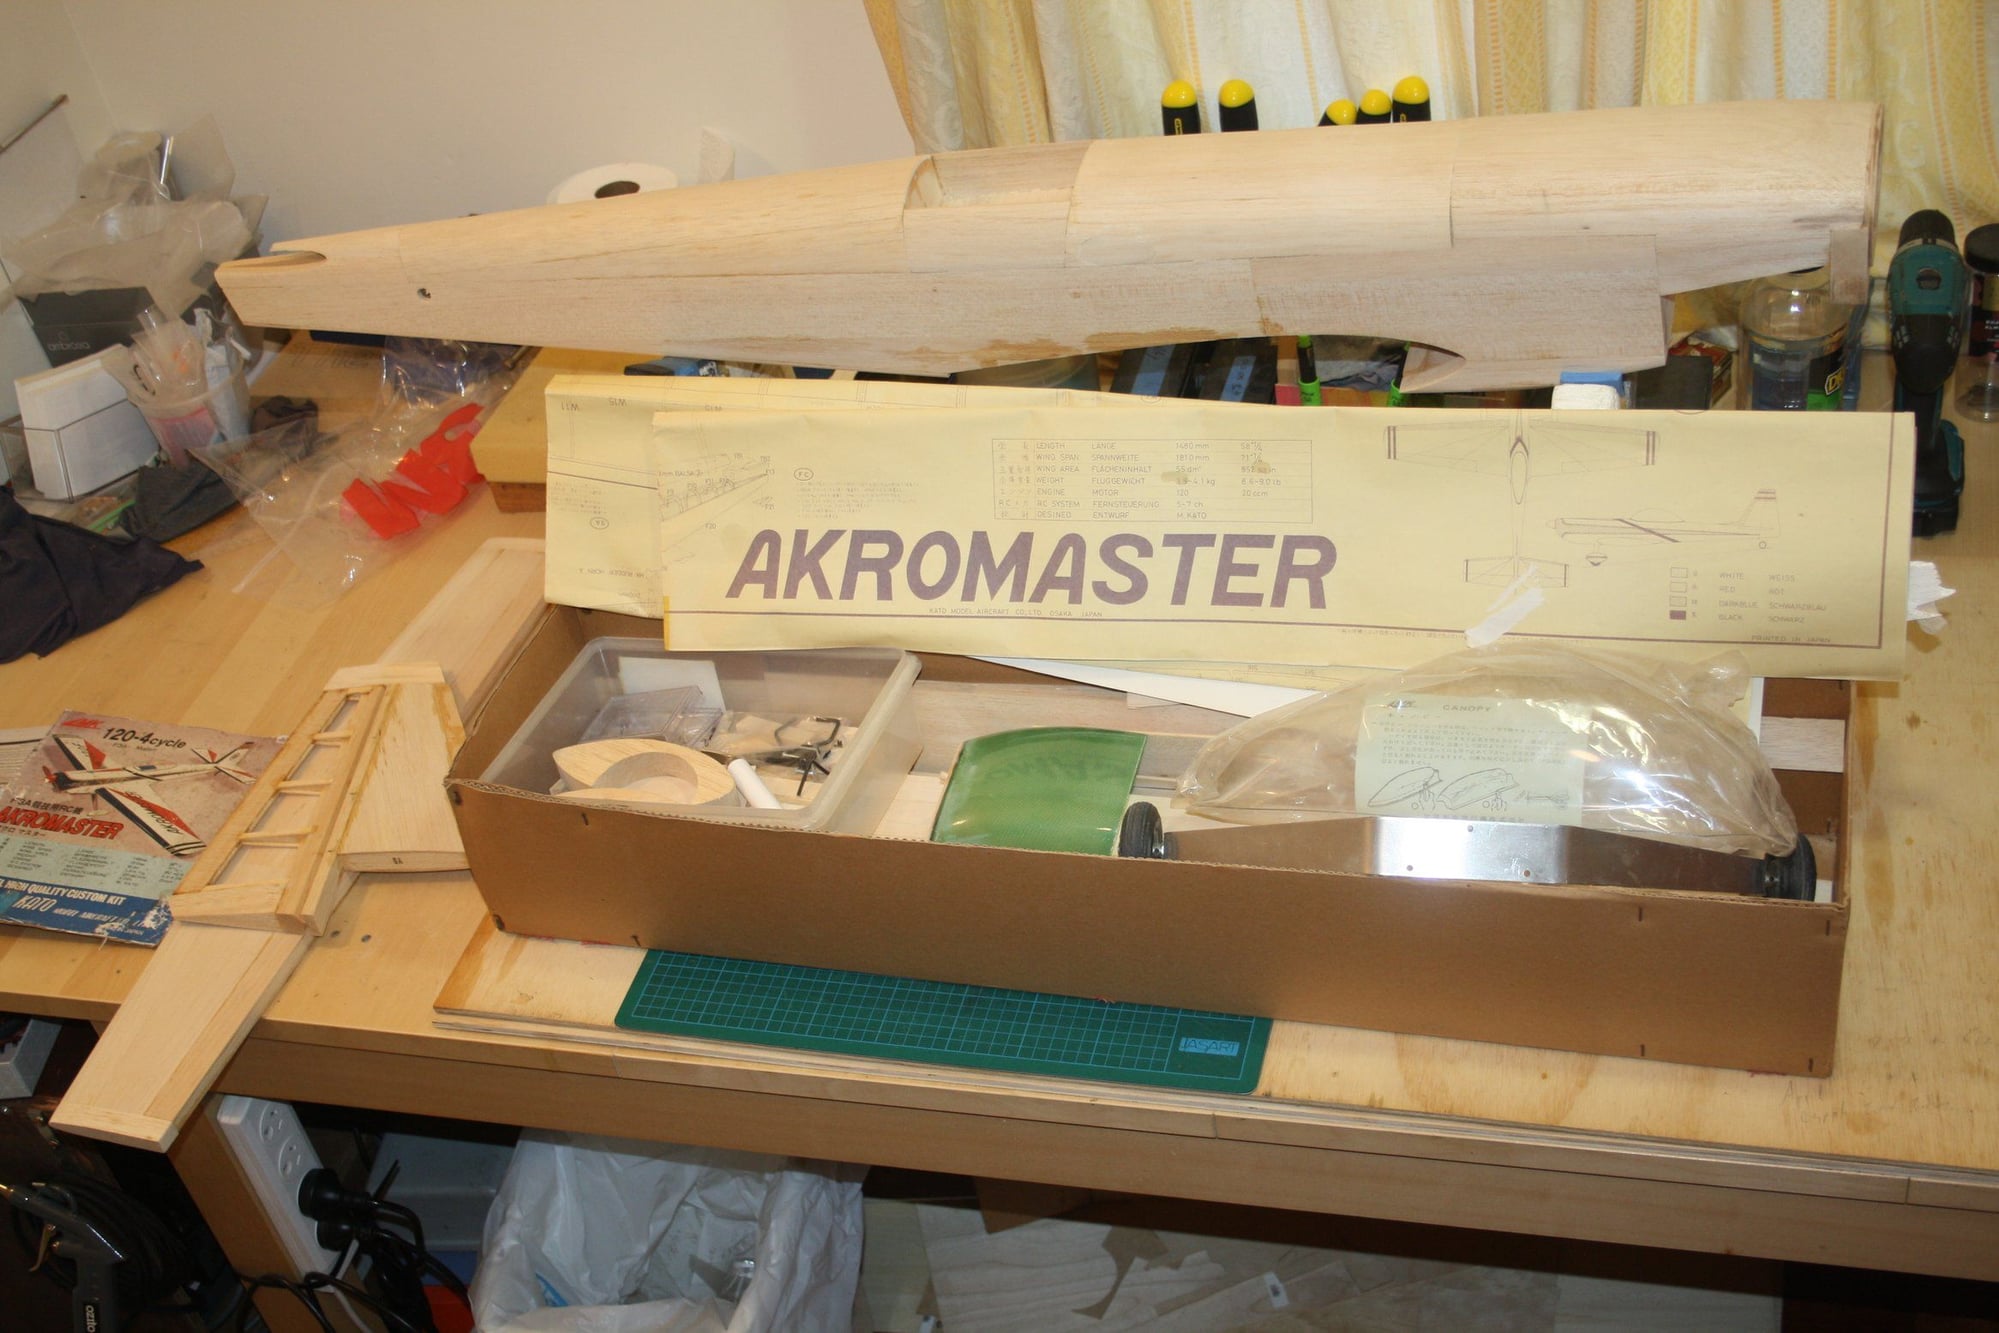
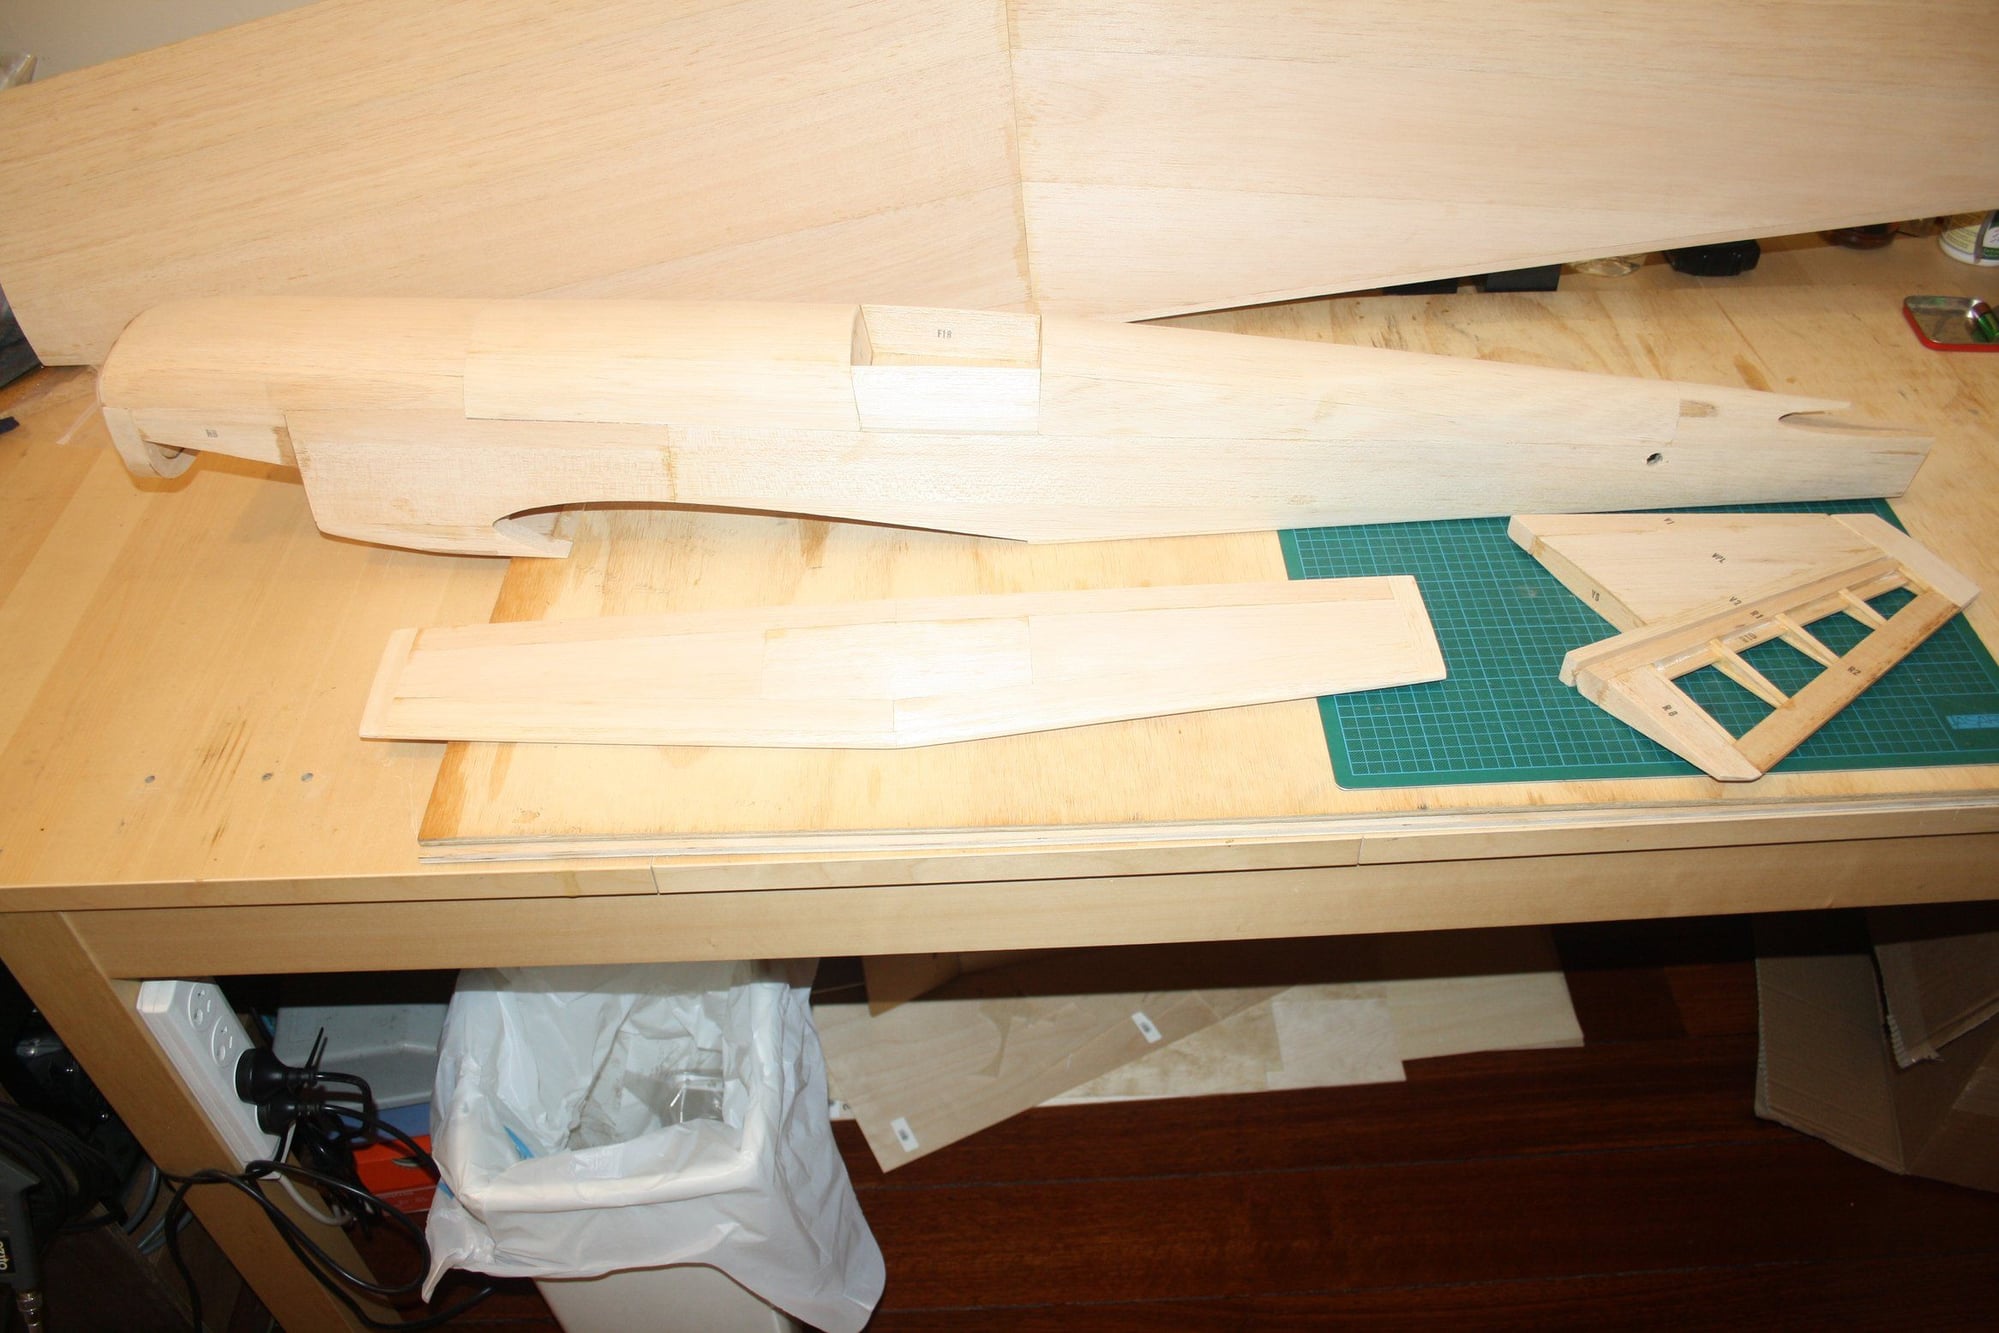
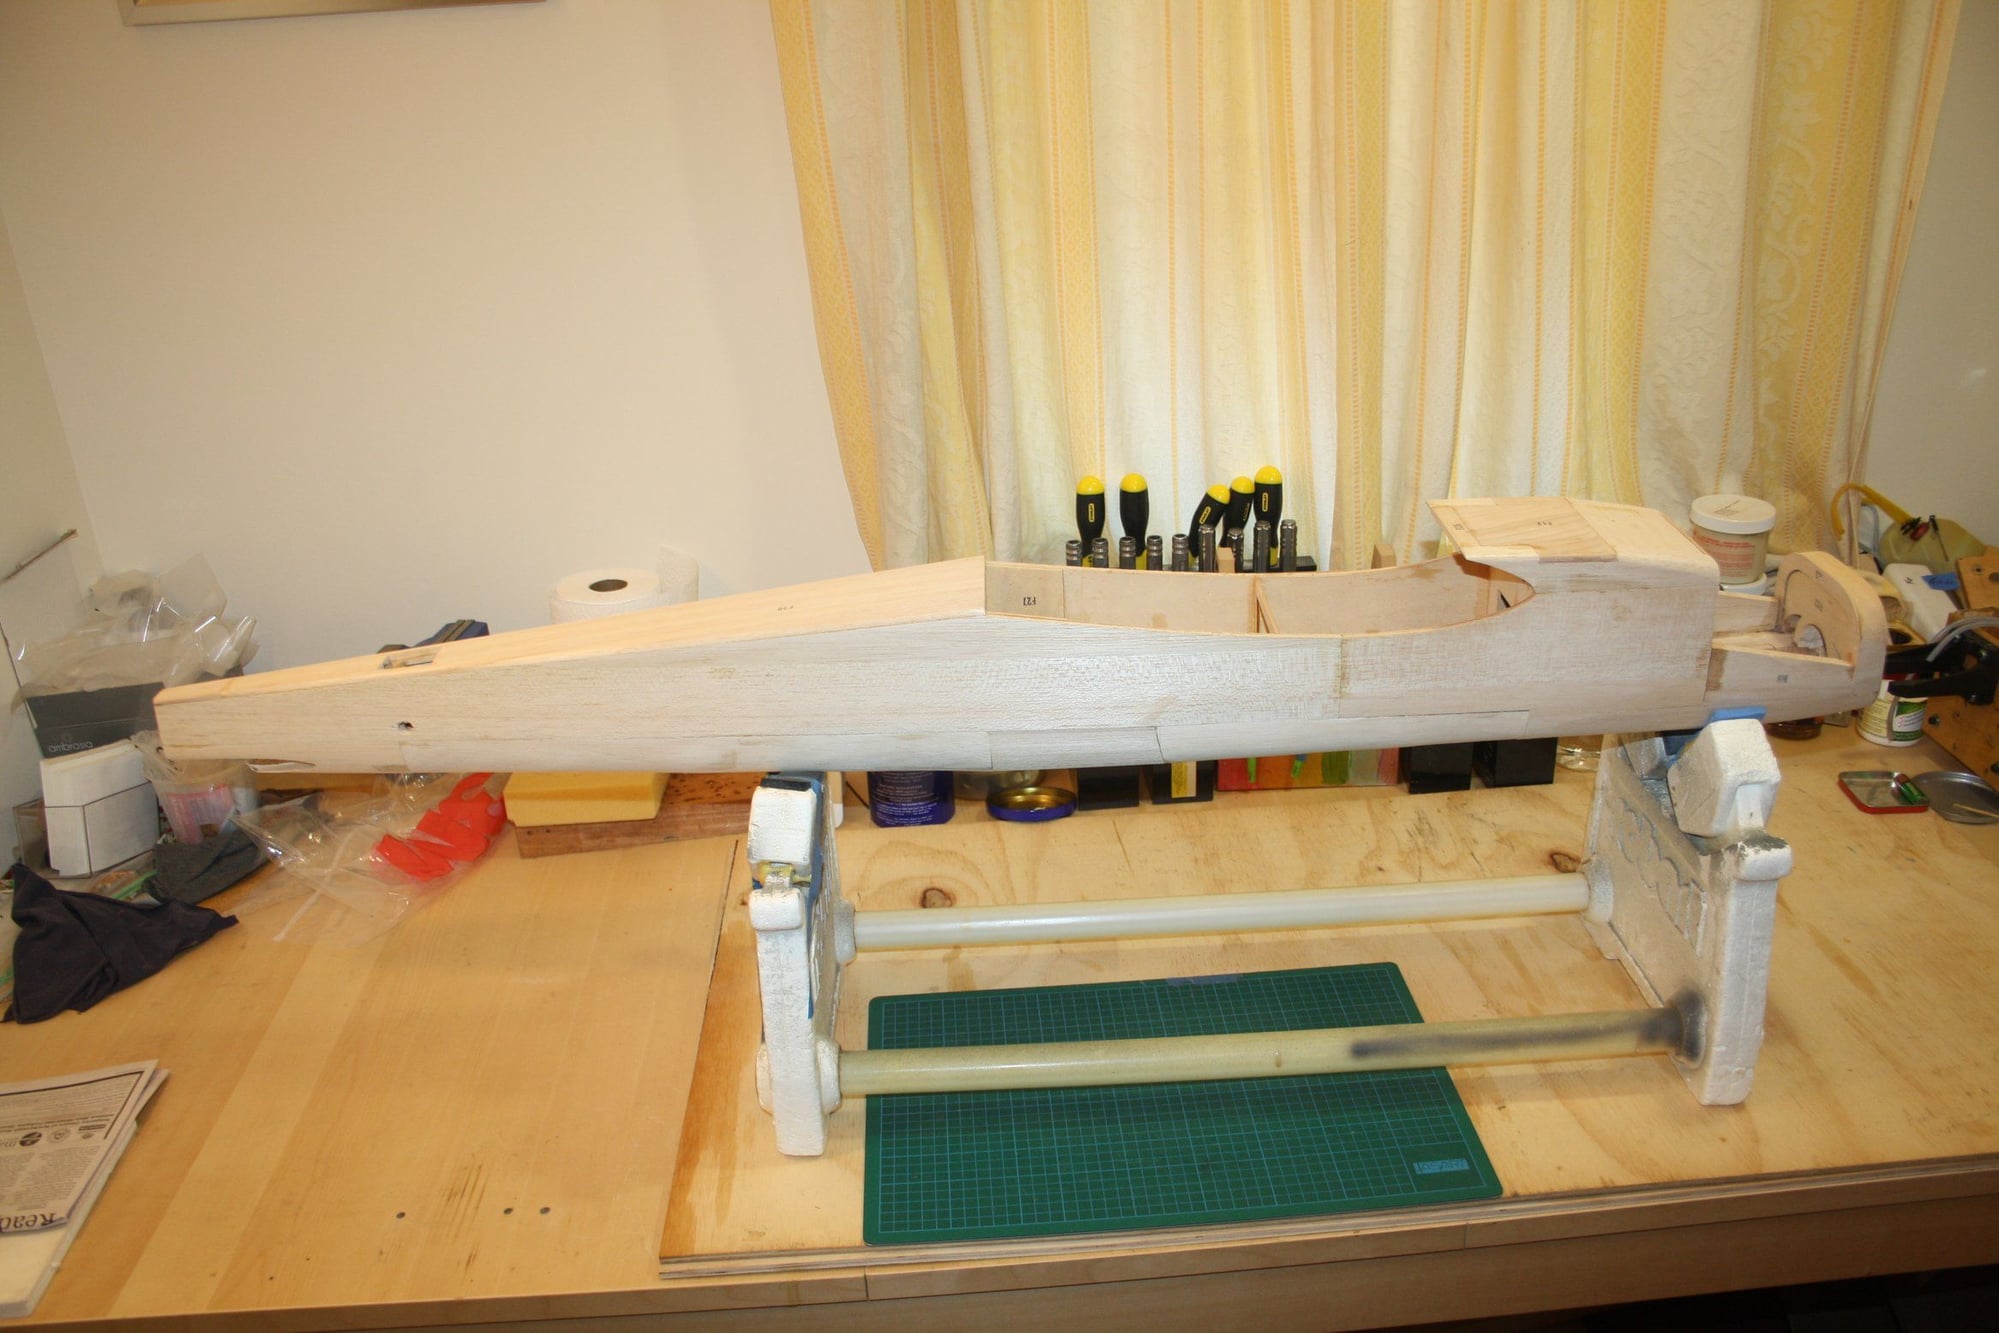
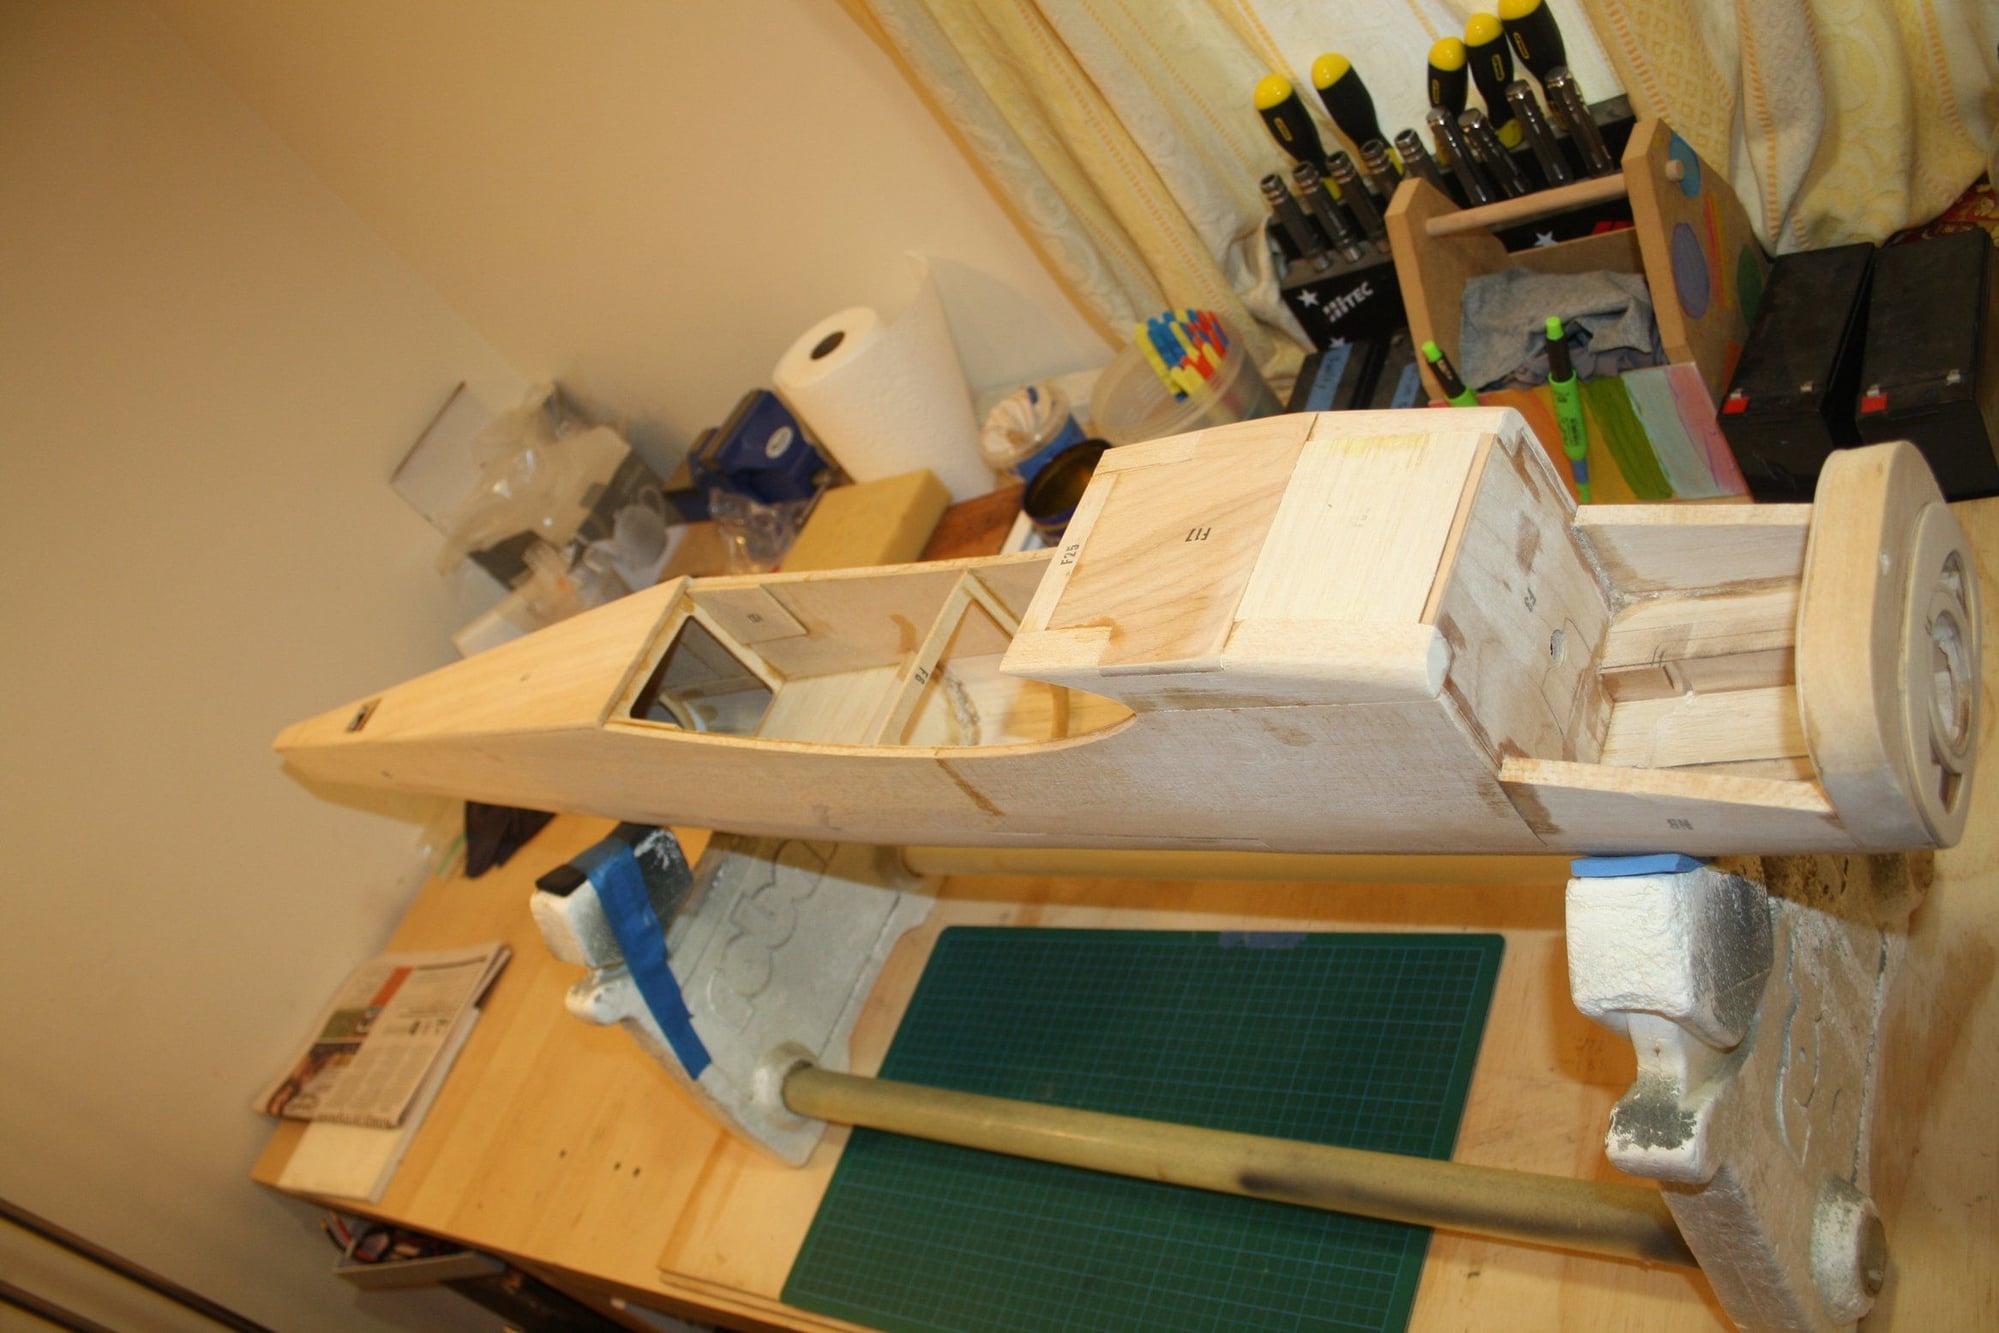
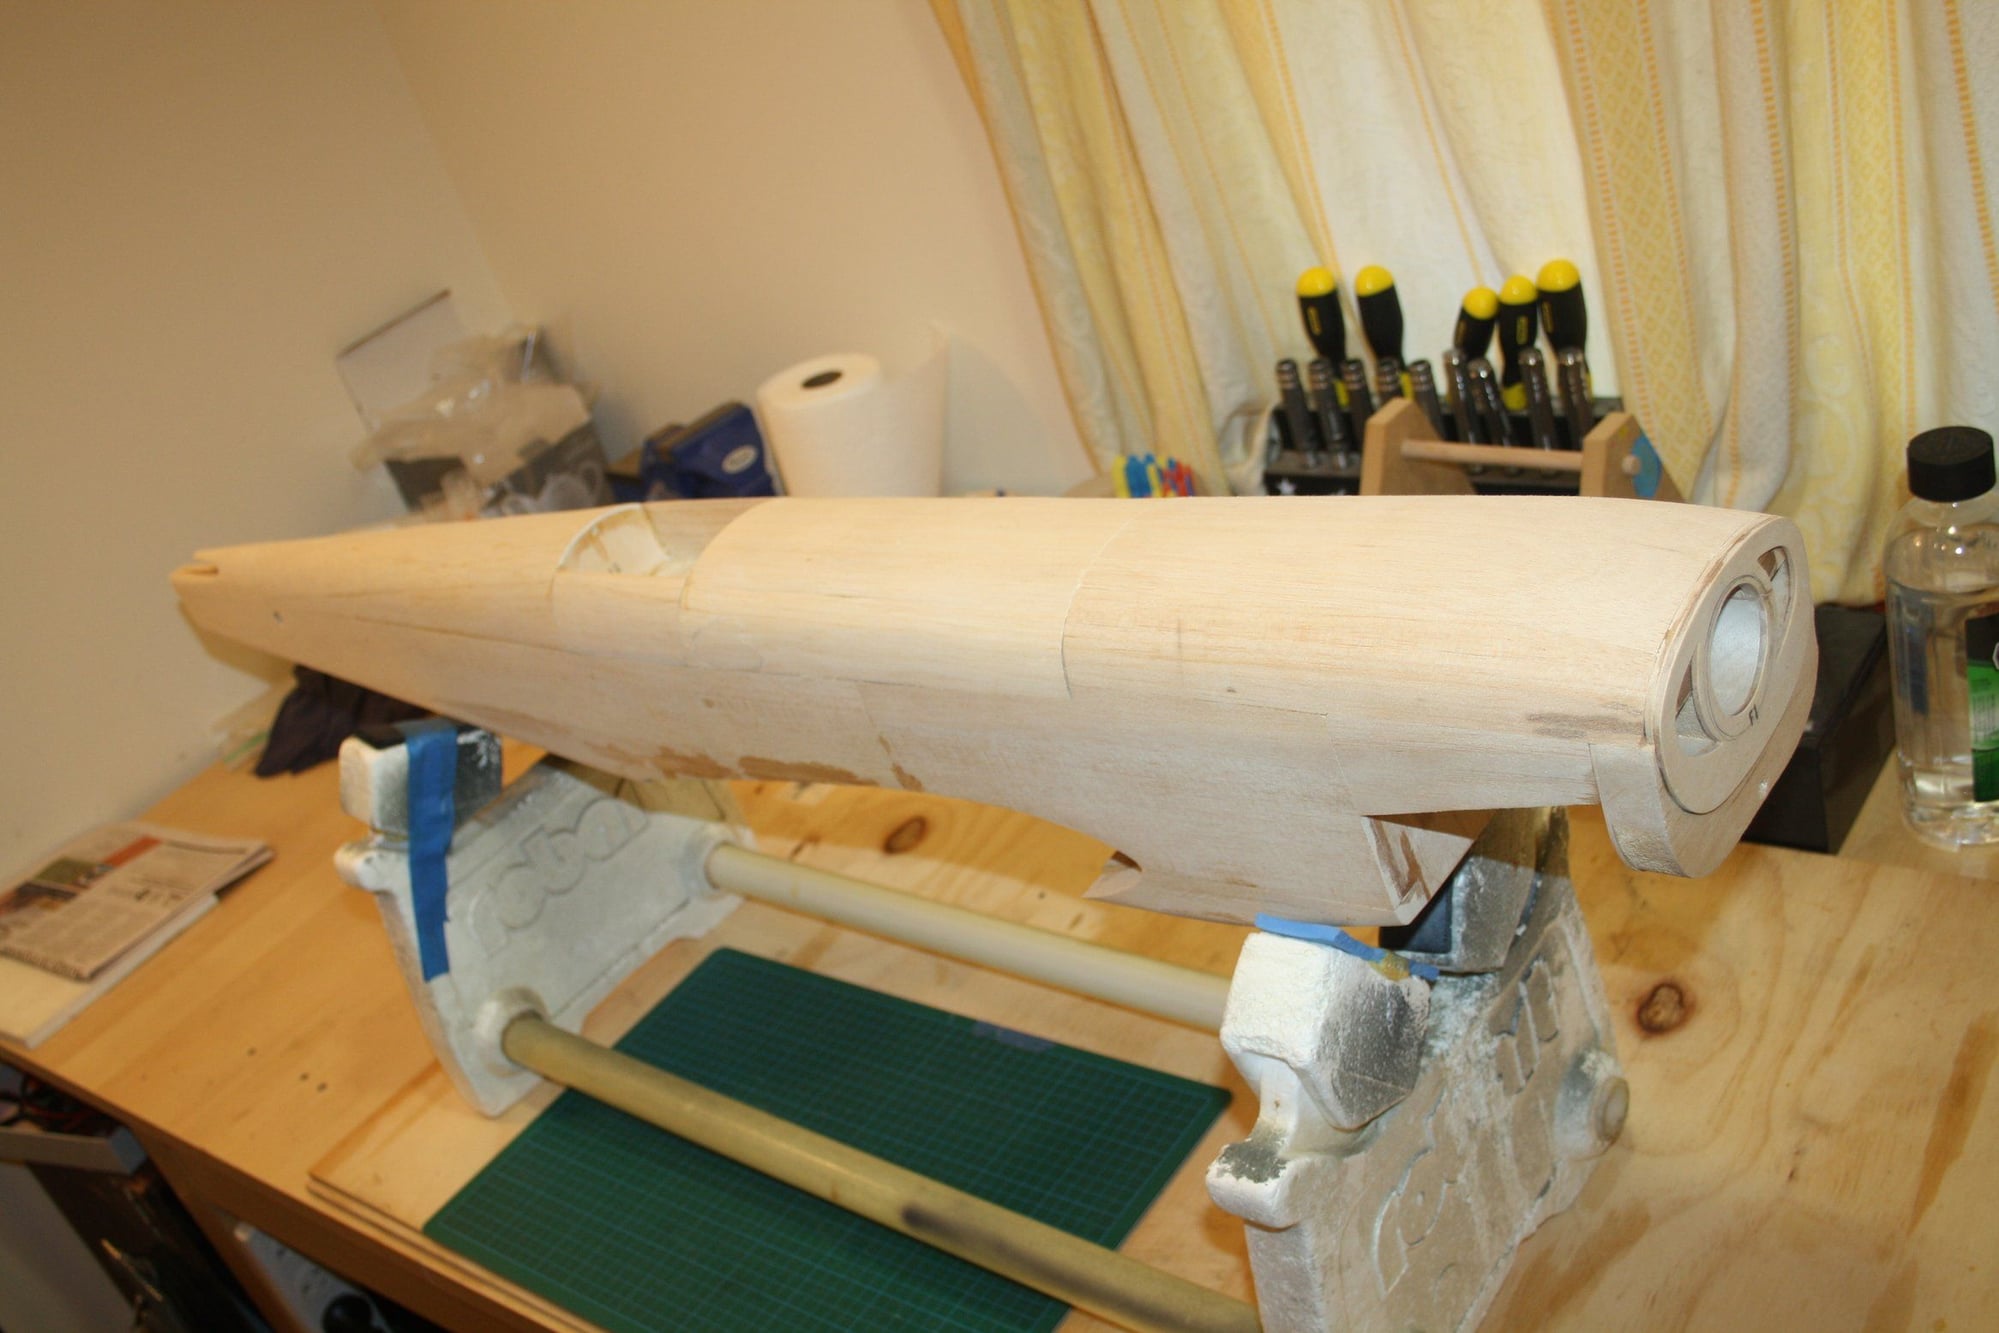
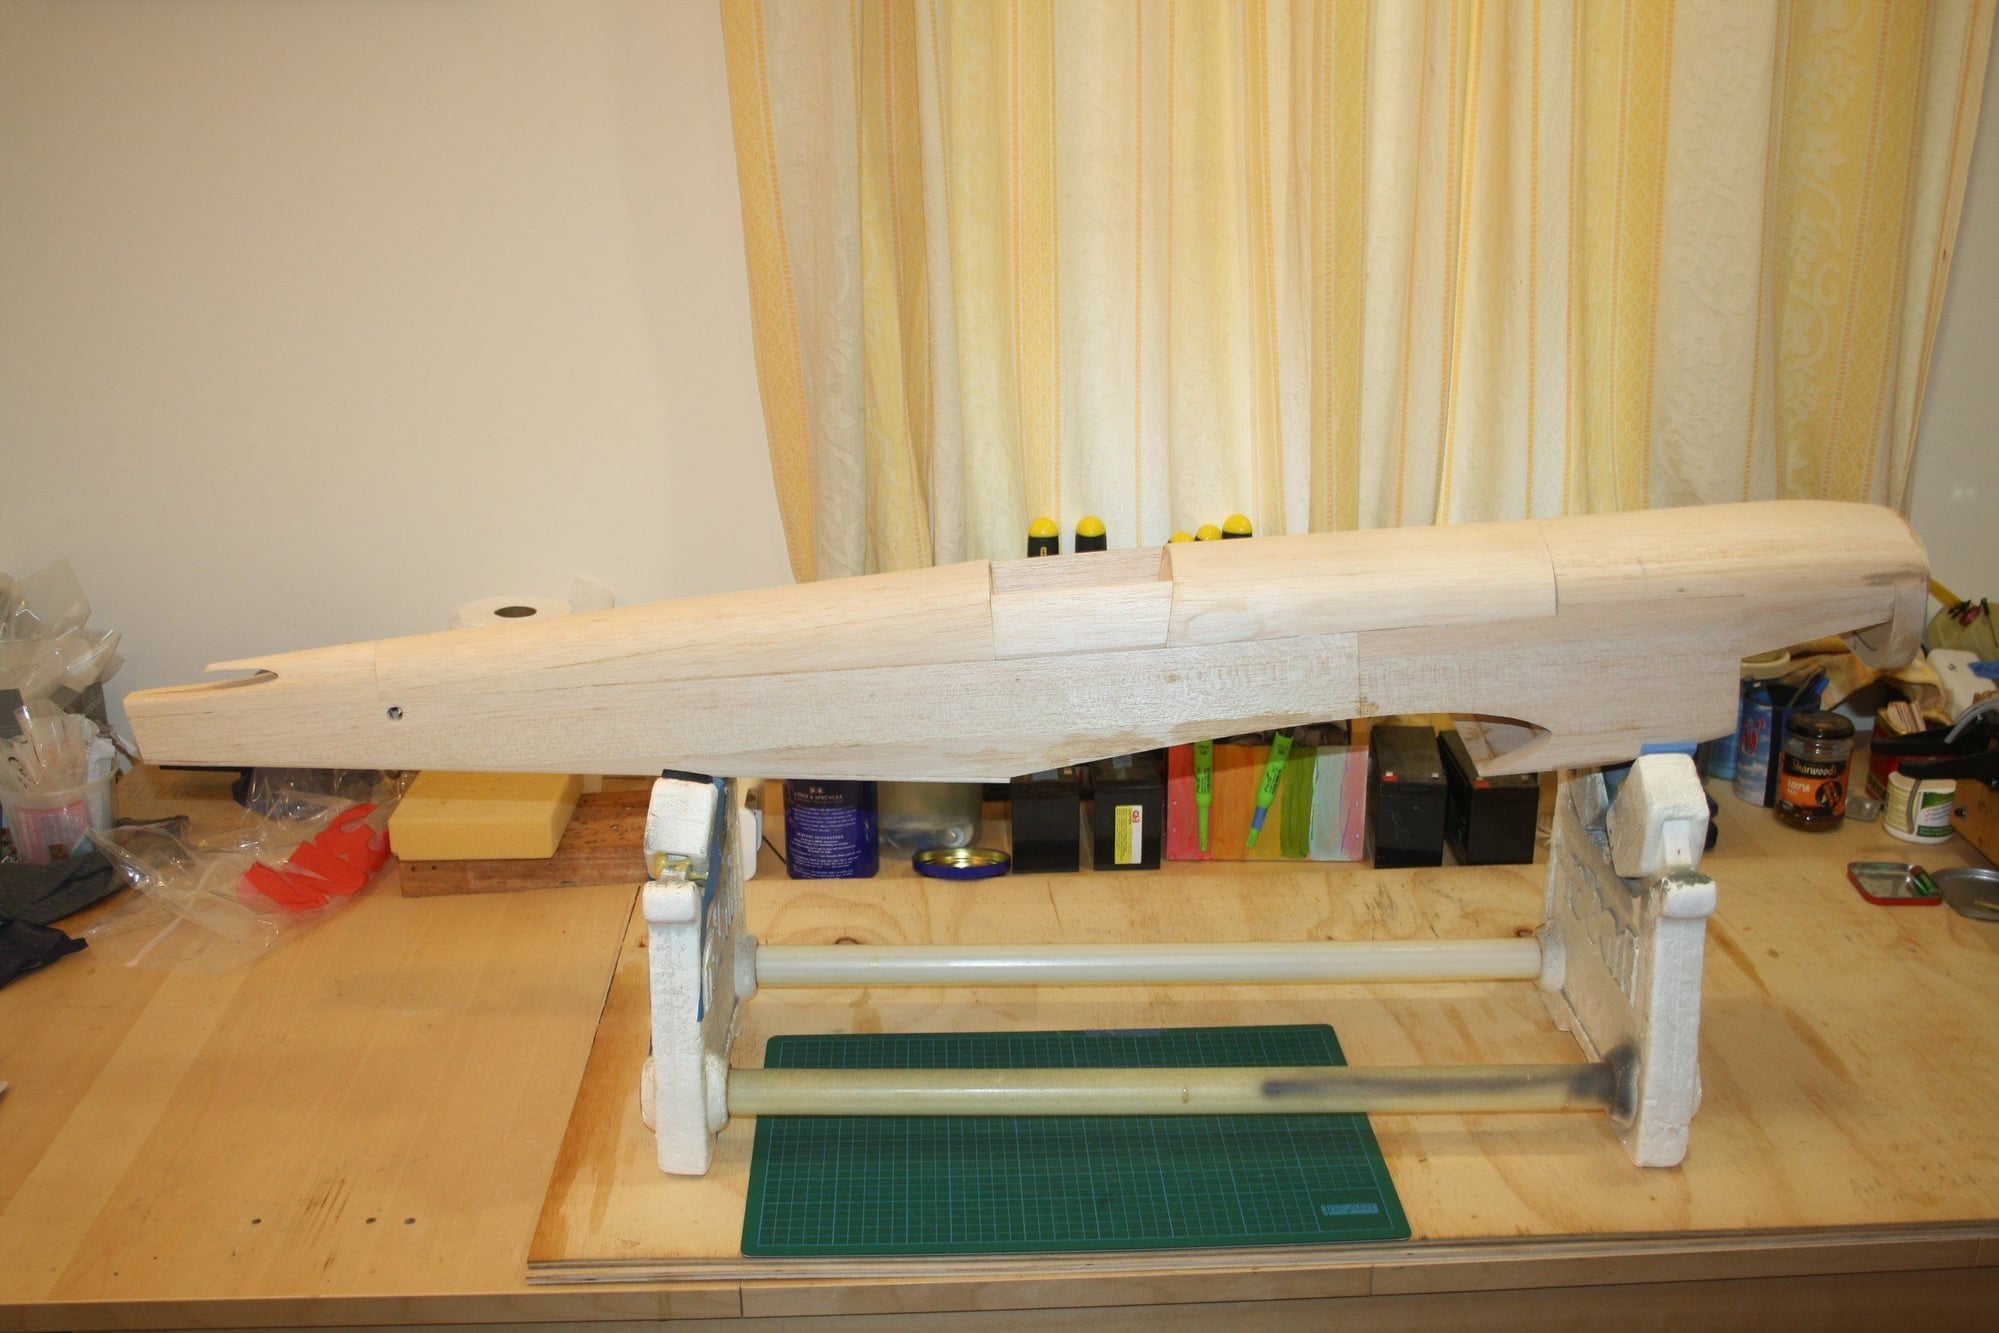
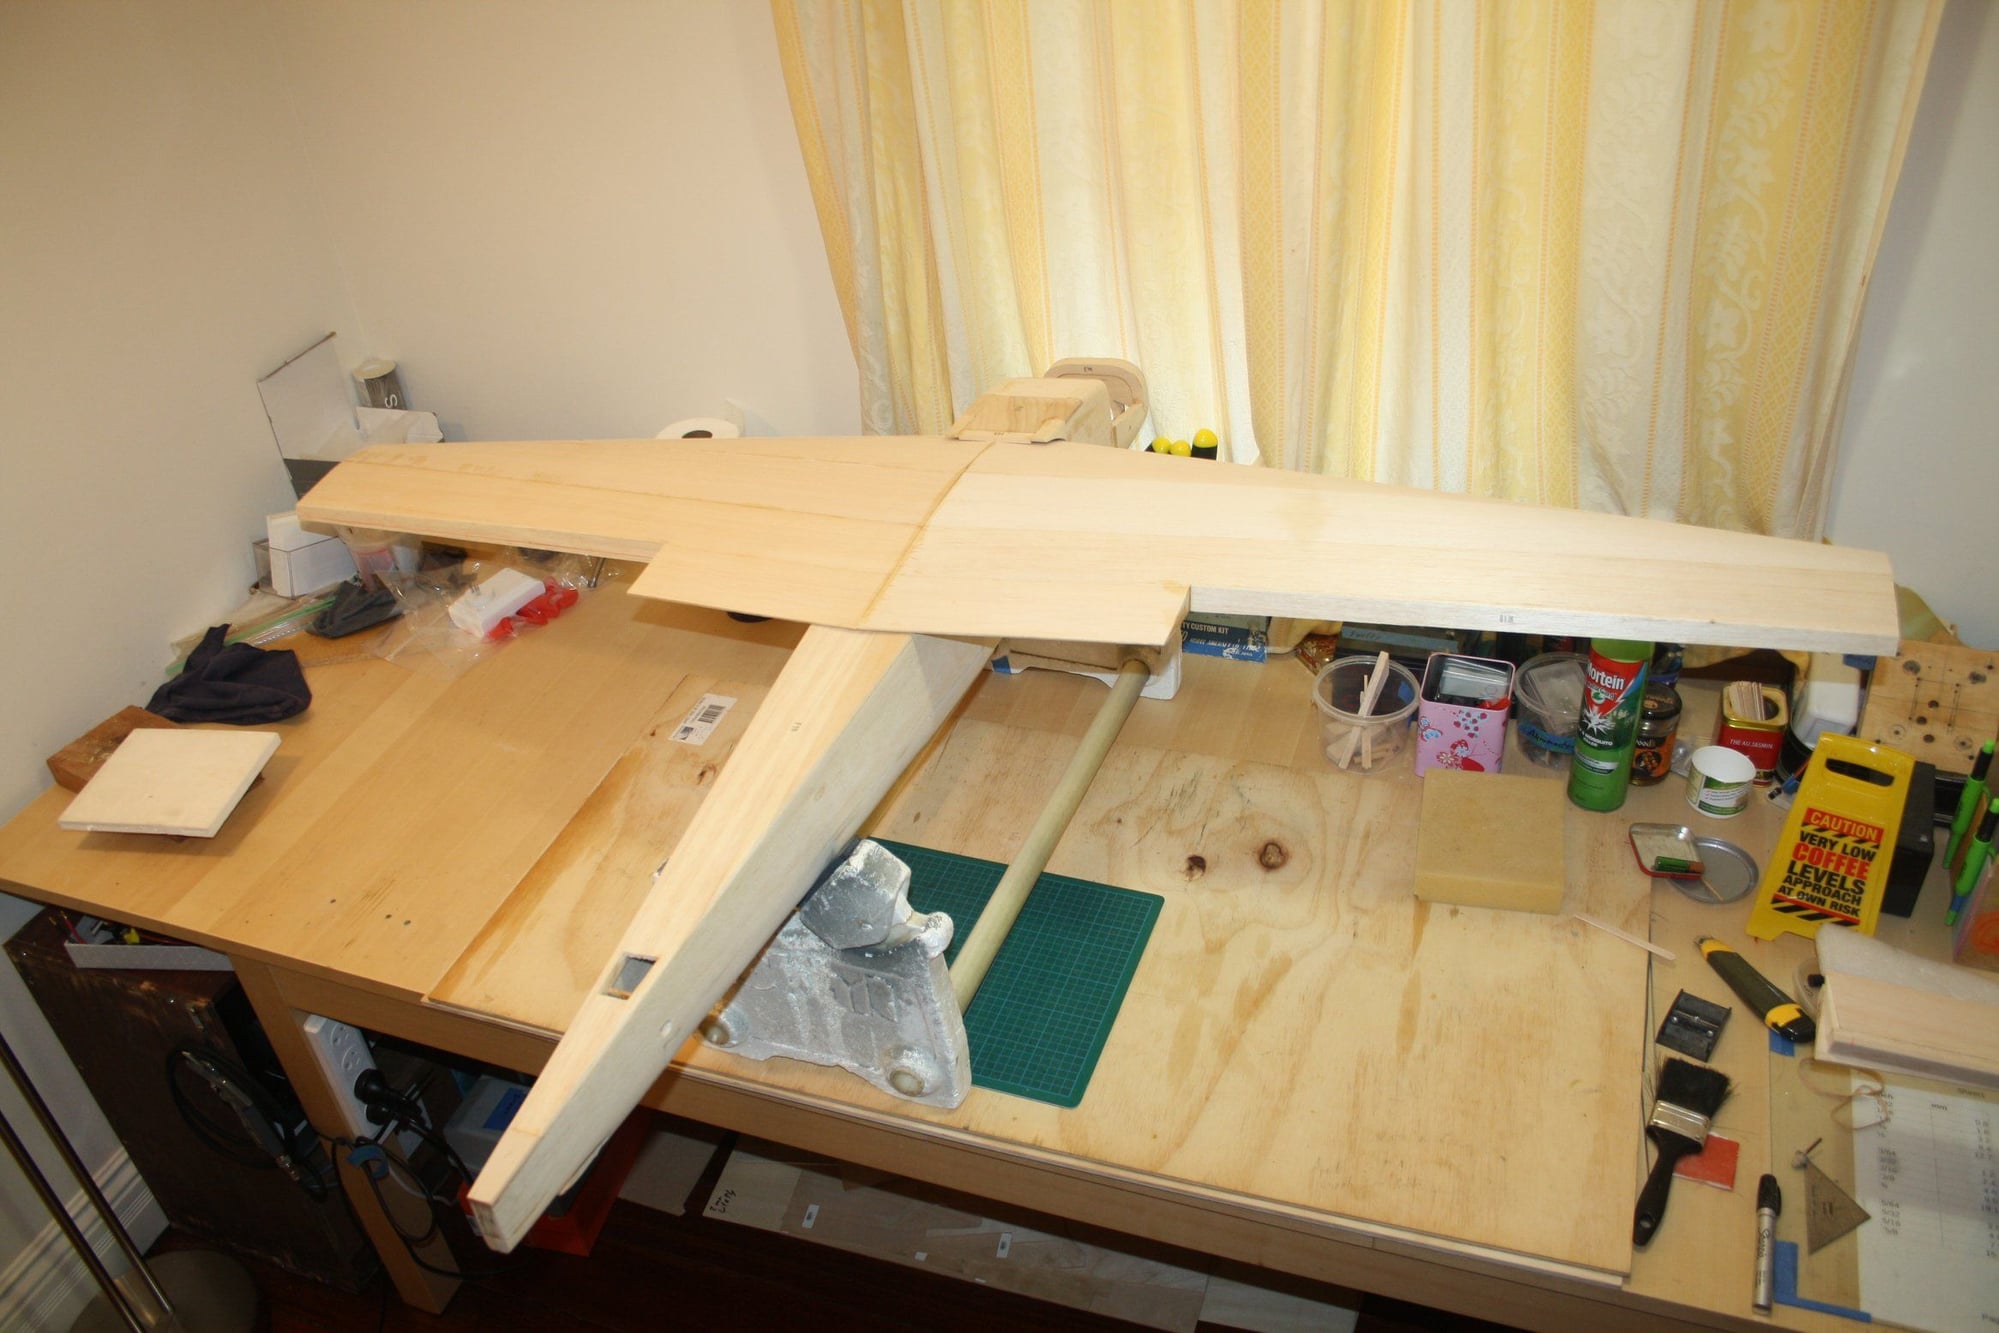
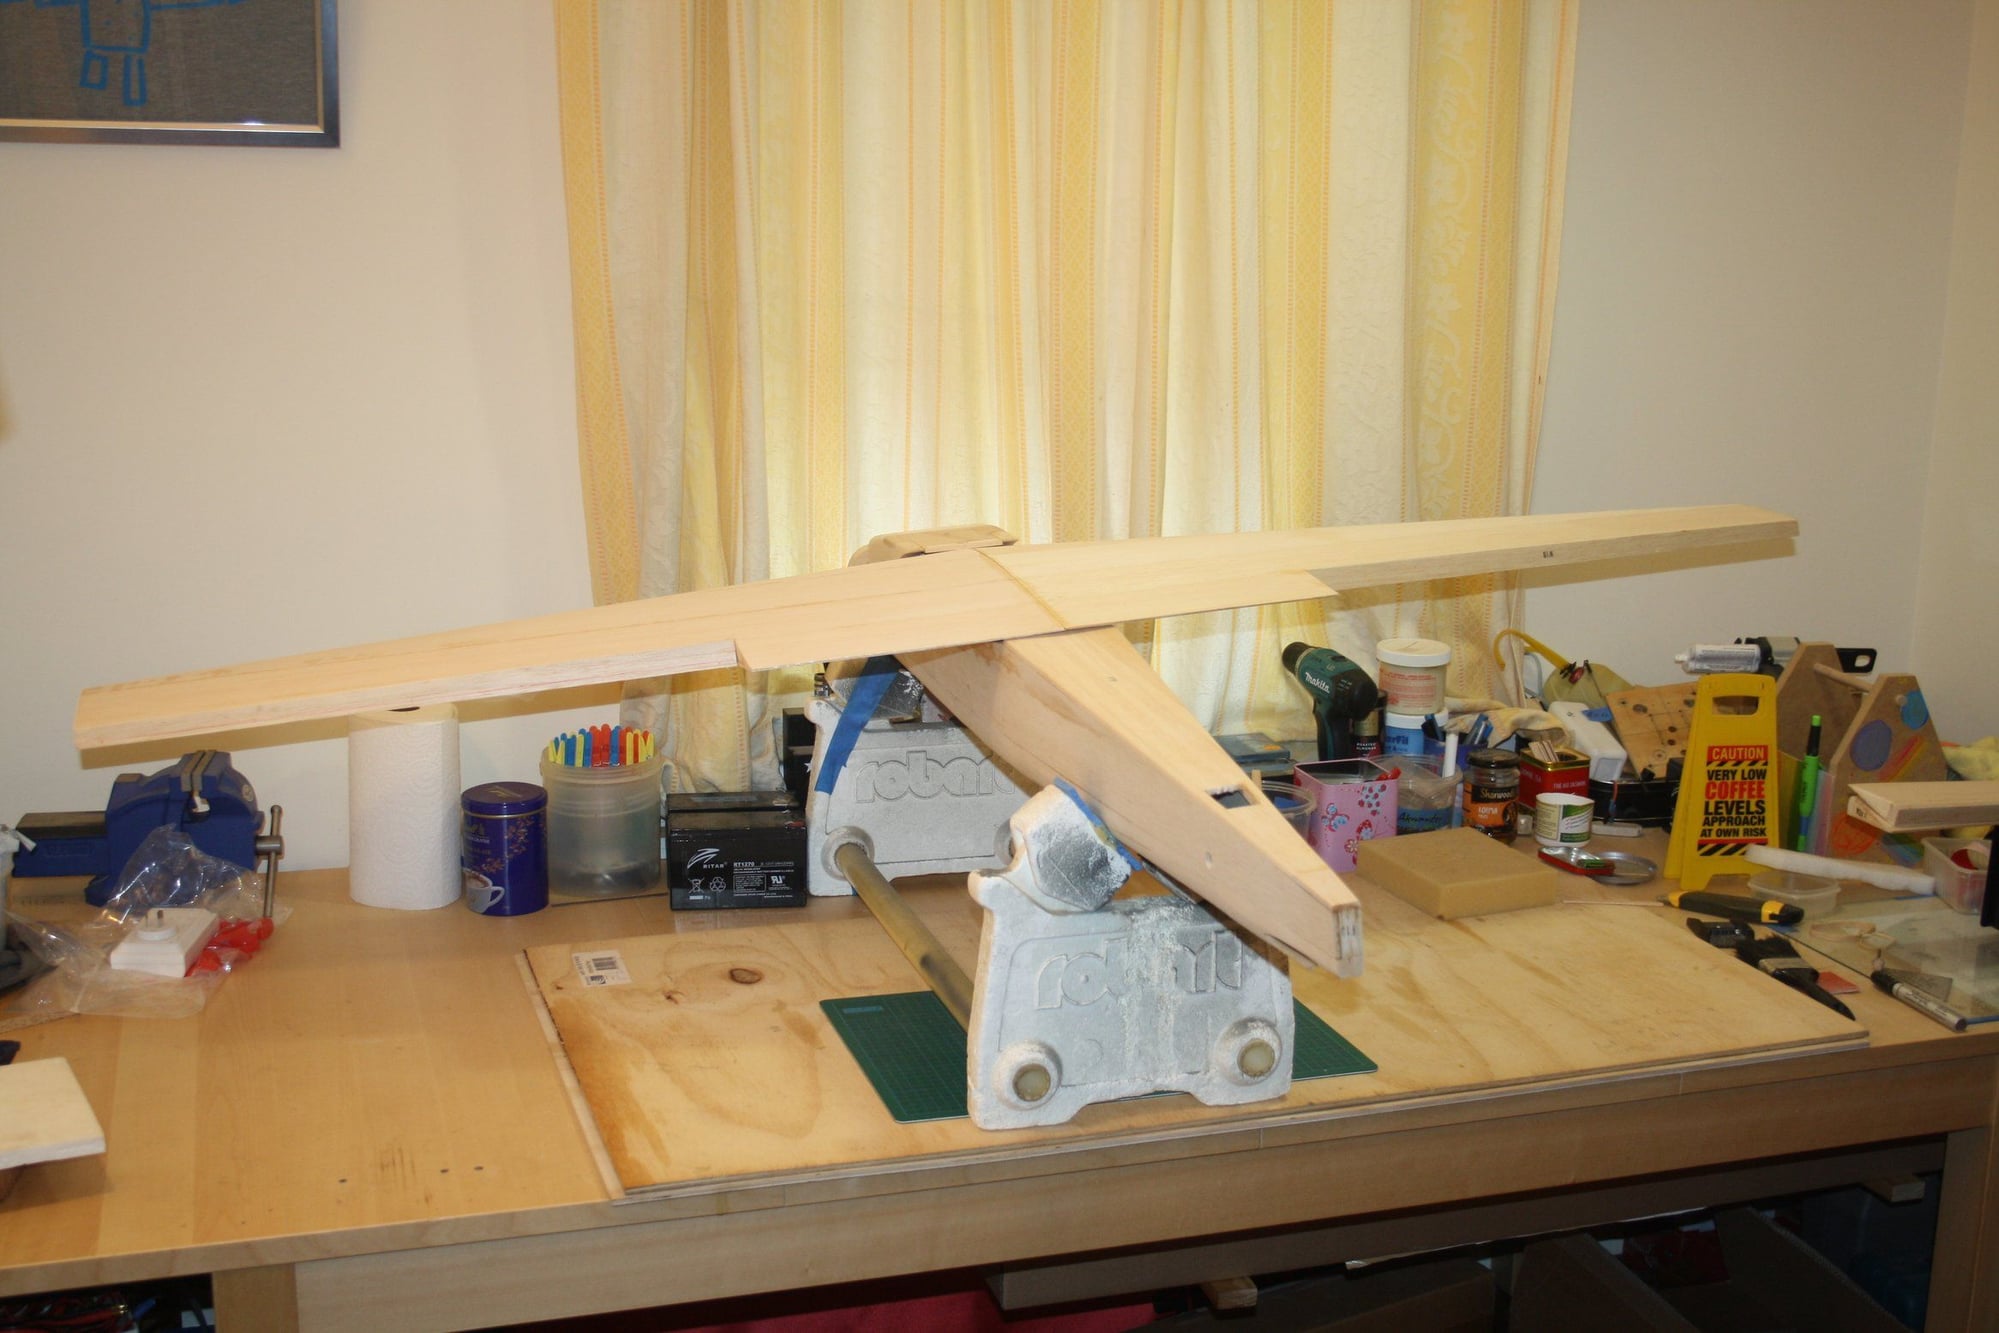
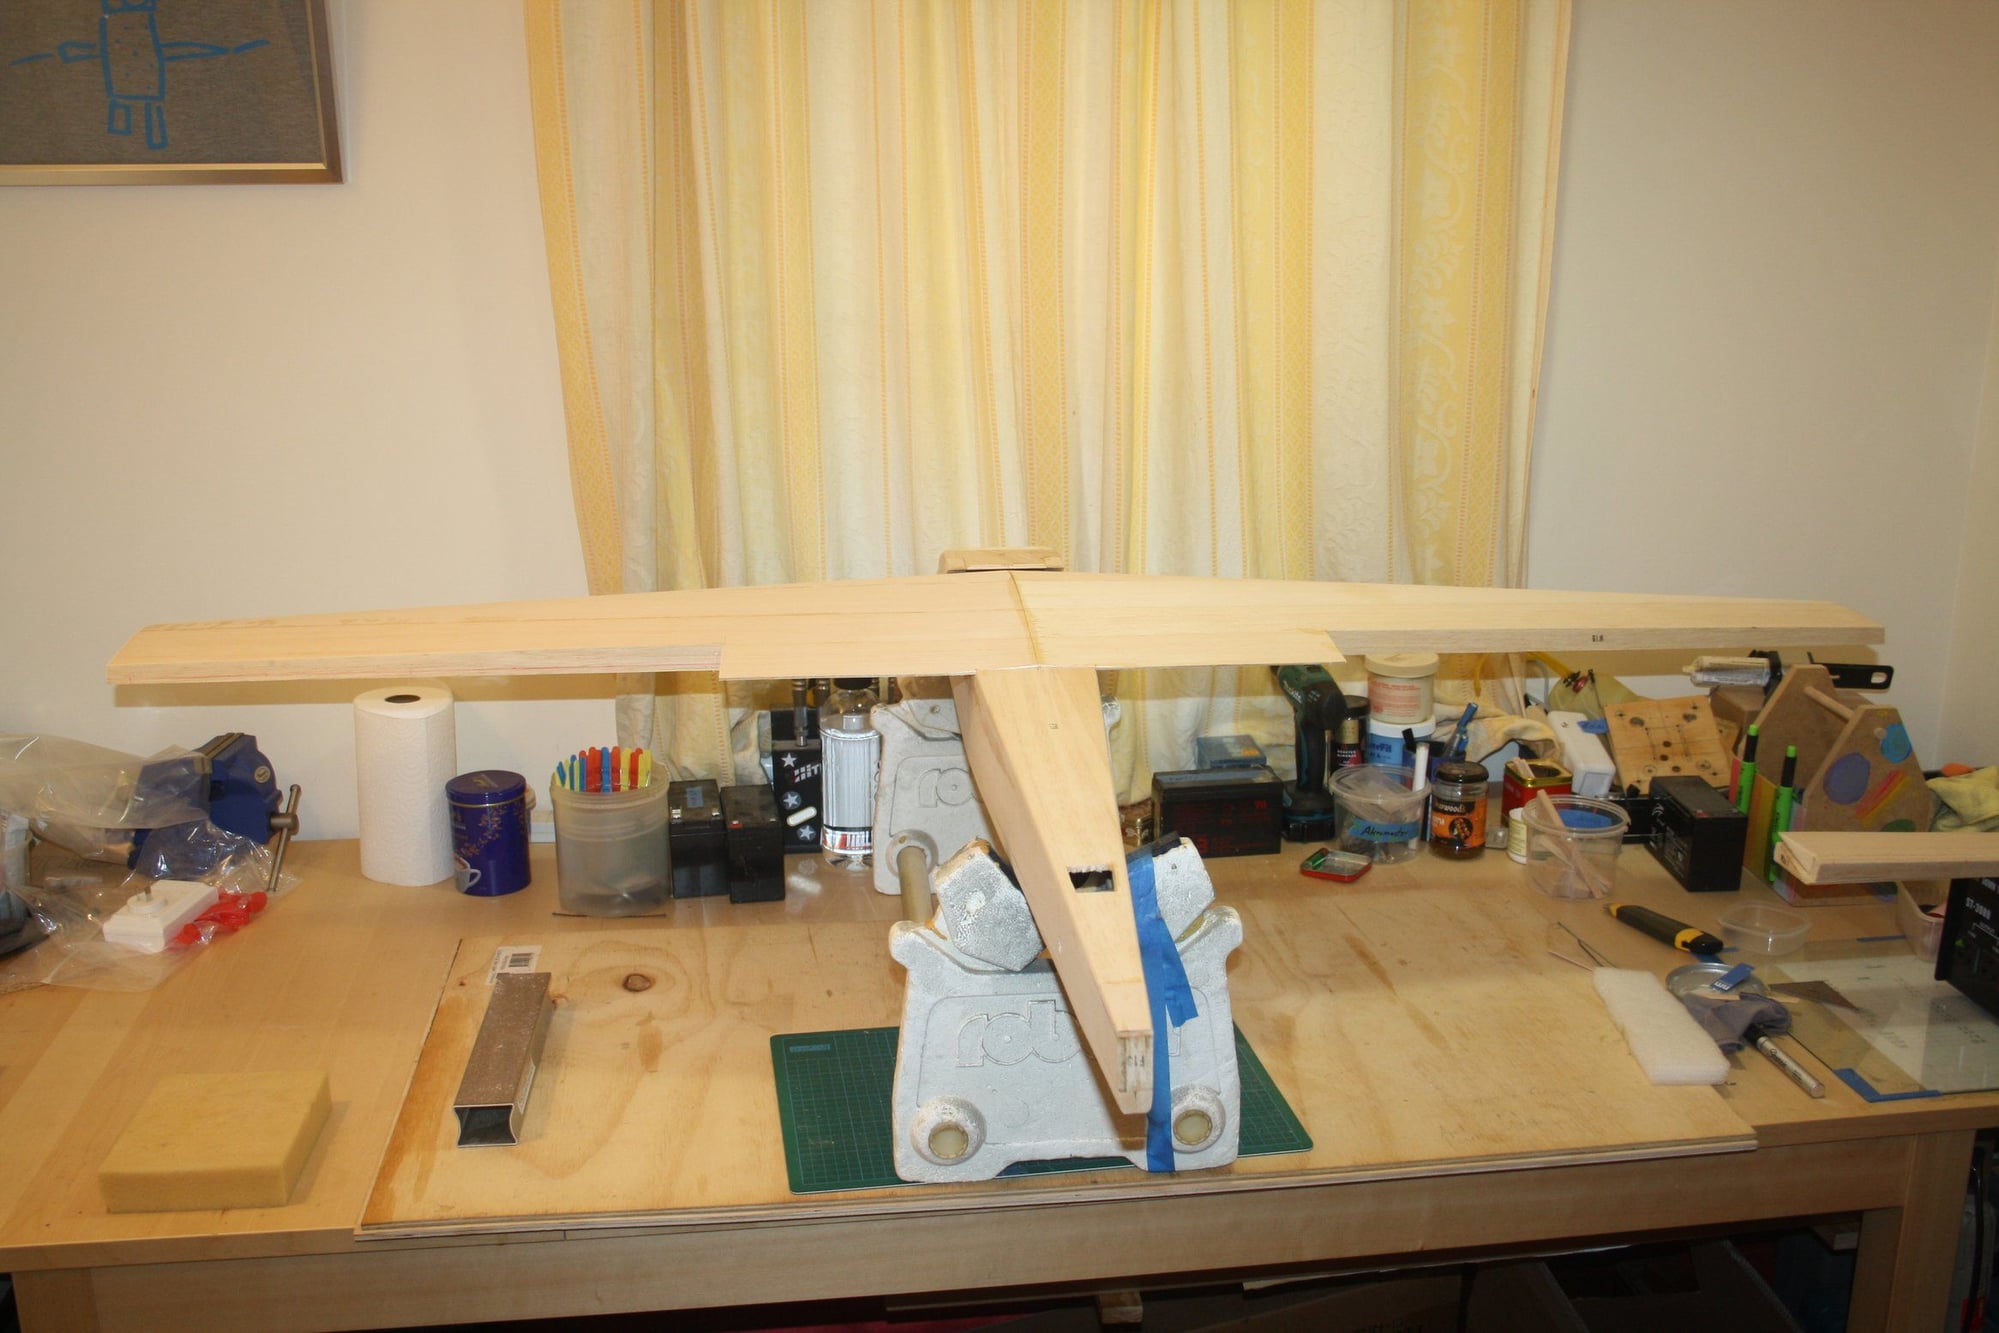
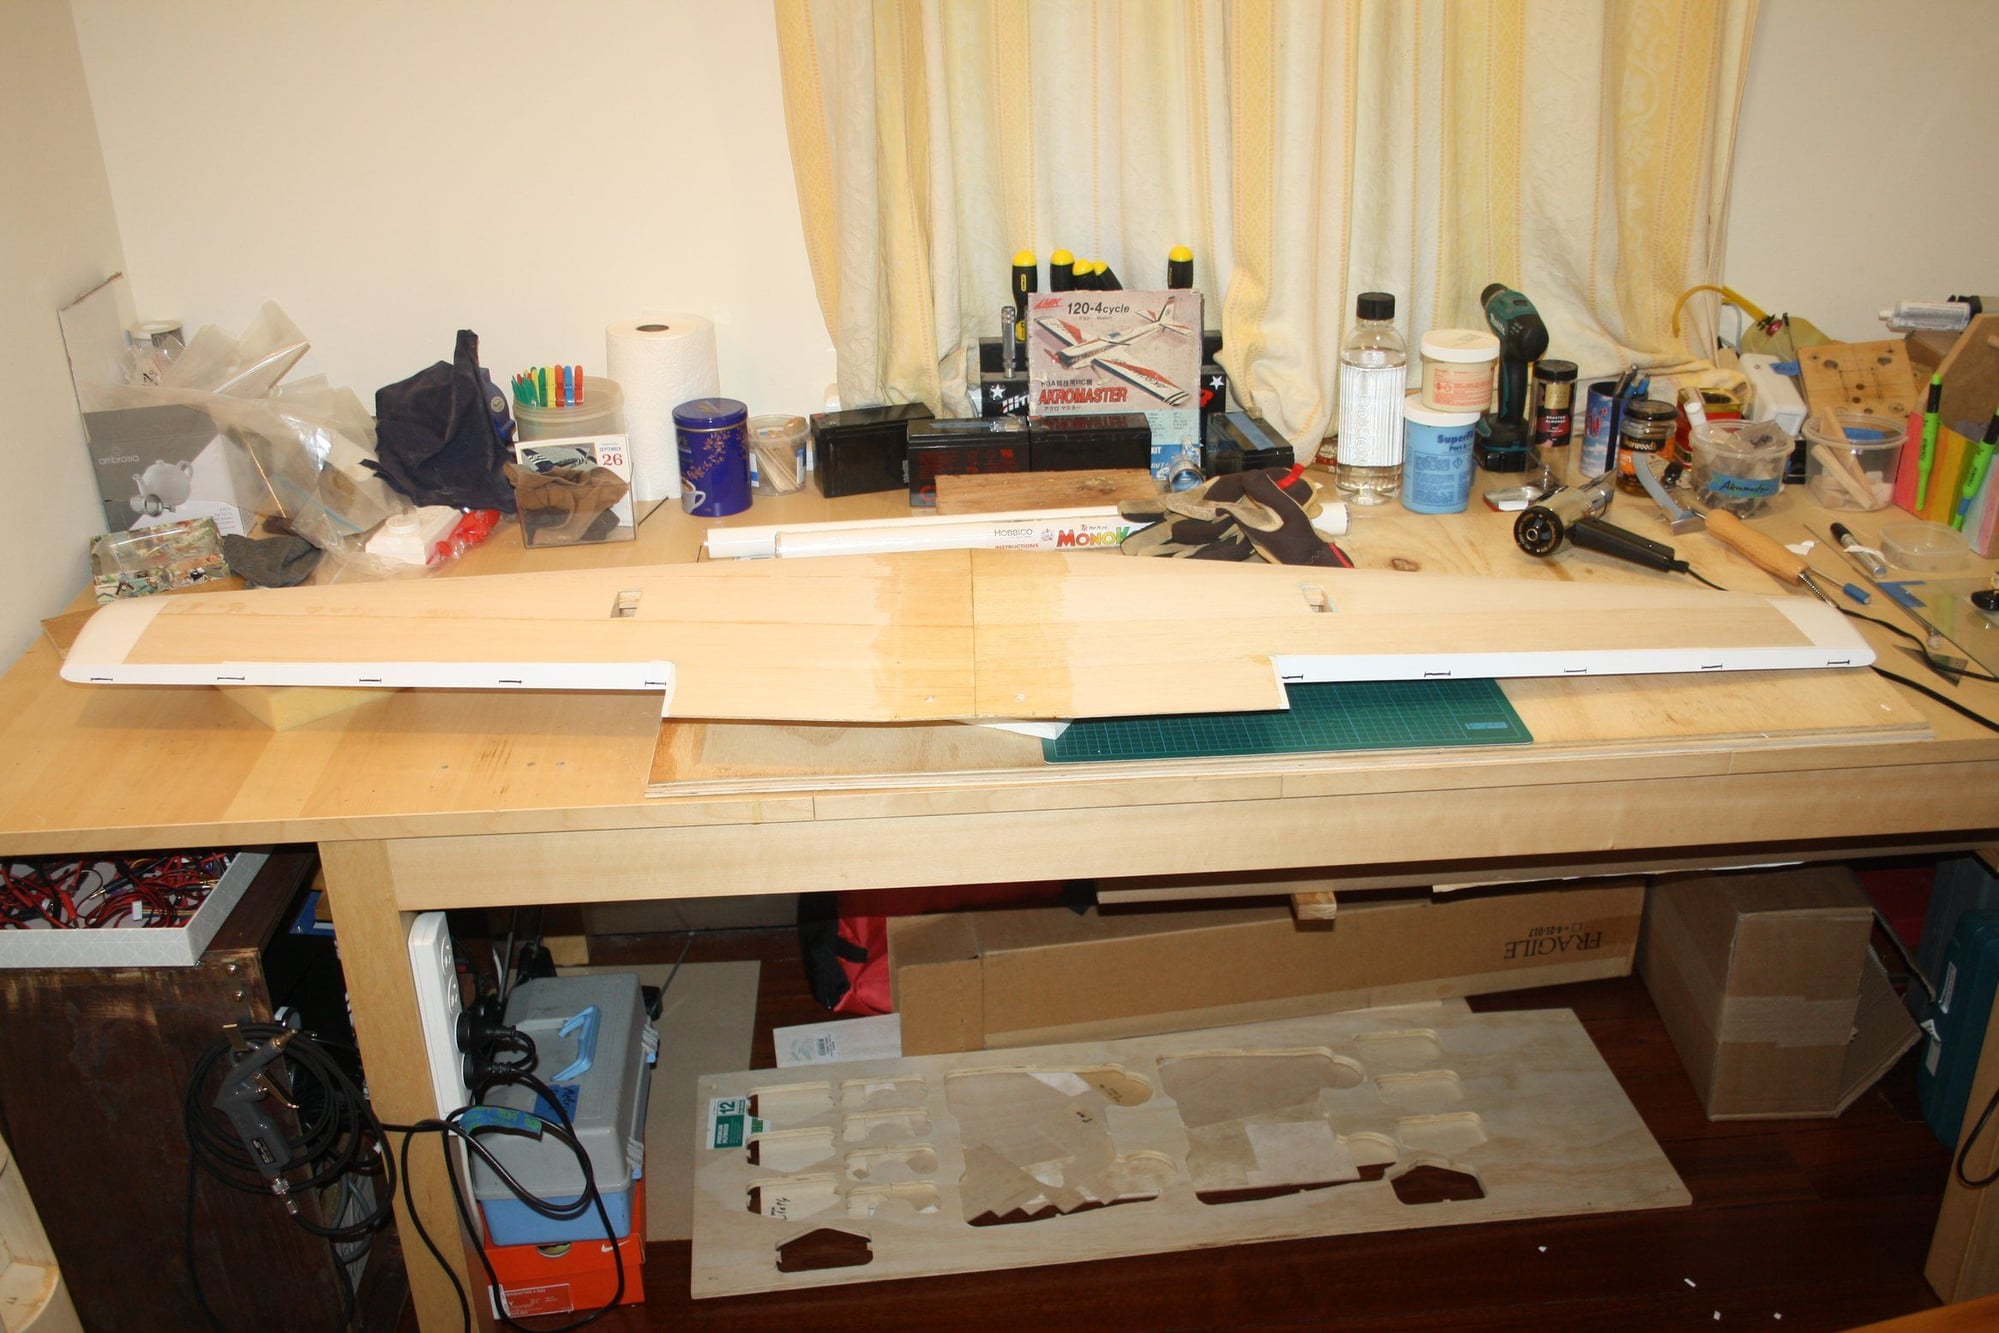
Yesterday I was fortunate enough to receive this MK Akromaster kit from its original owner, whom lost interest in it.
As can be seen in the photos, it is in a very advanced stage.
I took quite a few photos of the "starting point" for you to see the great work already completed, including some extra work of fully sheeting the wings and on one side, fully sheeting the horizontal stabiliser (not as per plan, but will make for very strong wing and stabiliser).
I hope you will enjoy this blast from the past kit completion (It is a late 80's kit),
Eran.


 12-20-2019, 01:03 AM
#3
Thread Starter
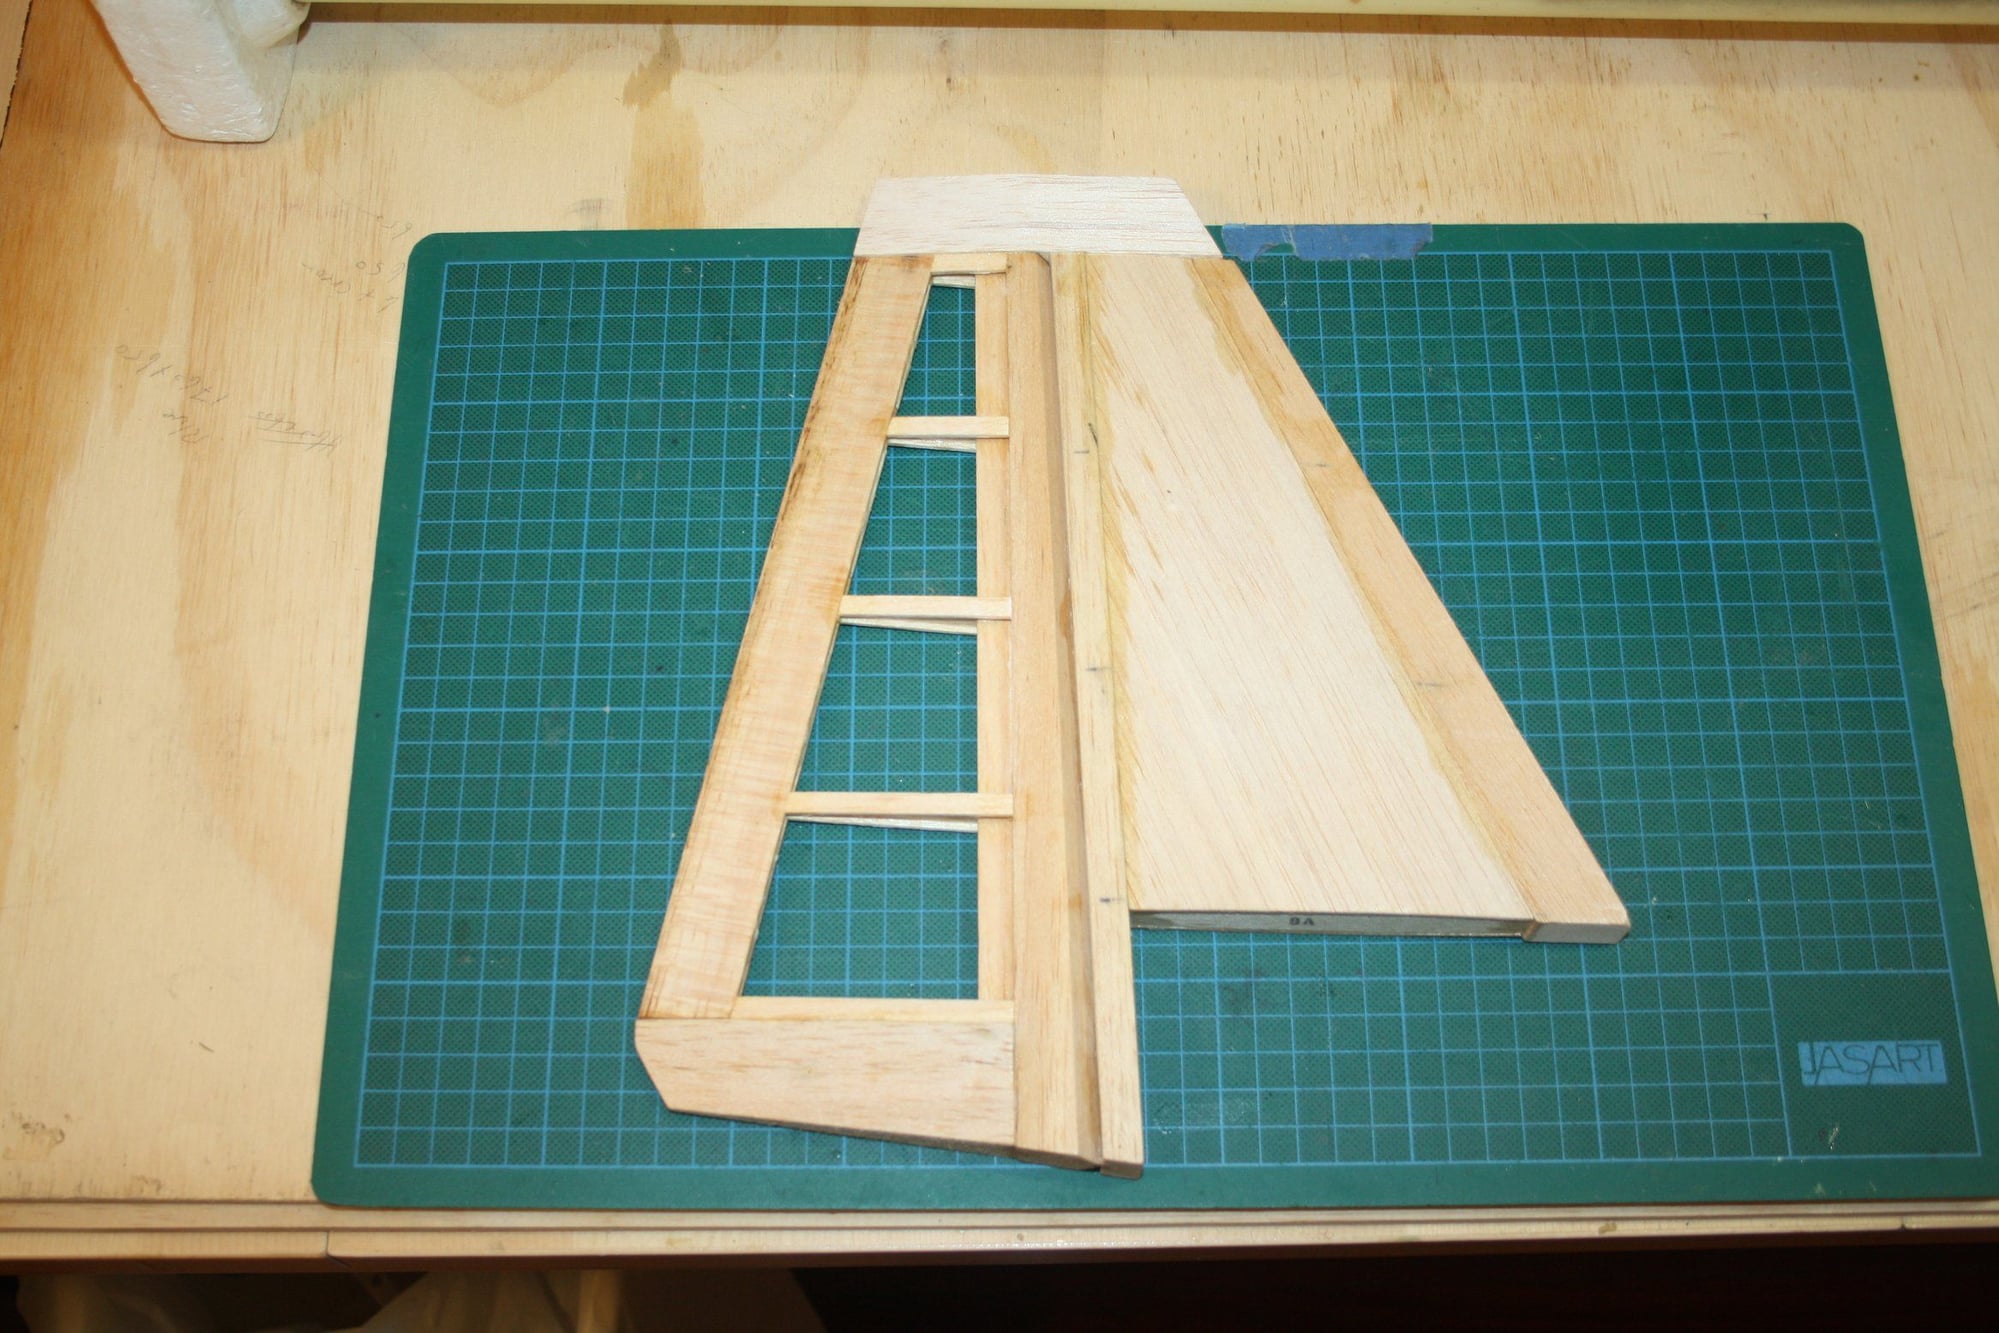
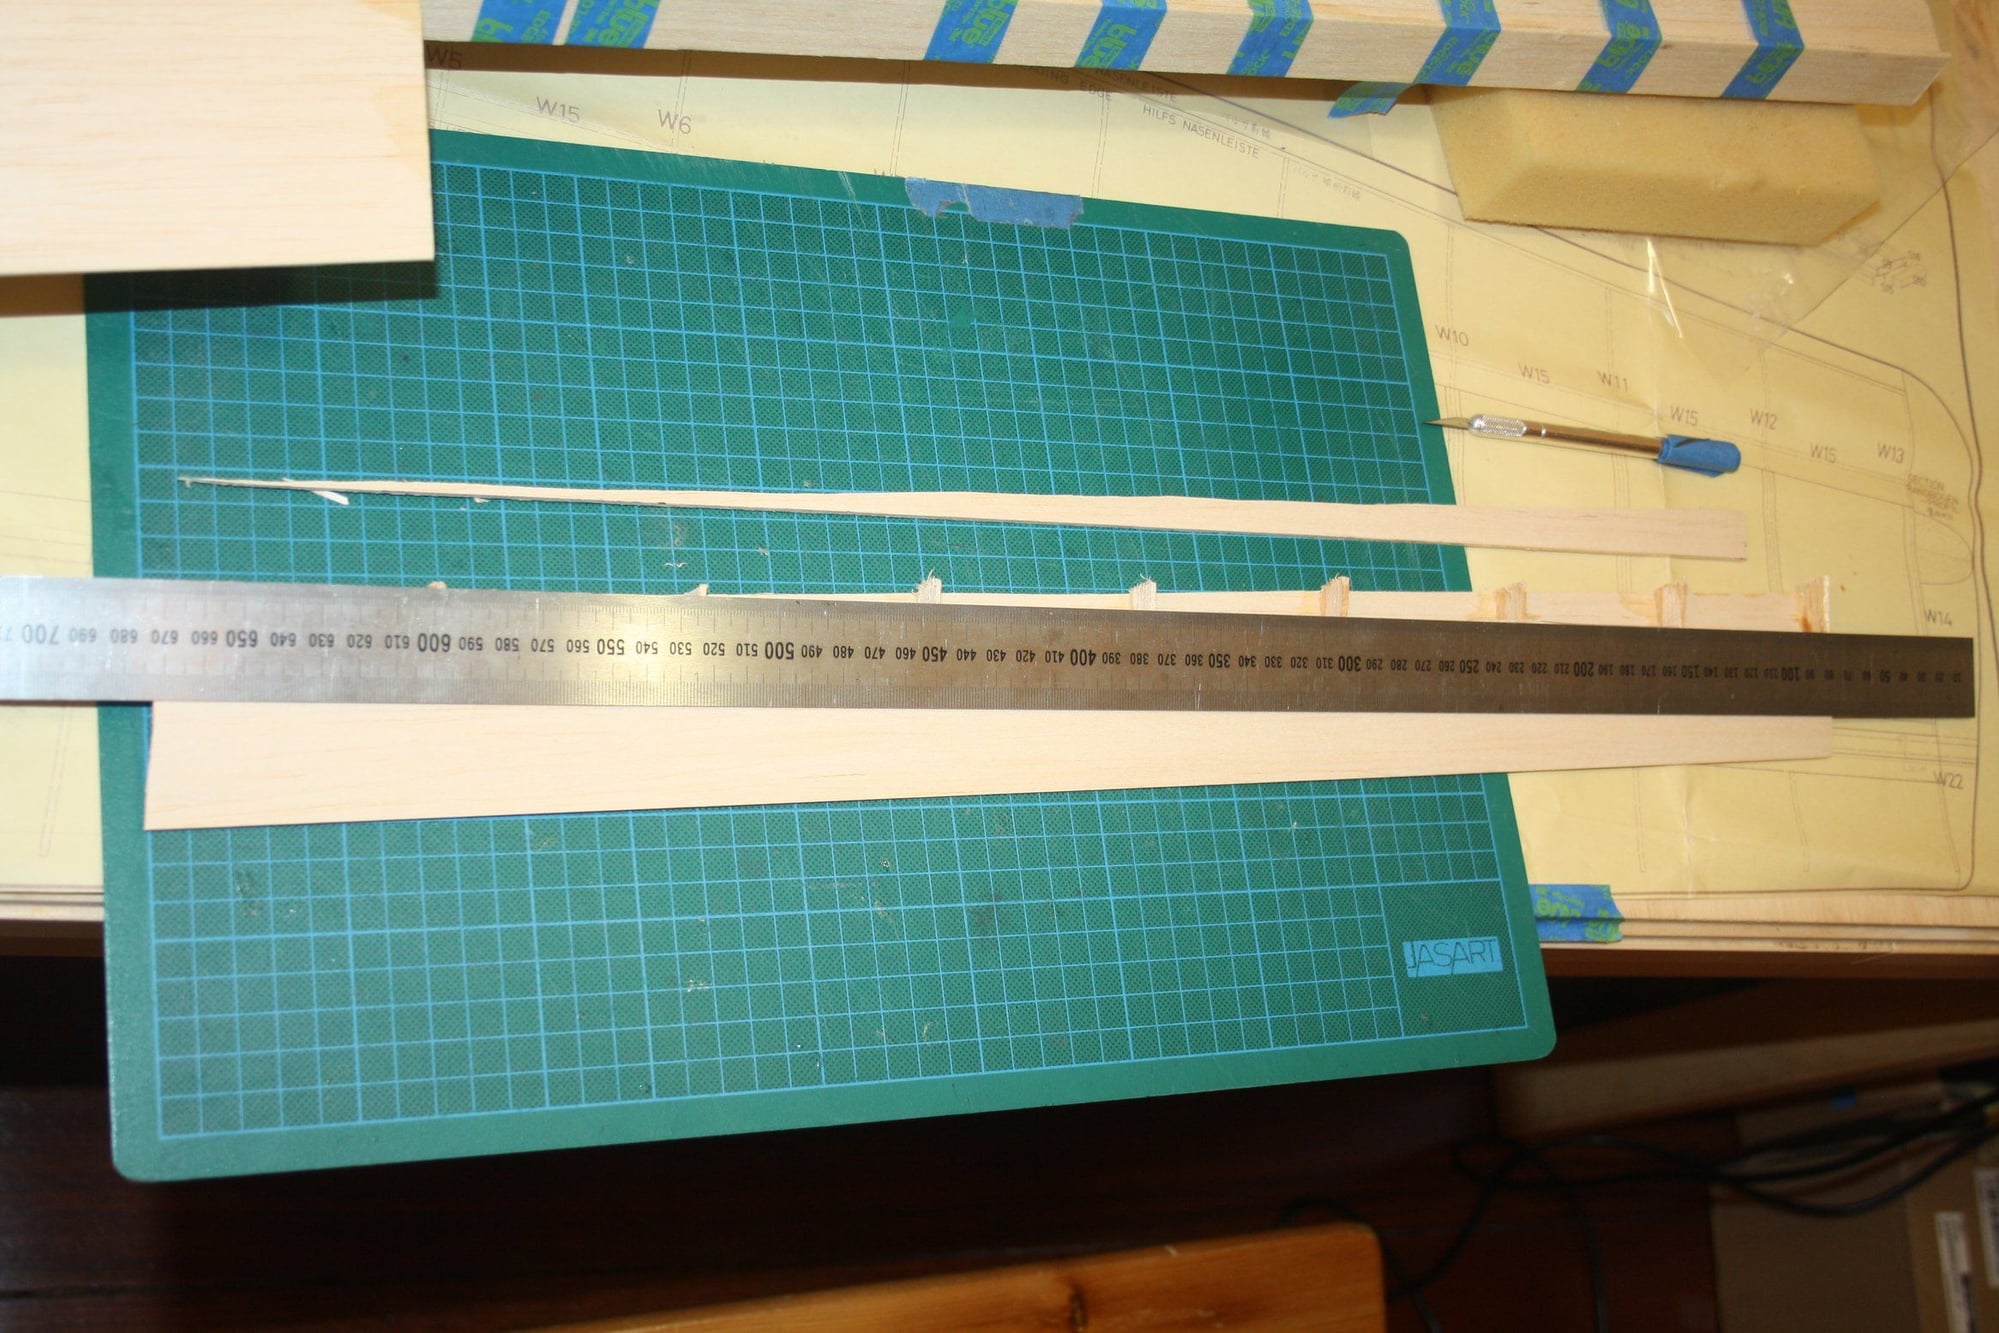
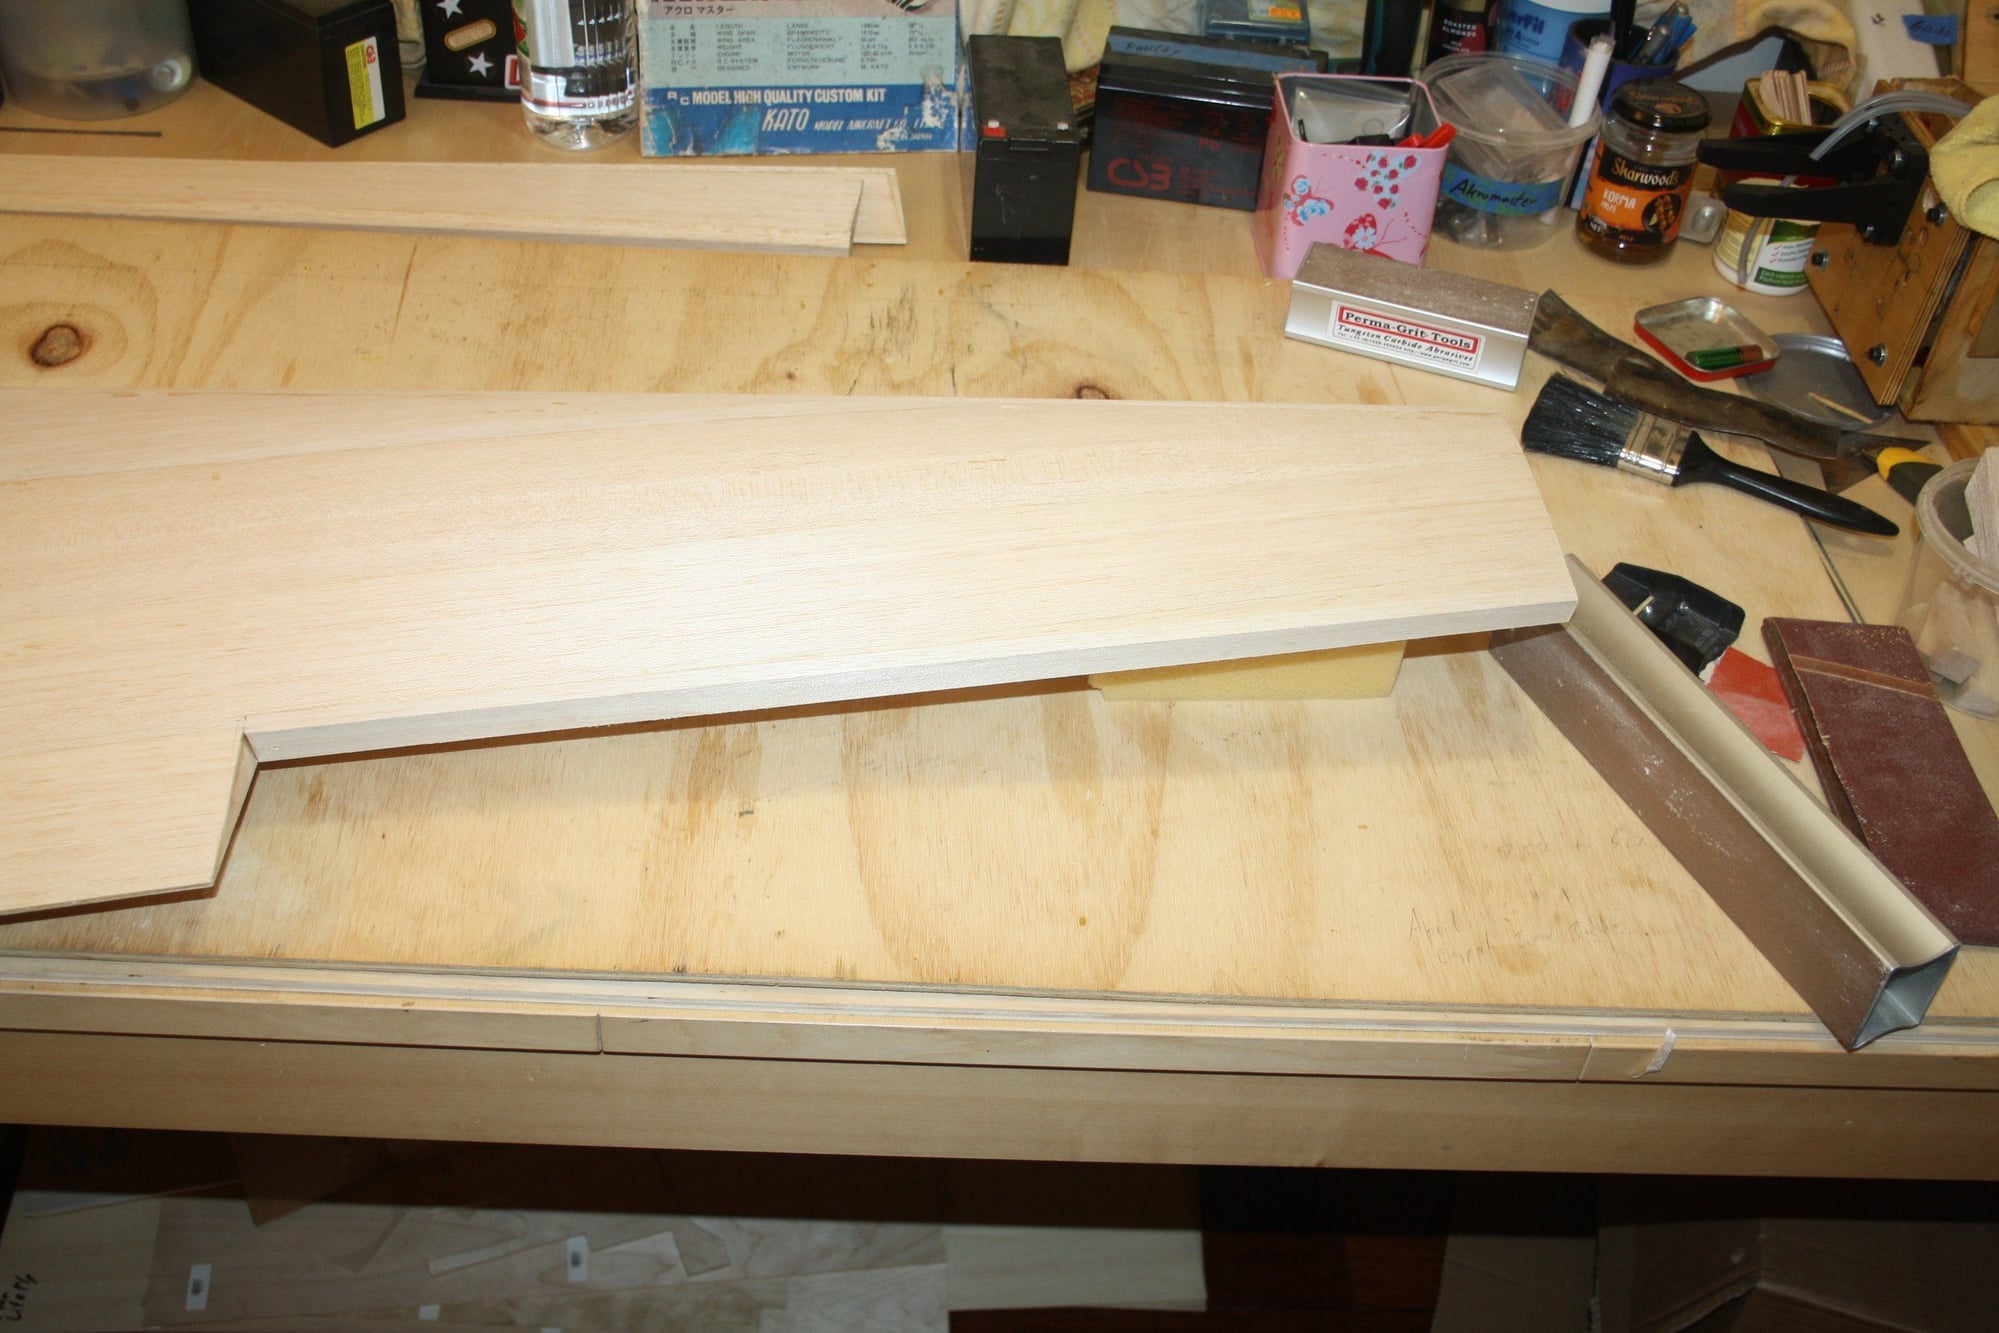
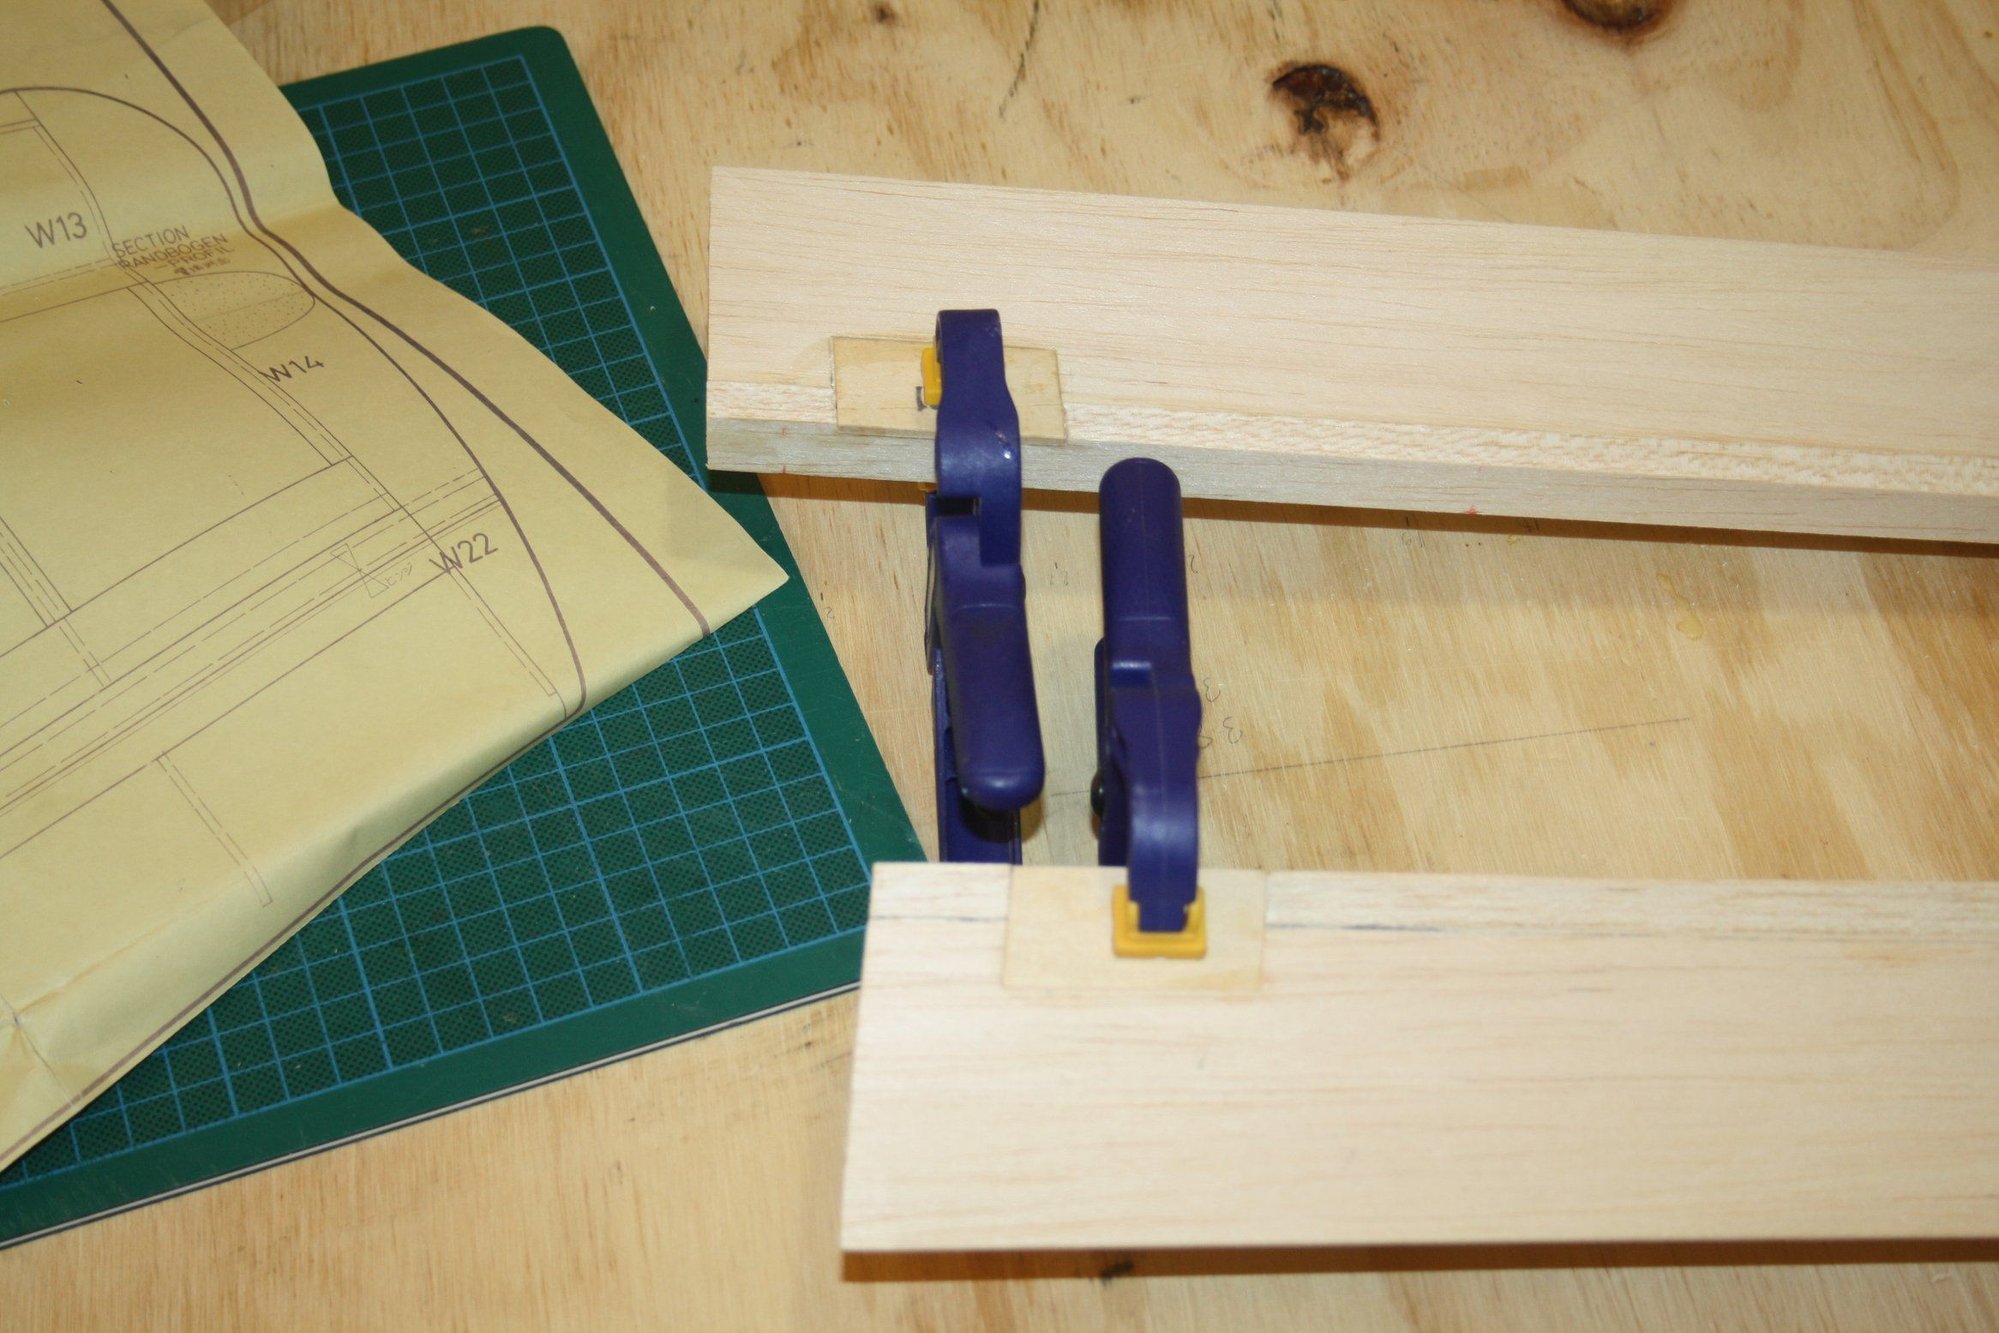
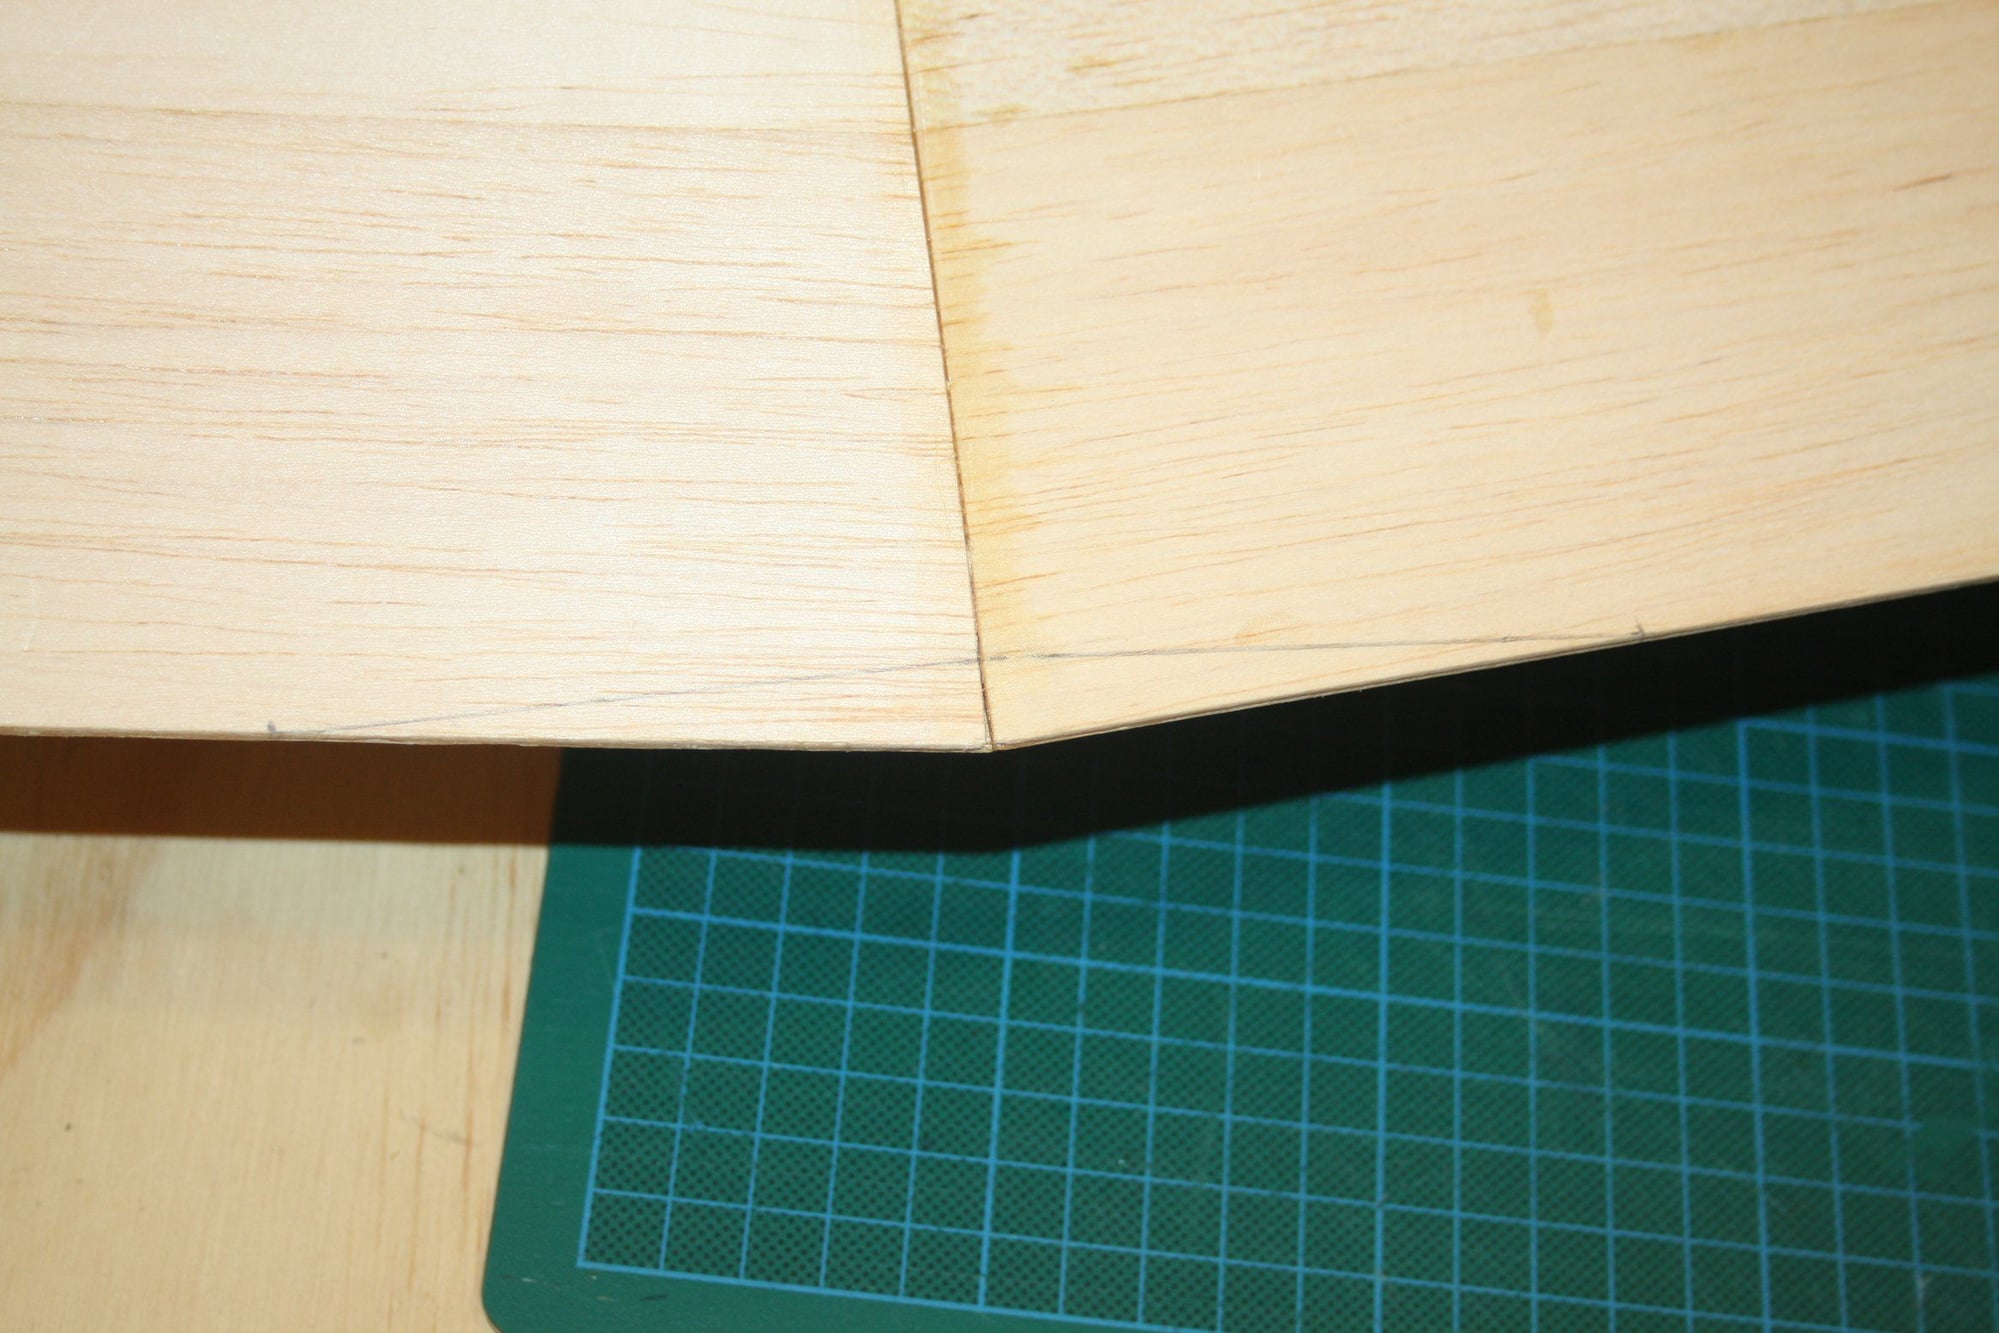
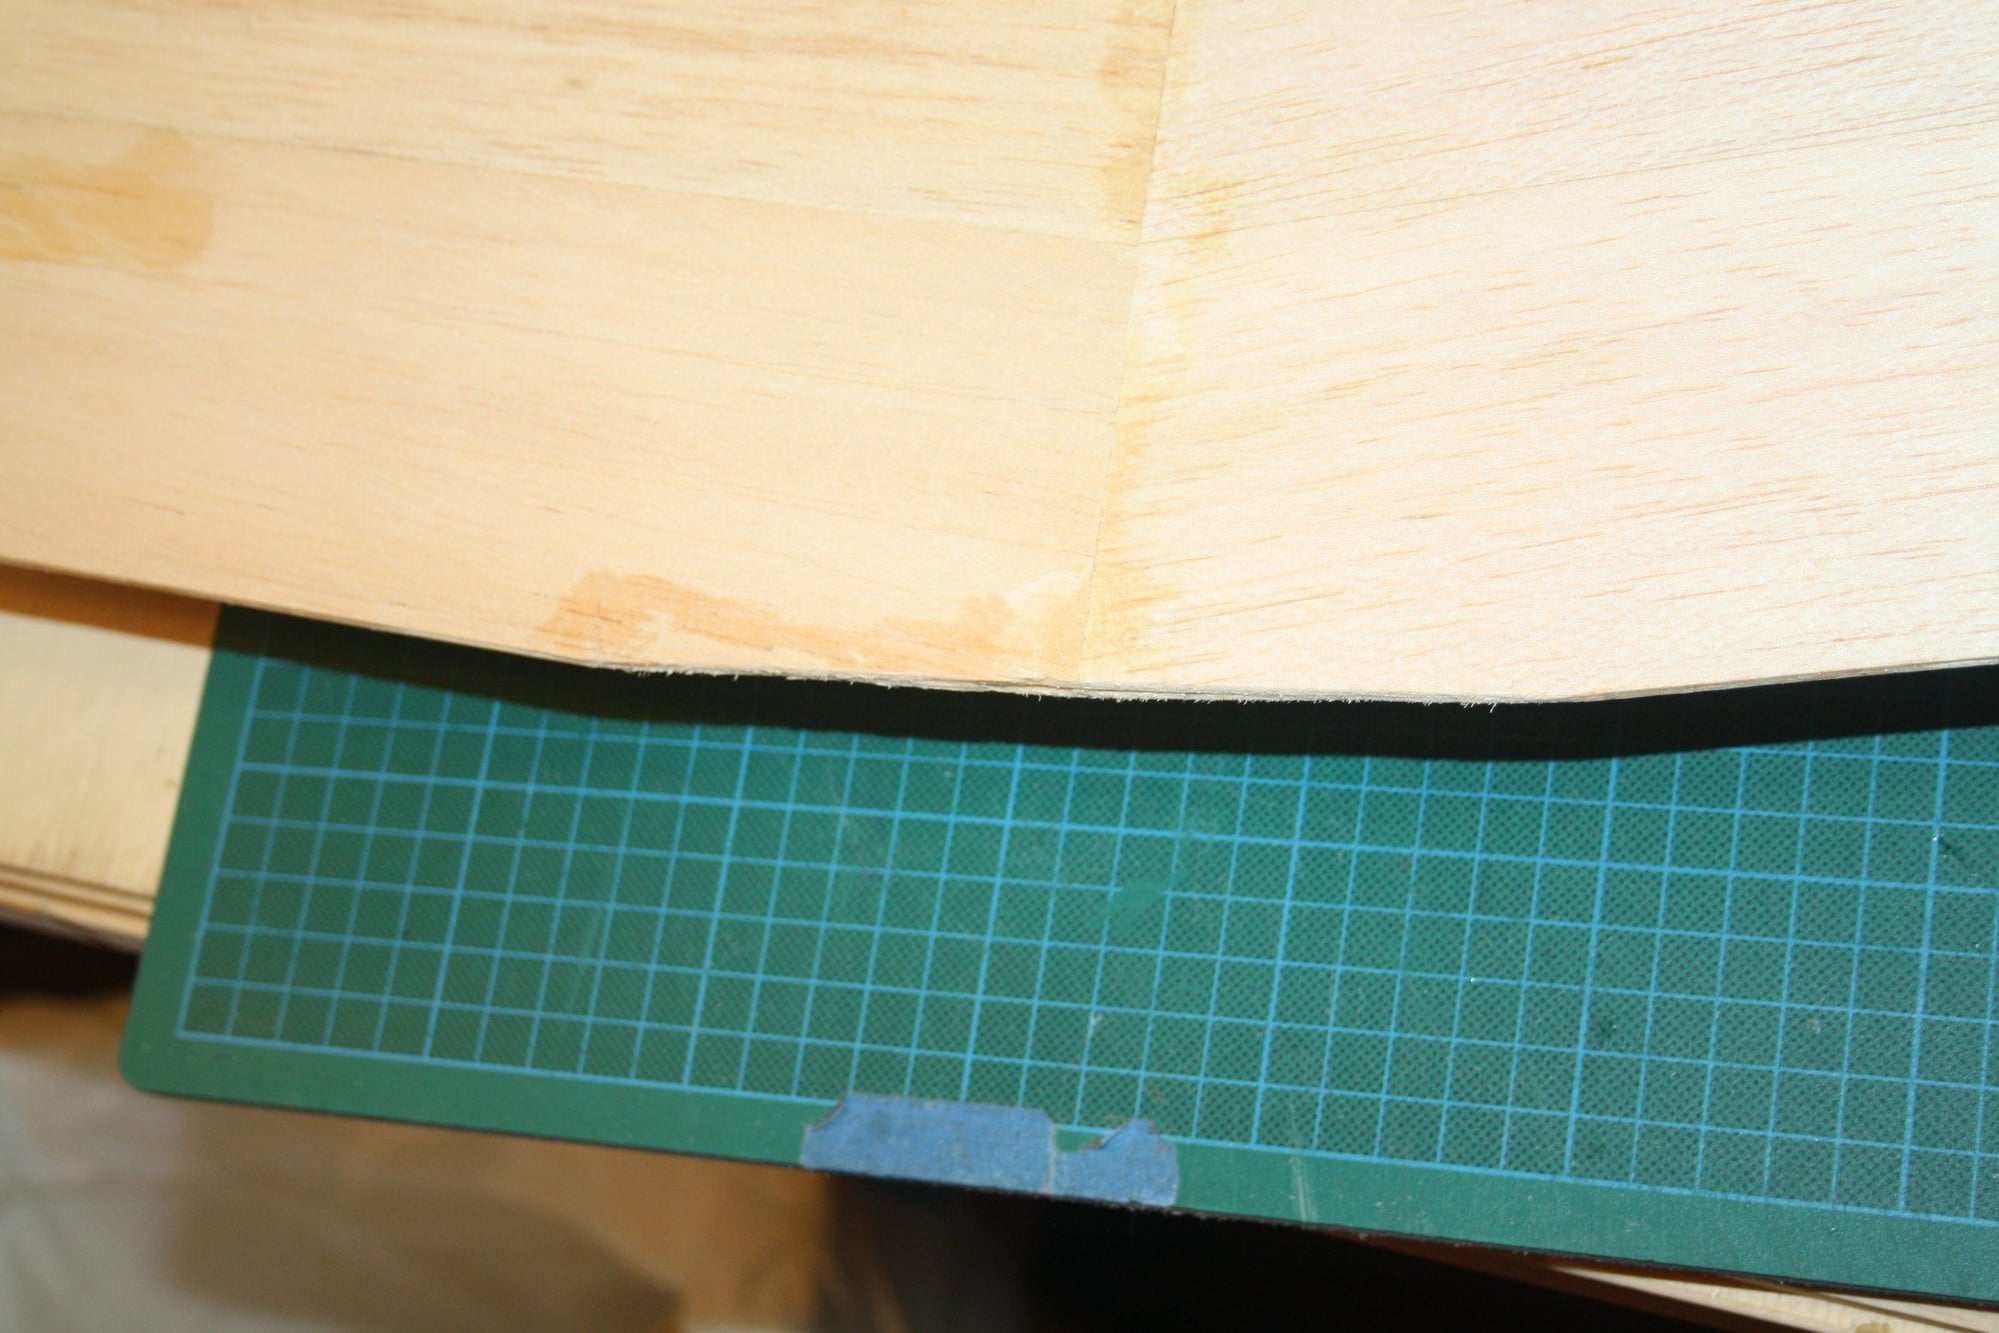
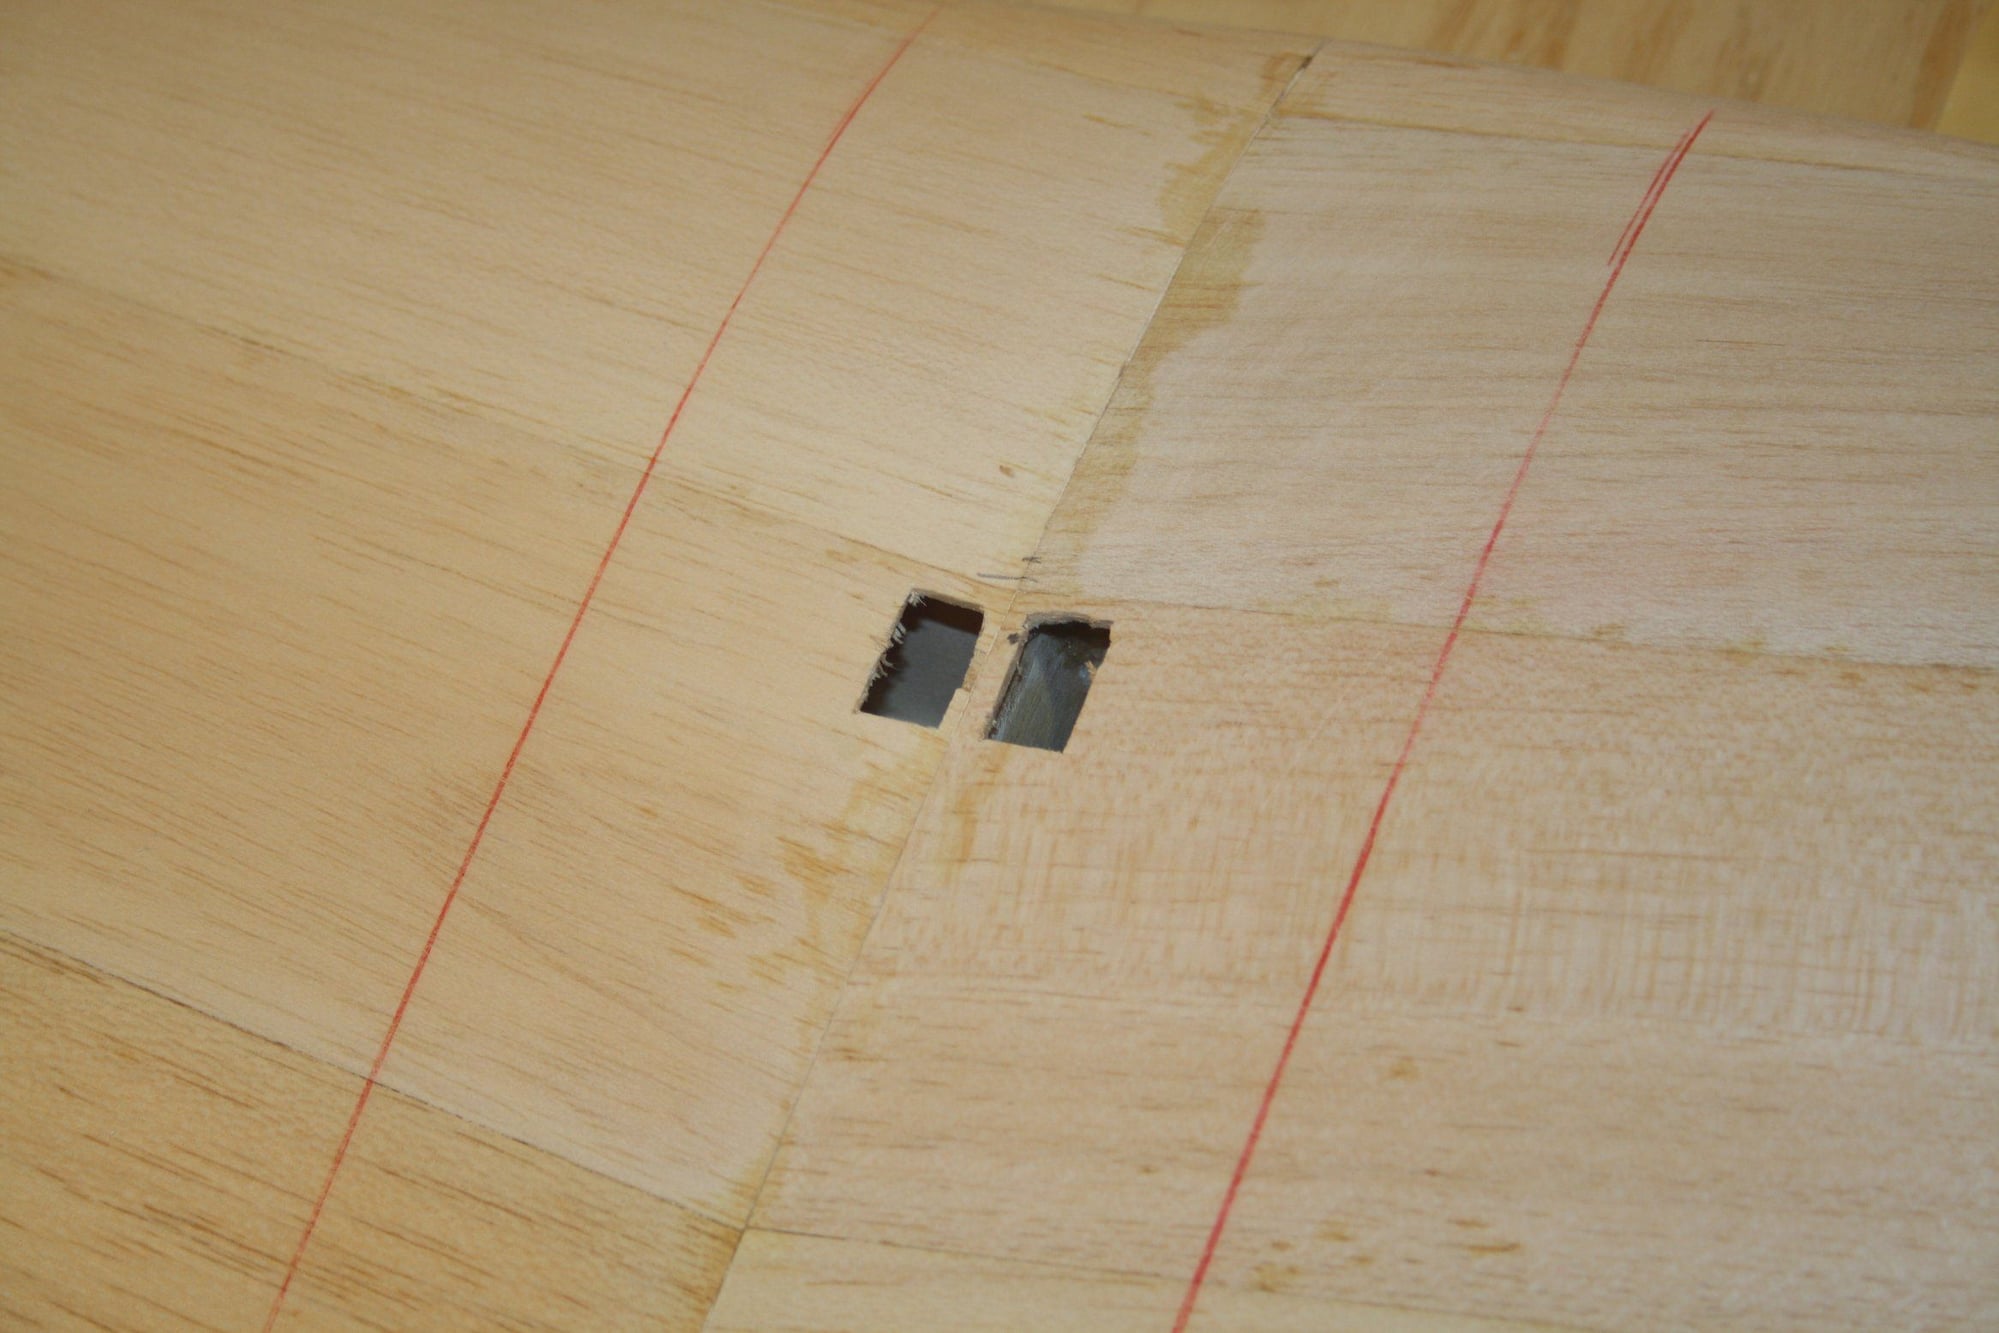
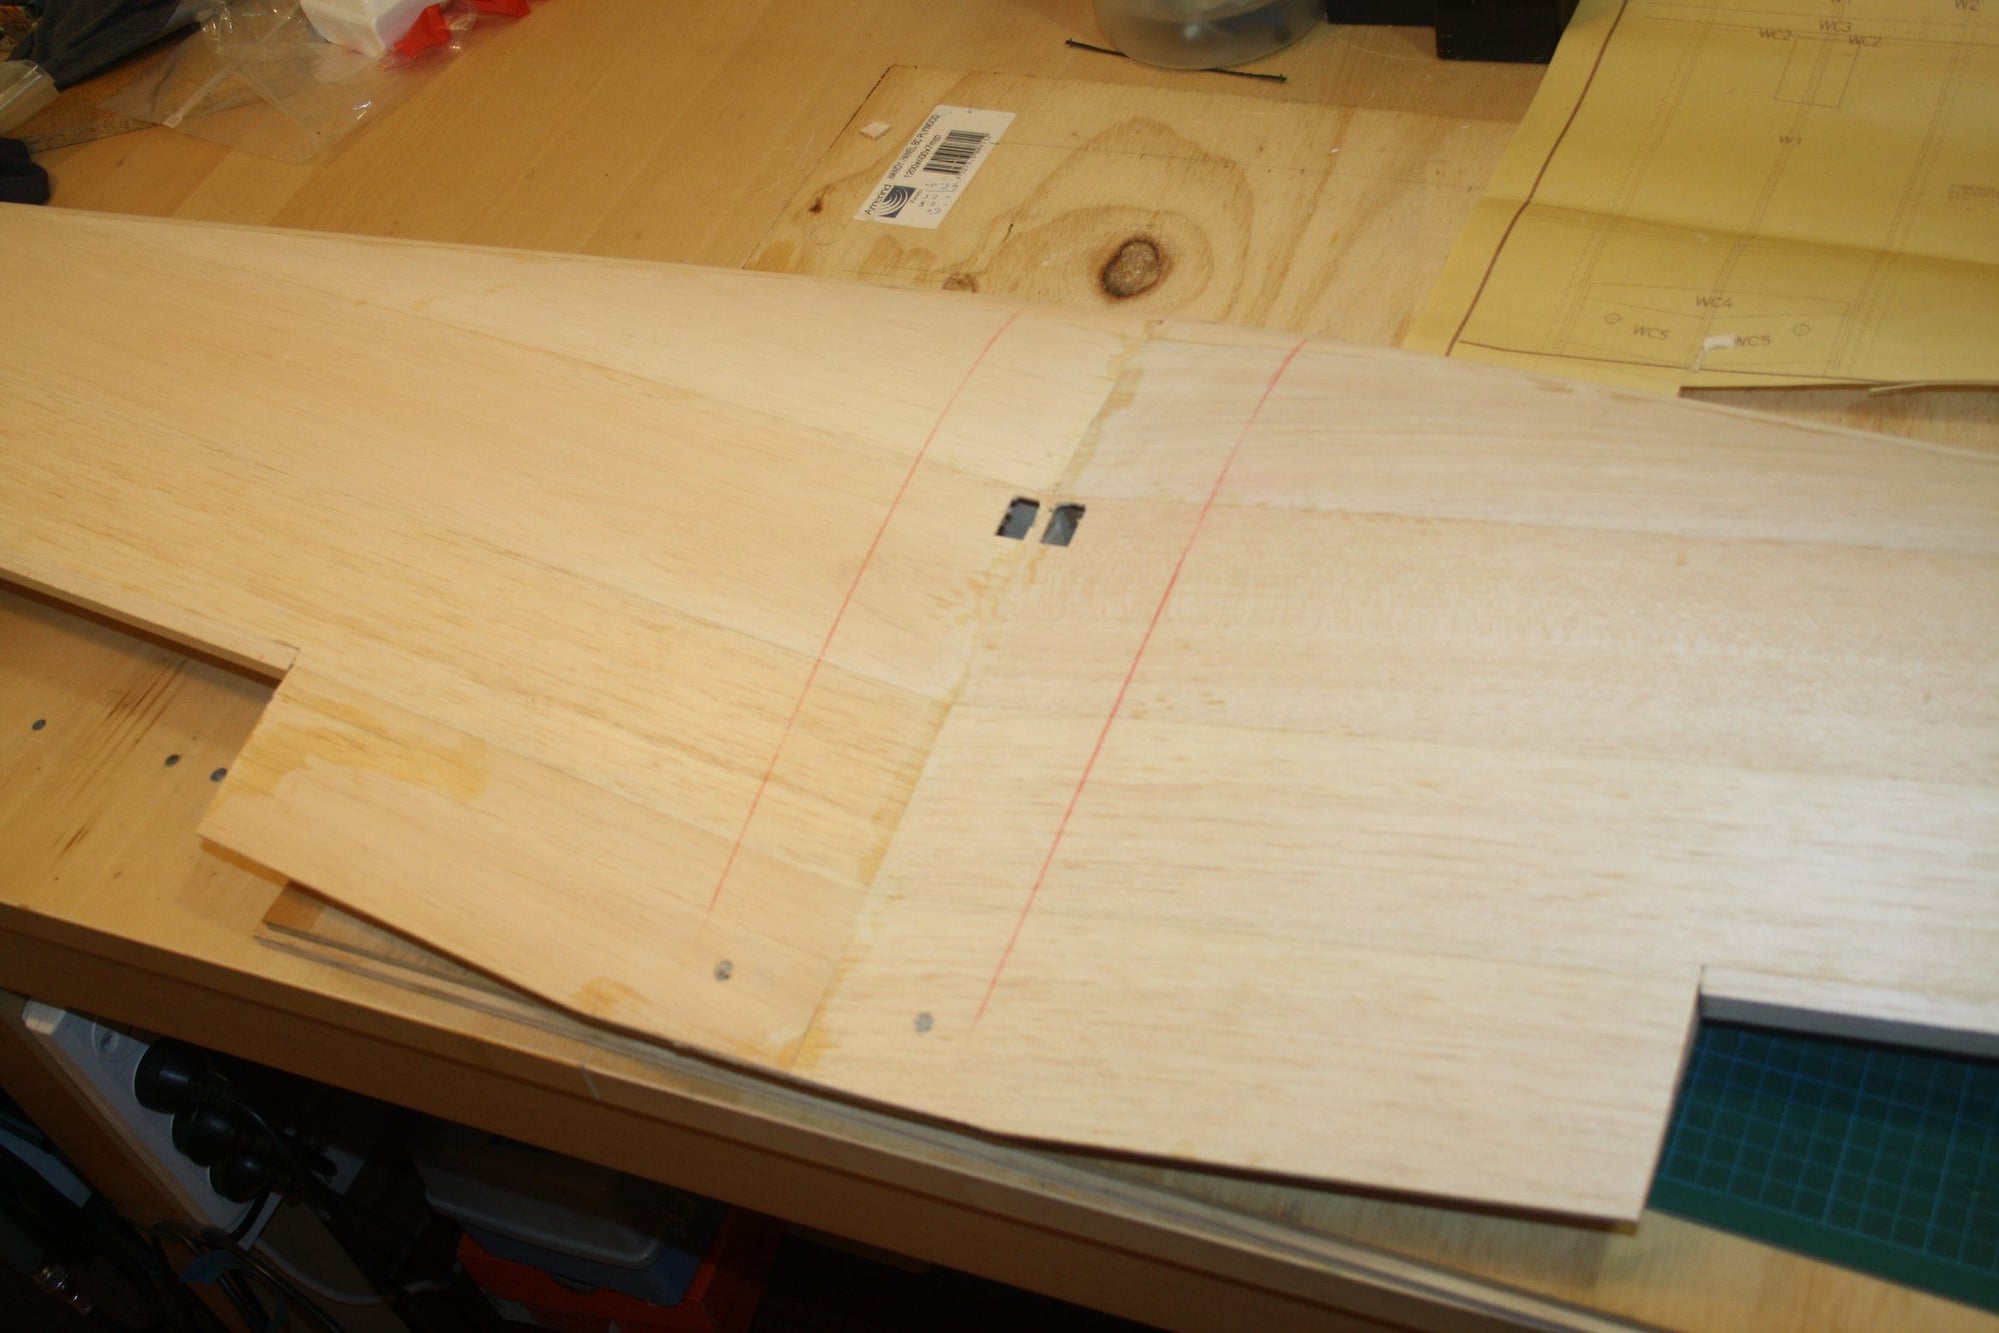
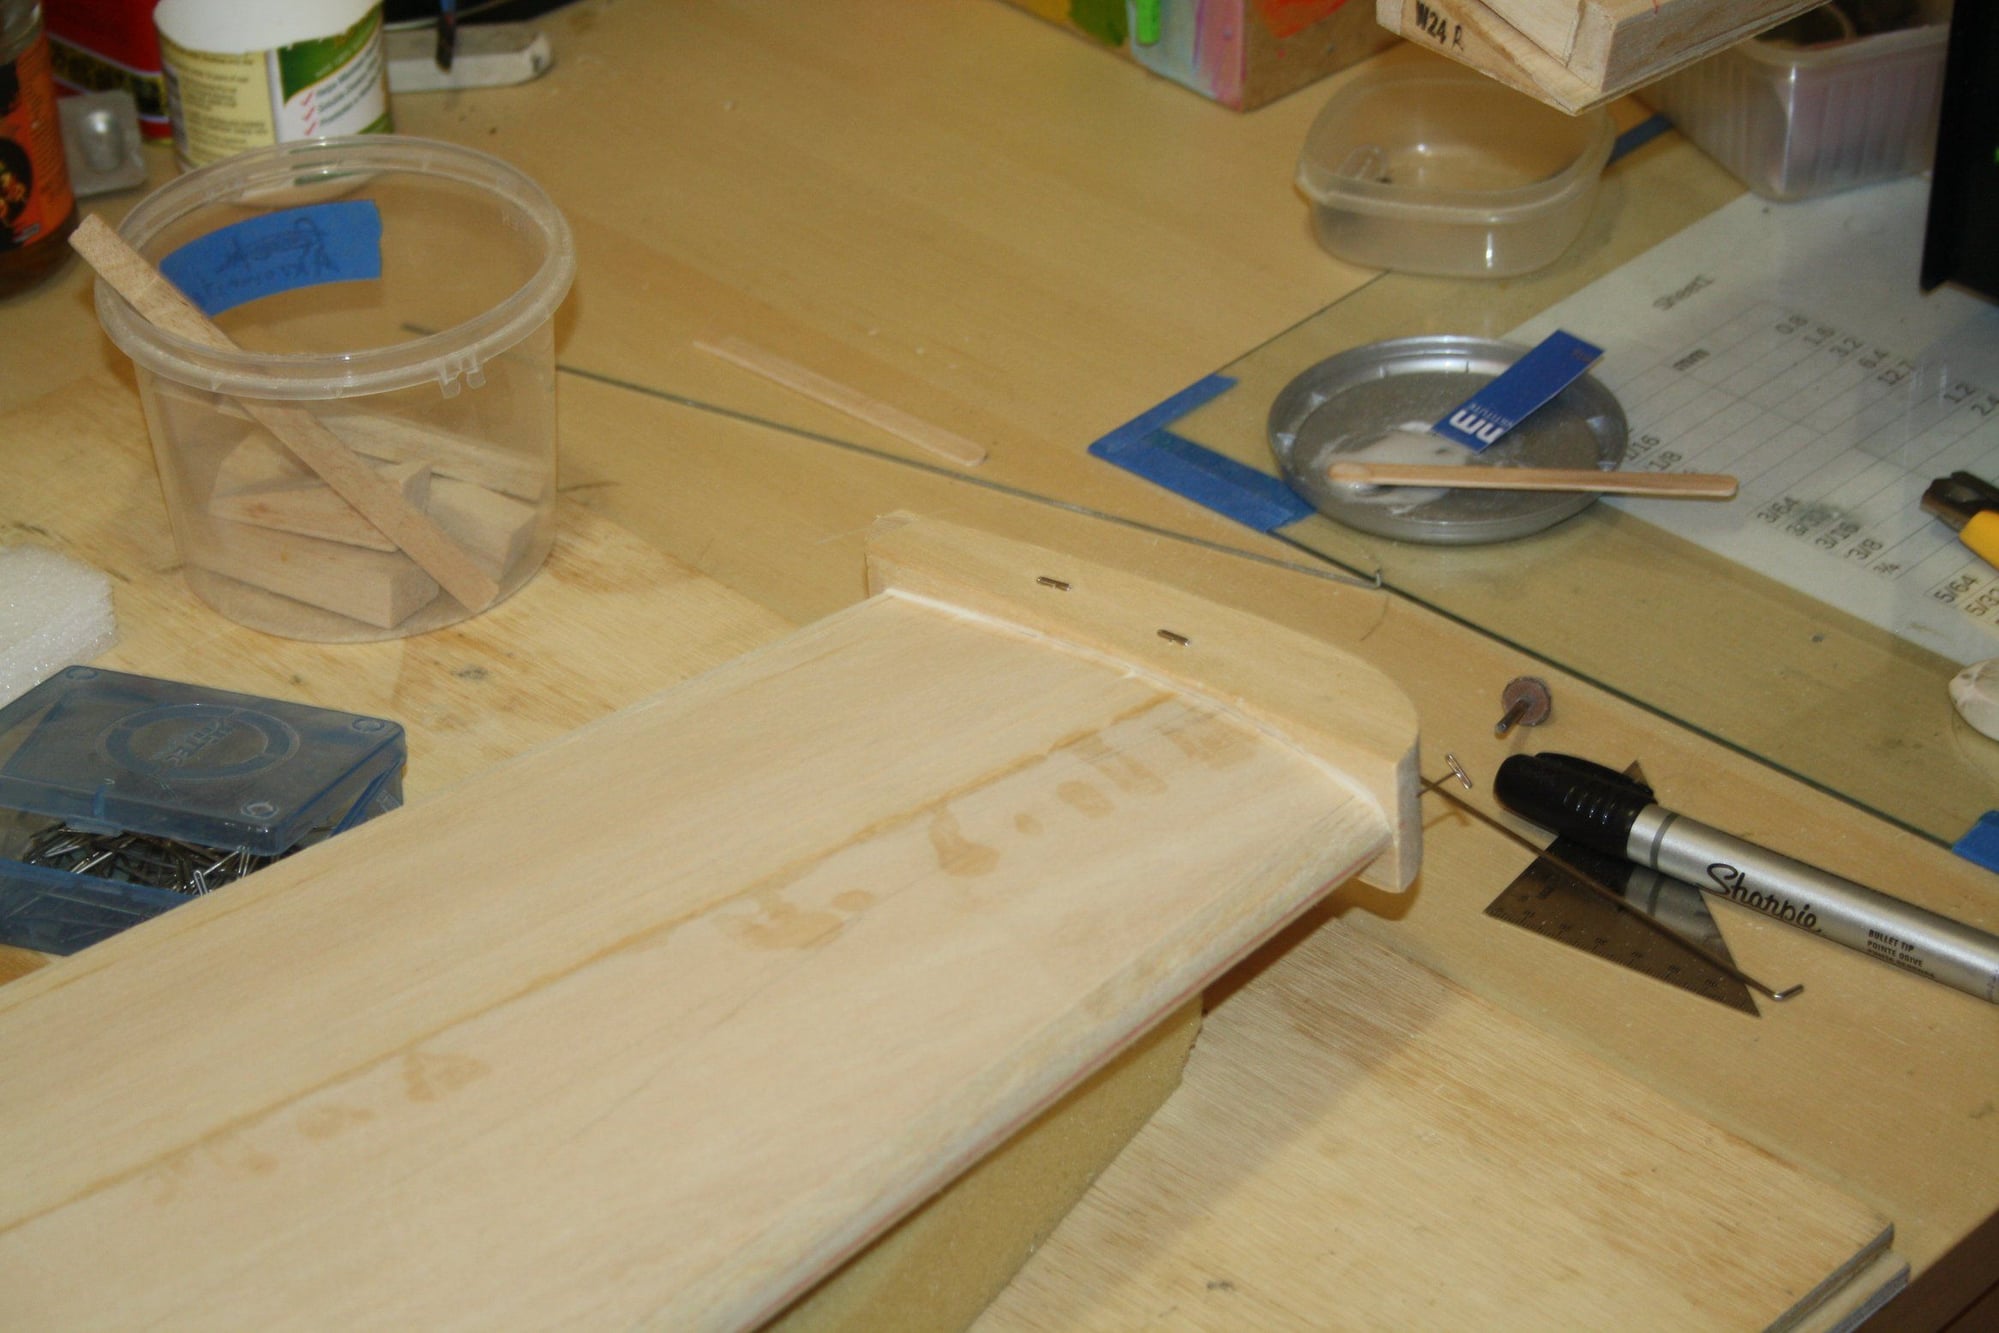
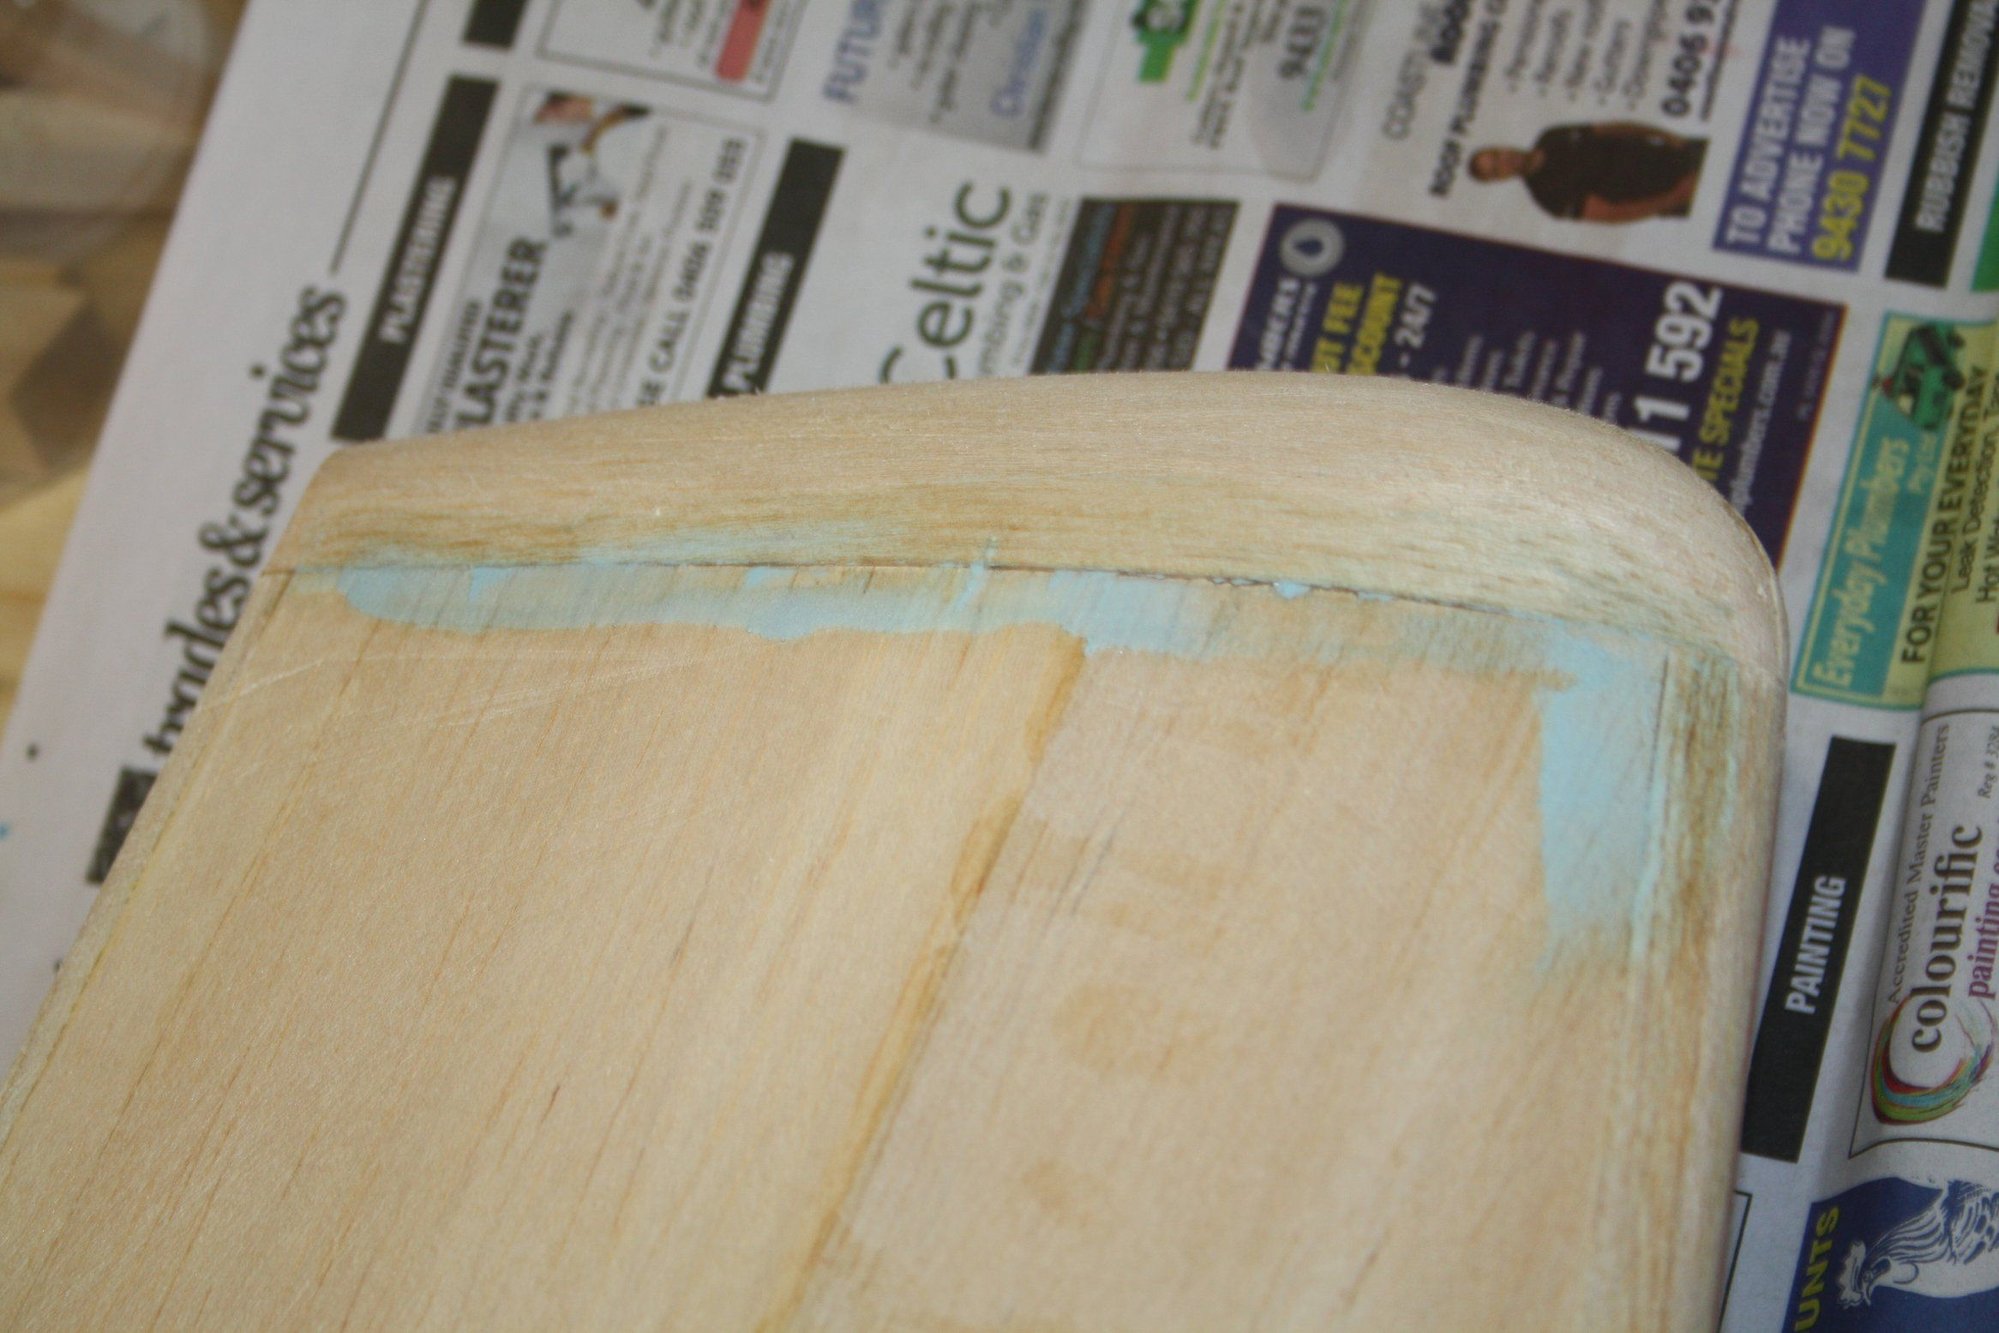
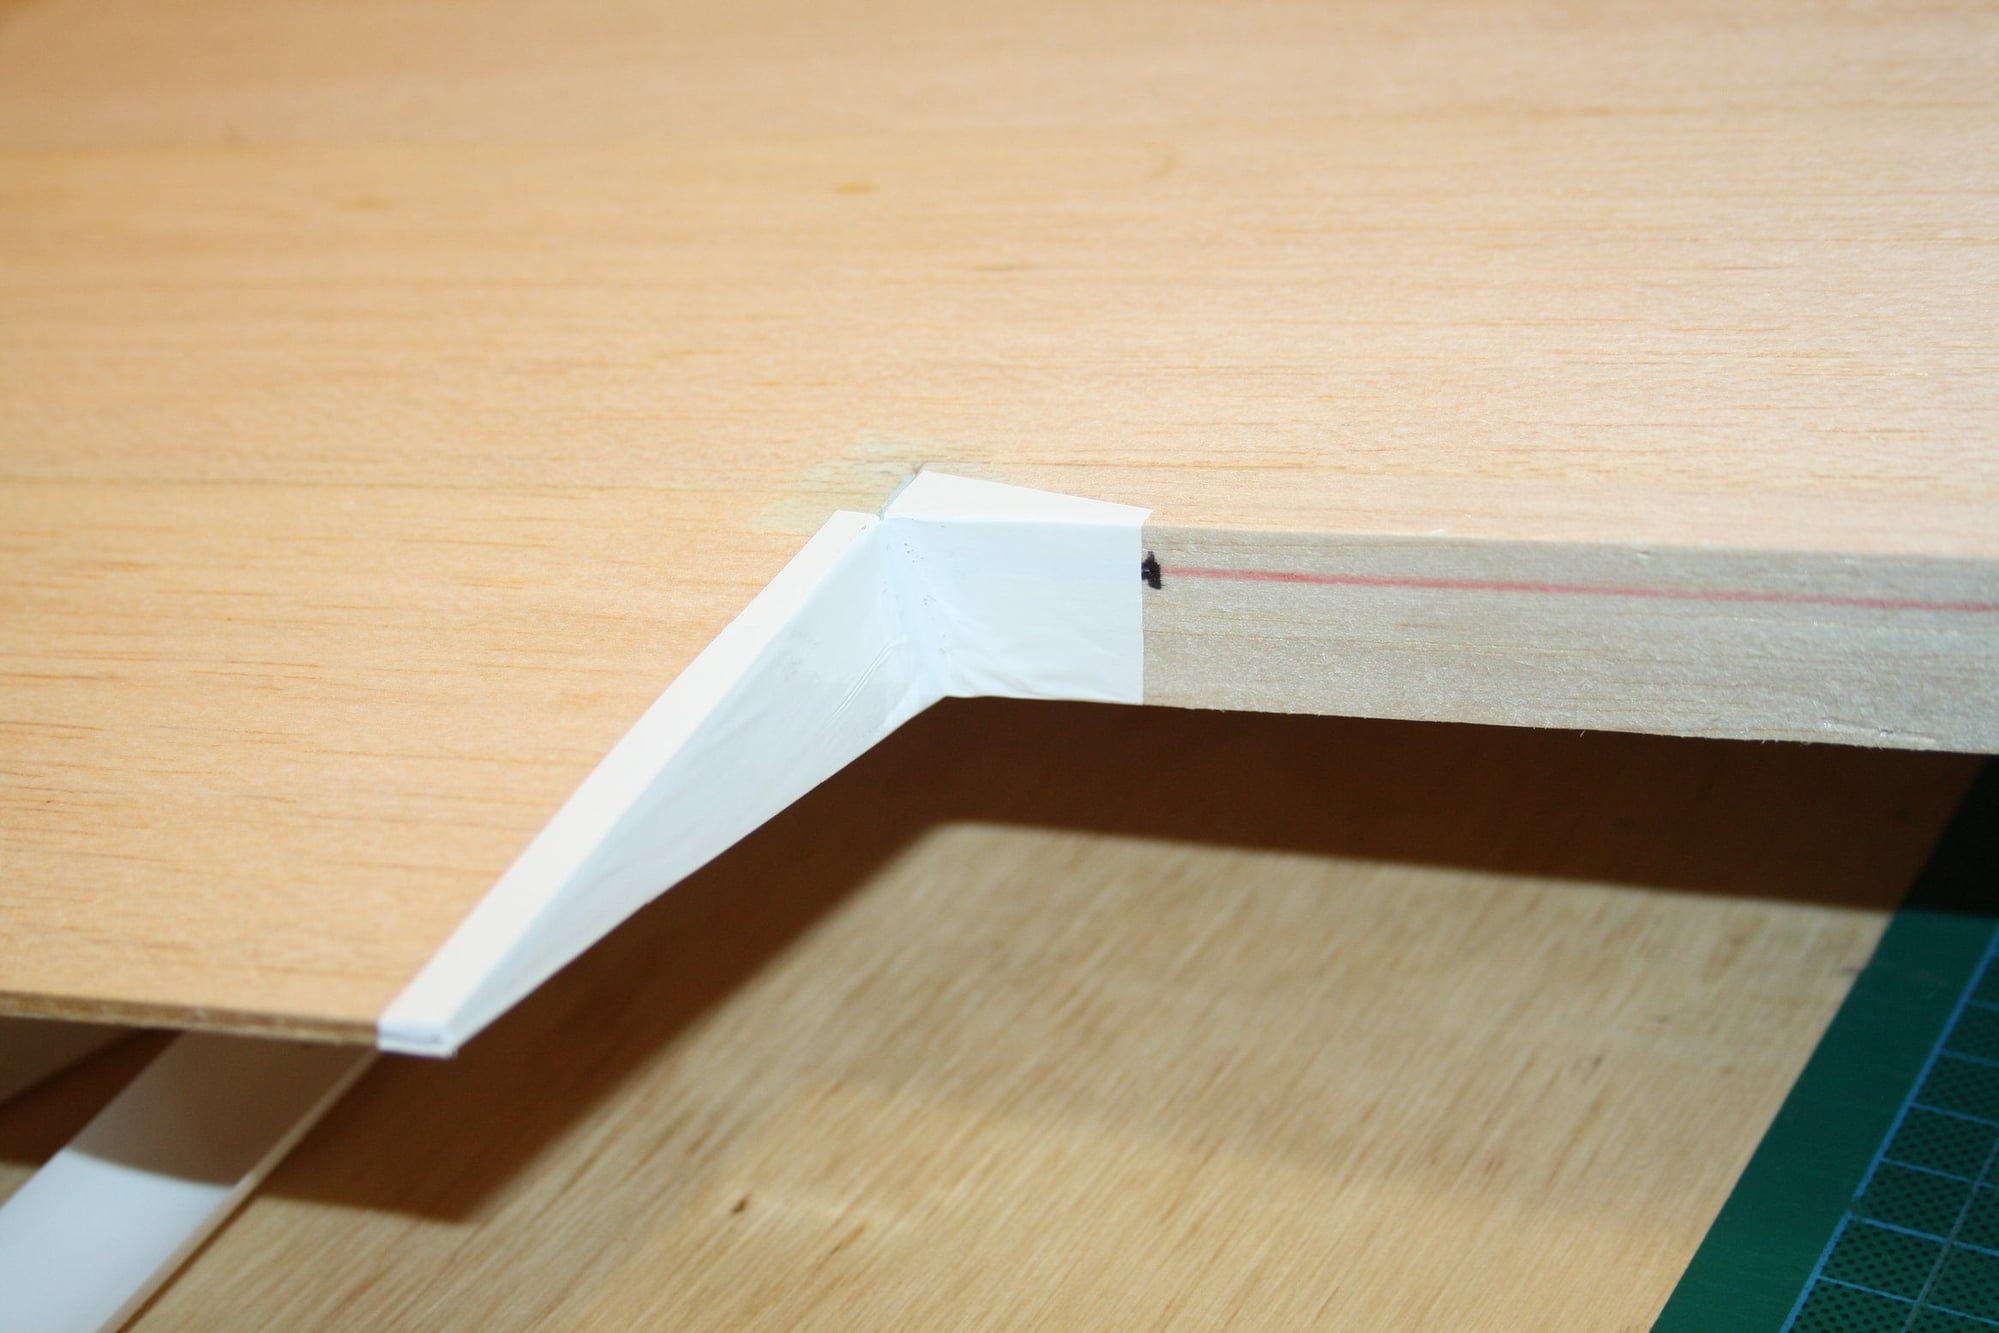
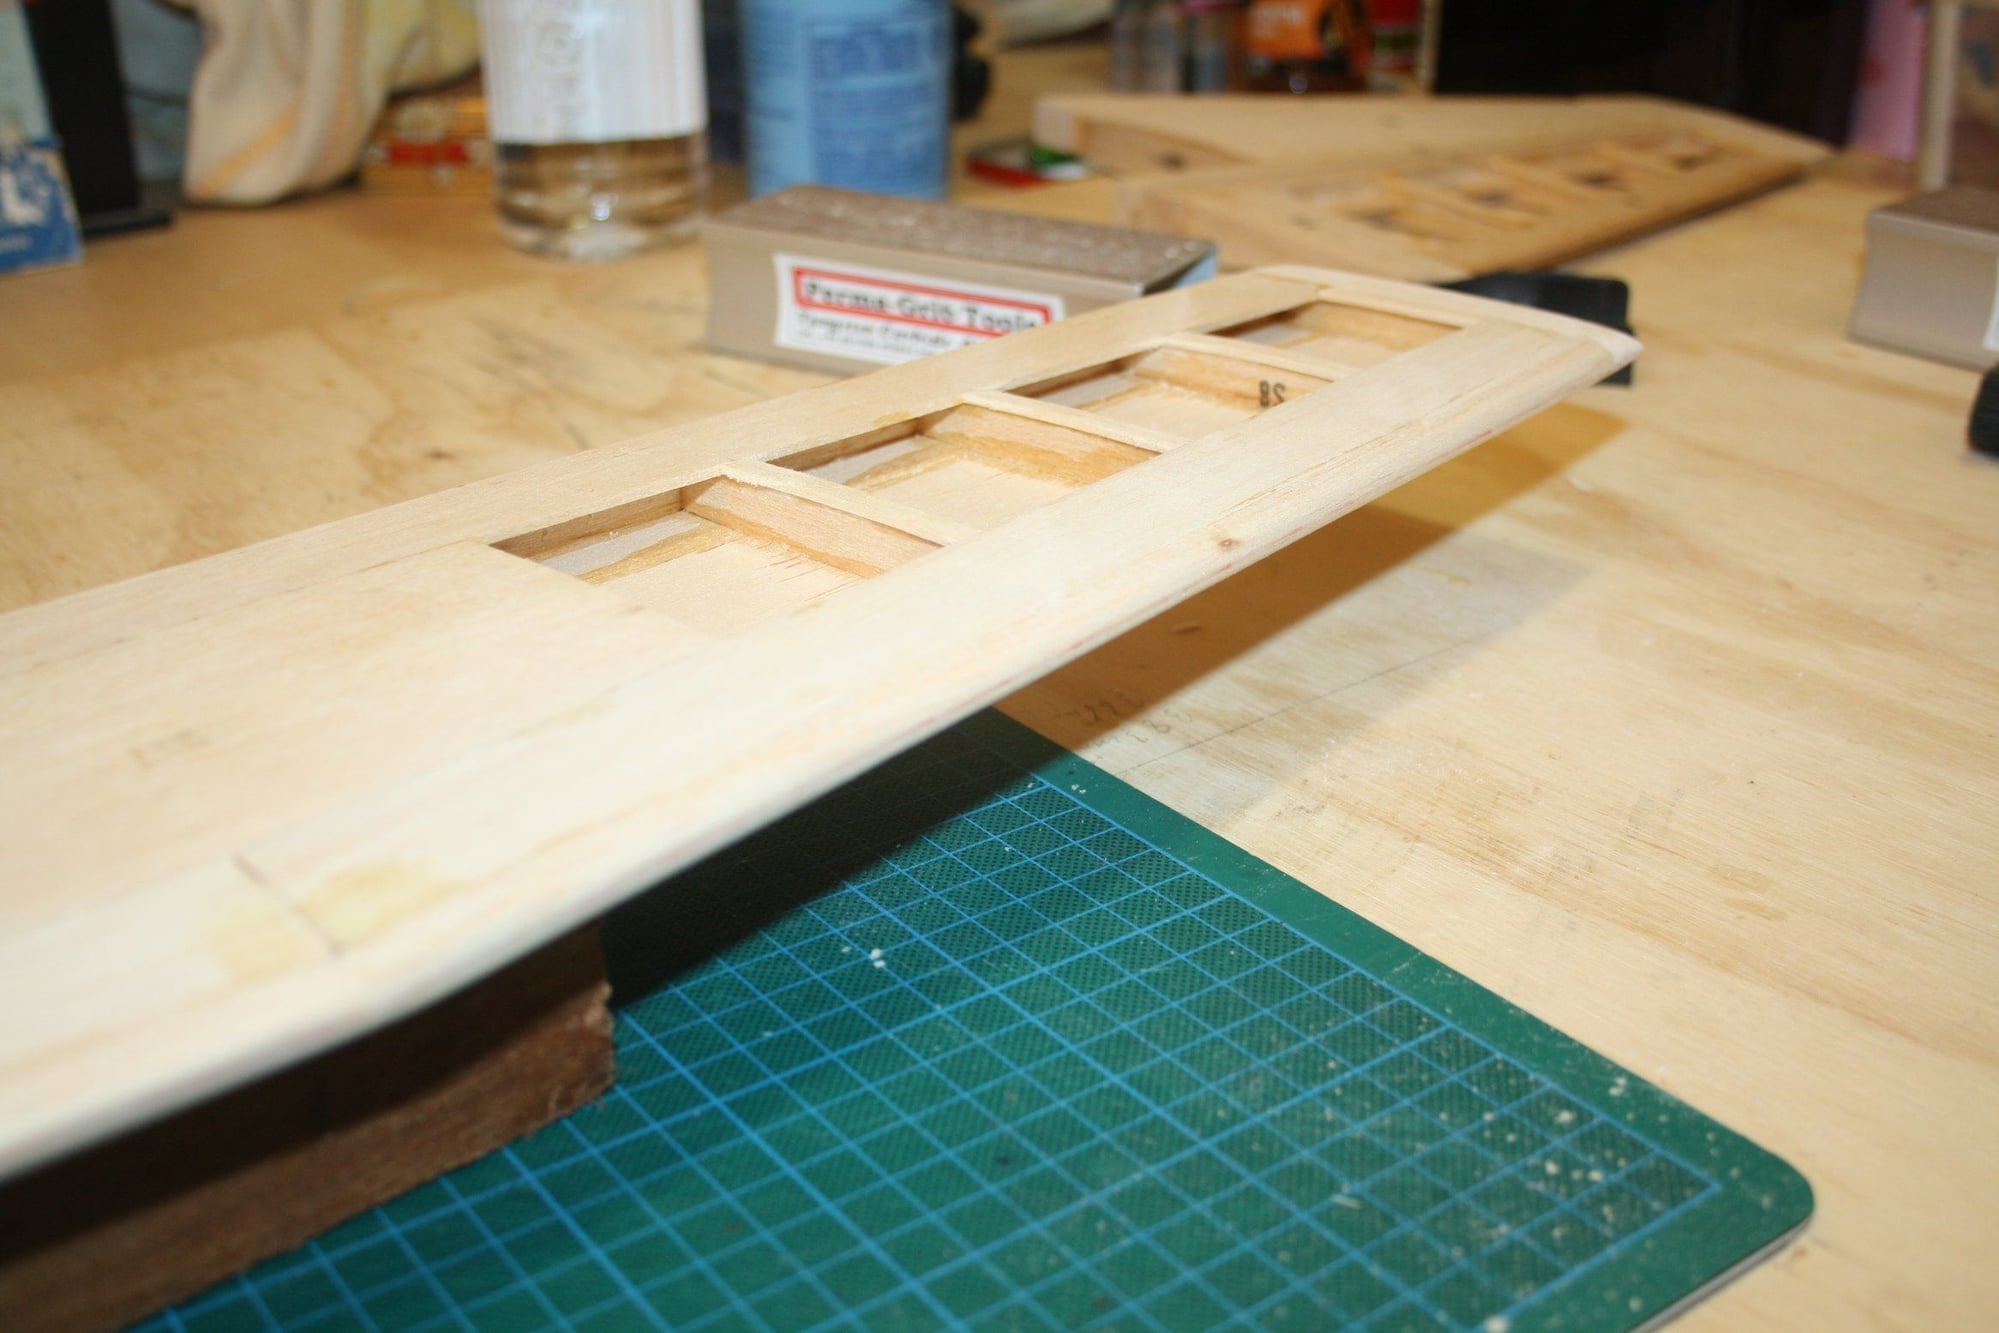
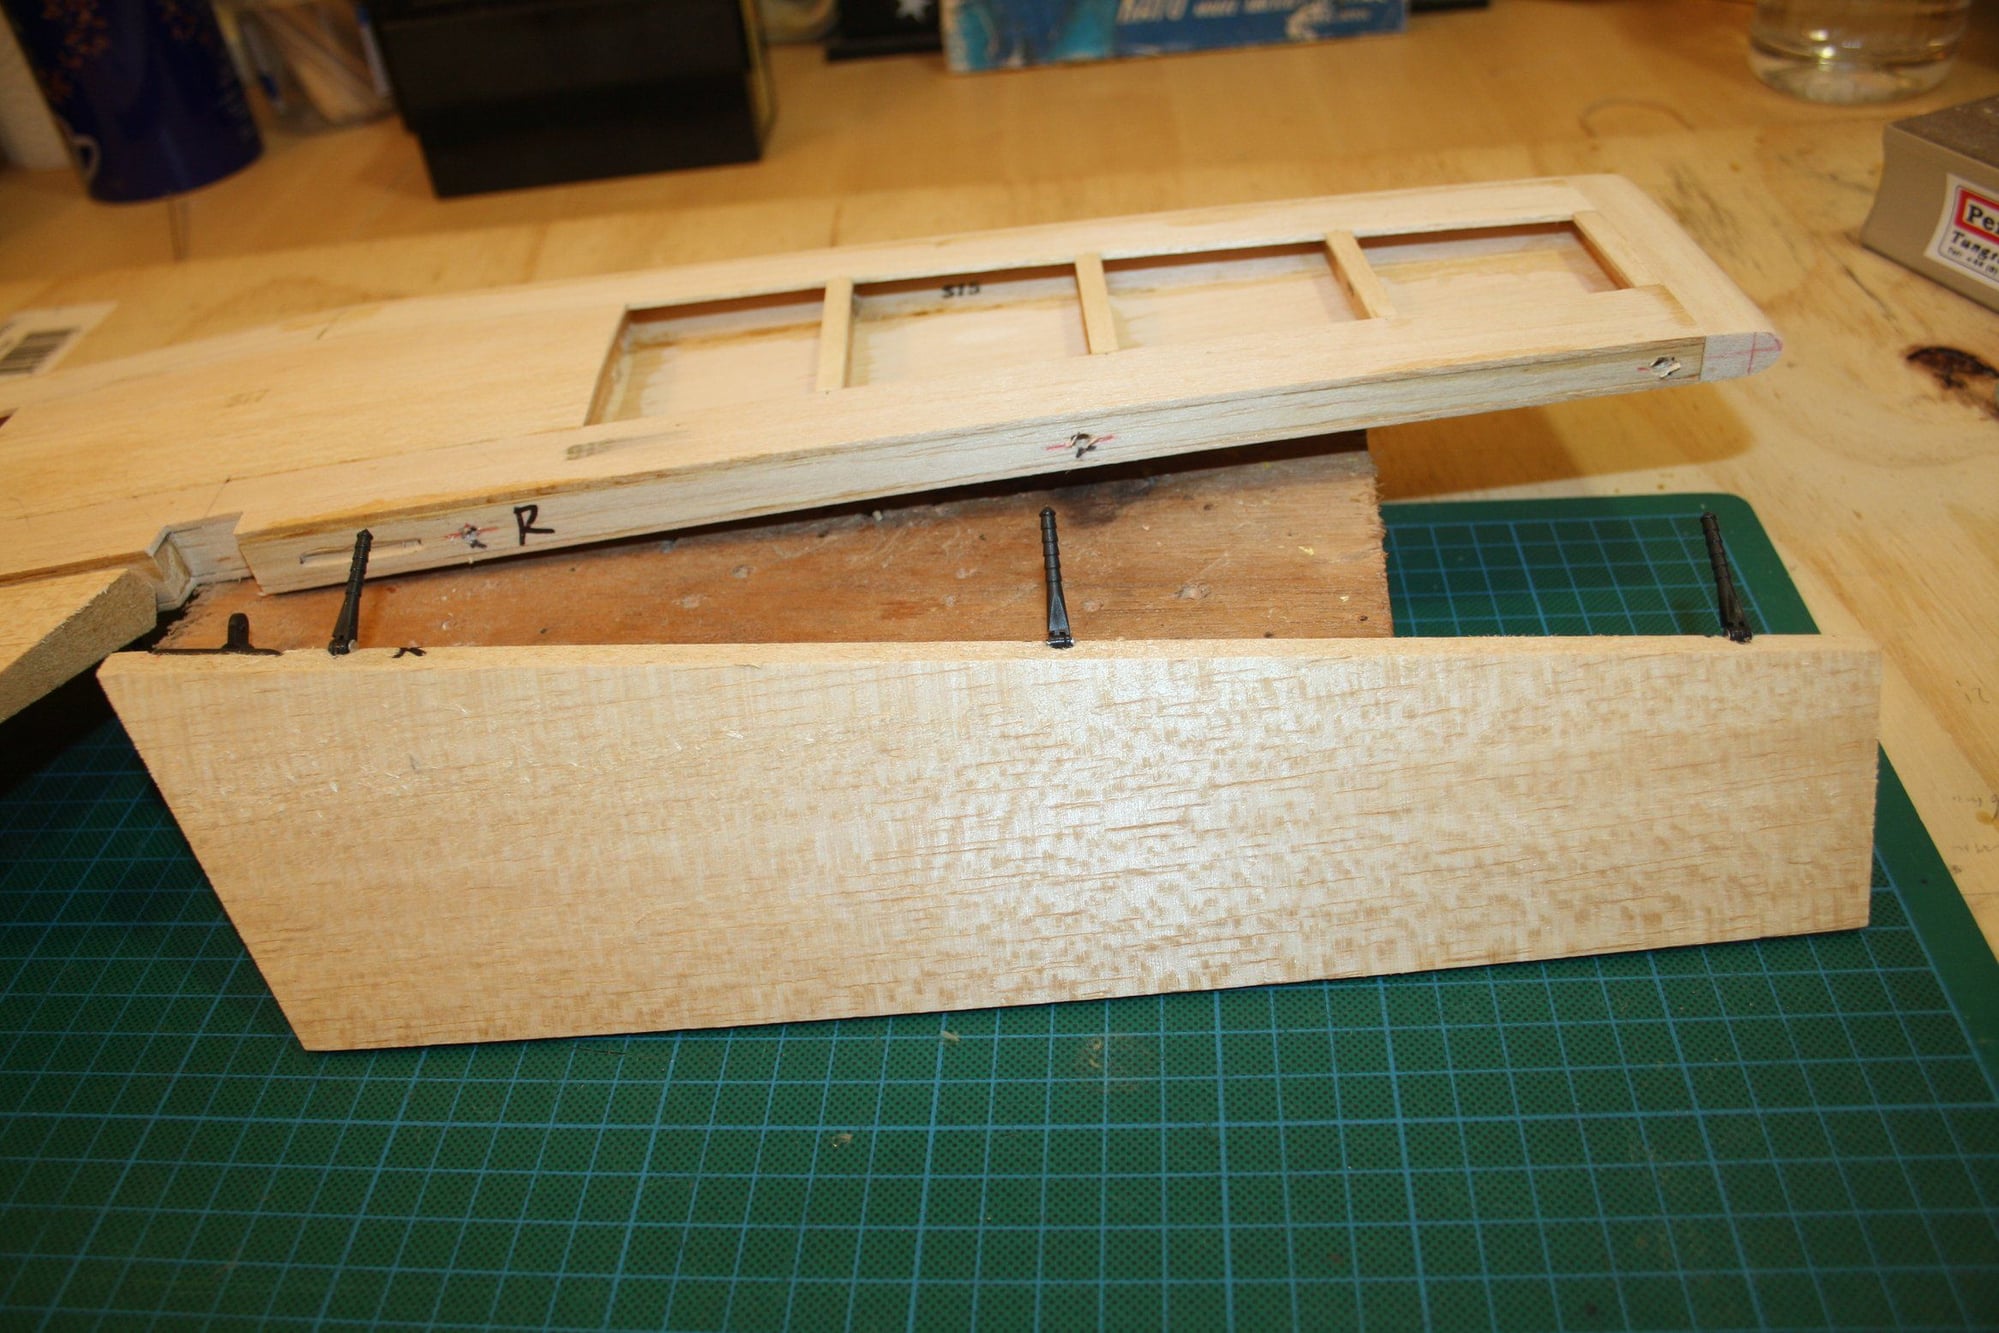
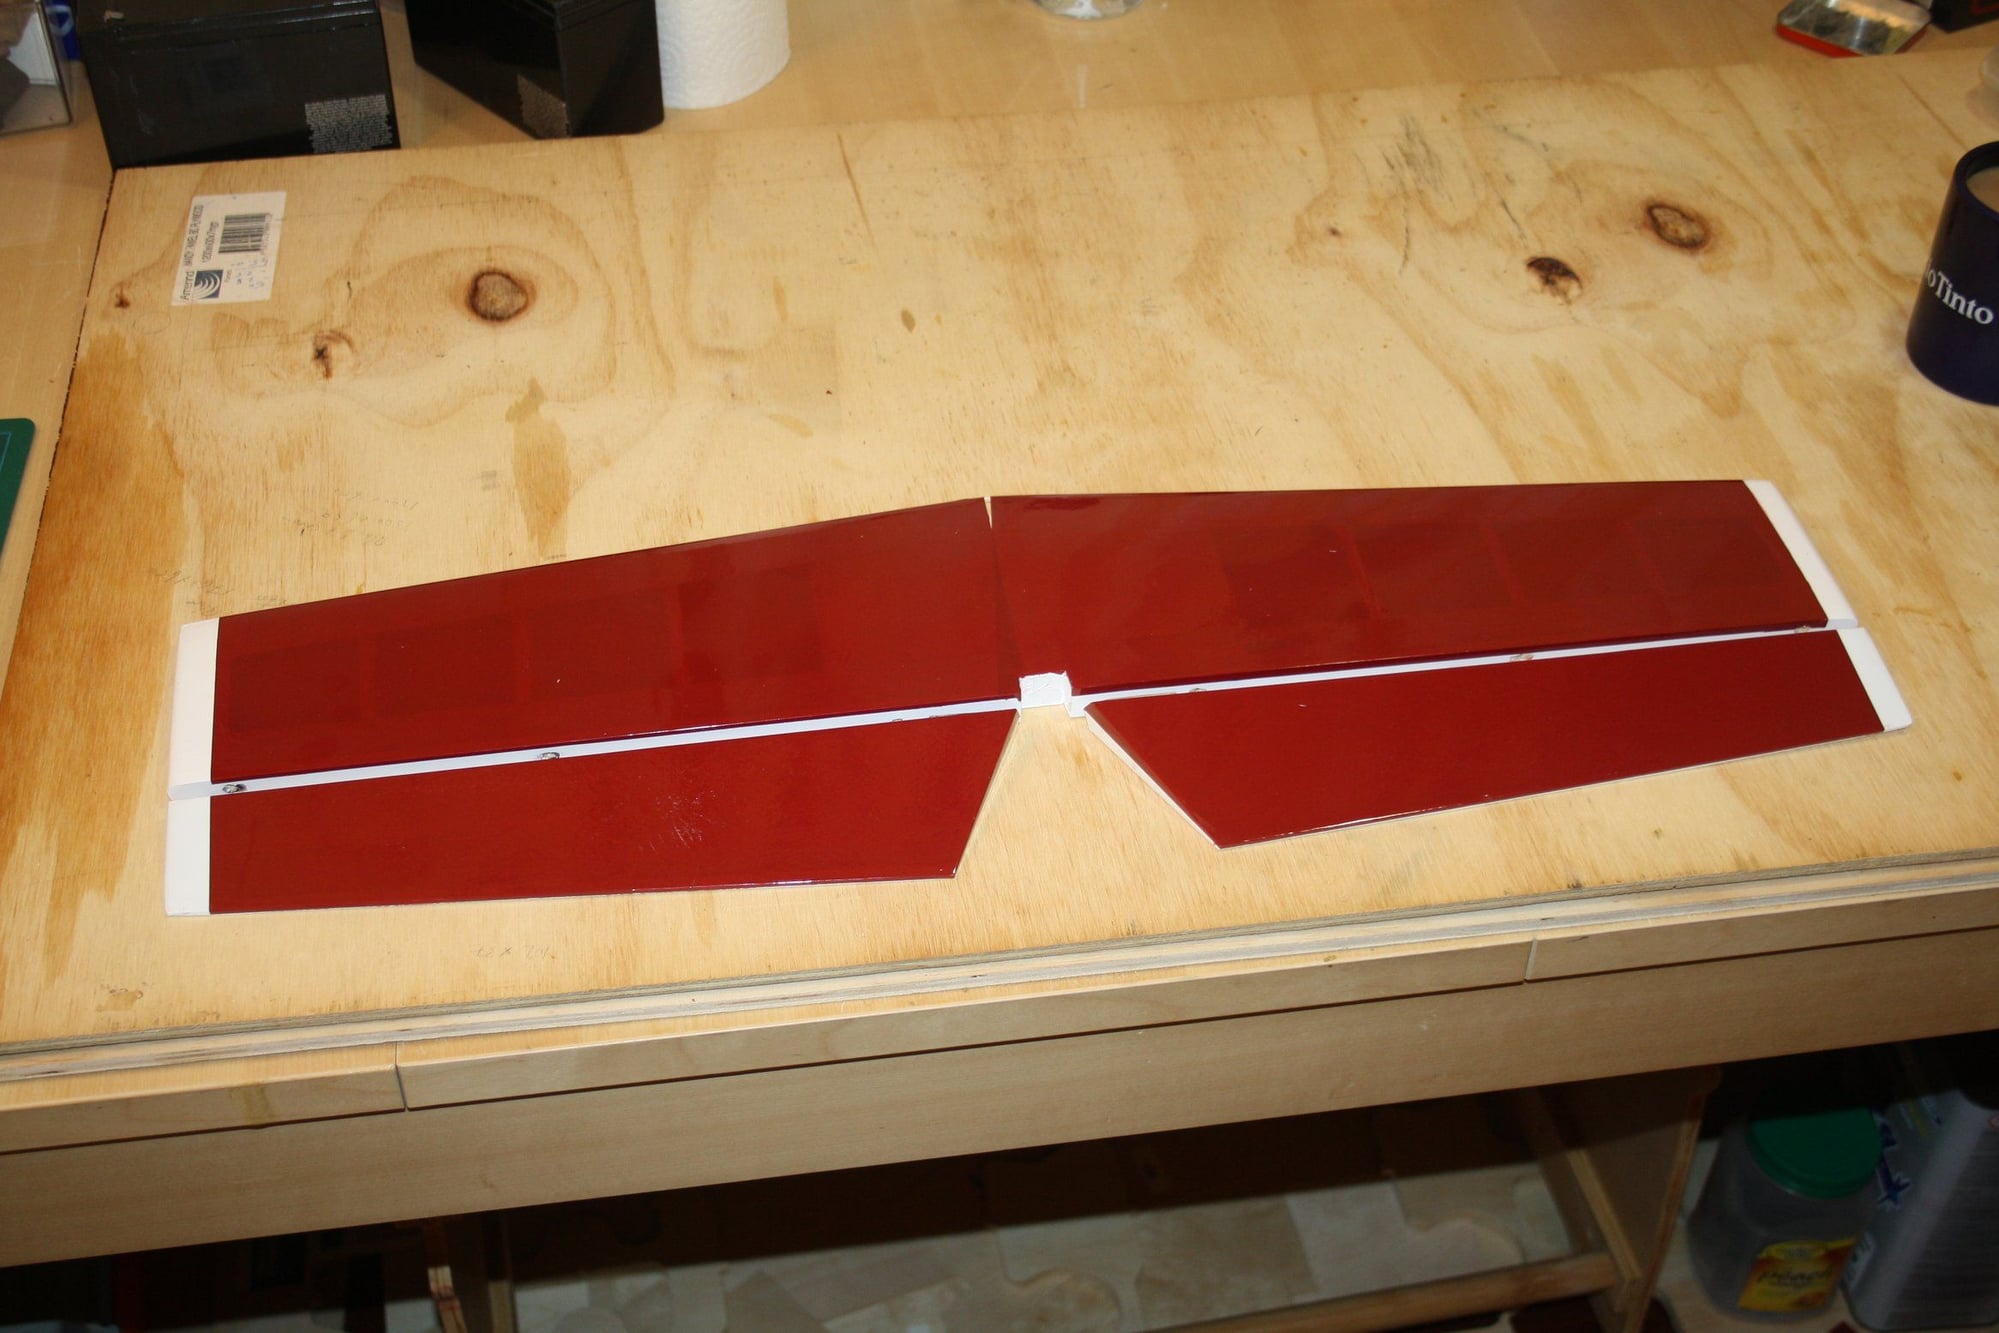
As I have no knowledge of what supposed to be done next in the build sequence (if there was any predetermined sequence), I decided that the fact that only one aileron was cut out of the wing may just be the clue.
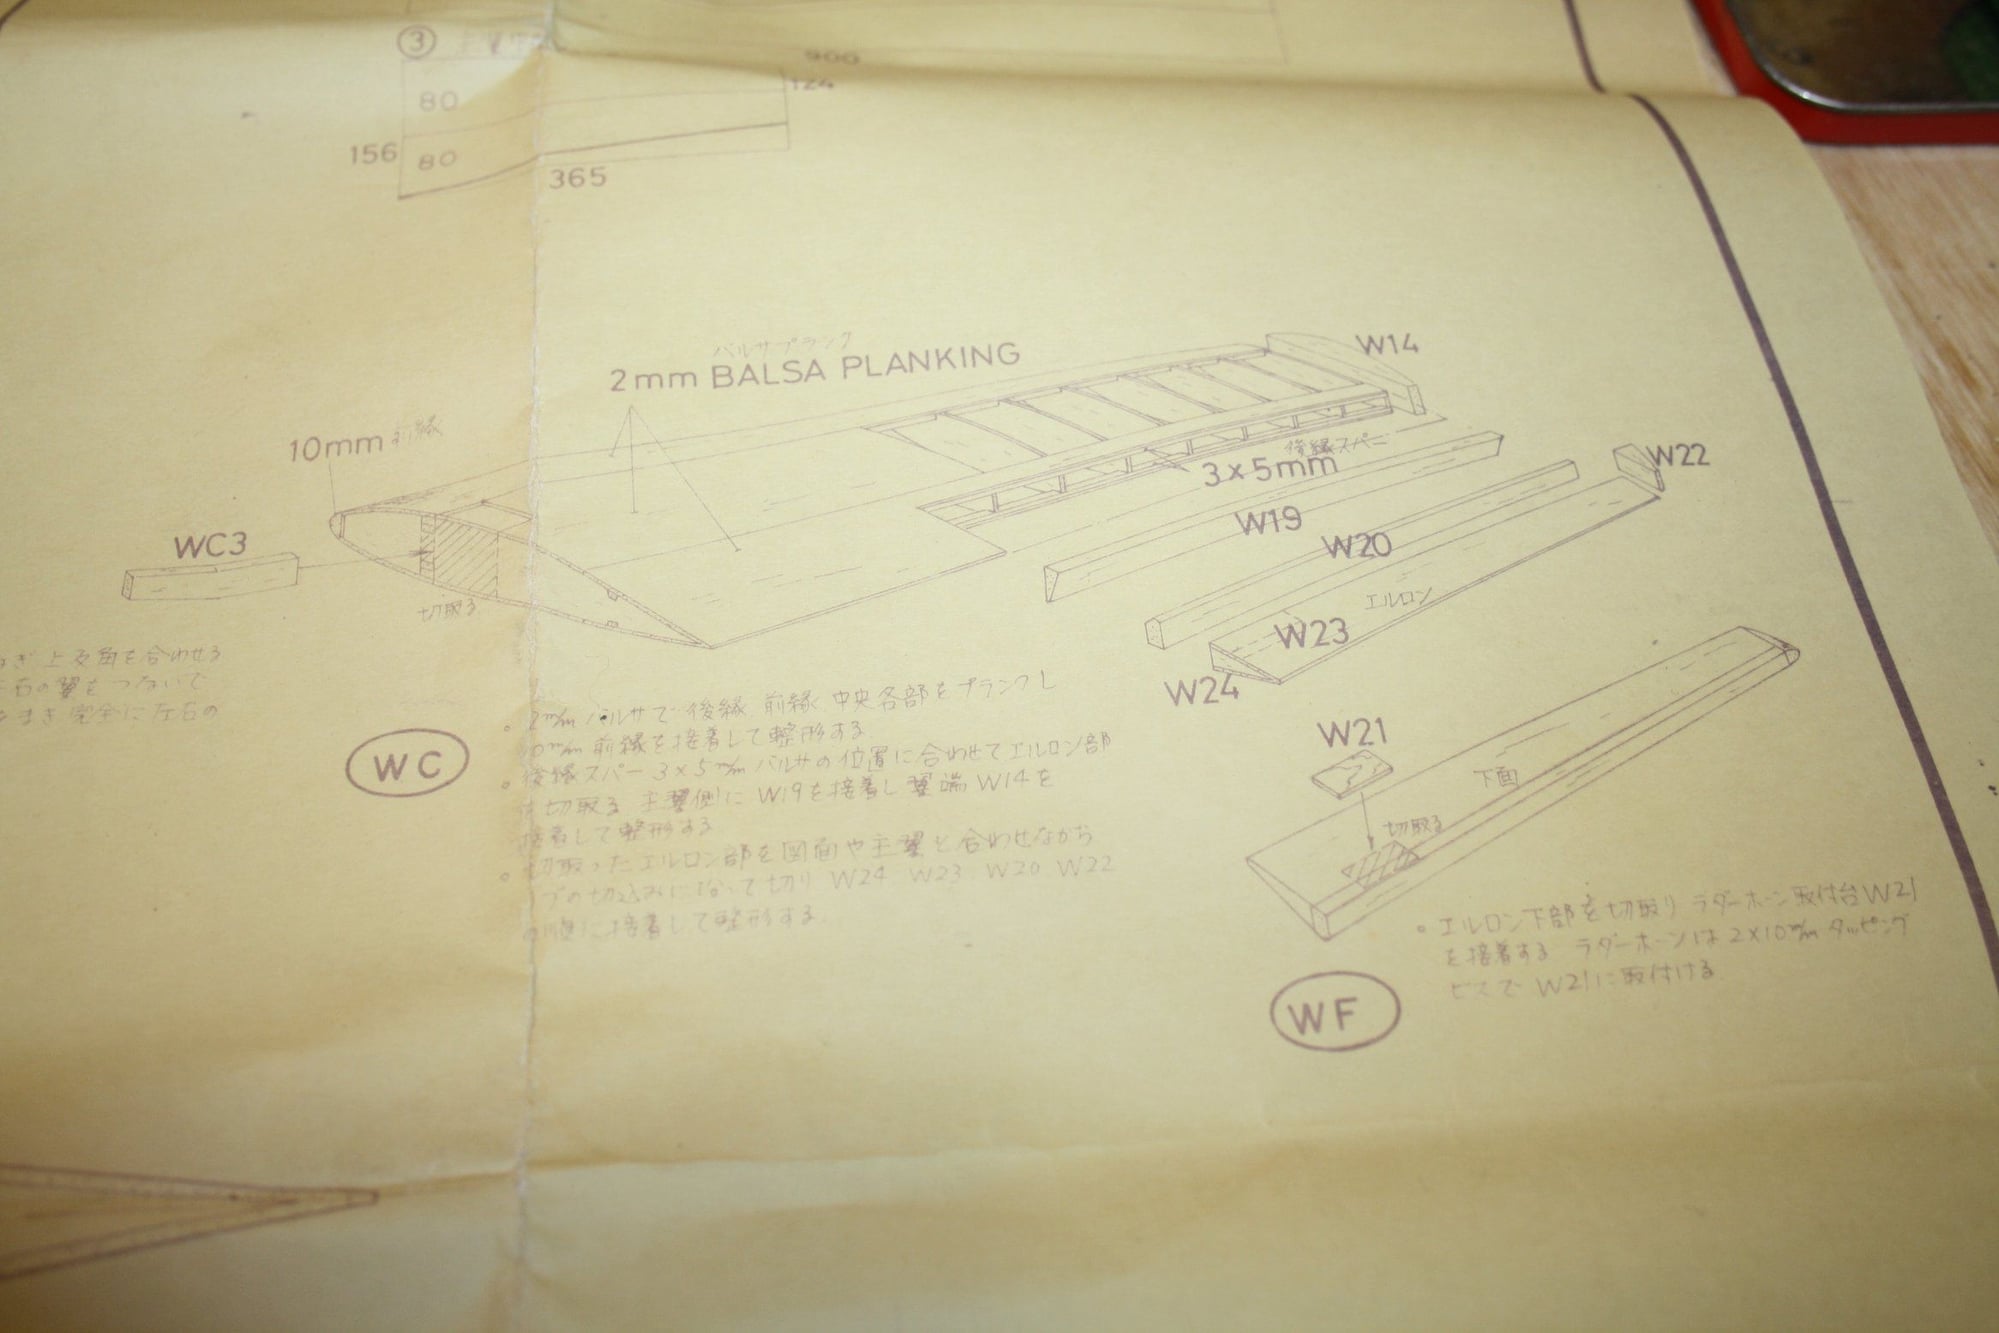
Studying the plans, I noticed that there is an exploded view drawing for every section of the aeroplane including the ailerons assembly.
I then proceeded to sand flush and glue the aileron section trailing edge and adjusted the cut on the aileron side to accept the aileron leading edge.
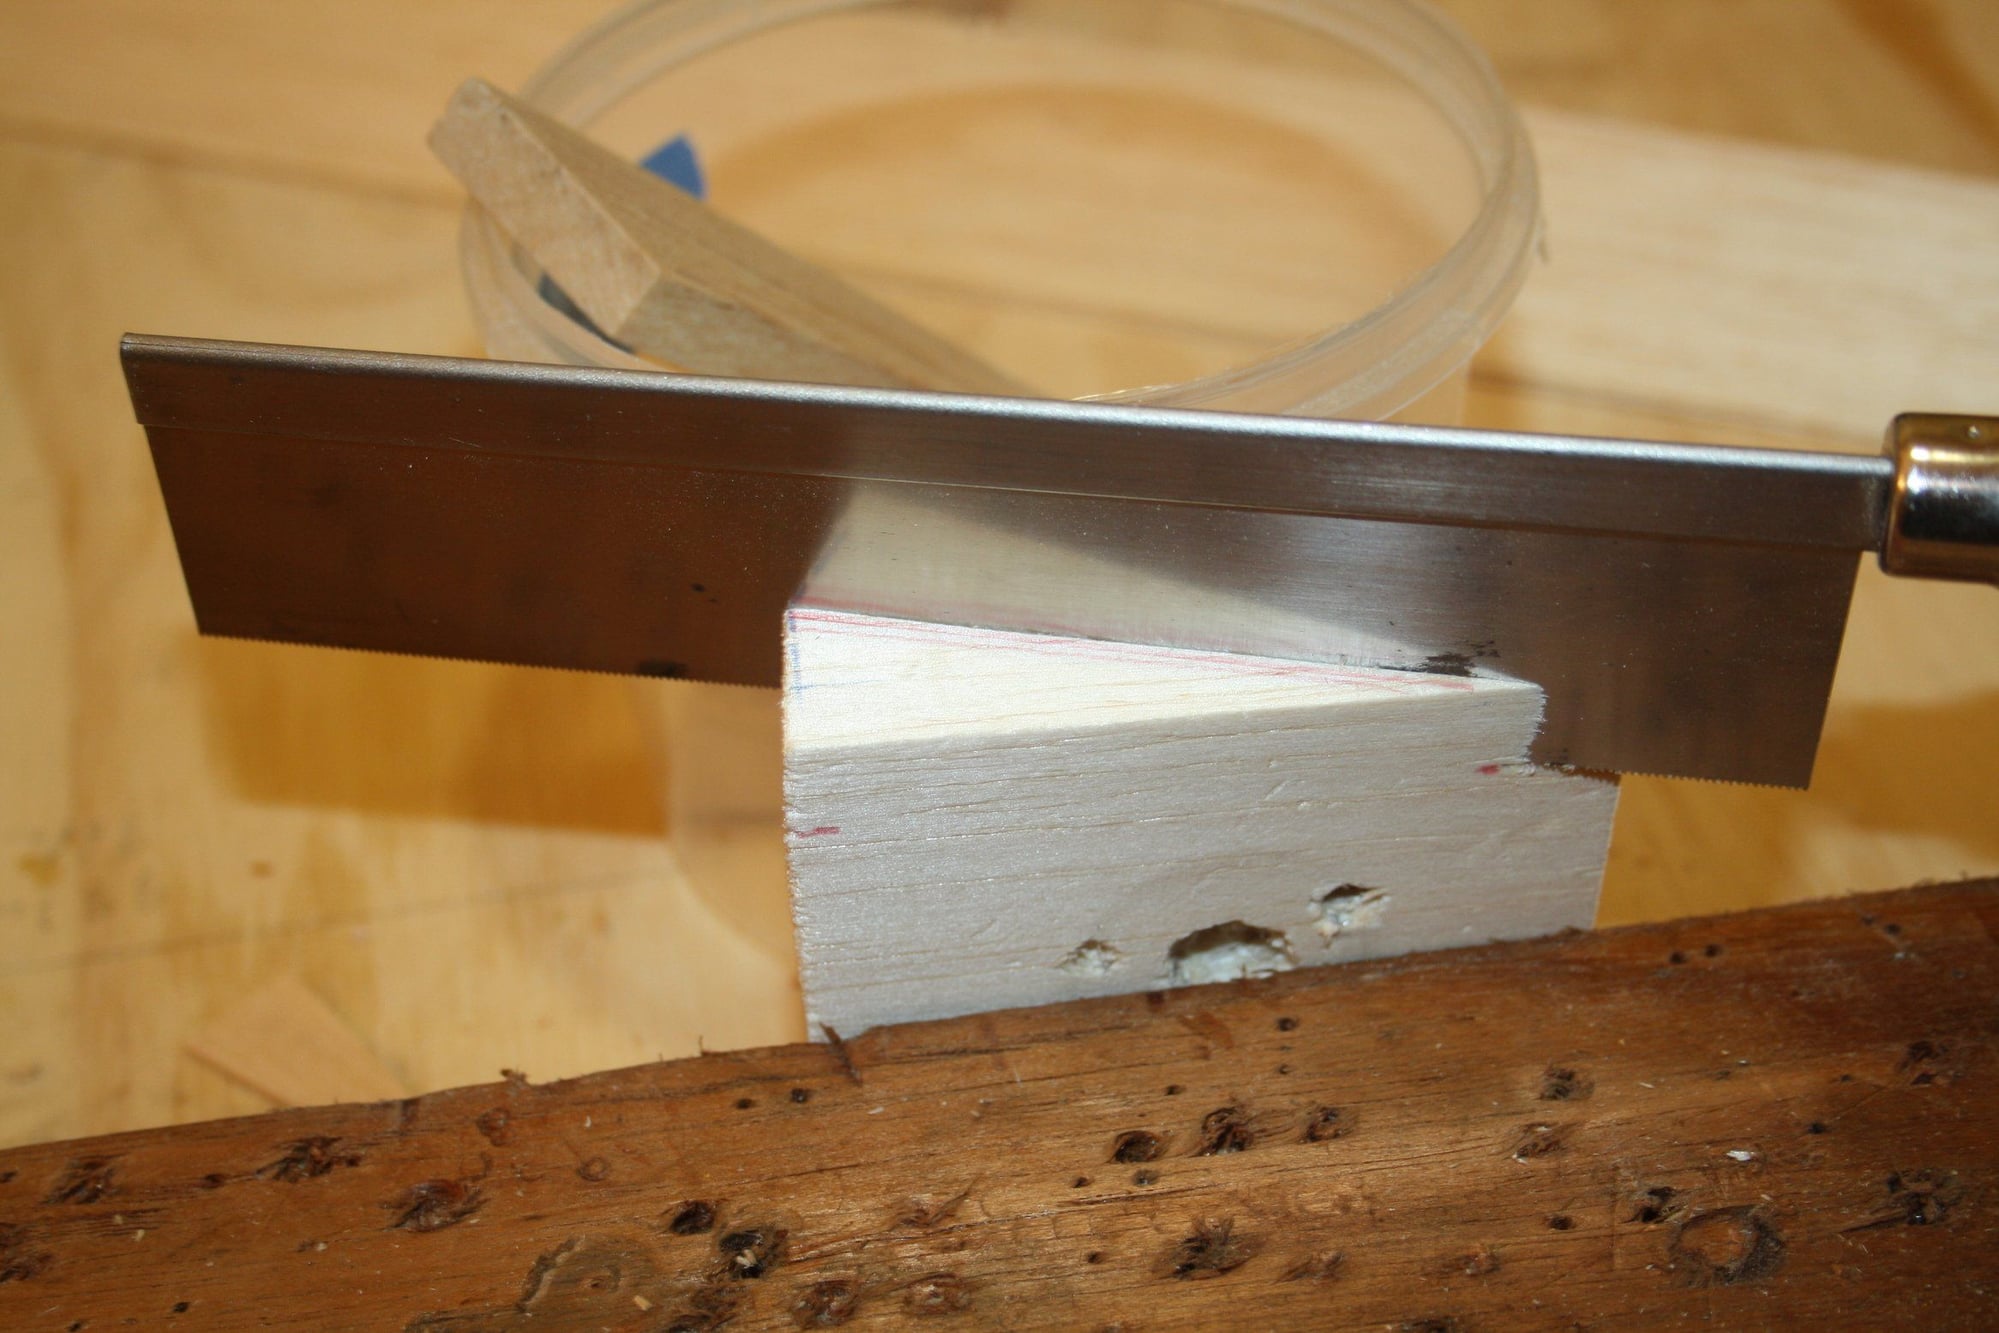
I then measured (and re-measured and then re-measured again) and marked the cut of the second aileron and cut it free of the wing.
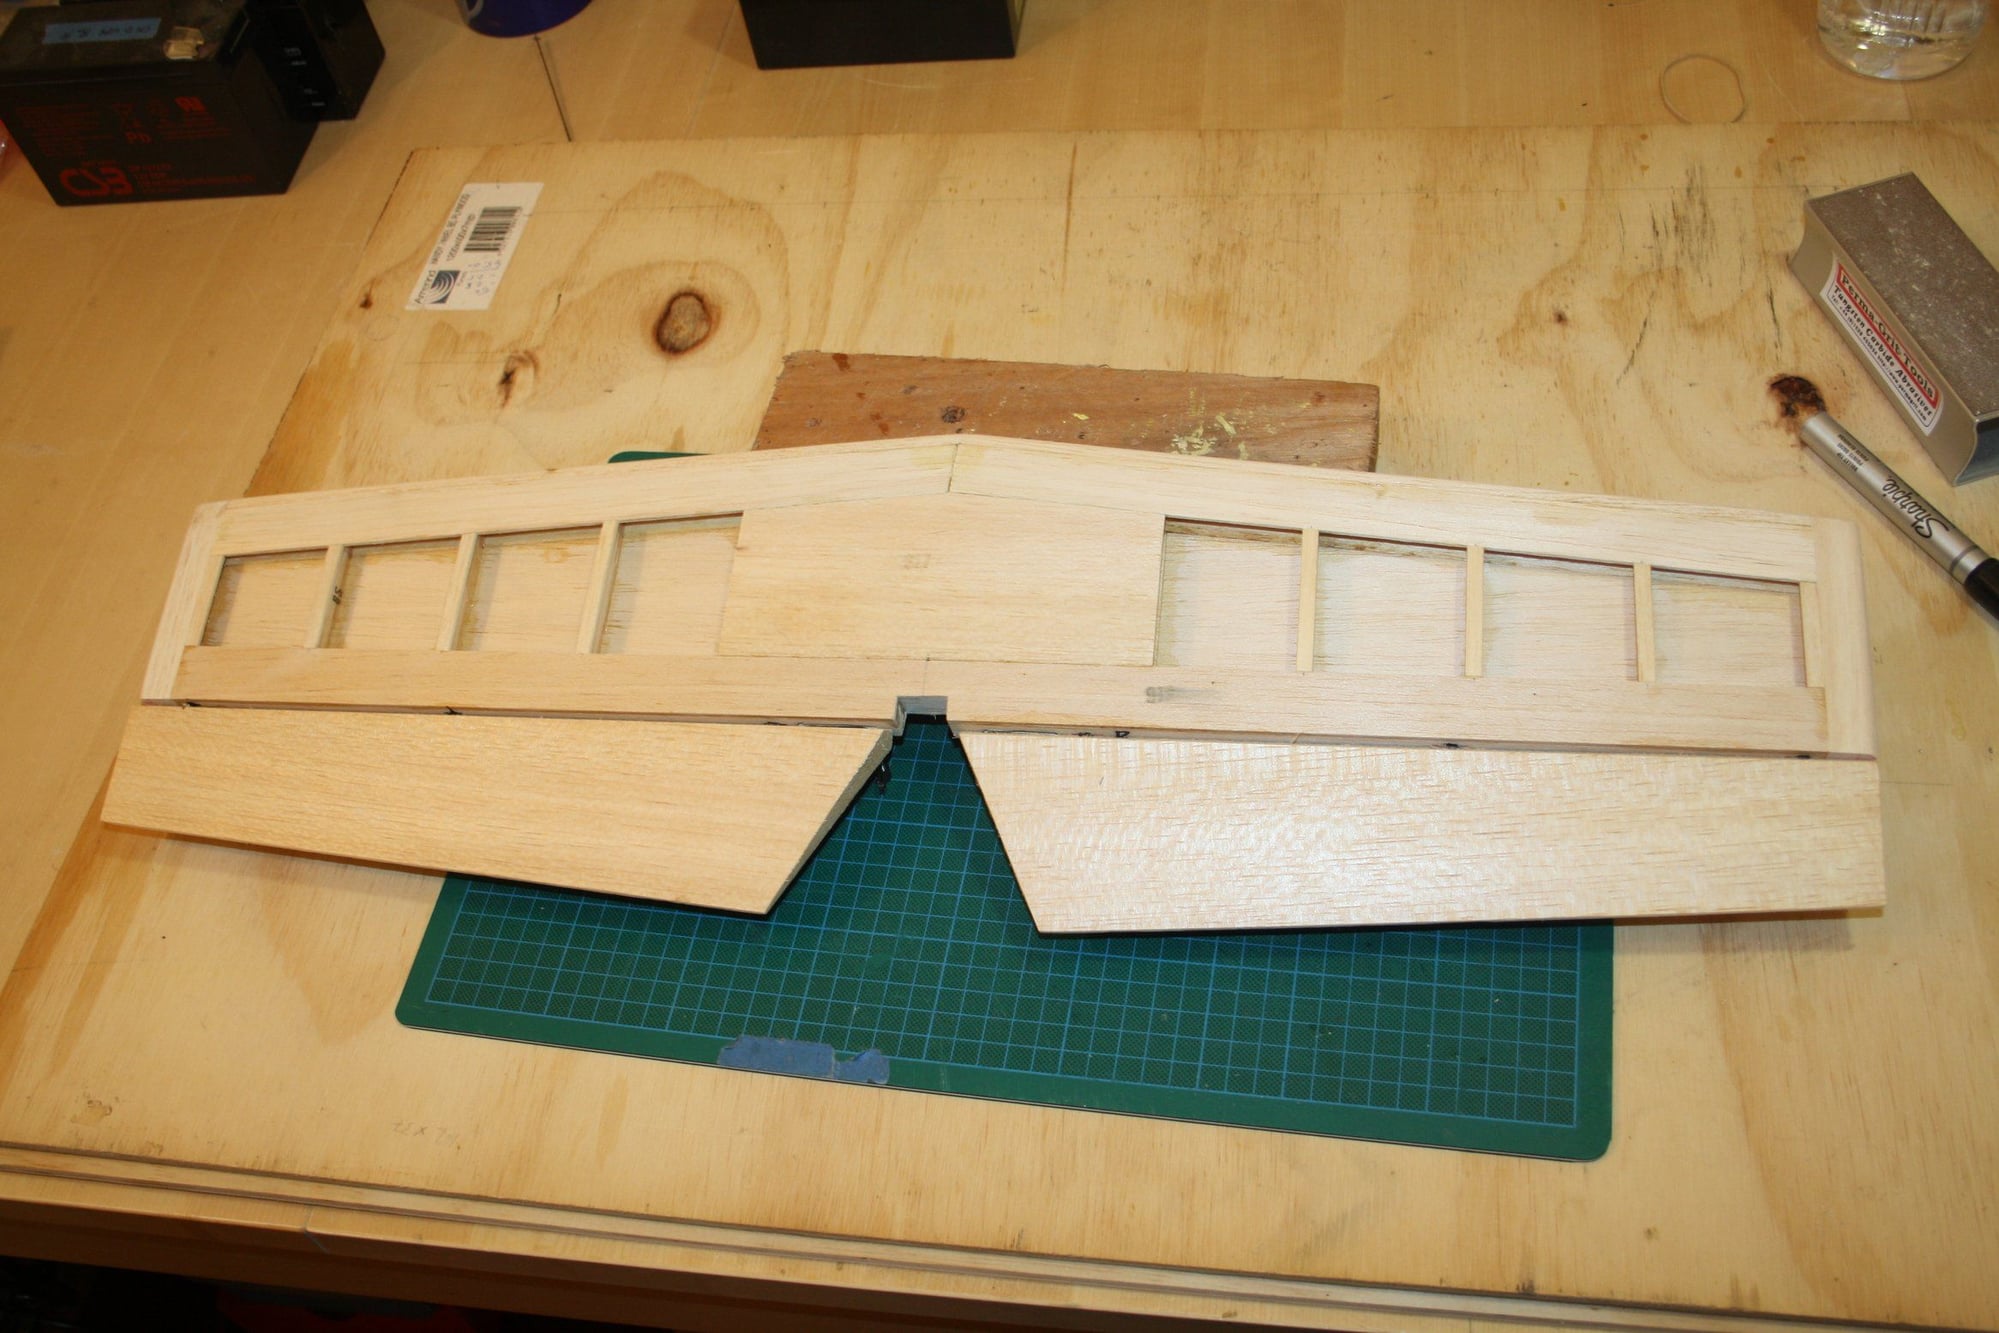
As can be seen in the 6th photo below, it seems that the previous owner may cut the aileron slightly away from the intended location (on one side). I will fix this later.

Cheers,
Eran.
Studying the plans, I noticed that there is an exploded view drawing for every section of the aeroplane including the ailerons assembly.
I then proceeded to sand flush and glue the aileron section trailing edge and adjusted the cut on the aileron side to accept the aileron leading edge.
I then measured (and re-measured and then re-measured again) and marked the cut of the second aileron and cut it free of the wing.
As can be seen in the 6th photo below, it seems that the previous owner may cut the aileron slightly away from the intended location (on one side). I will fix this later.
Cheers,
Eran.
12-21-2019, 10:24 PM
#4
Thread Starter
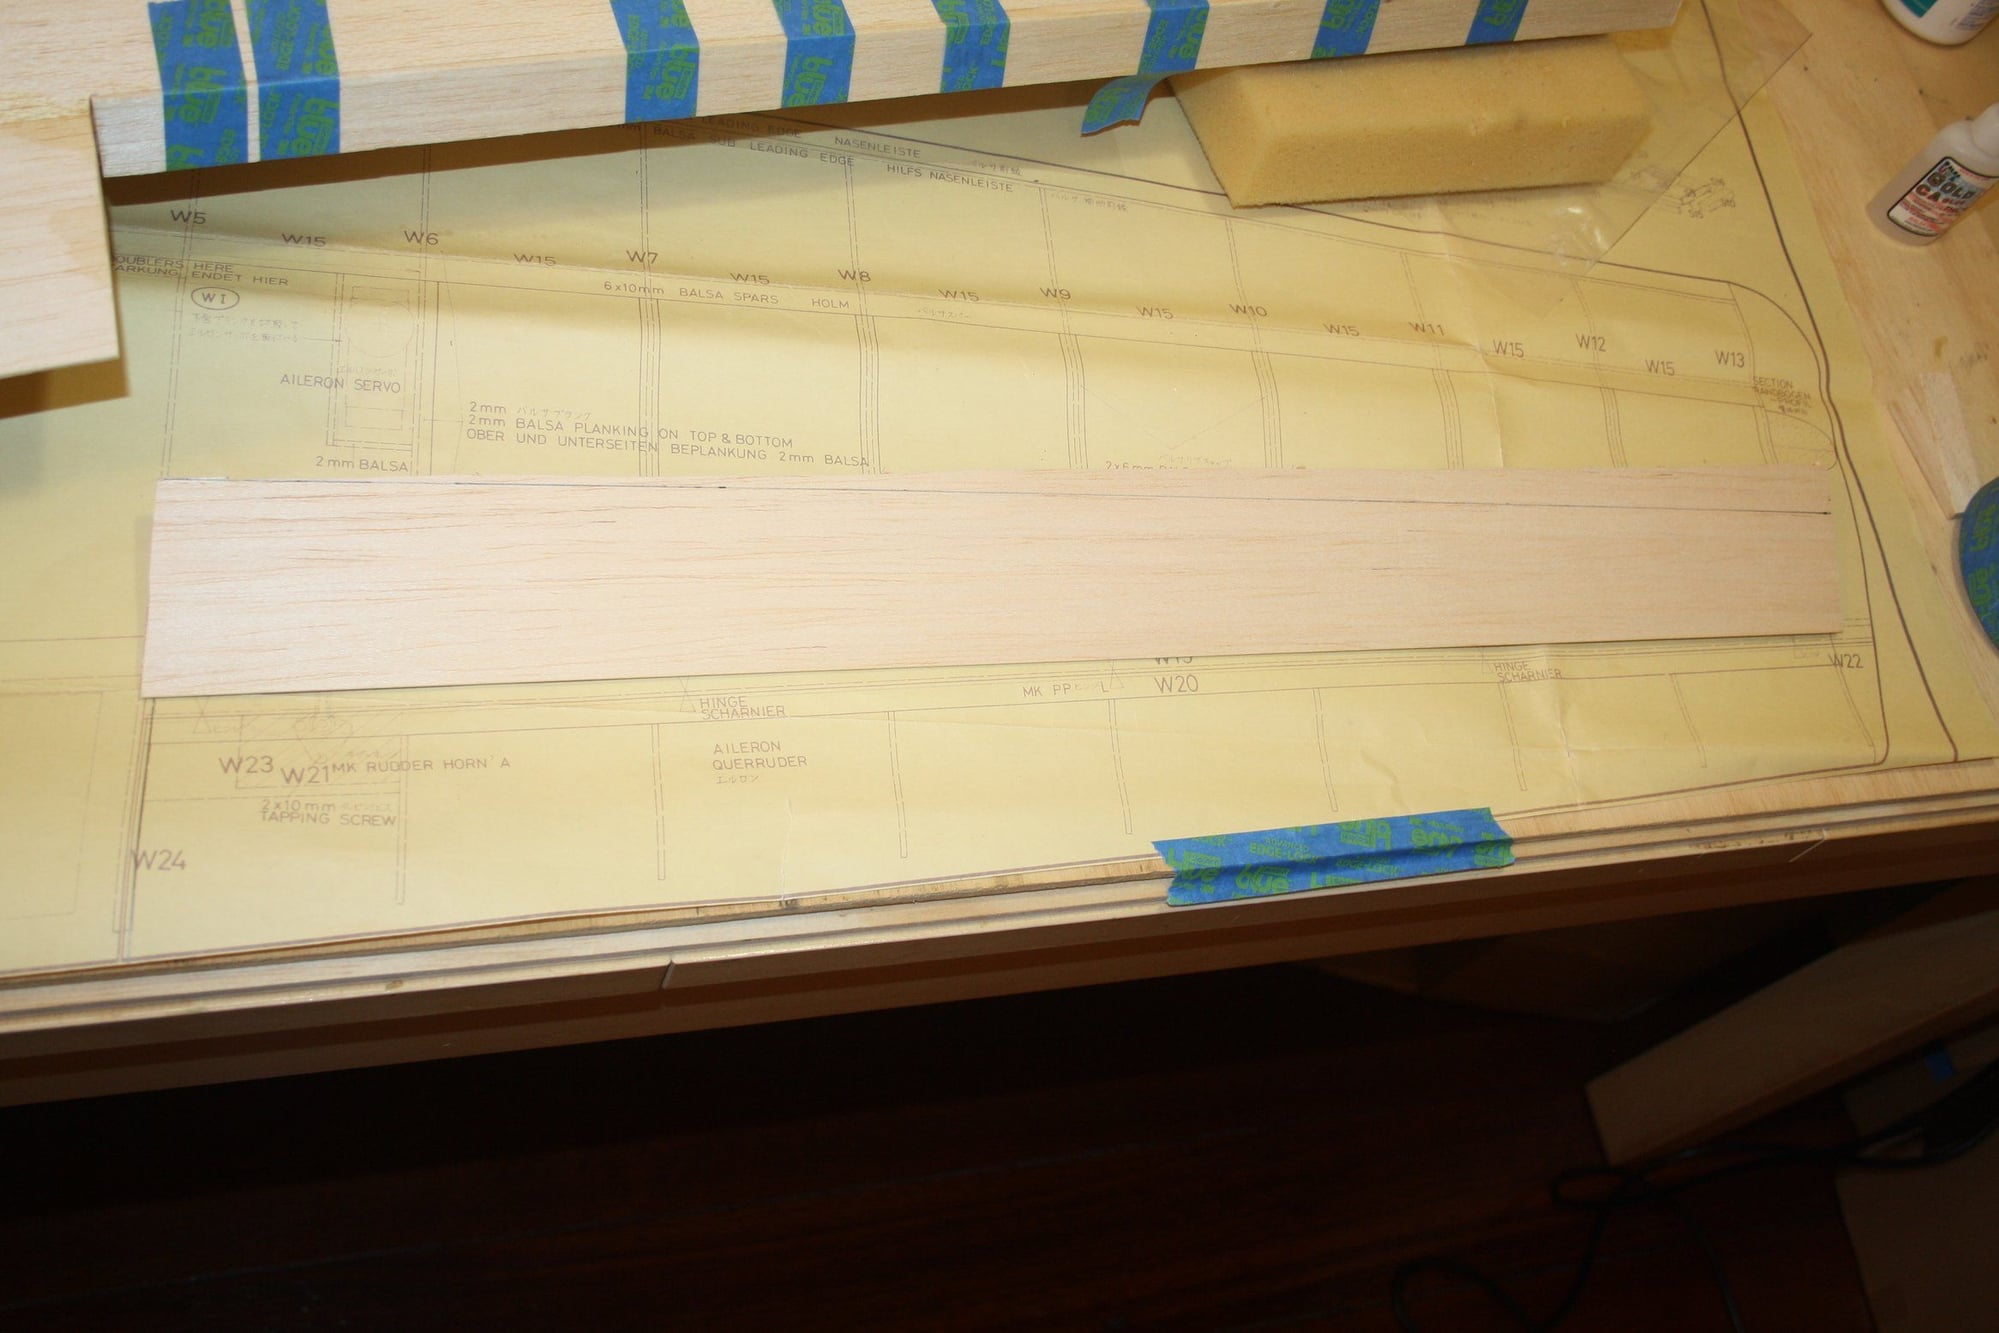
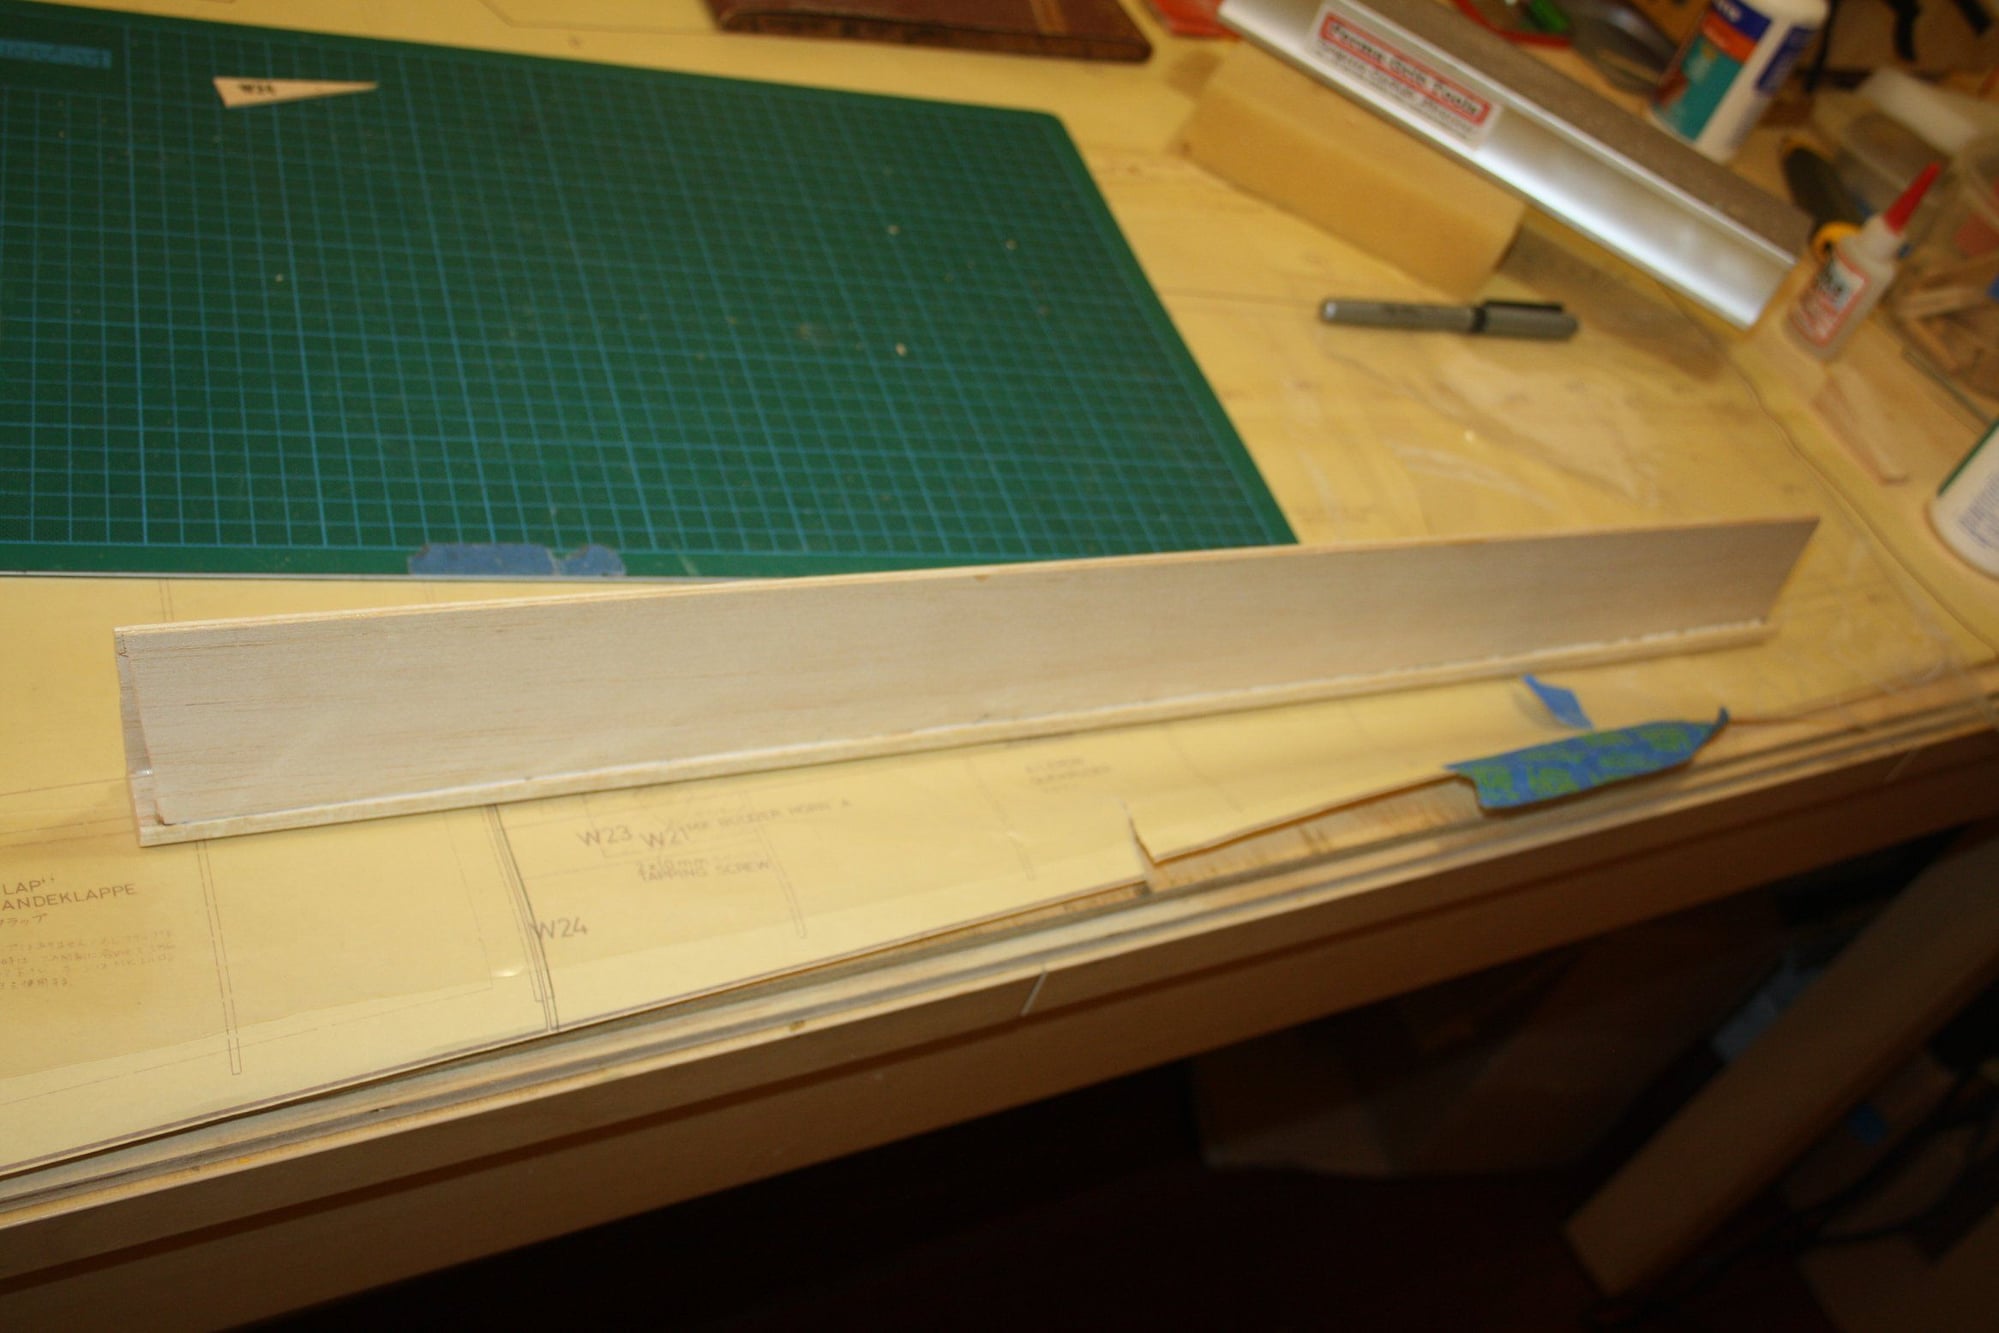
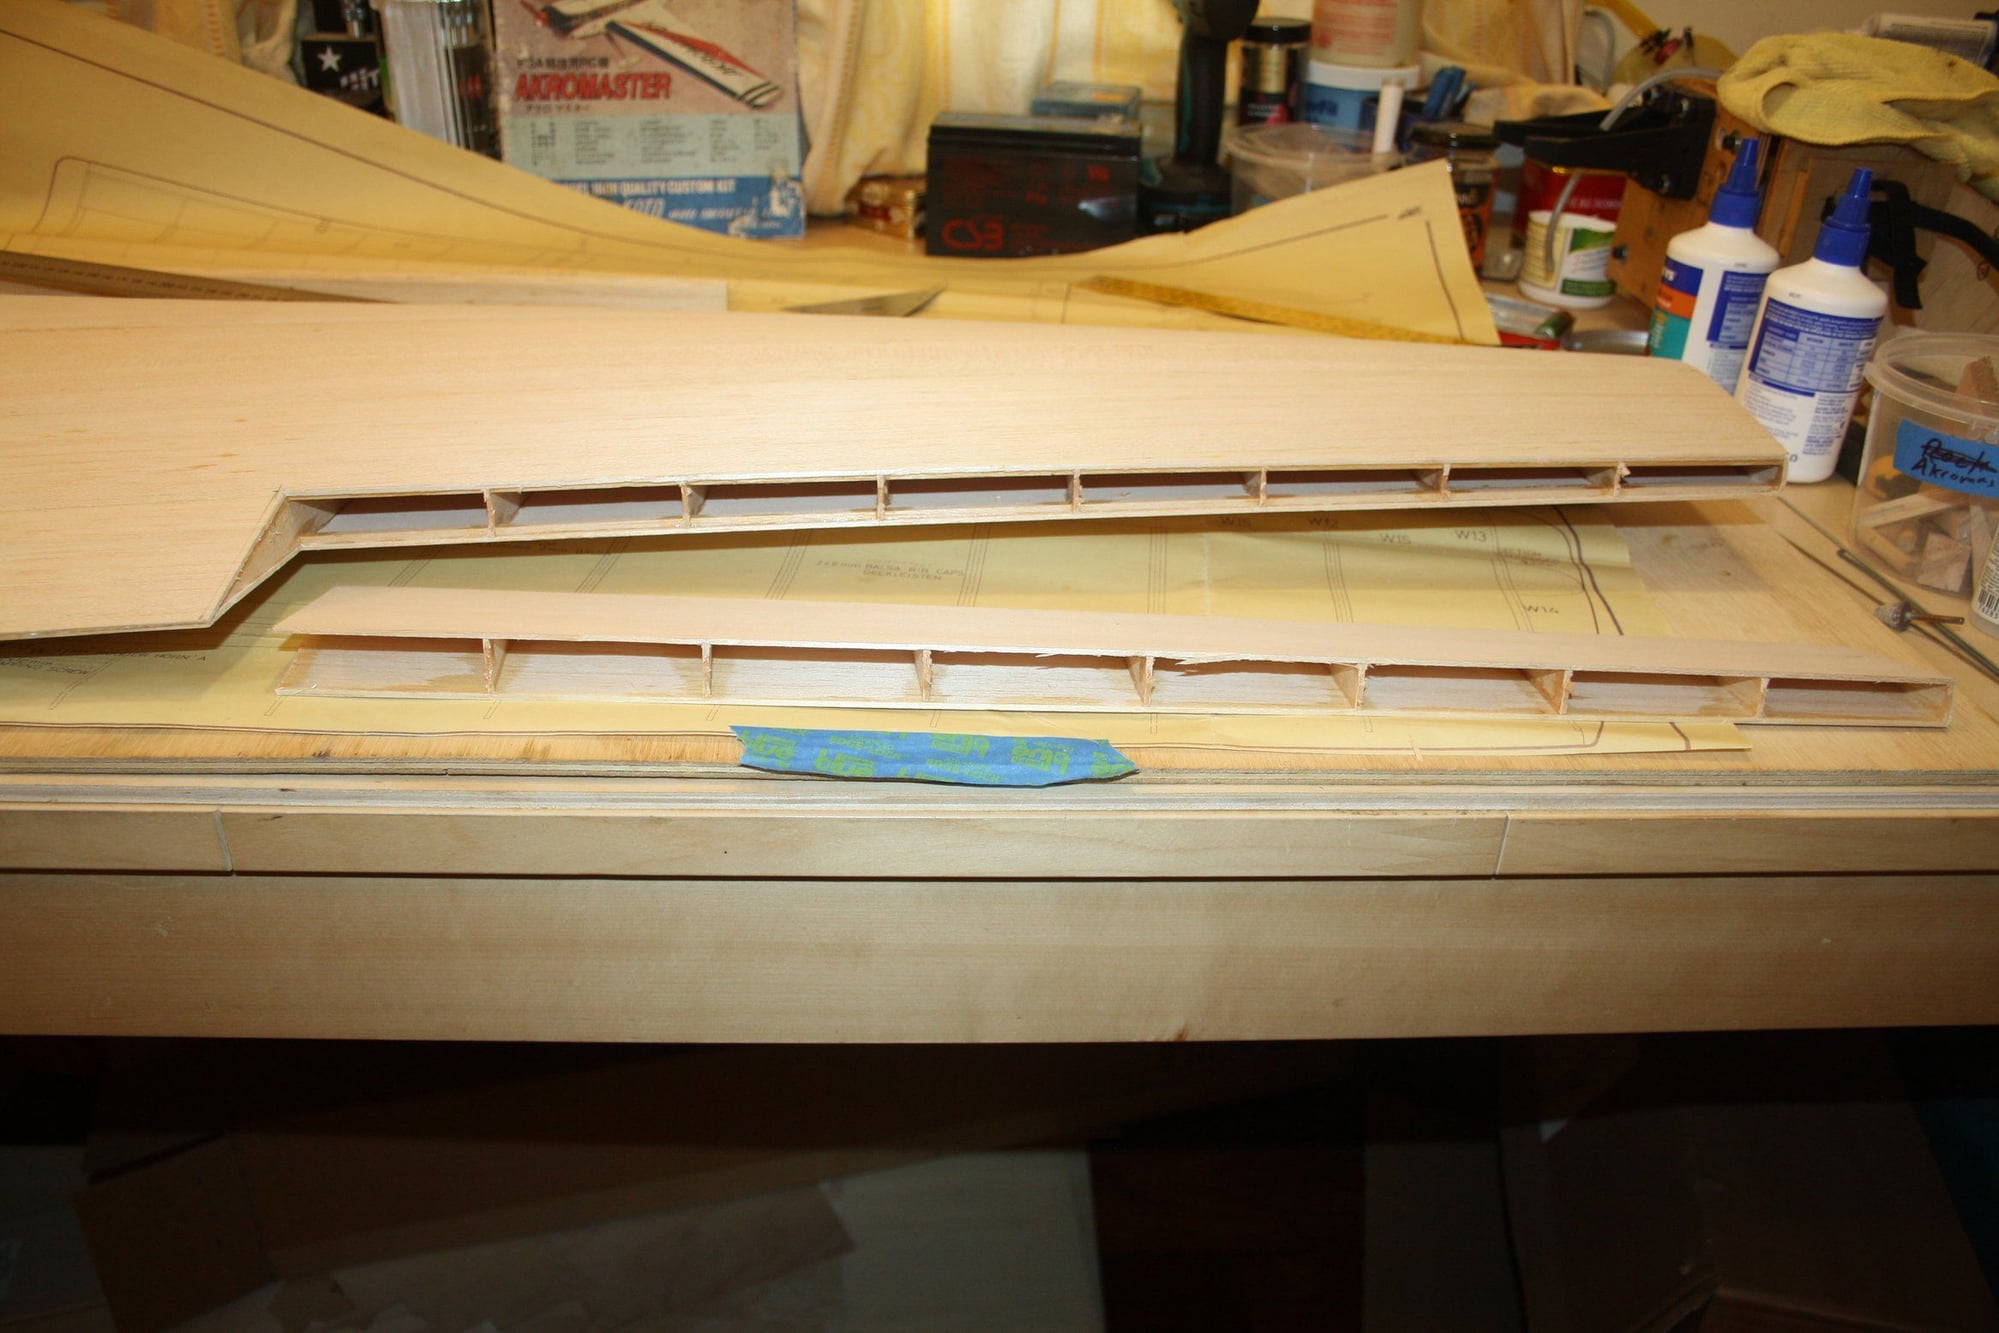
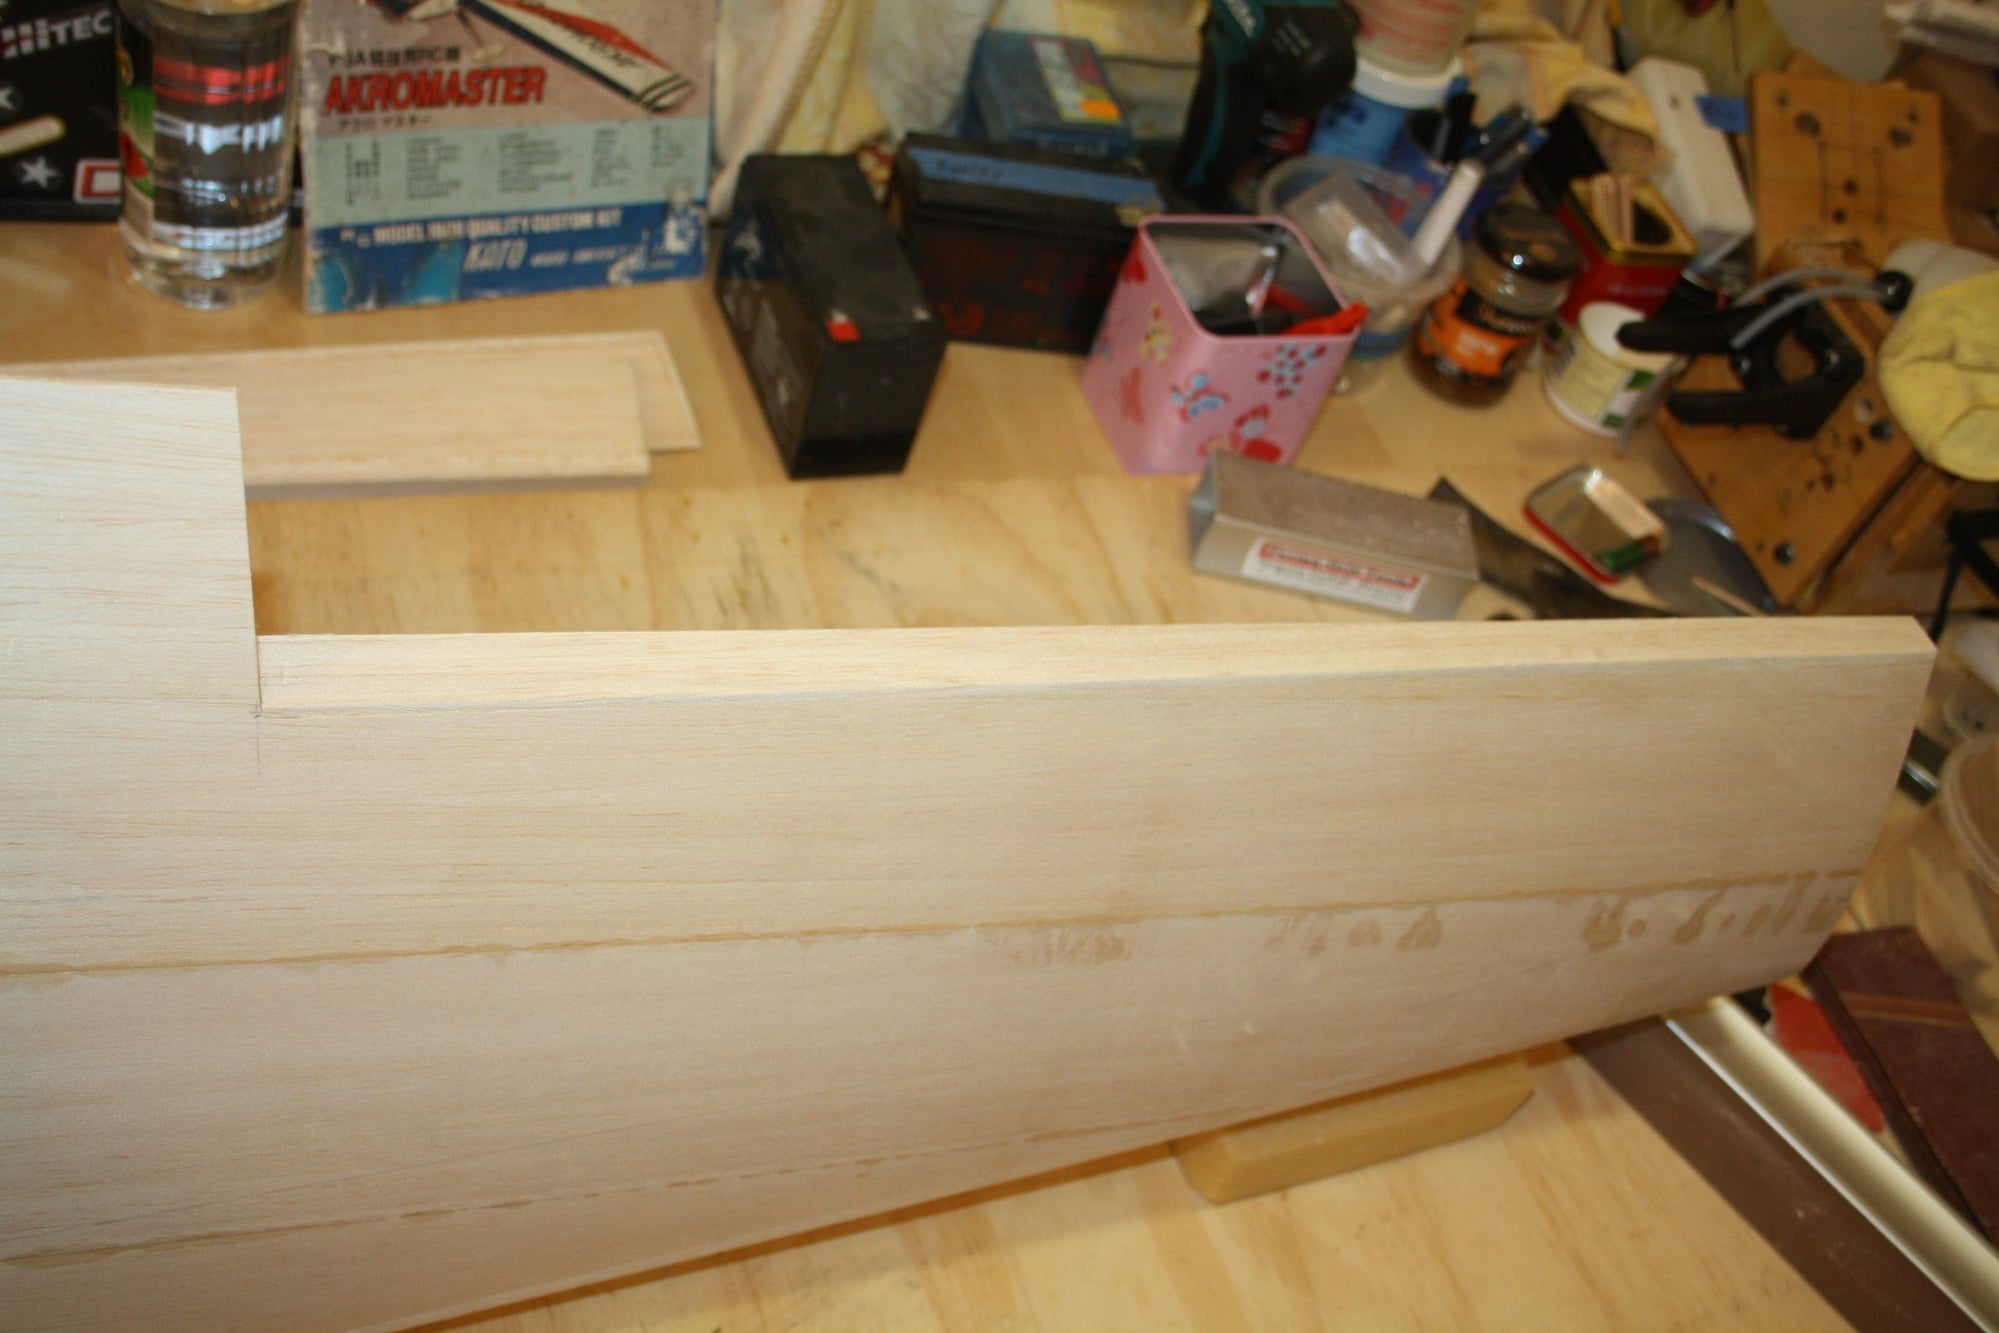
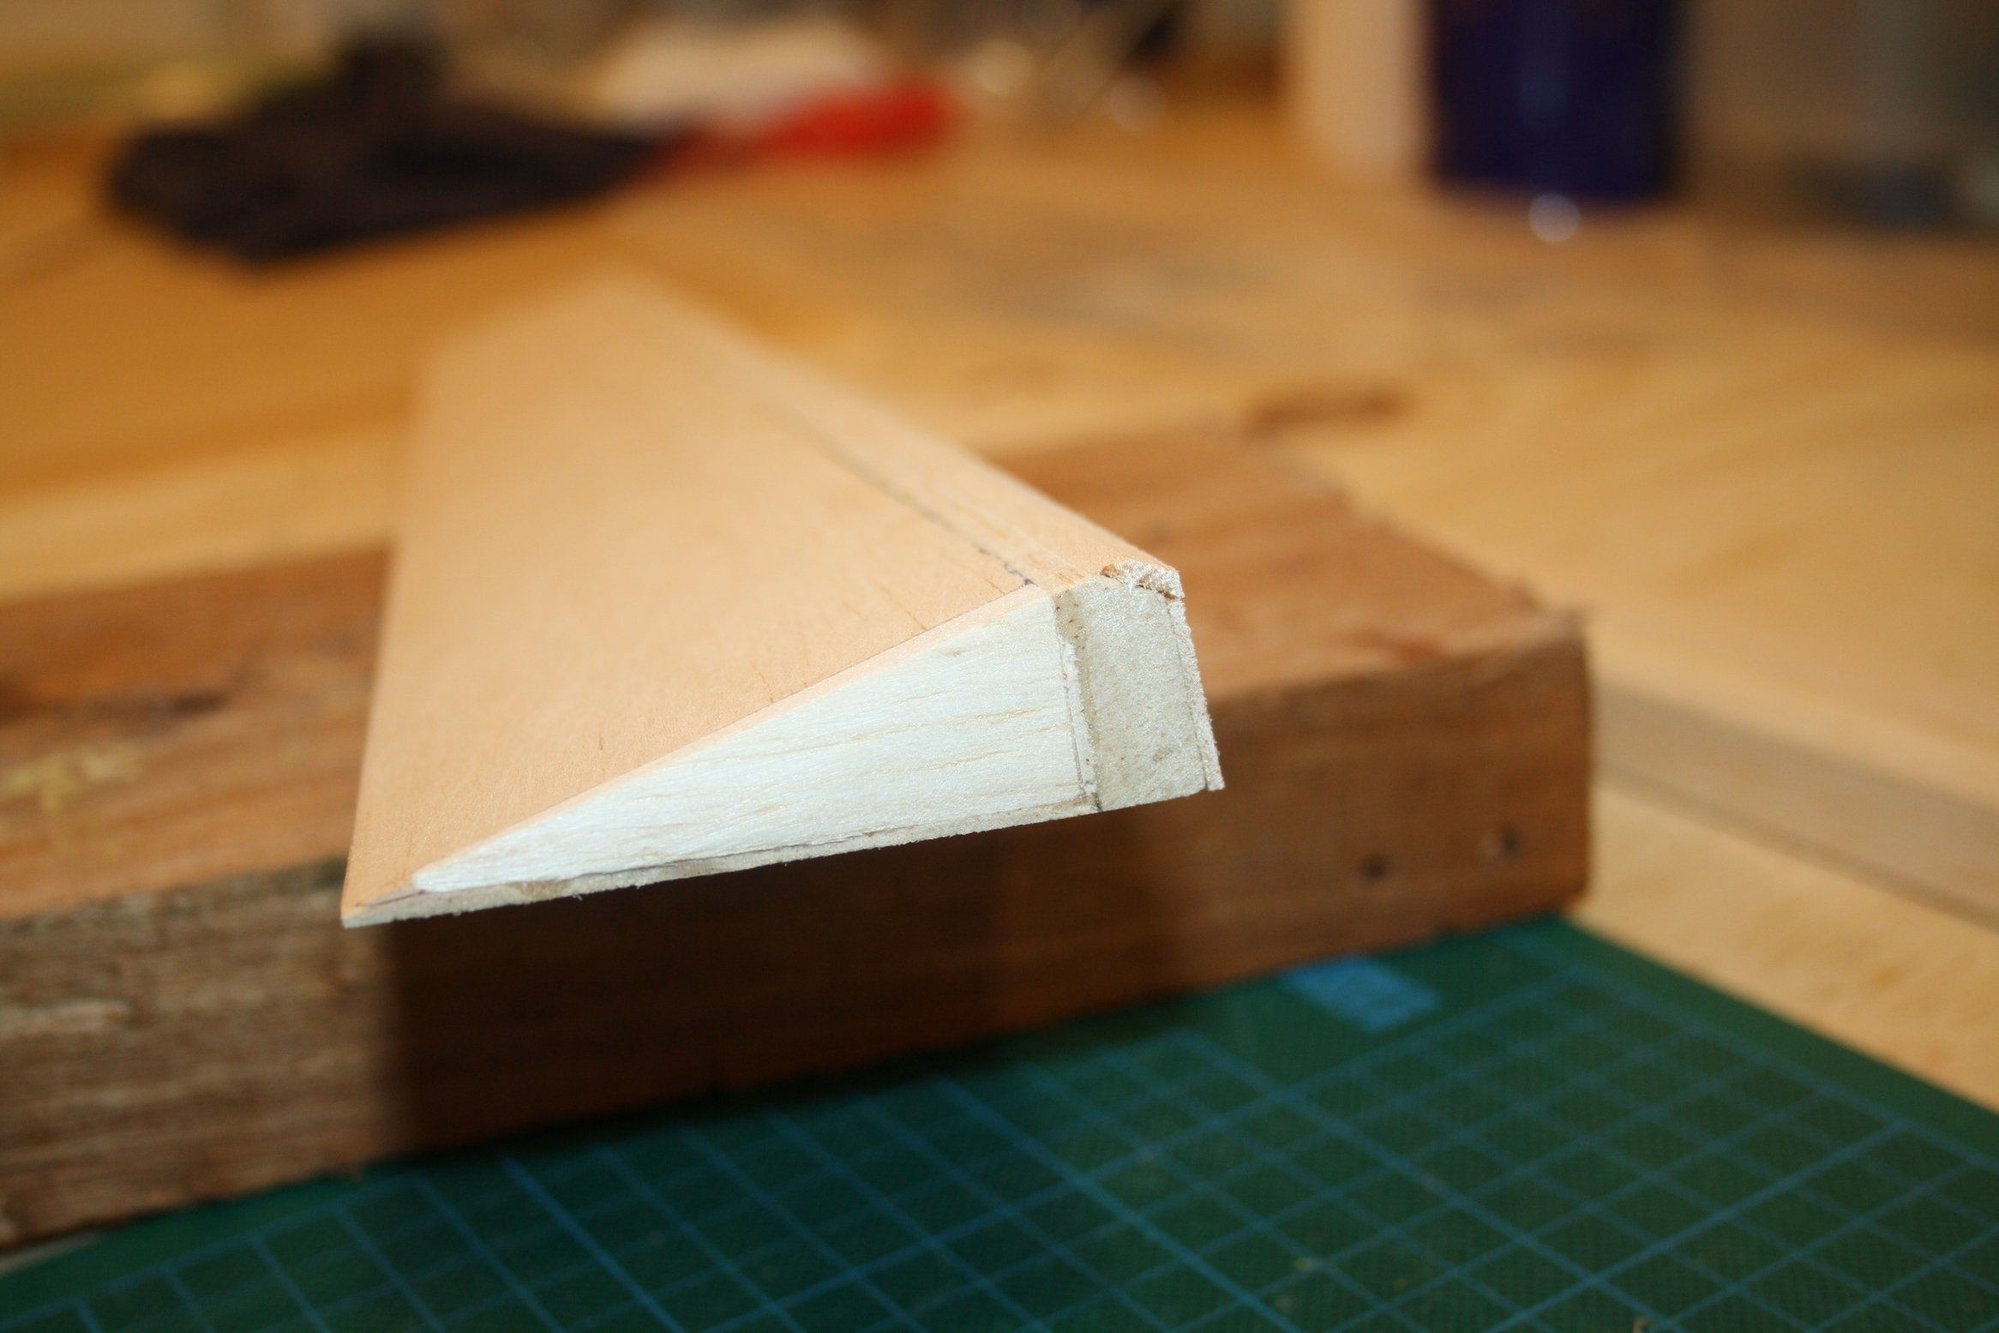
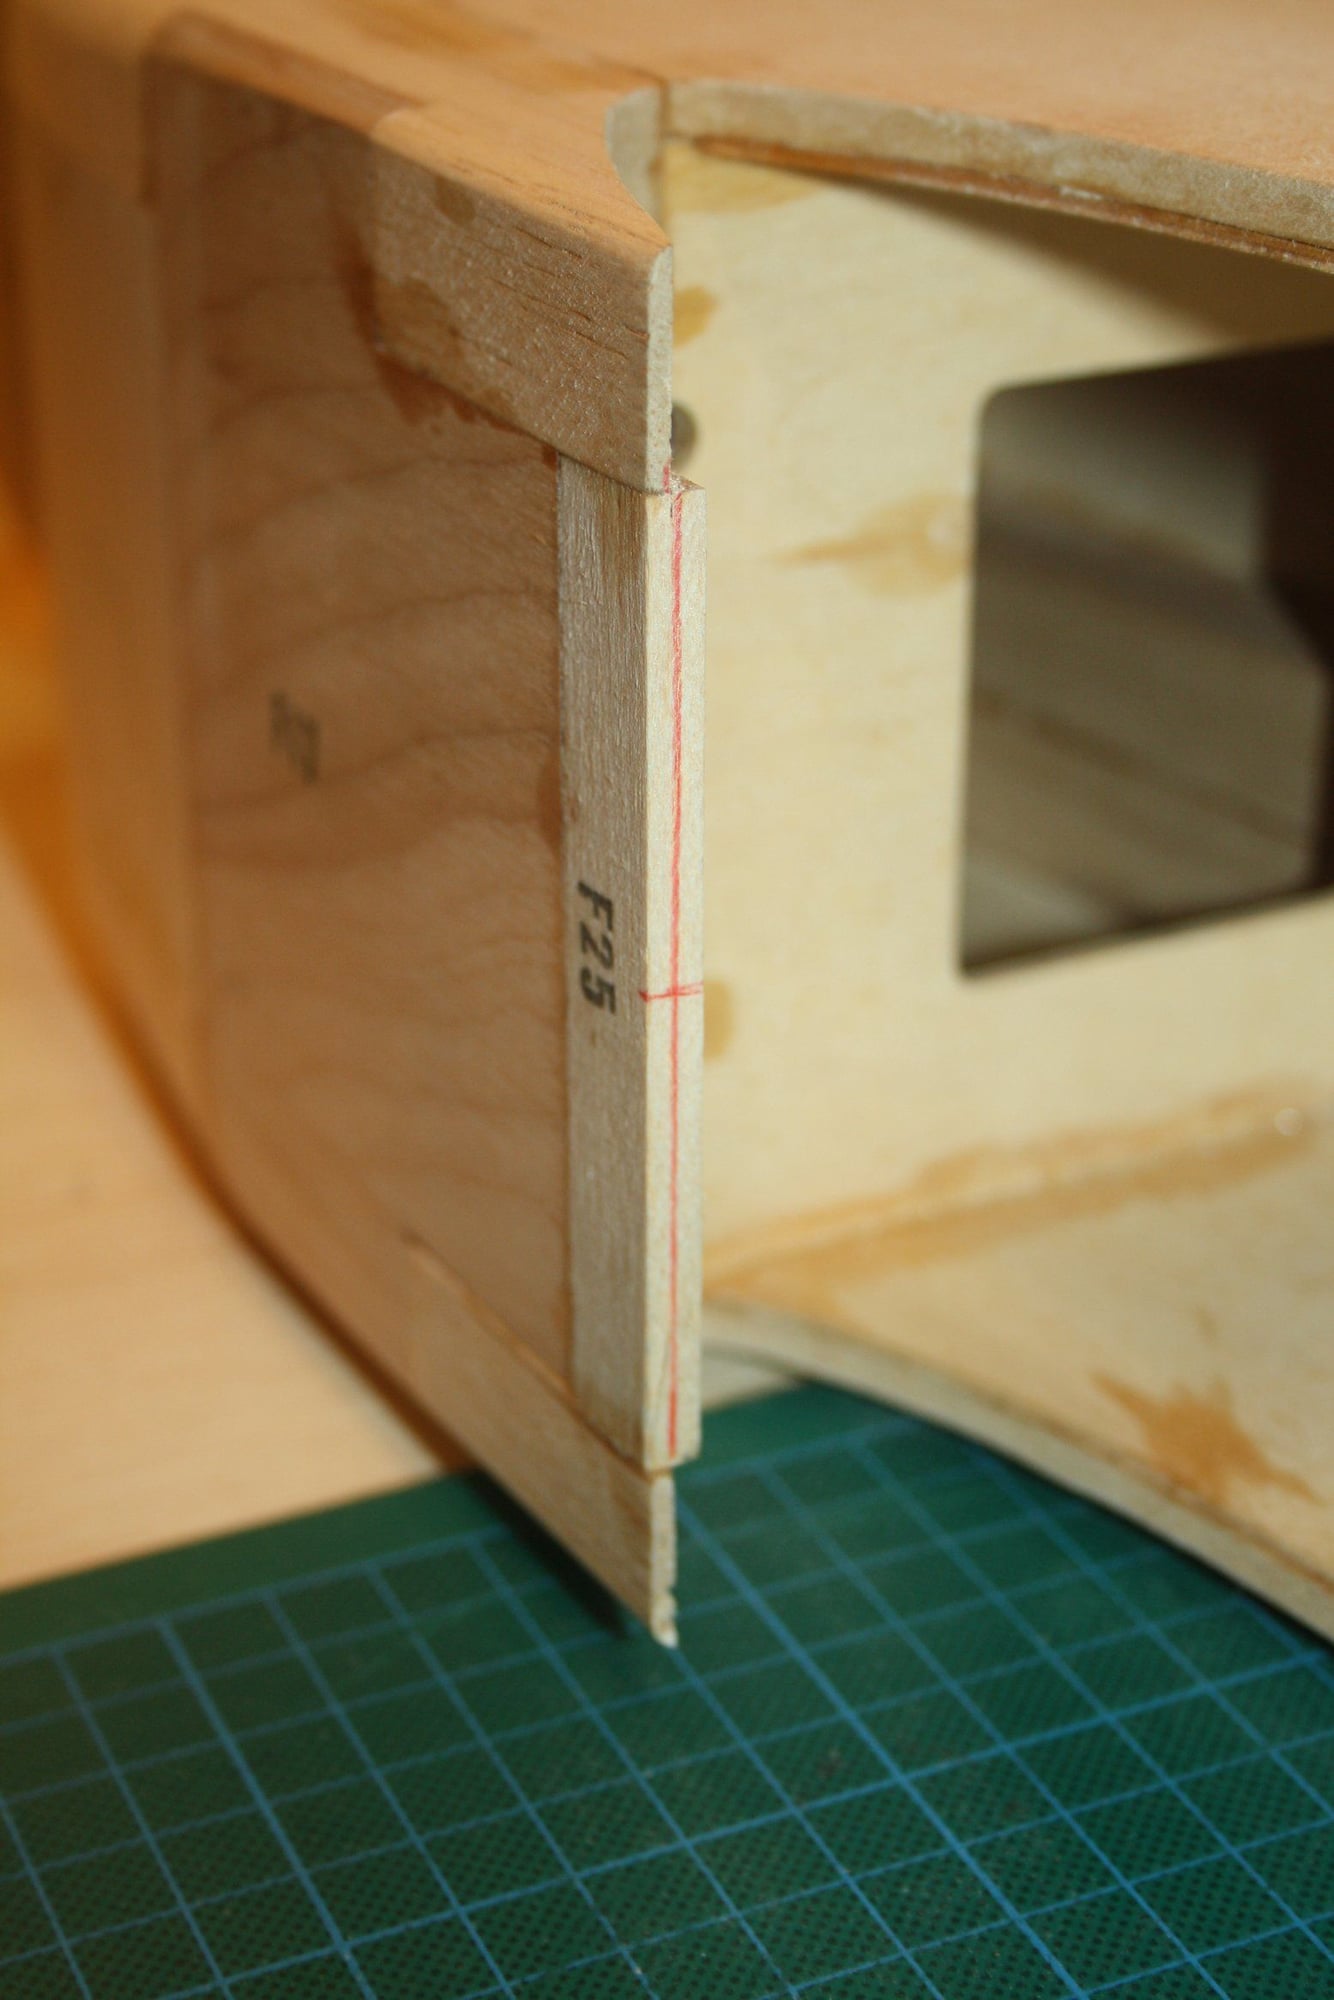
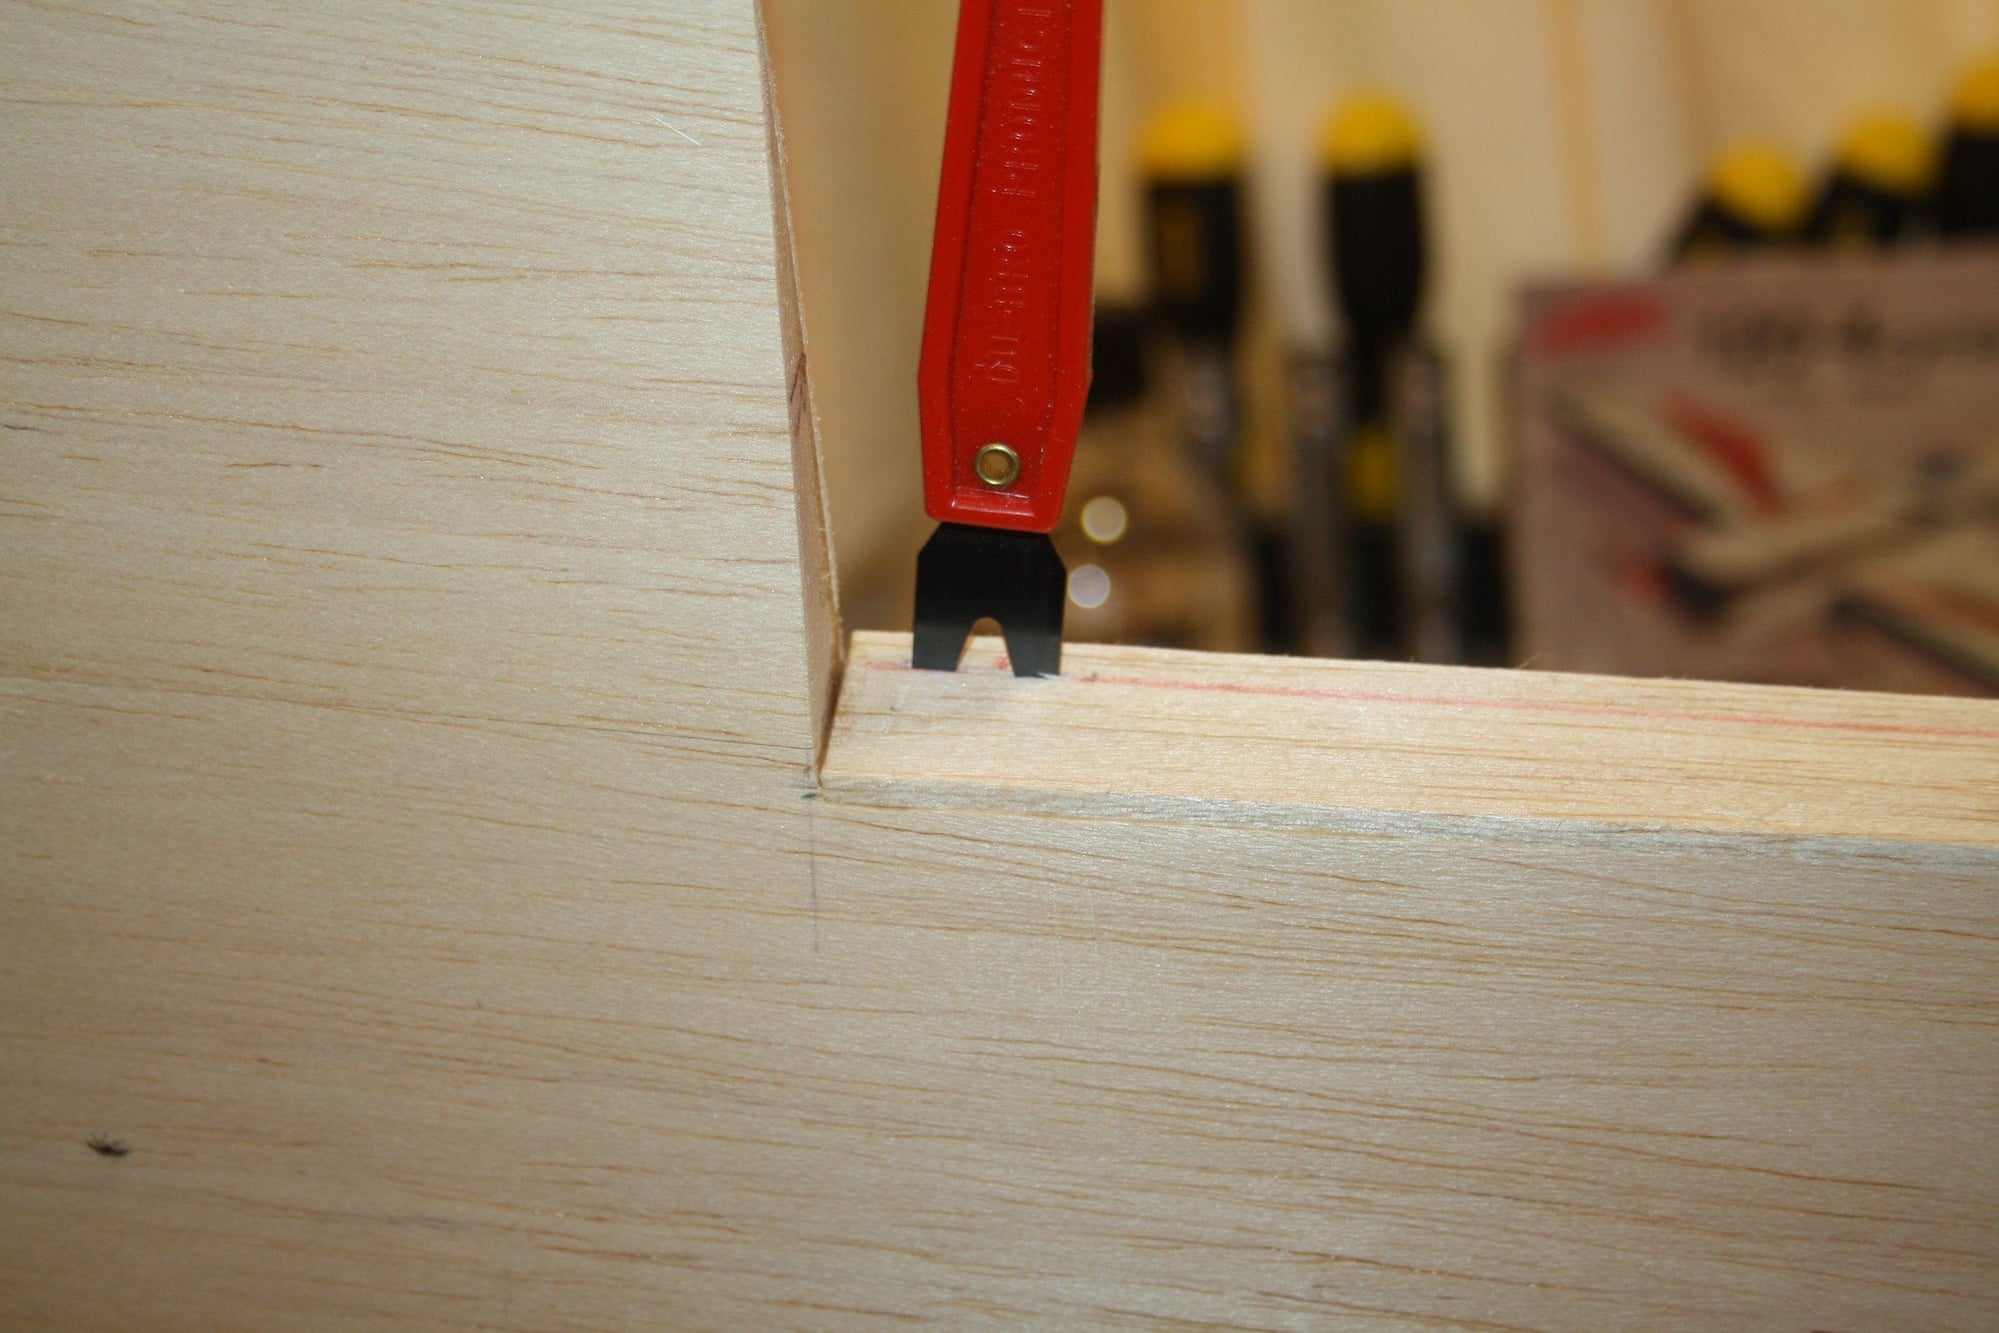
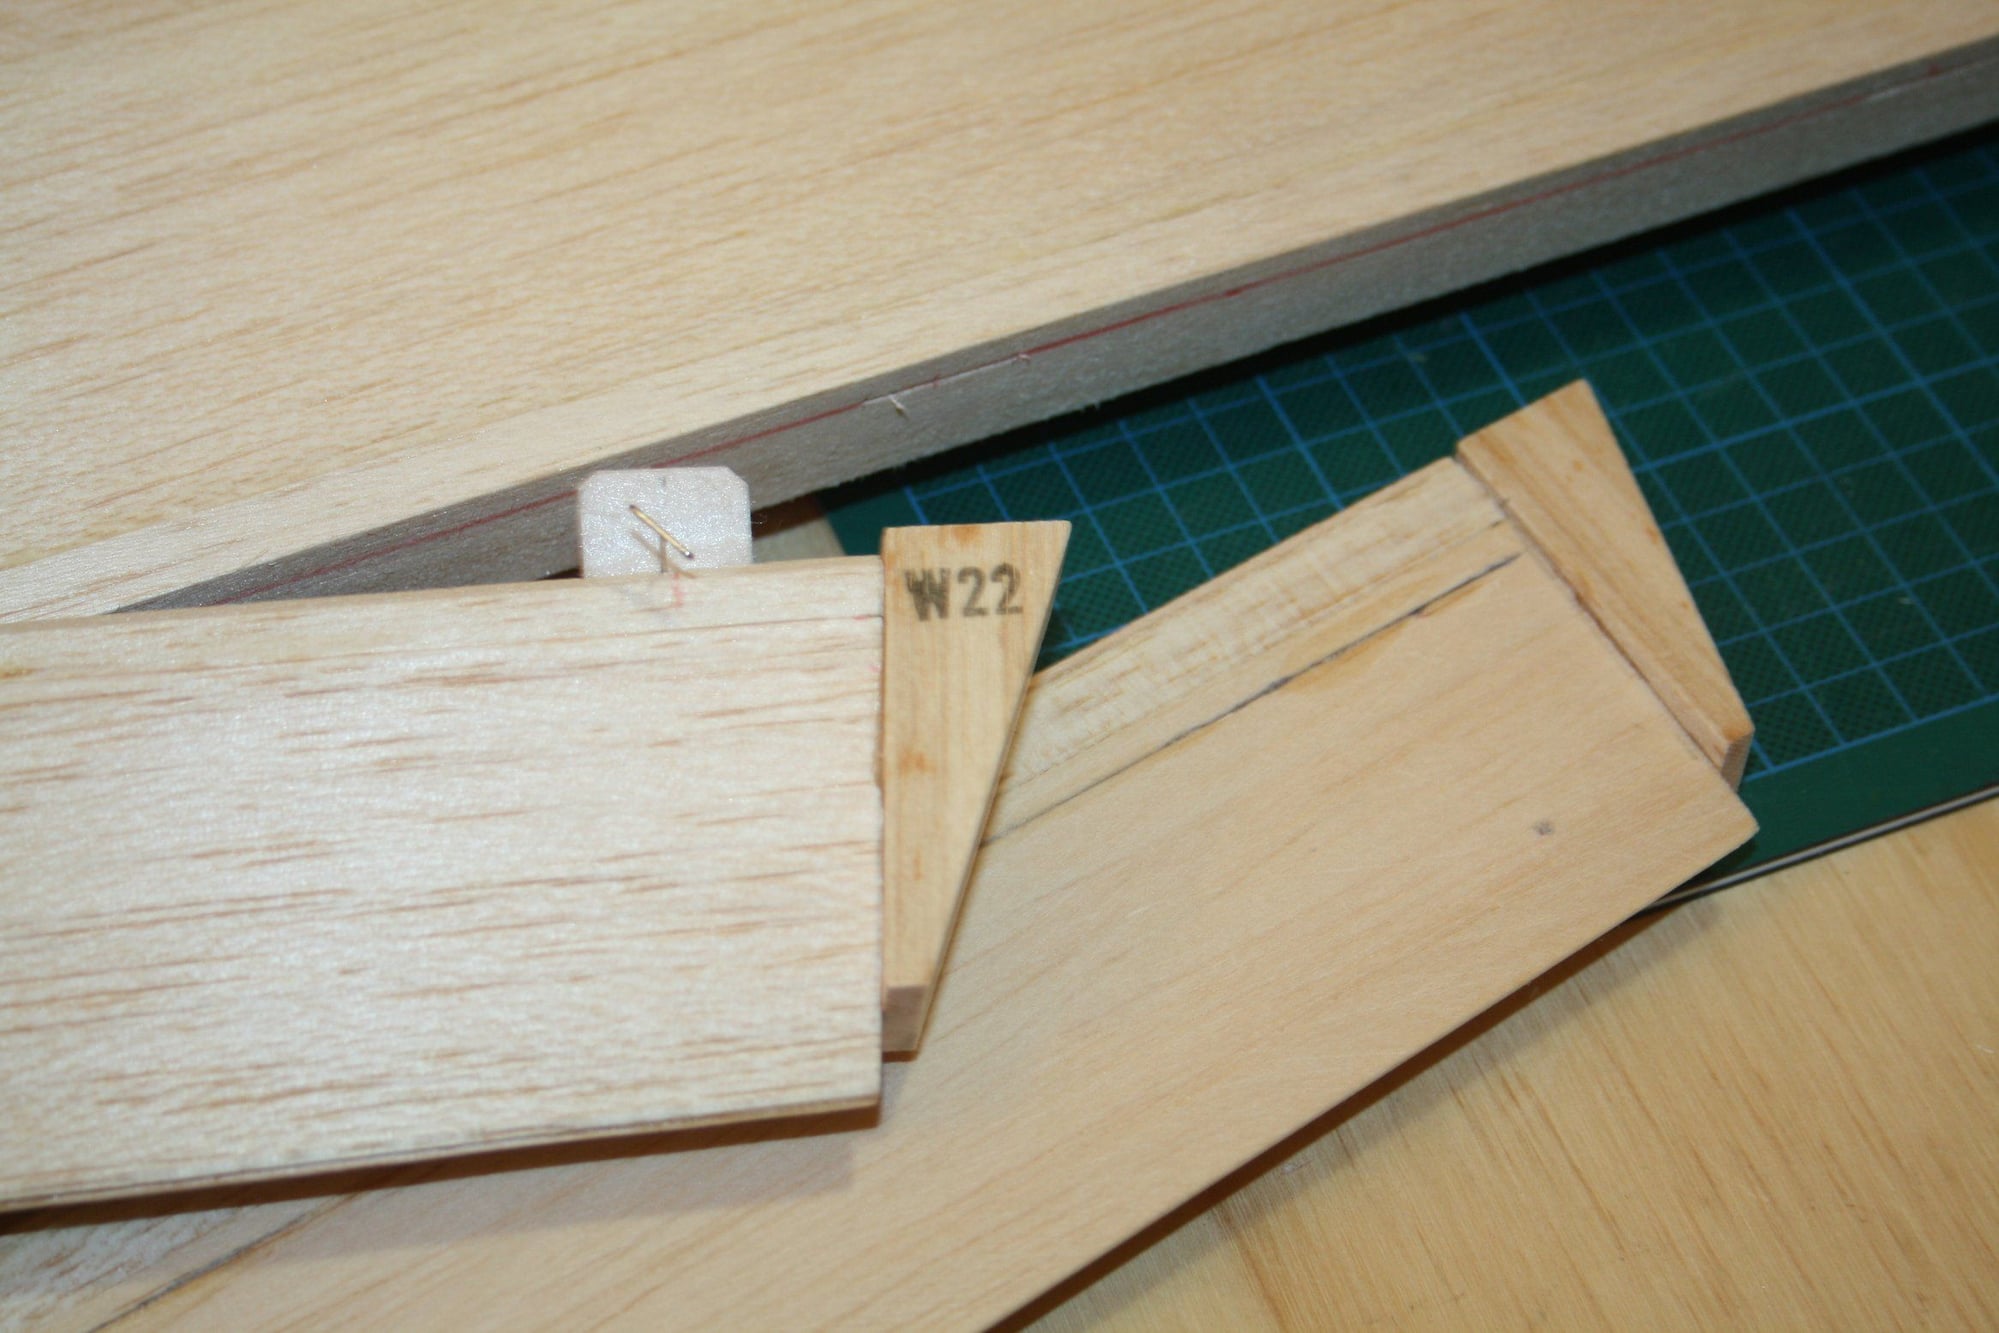
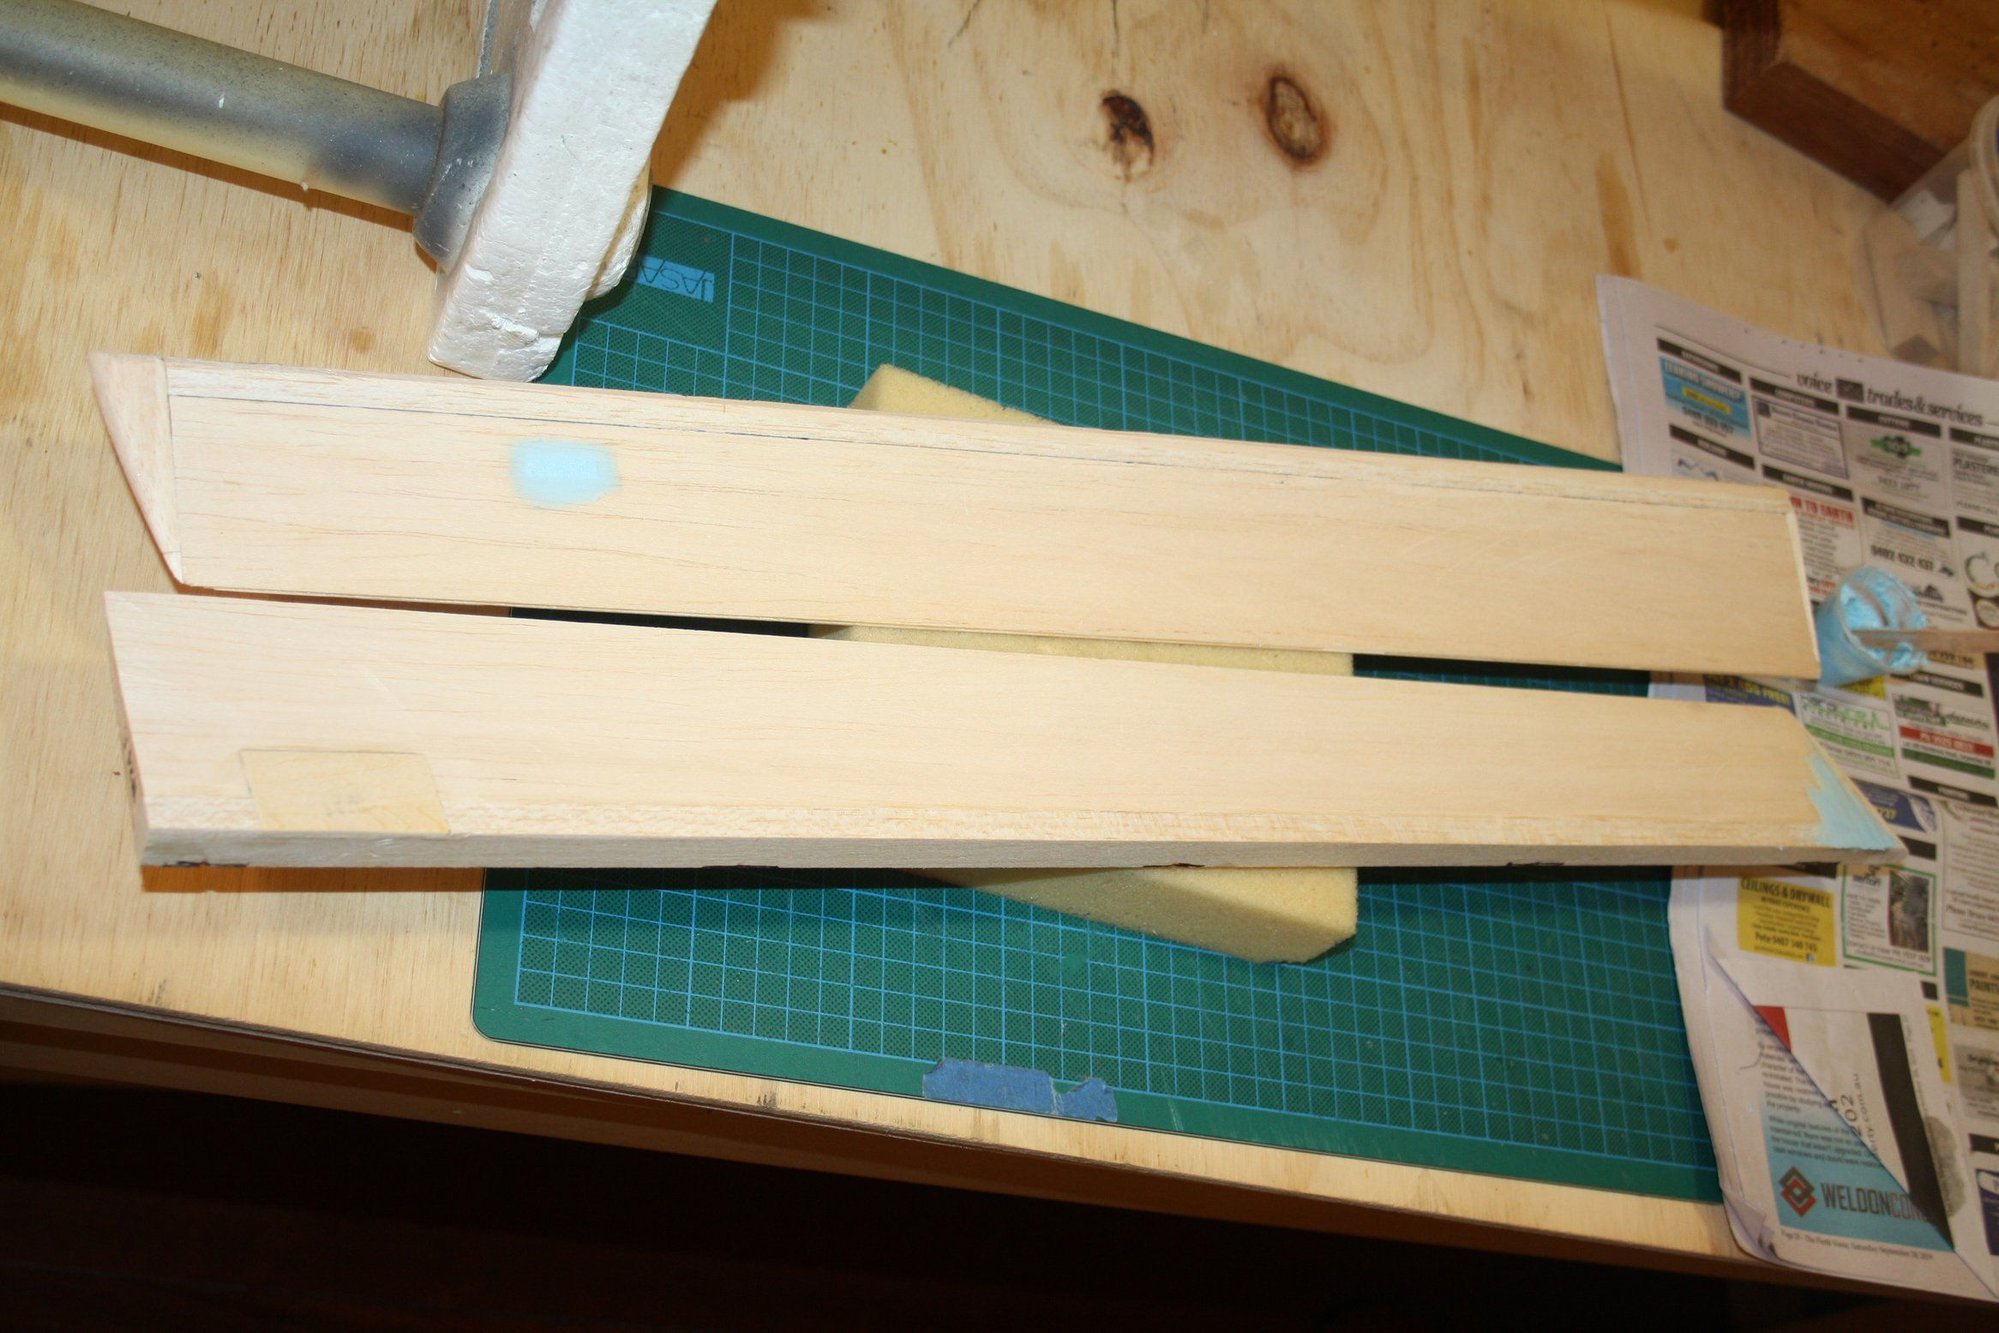
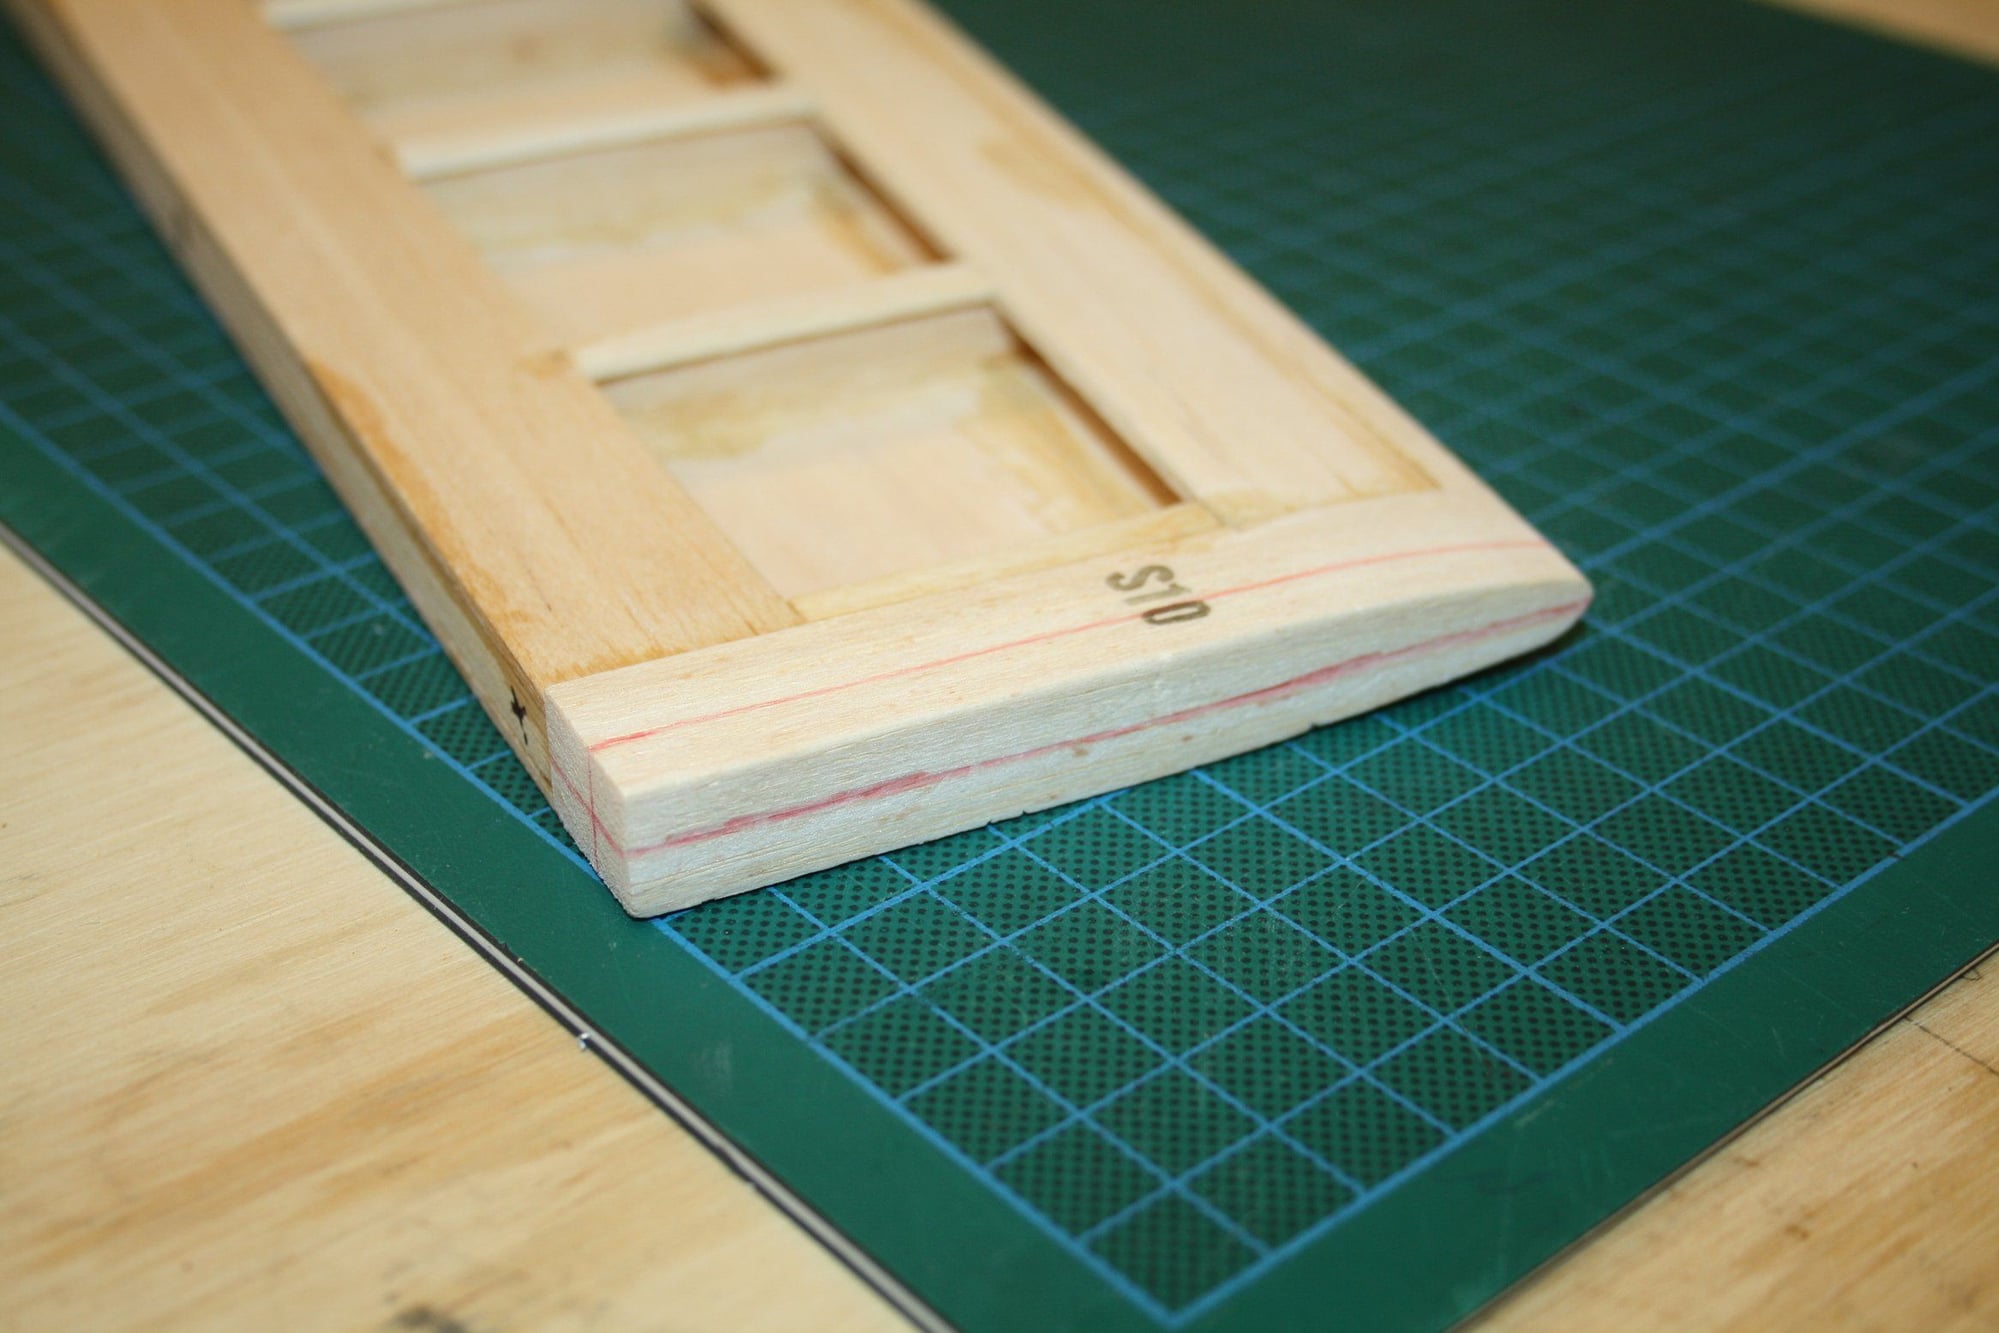
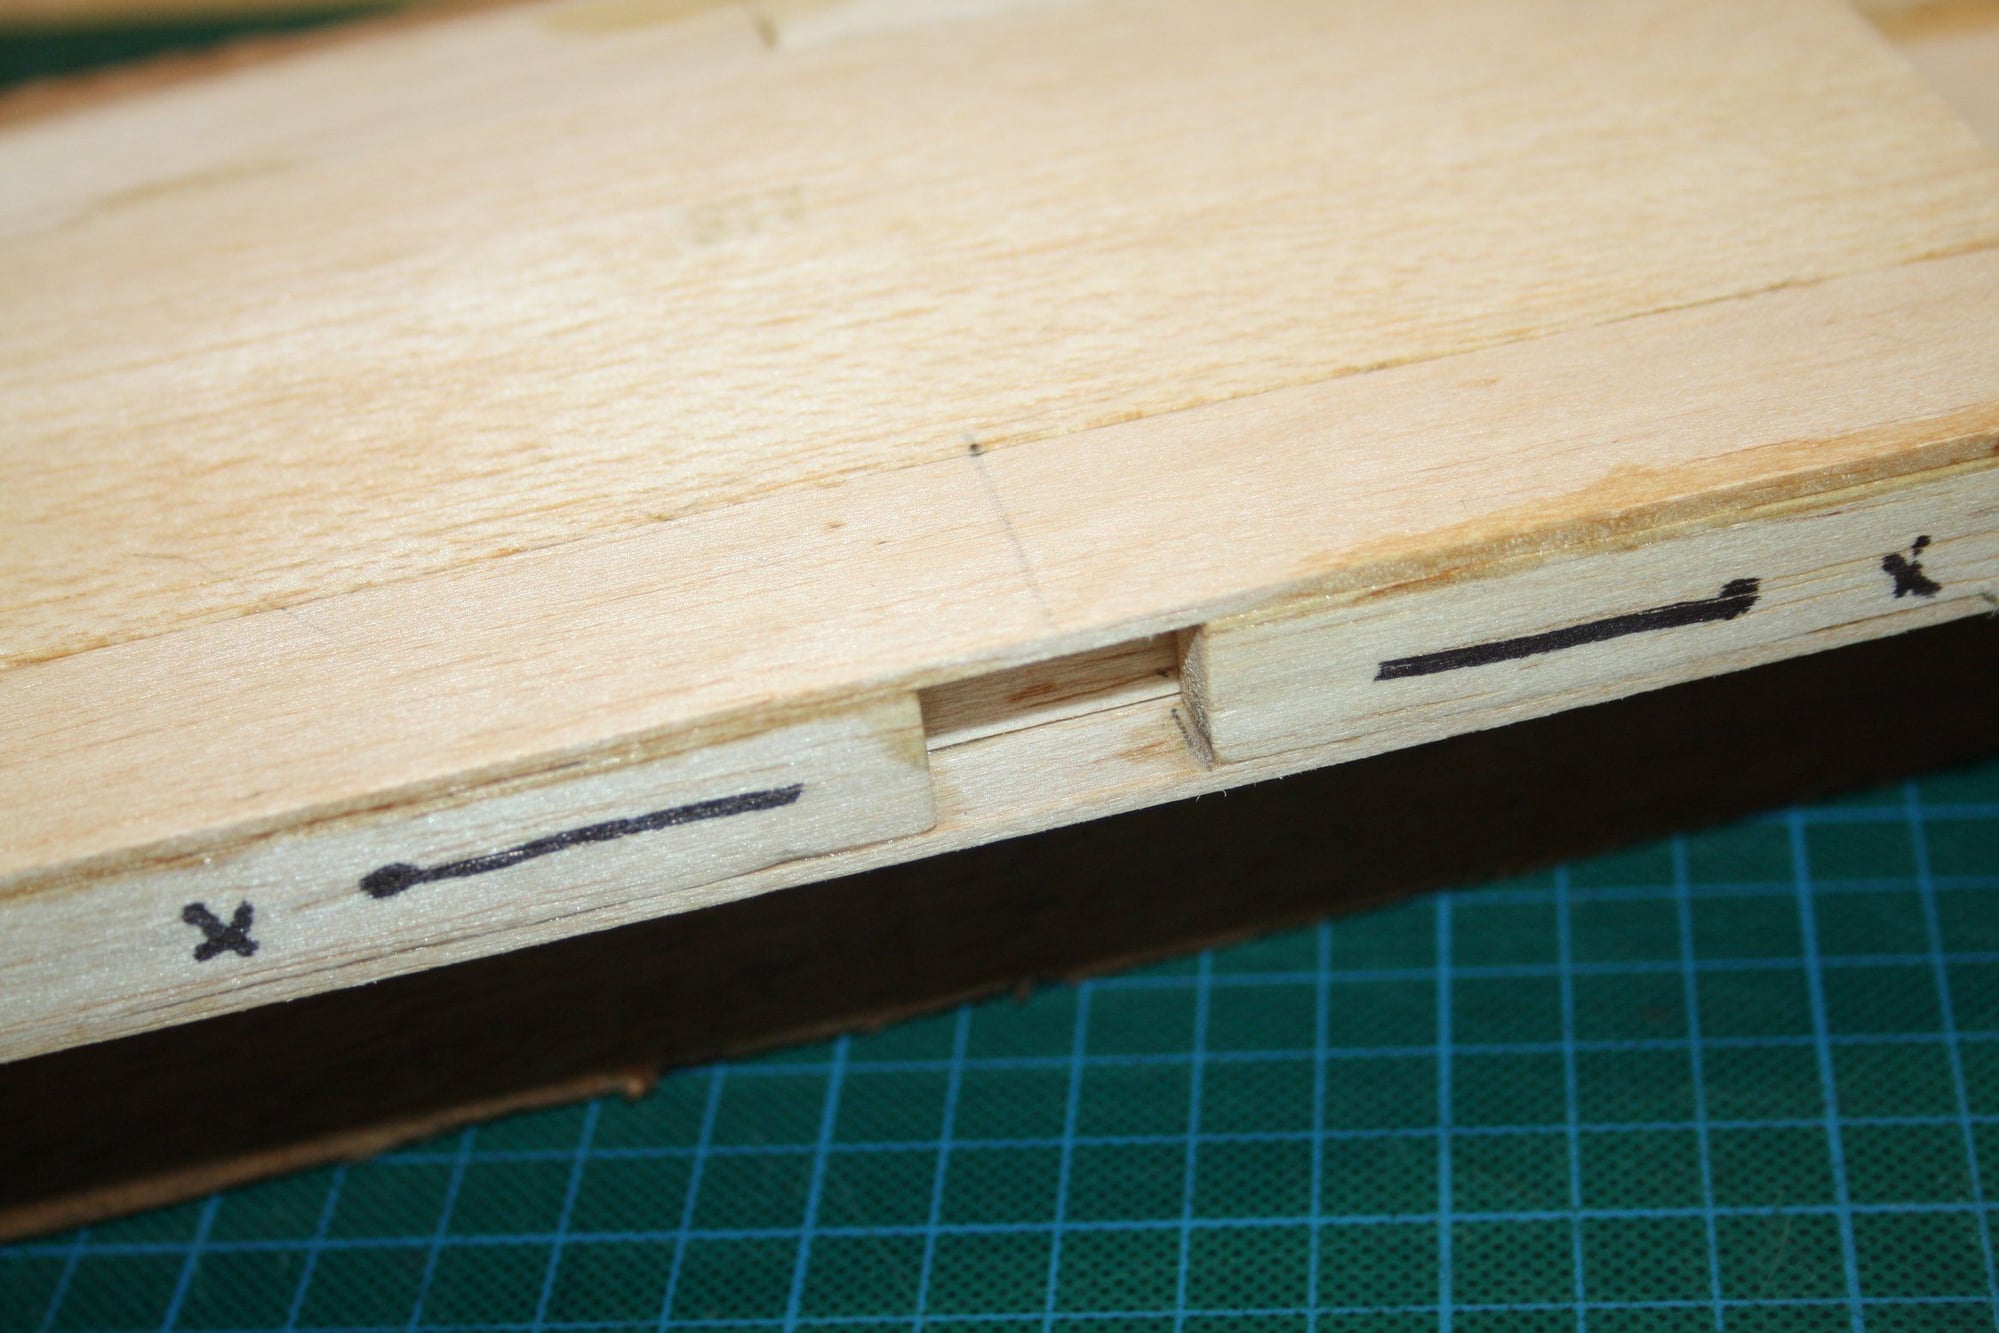
Working on the second aileron, gluing the last triangle "rib" and cutting it to size to accept the LE.
I then got back to the aileron cut by the previous owner and fixed the same "W24 rib" area which was cut slightly short with a thick rib cut out of balsa block.
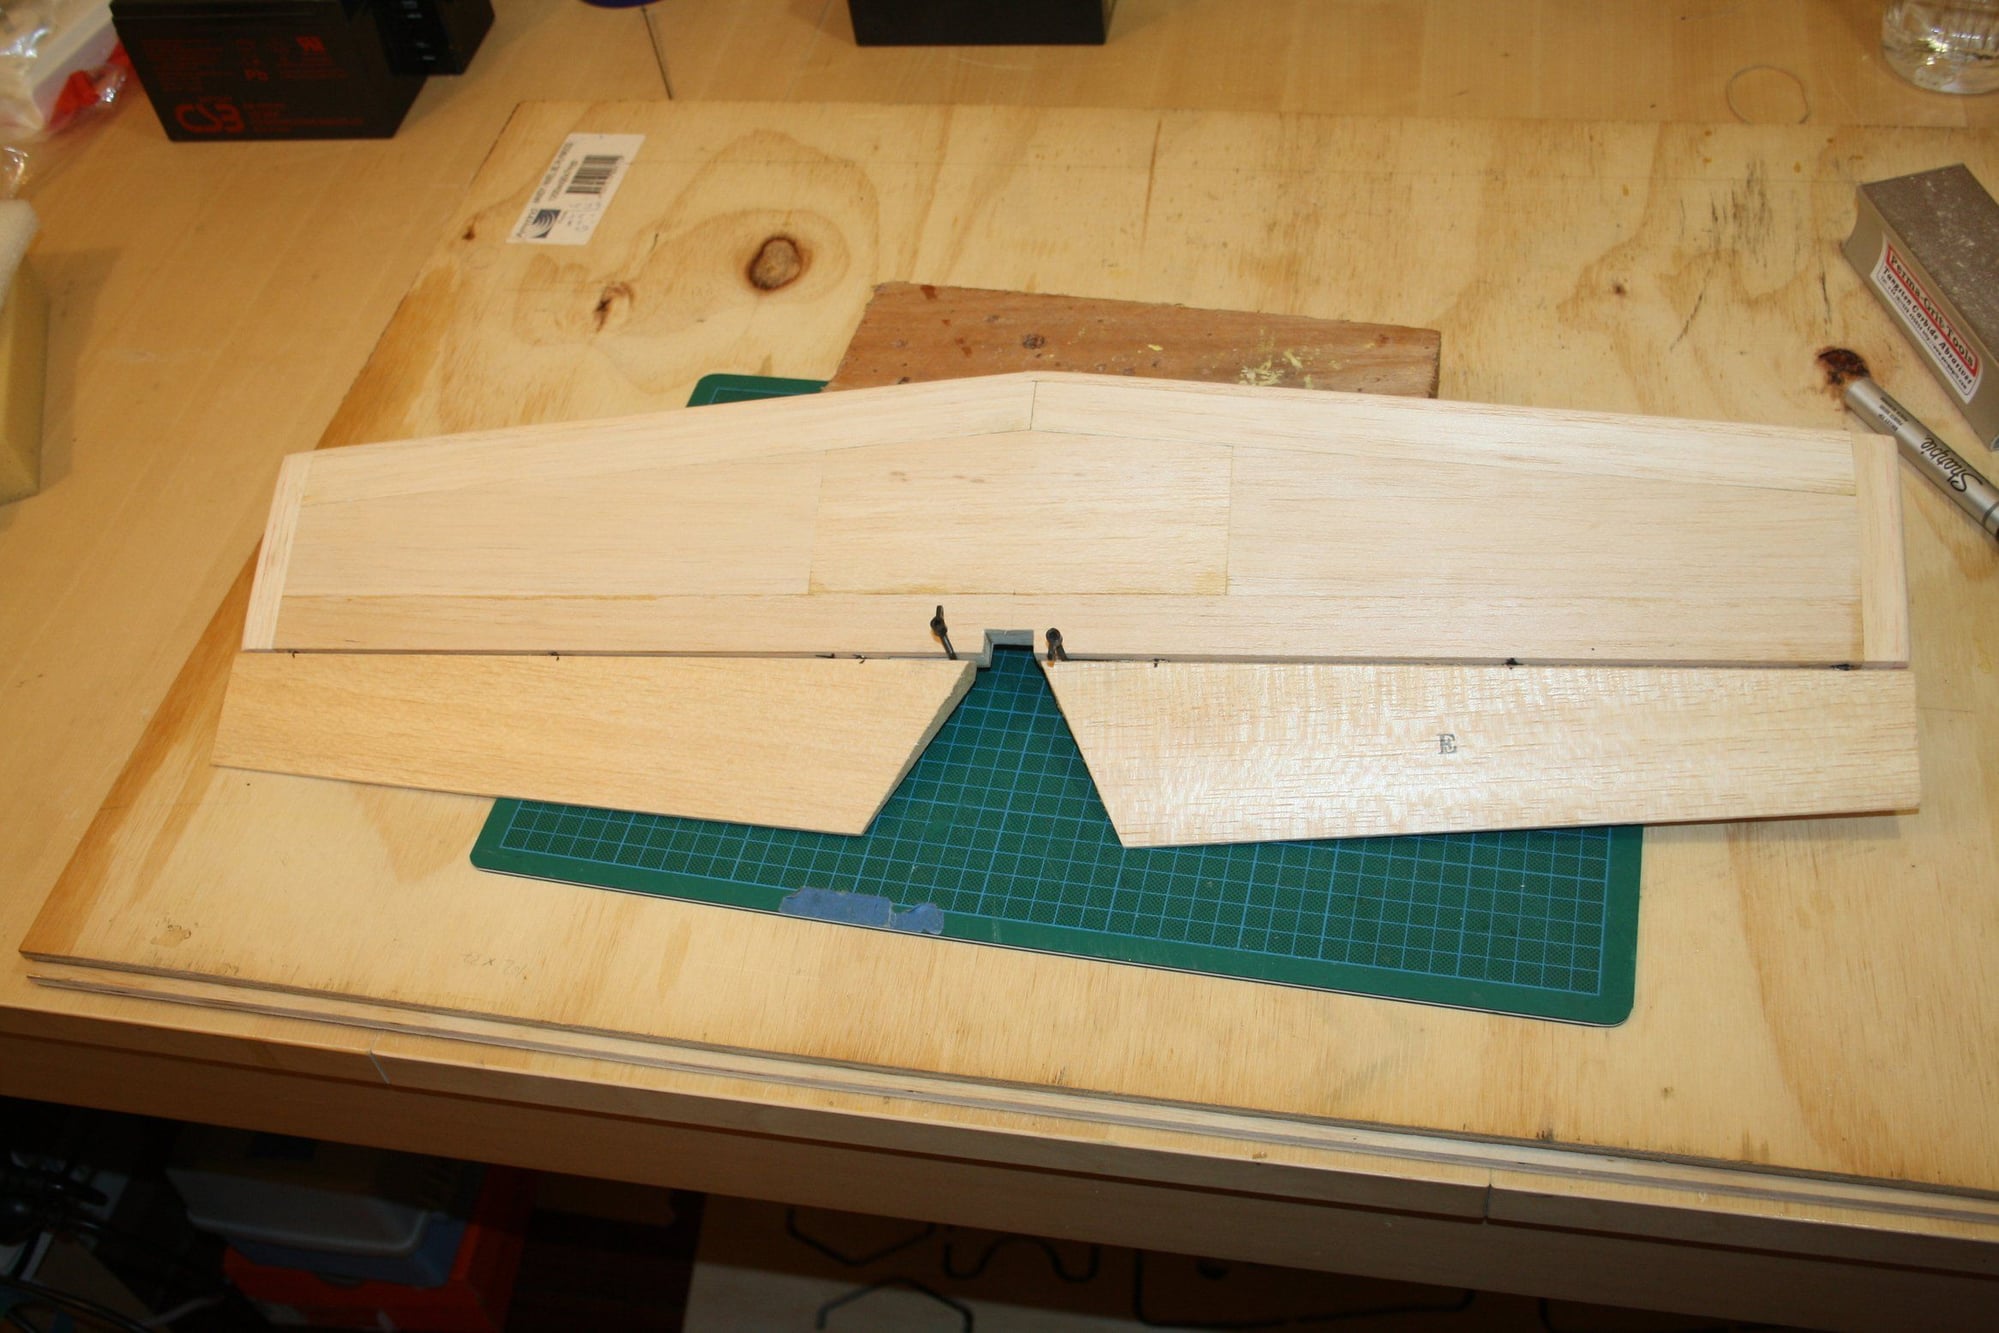
With this done, I trimmed and sanded one aileron and glued the second TE.
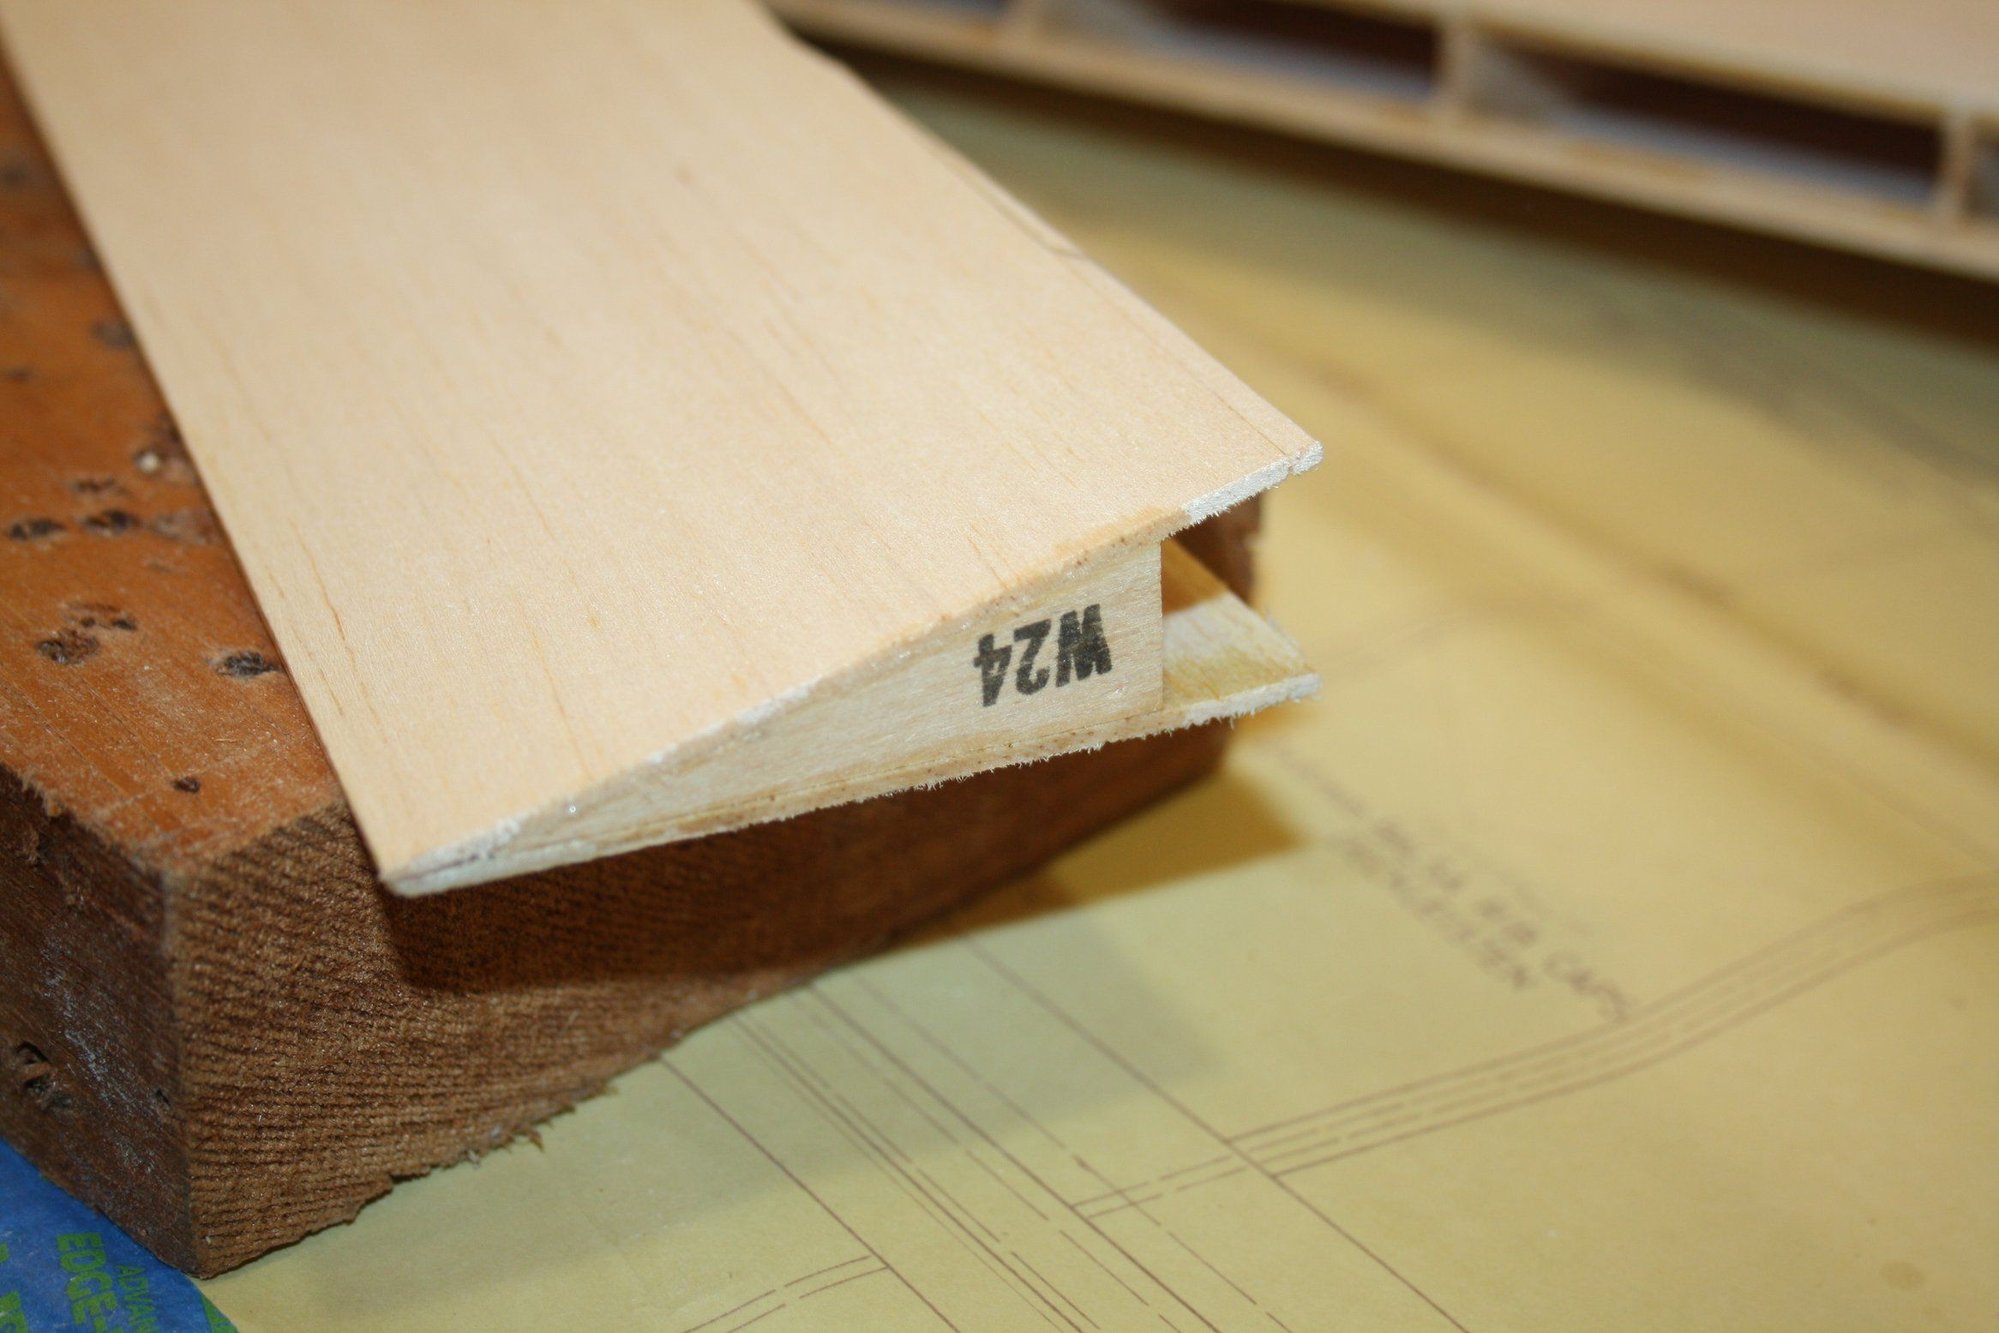
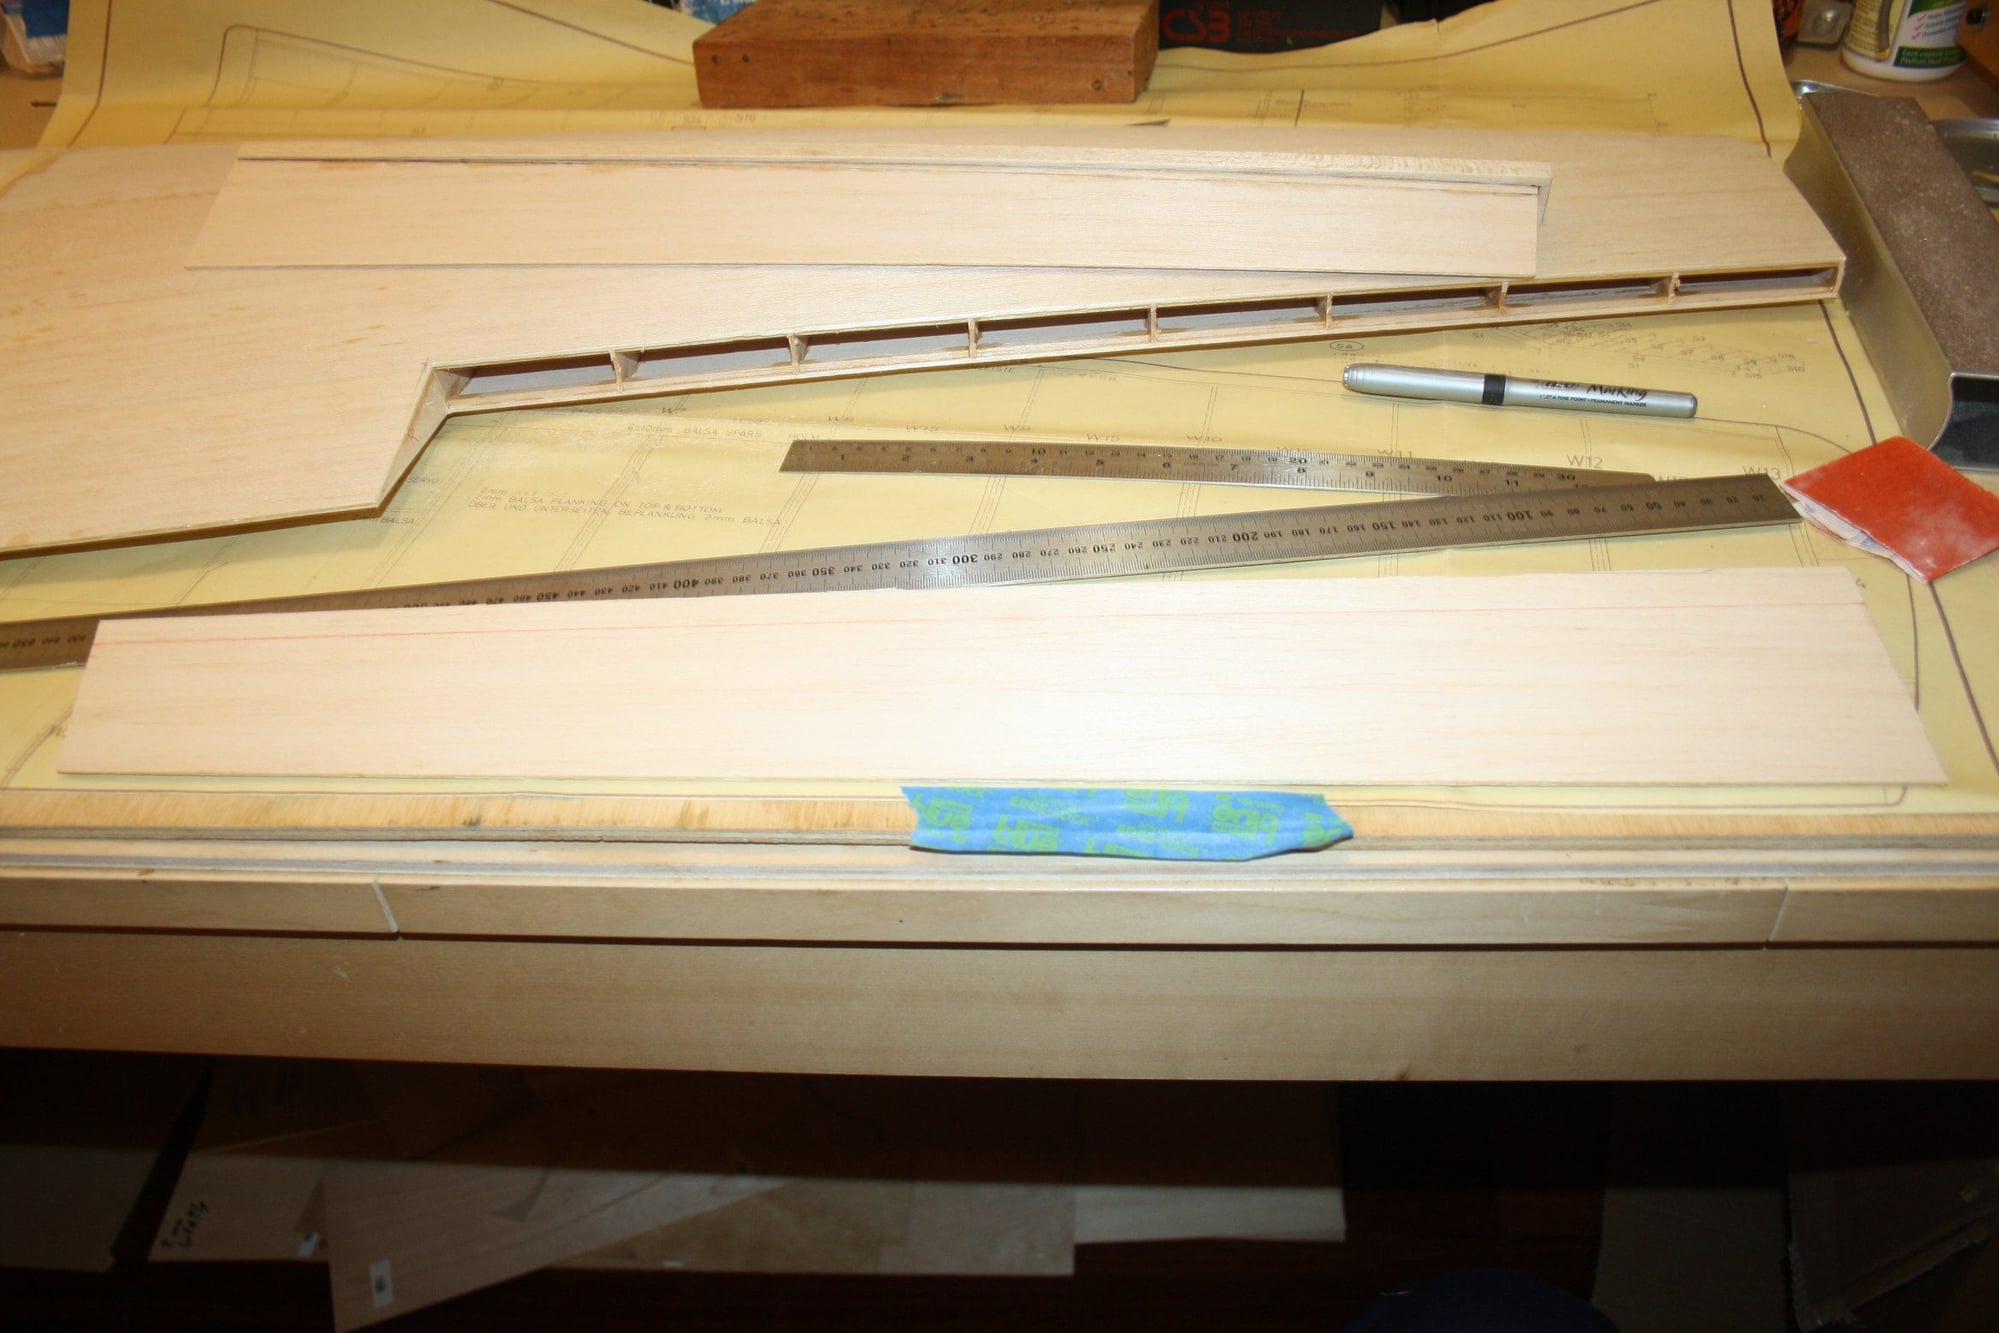
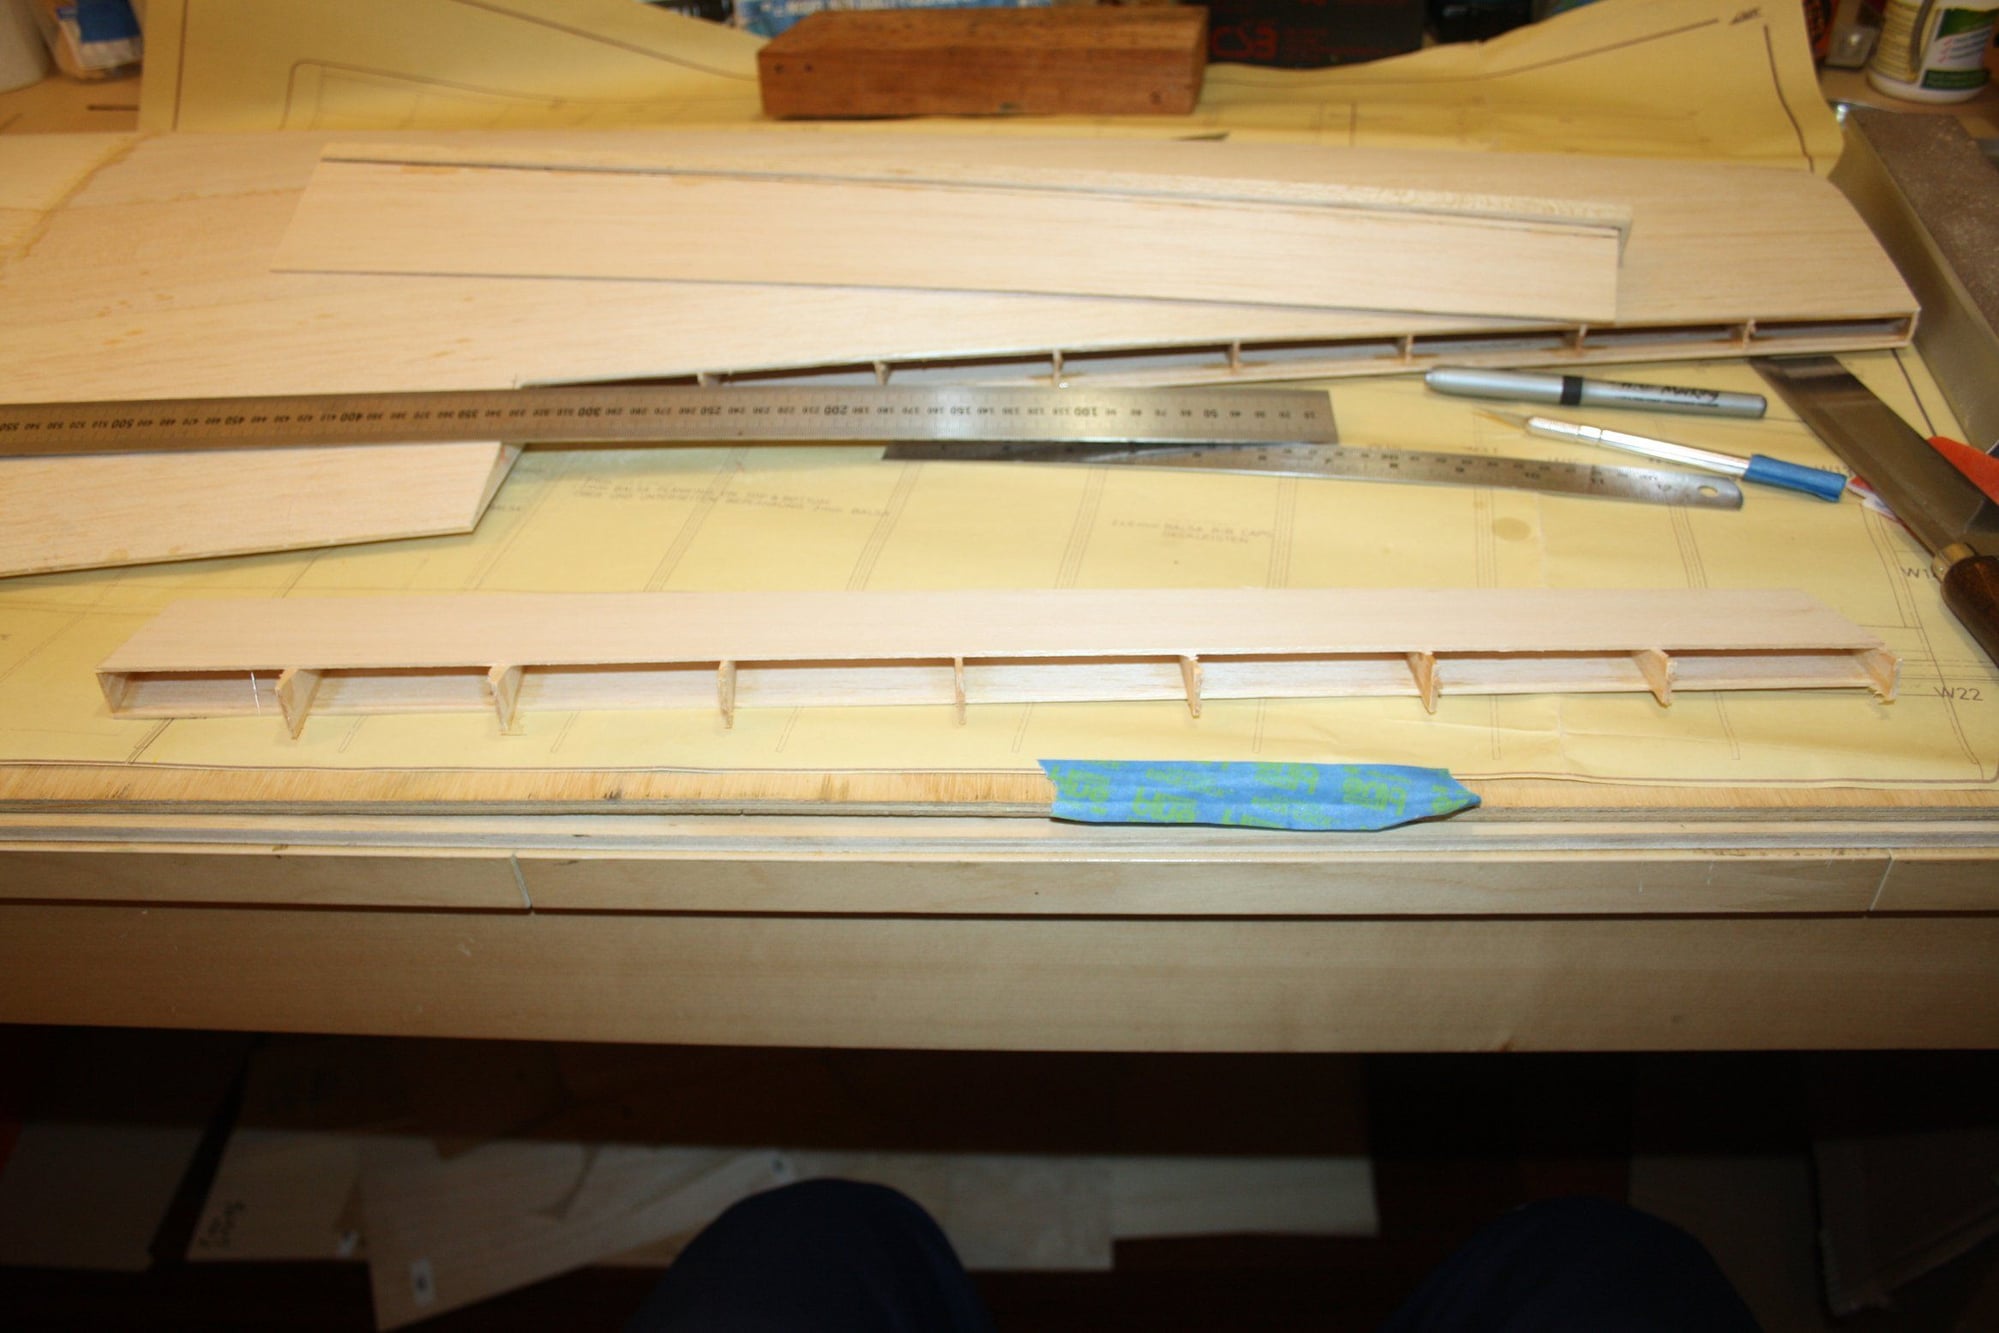
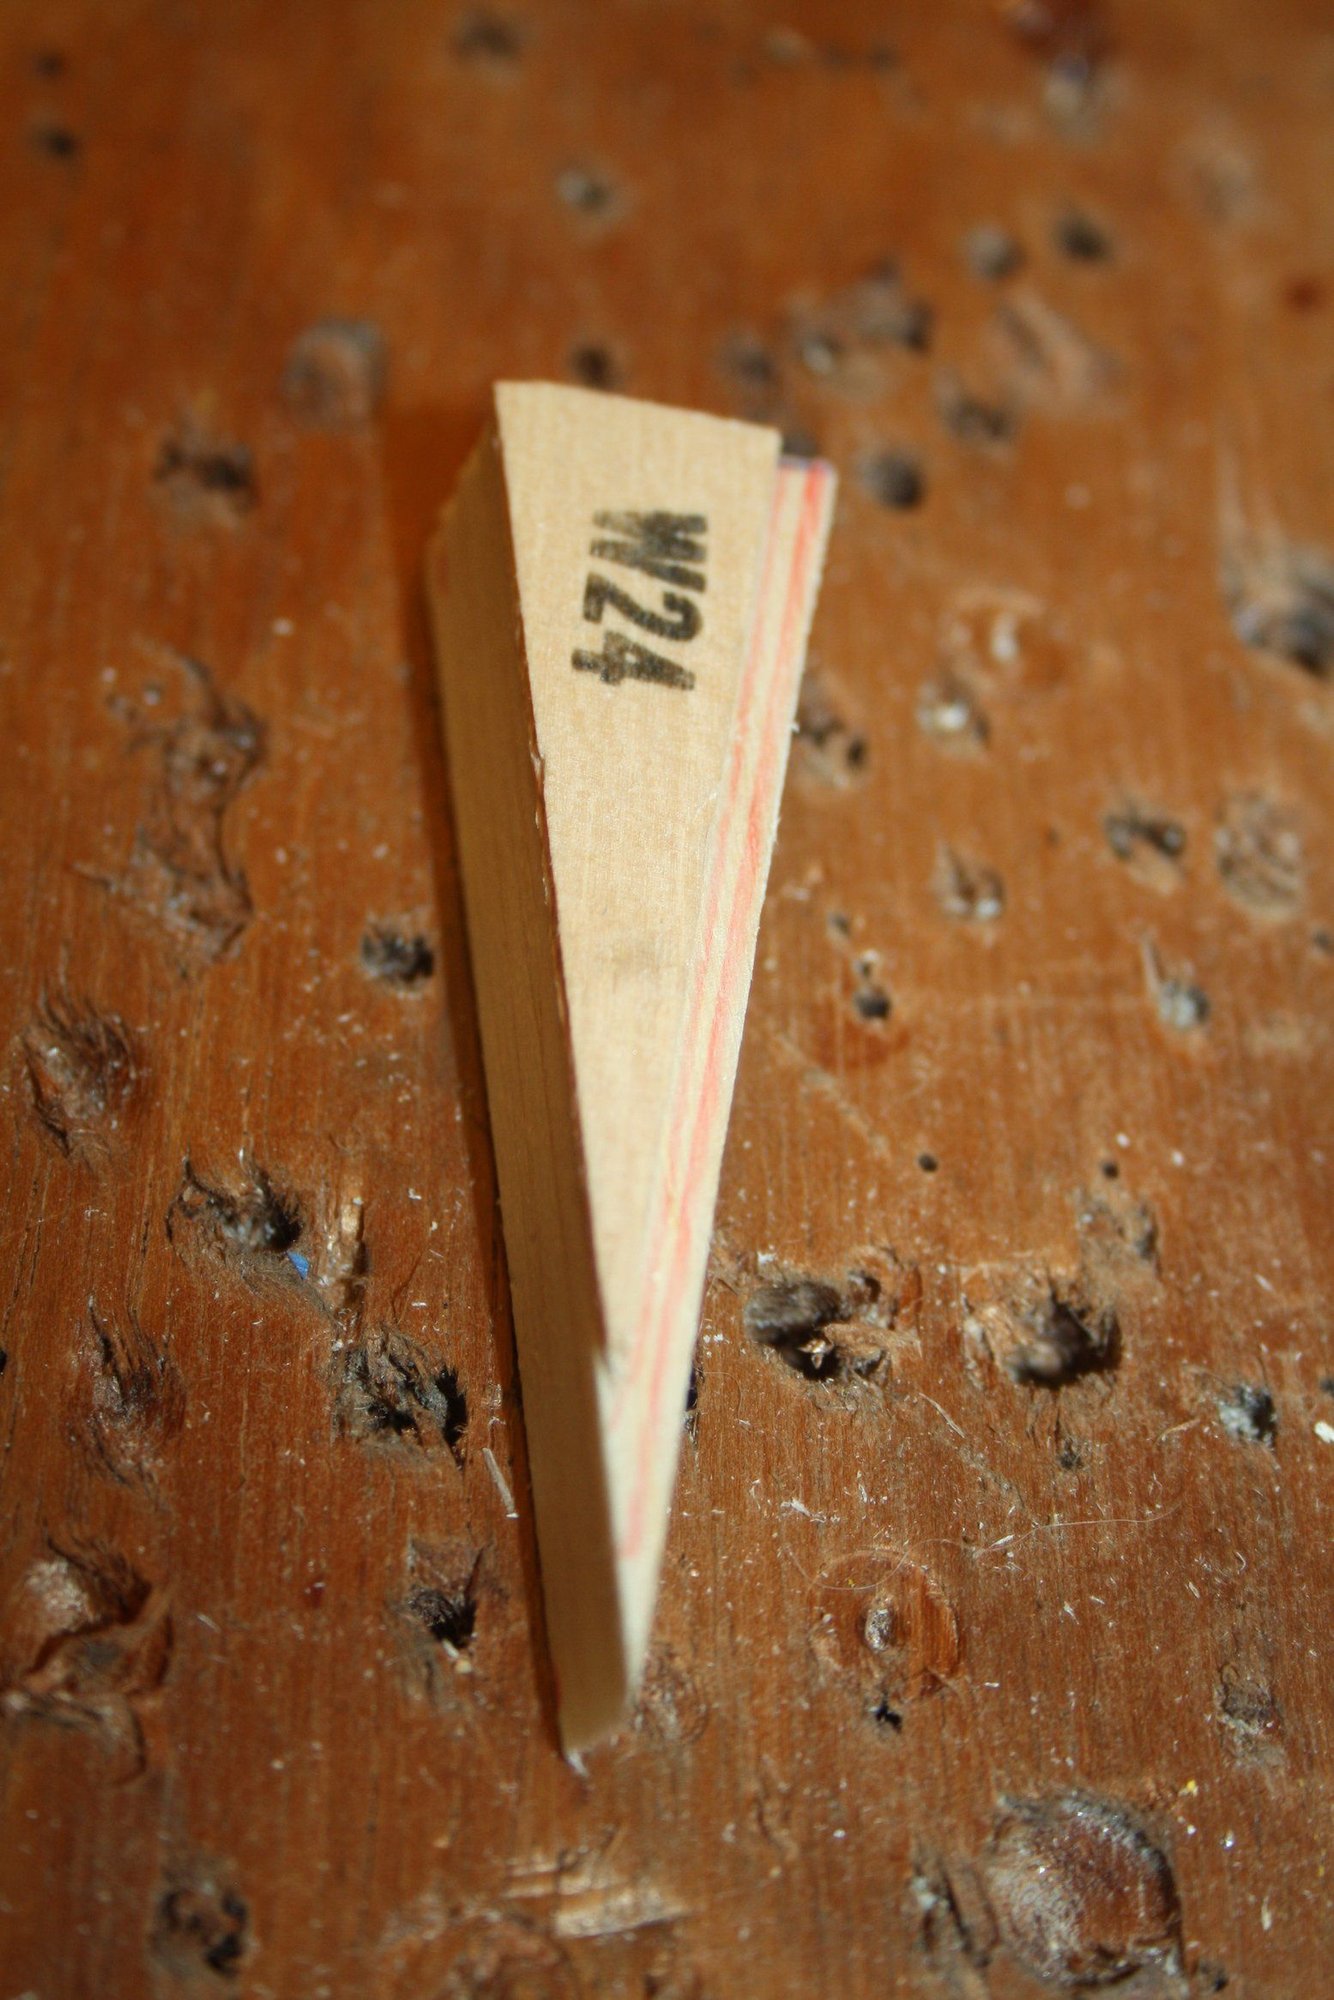


I then got back to the aileron cut by the previous owner and fixed the same "W24 rib" area which was cut slightly short with a thick rib cut out of balsa block.
With this done, I trimmed and sanded one aileron and glued the second TE.
12-23-2019, 11:46 PM
#5
Thread Starter
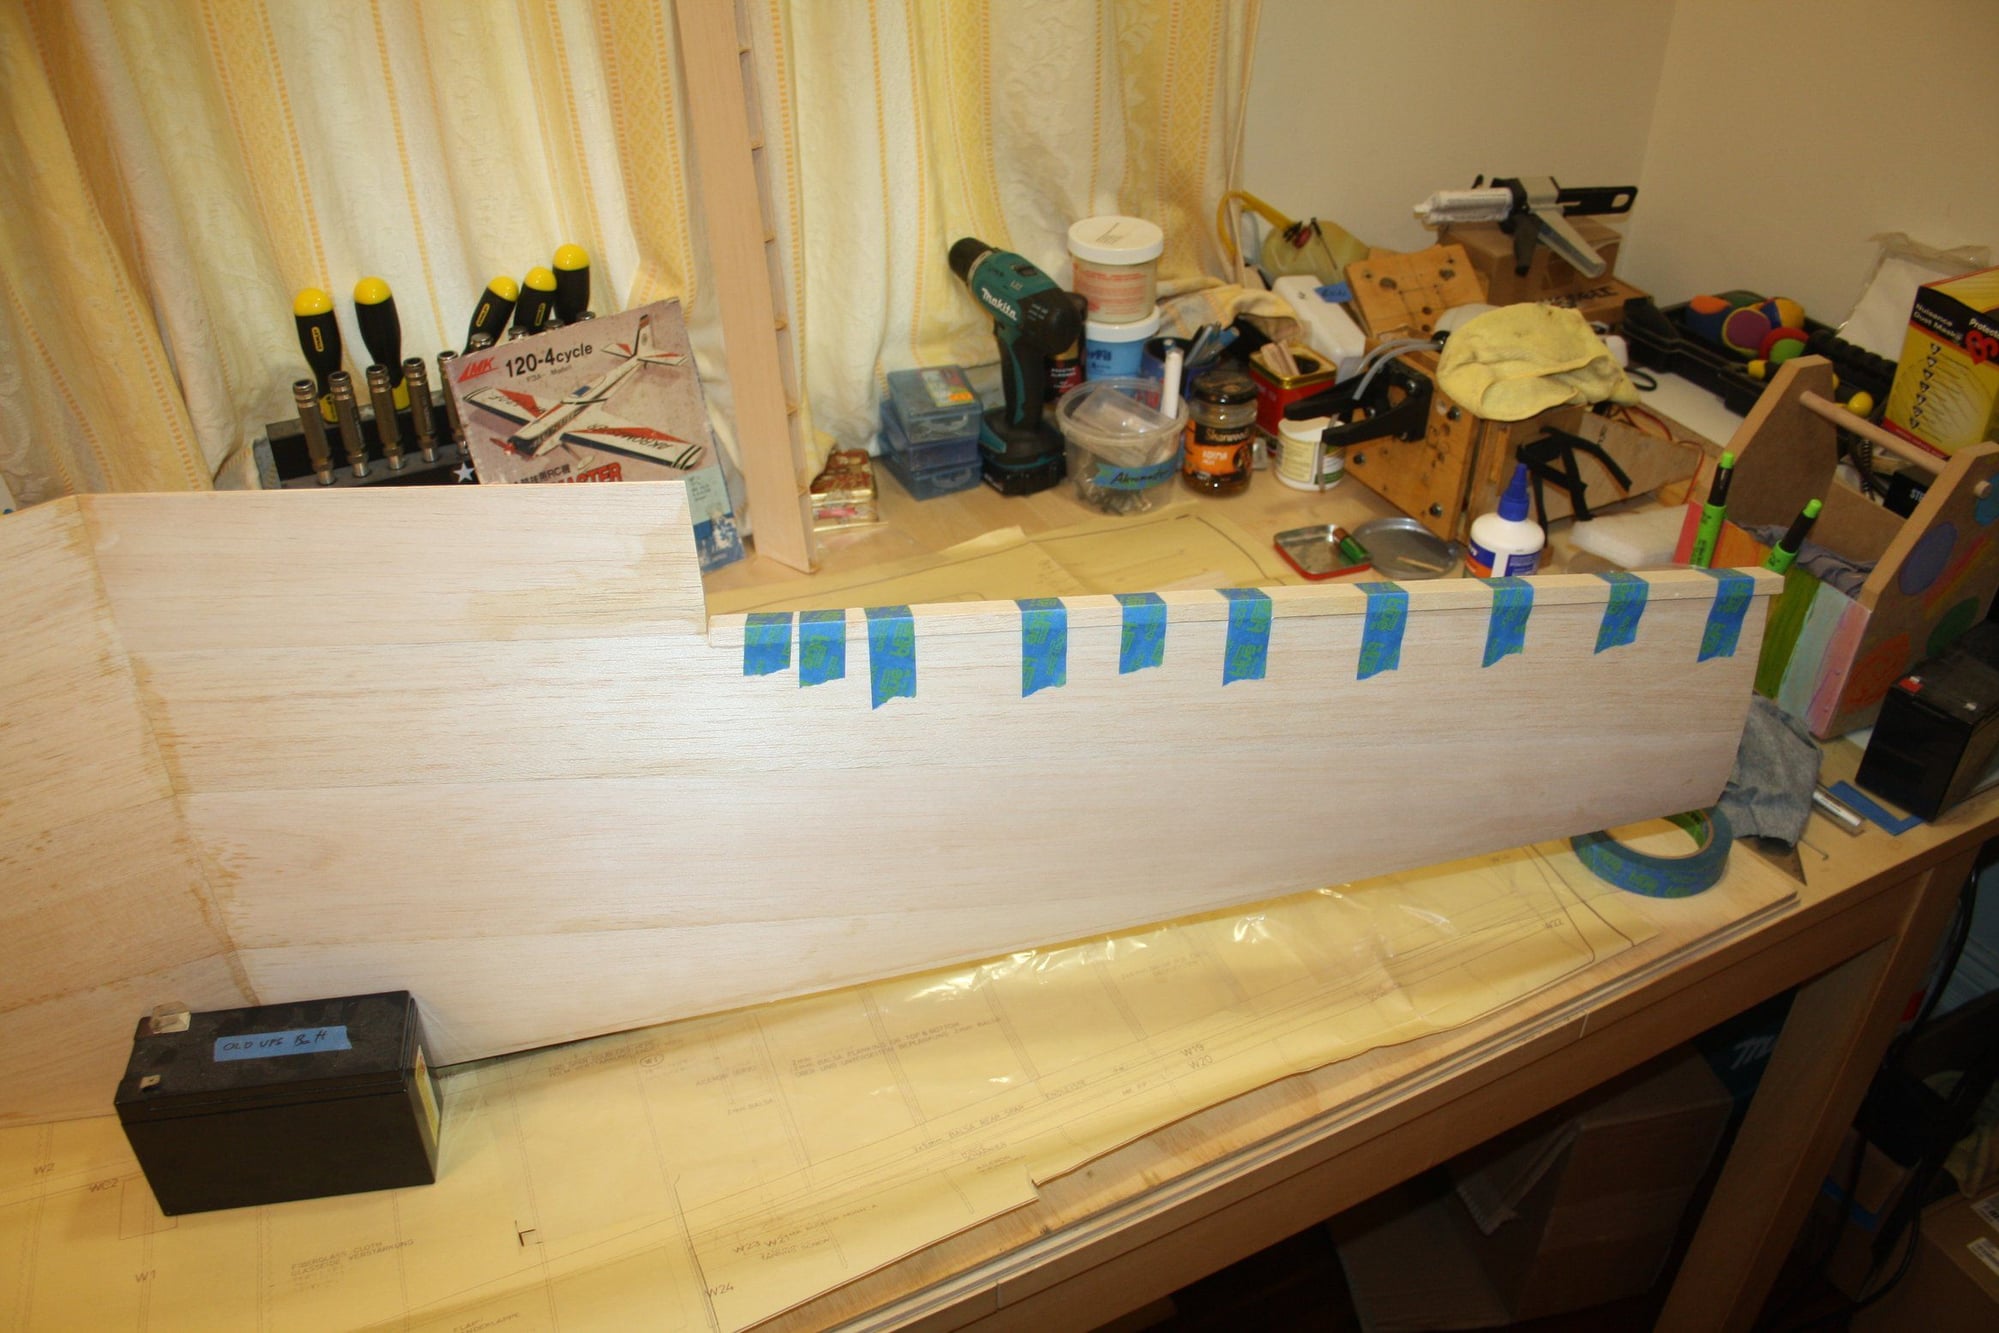
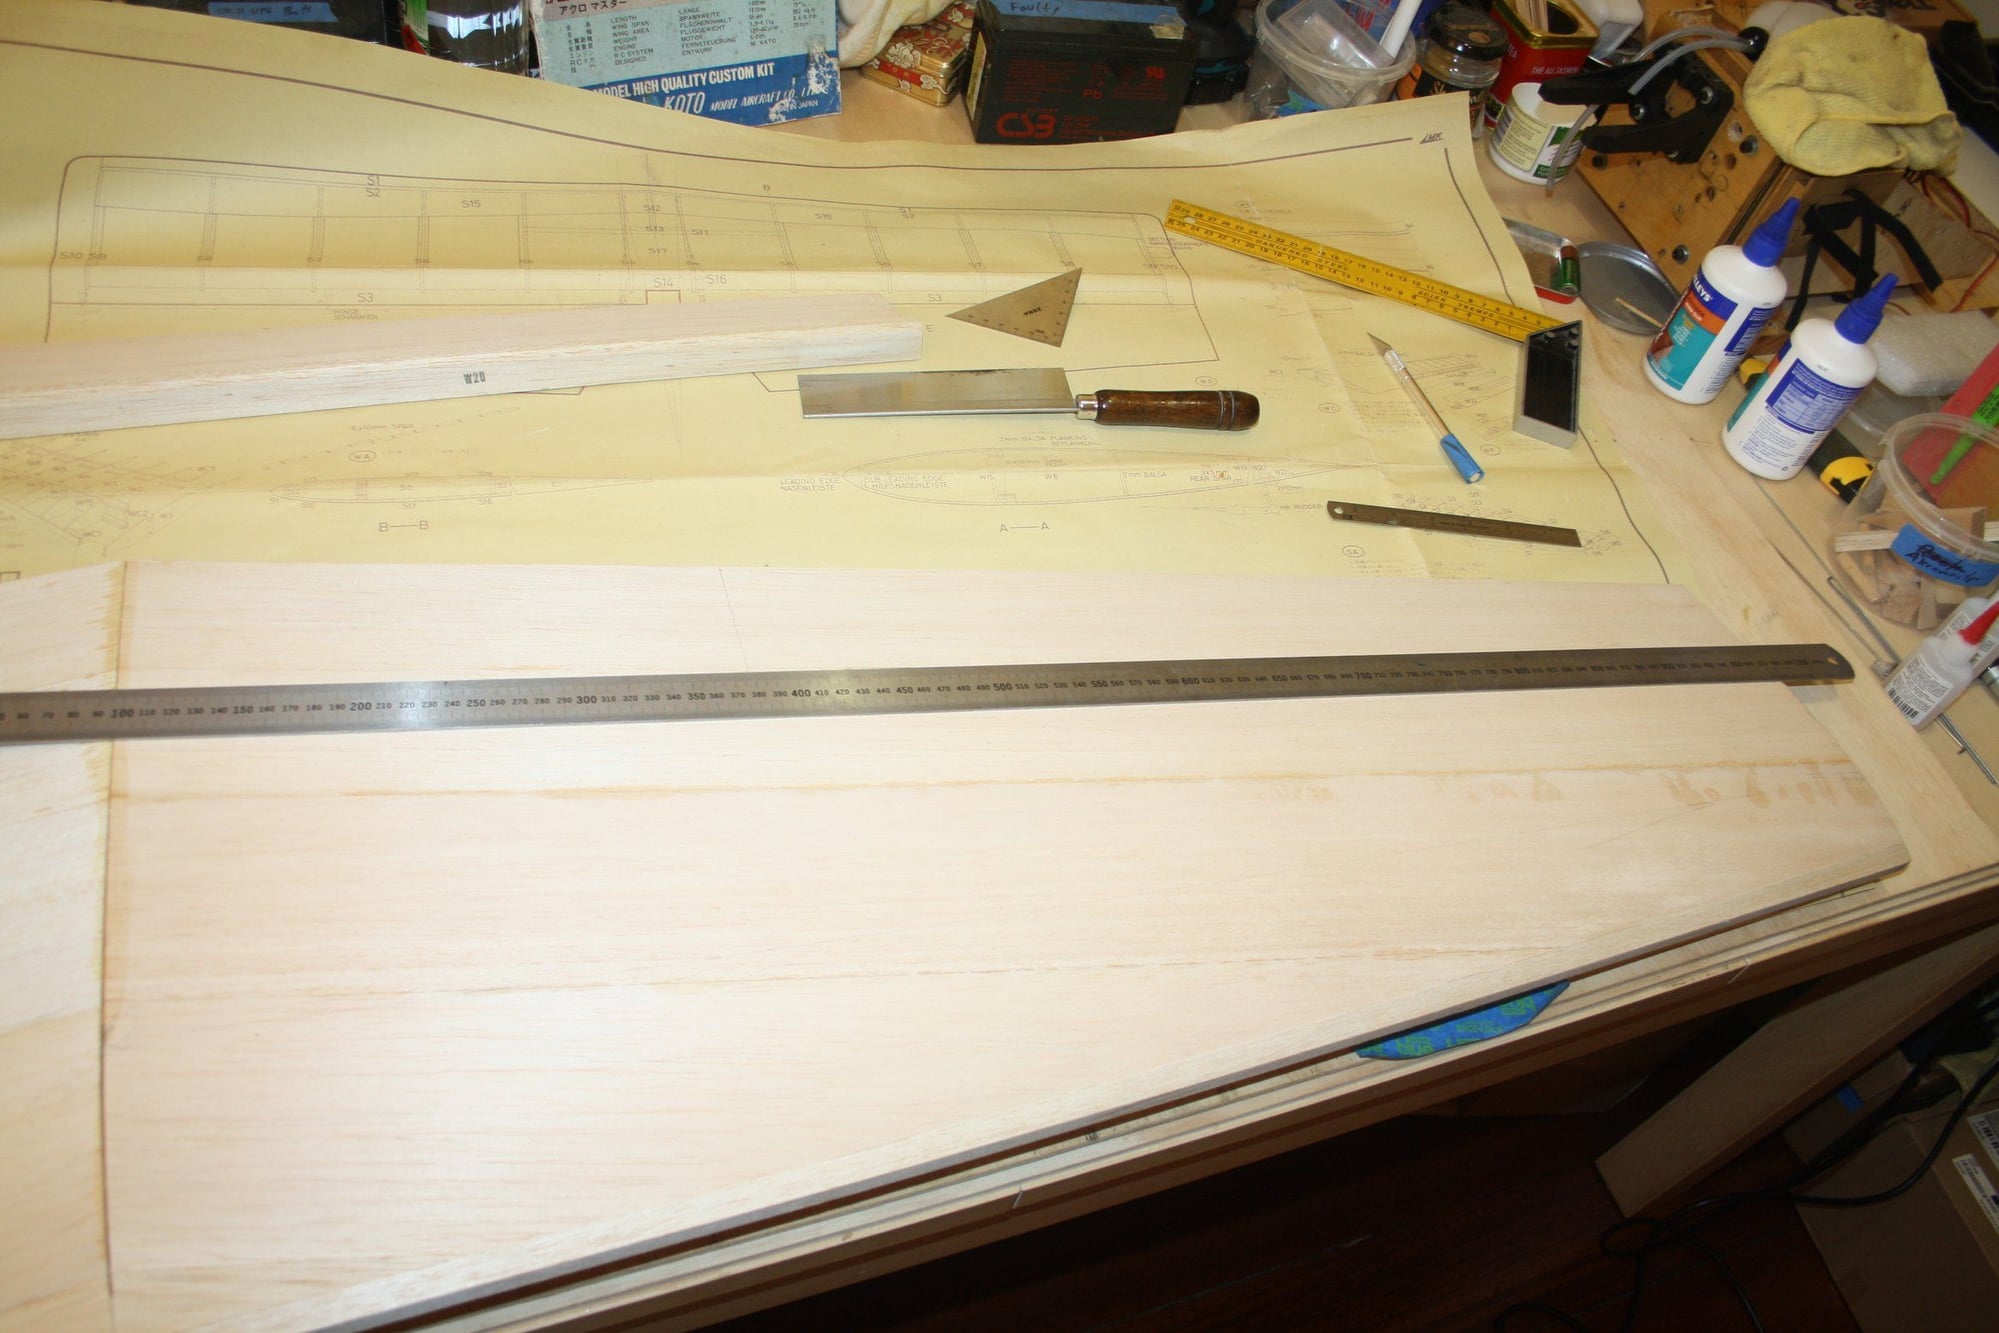
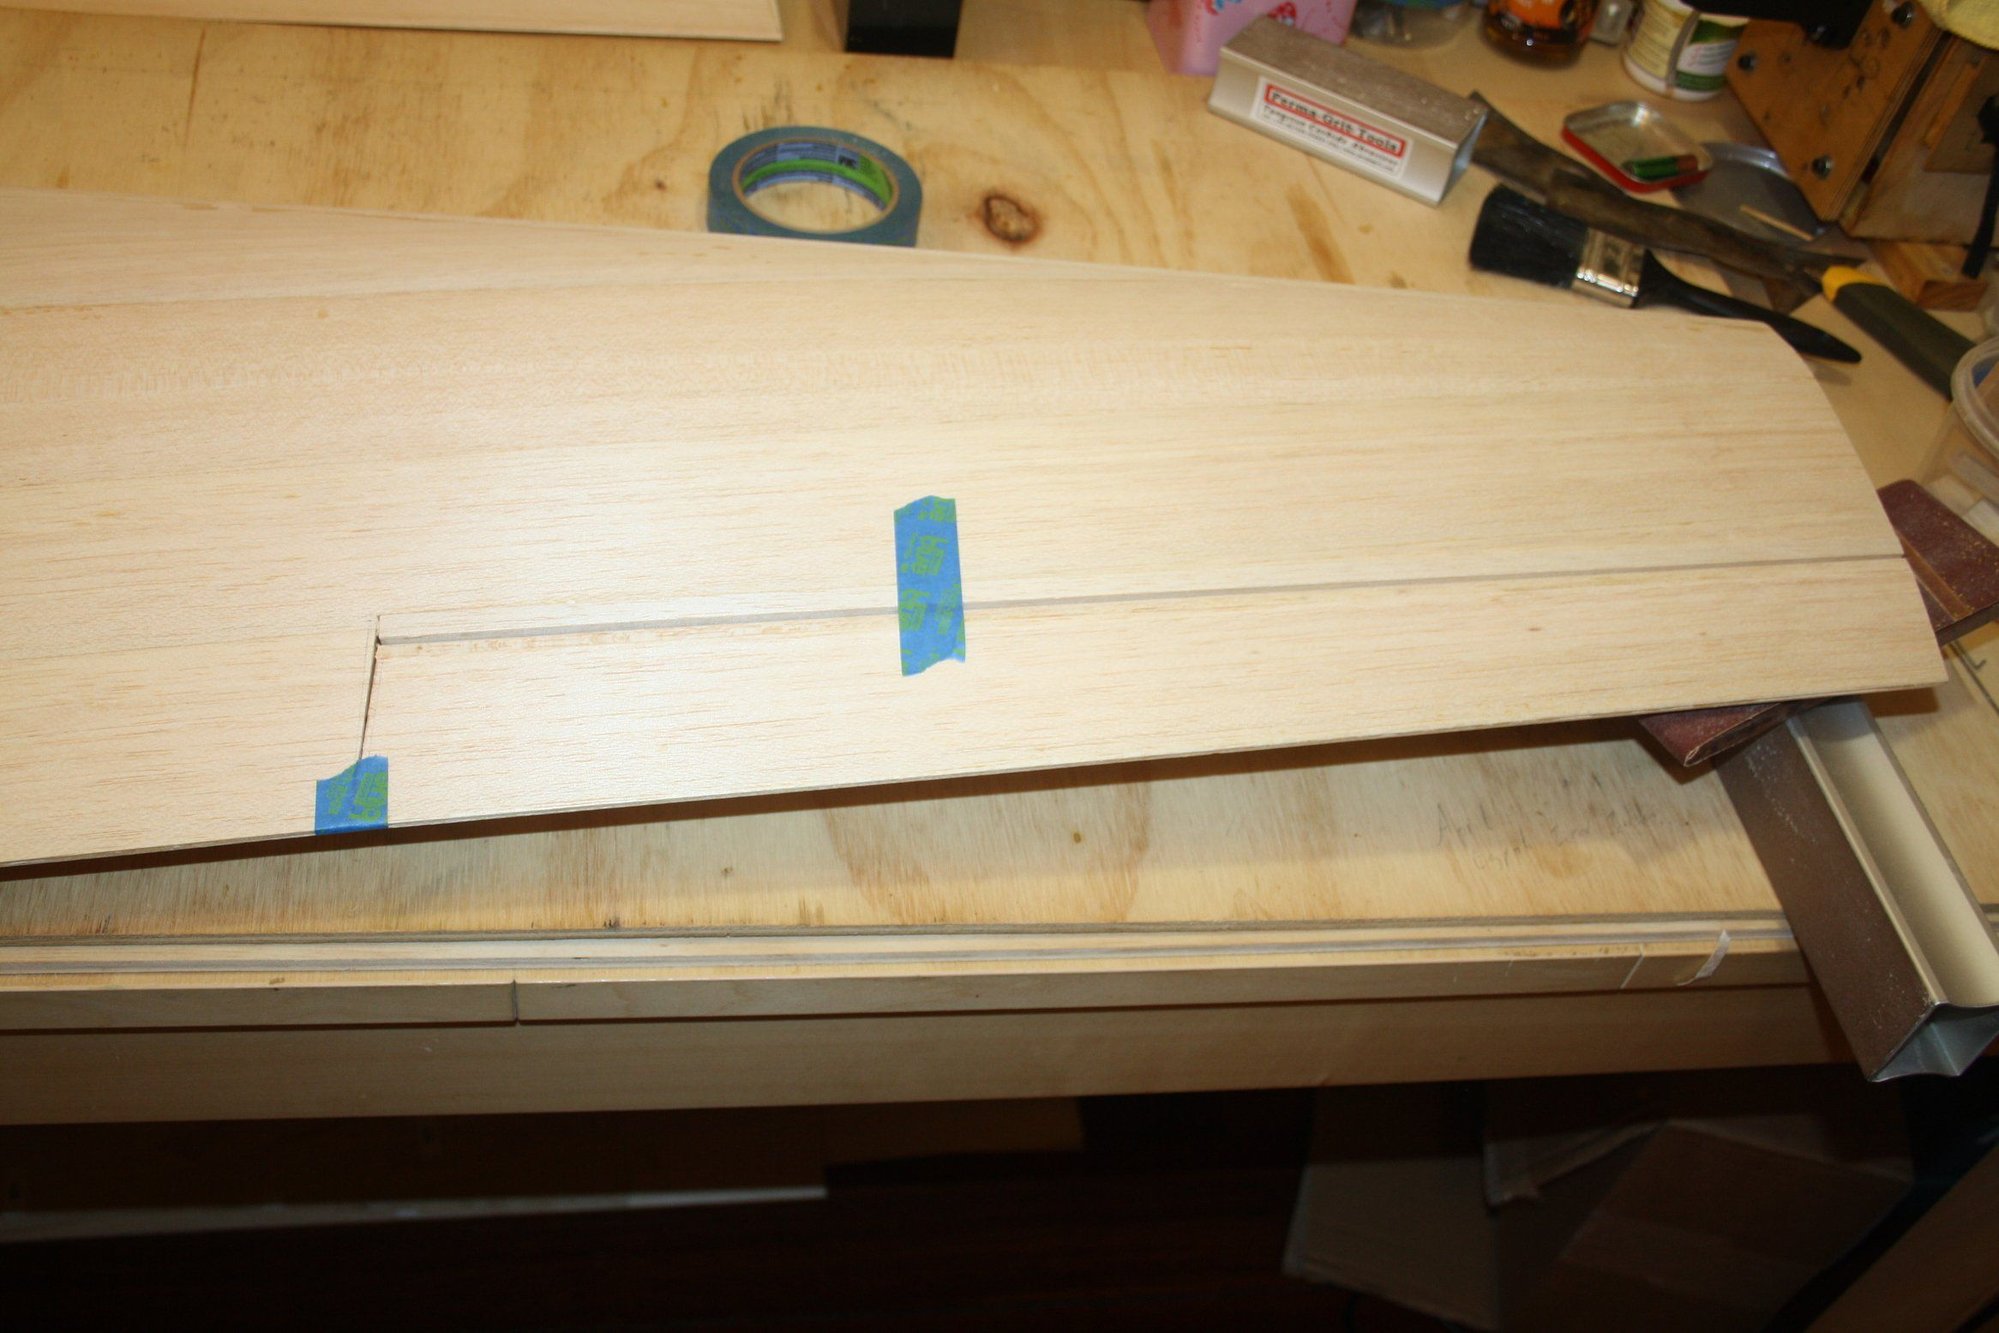
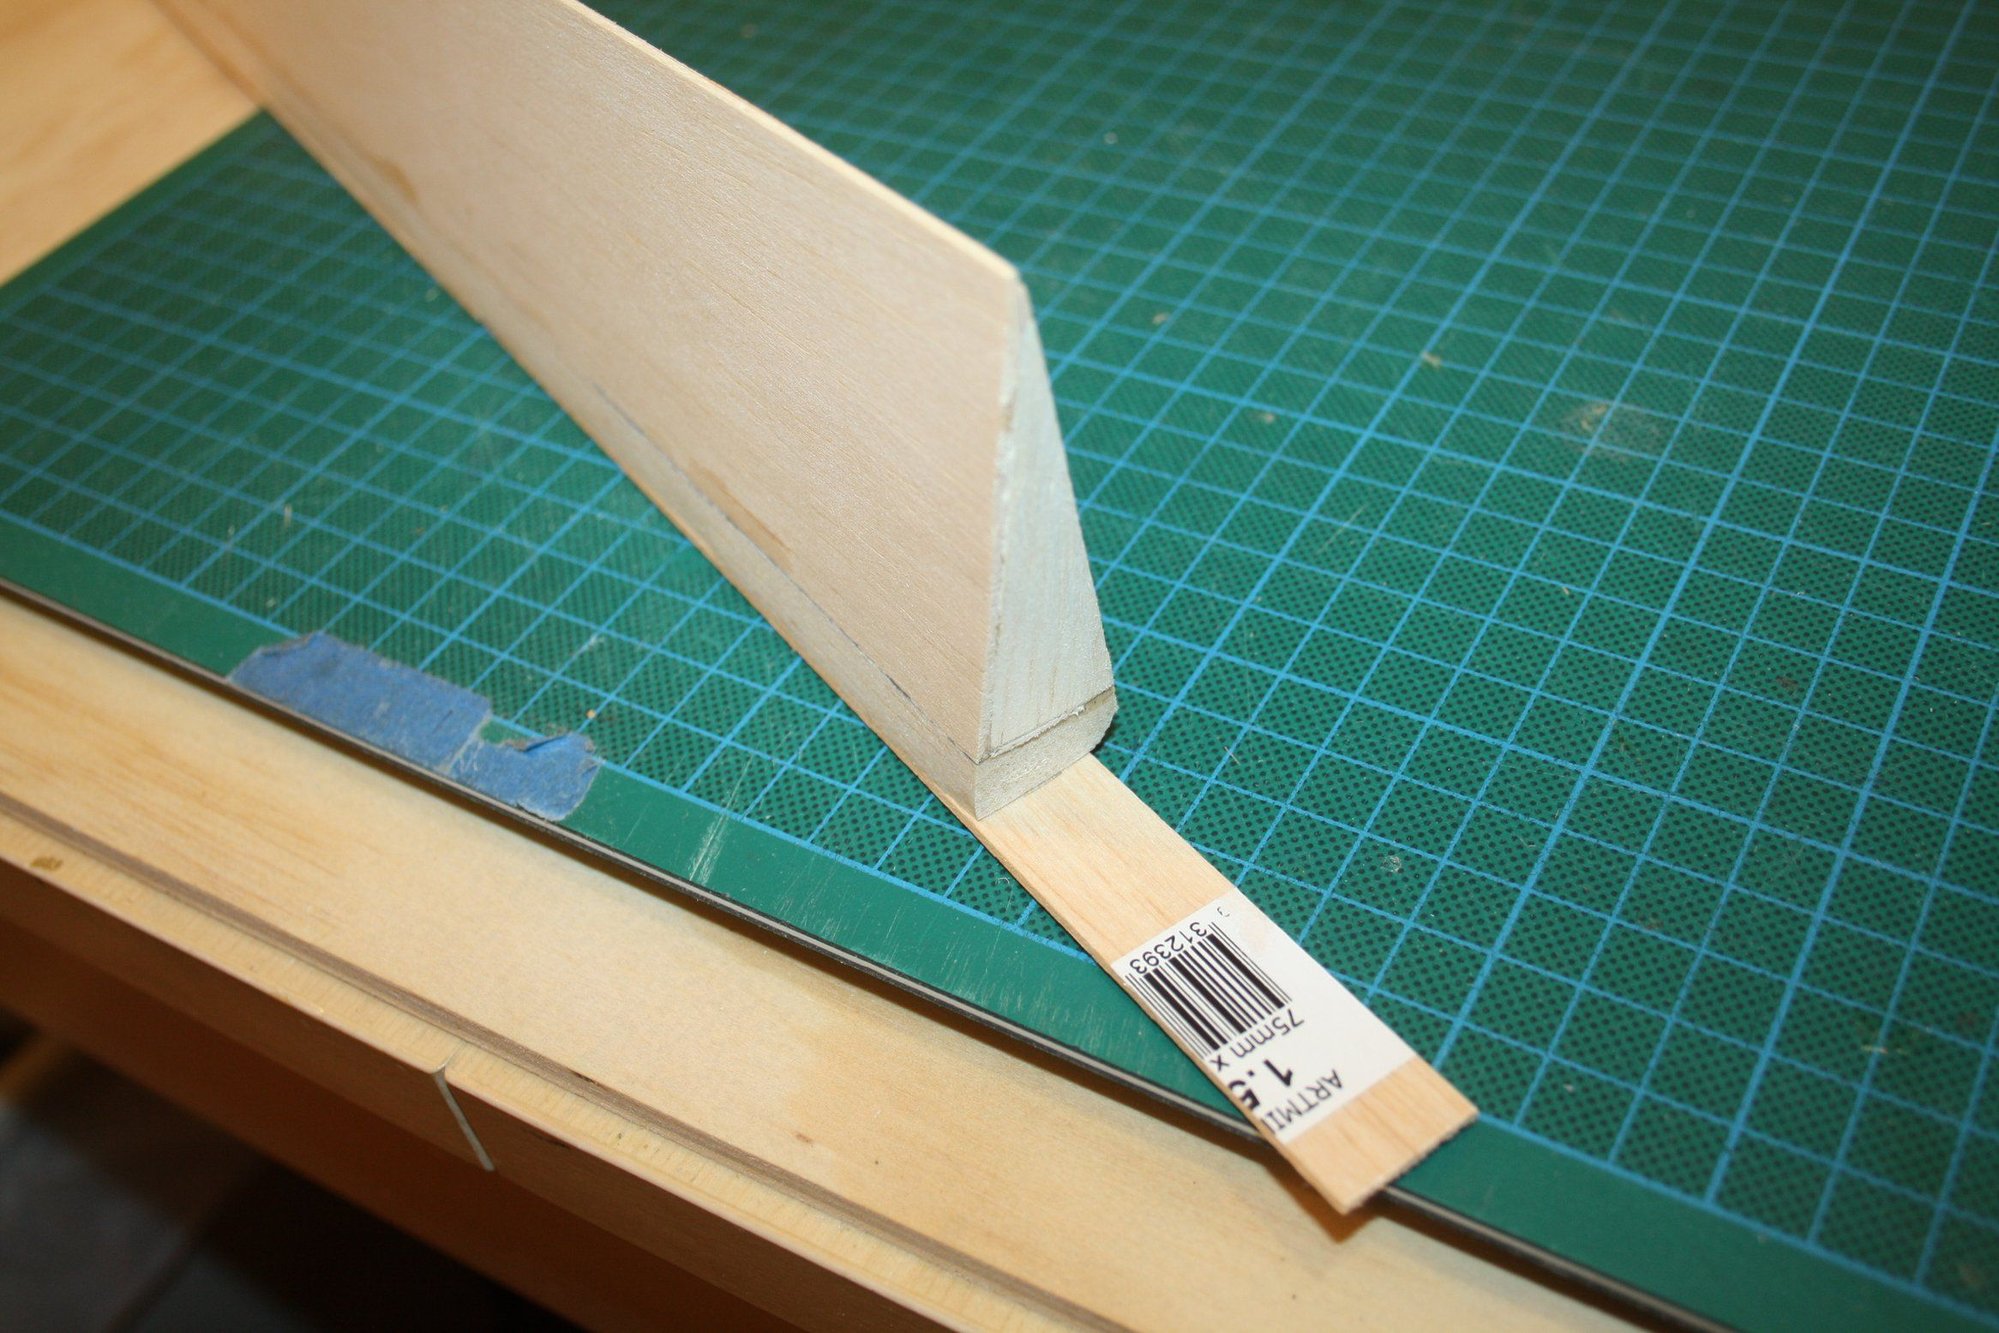
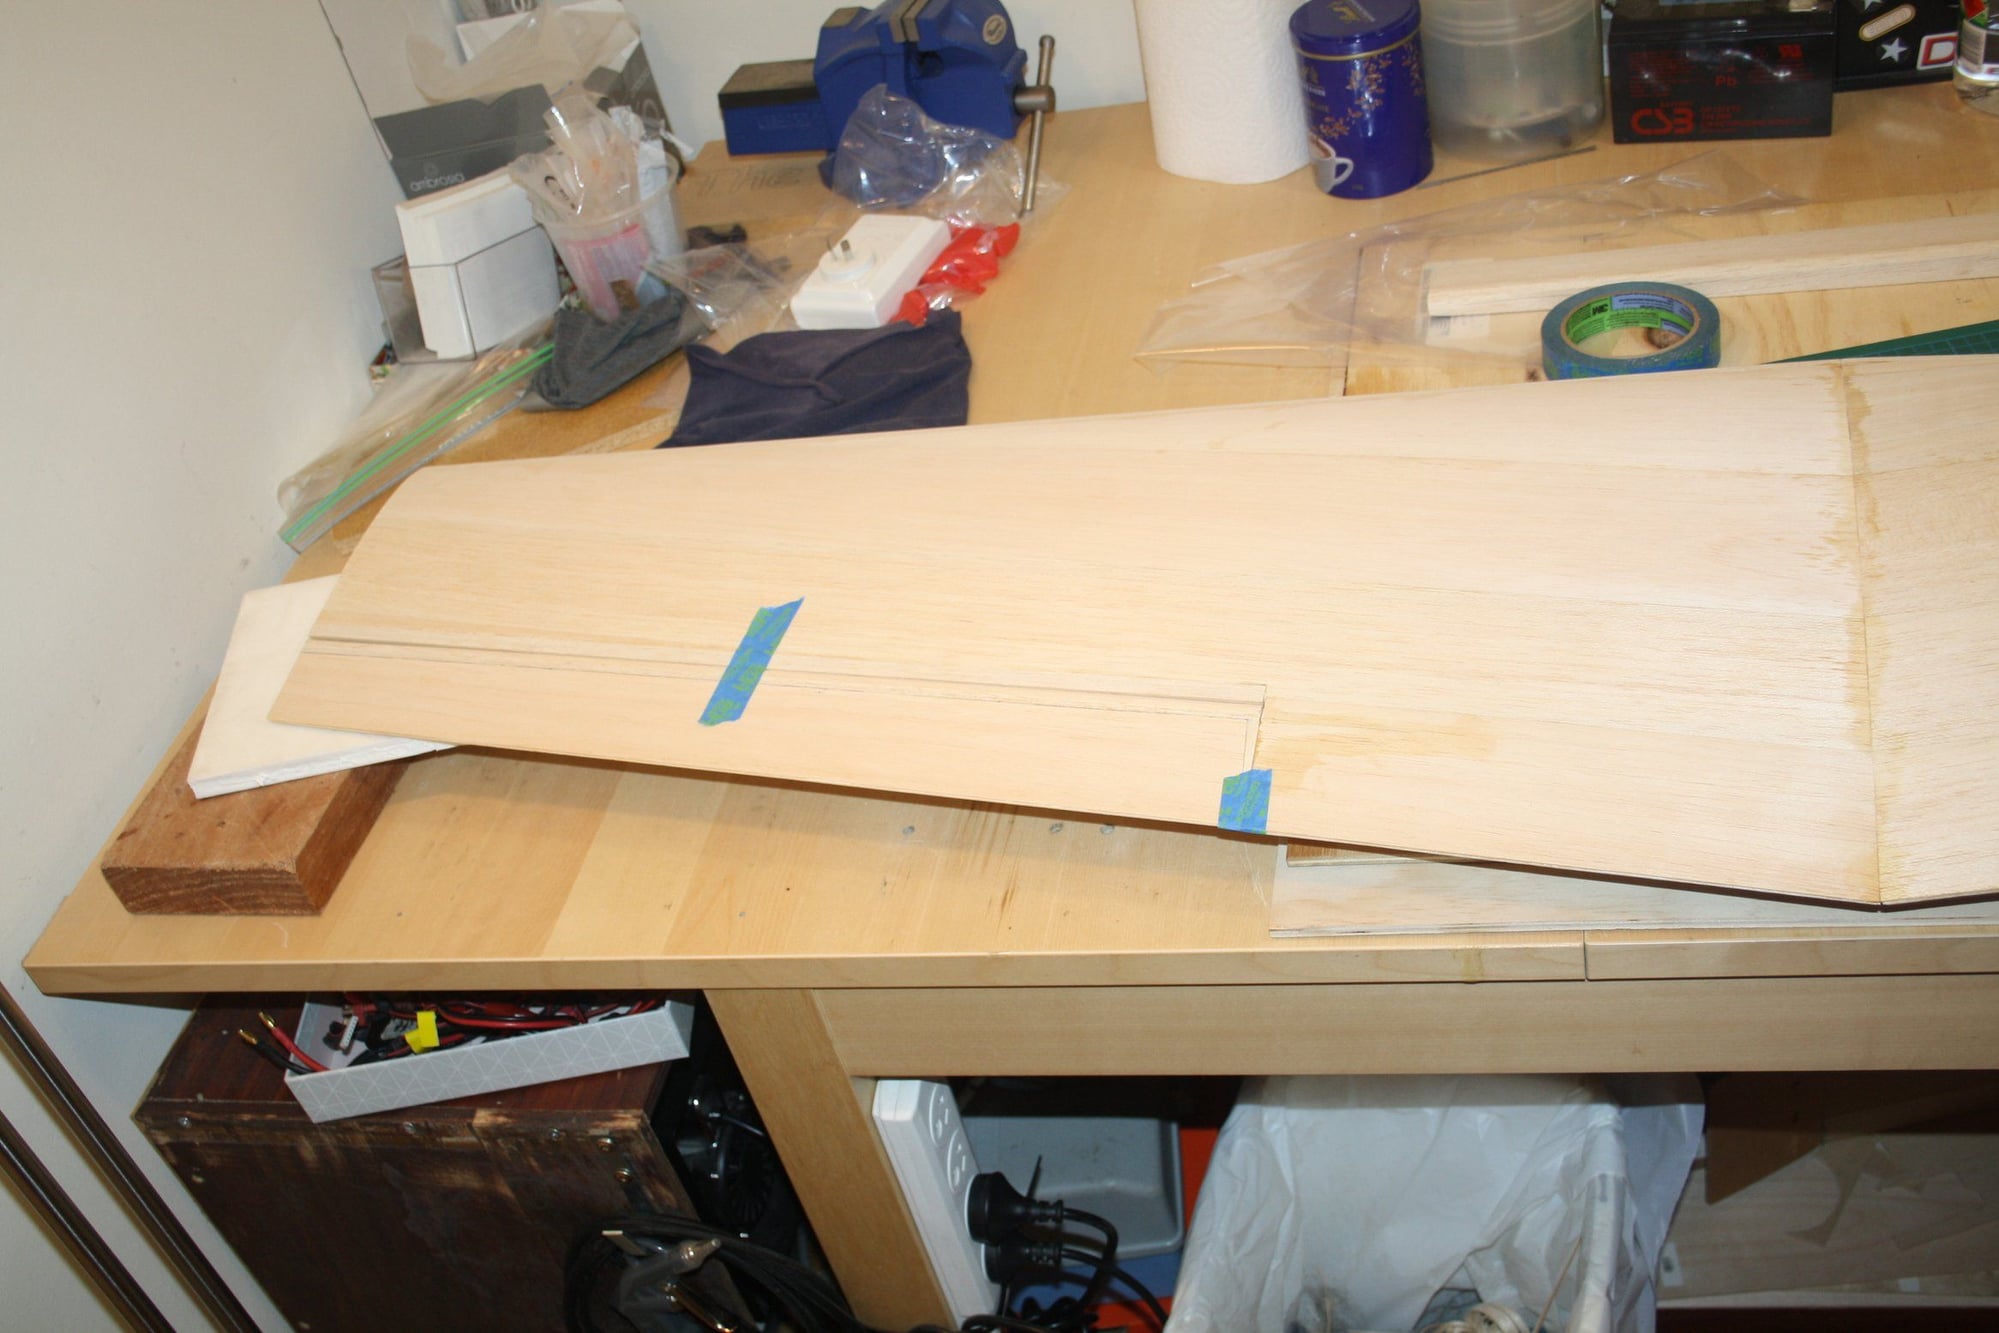
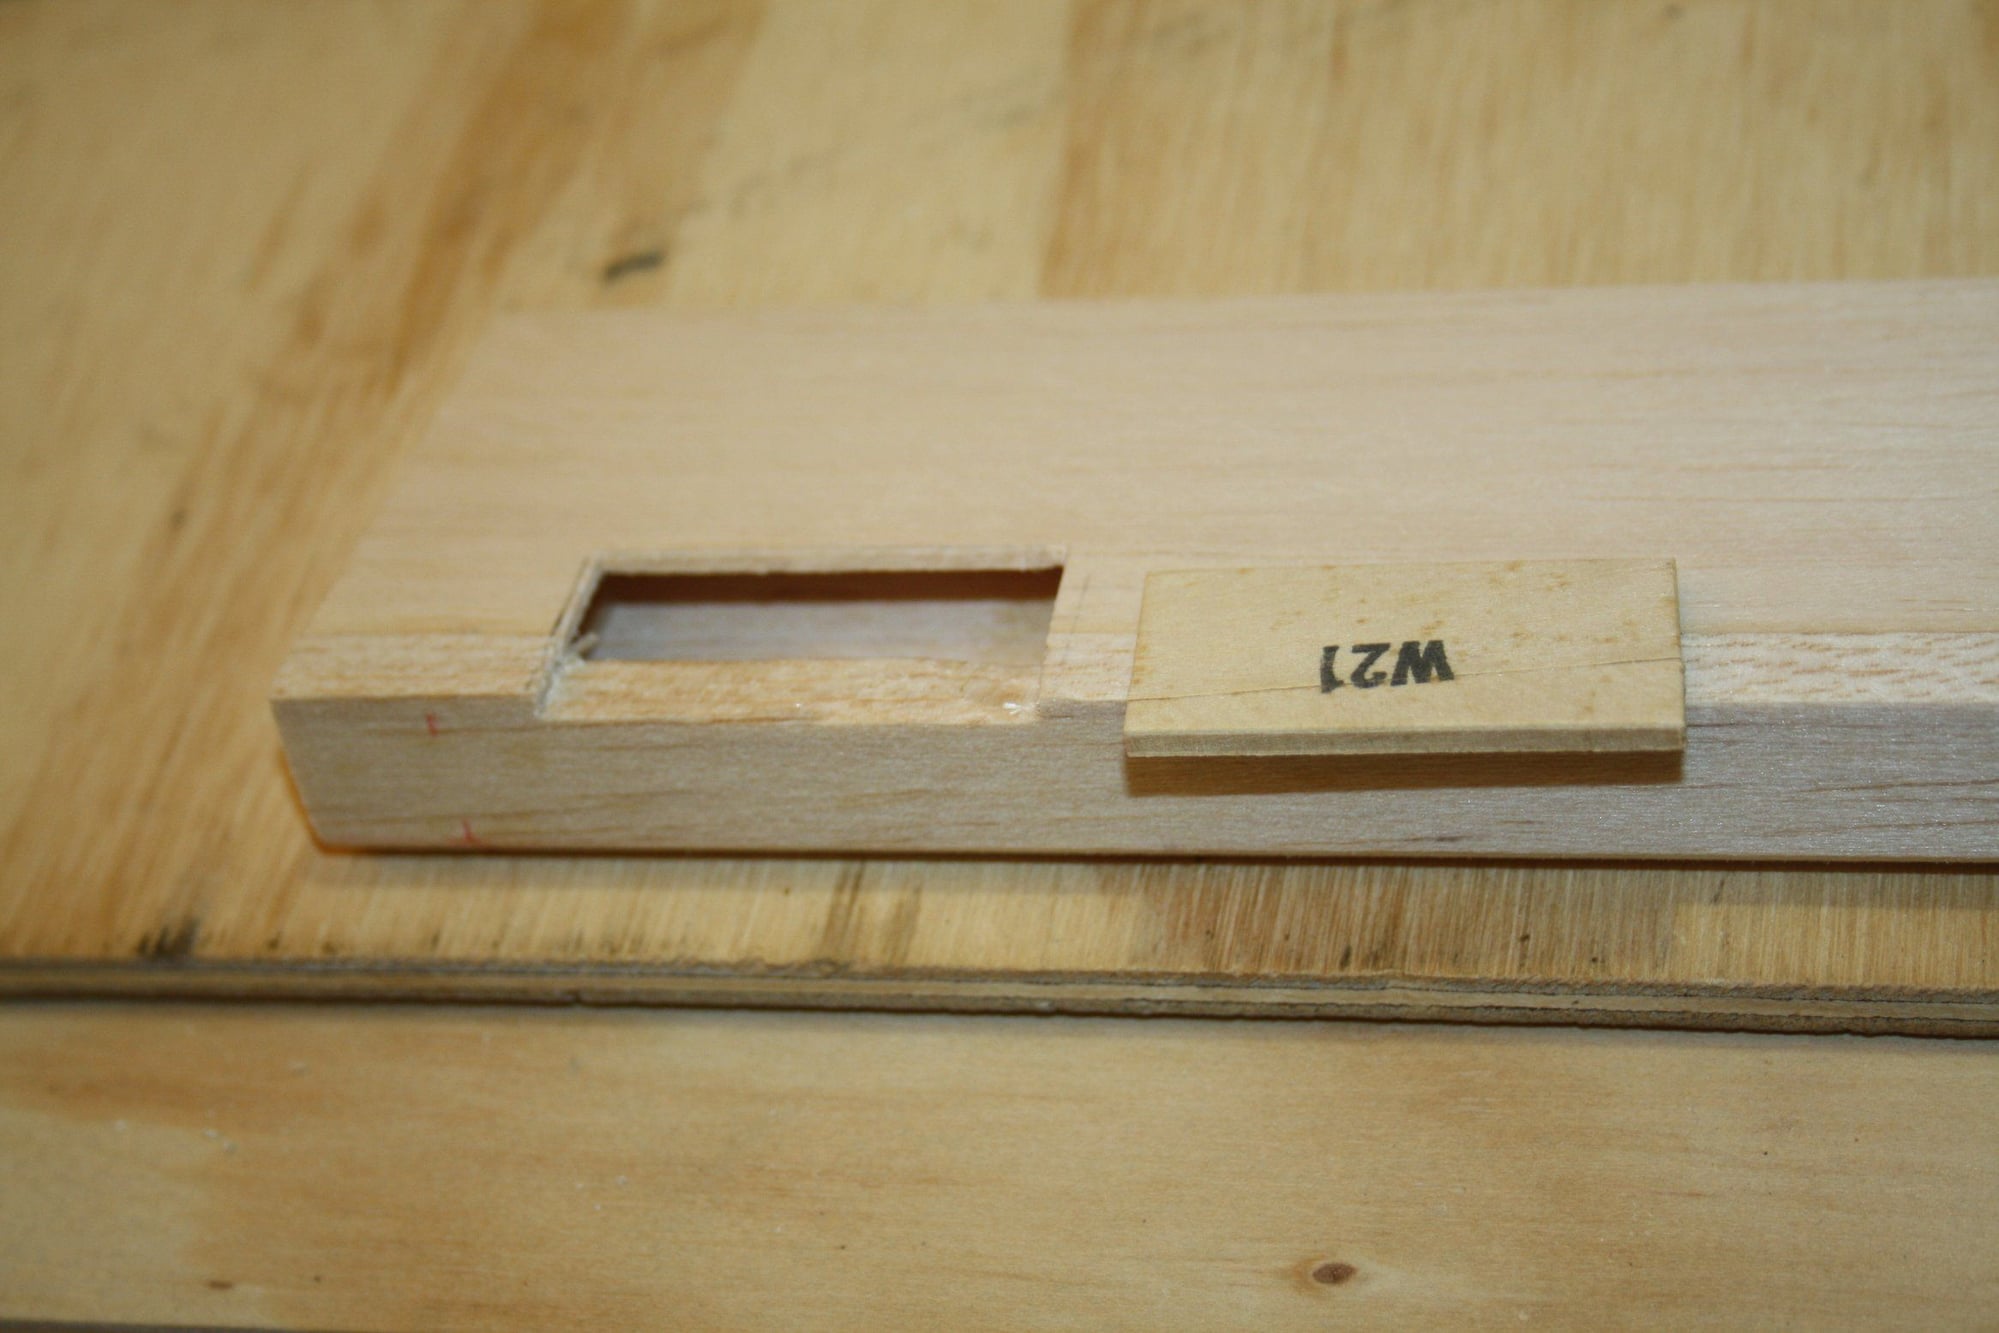
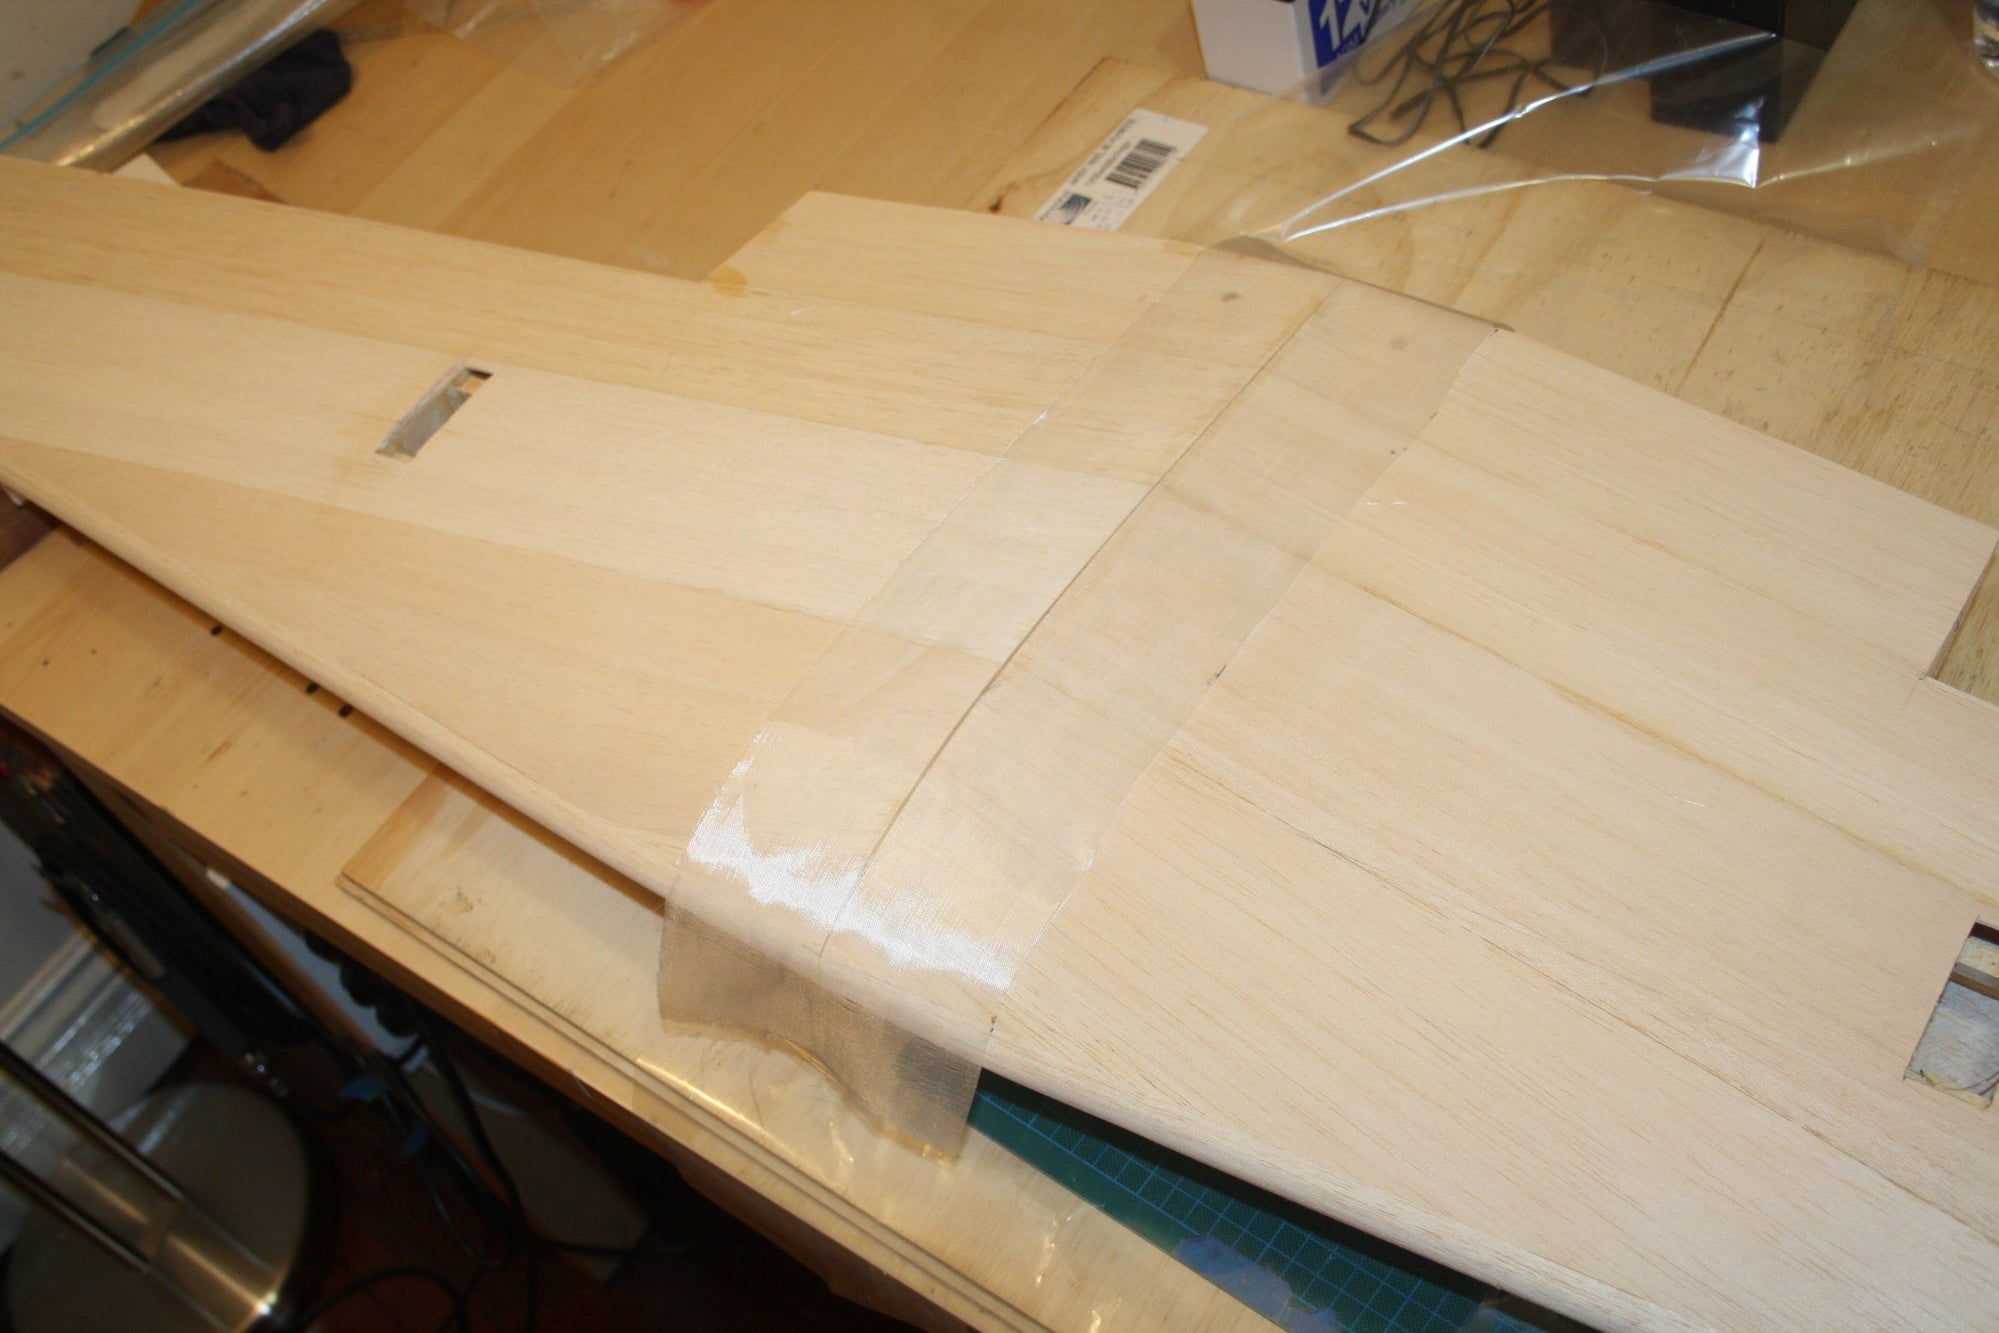
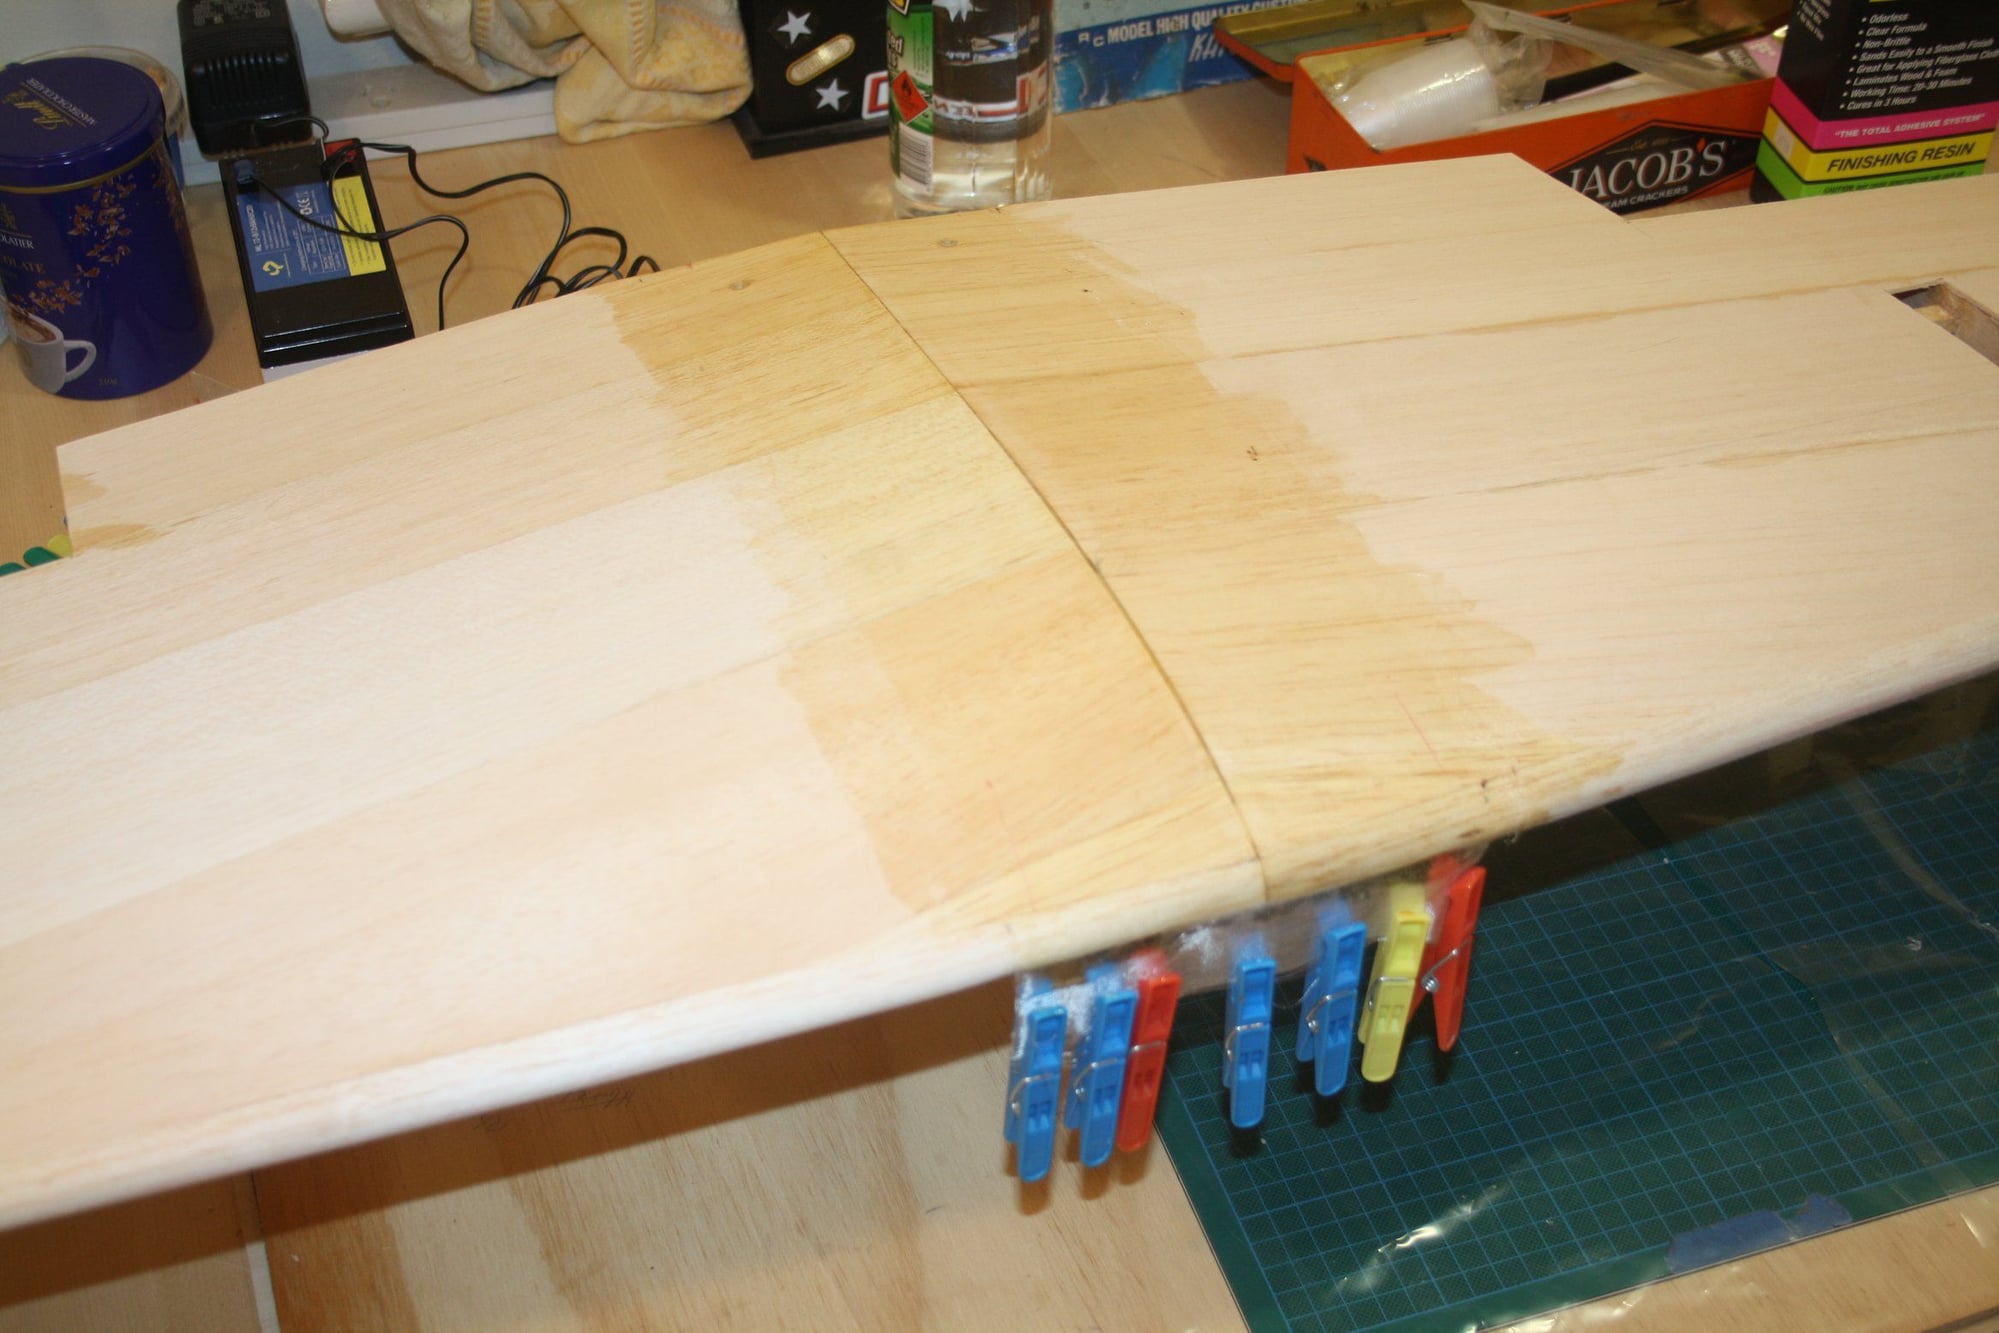
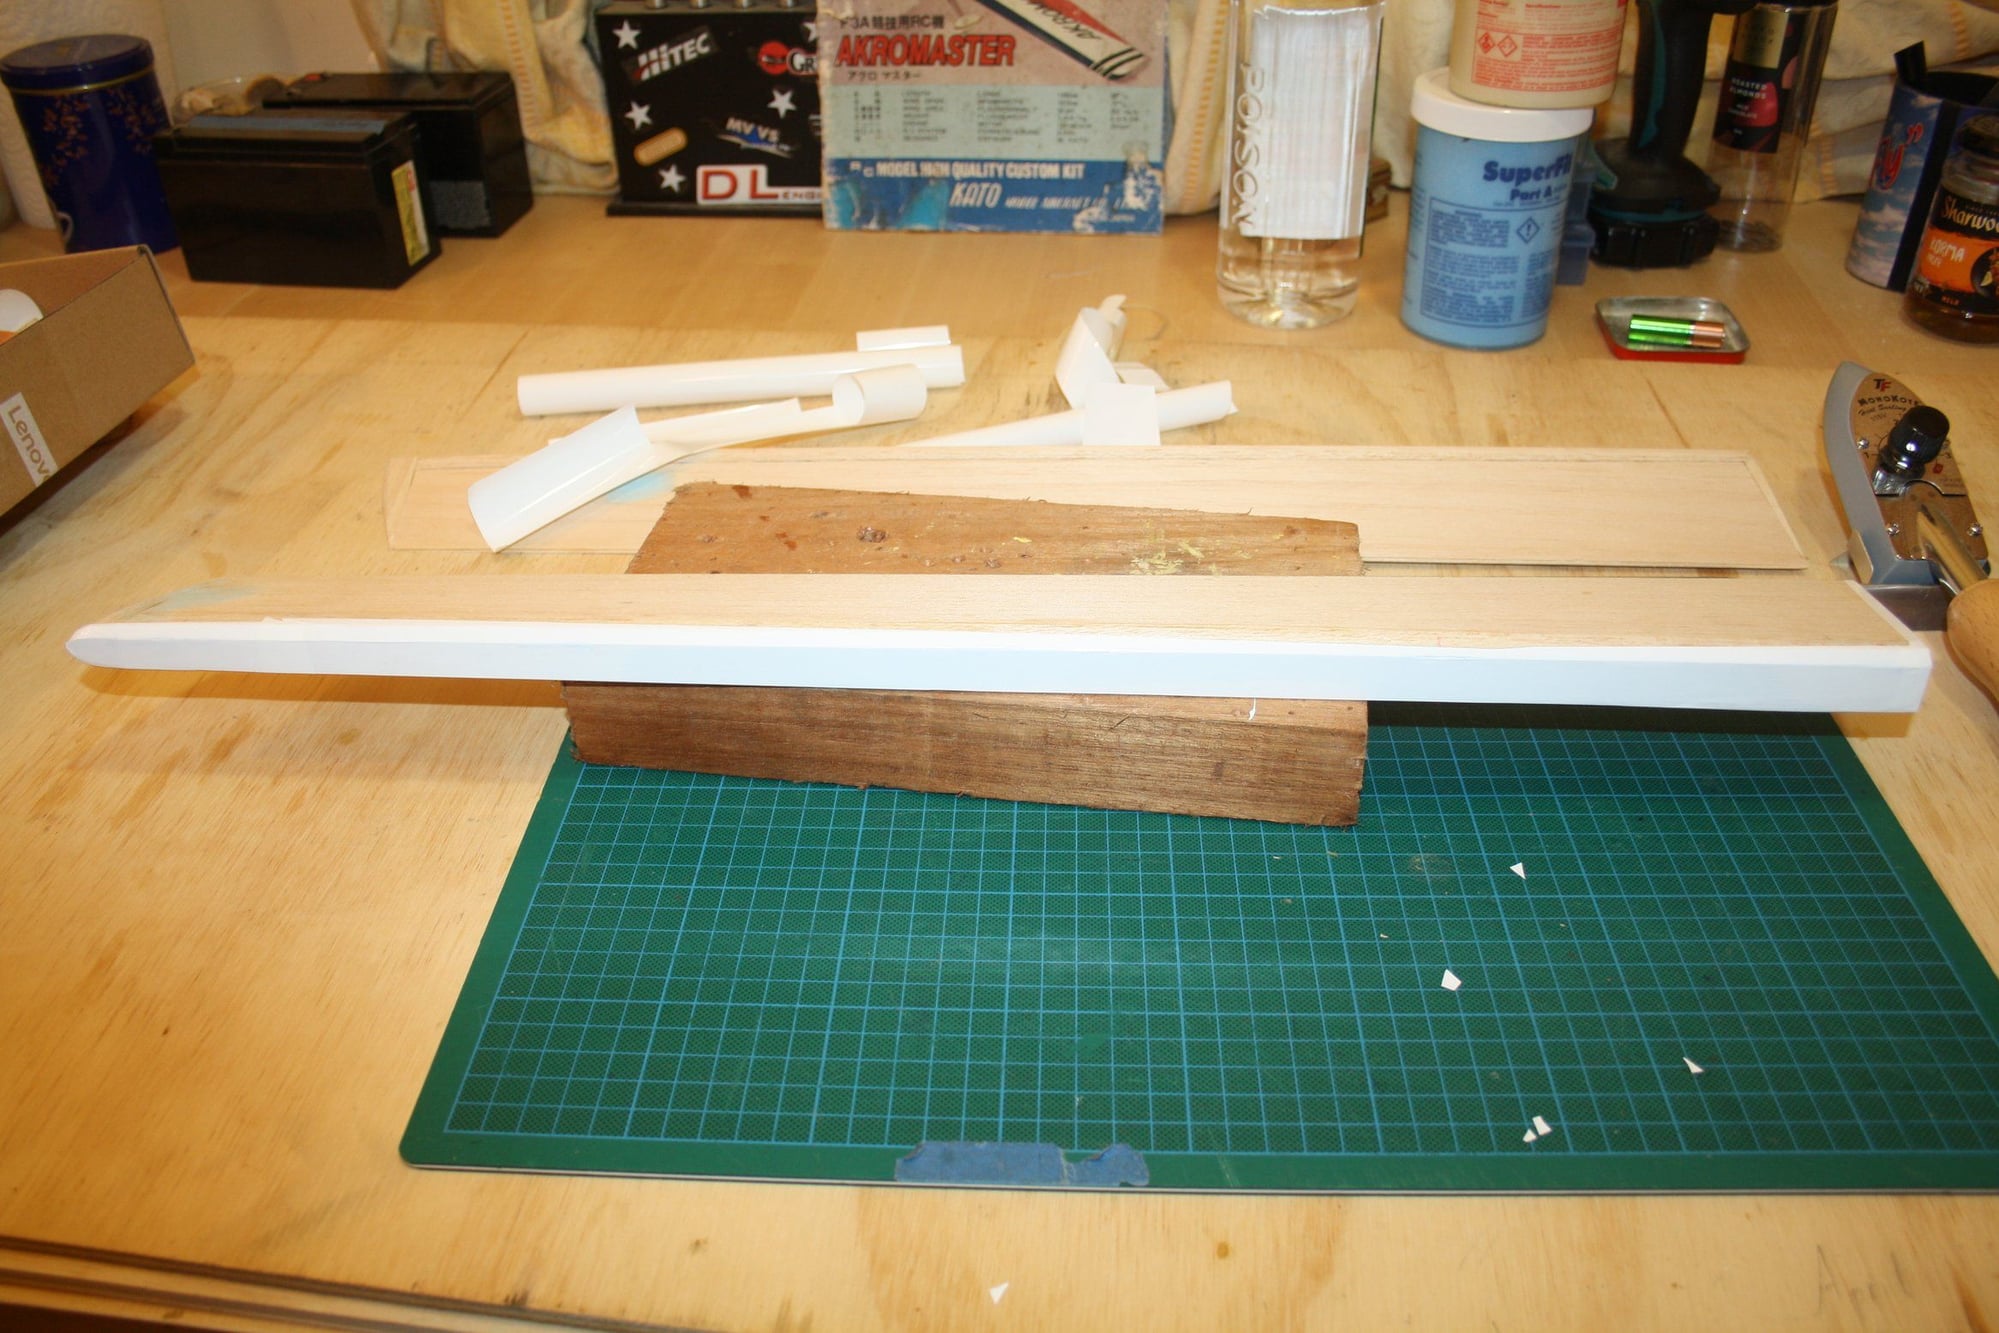
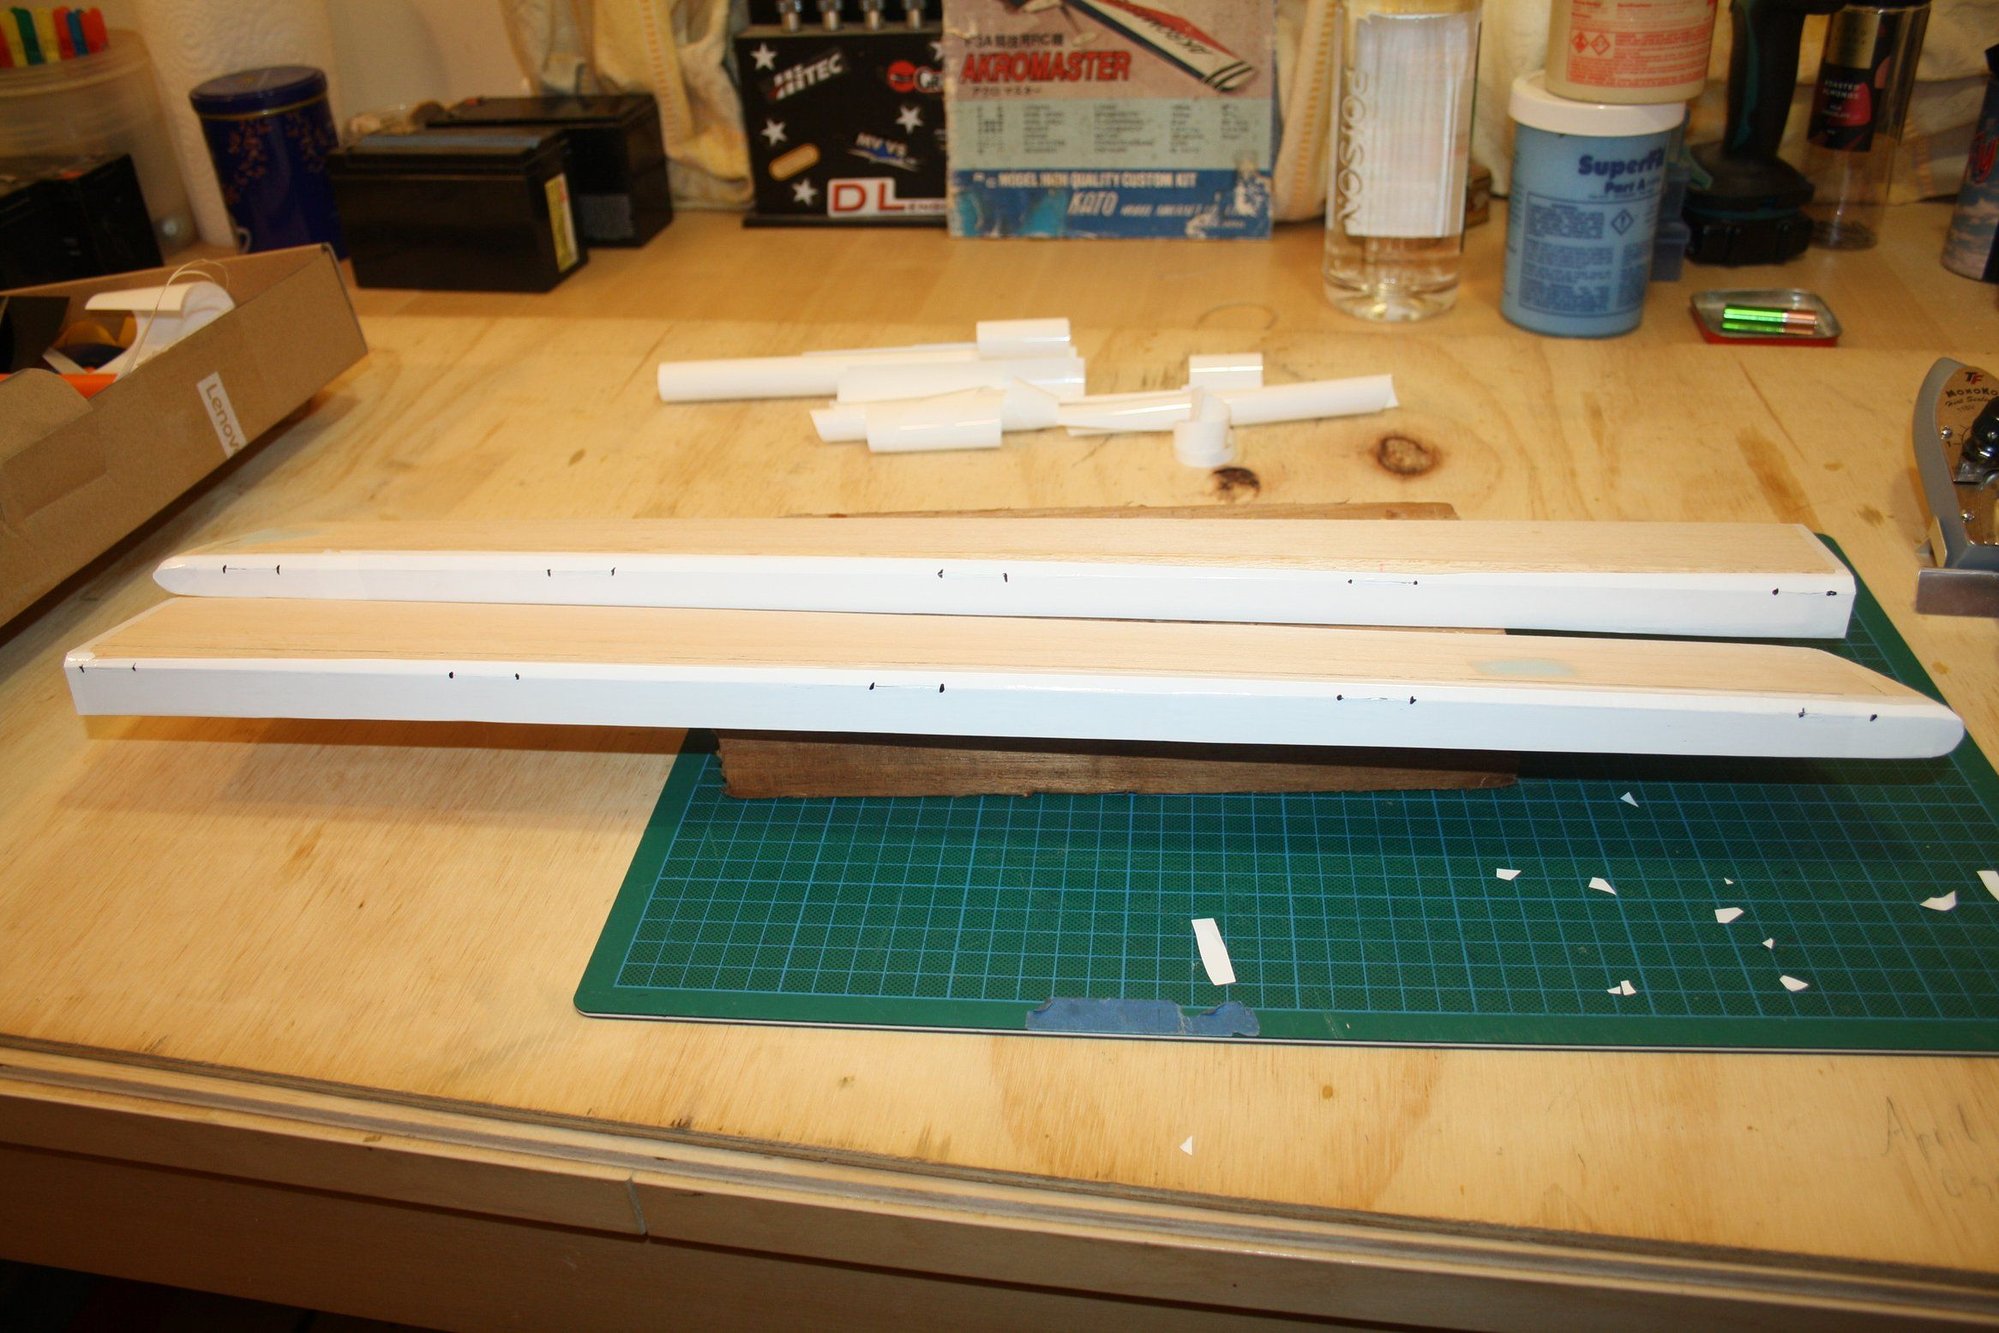
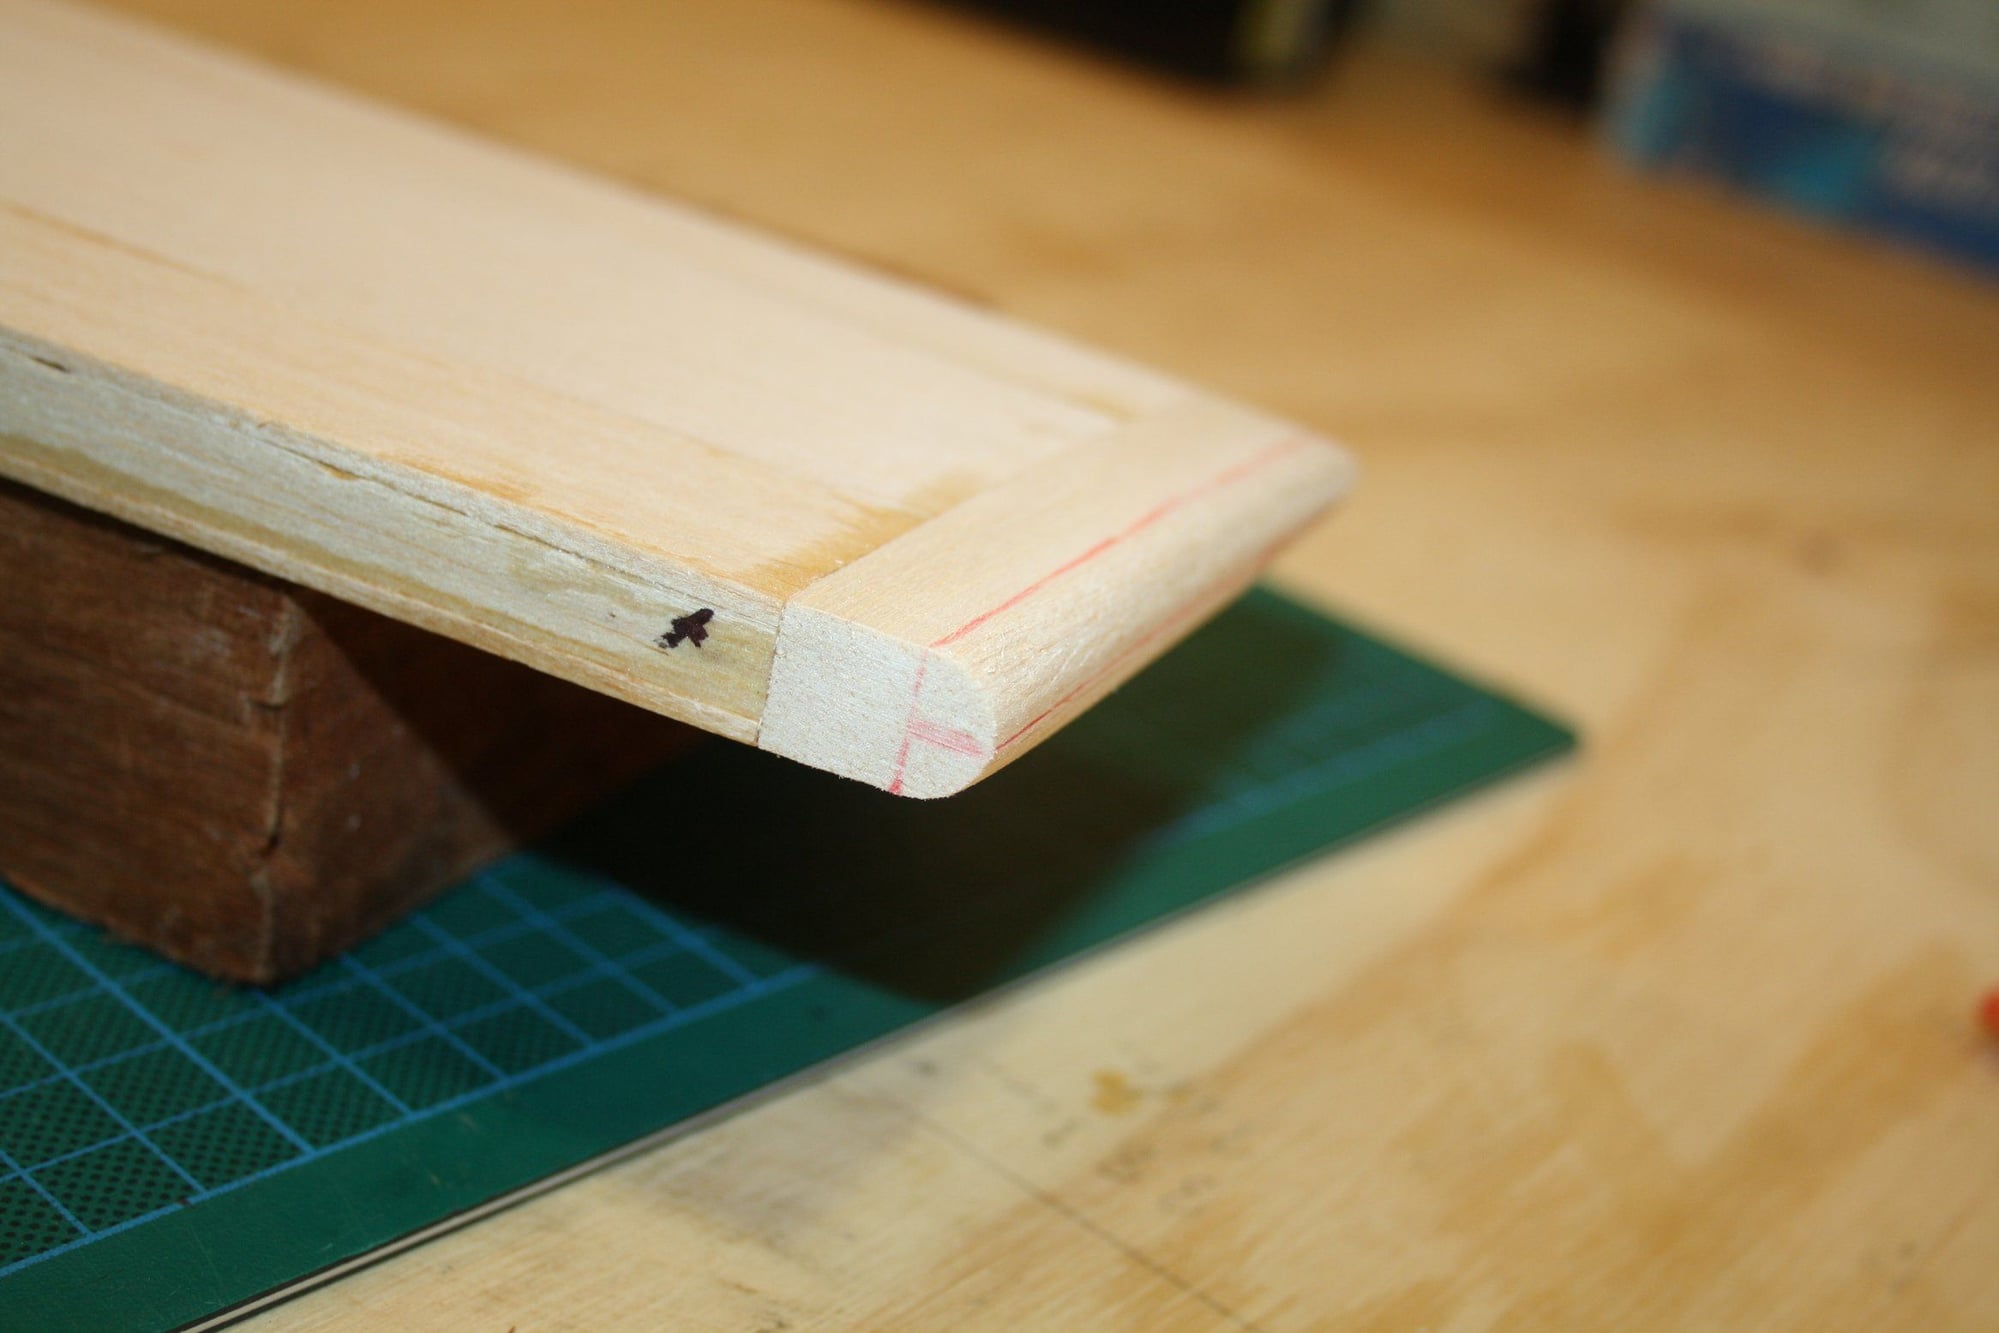
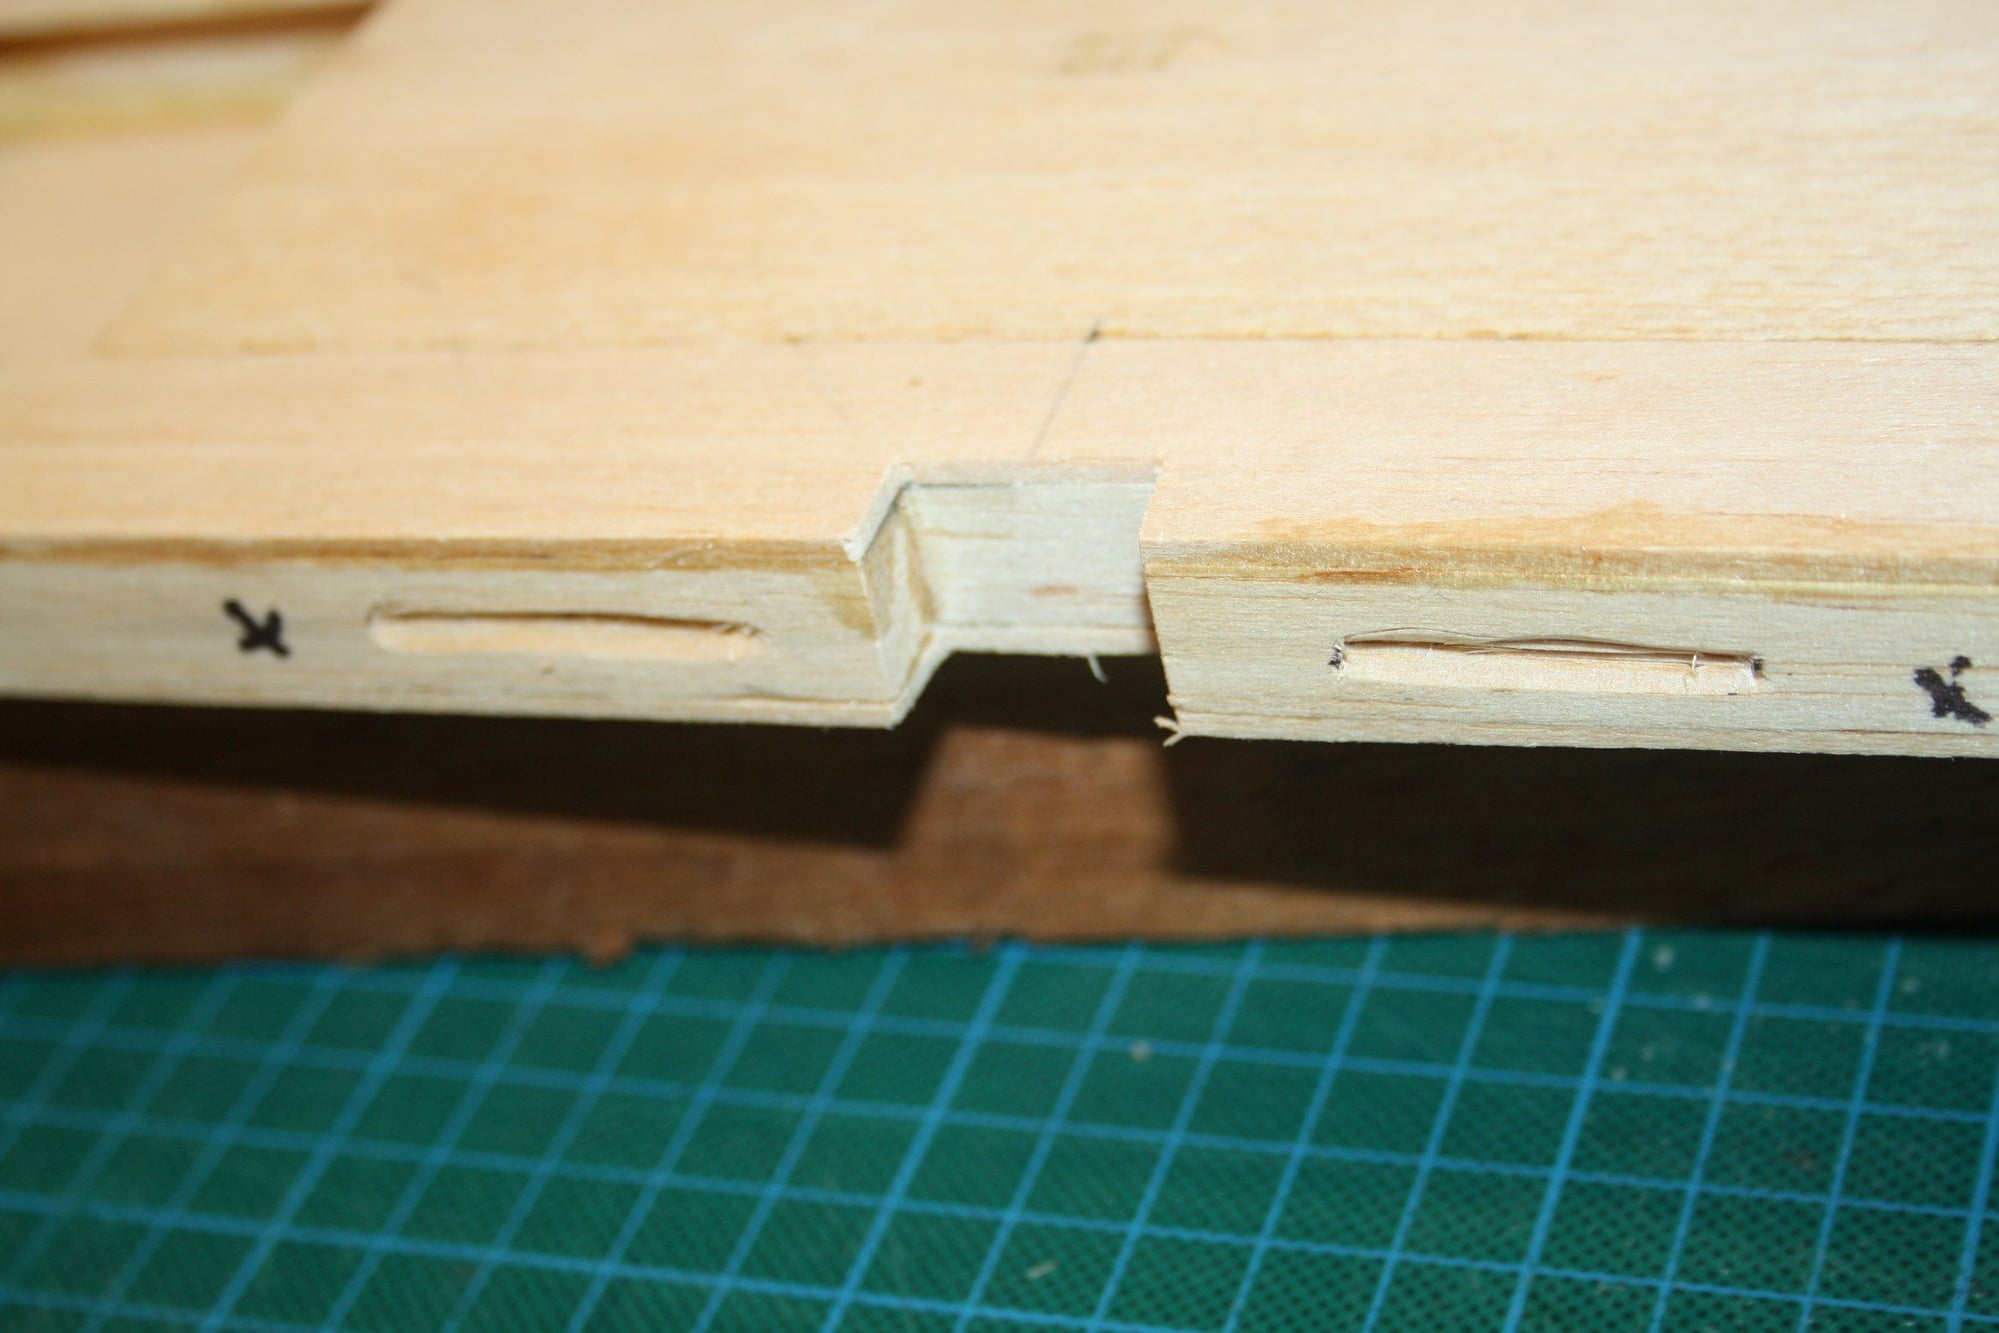
Continuing with the work on the ailerons, I sanded the wing TE to fit flush with the wing sheeting.
Test fit of the aileron I cut out went well and it fits perfectly. However, the aileron that was cut by the previous owner needed 1.5mm balsa glued to the aileron LE to fit properly.
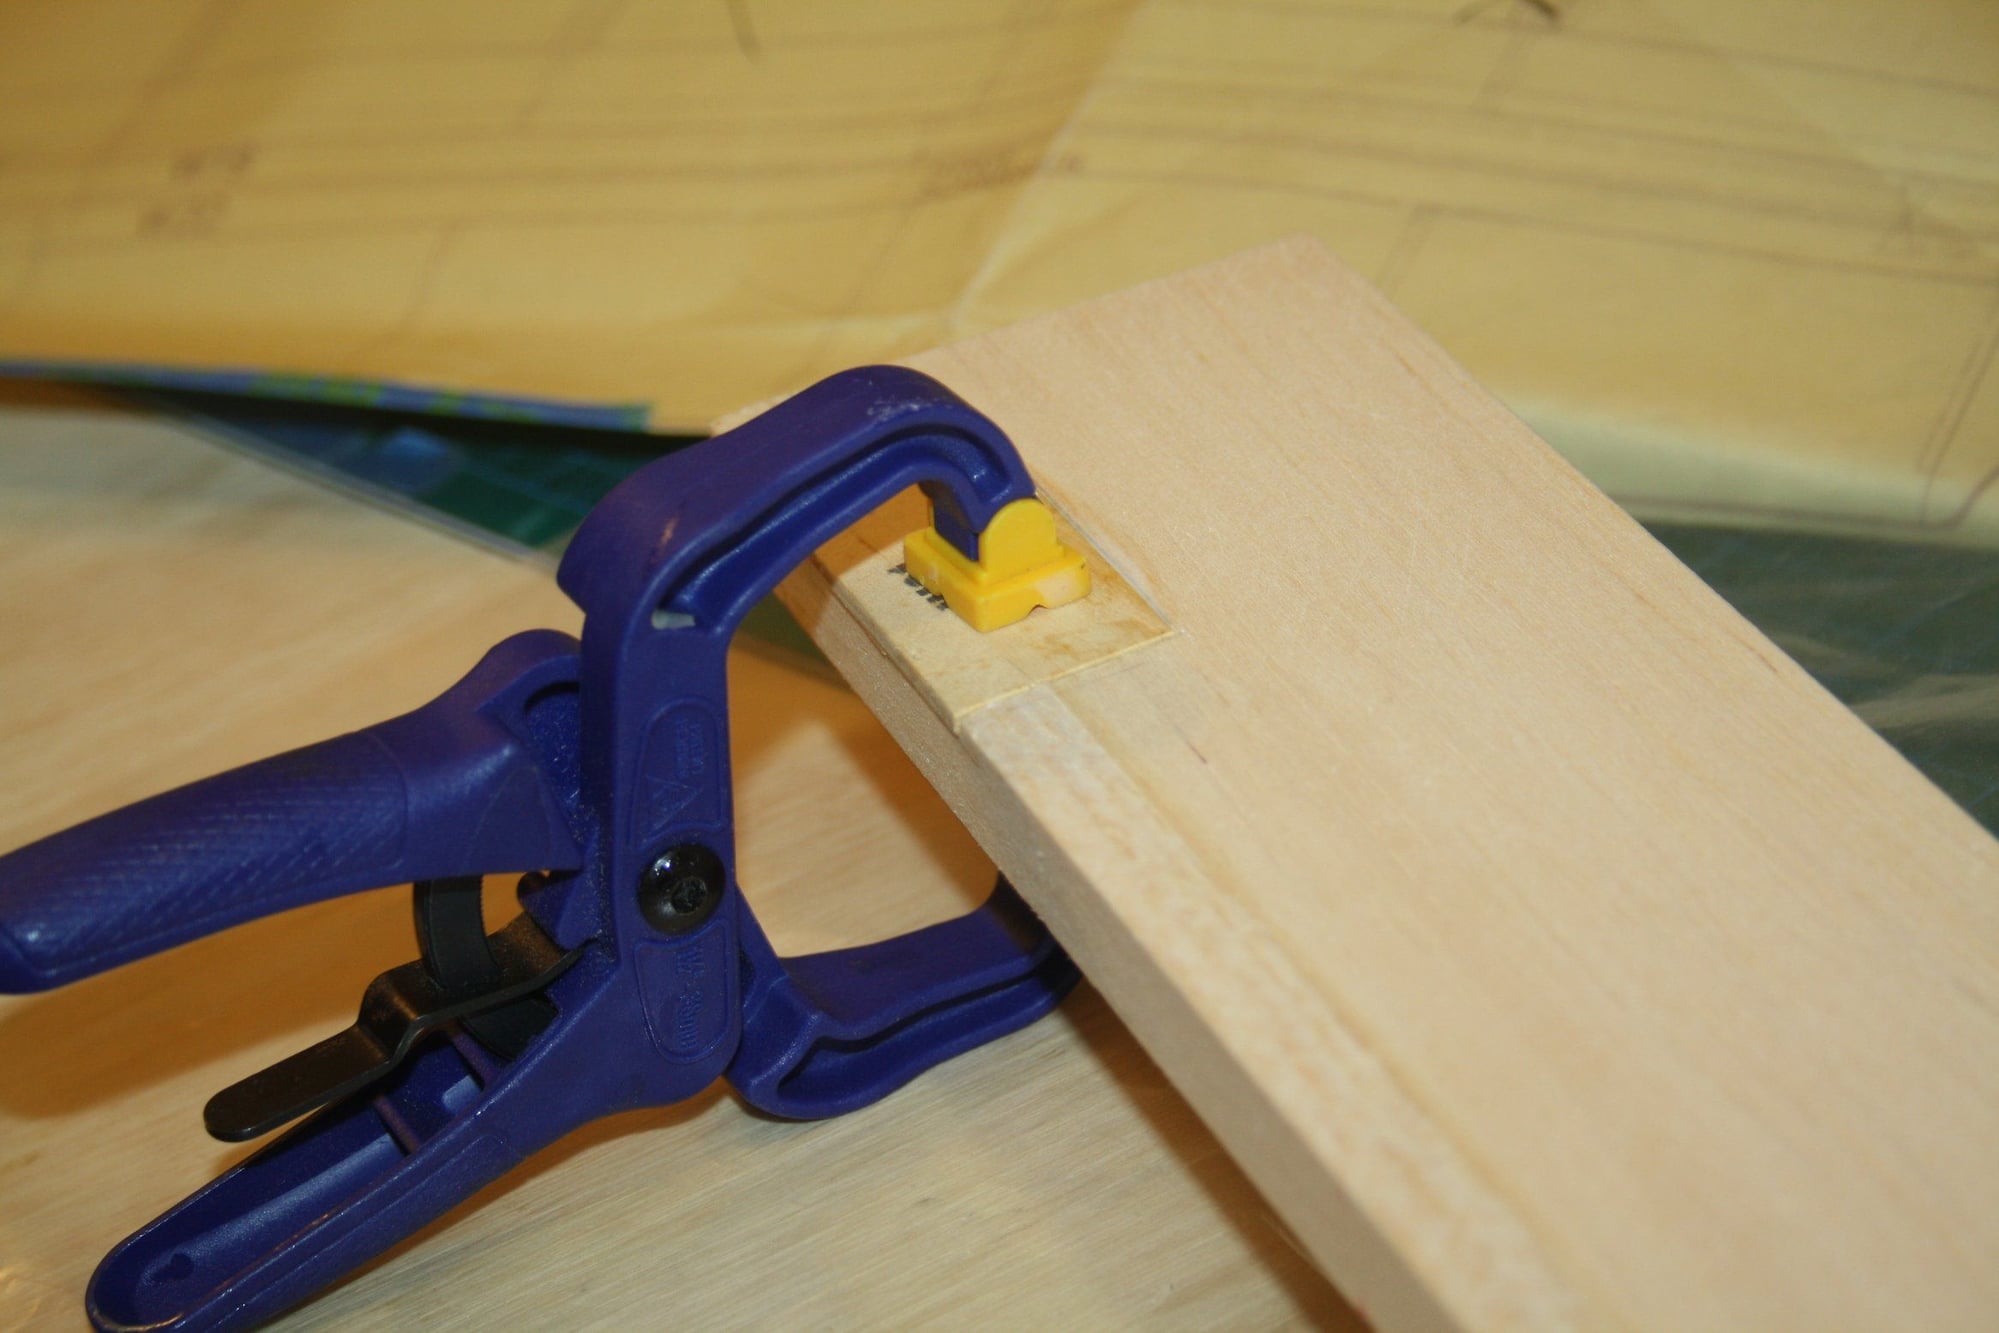
Once this was done, the last item was to fit the Plywood reinforcement where the horn will be attached later.

Cheers,
Eran
Test fit of the aileron I cut out went well and it fits perfectly. However, the aileron that was cut by the previous owner needed 1.5mm balsa glued to the aileron LE to fit properly.
Once this was done, the last item was to fit the Plywood reinforcement where the horn will be attached later.
Cheers,
Eran
12-24-2019, 08:07 PM
#6
Thread Starter
Merry Christmas everyone.
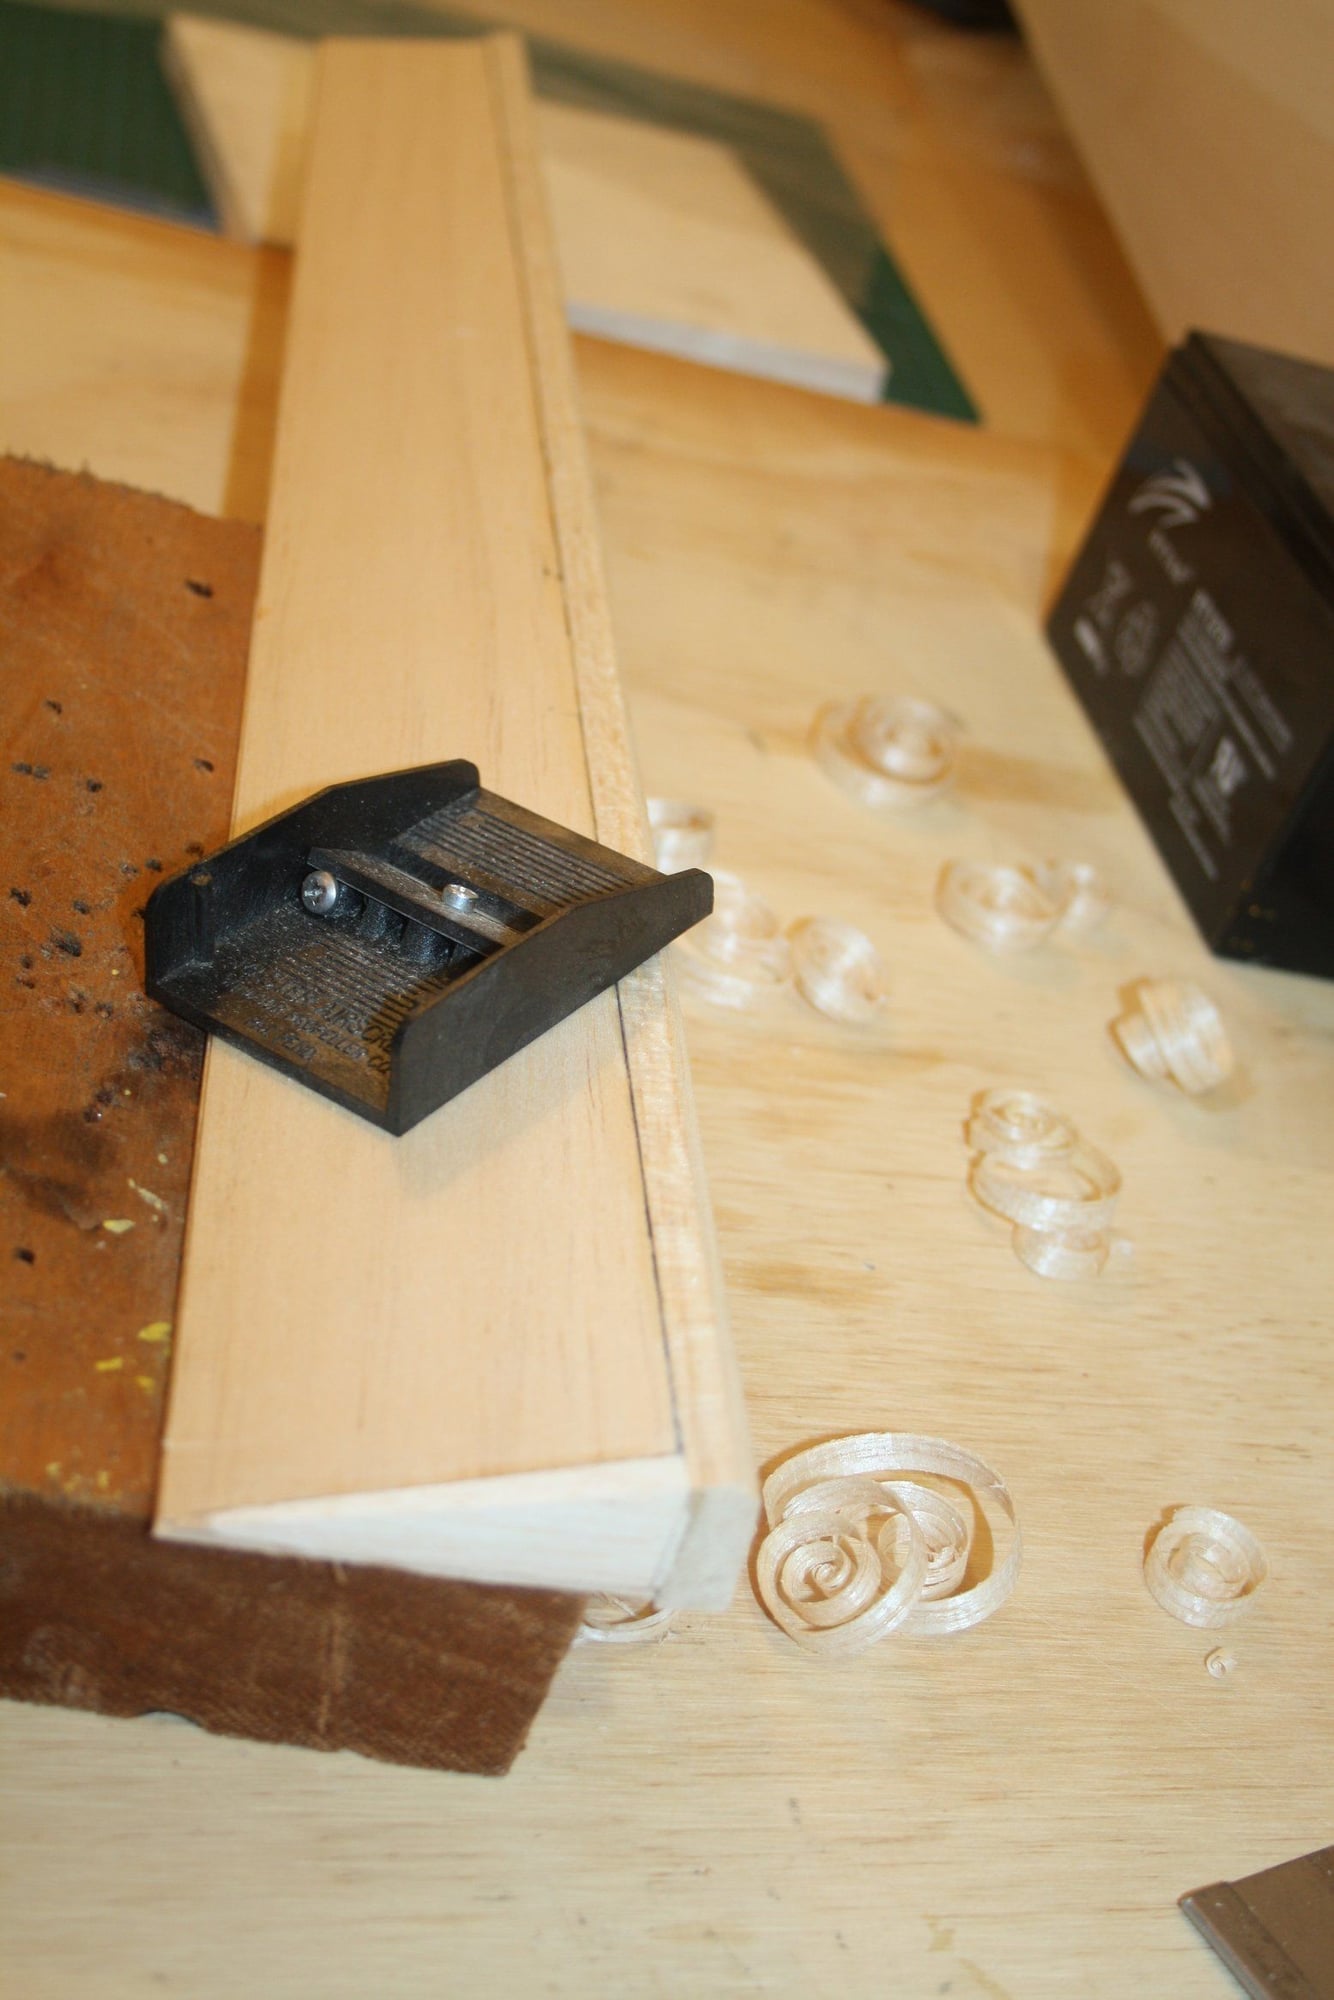
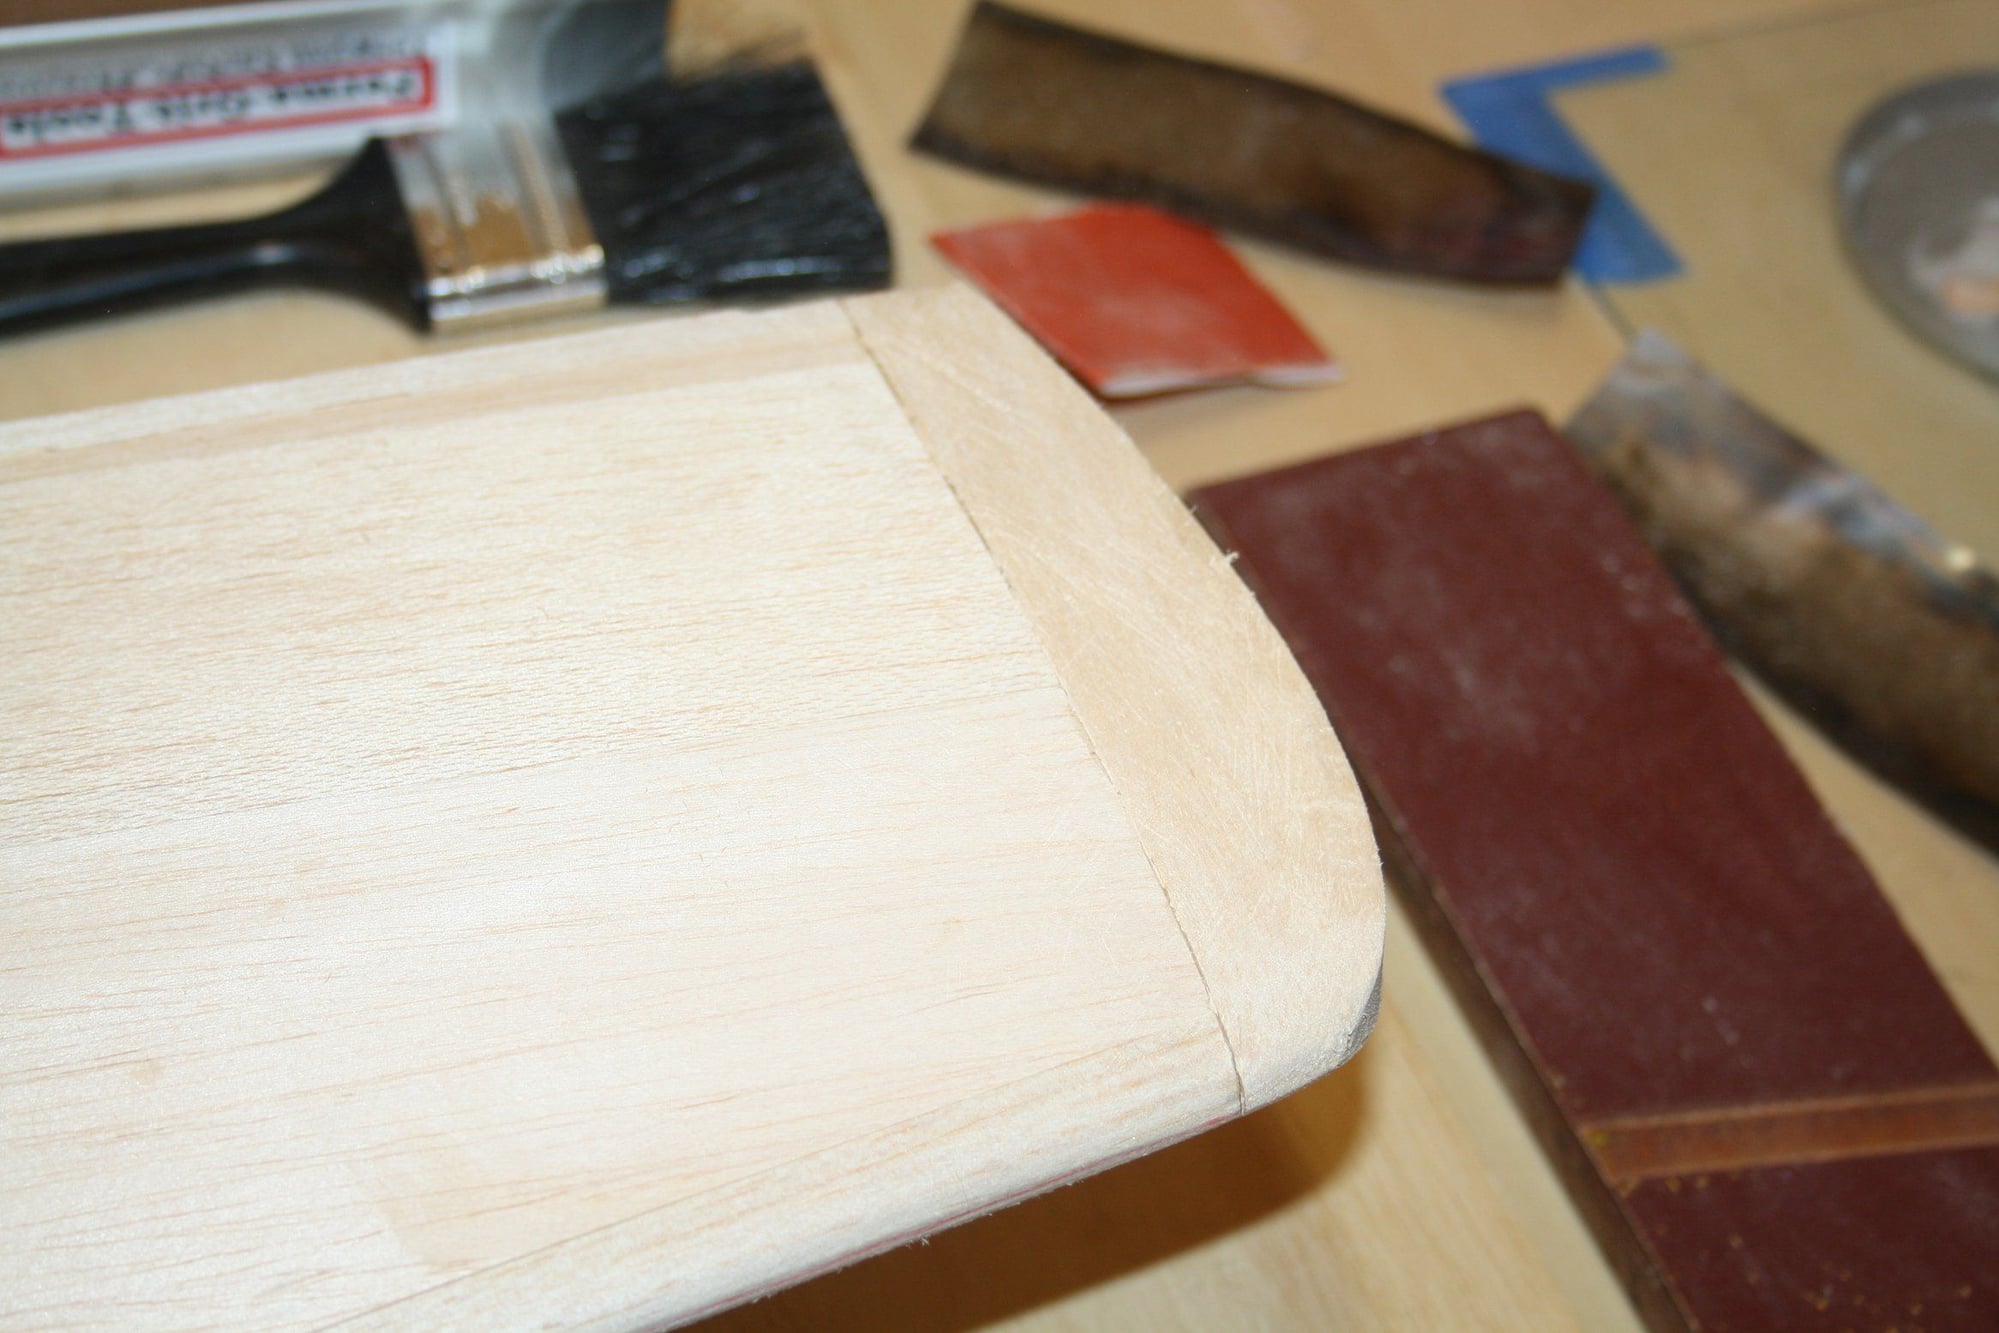
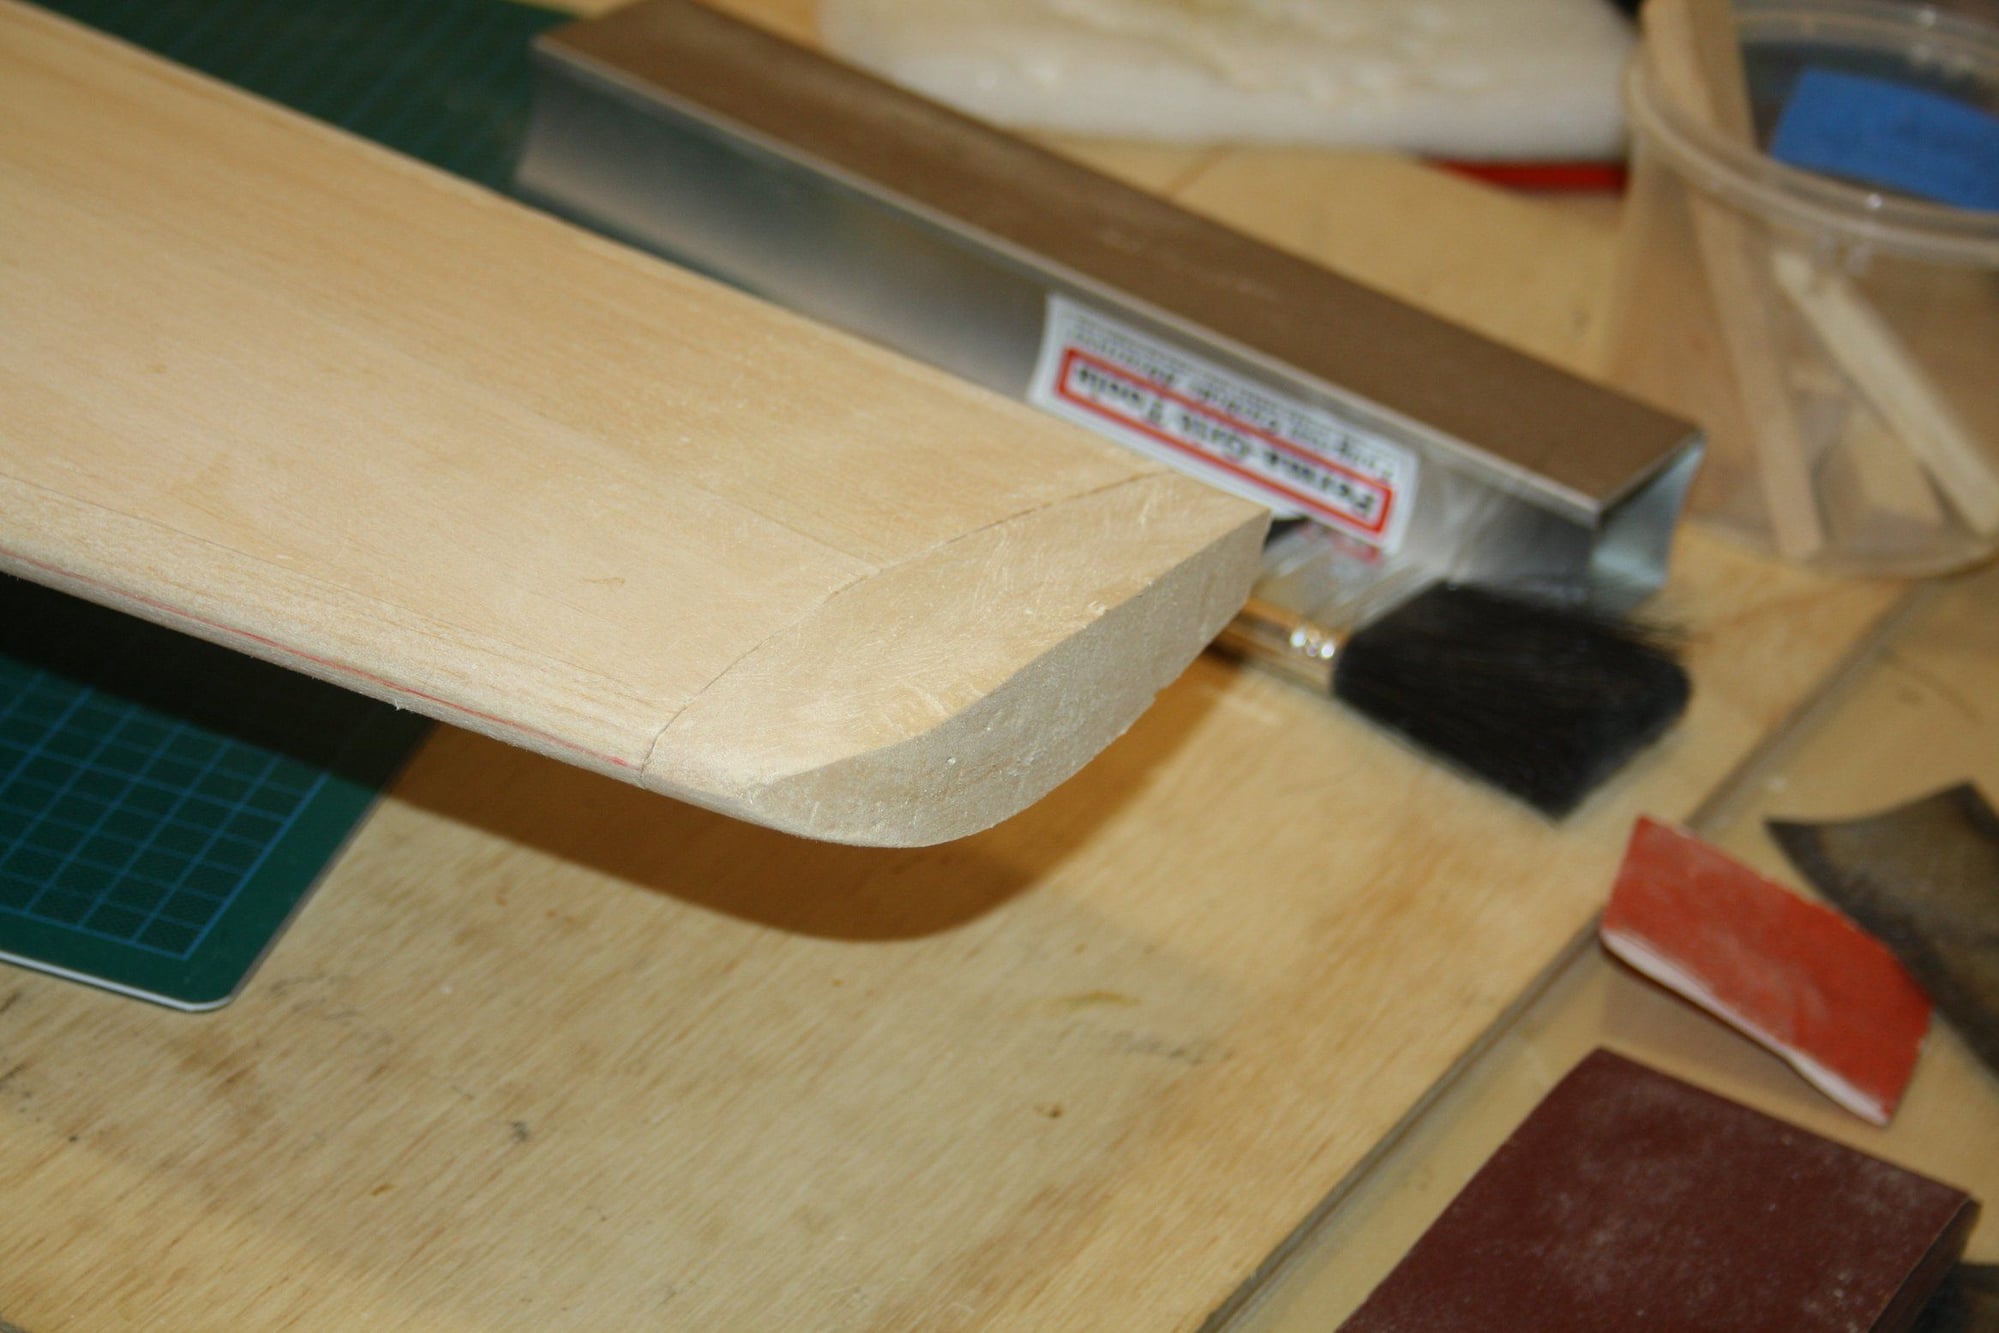
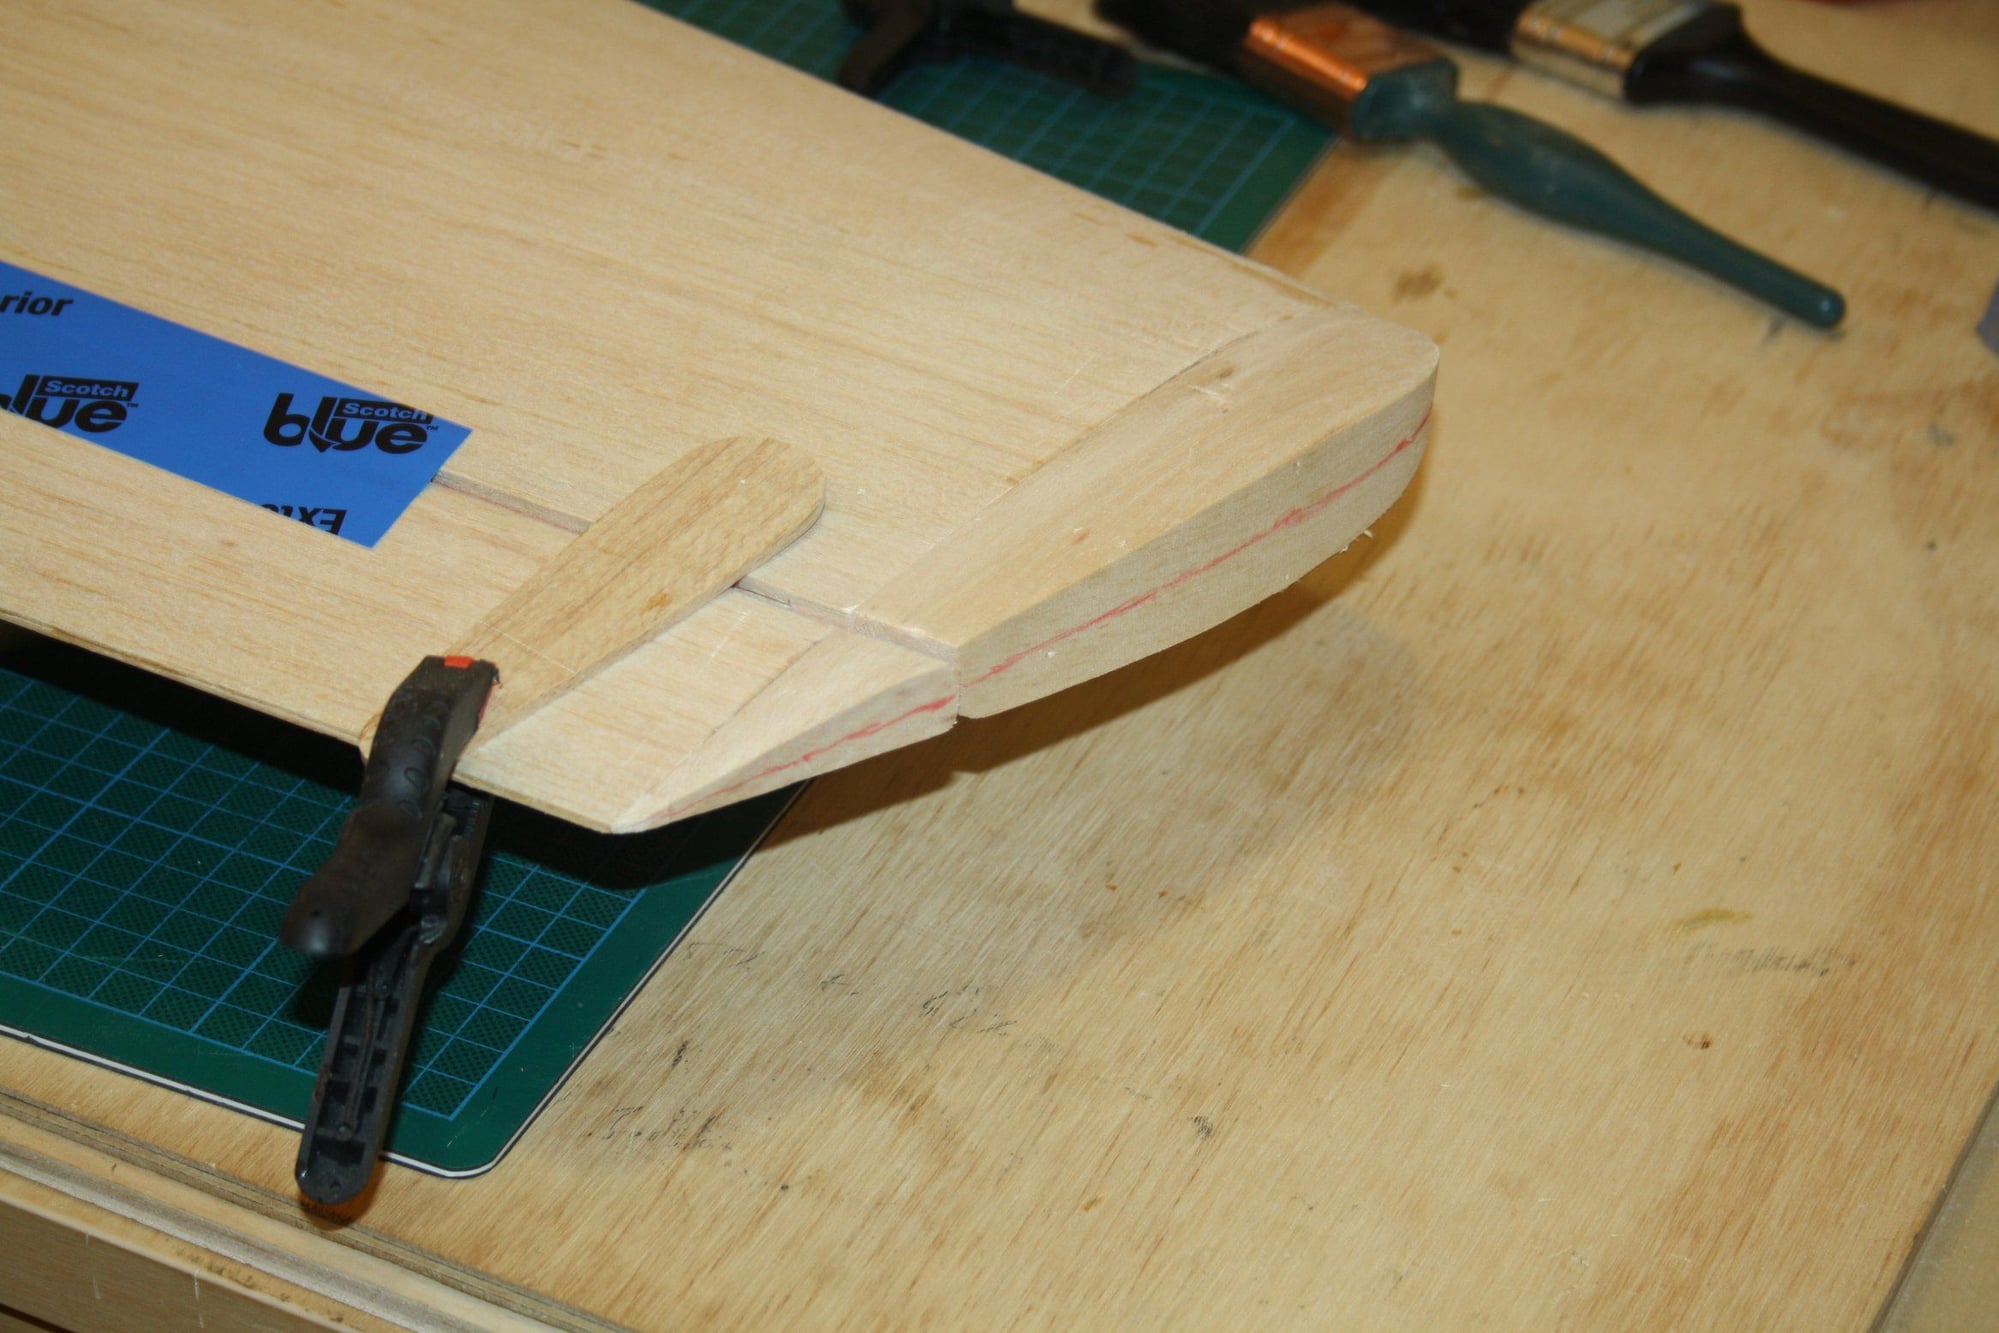
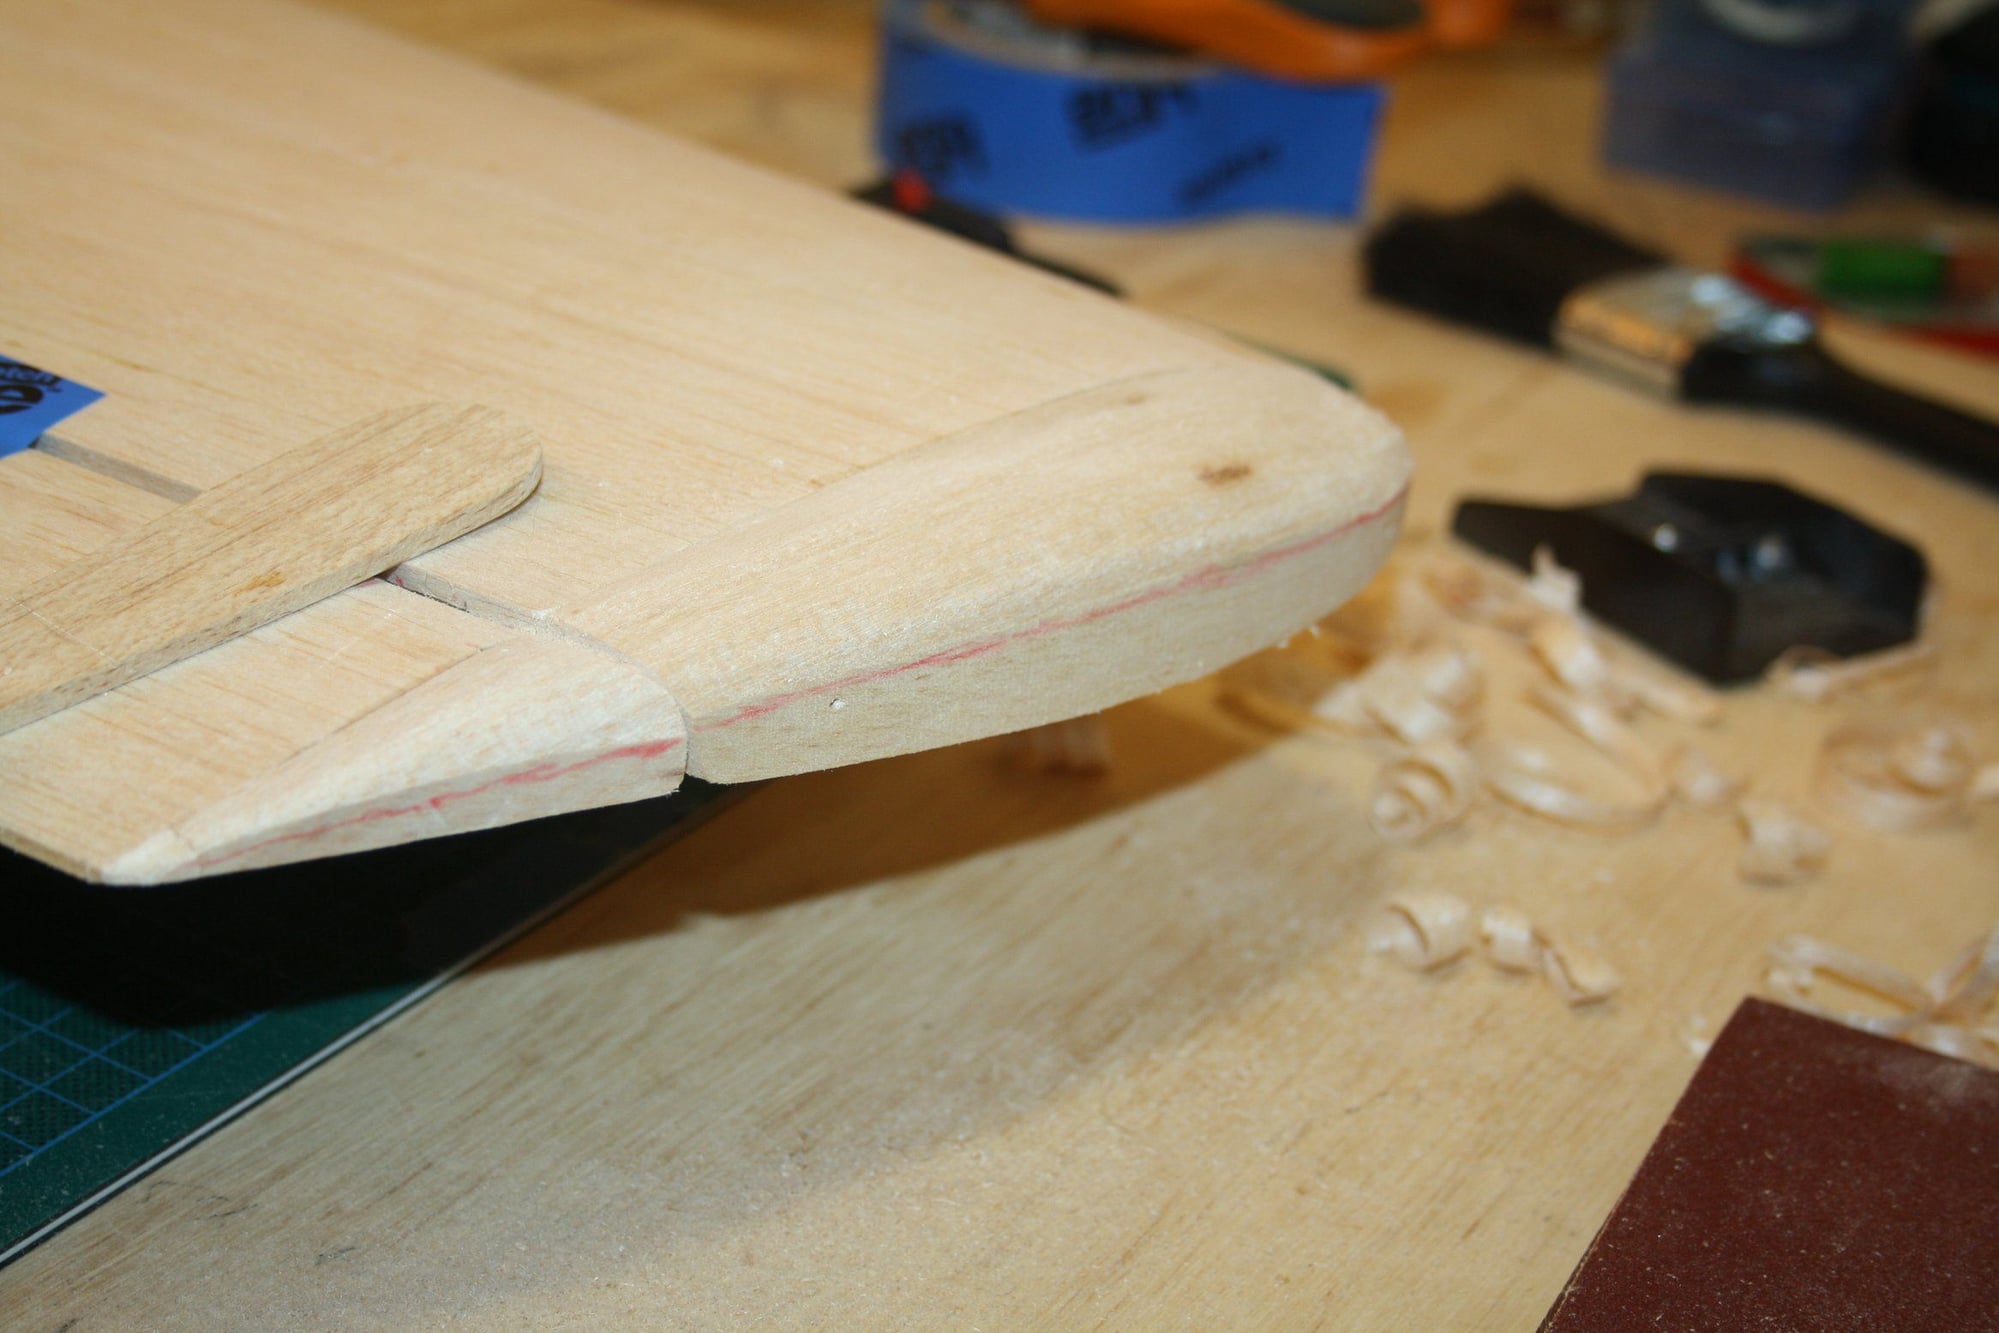
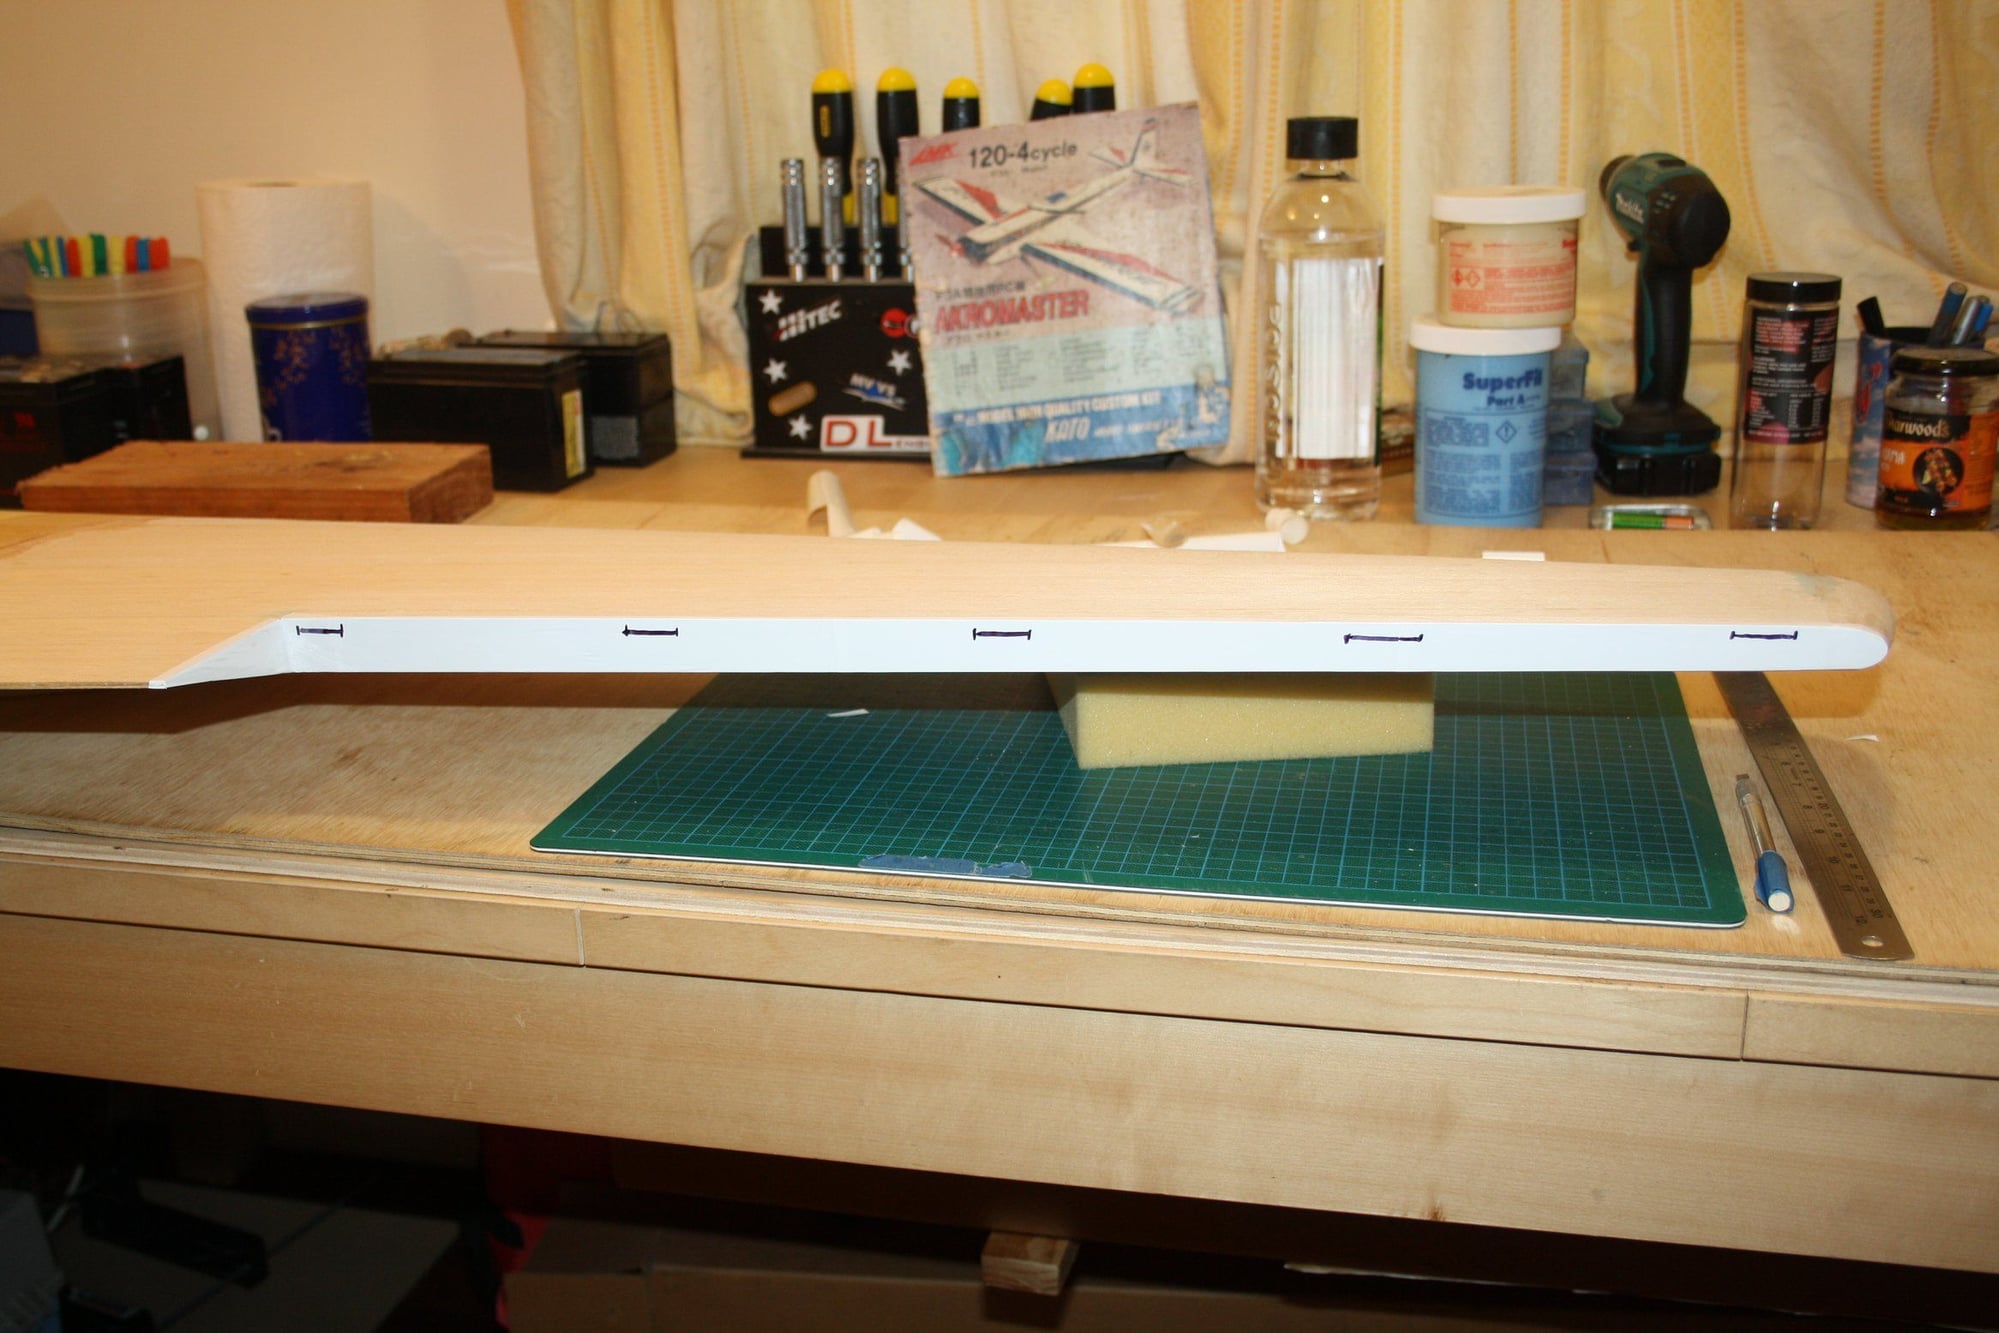
Yesterday, after marking the centre of the LE, I braved the heat (35 Deg Celsius in the shade) and went out to the patio to sand the LE.
After achieving reasonable result on one side, the sticky flies were too much to bear and I retreated defeated to the Cave.


Cheers,
Eran
Yesterday, after marking the centre of the LE, I braved the heat (35 Deg Celsius in the shade) and went out to the patio to sand the LE.
After achieving reasonable result on one side, the sticky flies were too much to bear and I retreated defeated to the Cave.
Cheers,
Eran
12-25-2019, 10:46 PM
#7
Thread Starter
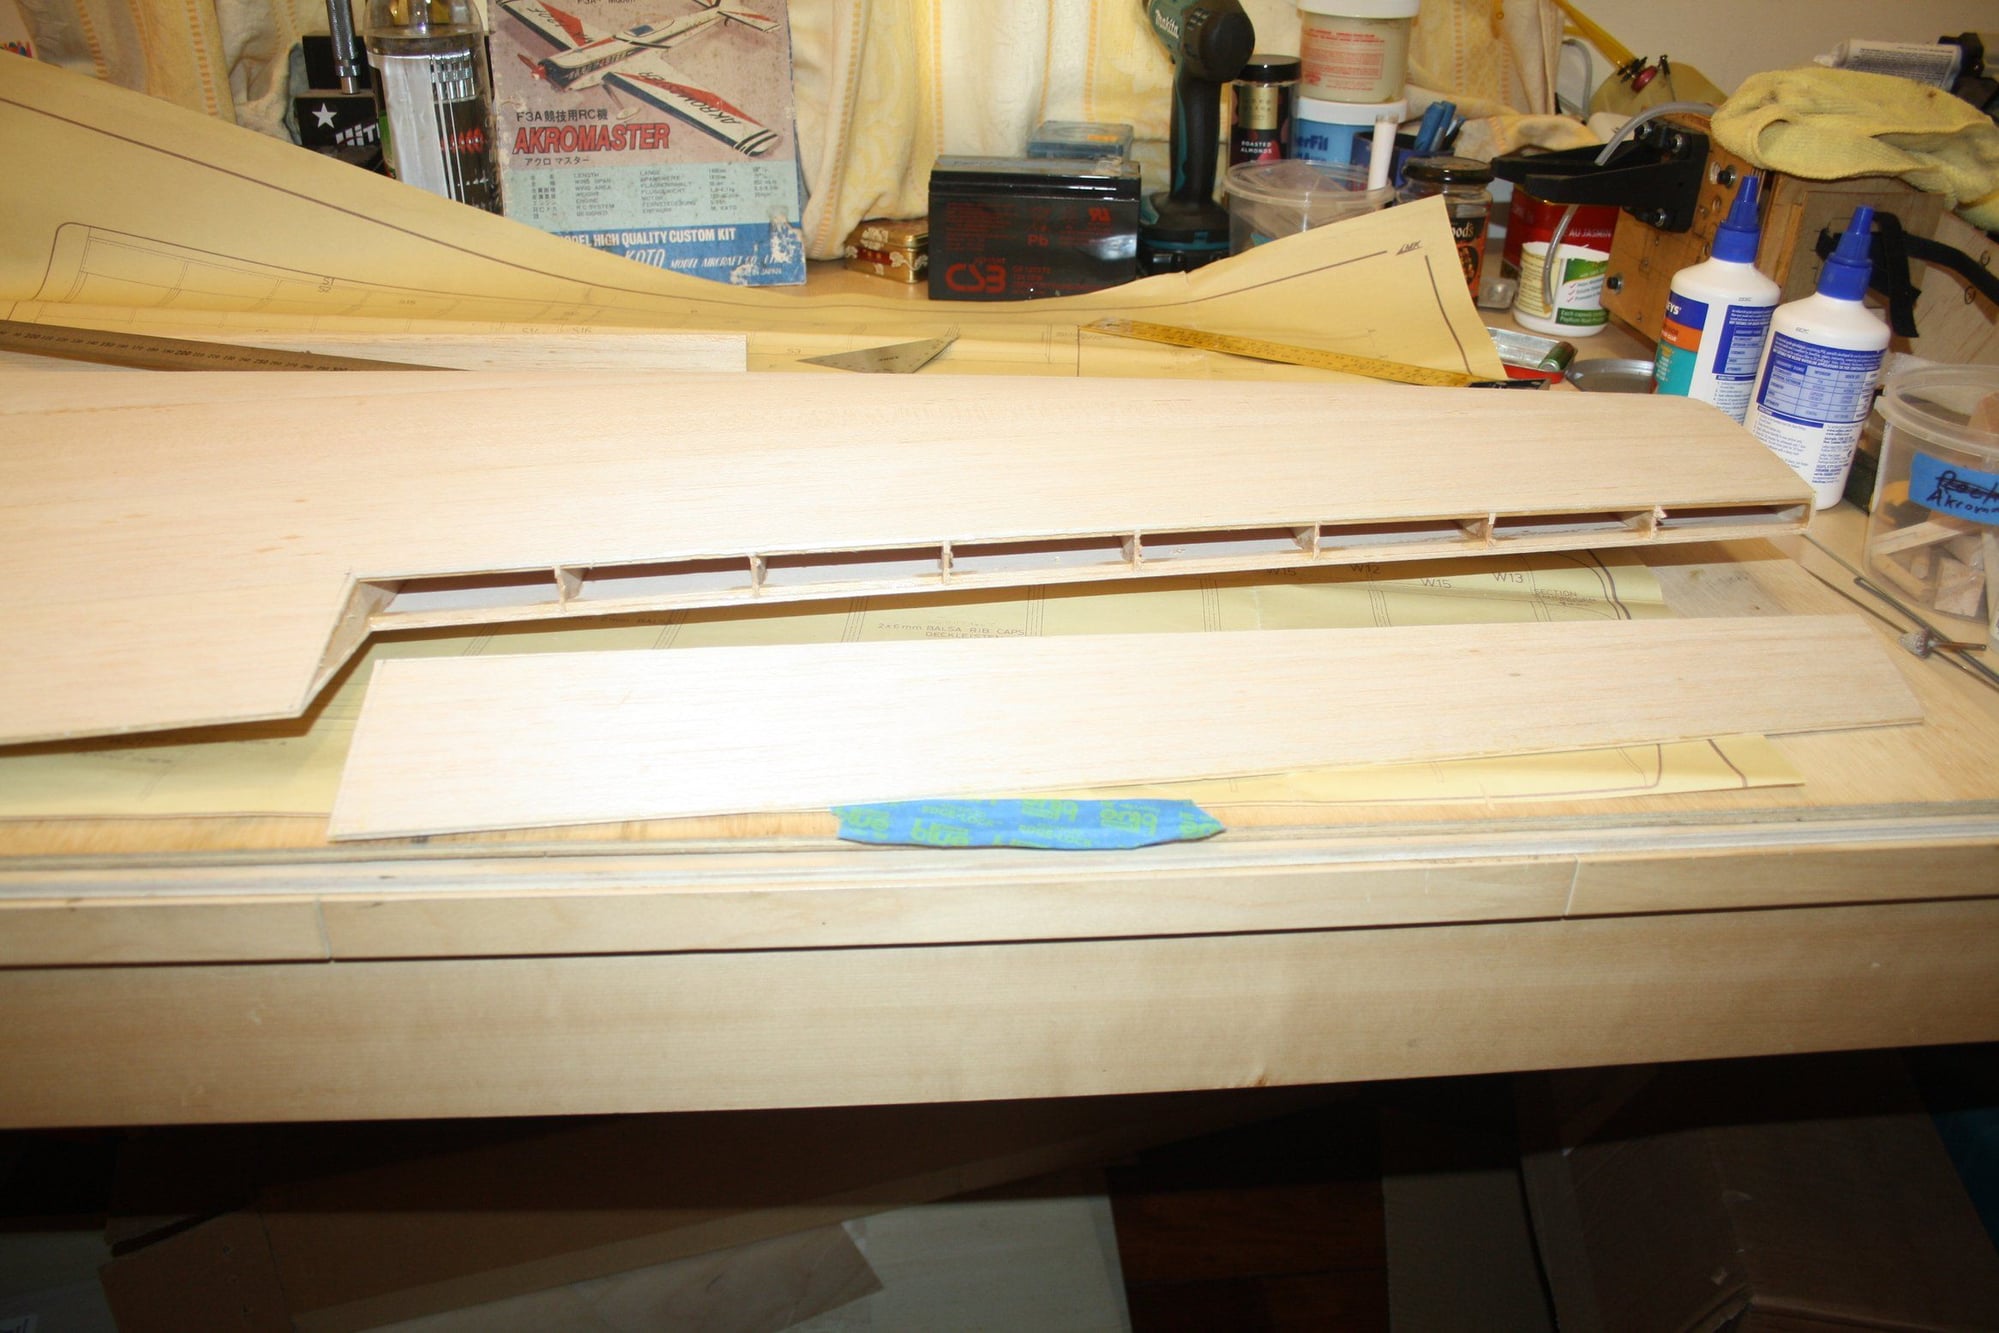
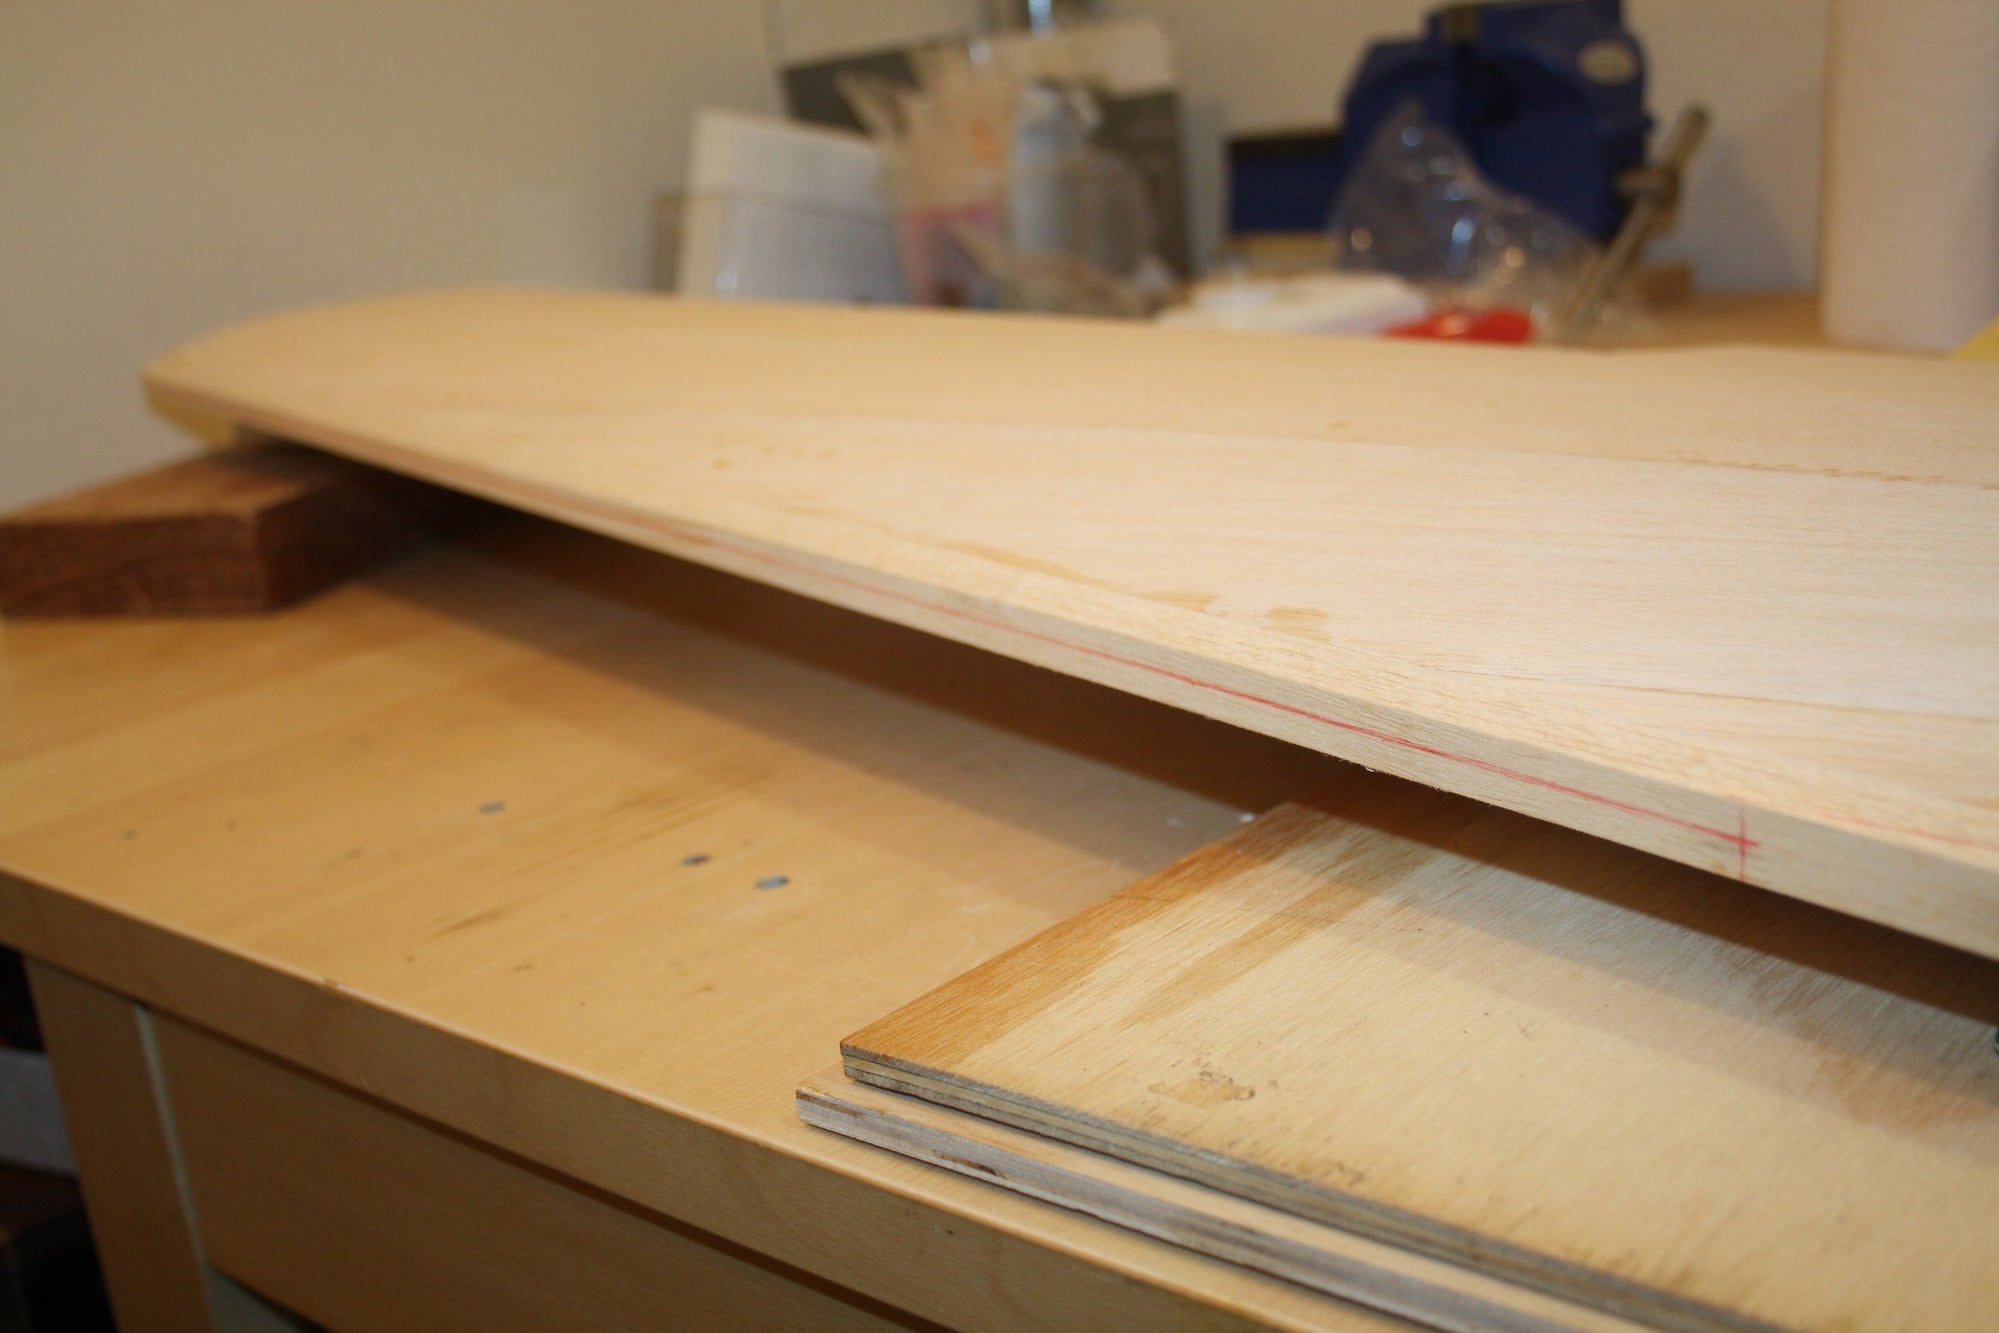
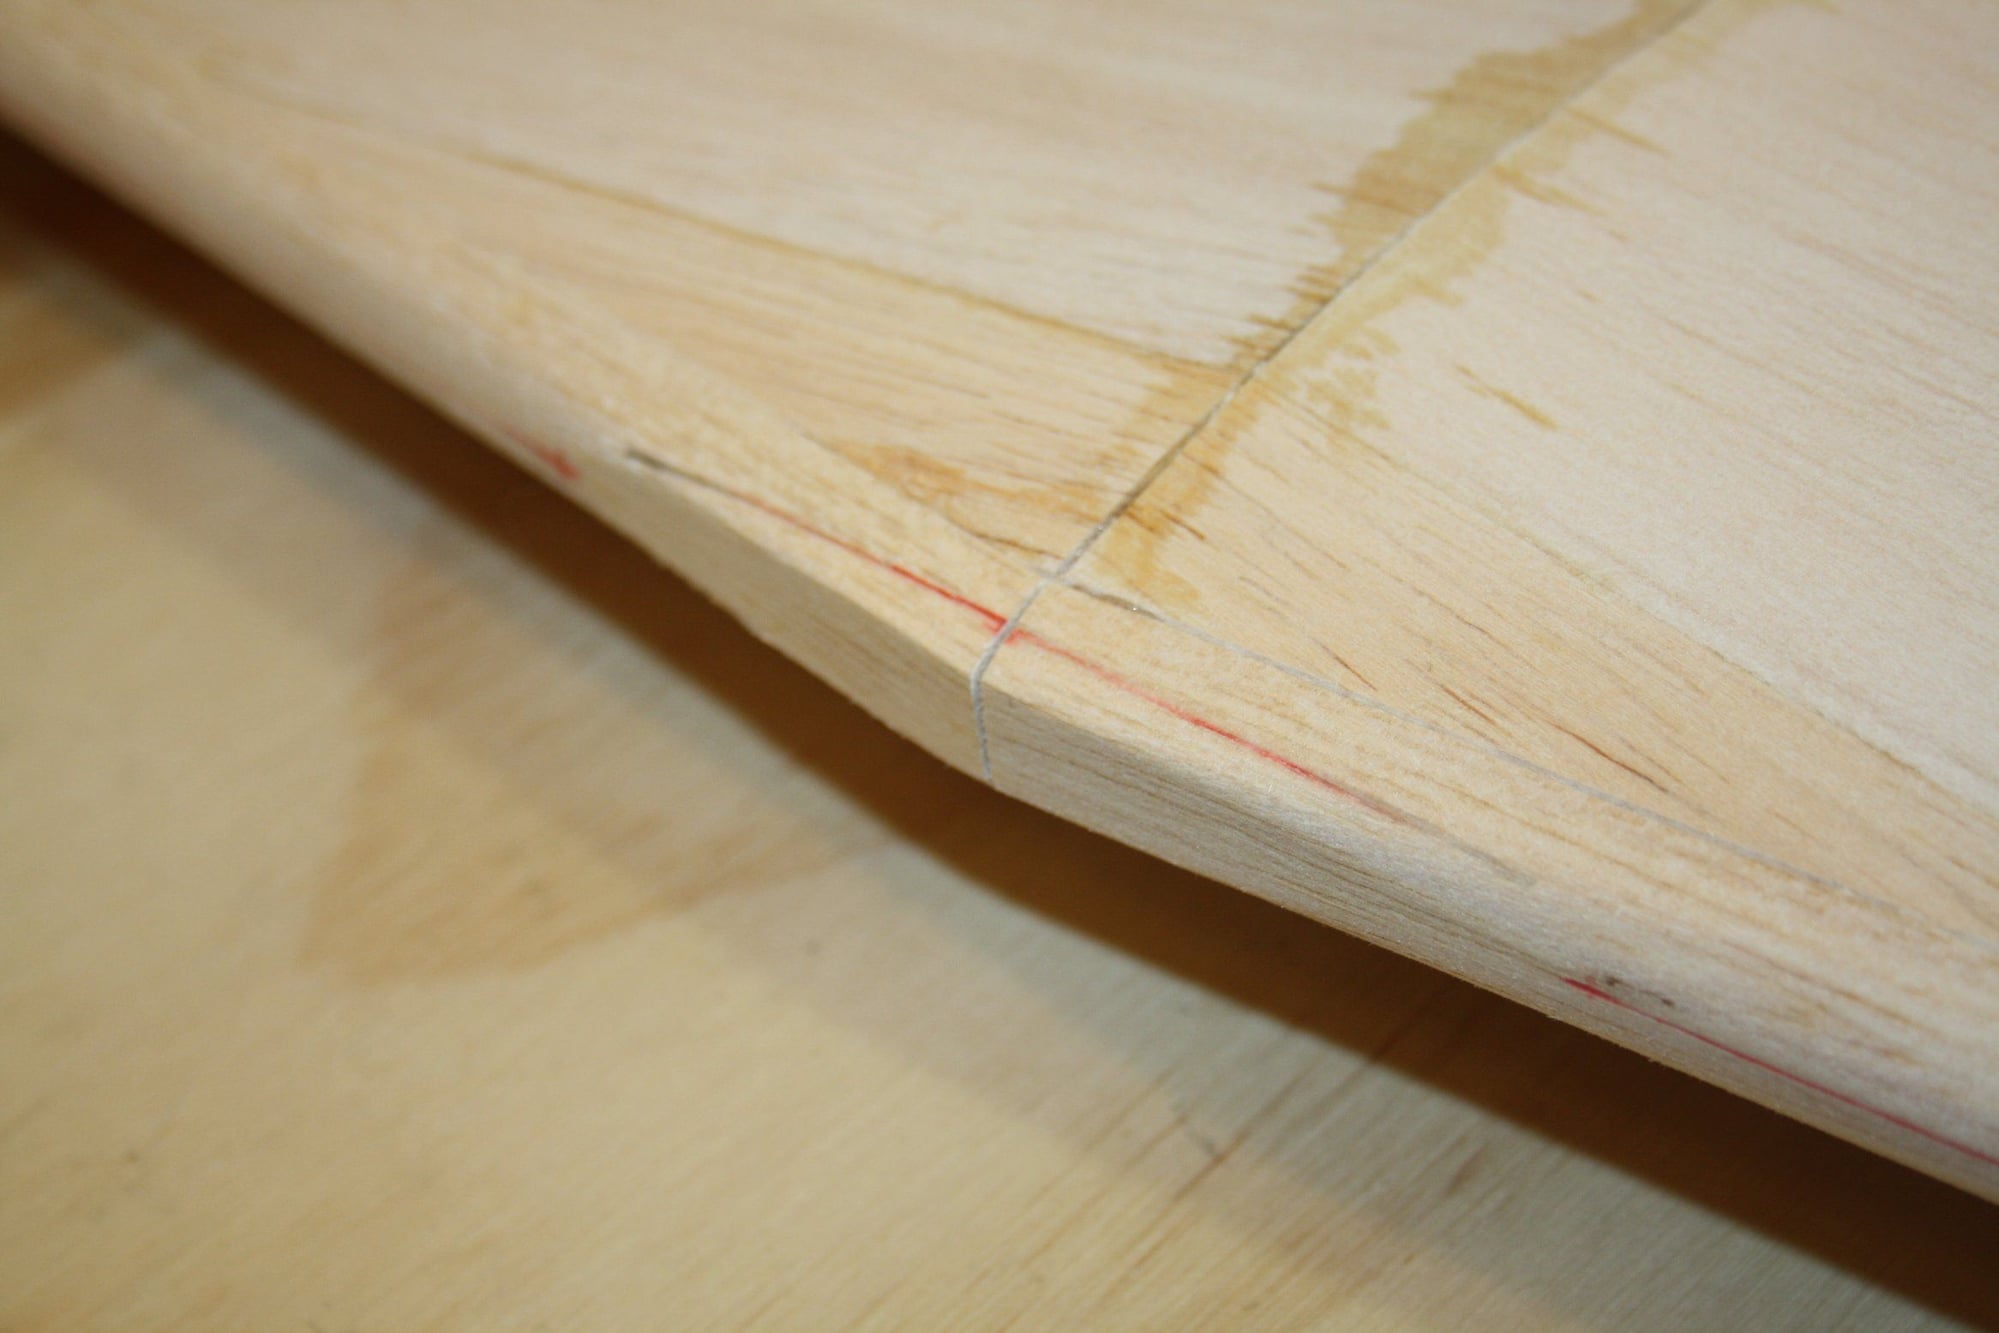
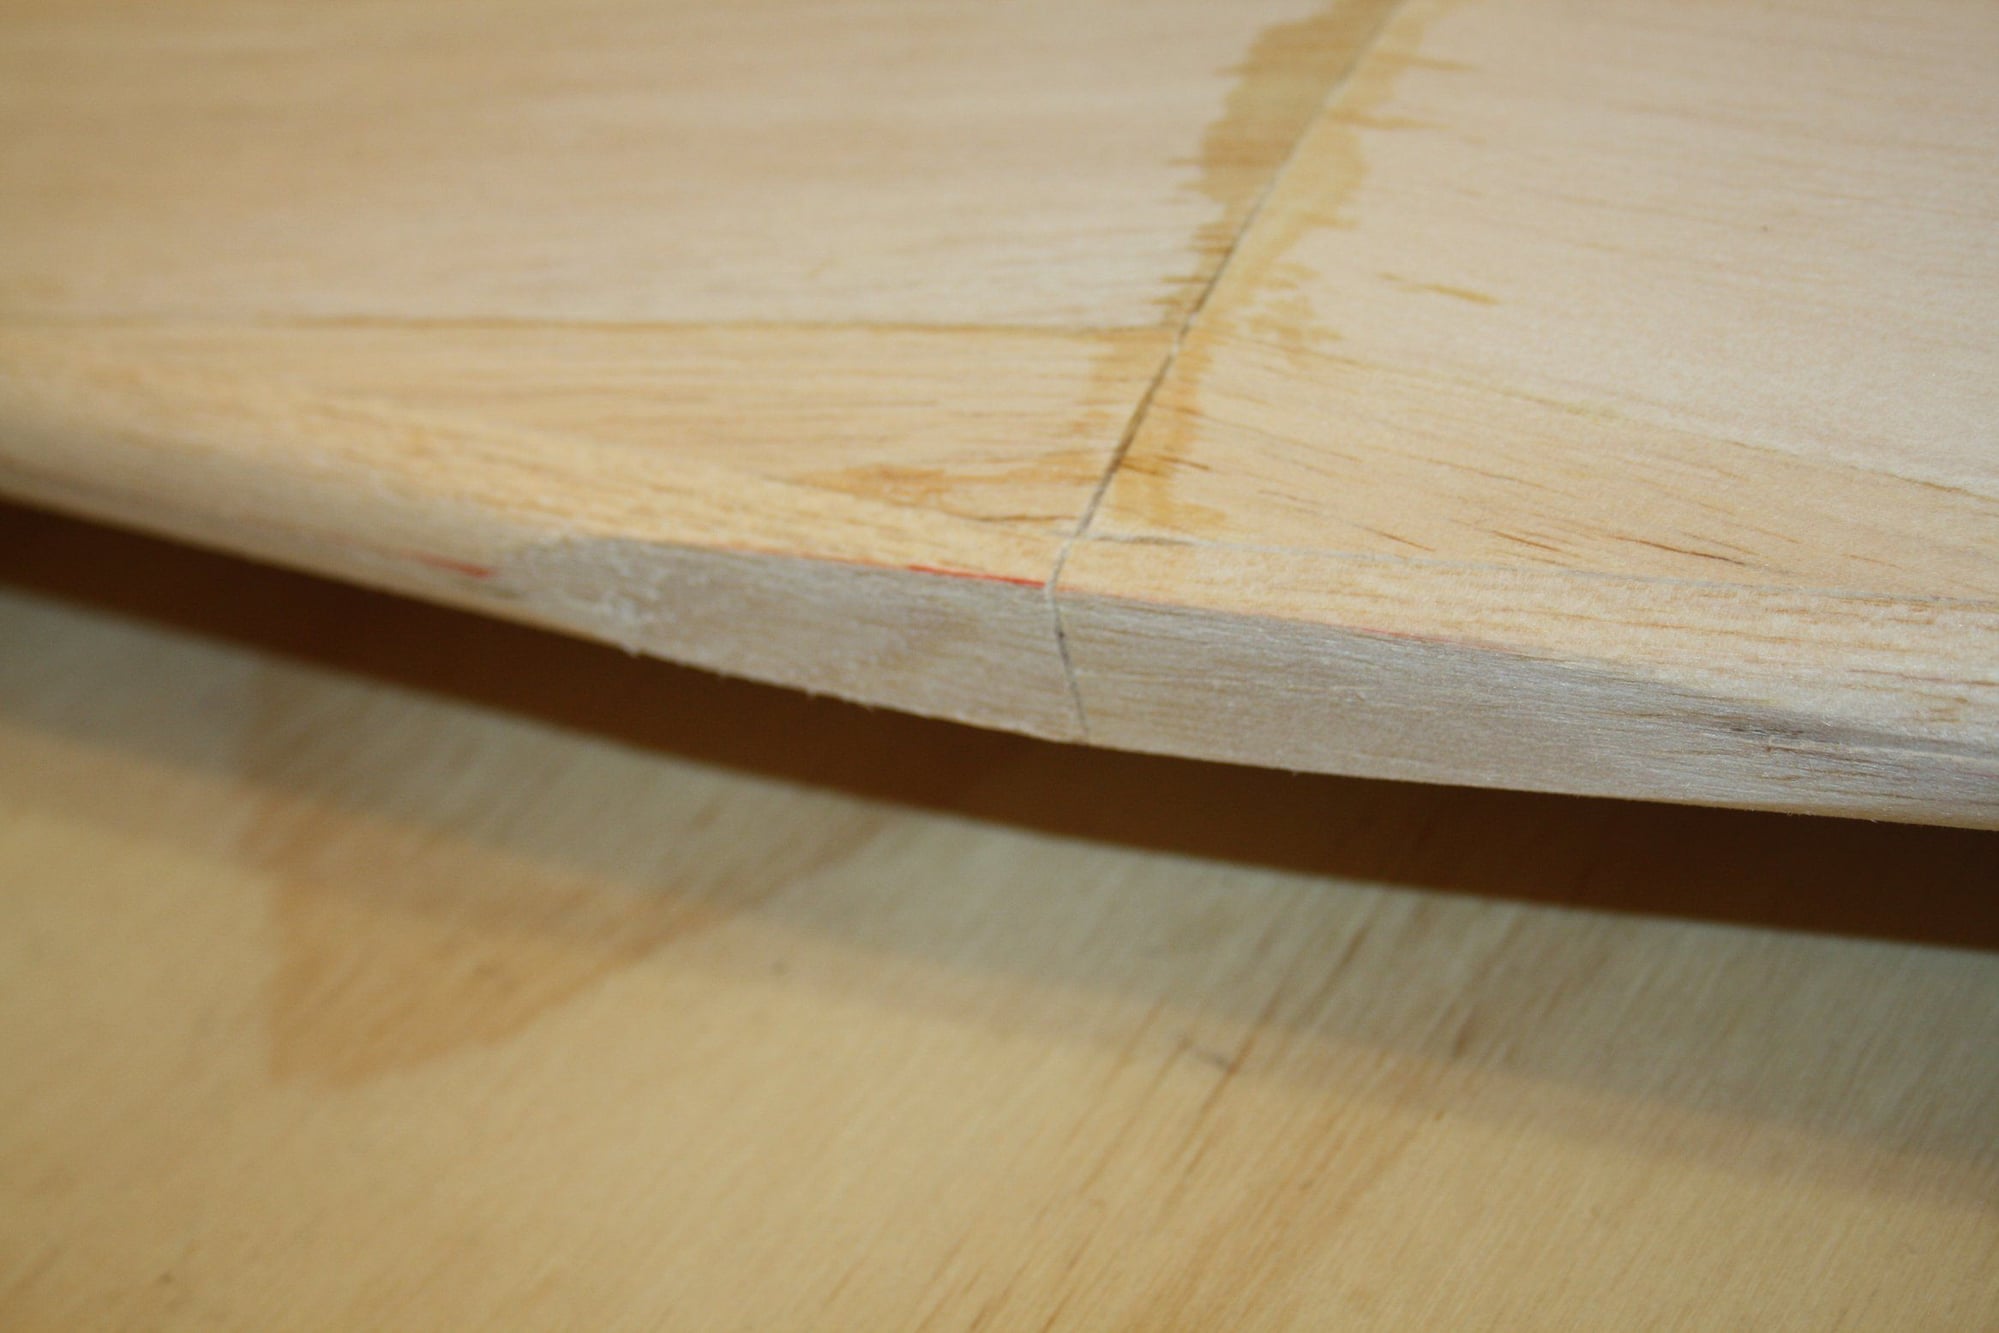
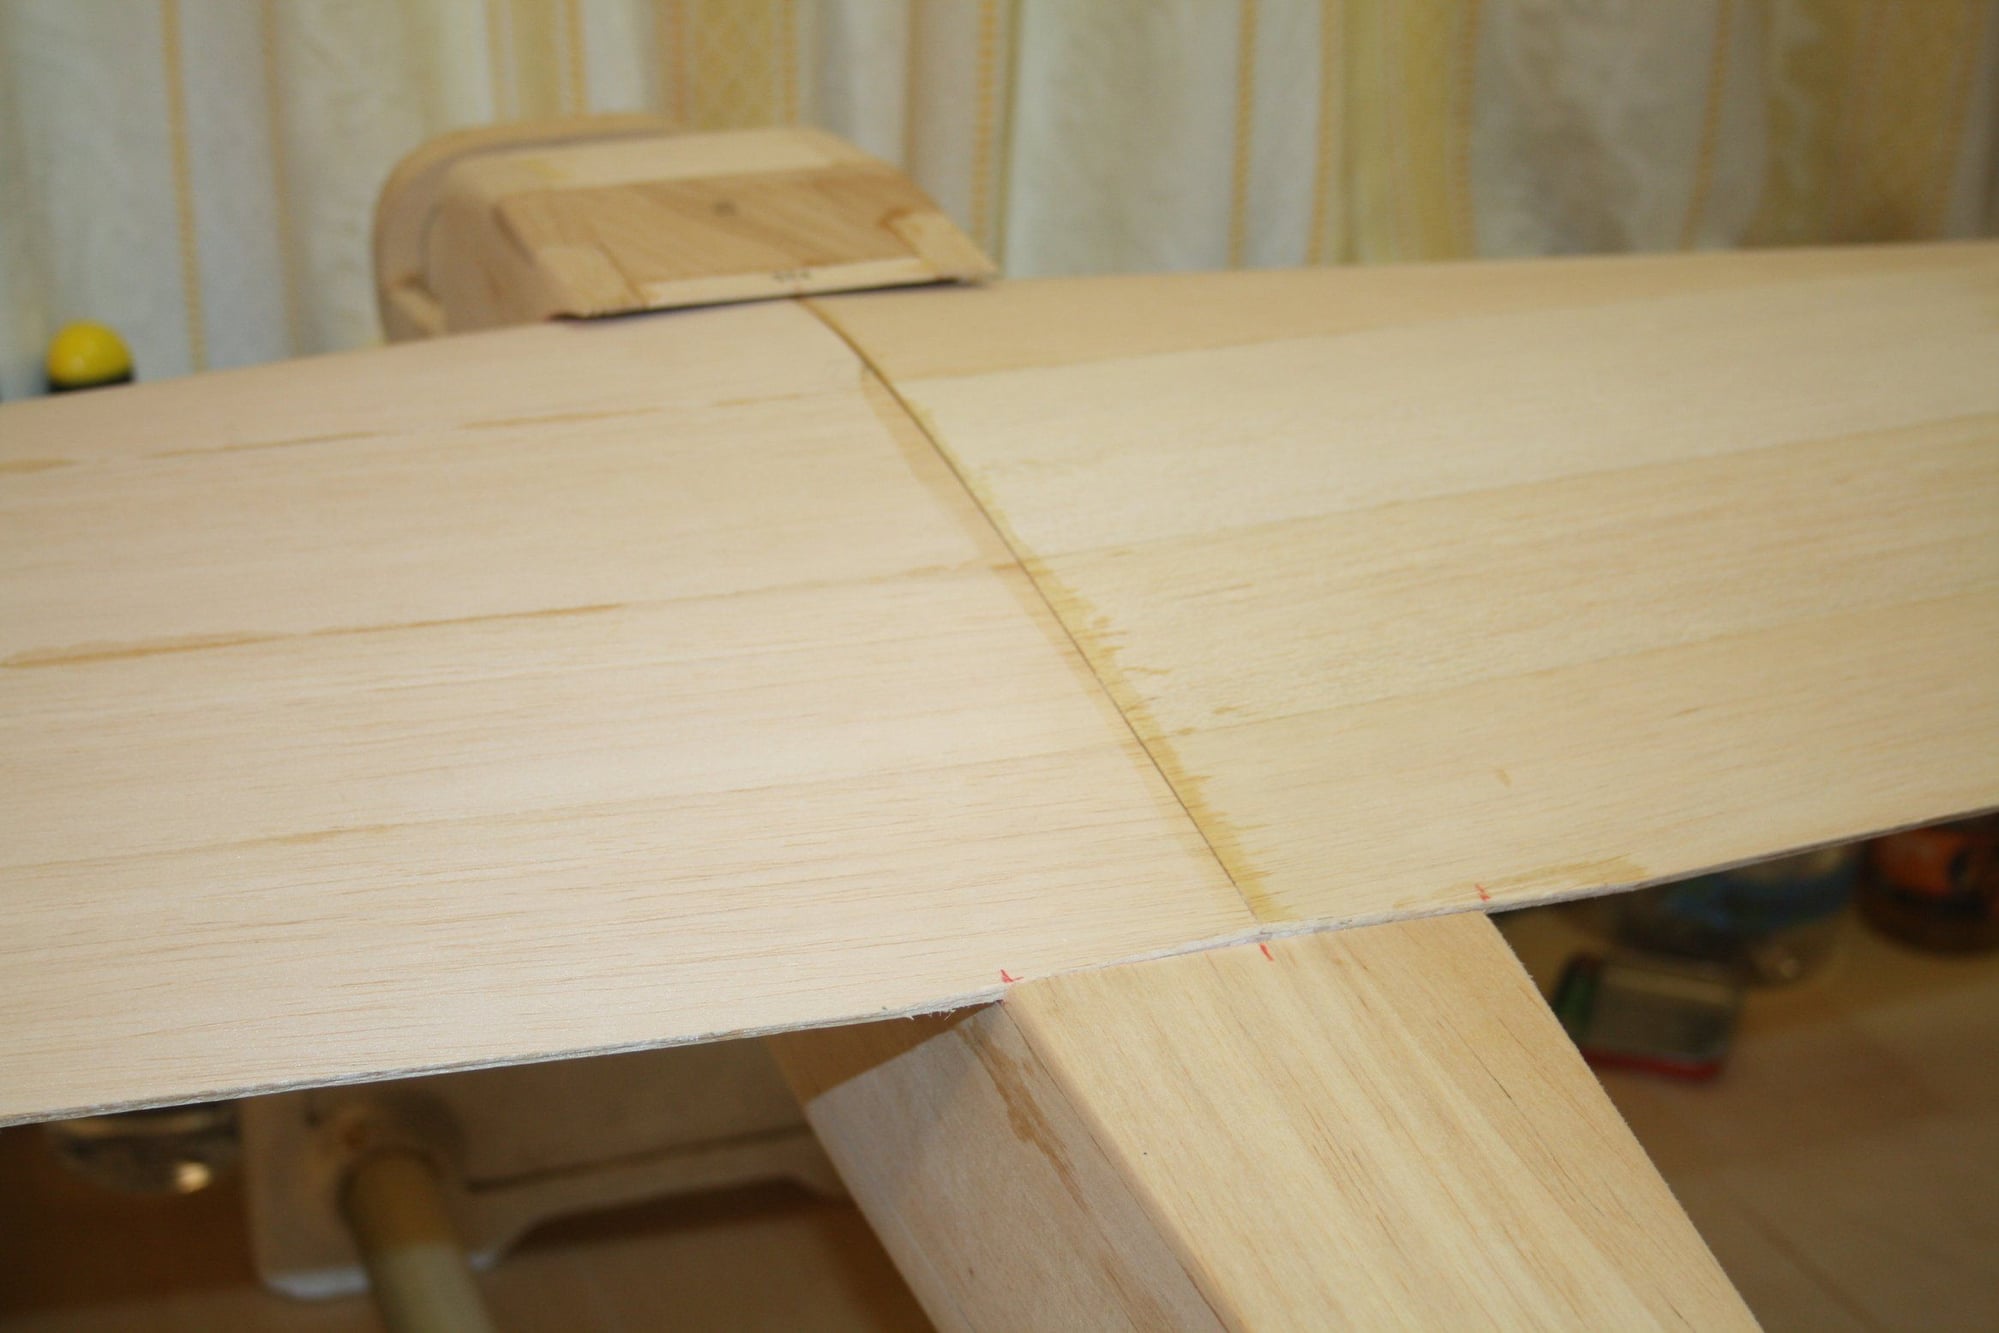
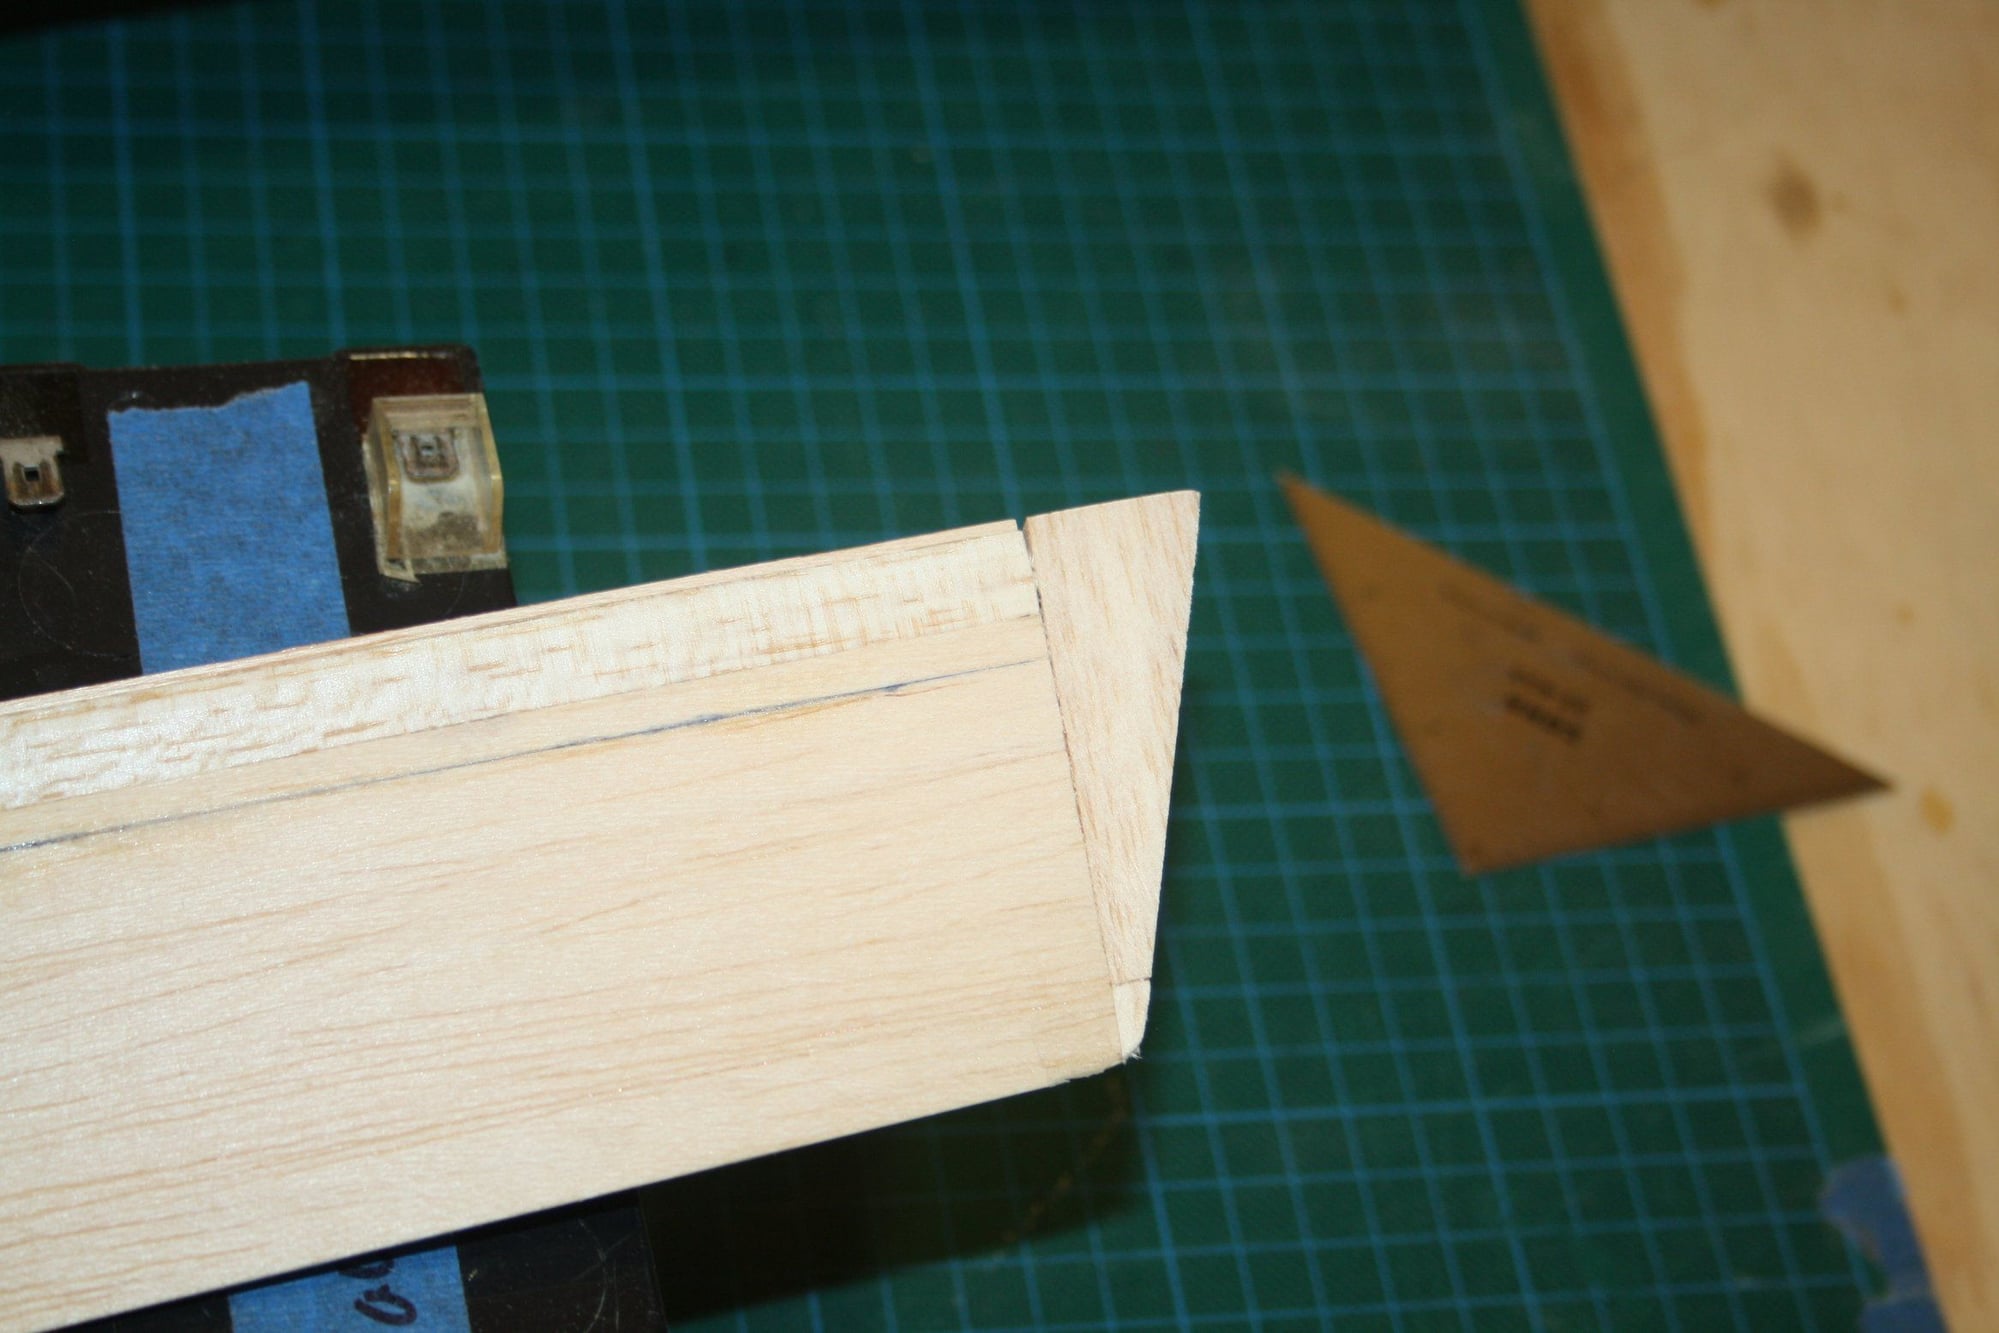
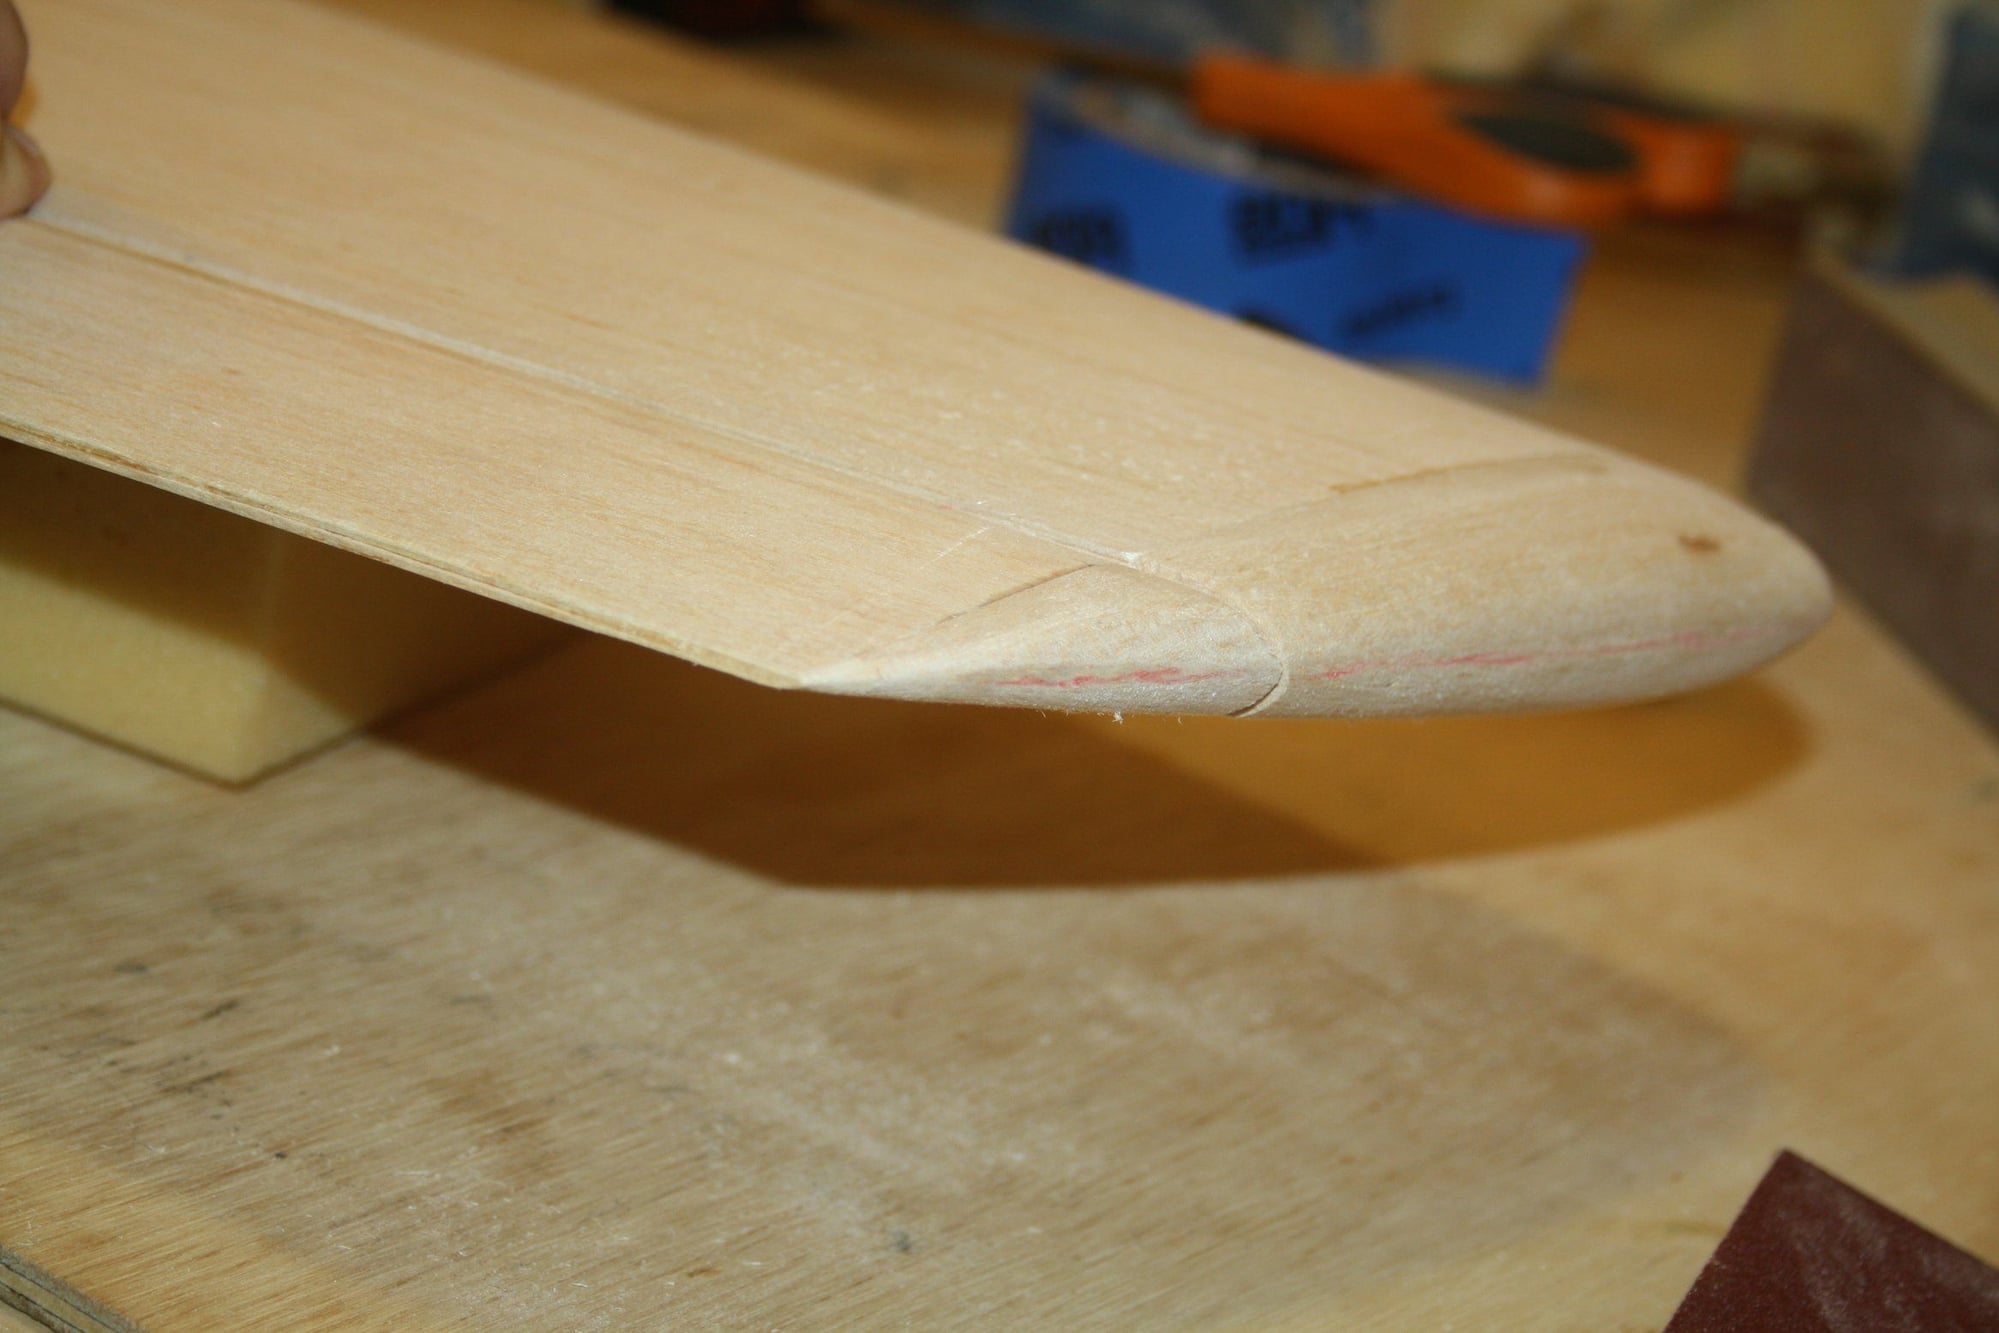
Not a lot of work yesterday (Christmas Day).
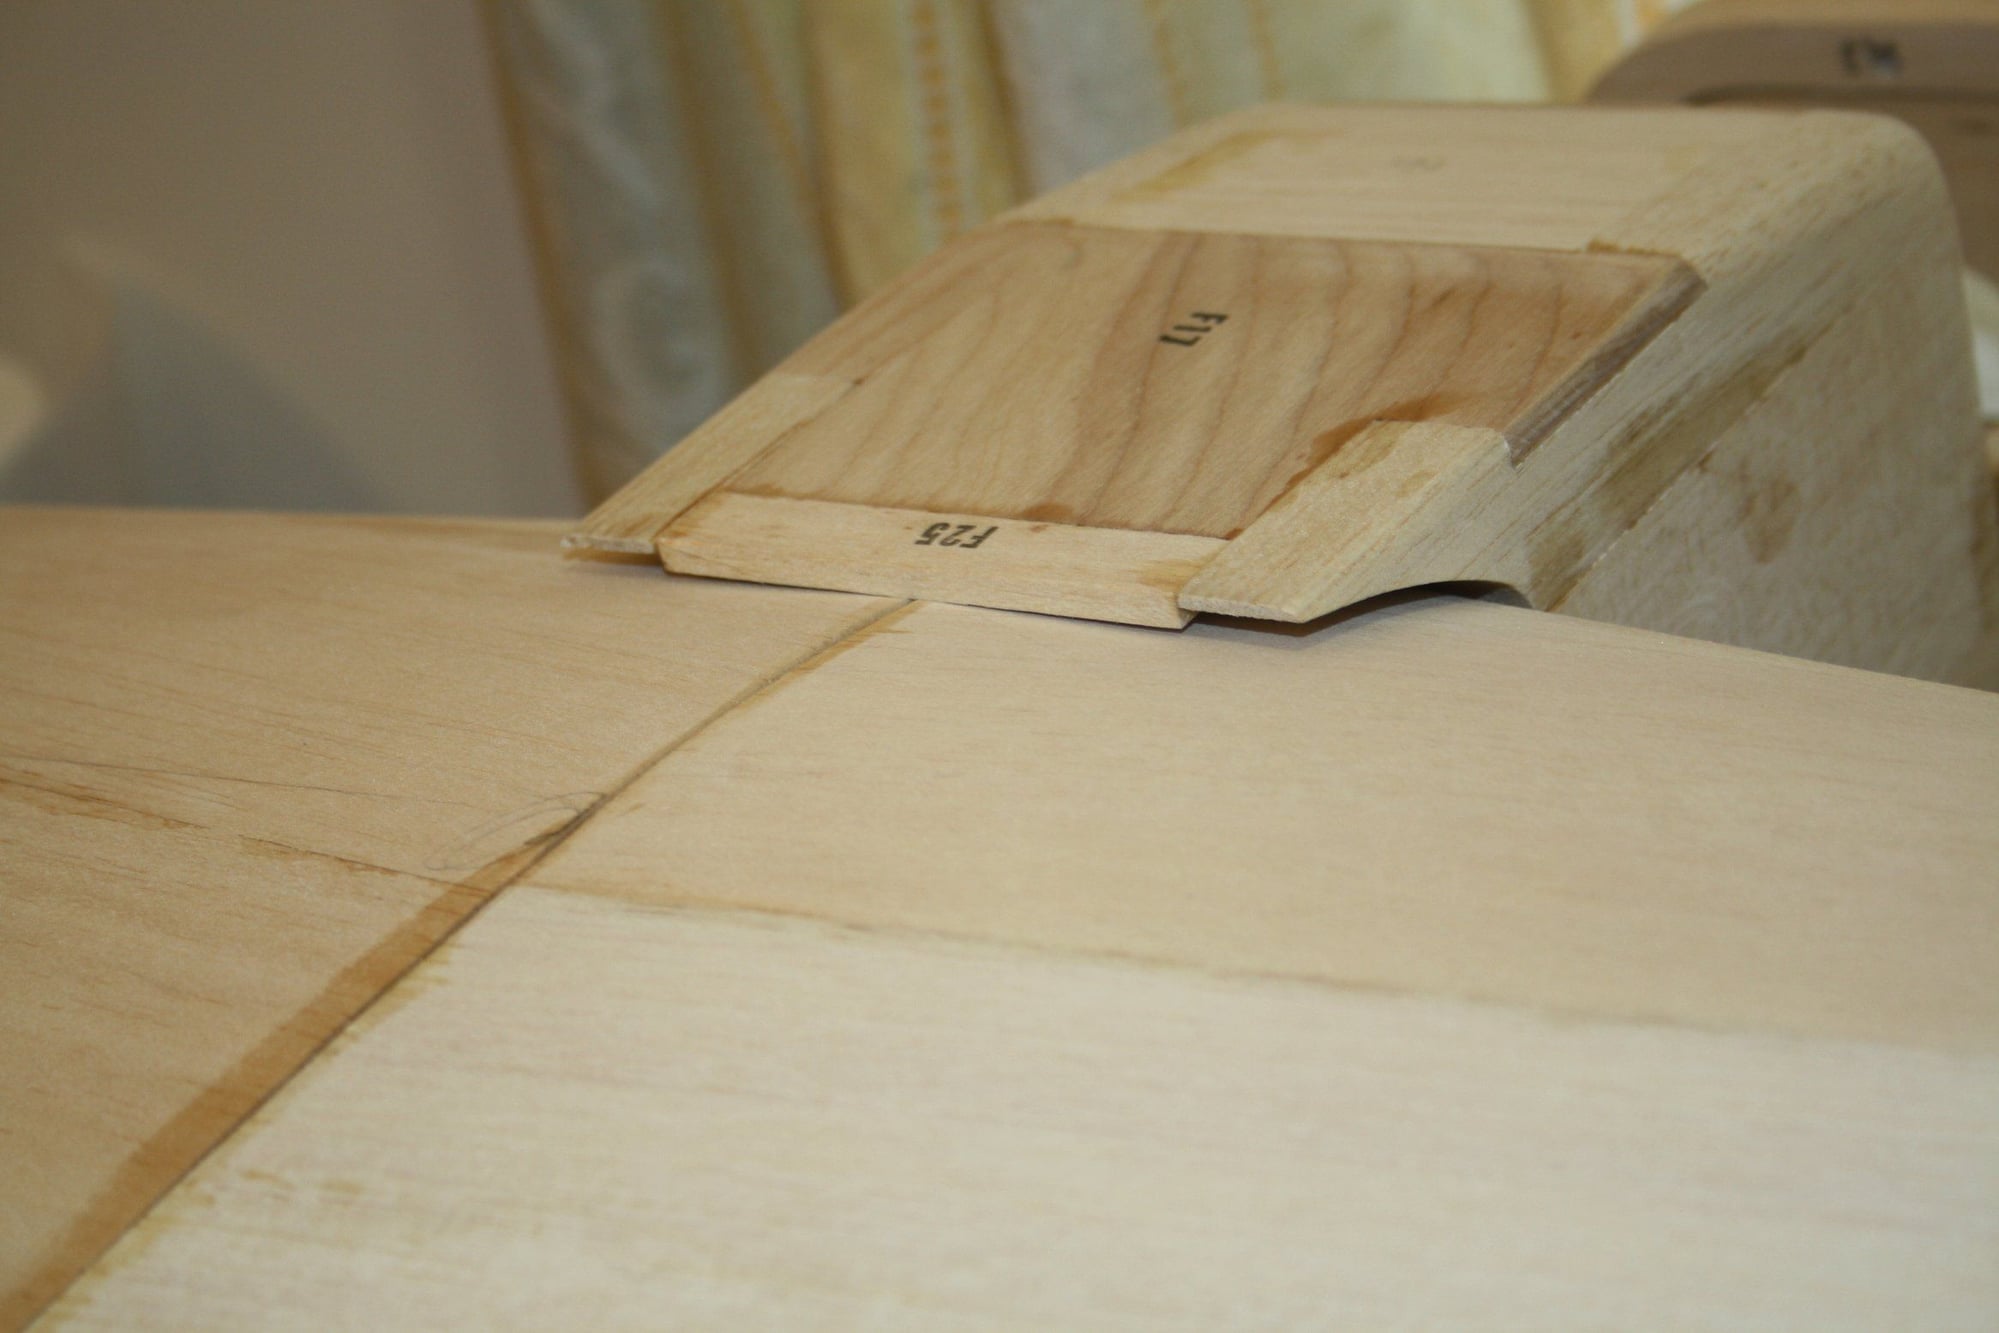
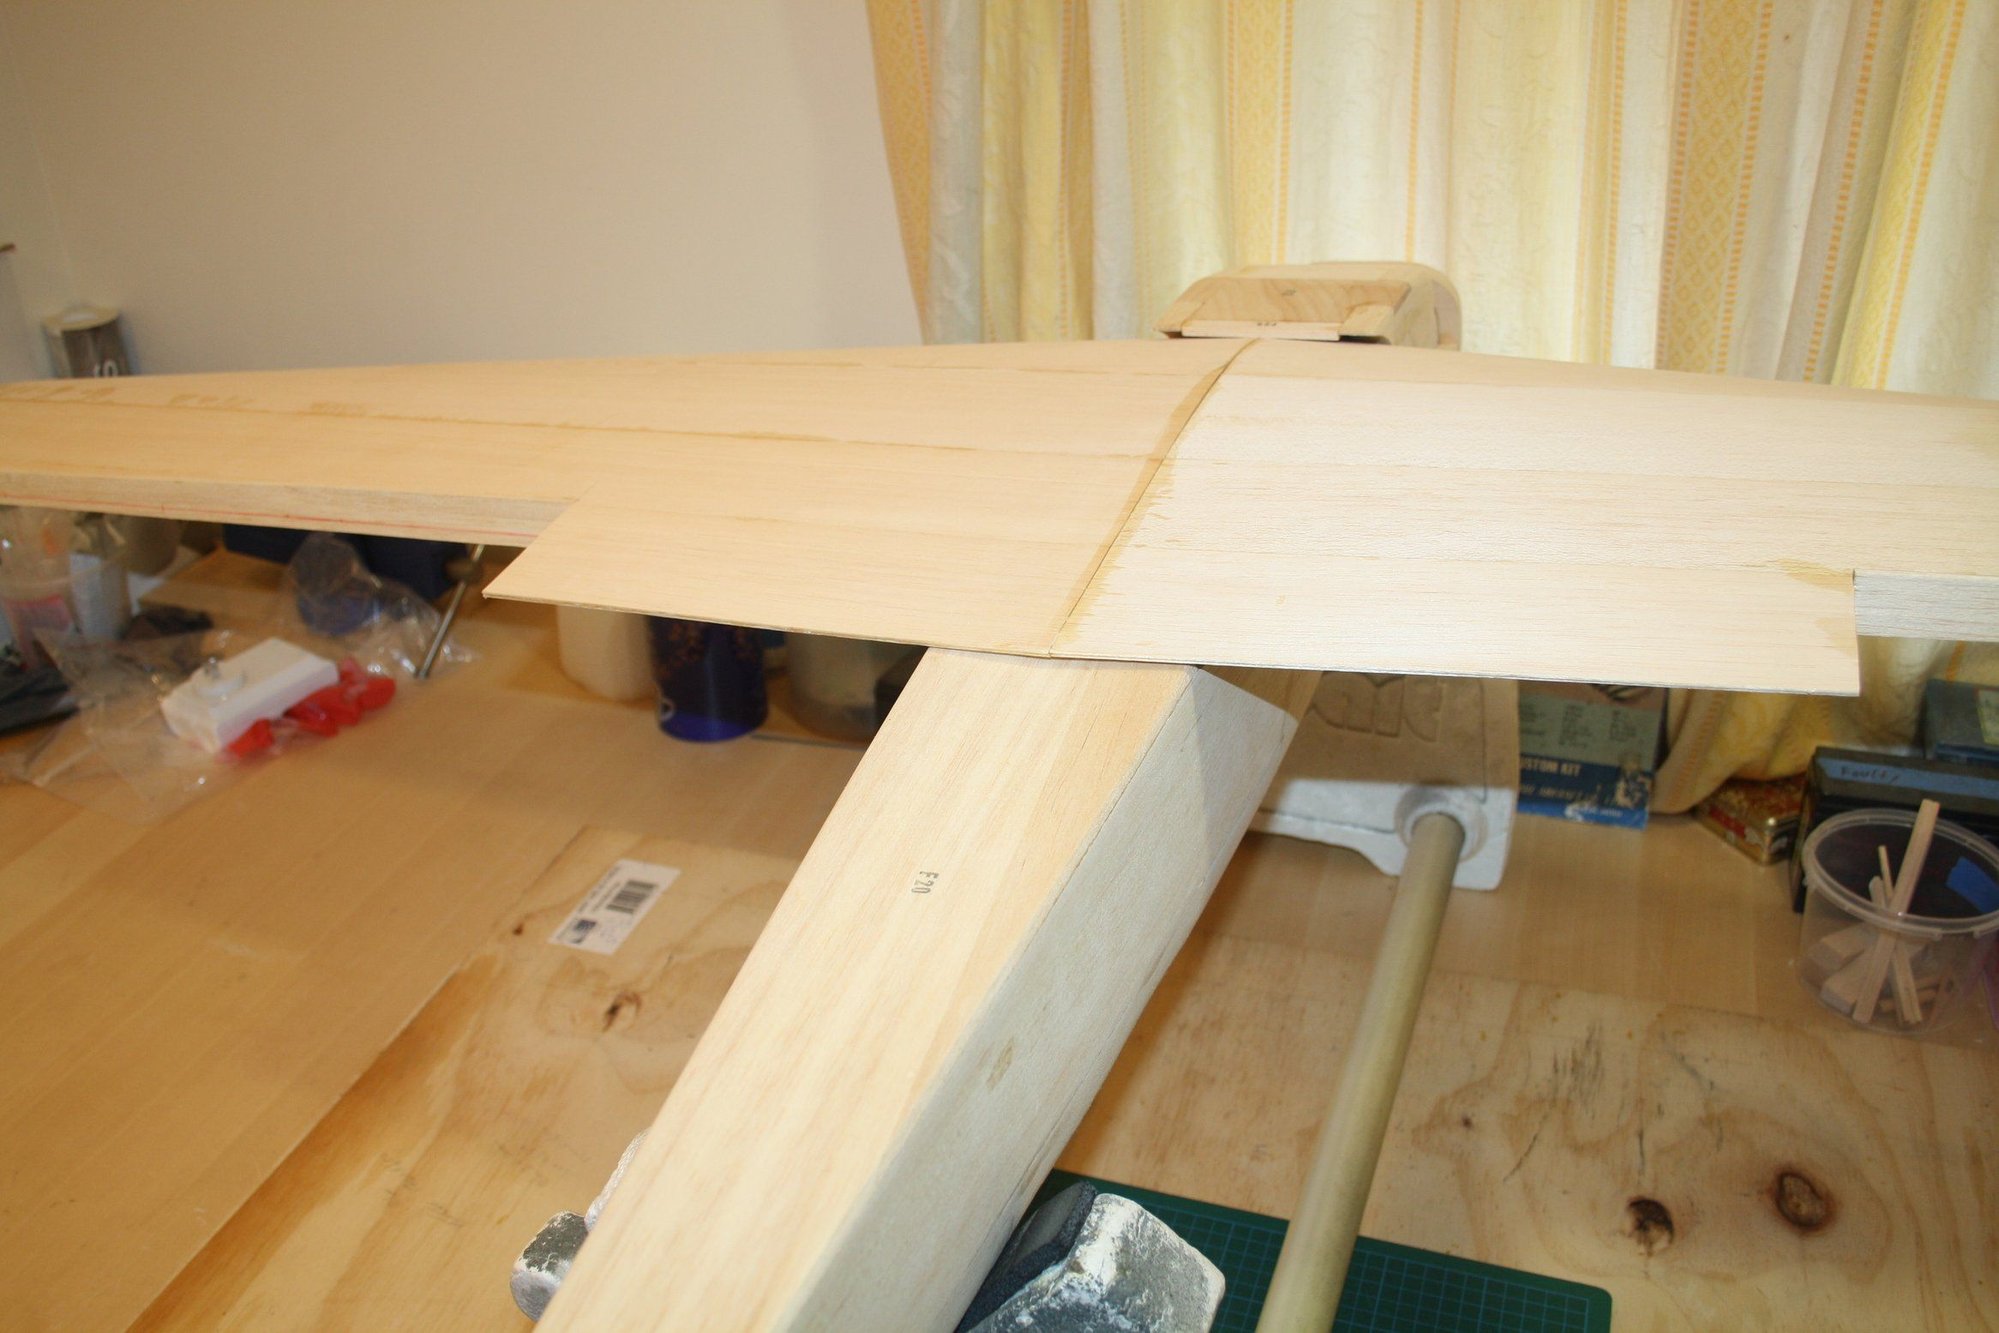
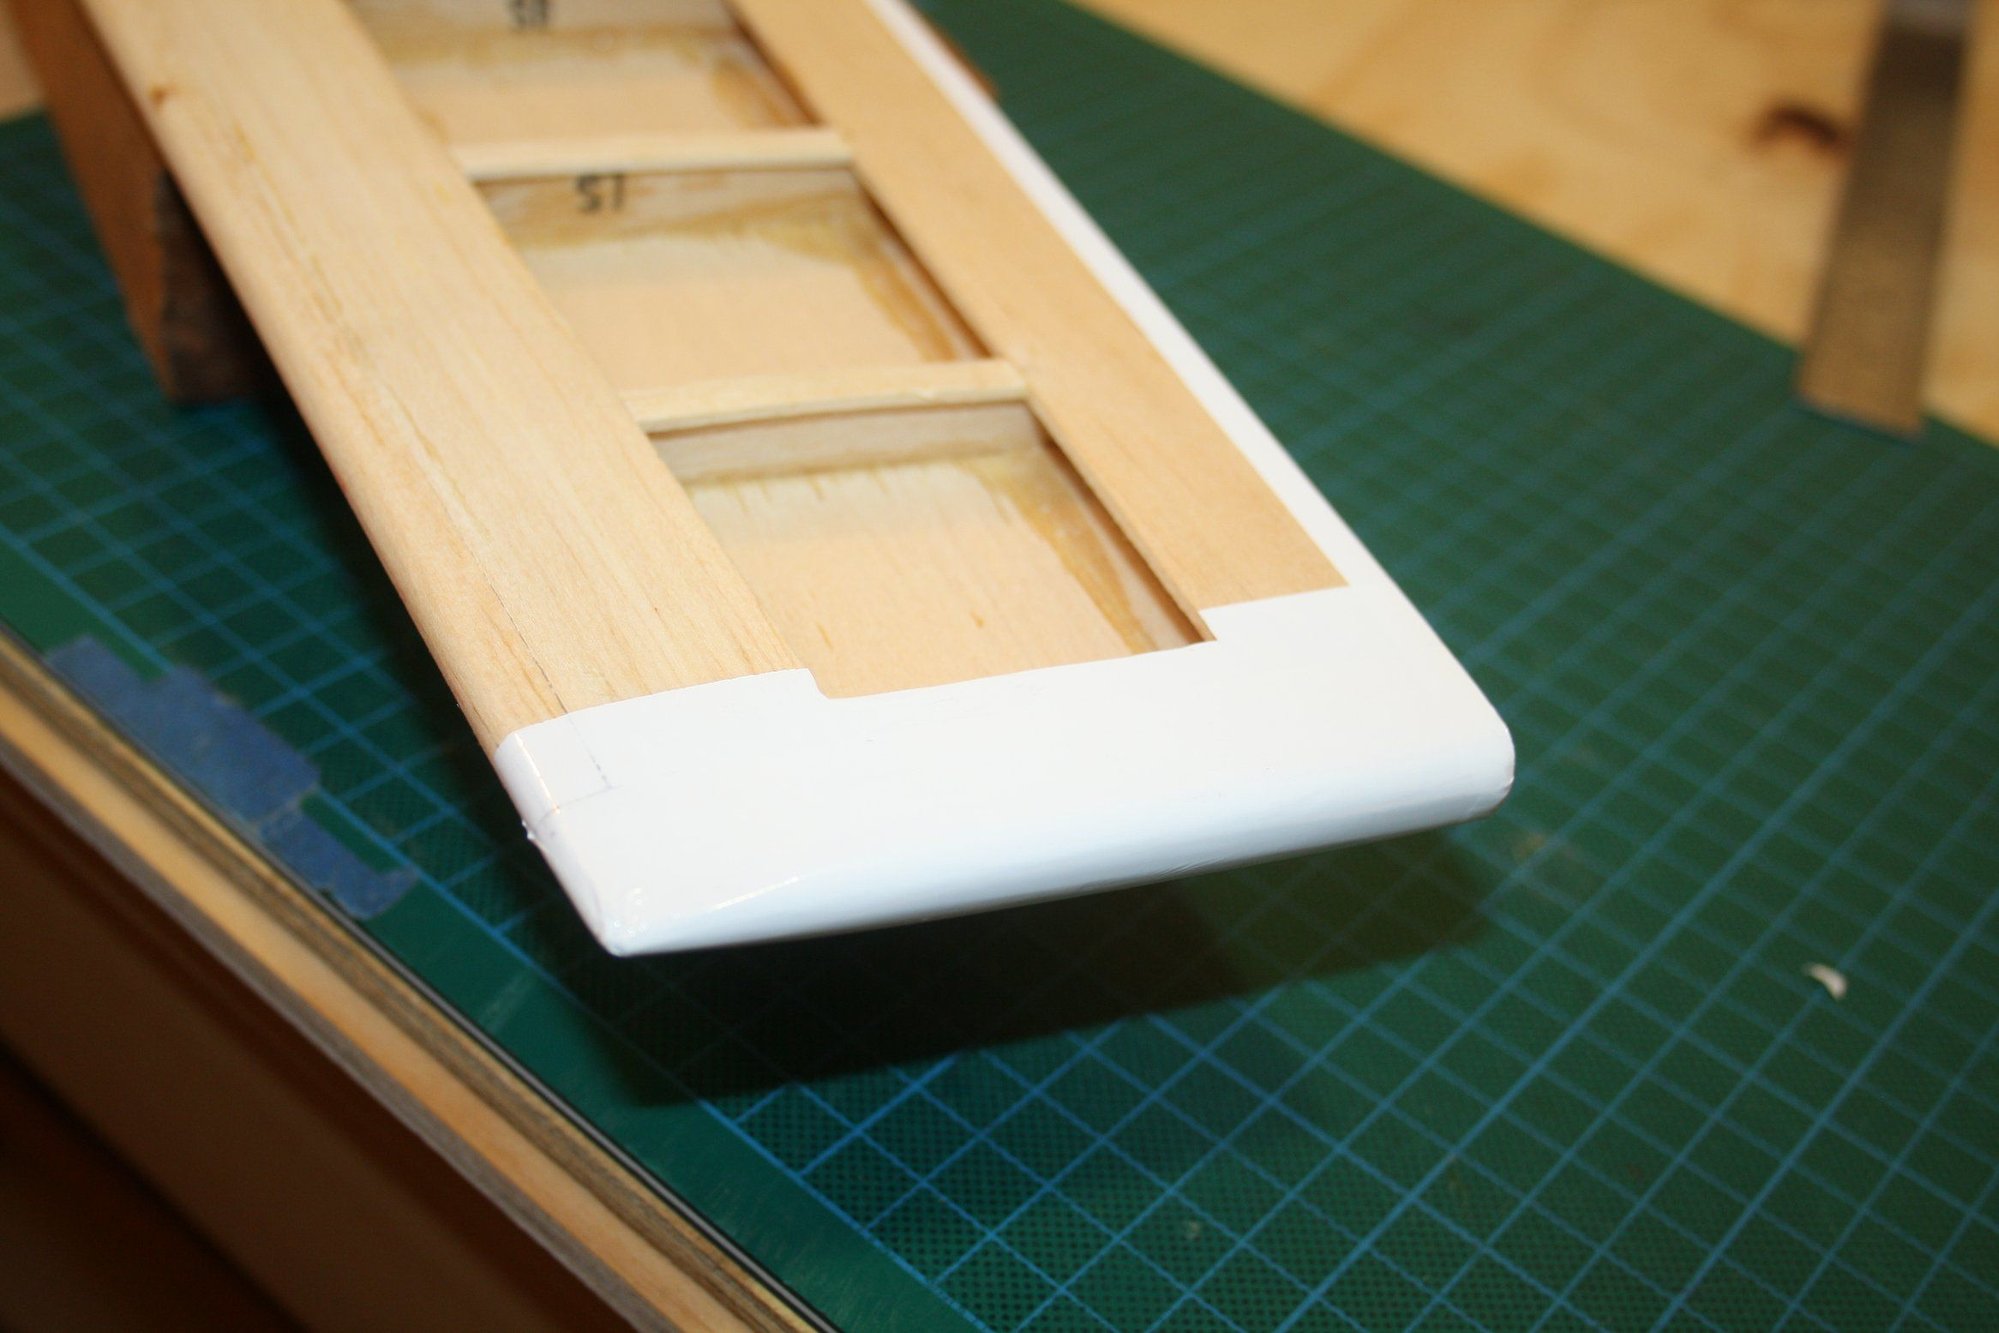
I did a preliminary check of the wing fit after trimming the LE at the centre. As can be seen, the TE needed adjustment as well (as per plans), as will be the centre section used for fairing the wing.

Cheers,
Eran
I did a preliminary check of the wing fit after trimming the LE at the centre. As can be seen, the TE needed adjustment as well (as per plans), as will be the centre section used for fairing the wing.
Cheers,
Eran
12-25-2019, 10:59 PM
#8
Thread Starter
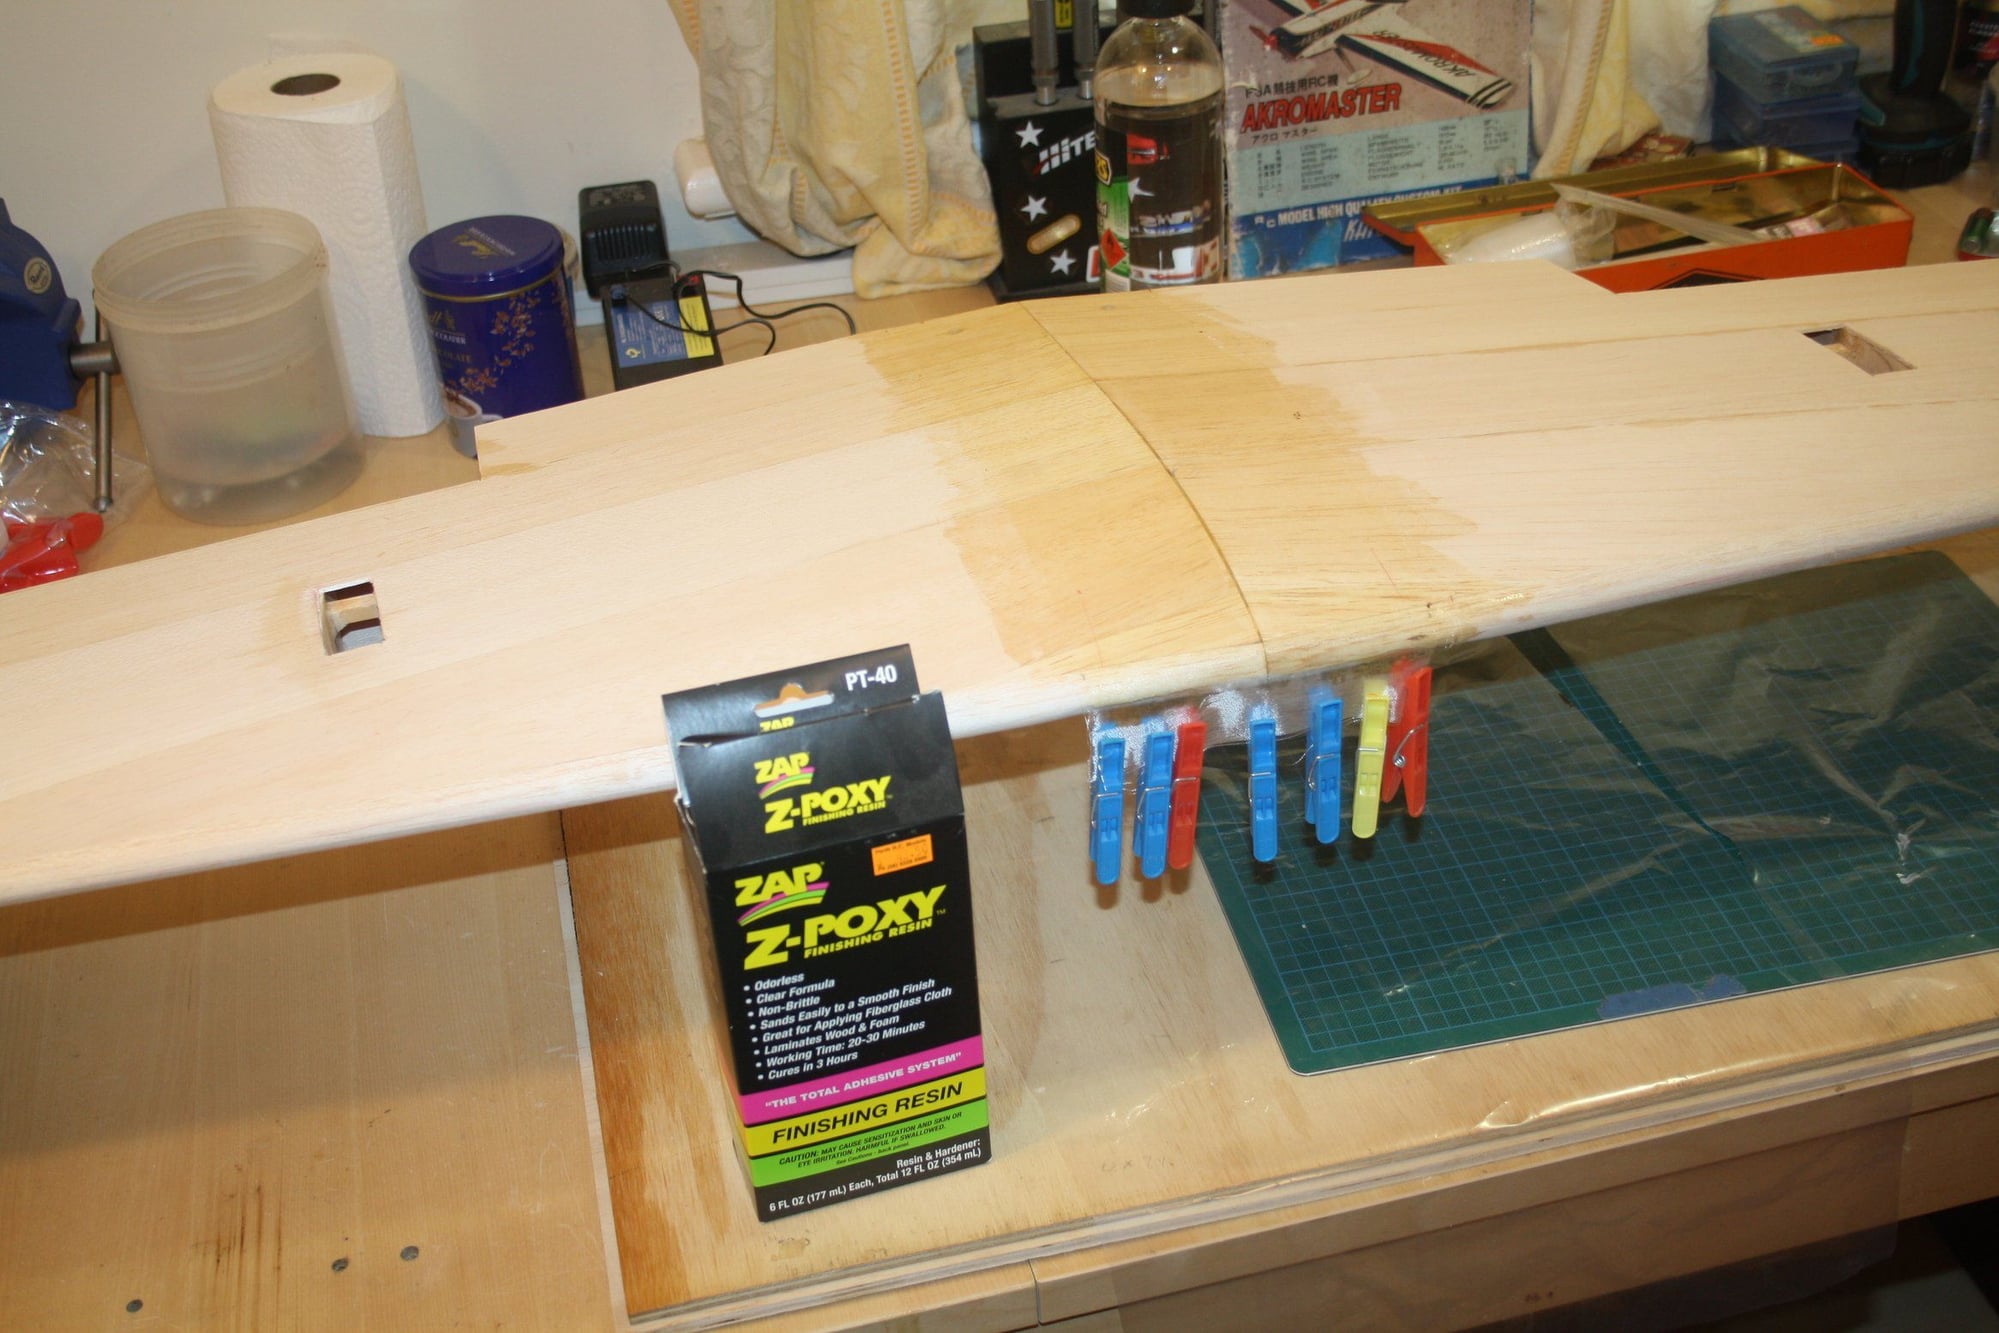
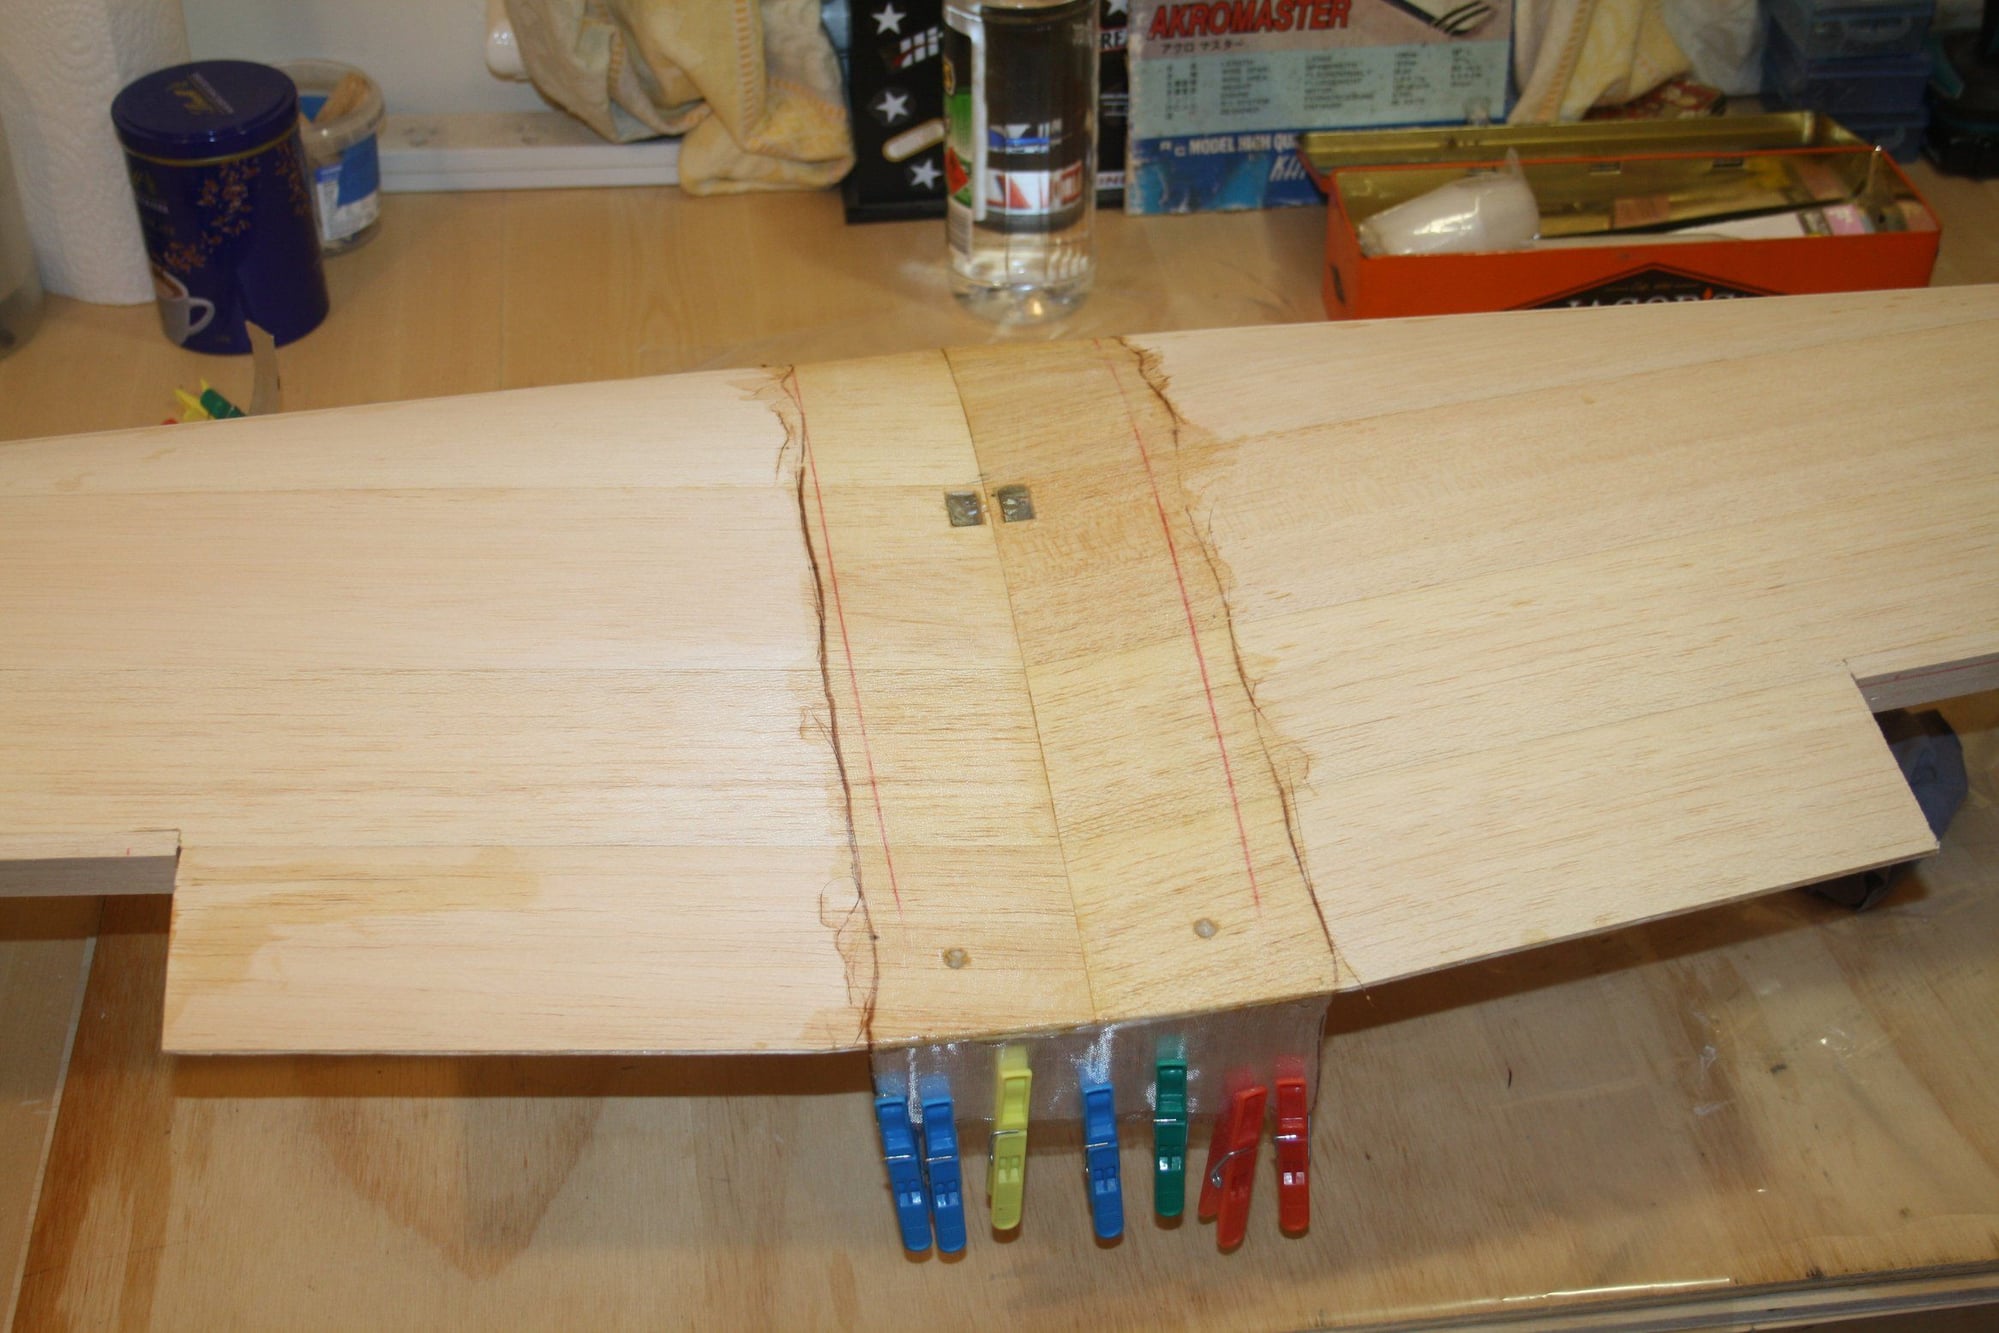
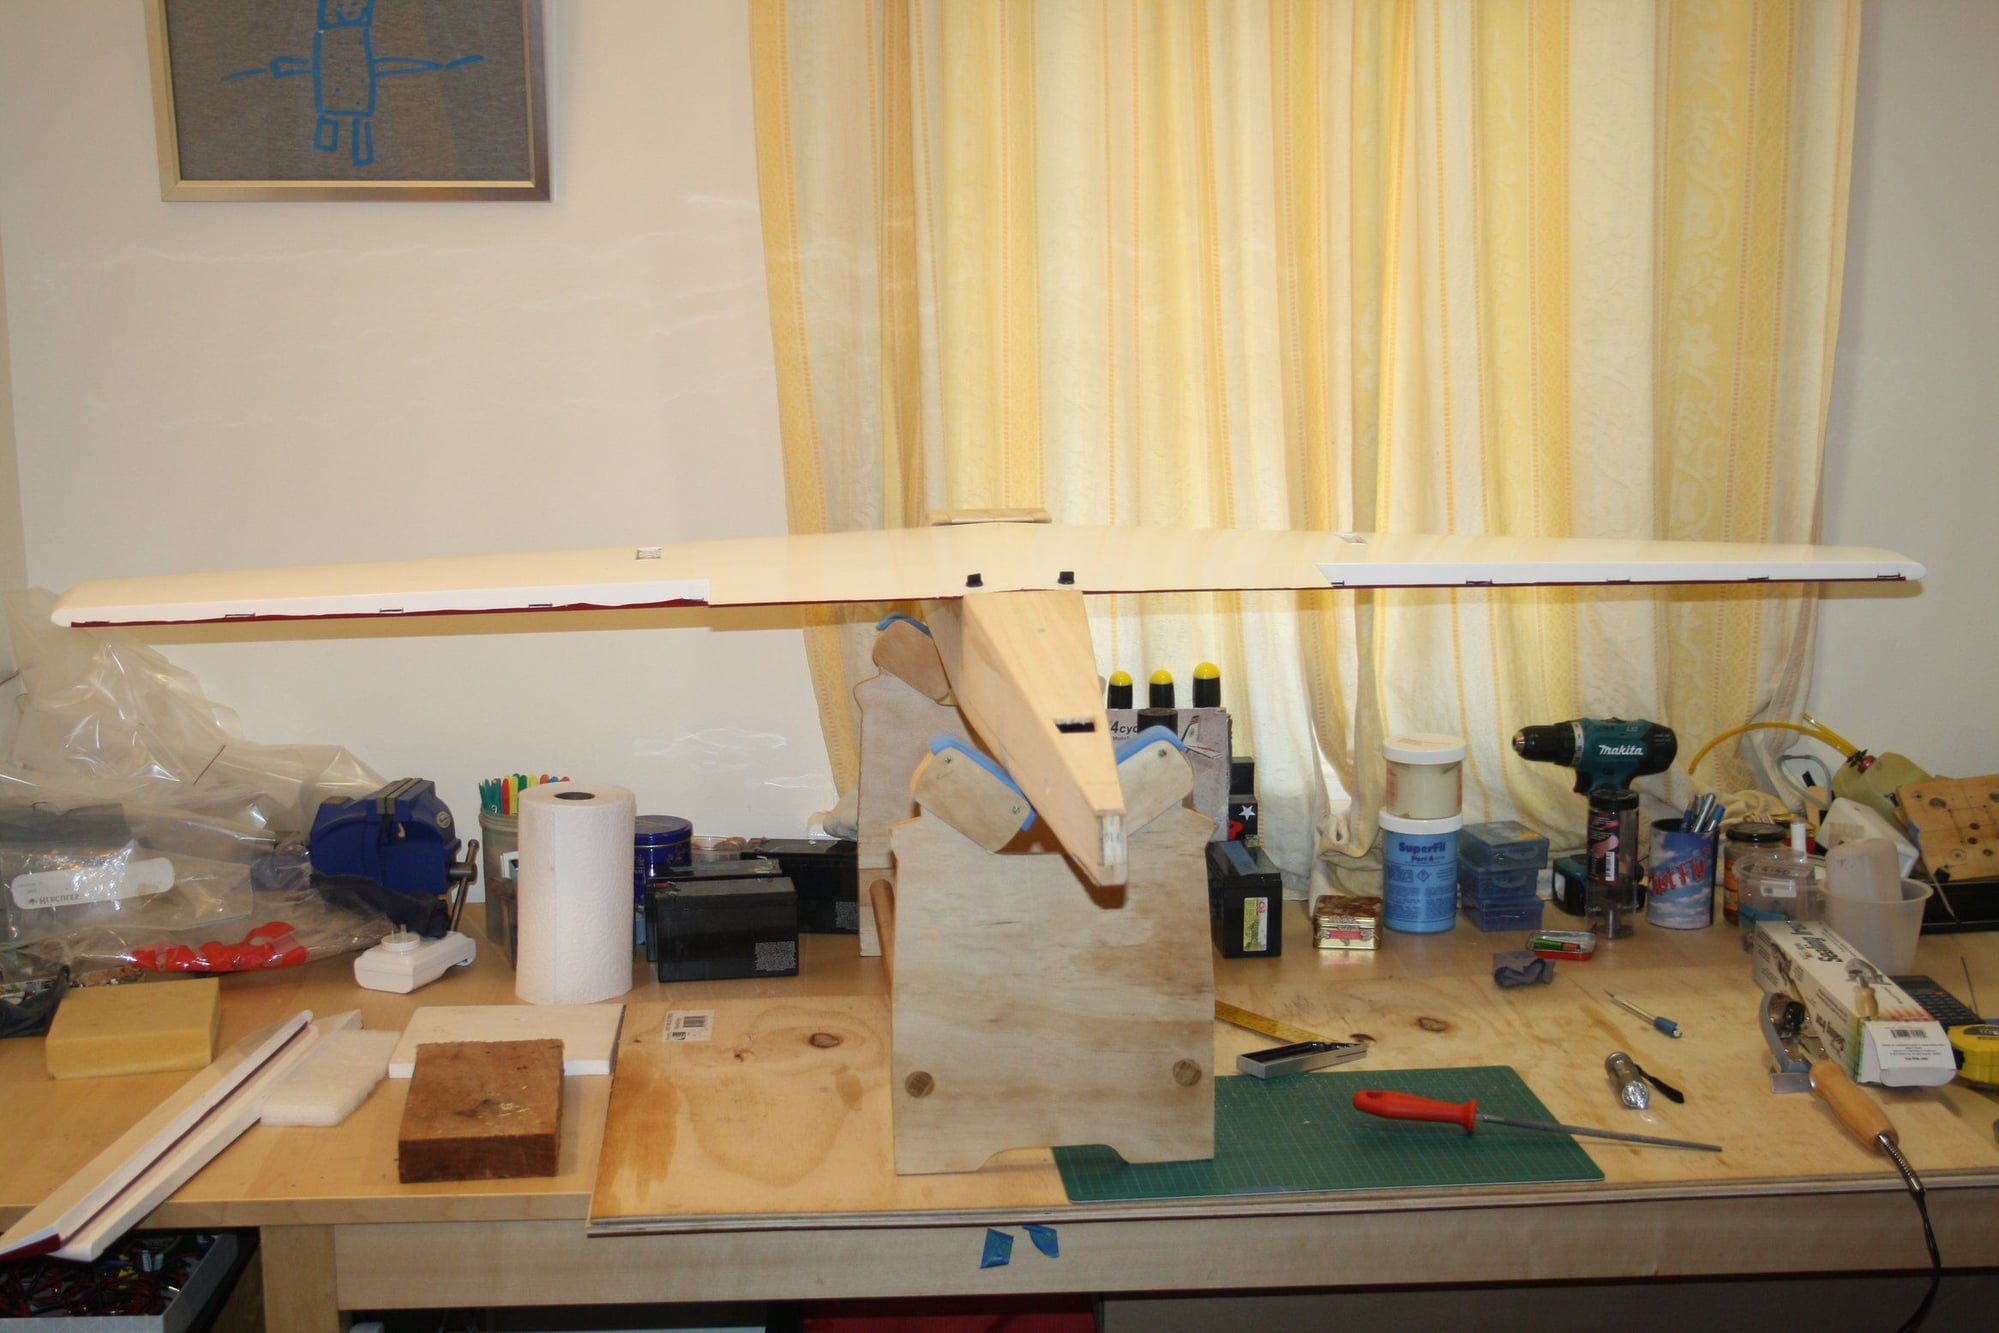
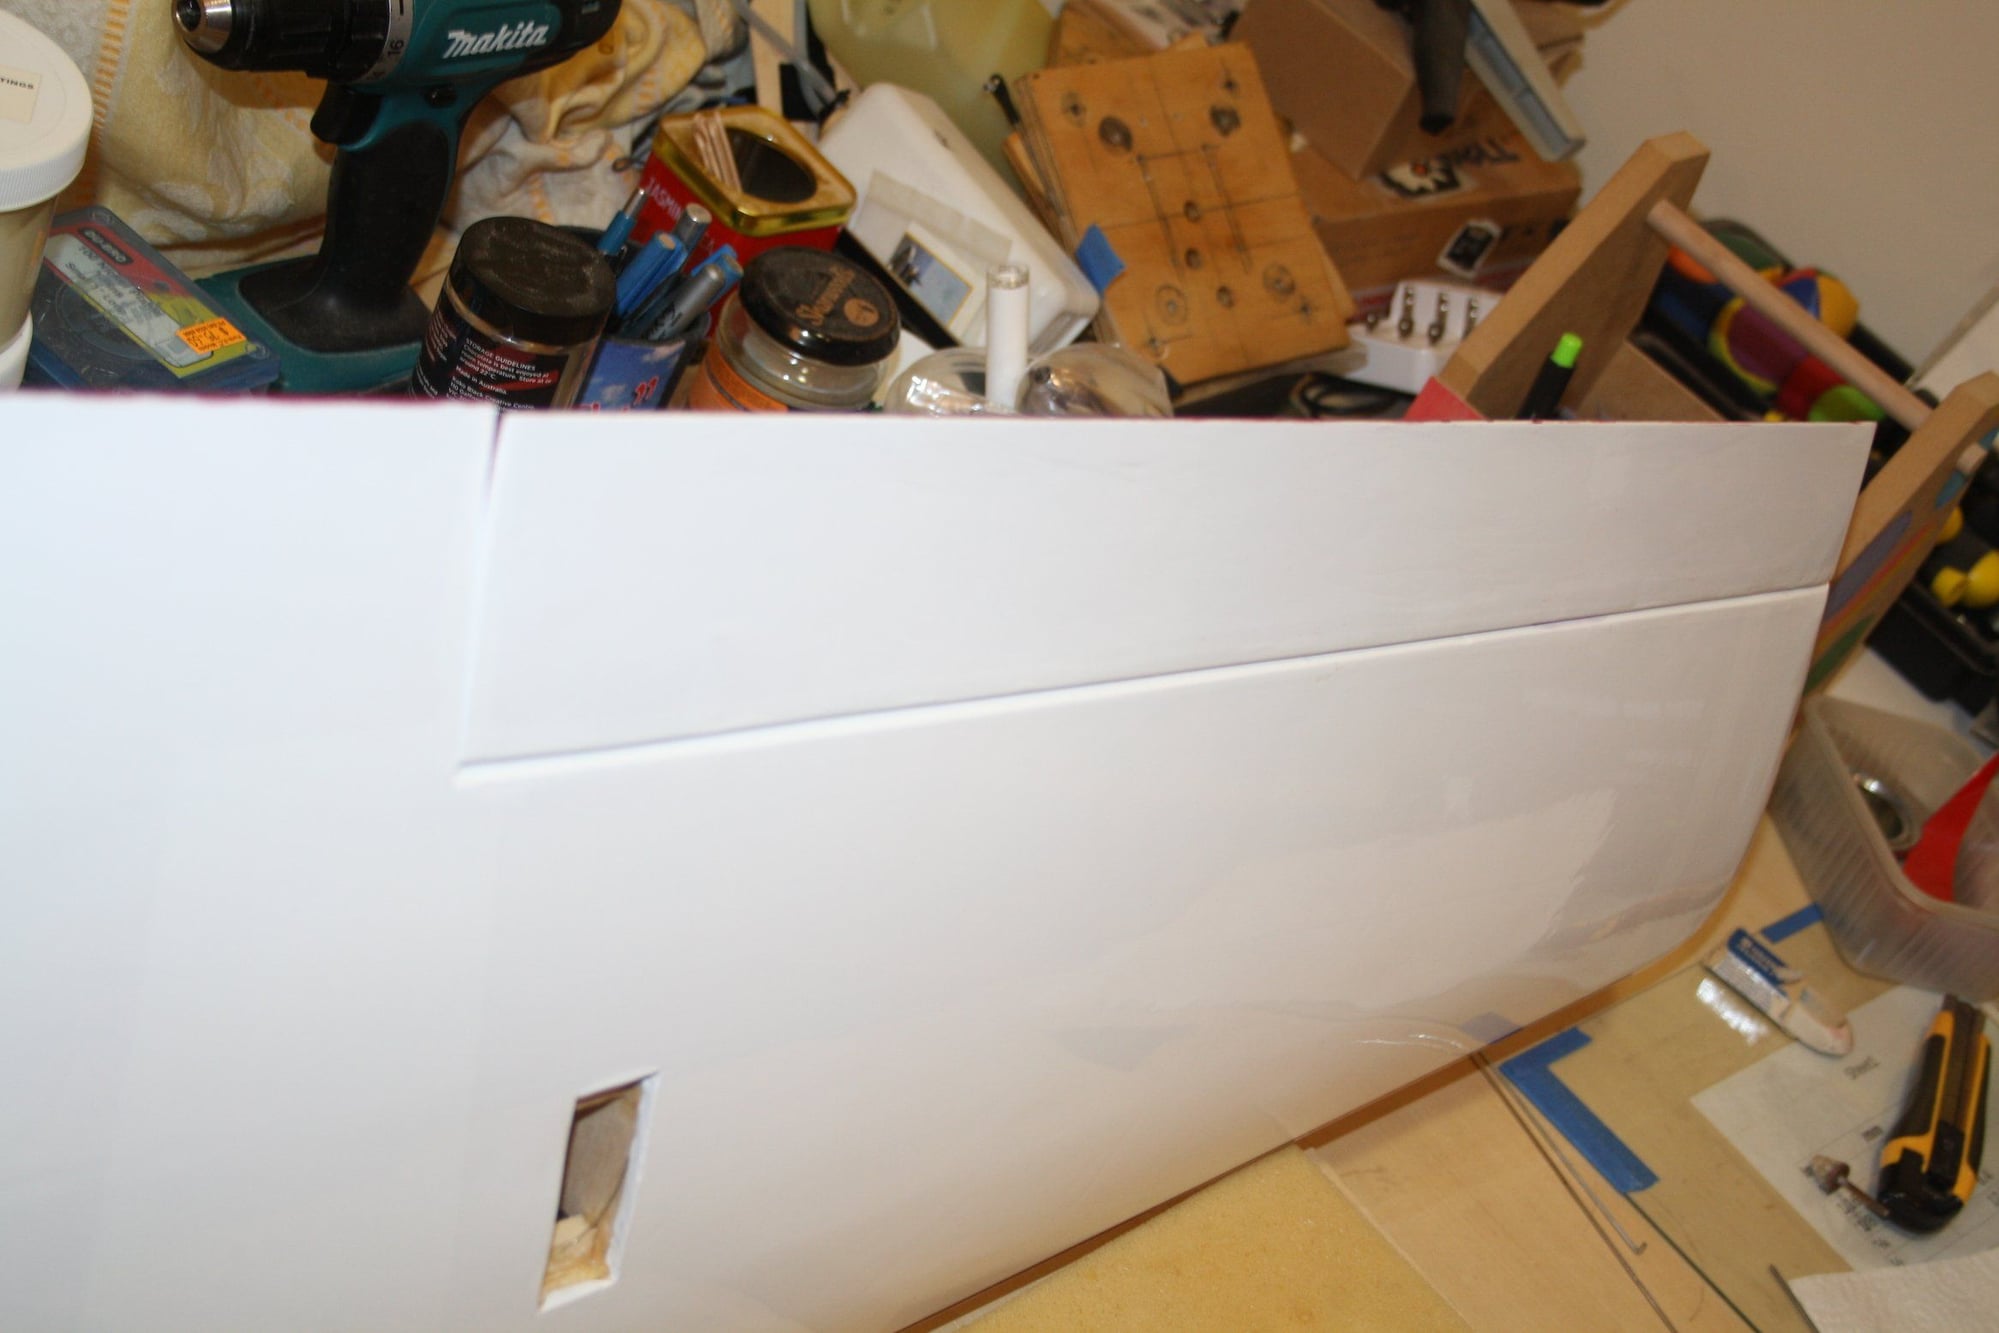
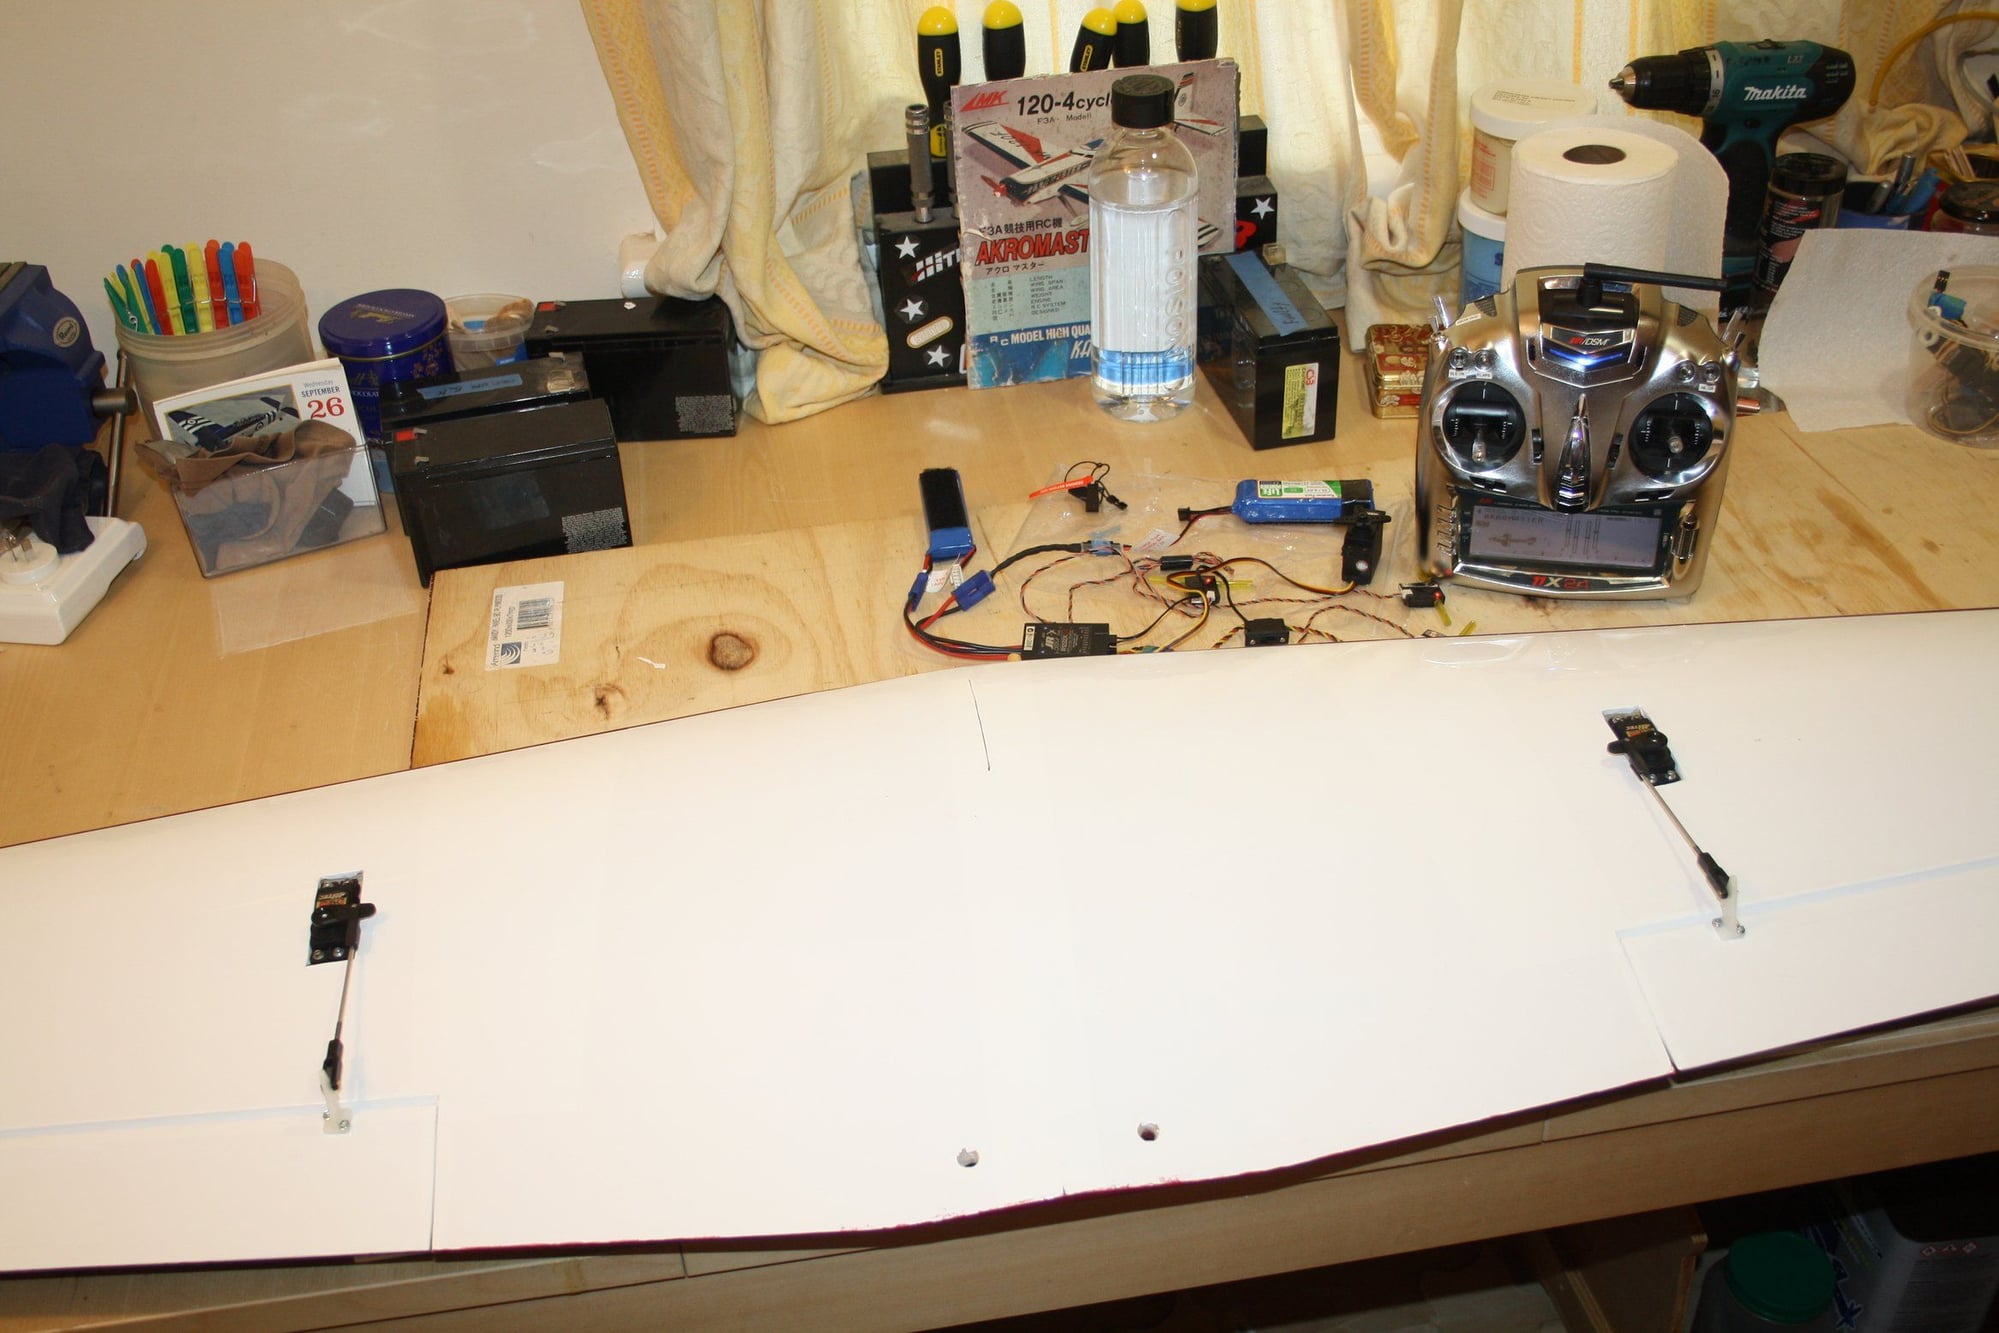
Today I spent the time fitting the wing properly, which took quite a while to do, sanding and checking multiple times. The result was quite good, however, there is a layer of fibreglass to be added to the wing thickness.
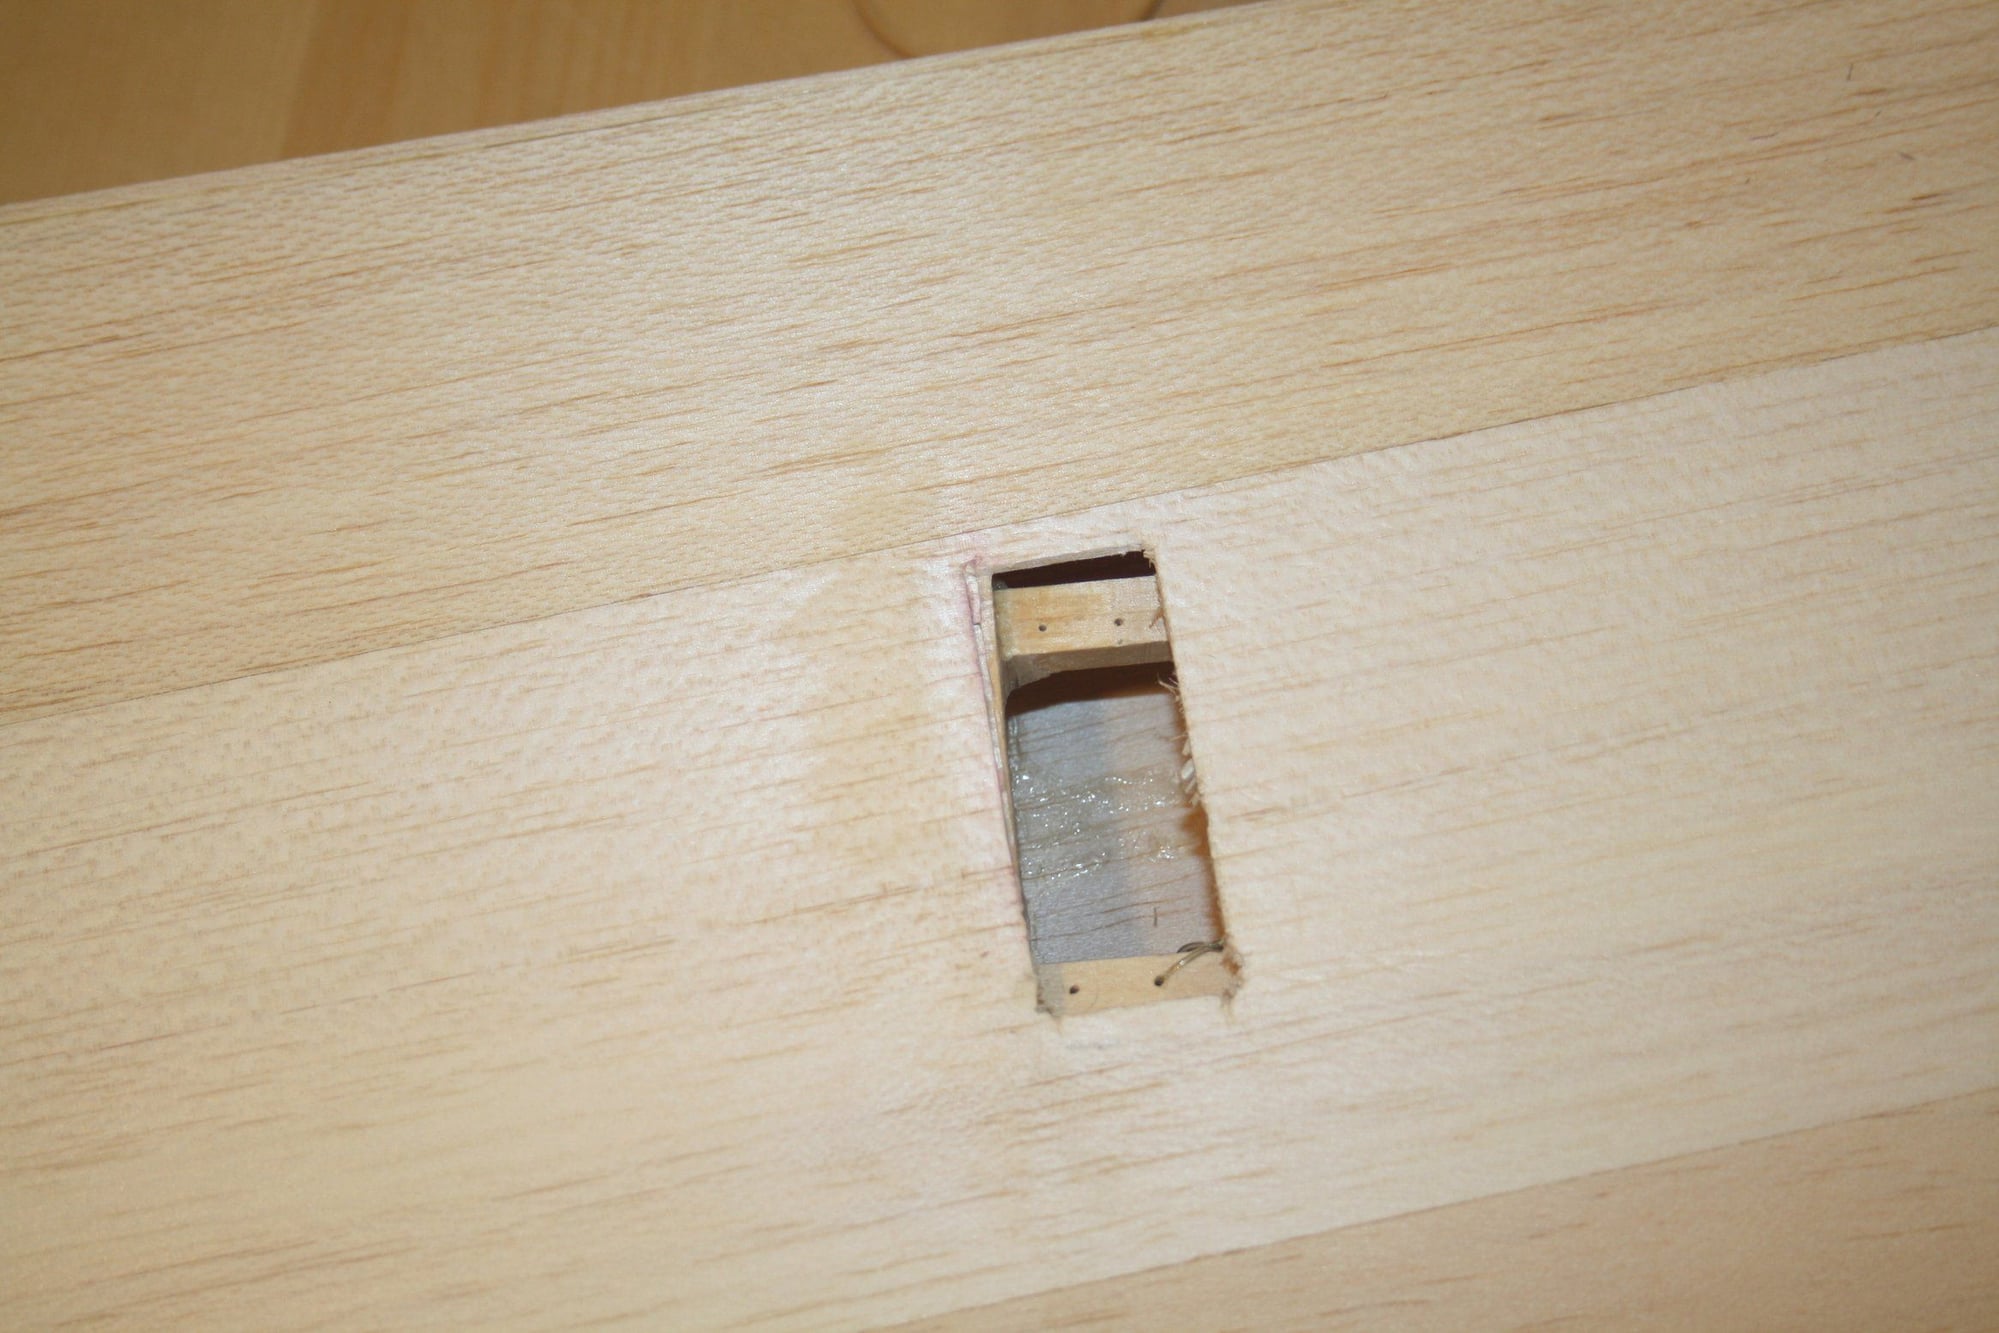
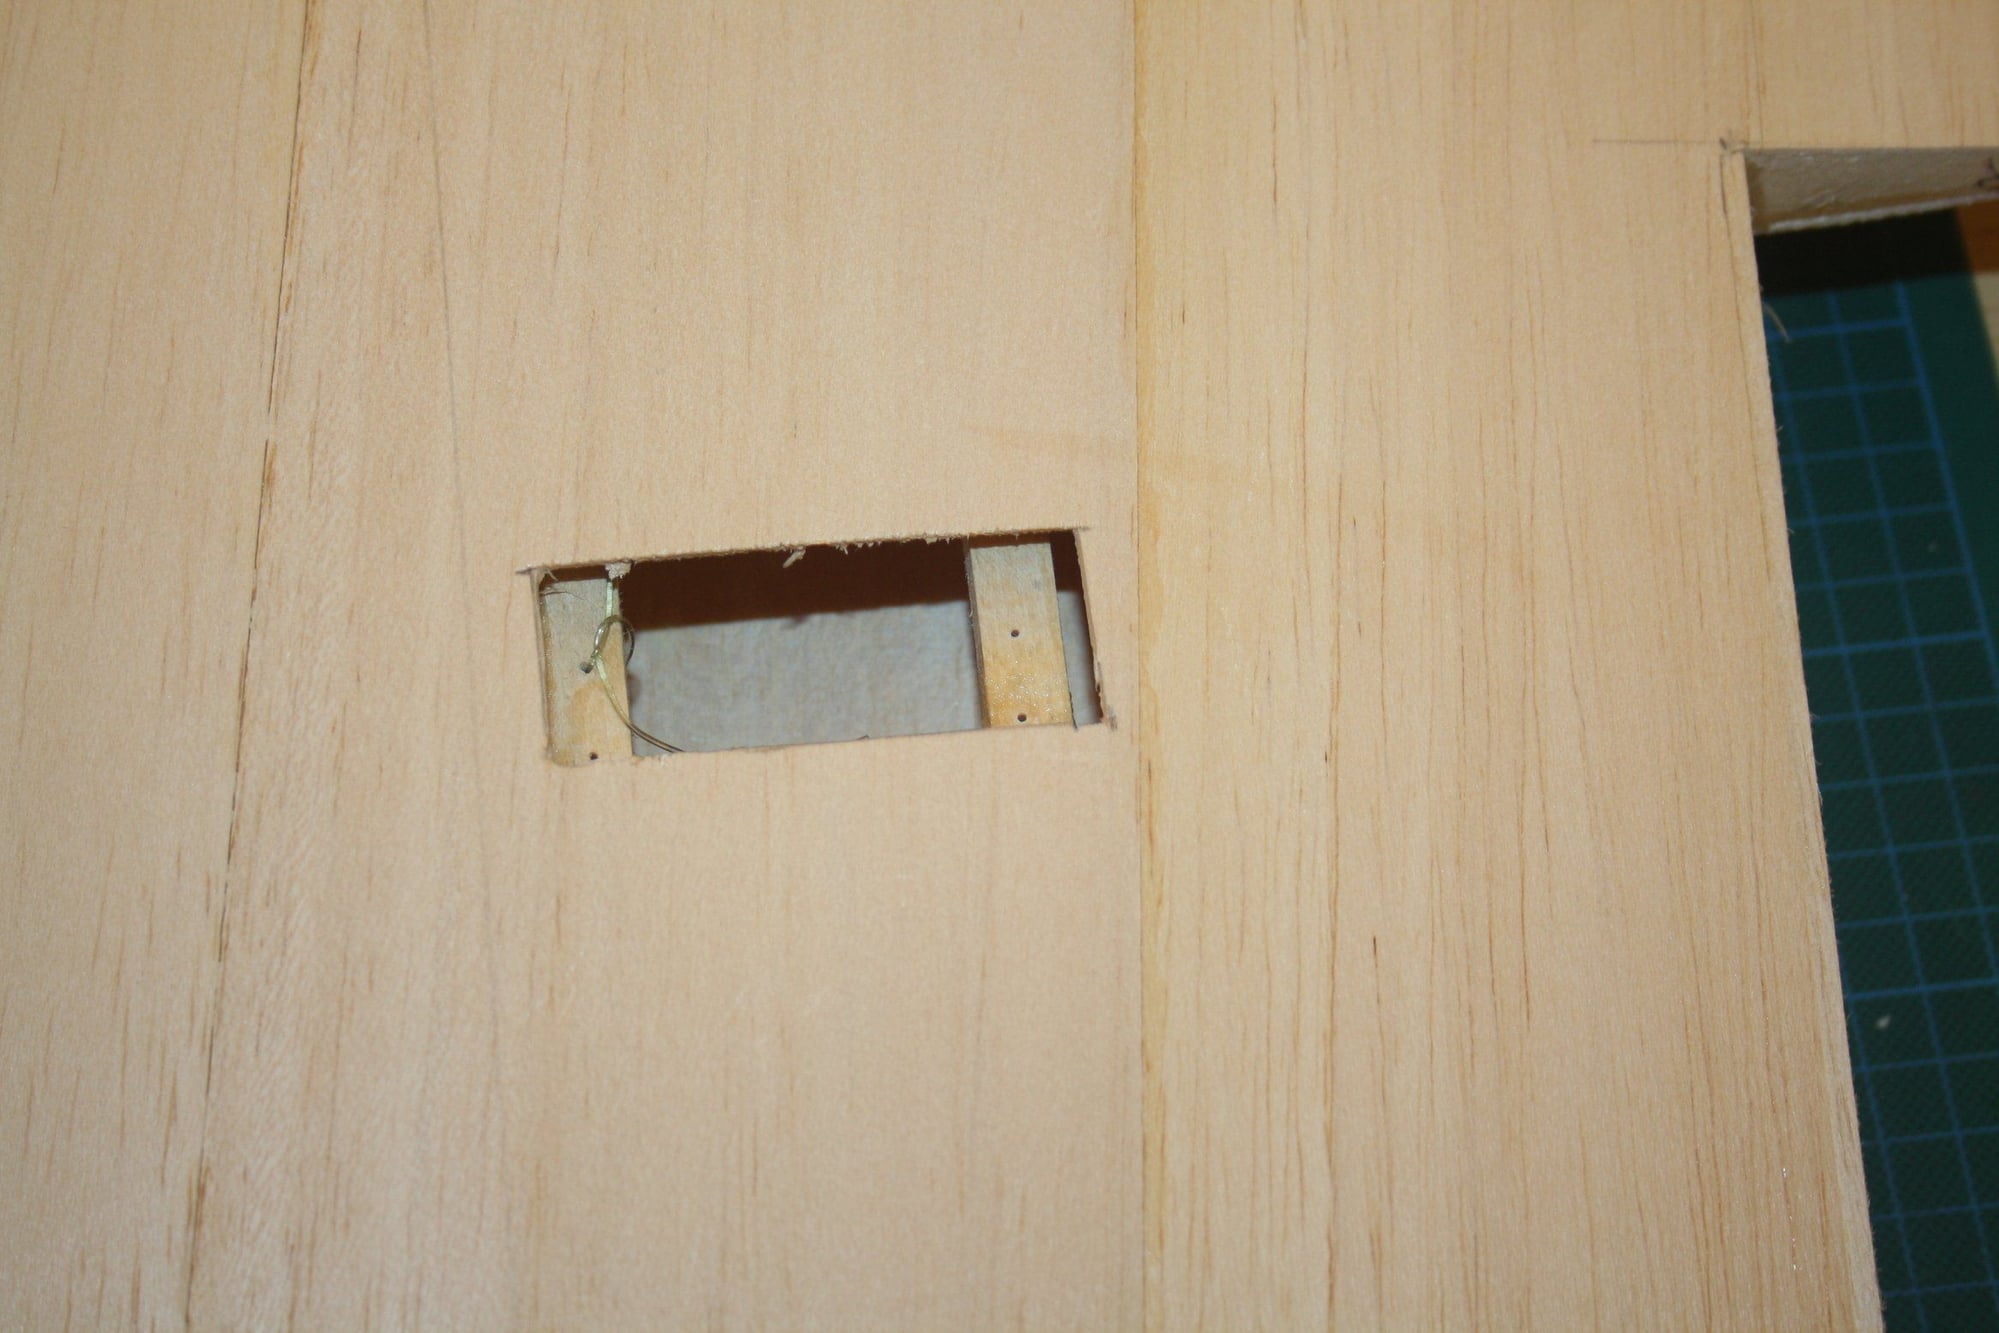
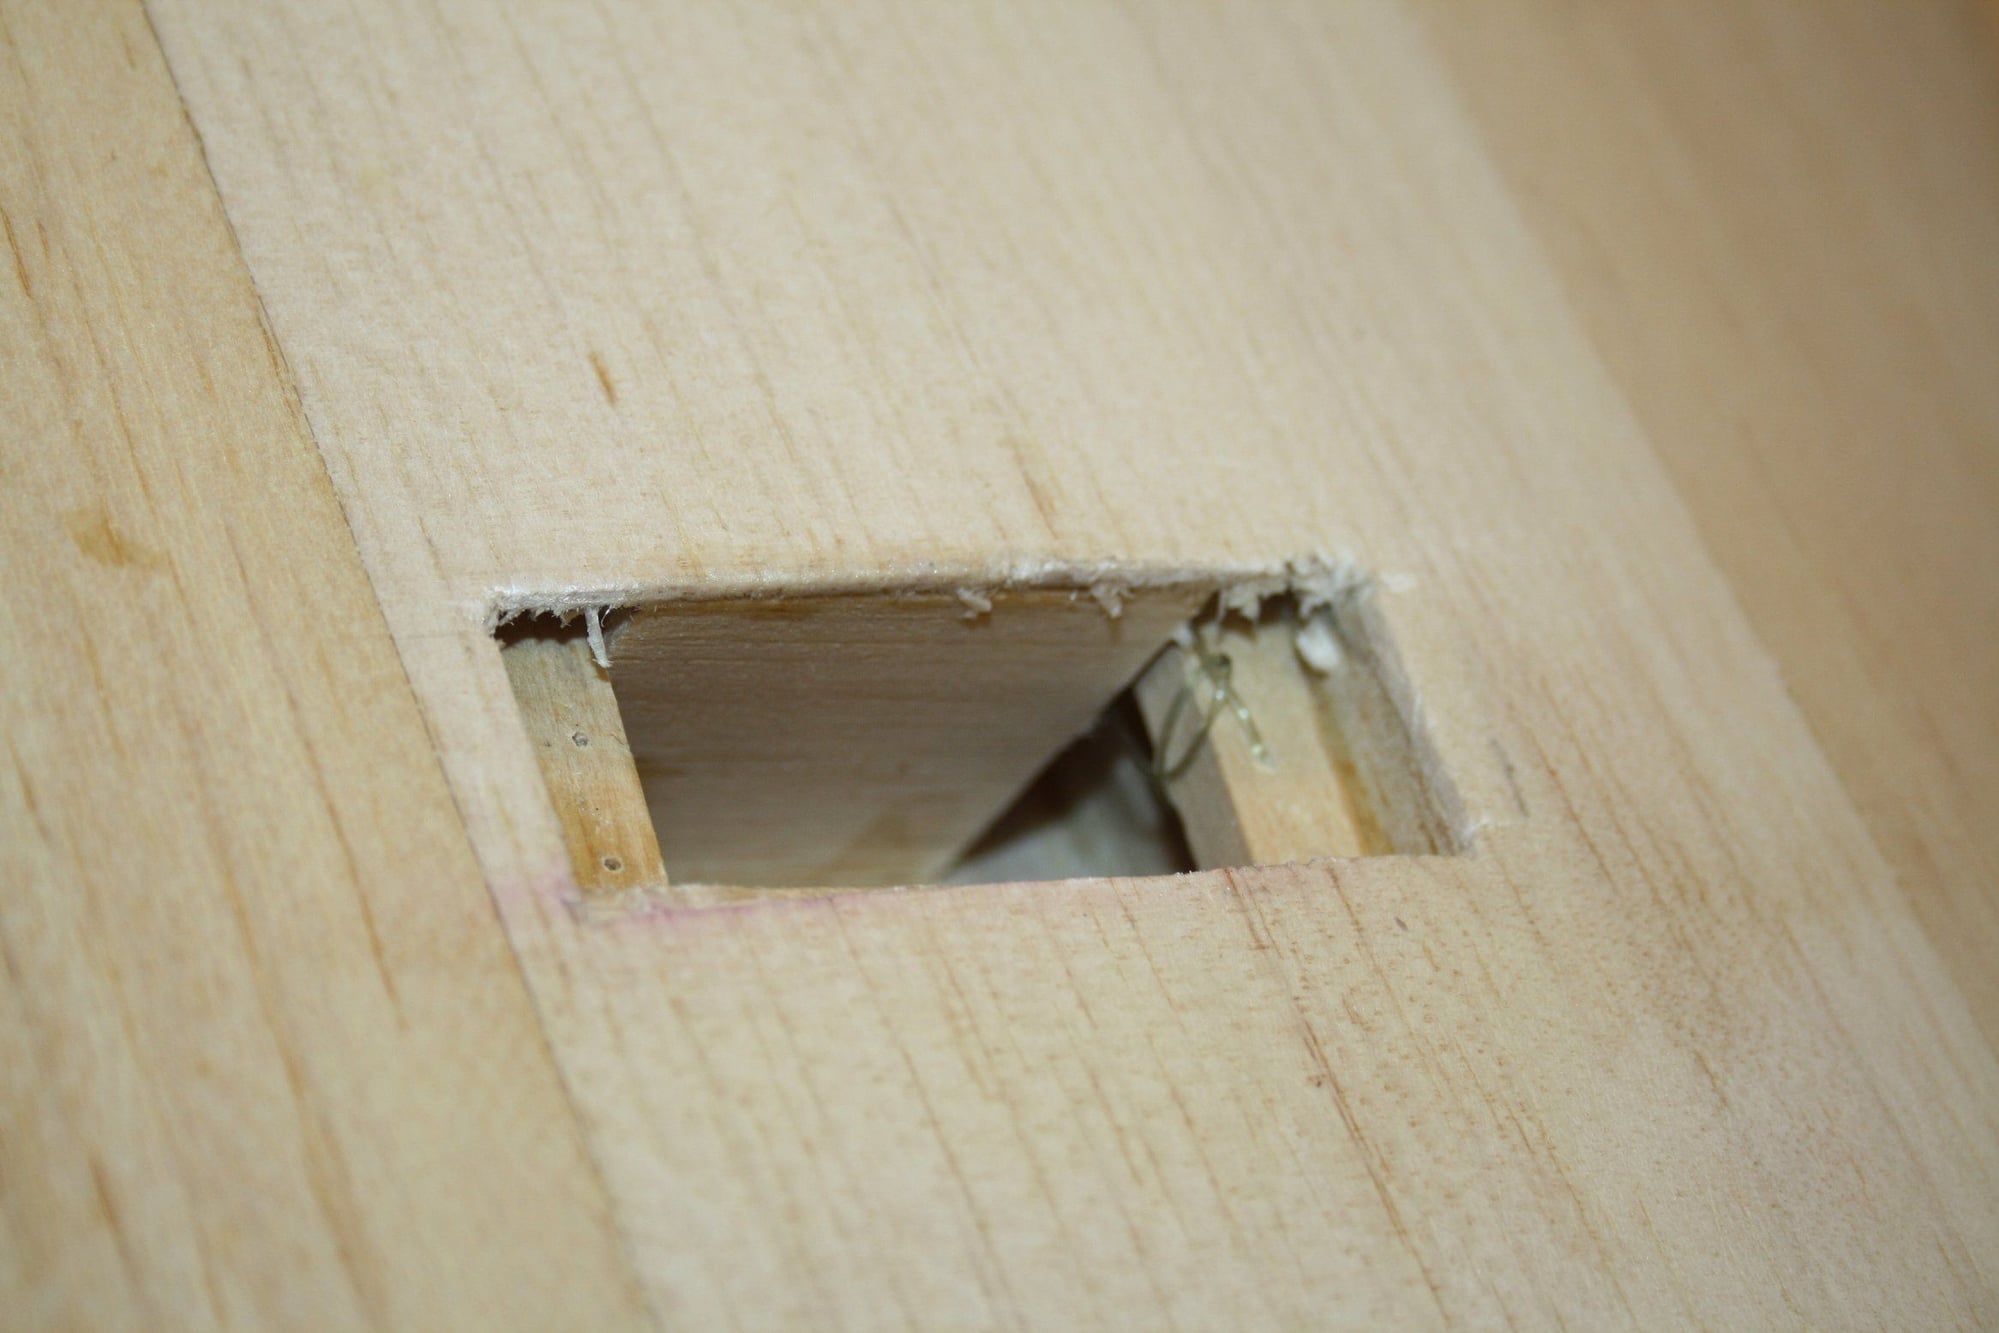
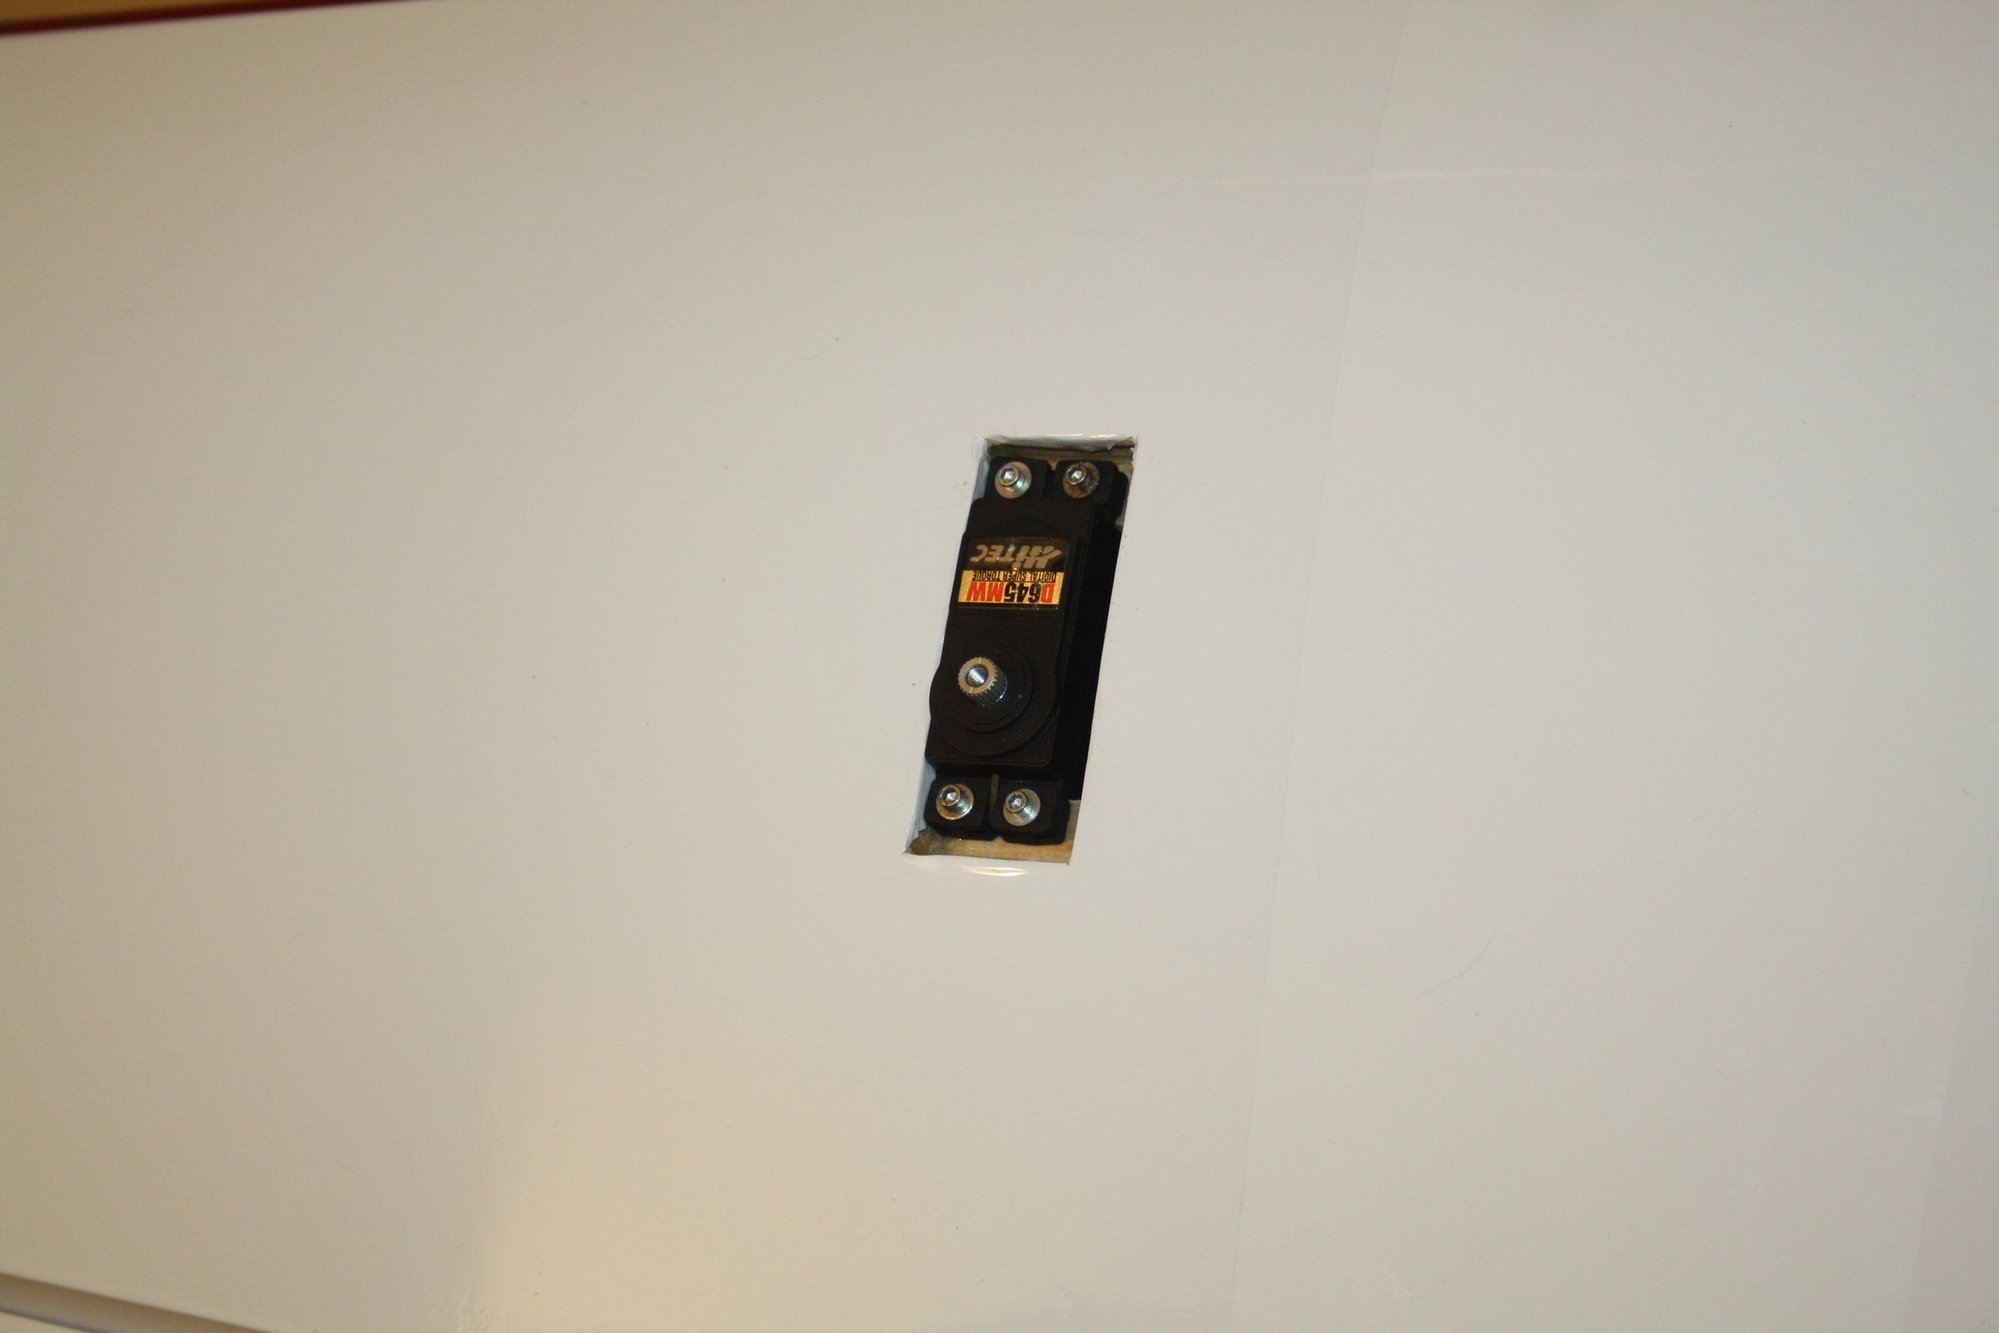
I then cut out the servo holes and was pleasantly surprised to find that the previous owner left draw-wired inside. Quick test fit of a random servo confirmed that the rails are in the correct height.
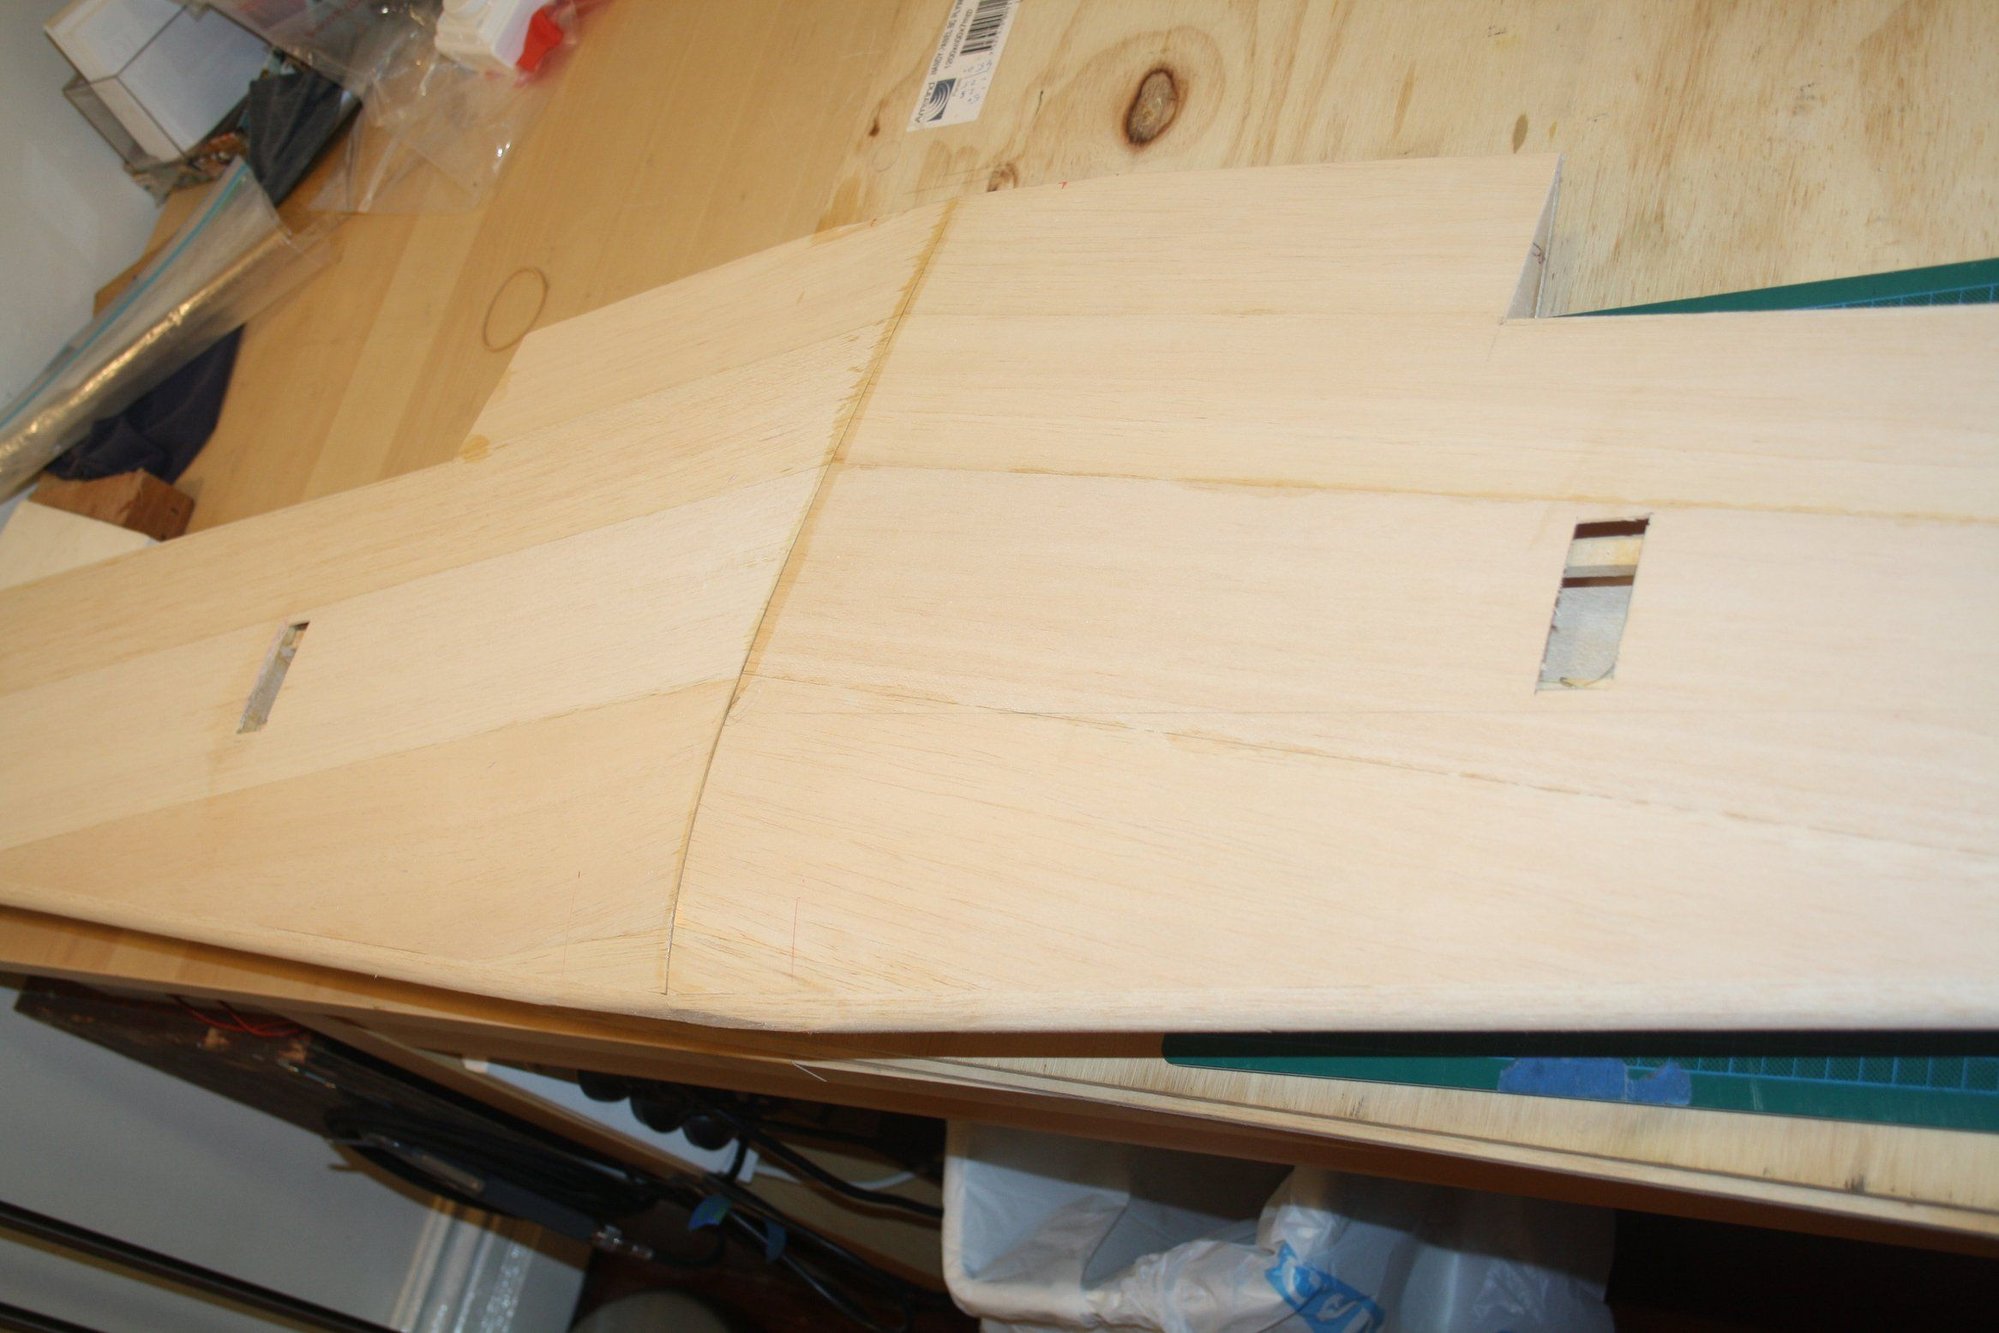
I then cut couple of holes in the centre section where the servo leads will exit the wing, and drilled the two wing bolts holes.
Last for today I applied fibreglass to the bottom centre section.


Cheers,
Eran
I then cut out the servo holes and was pleasantly surprised to find that the previous owner left draw-wired inside. Quick test fit of a random servo confirmed that the rails are in the correct height.
I then cut couple of holes in the centre section where the servo leads will exit the wing, and drilled the two wing bolts holes.
Last for today I applied fibreglass to the bottom centre section.
Cheers,
Eran
12-27-2019, 09:18 PM
#9
Thread Starter
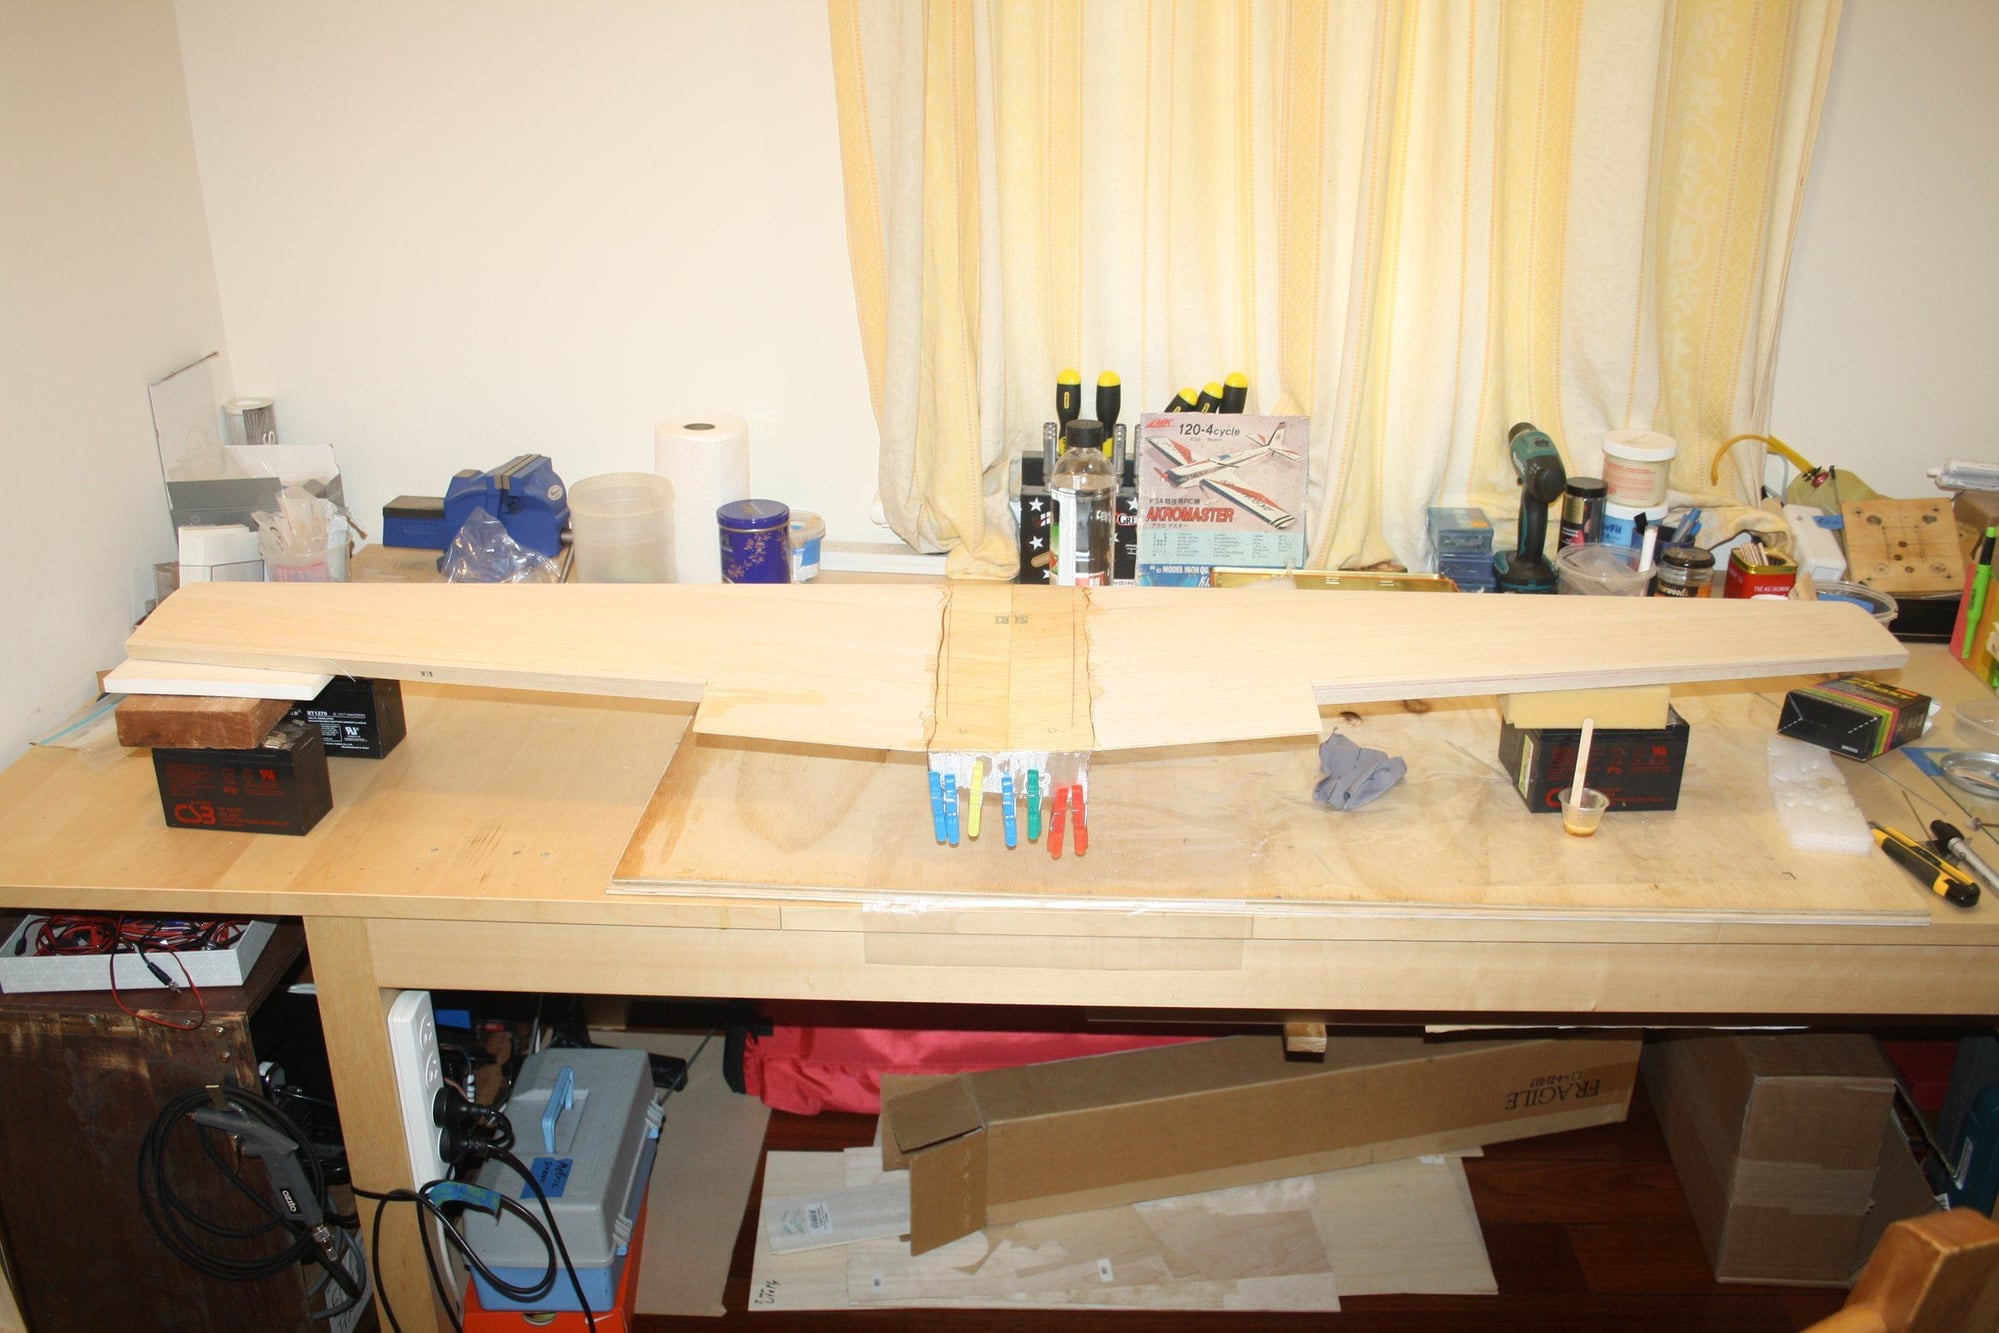
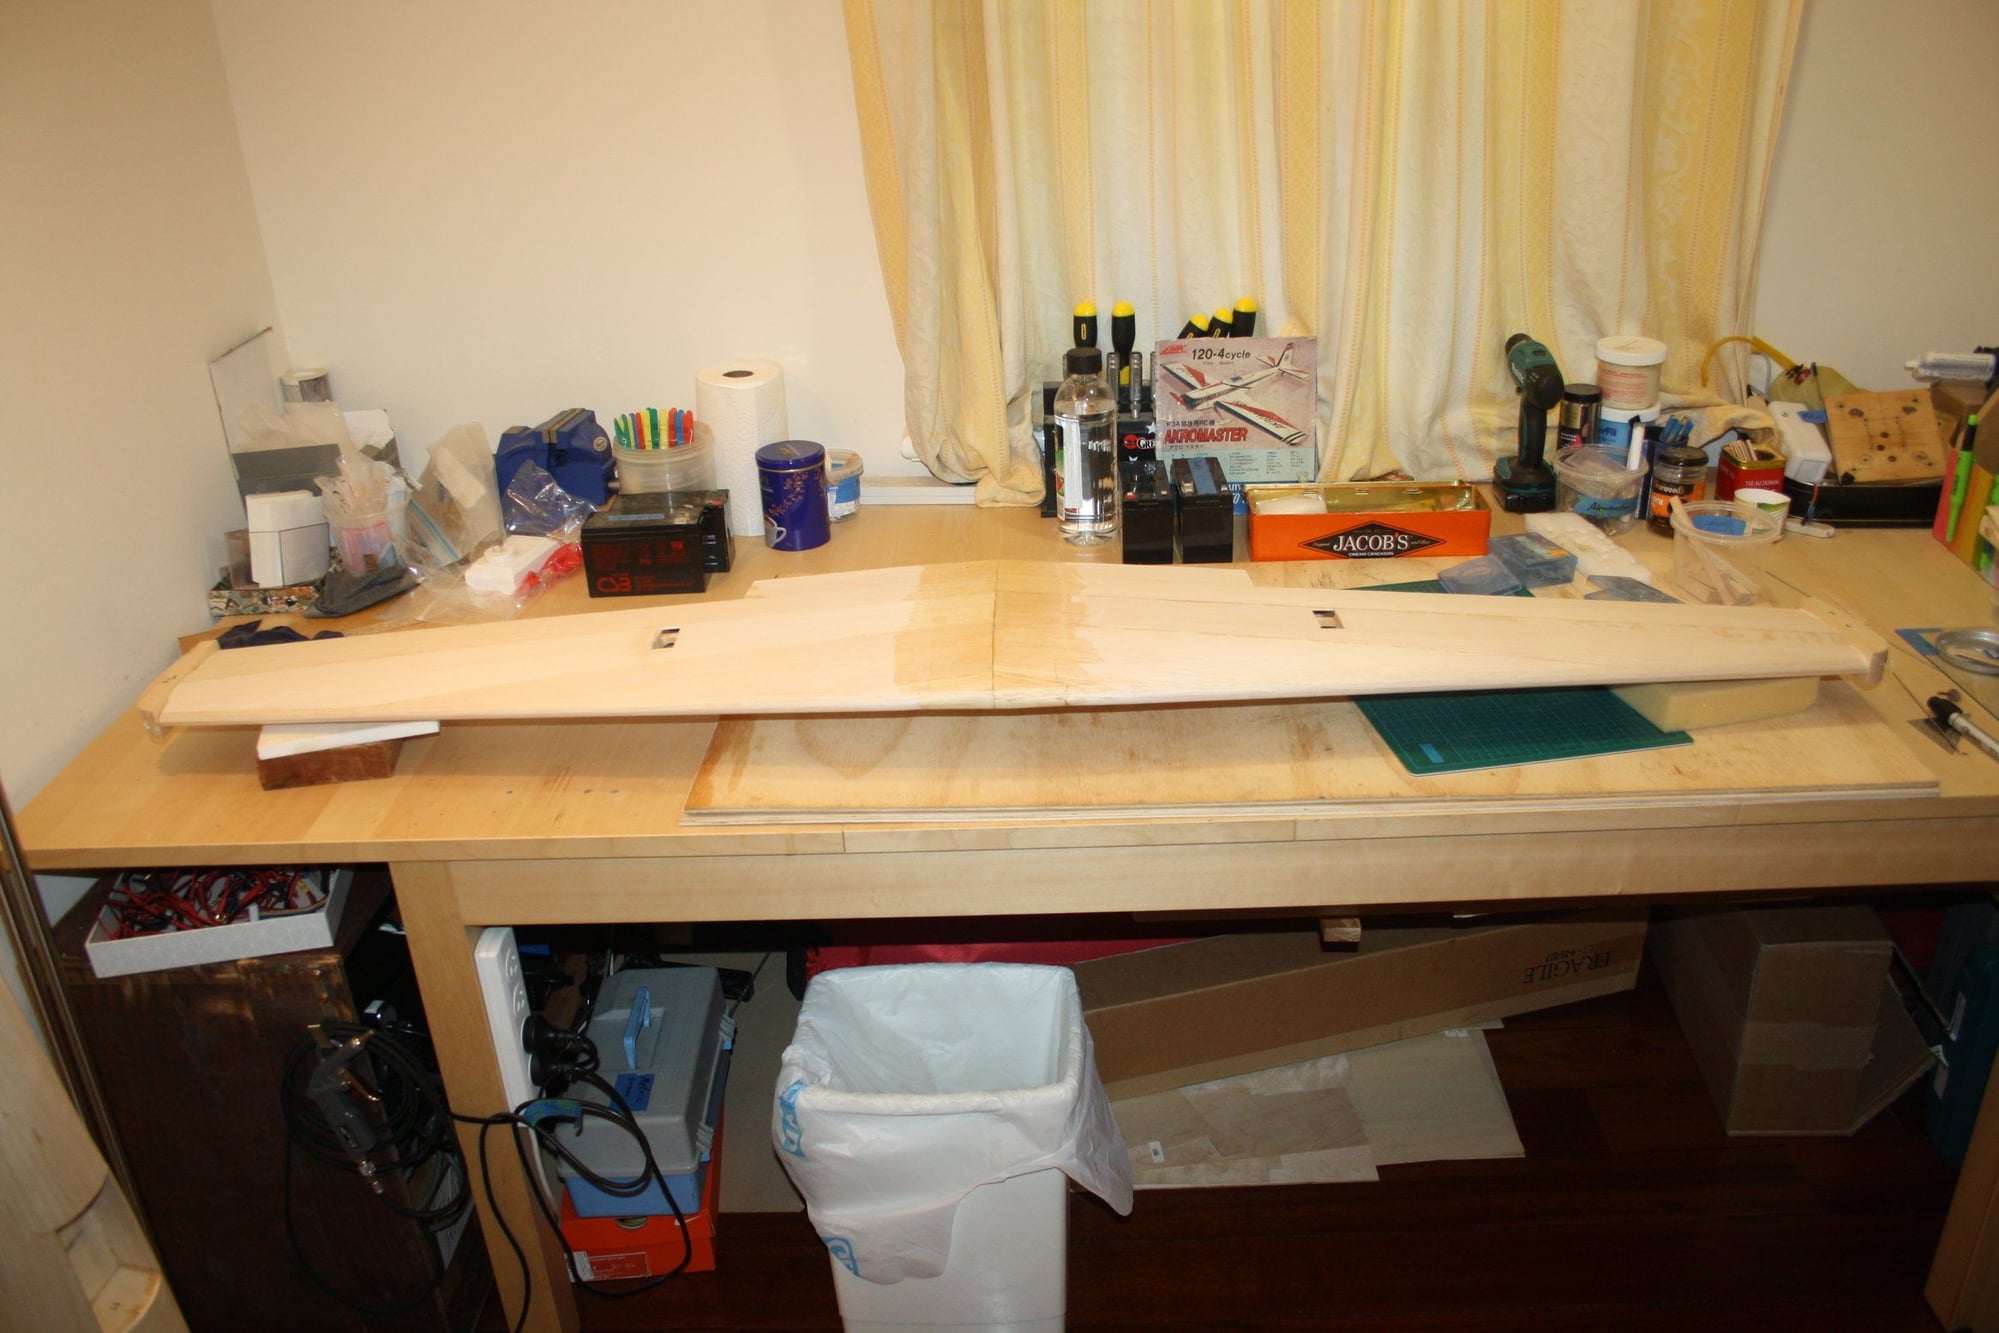
A bit slow going at the moment waiting for glue to dry.
I got the top centre section fibreglass done, and glued the wing tips into place.

Cheers,
Eran
I got the top centre section fibreglass done, and glued the wing tips into place.
Cheers,
Eran
12-29-2019, 11:39 PM
#10
Thread Starter
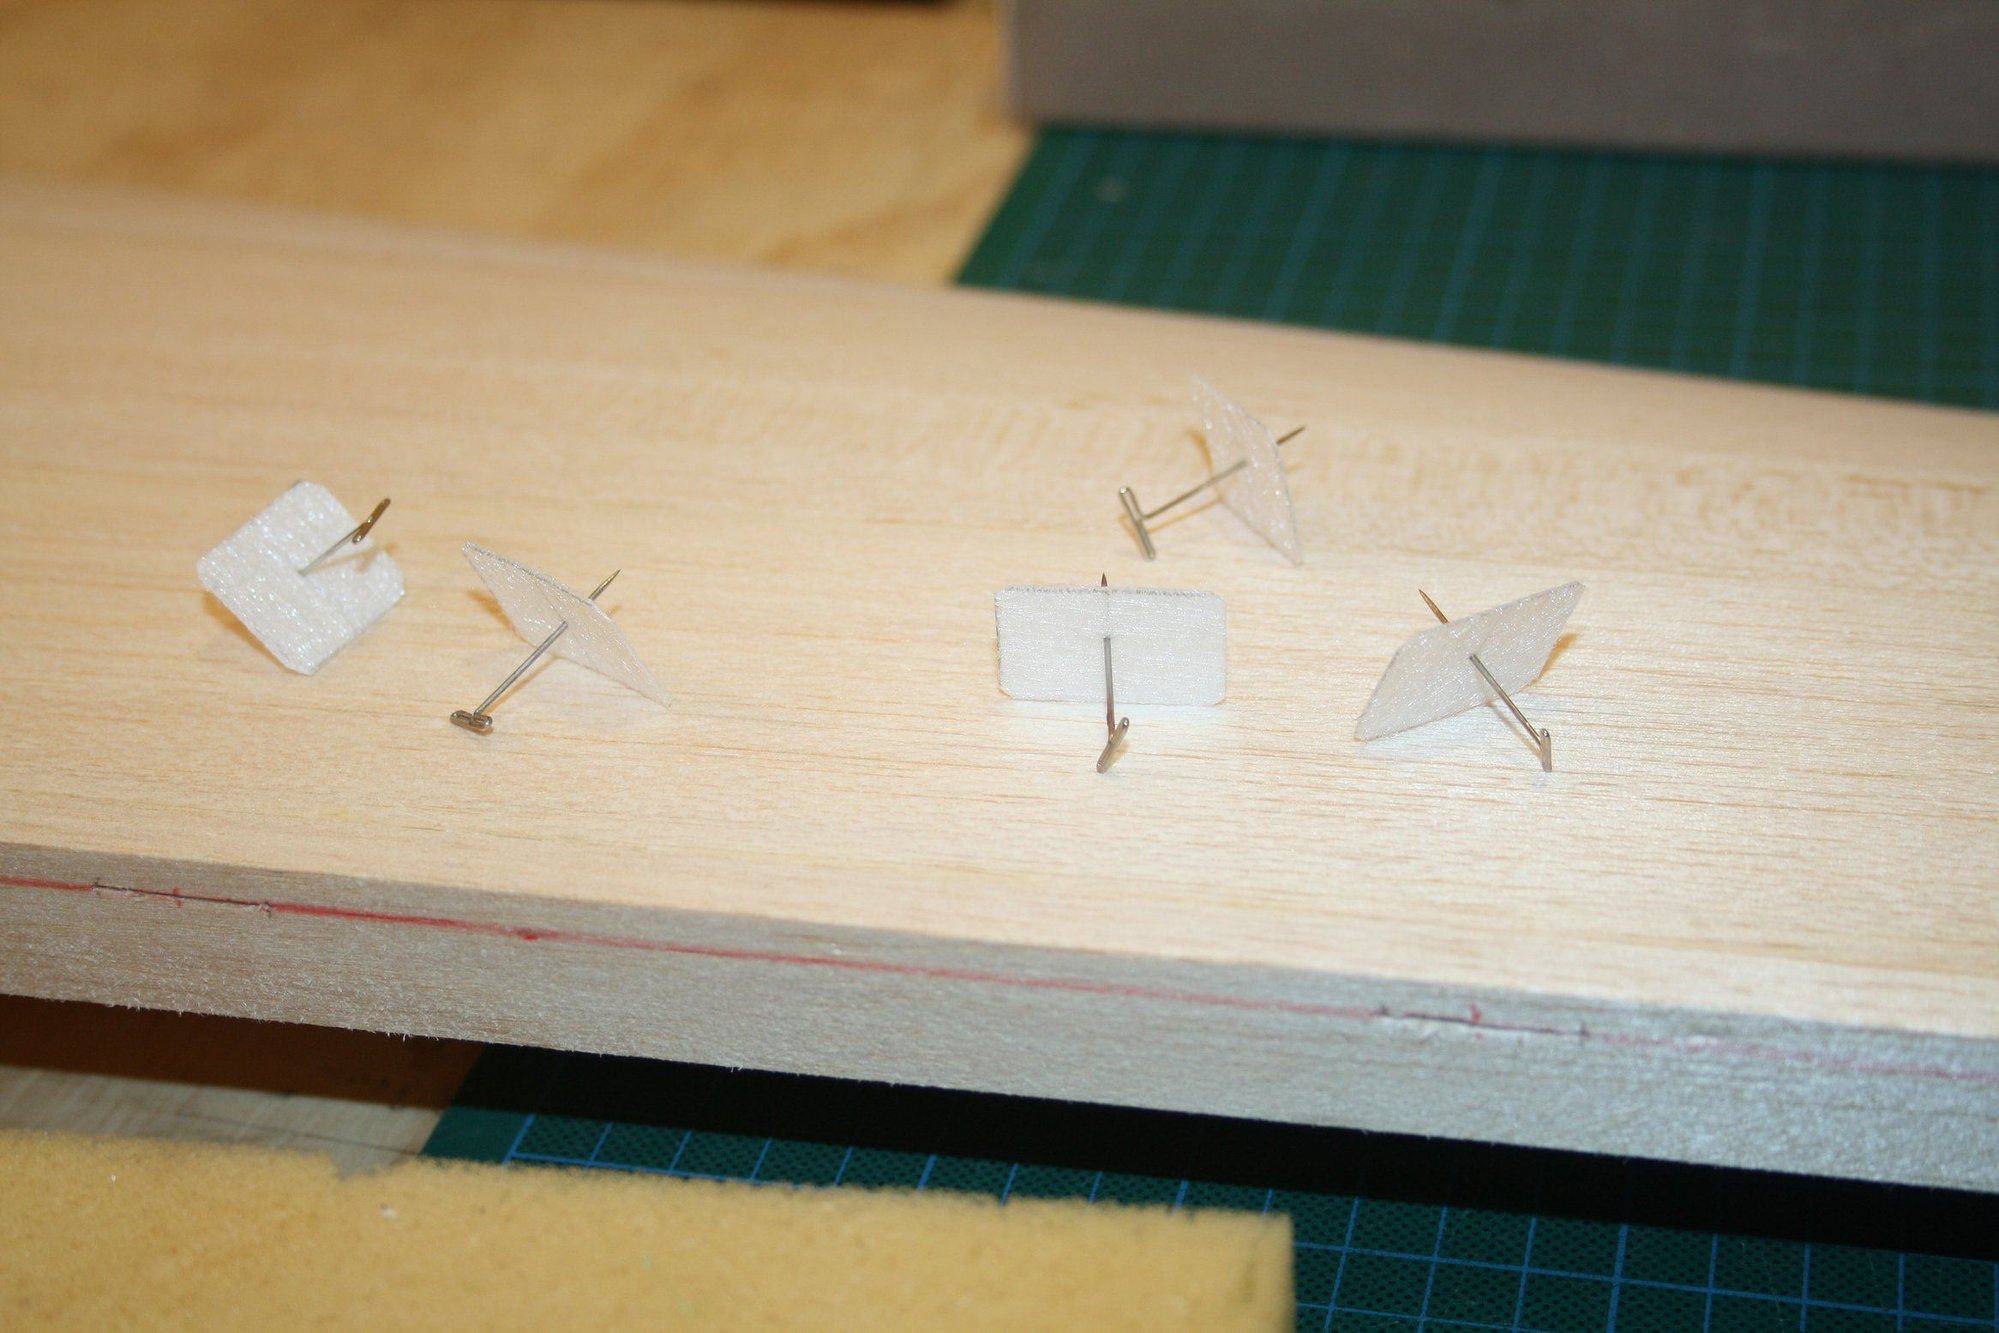
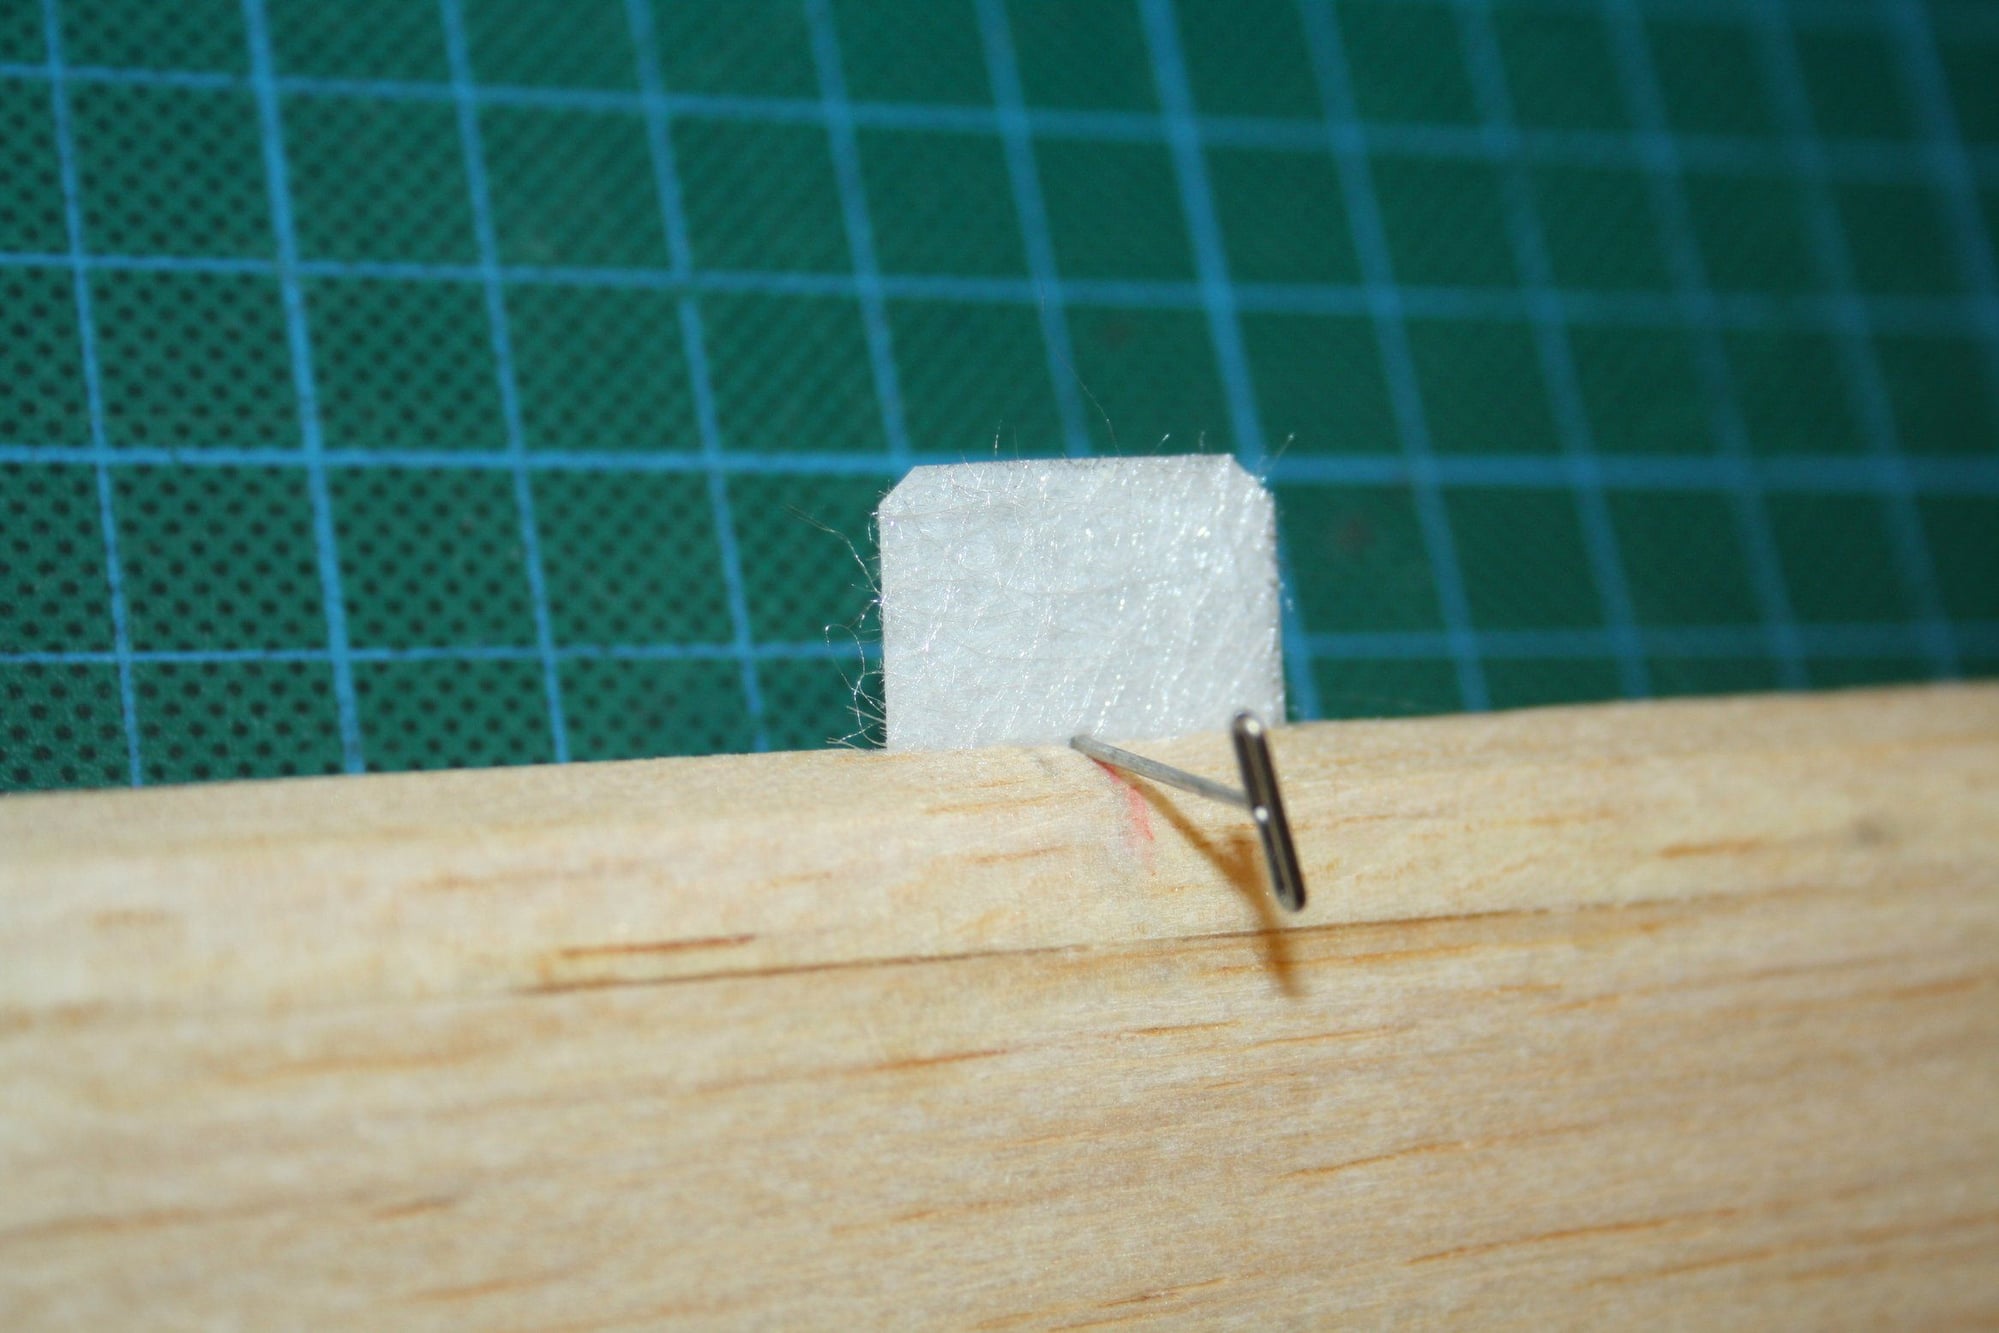
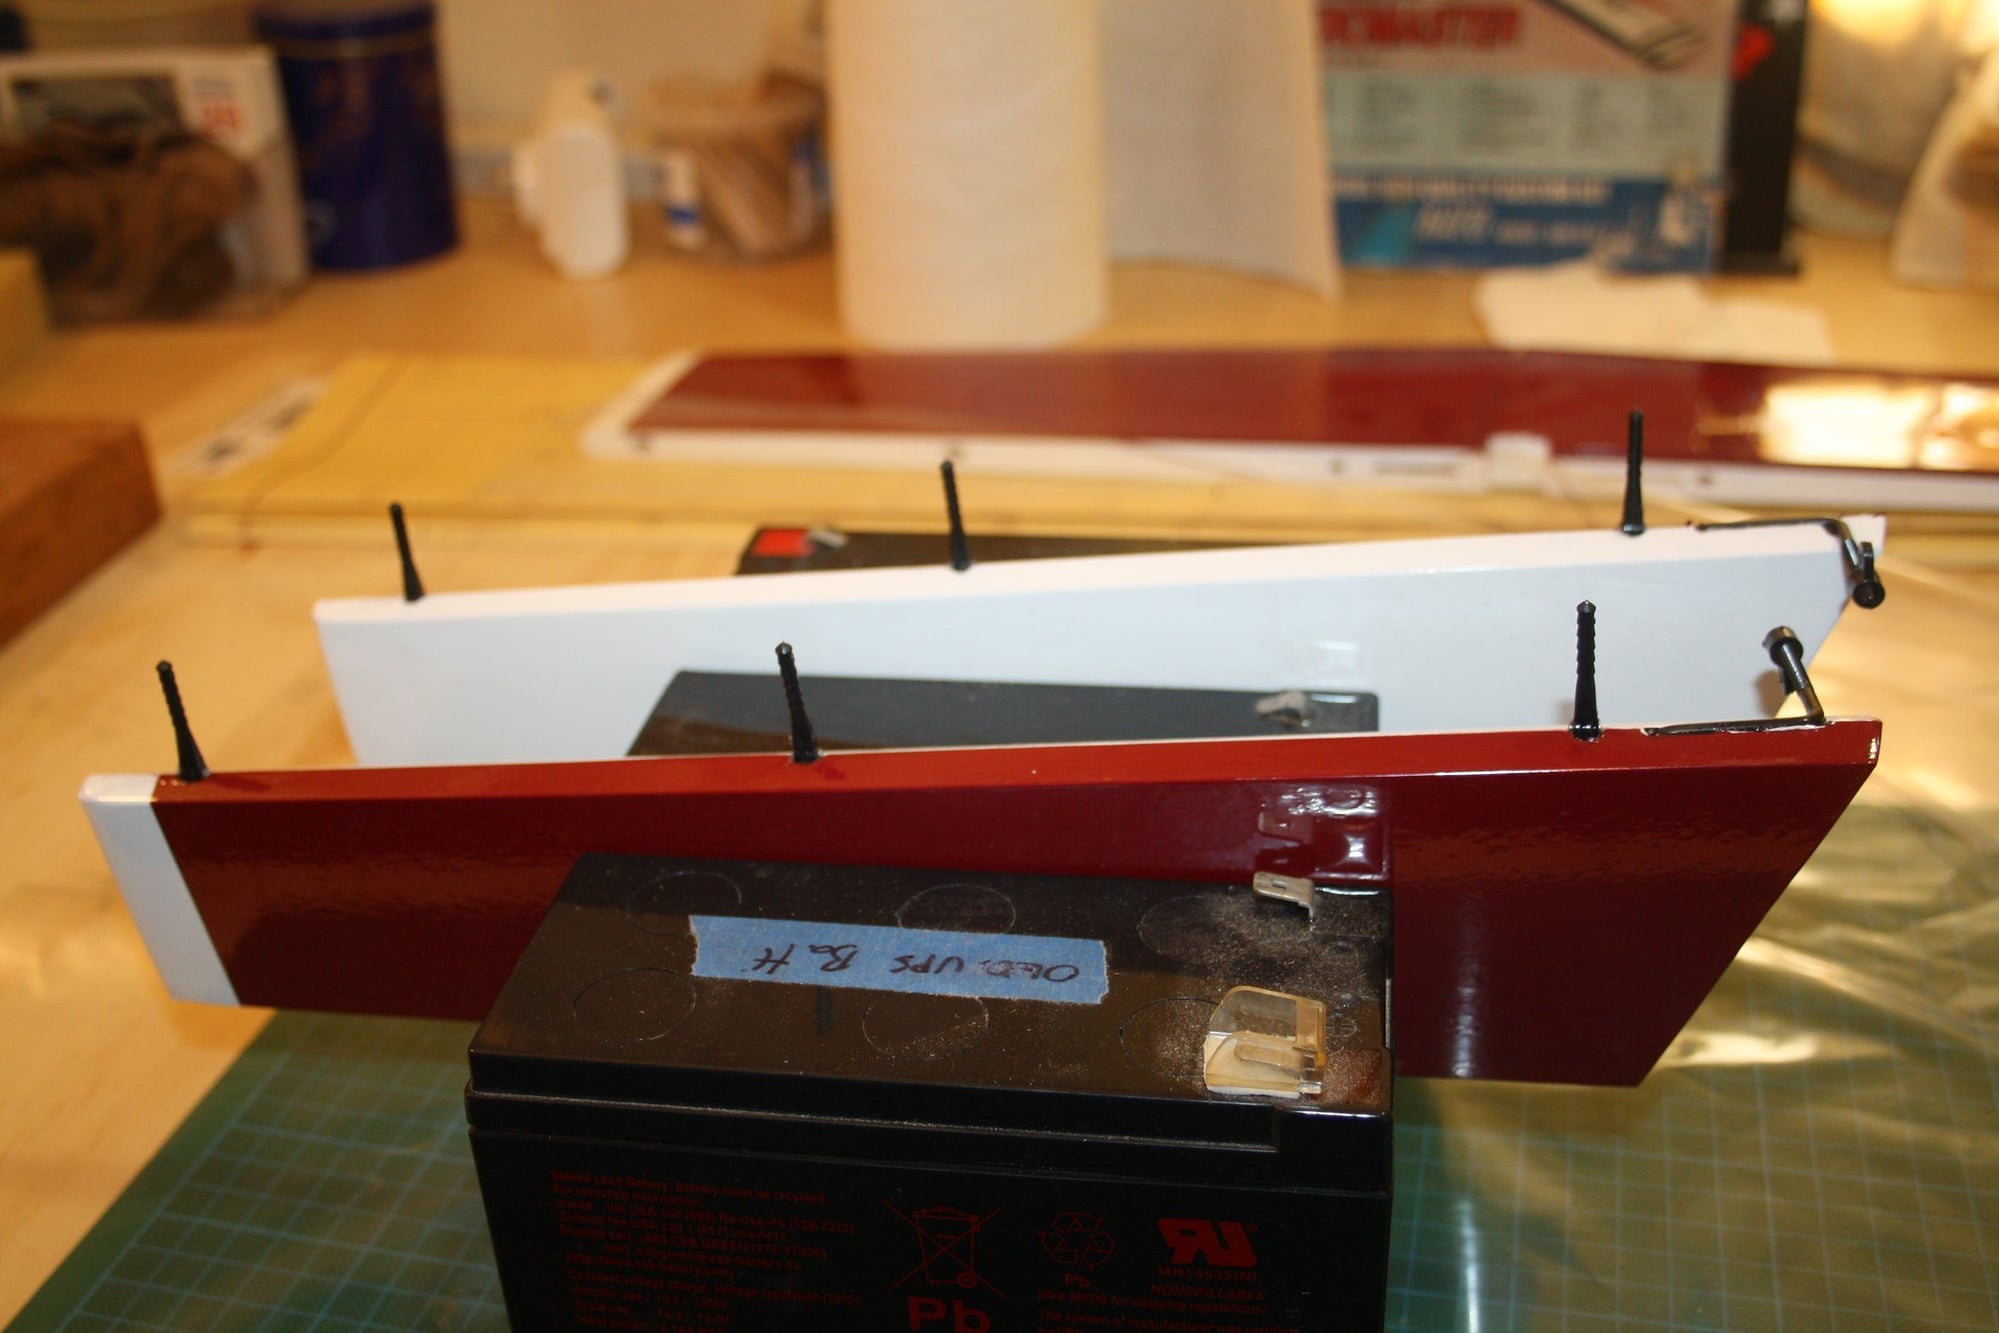
Today I sanded the wing-tips to shape. To do this properly I also glued the ailerons wing tips so they can be sanded at the same time.
One of the ailerons was temporarily hinged to establish the alignment of its wing tip.


Cheers,
Eran
One of the ailerons was temporarily hinged to establish the alignment of its wing tip.
Cheers,
Eran
01-01-2020, 12:46 AM
#11
Thread Starter
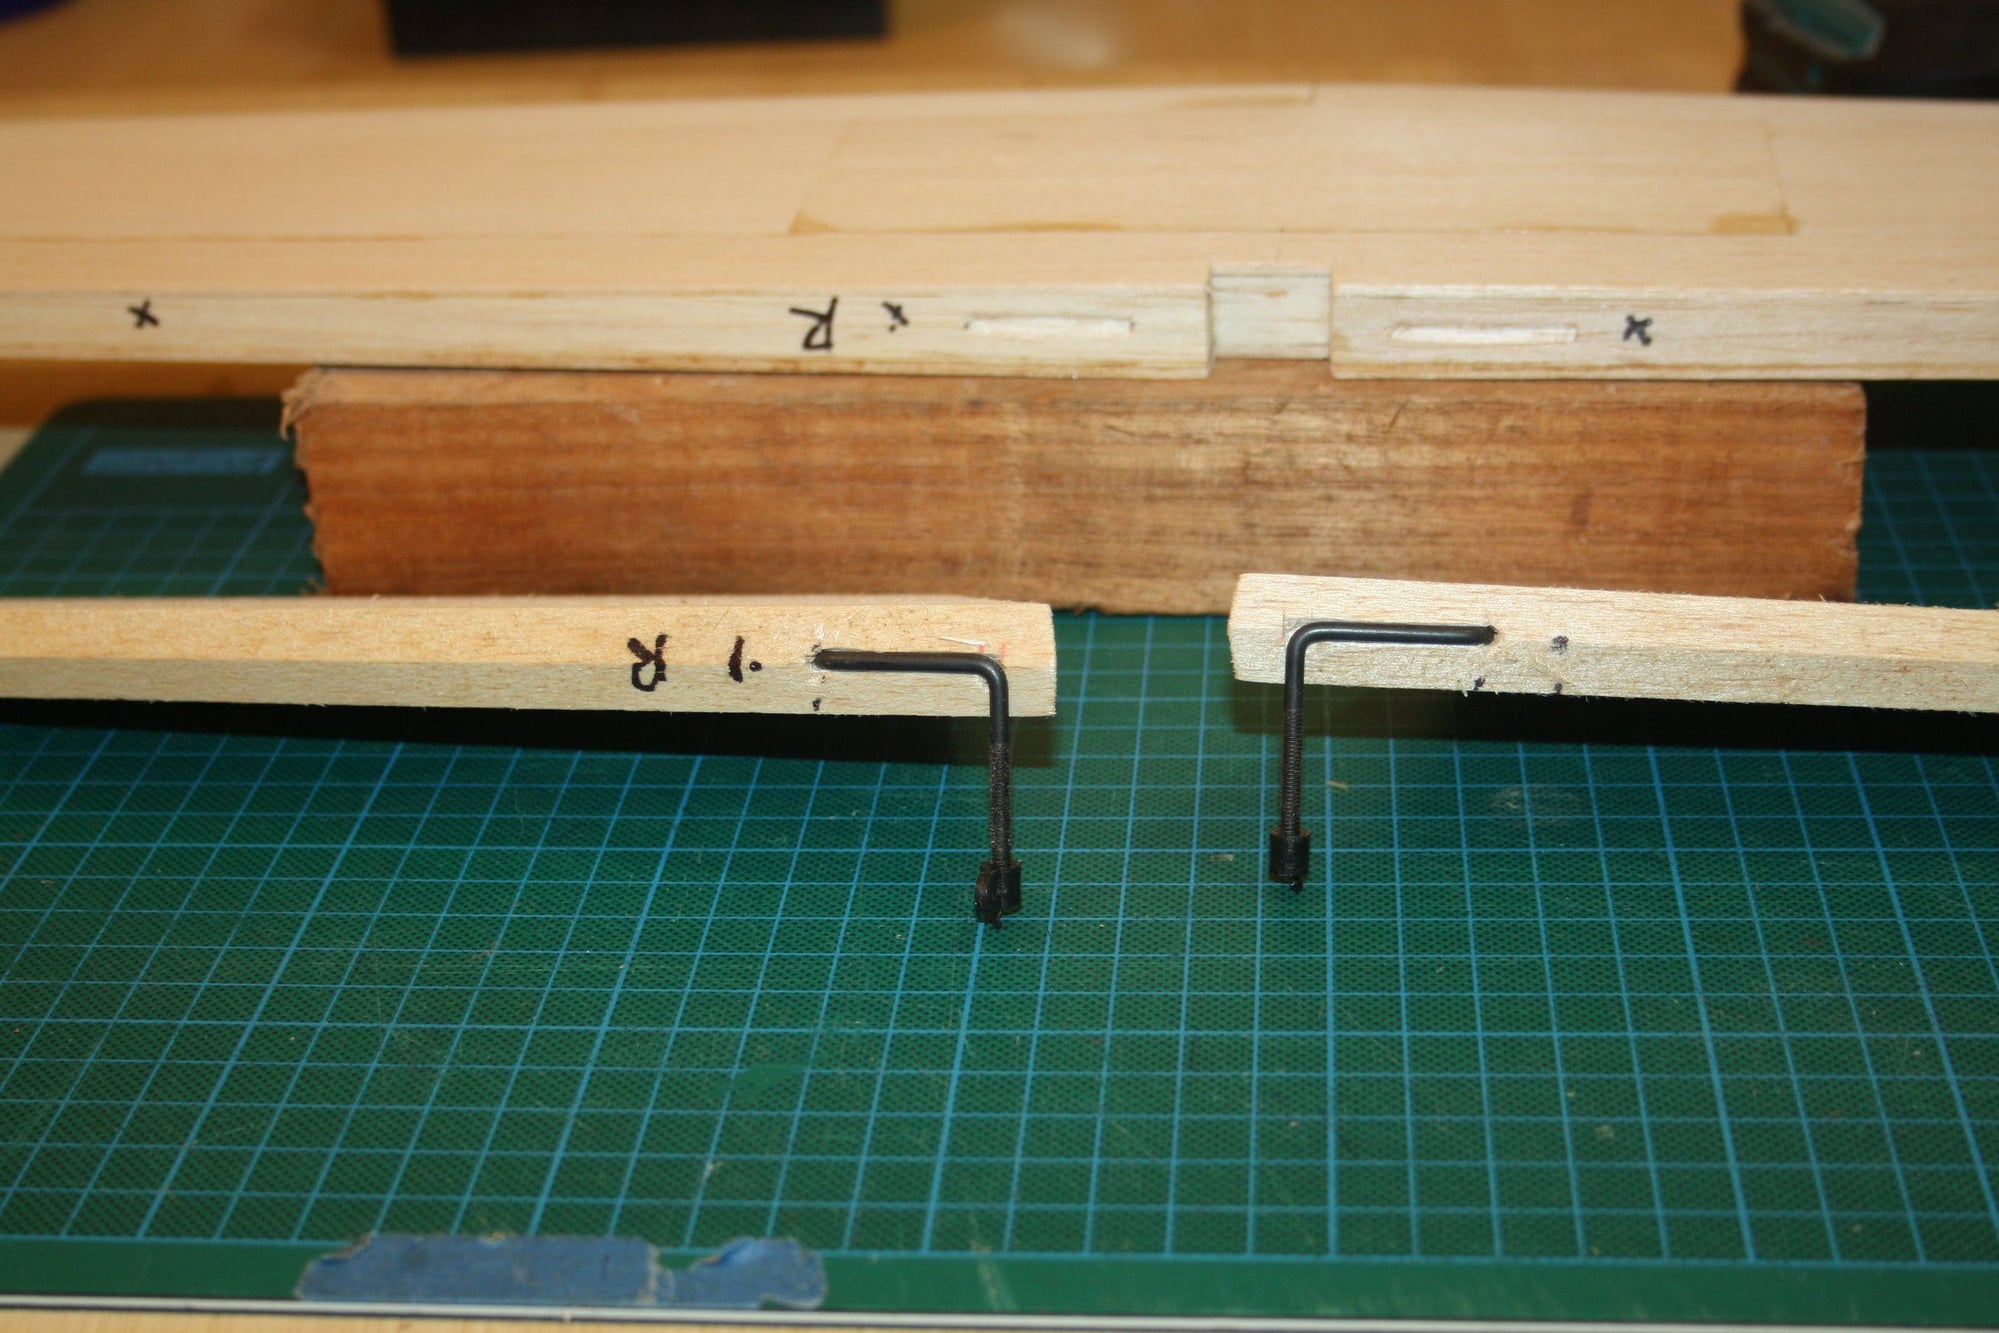
A little bit more work on the wing yesterday.
A balsa piece in the servo to create a wall as per plans;
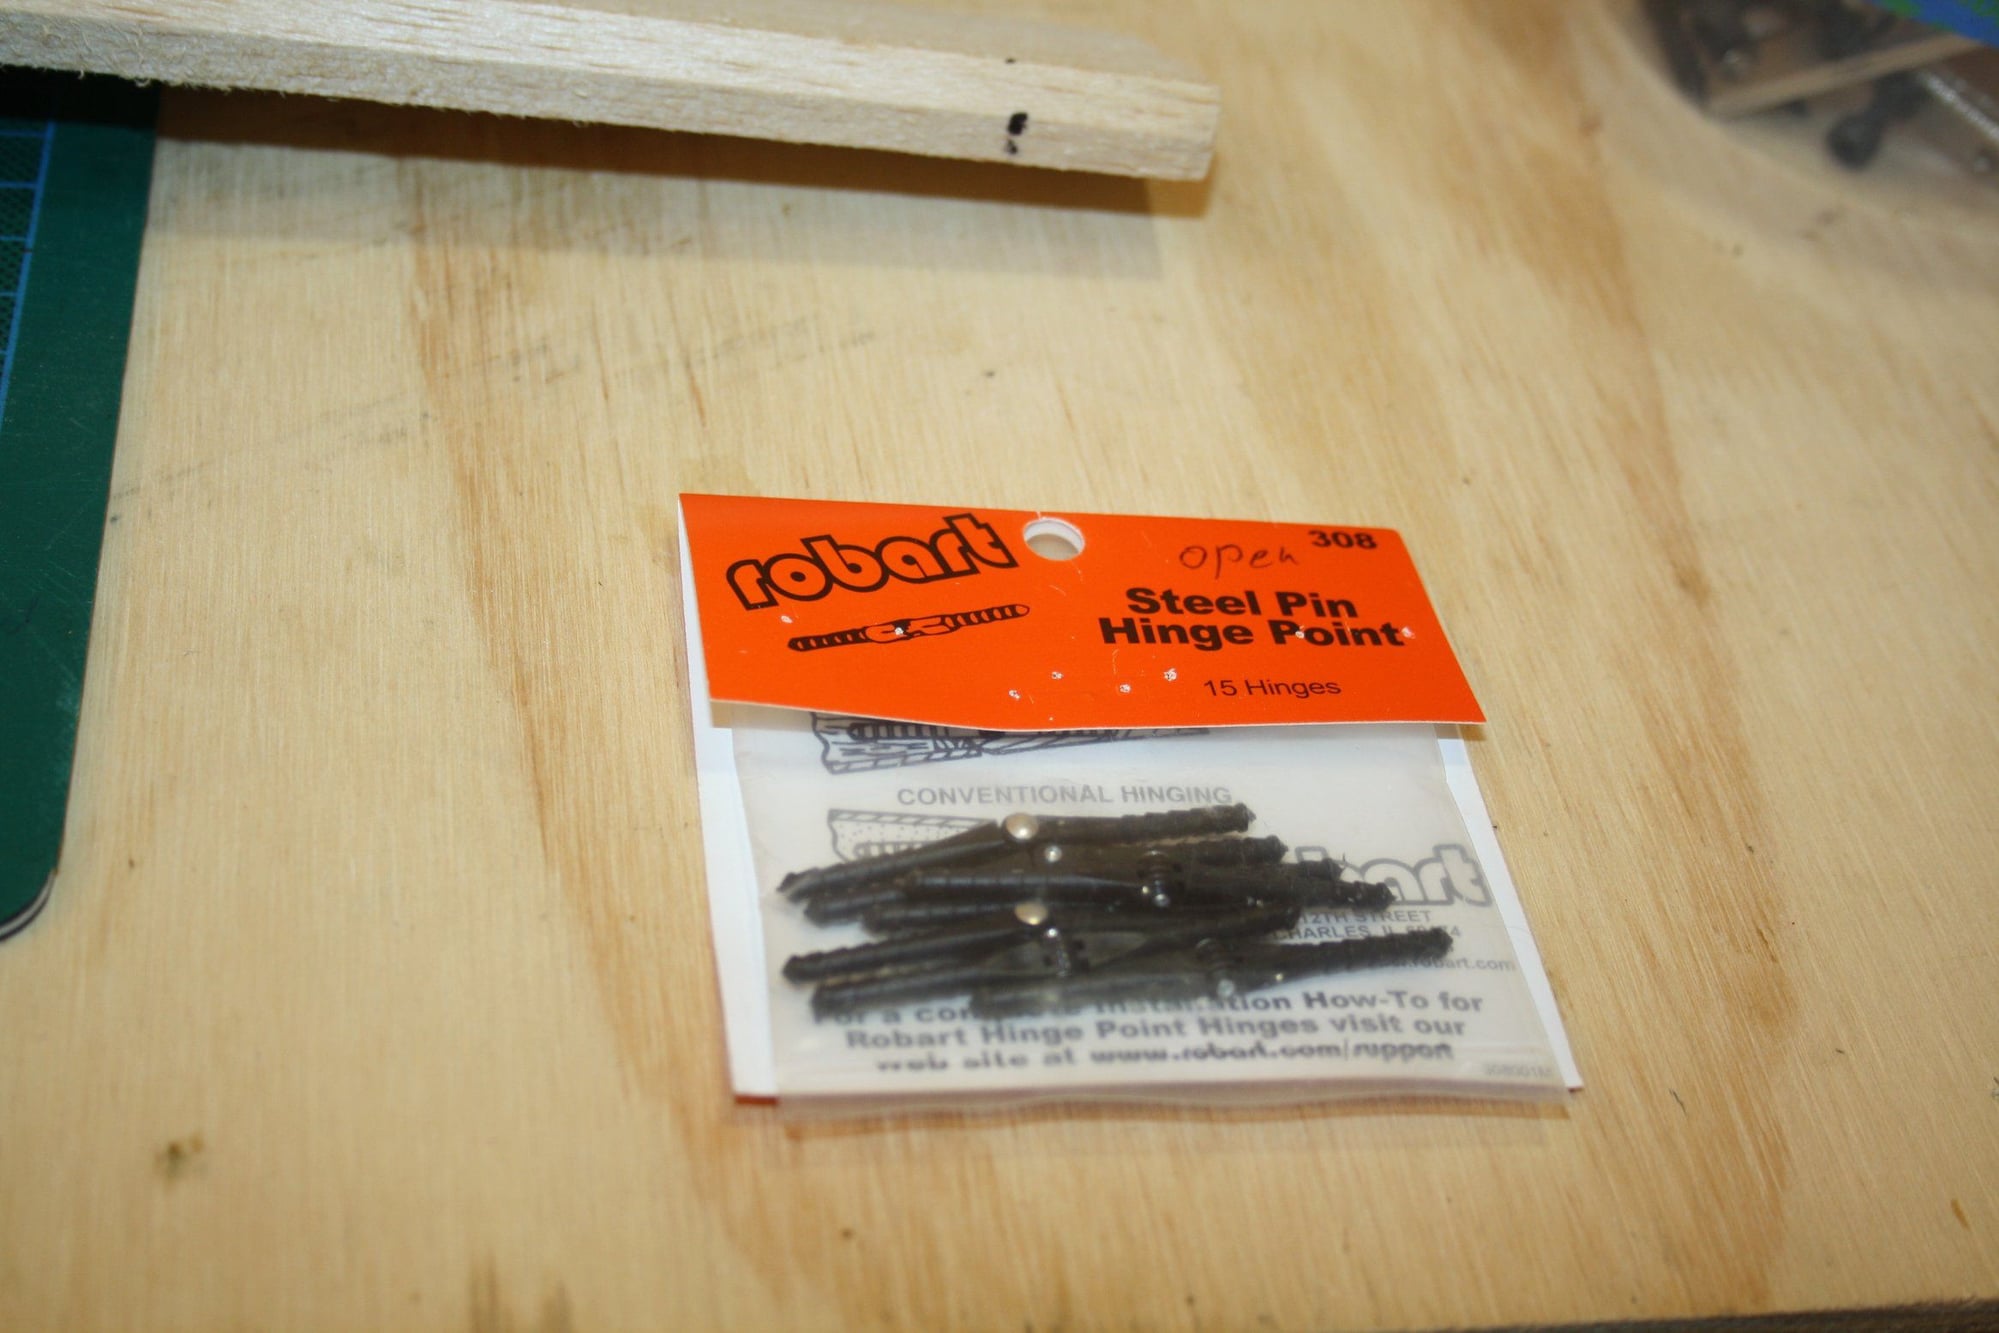
Hinging the second aileron;
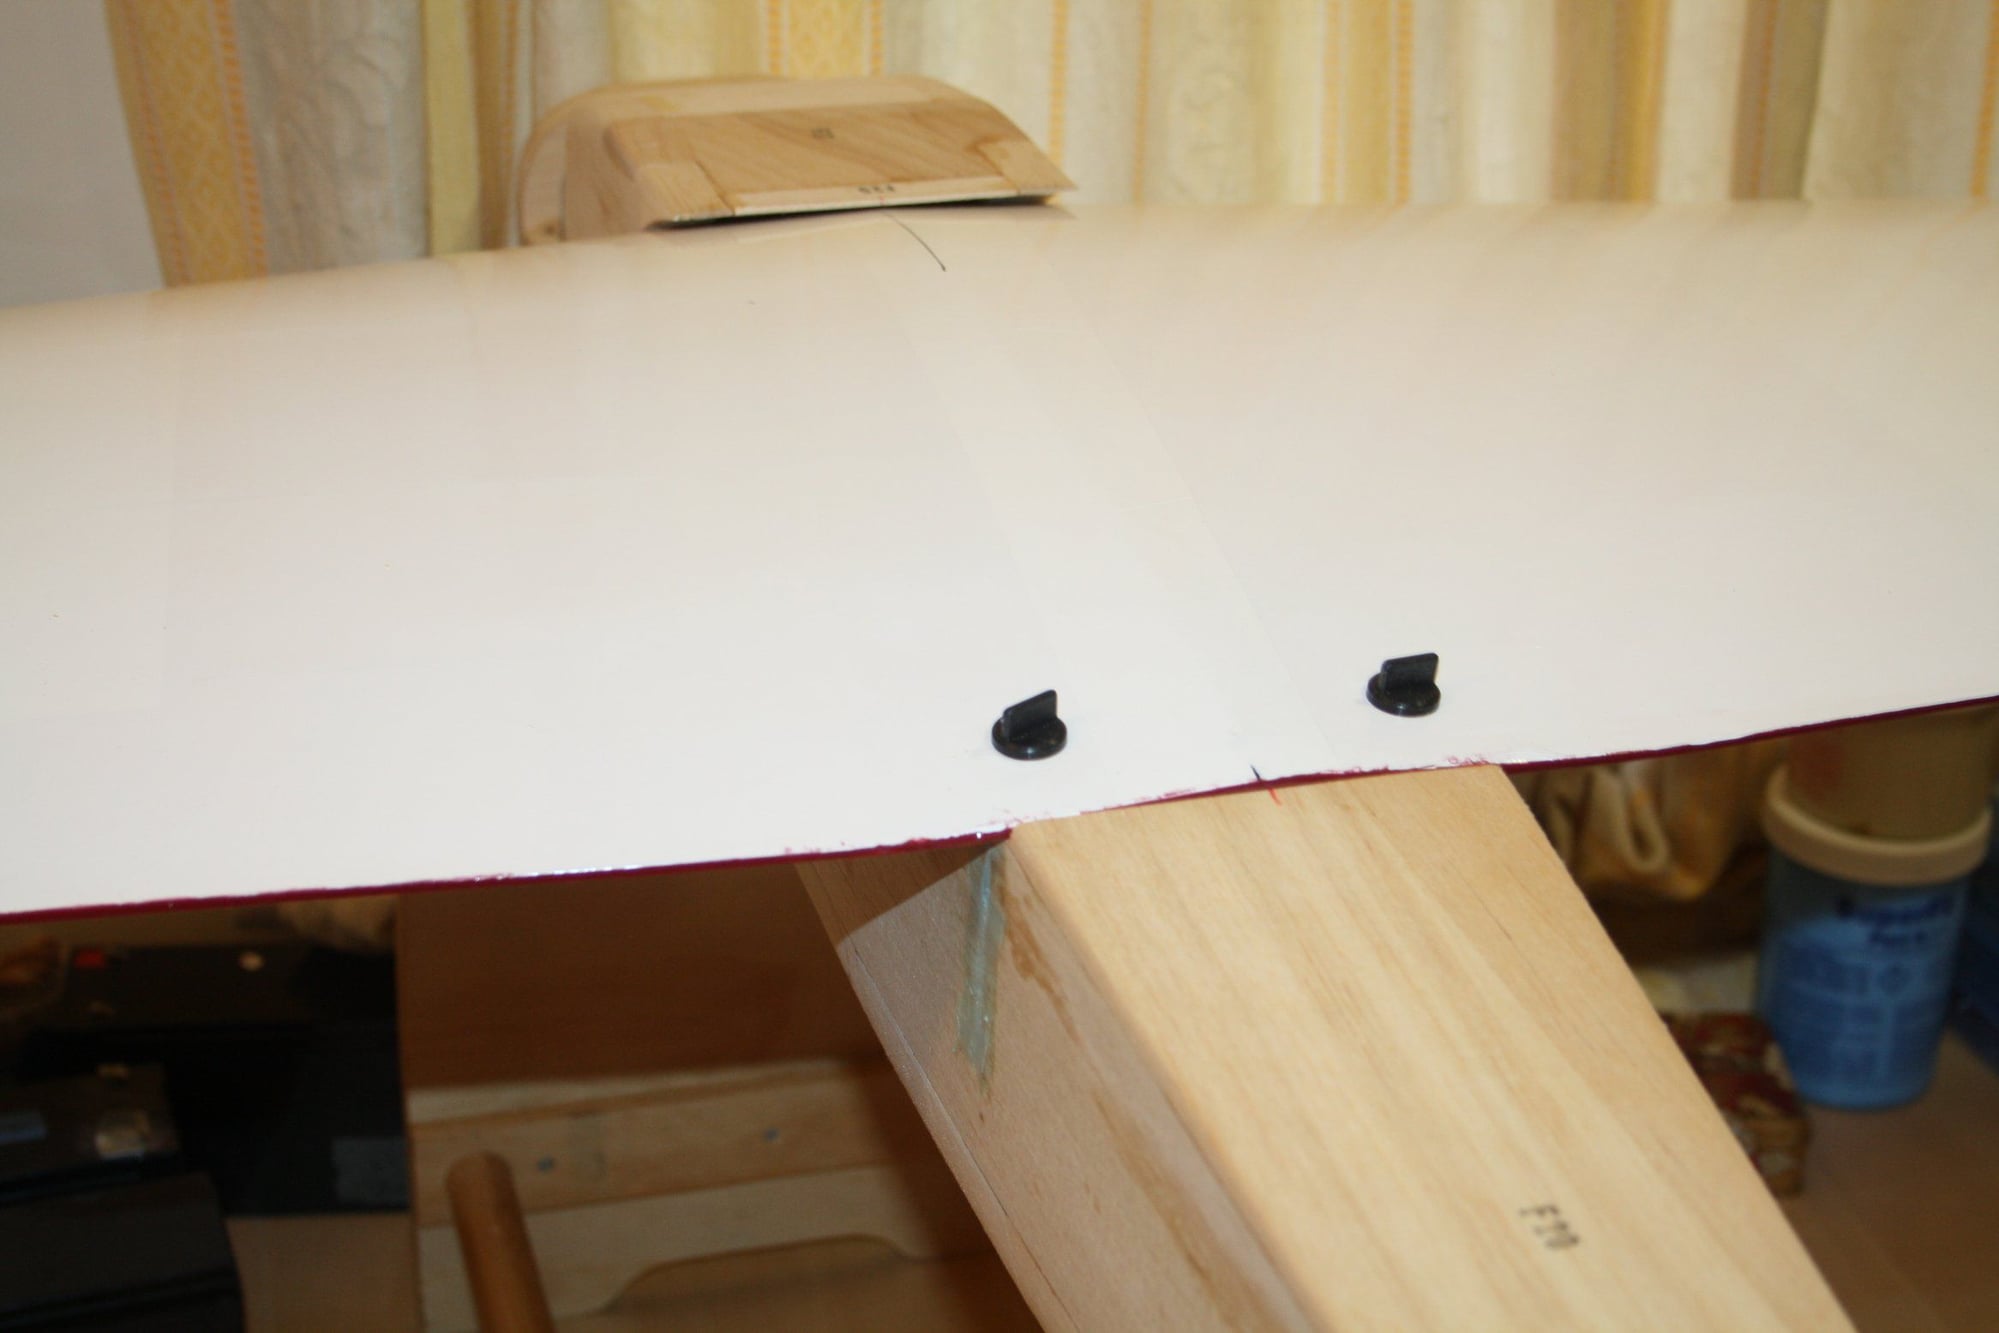
Fitting the wing bolts retentions and checking the wing fit when bolted into place;
And applying filler to the wing.


Cheers,
Eran
A balsa piece in the servo to create a wall as per plans;
Hinging the second aileron;
Fitting the wing bolts retentions and checking the wing fit when bolted into place;
And applying filler to the wing.
Cheers,
Eran
01-02-2020, 09:01 PM
#12
Thread Starter
I had a bit of time yesterday, so I covered the LE and side of the ailerons. Once the corresponding sections are covered in the wing, it will allow me to go ahead with gluing the hinges and connect the ailerons permanently.
Cheers,
Eran
Cheers,
Eran
01-06-2020, 05:06 AM
#13
Thread Starter
Some more progress:
Covering the wing TE at the ailerons bays;
Horizontal stabiliser tips and LE sanded to shape;
Cut for rudder and grooves for the control horns at the TE;
Elevator hinges and control horns drilled.
Cheers,
Eran
Covering the wing TE at the ailerons bays;
Horizontal stabiliser tips and LE sanded to shape;
Cut for rudder and grooves for the control horns at the TE;
Elevator hinges and control horns drilled.
Cheers,
Eran
01-08-2020, 05:59 PM
#14
Thread Starter
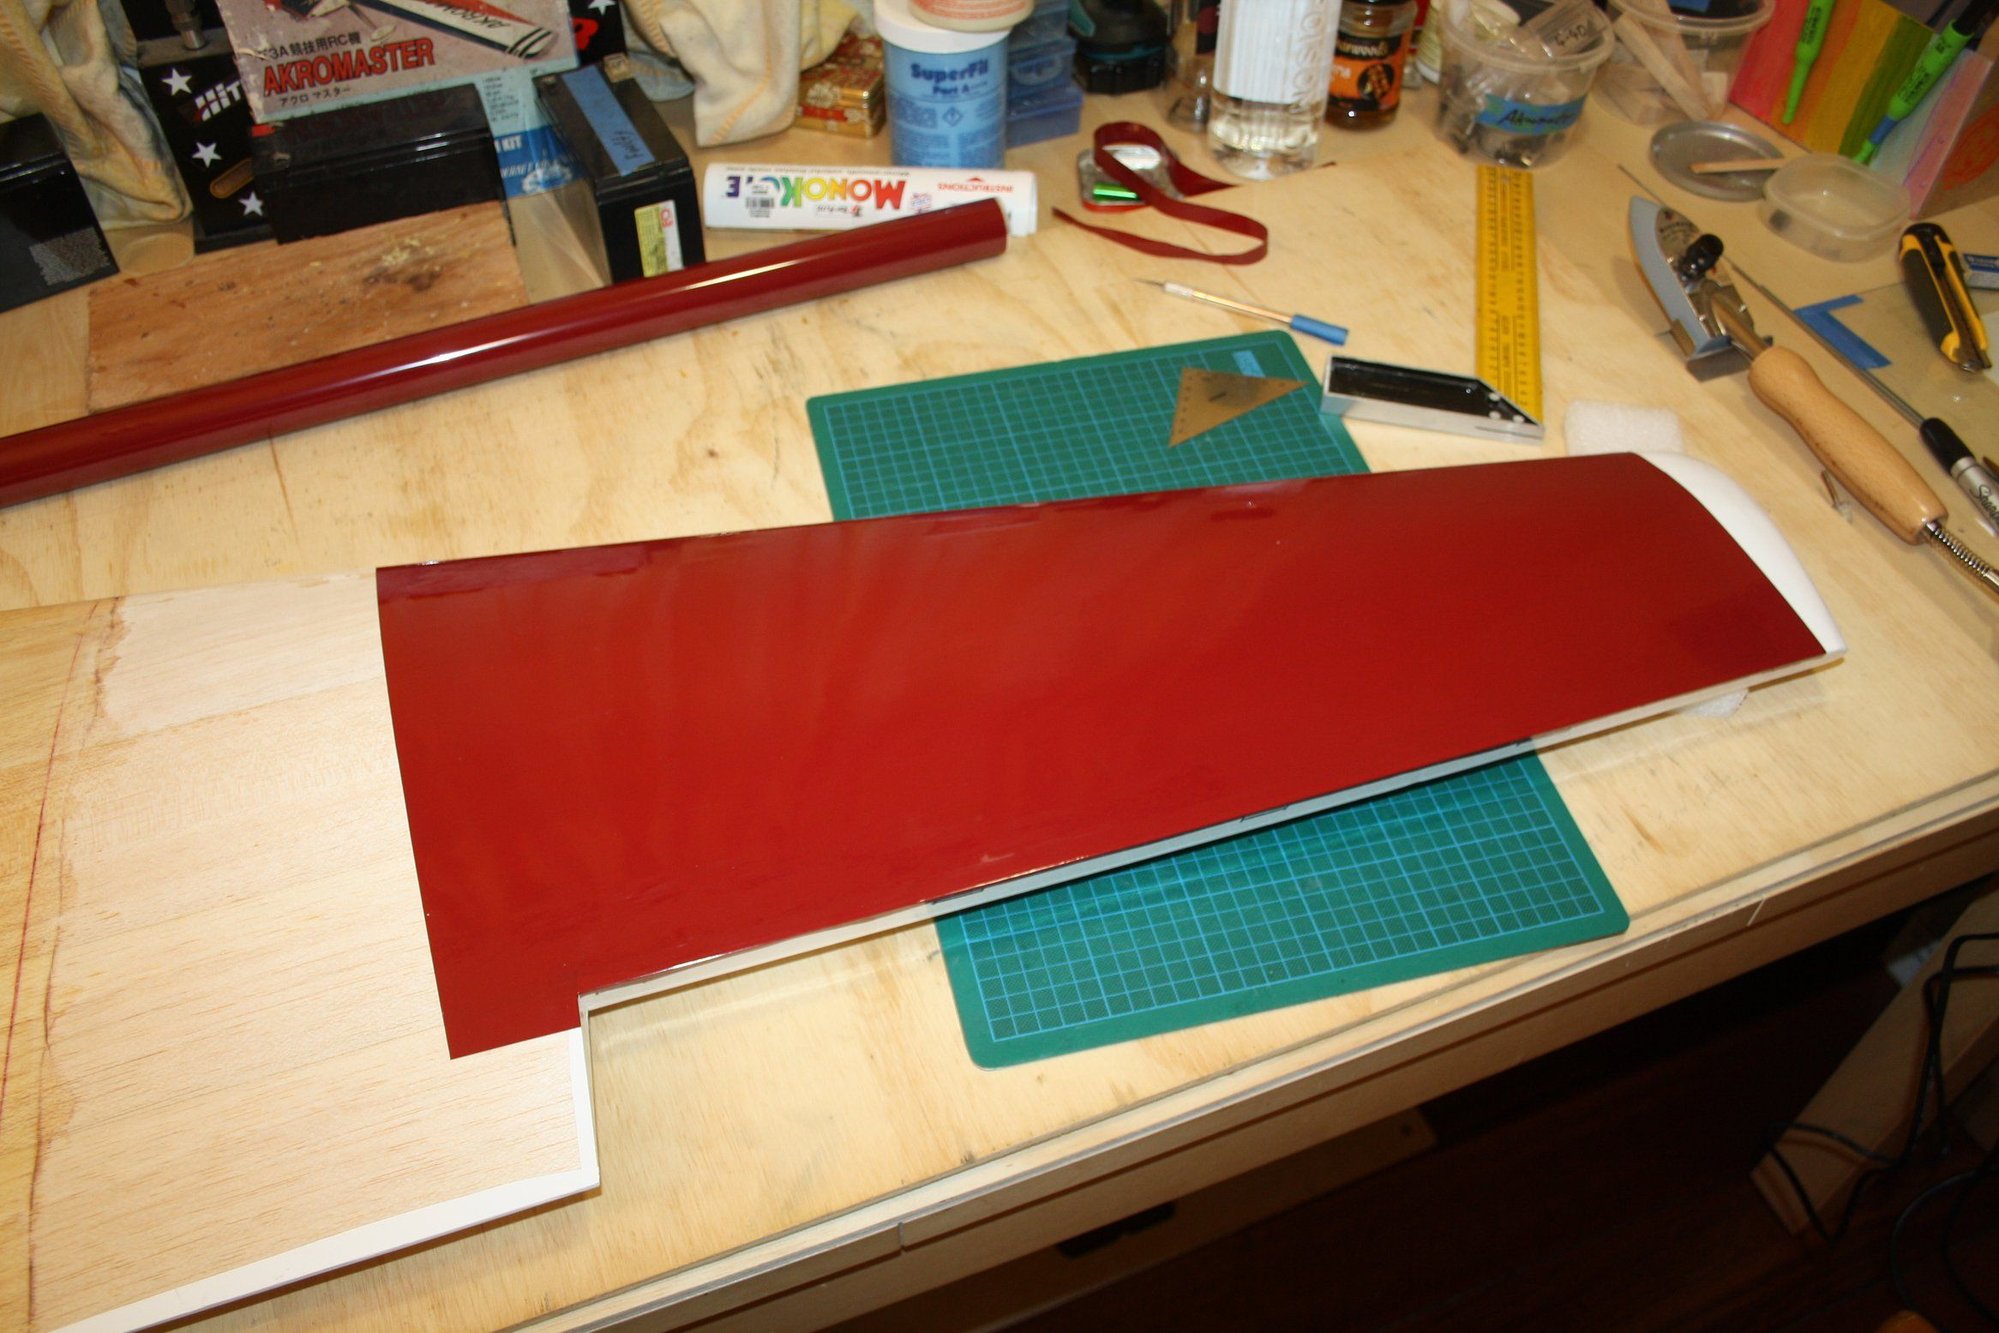
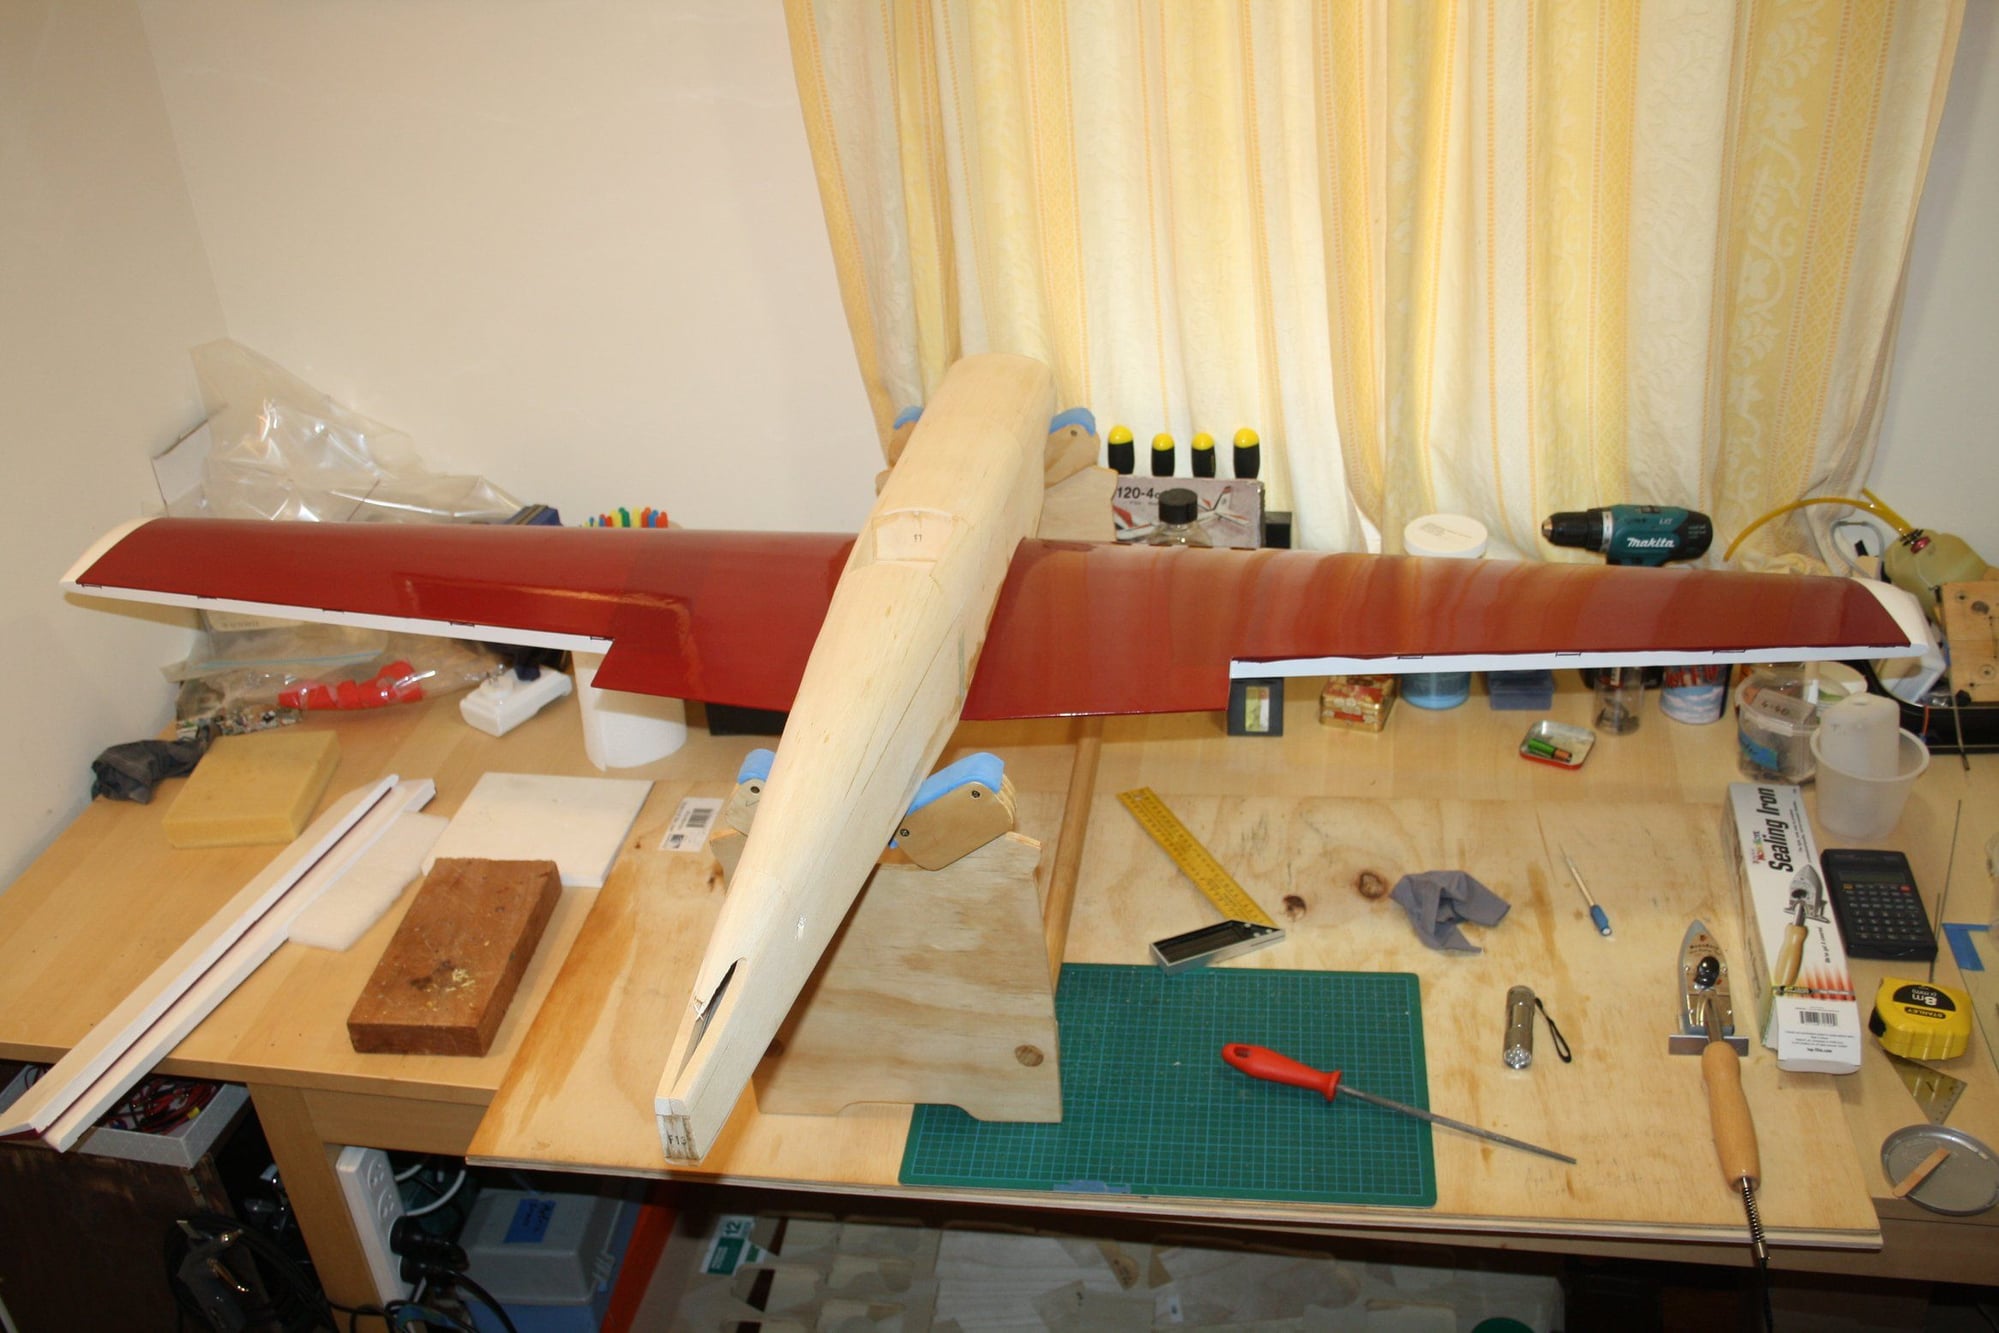
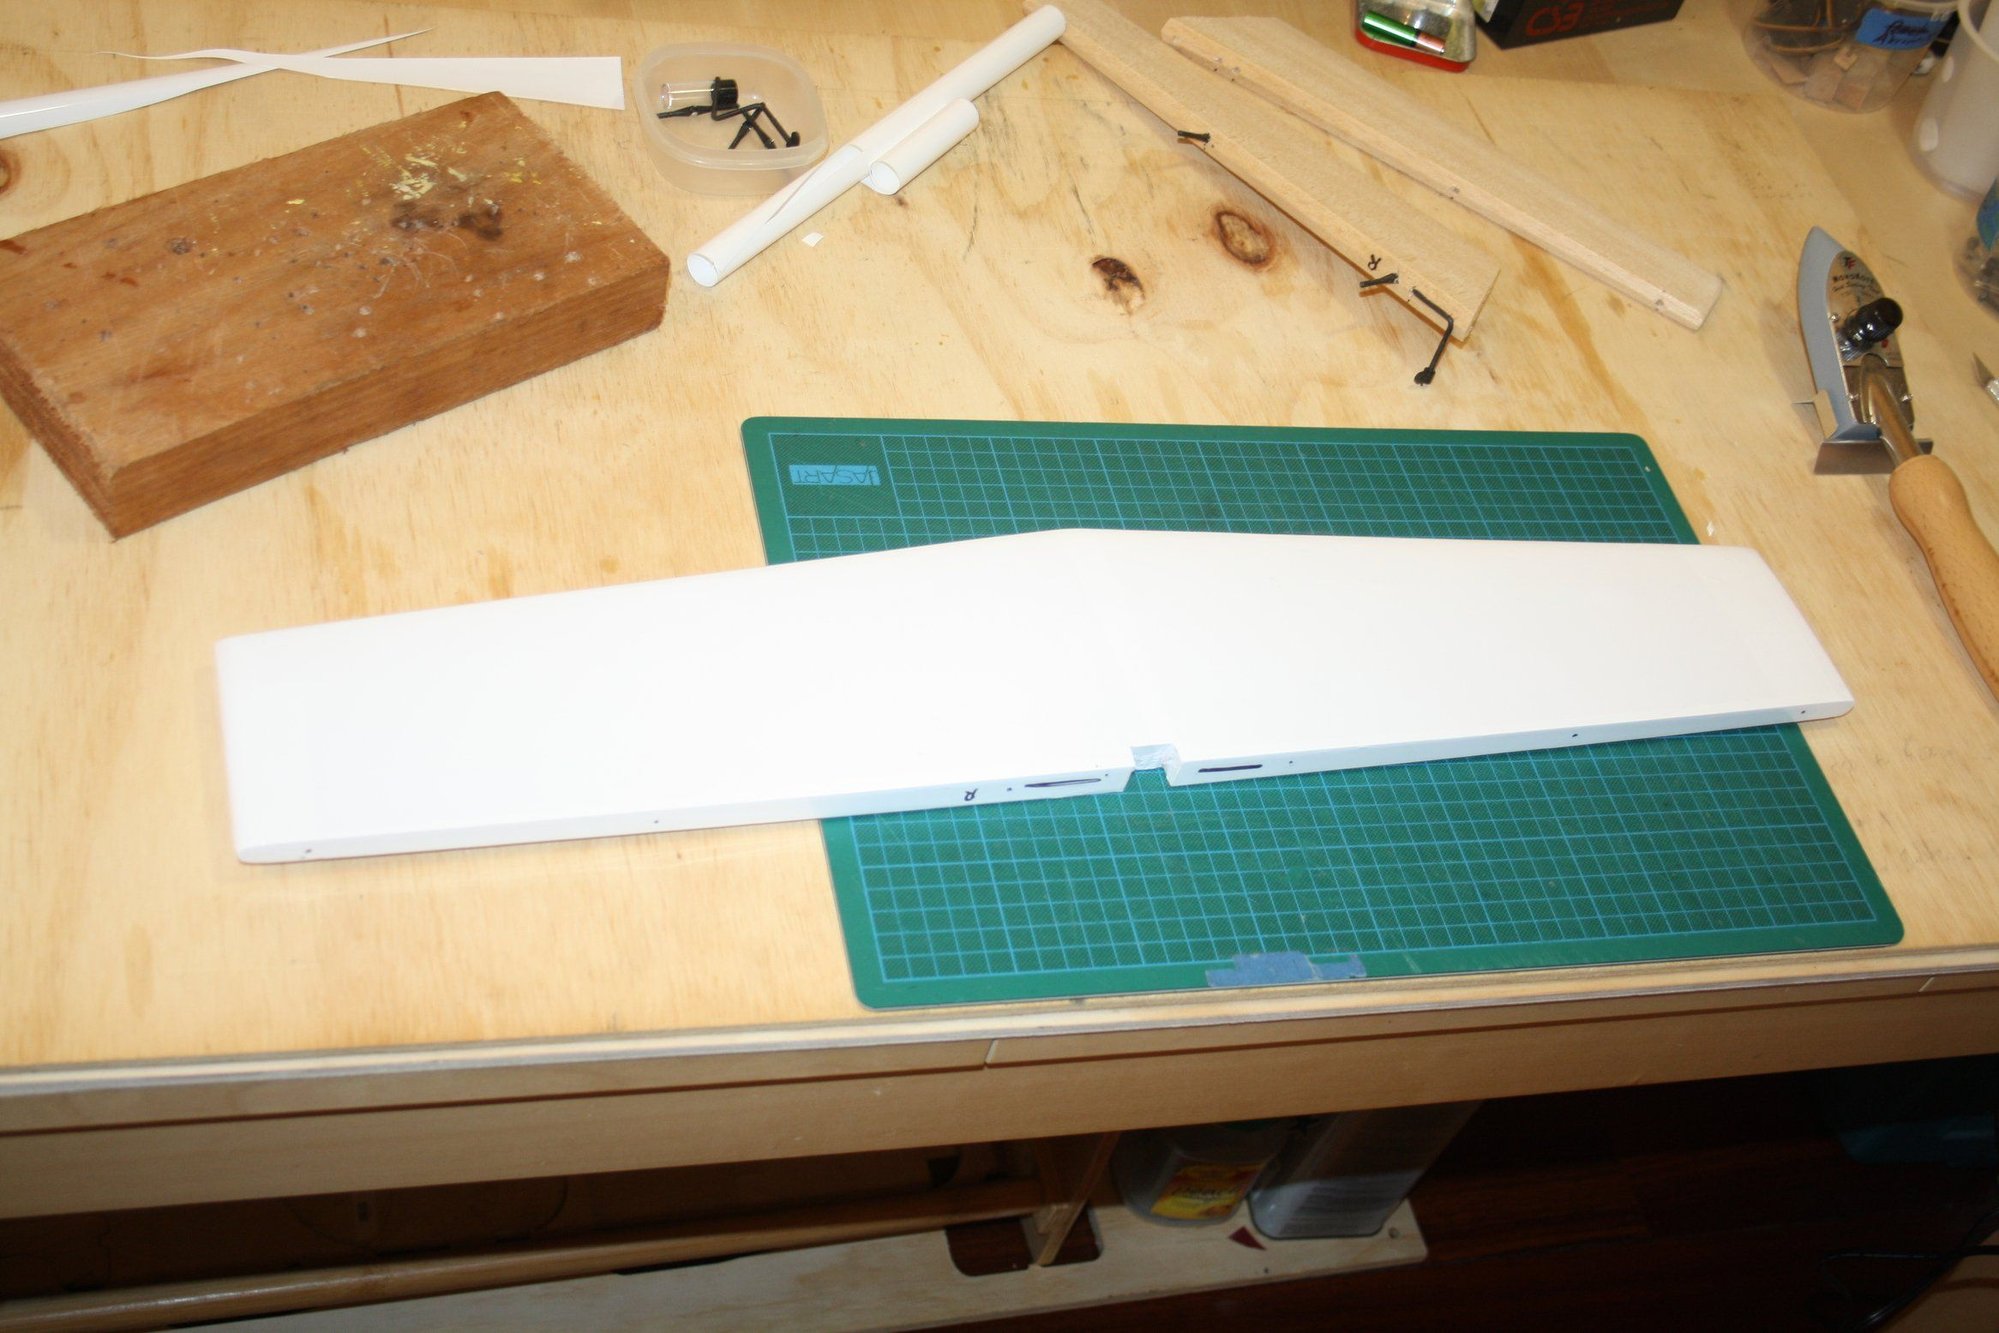
I got my Monokote order from Tower Hobbies, and decided to go ahead with the wing covering.
I started with the tips due to the compound curves. I used the Top-Flite heat gun once the edge was ironed to the wing sheeting. This produces great results.


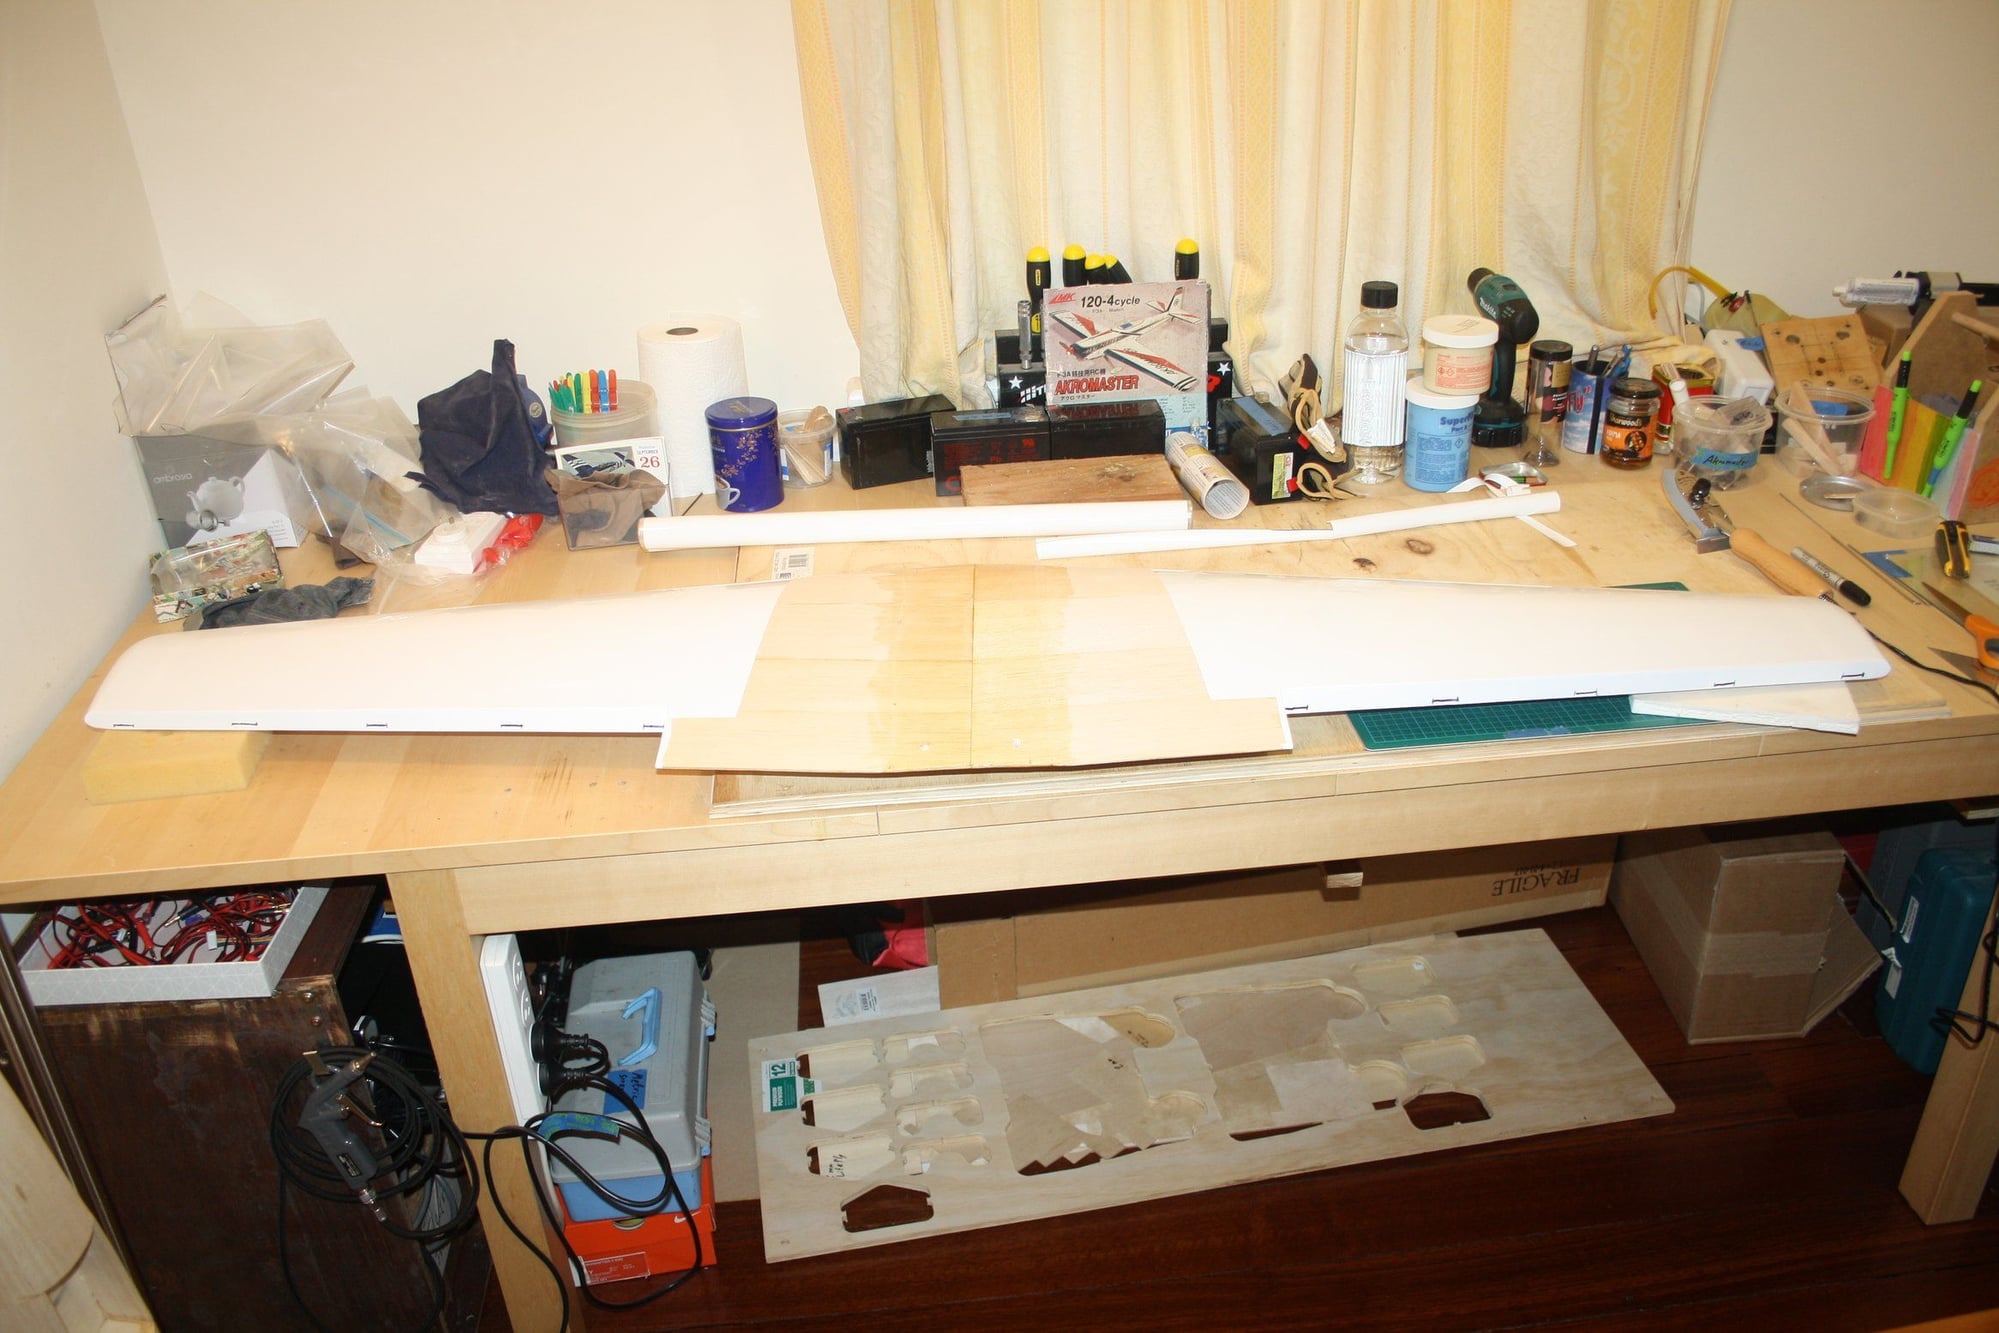
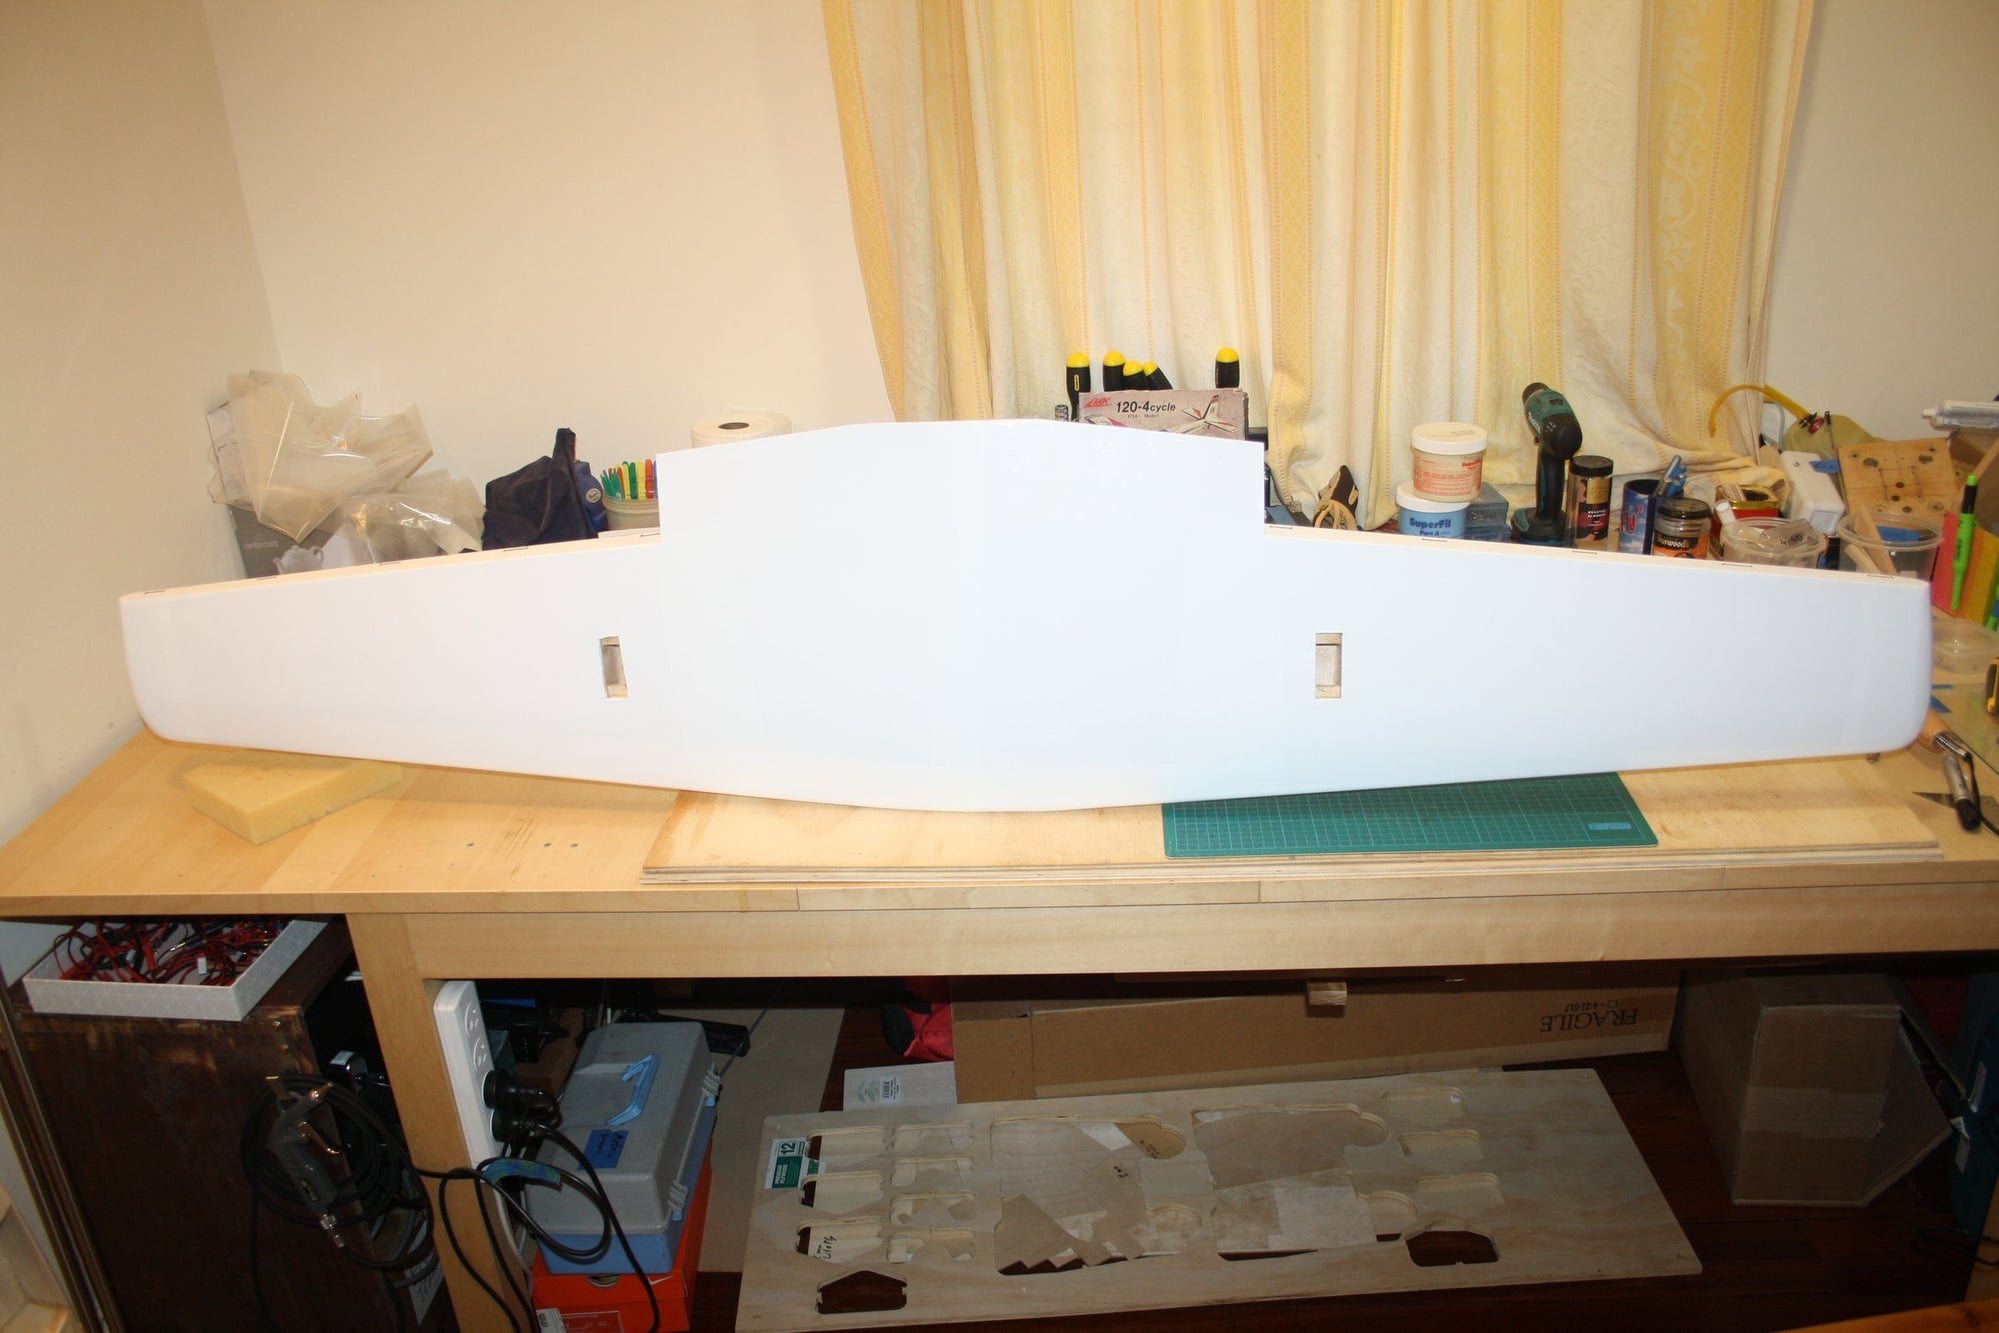
Next is the Maroon Monokote top,
Cheers,
Eran
I started with the tips due to the compound curves. I used the Top-Flite heat gun once the edge was ironed to the wing sheeting. This produces great results.
Next is the Maroon Monokote top,
Cheers,
Eran
01-10-2020, 01:01 AM
#15
Thread Starter
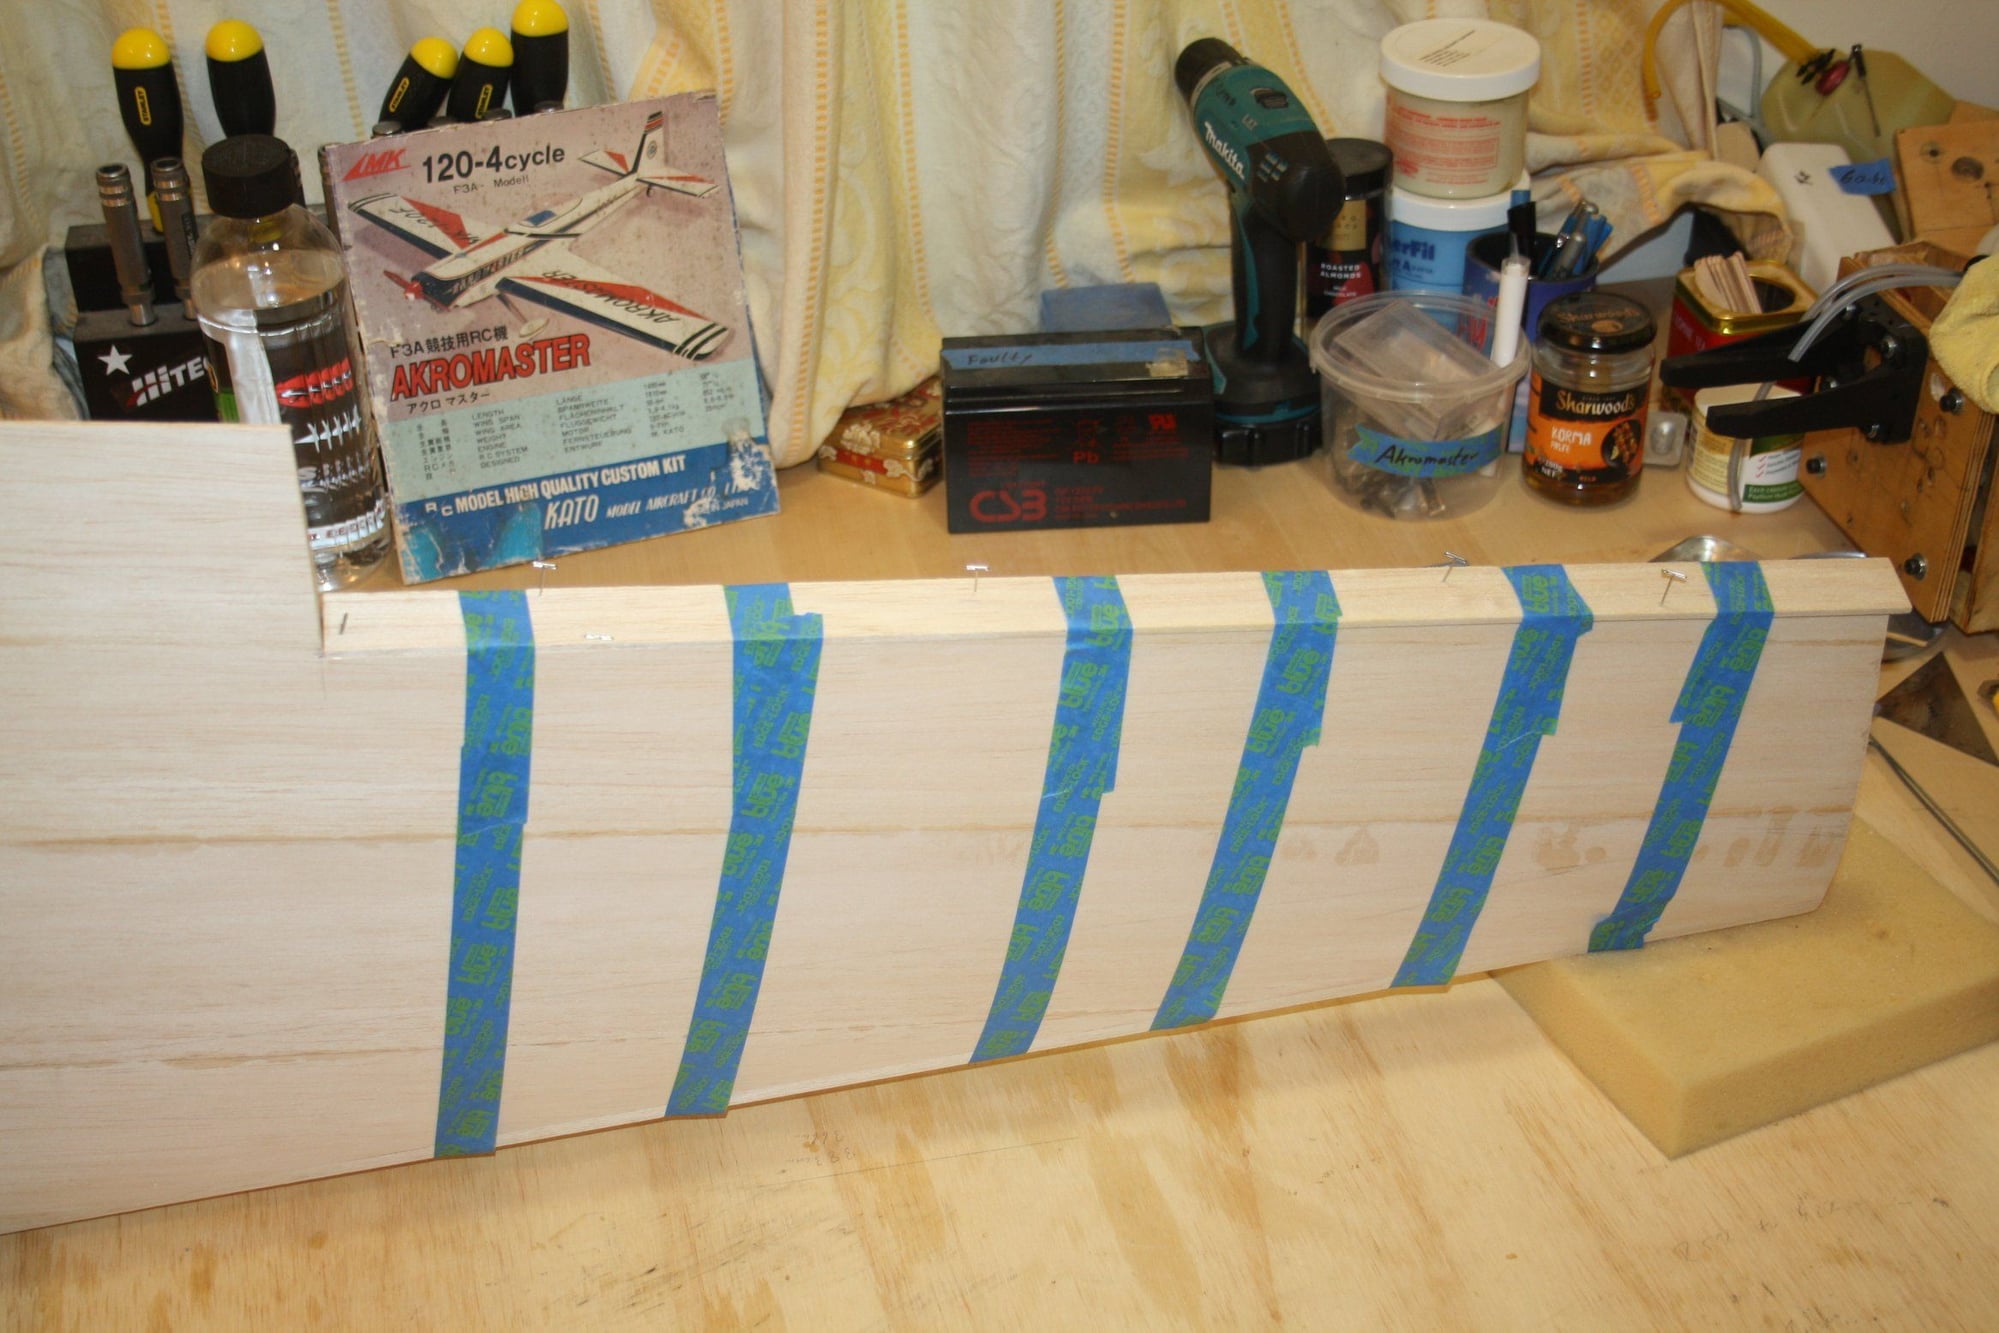
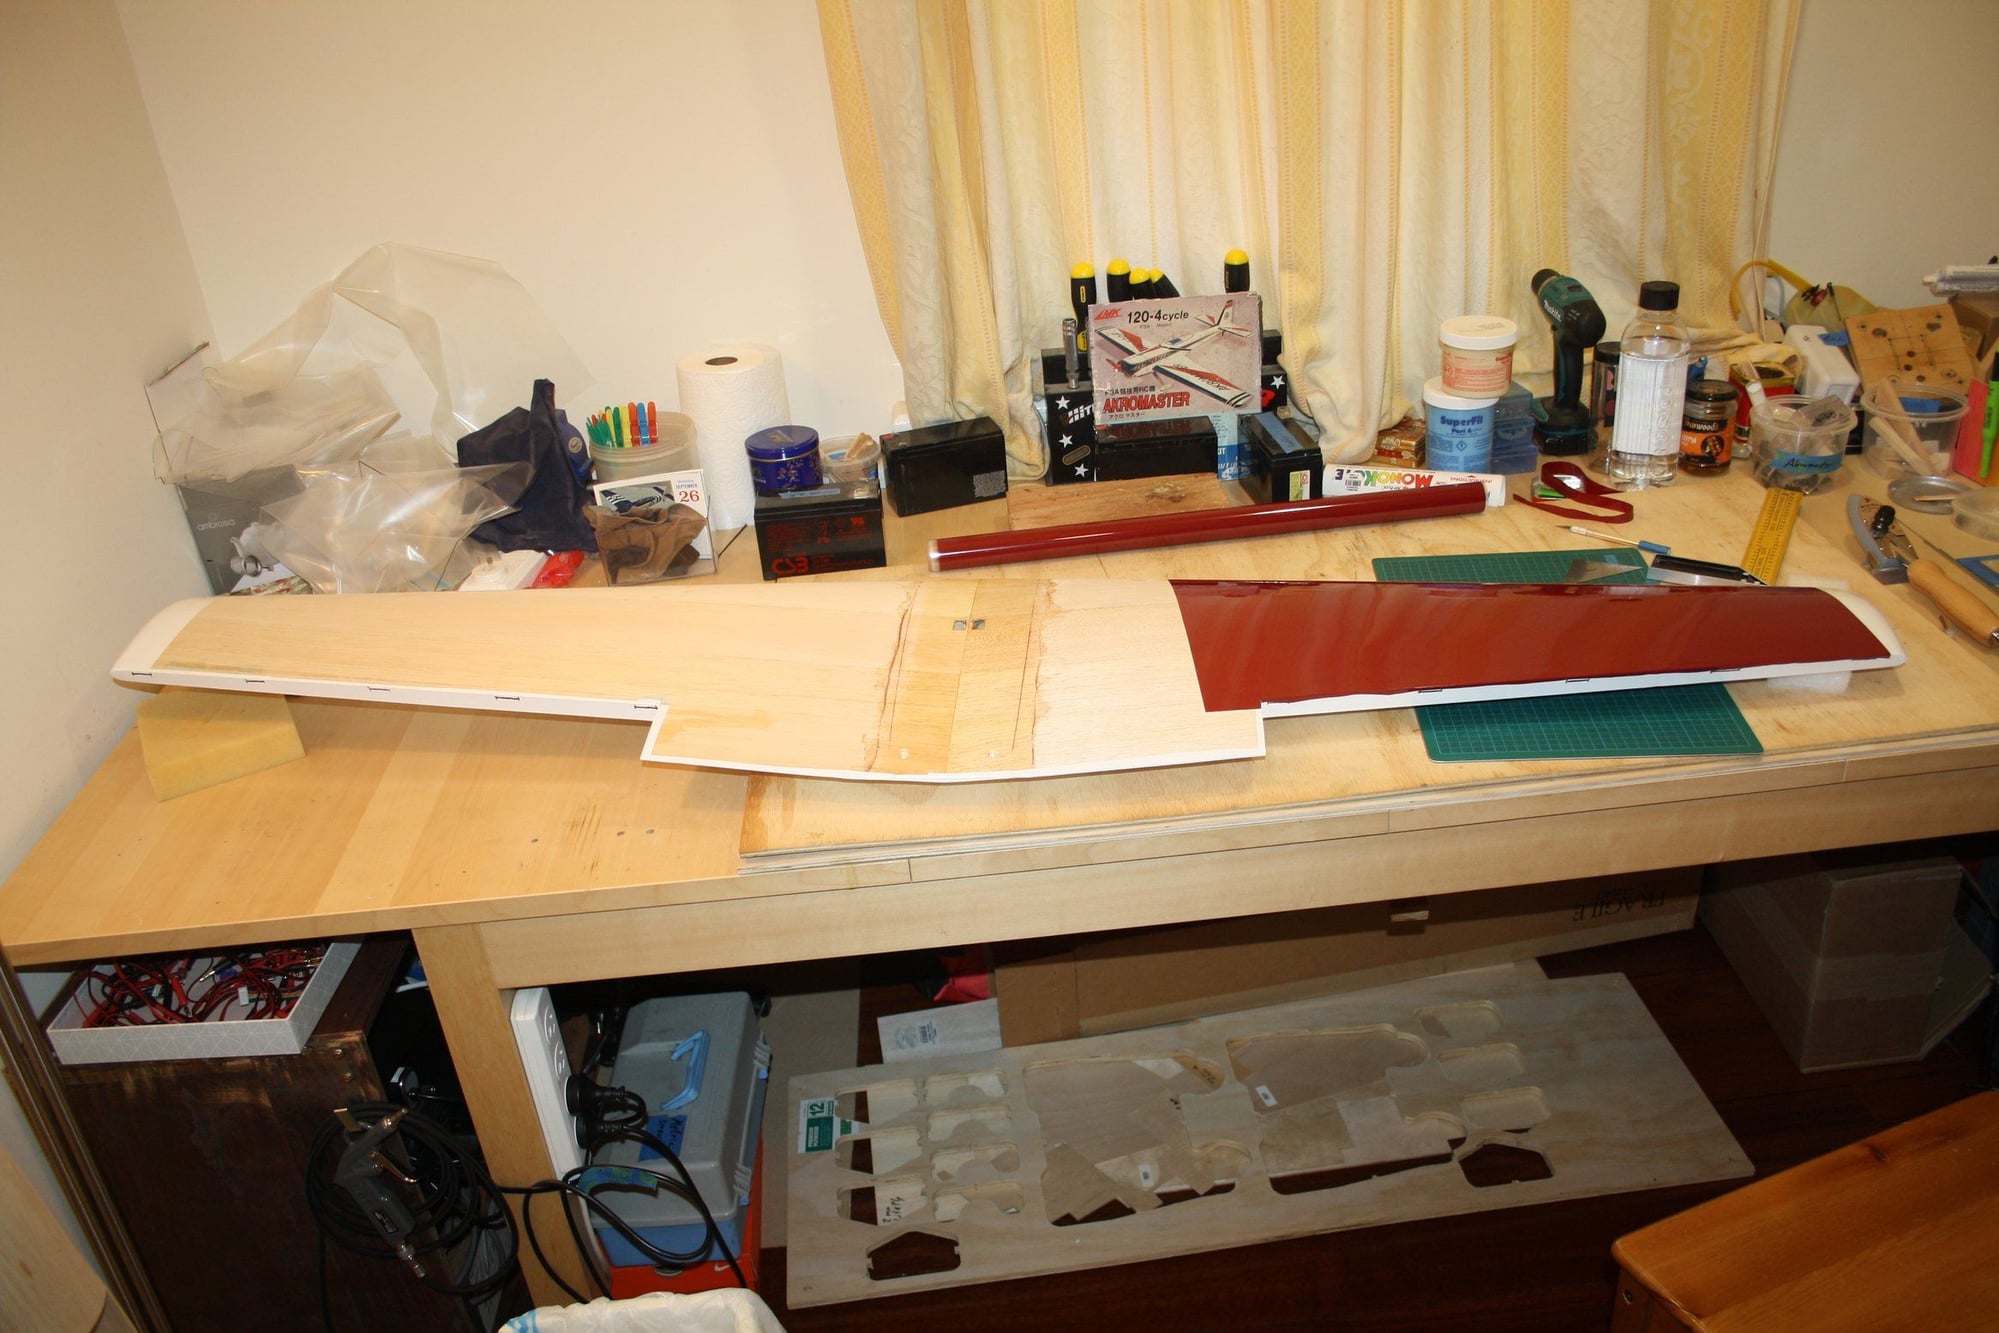
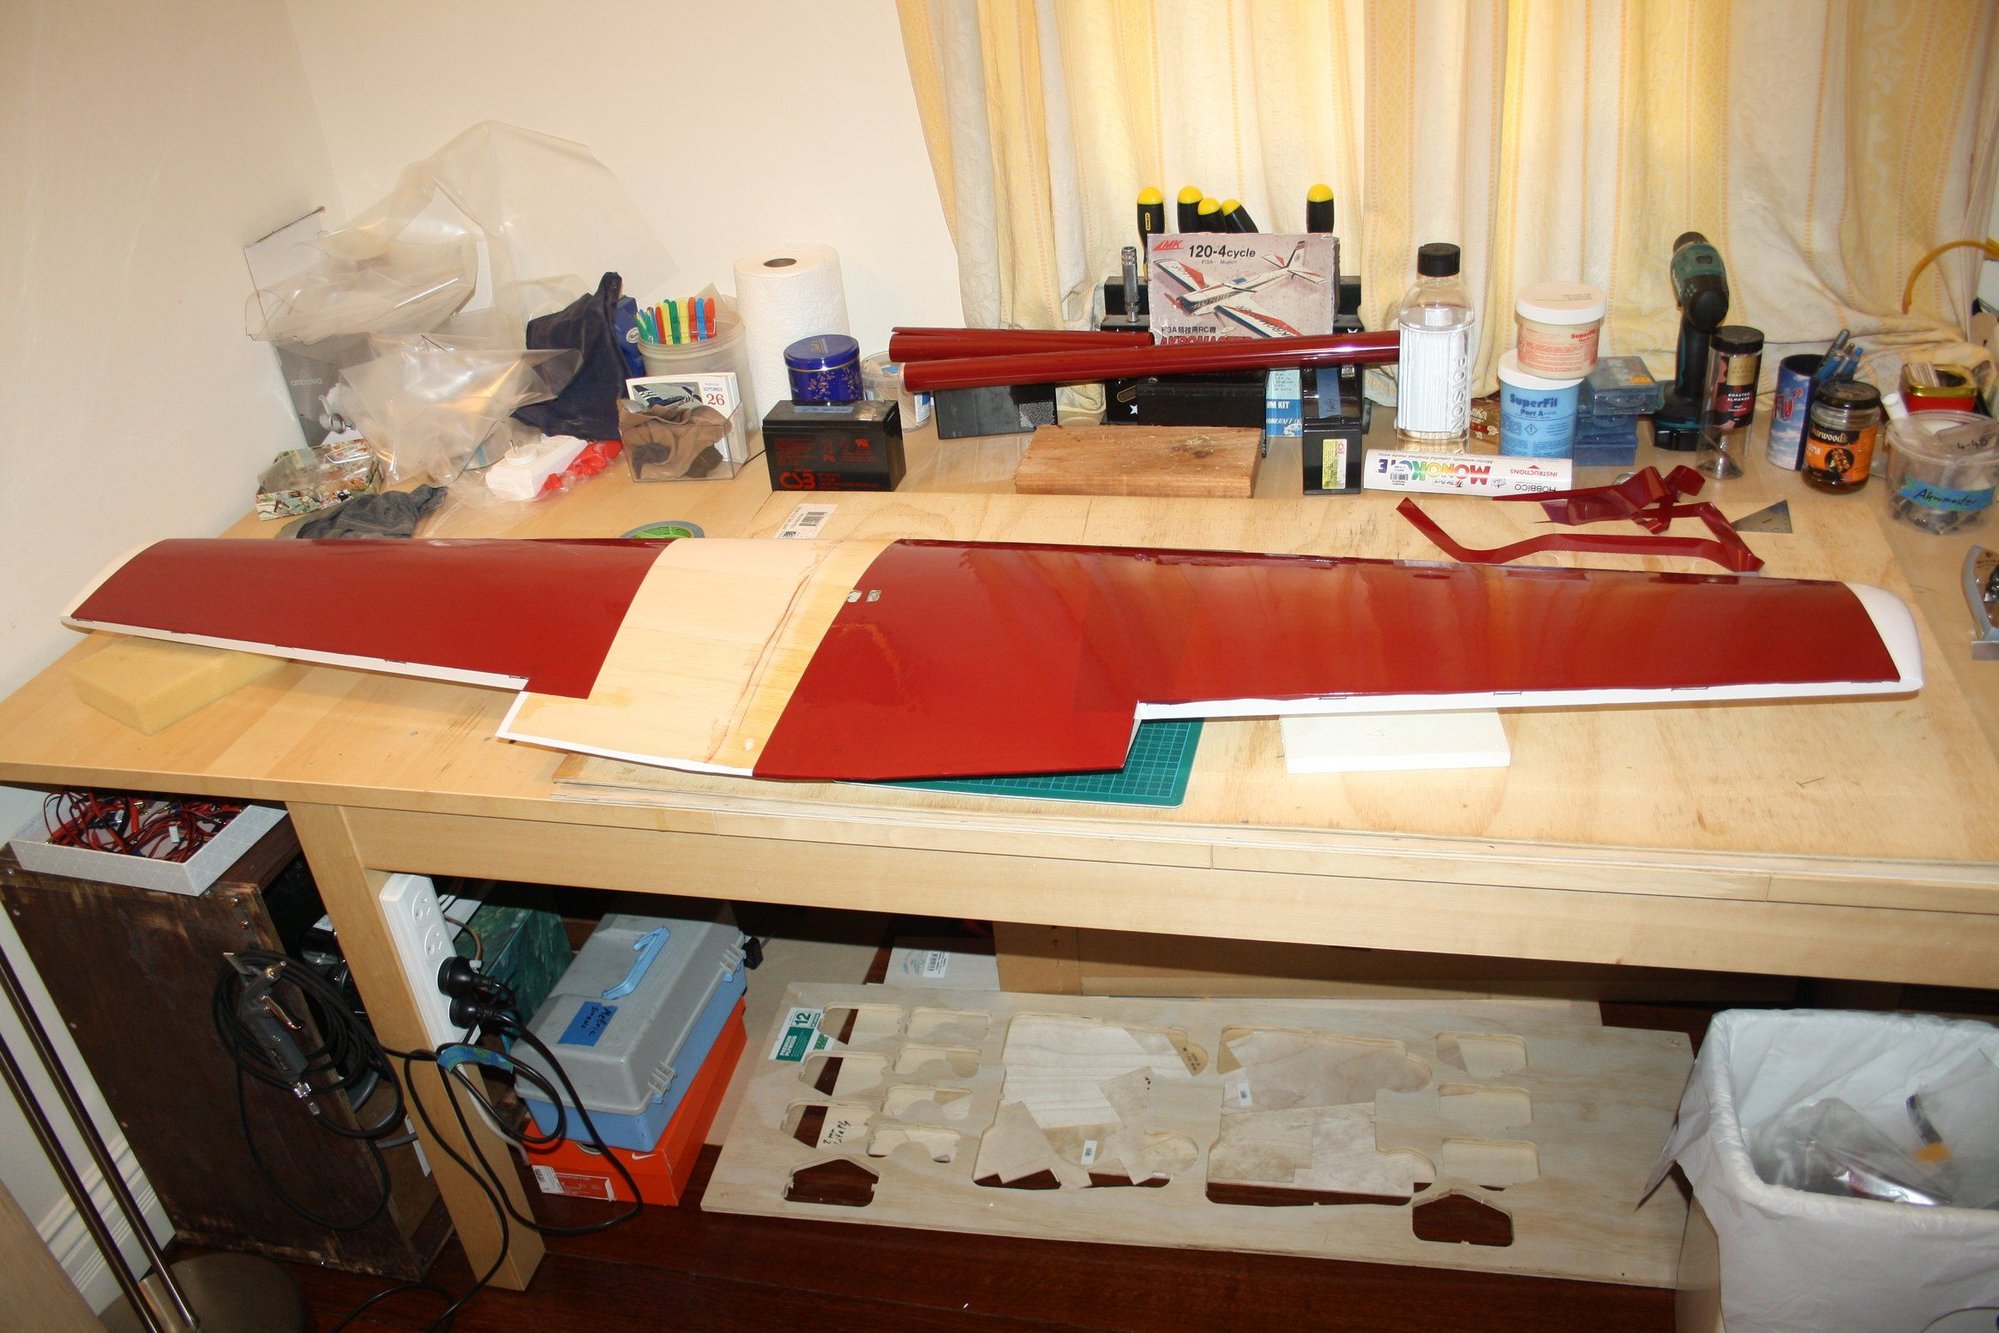
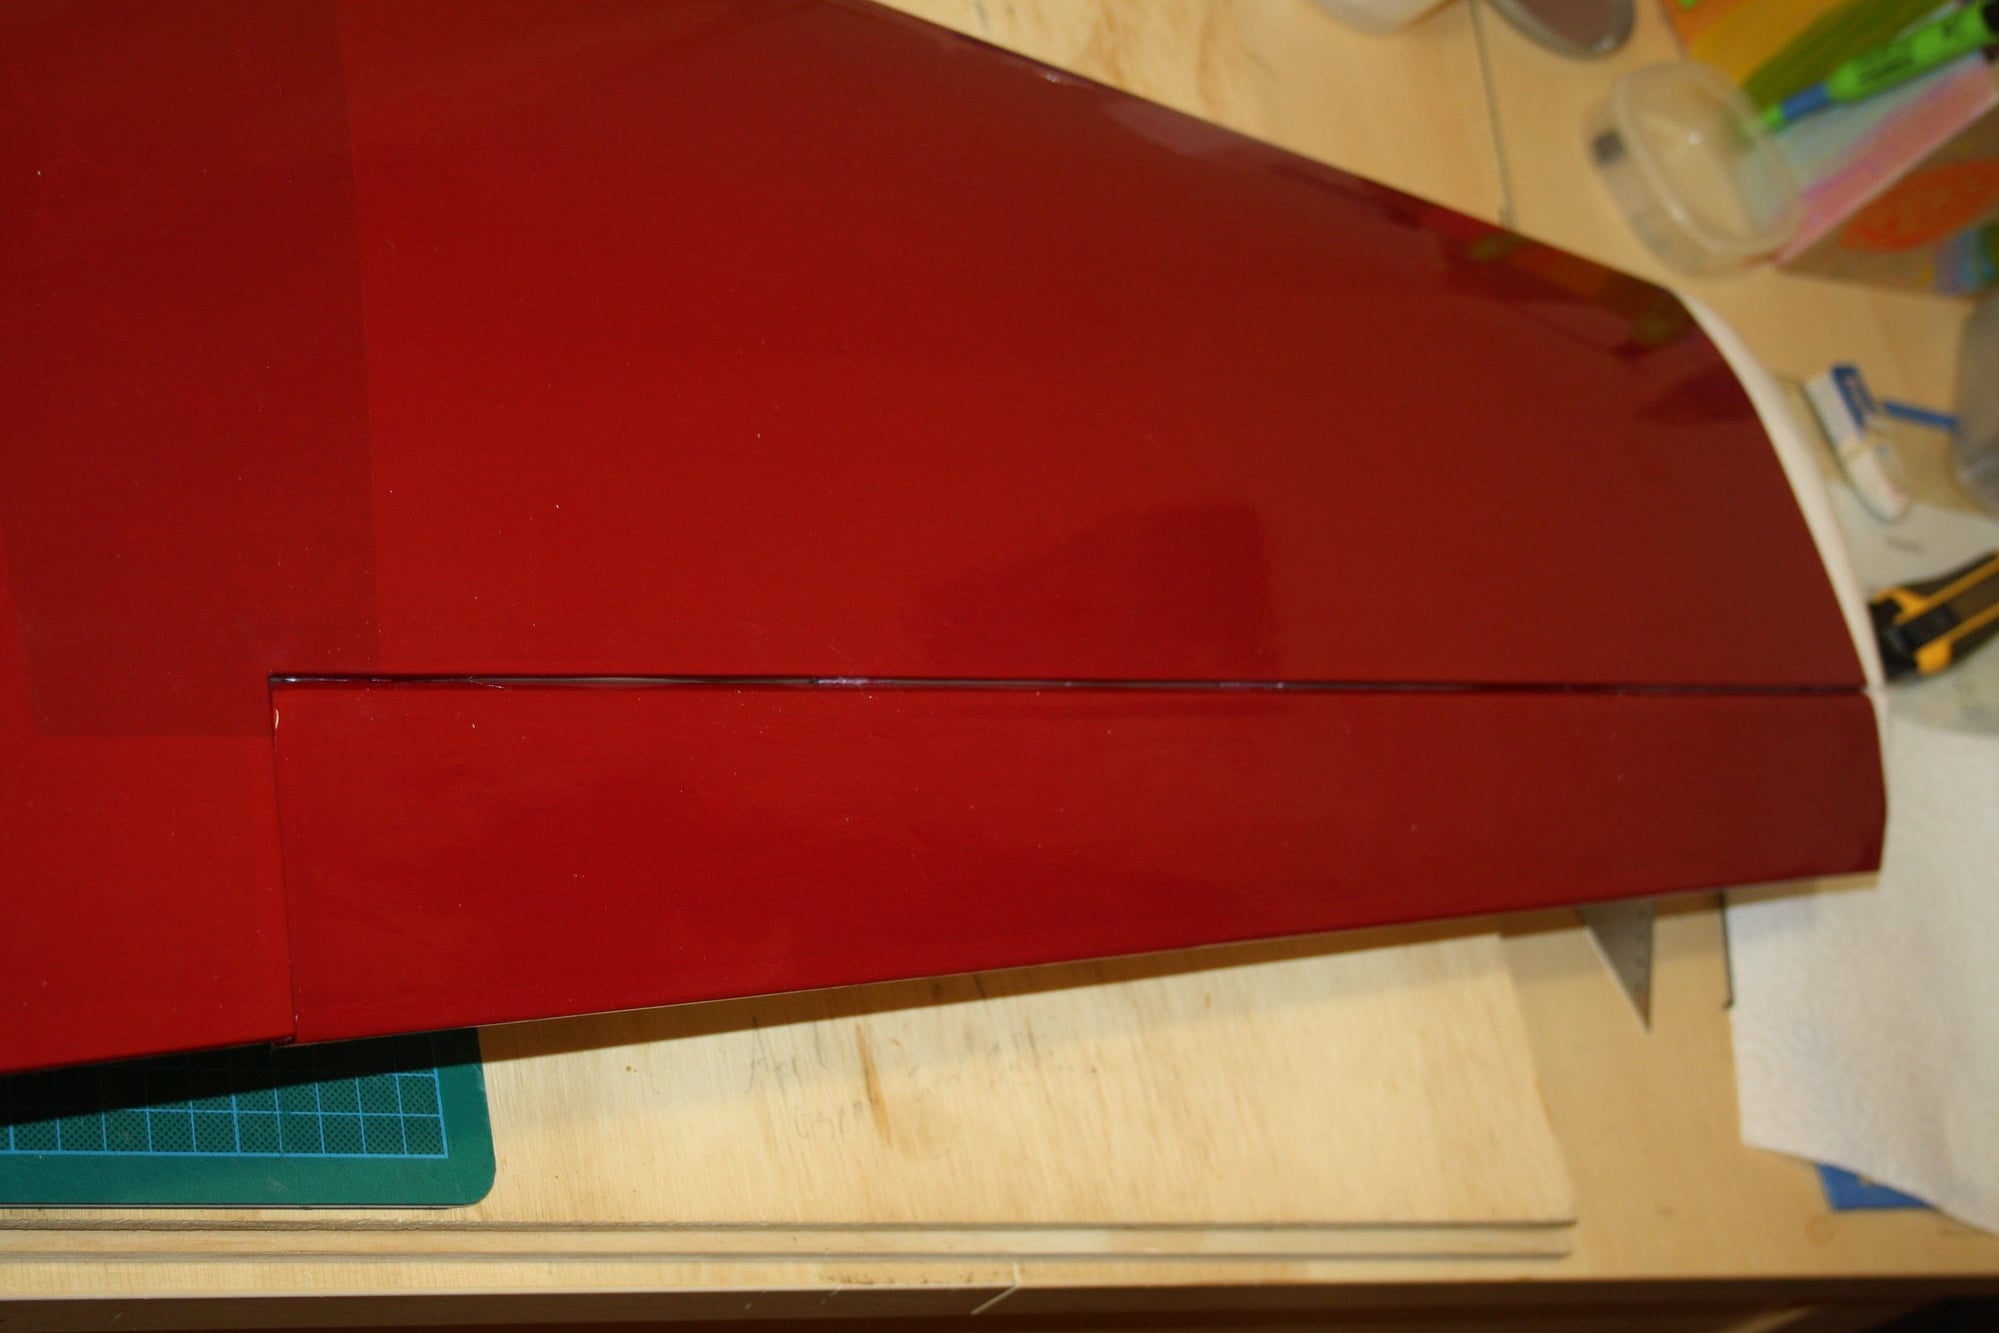
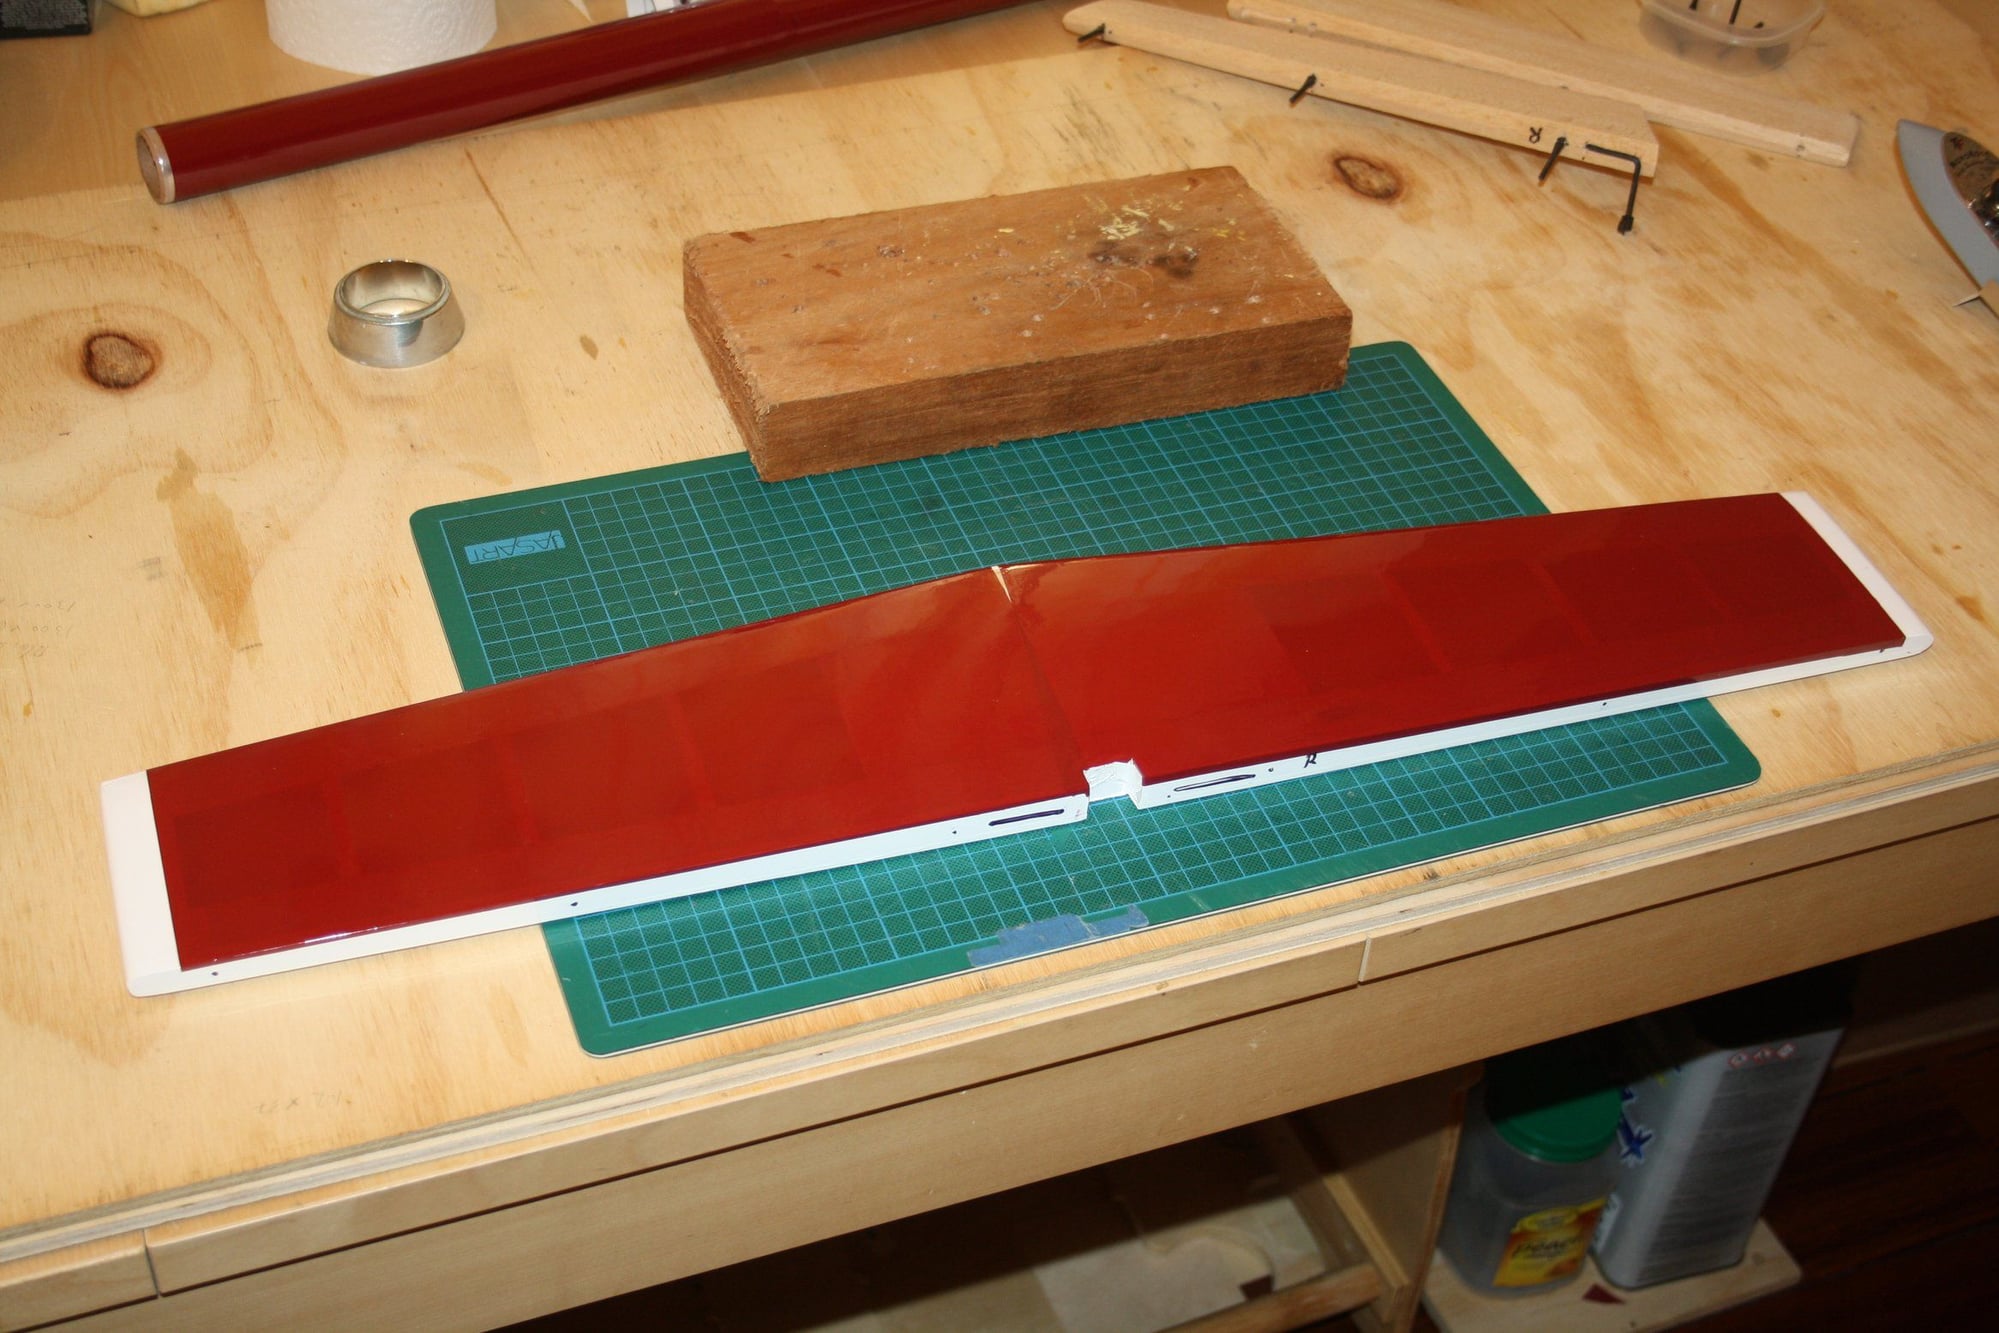
Maroon Monokote covering of the top of the wing. The camera do not do justice to the colour (actually darker then the photos show. The last photo without flash is the most representative).
I am not too bothered with the overlapping area showing, I was trying to be as economical as possible with the Monokote which dictated using 4 sections for the area instead of the more beautiful 2 pieces work.
Cheers,
Eran
I am not too bothered with the overlapping area showing, I was trying to be as economical as possible with the Monokote which dictated using 4 sections for the area instead of the more beautiful 2 pieces work.
Cheers,
Eran
01-20-2020, 12:38 AM
#16
Thread Starter
Returned from holidays and back to work on the Akromaster.
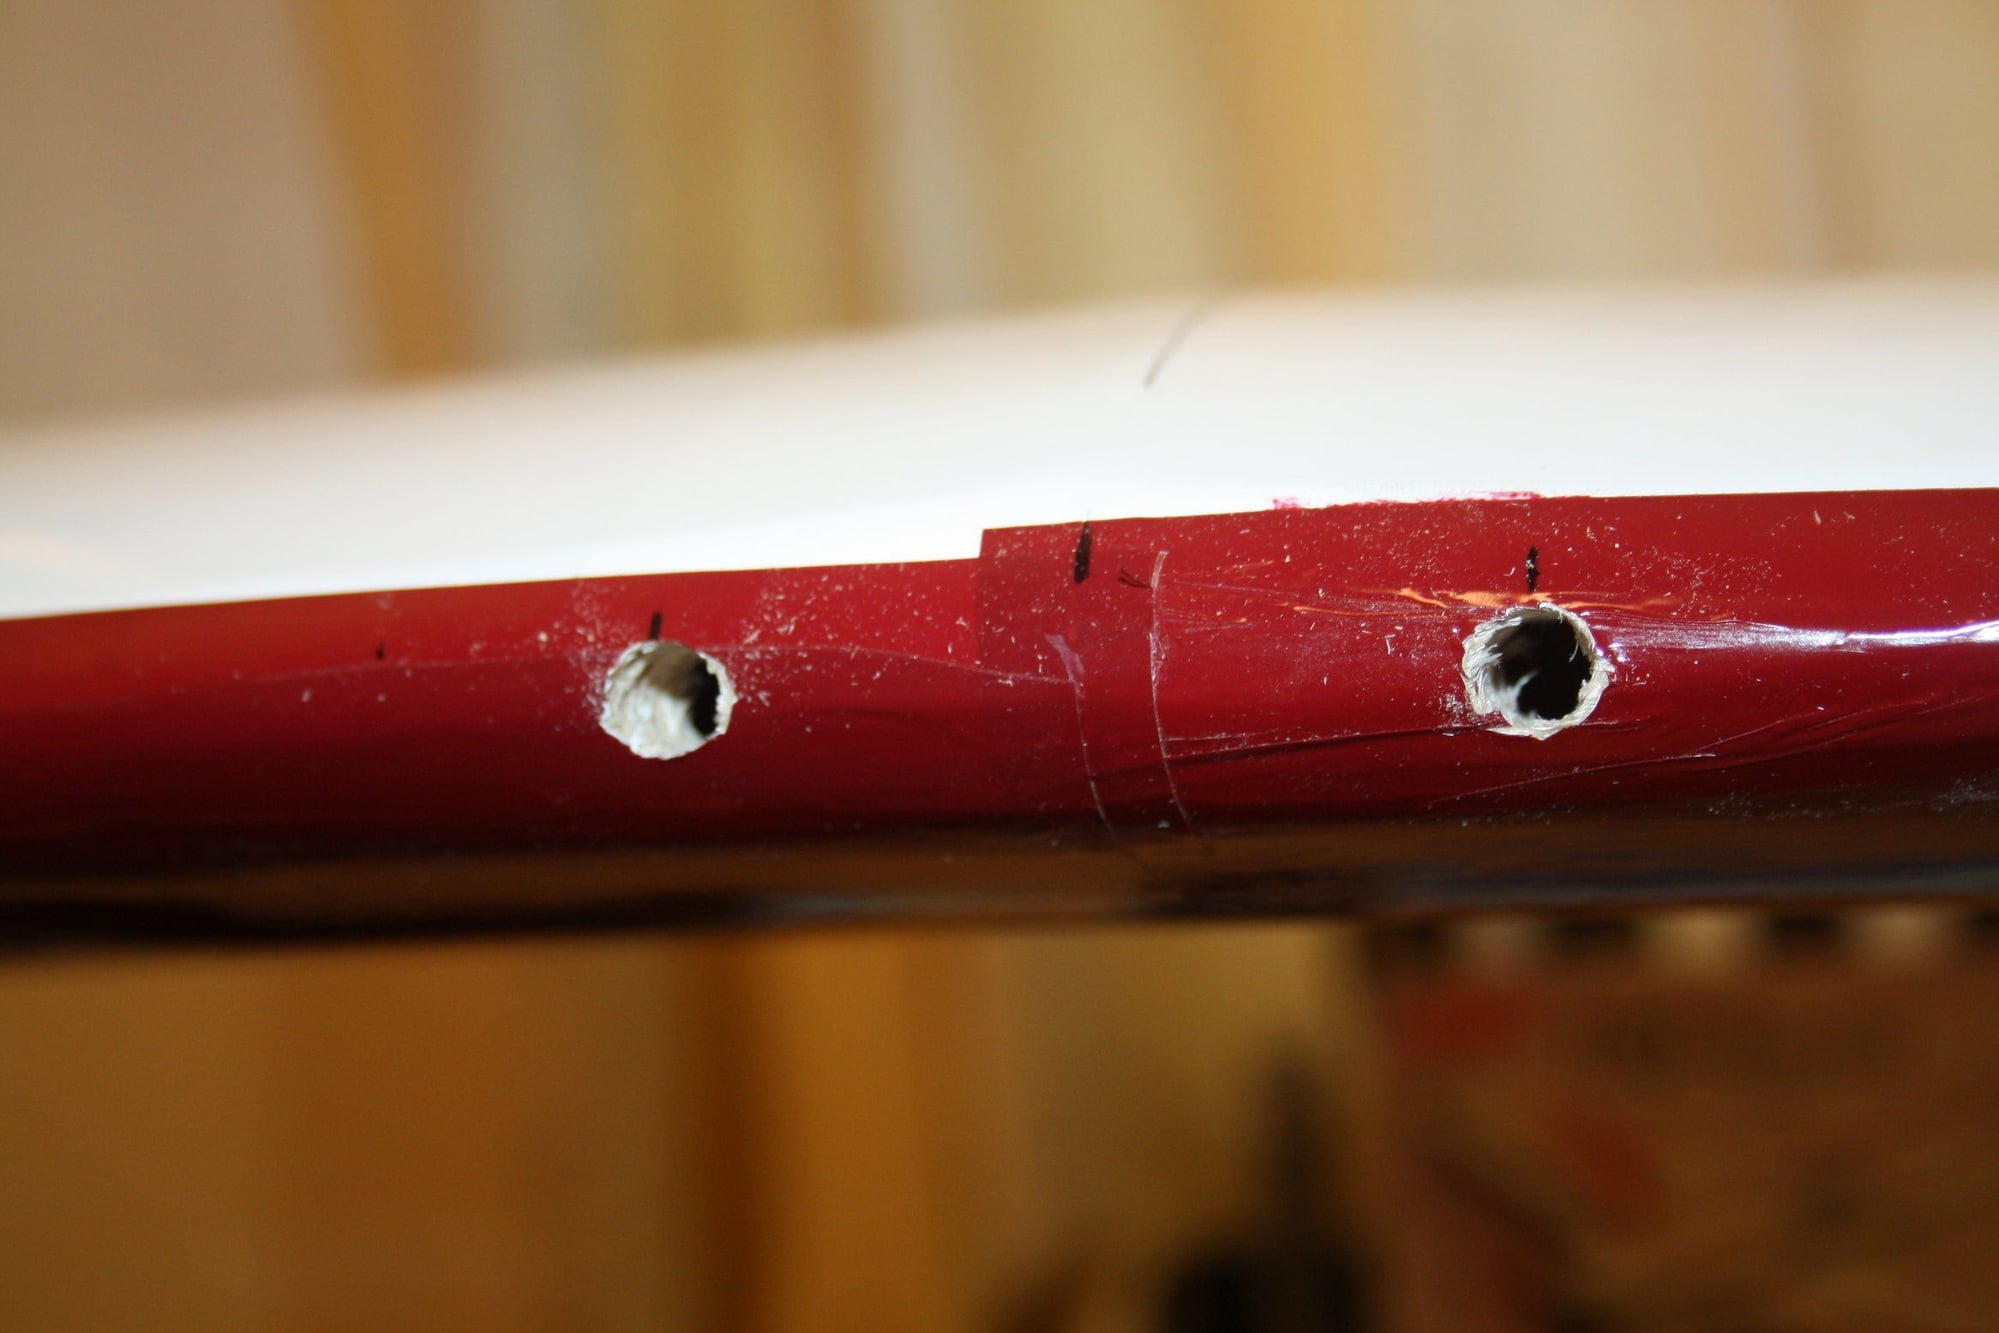
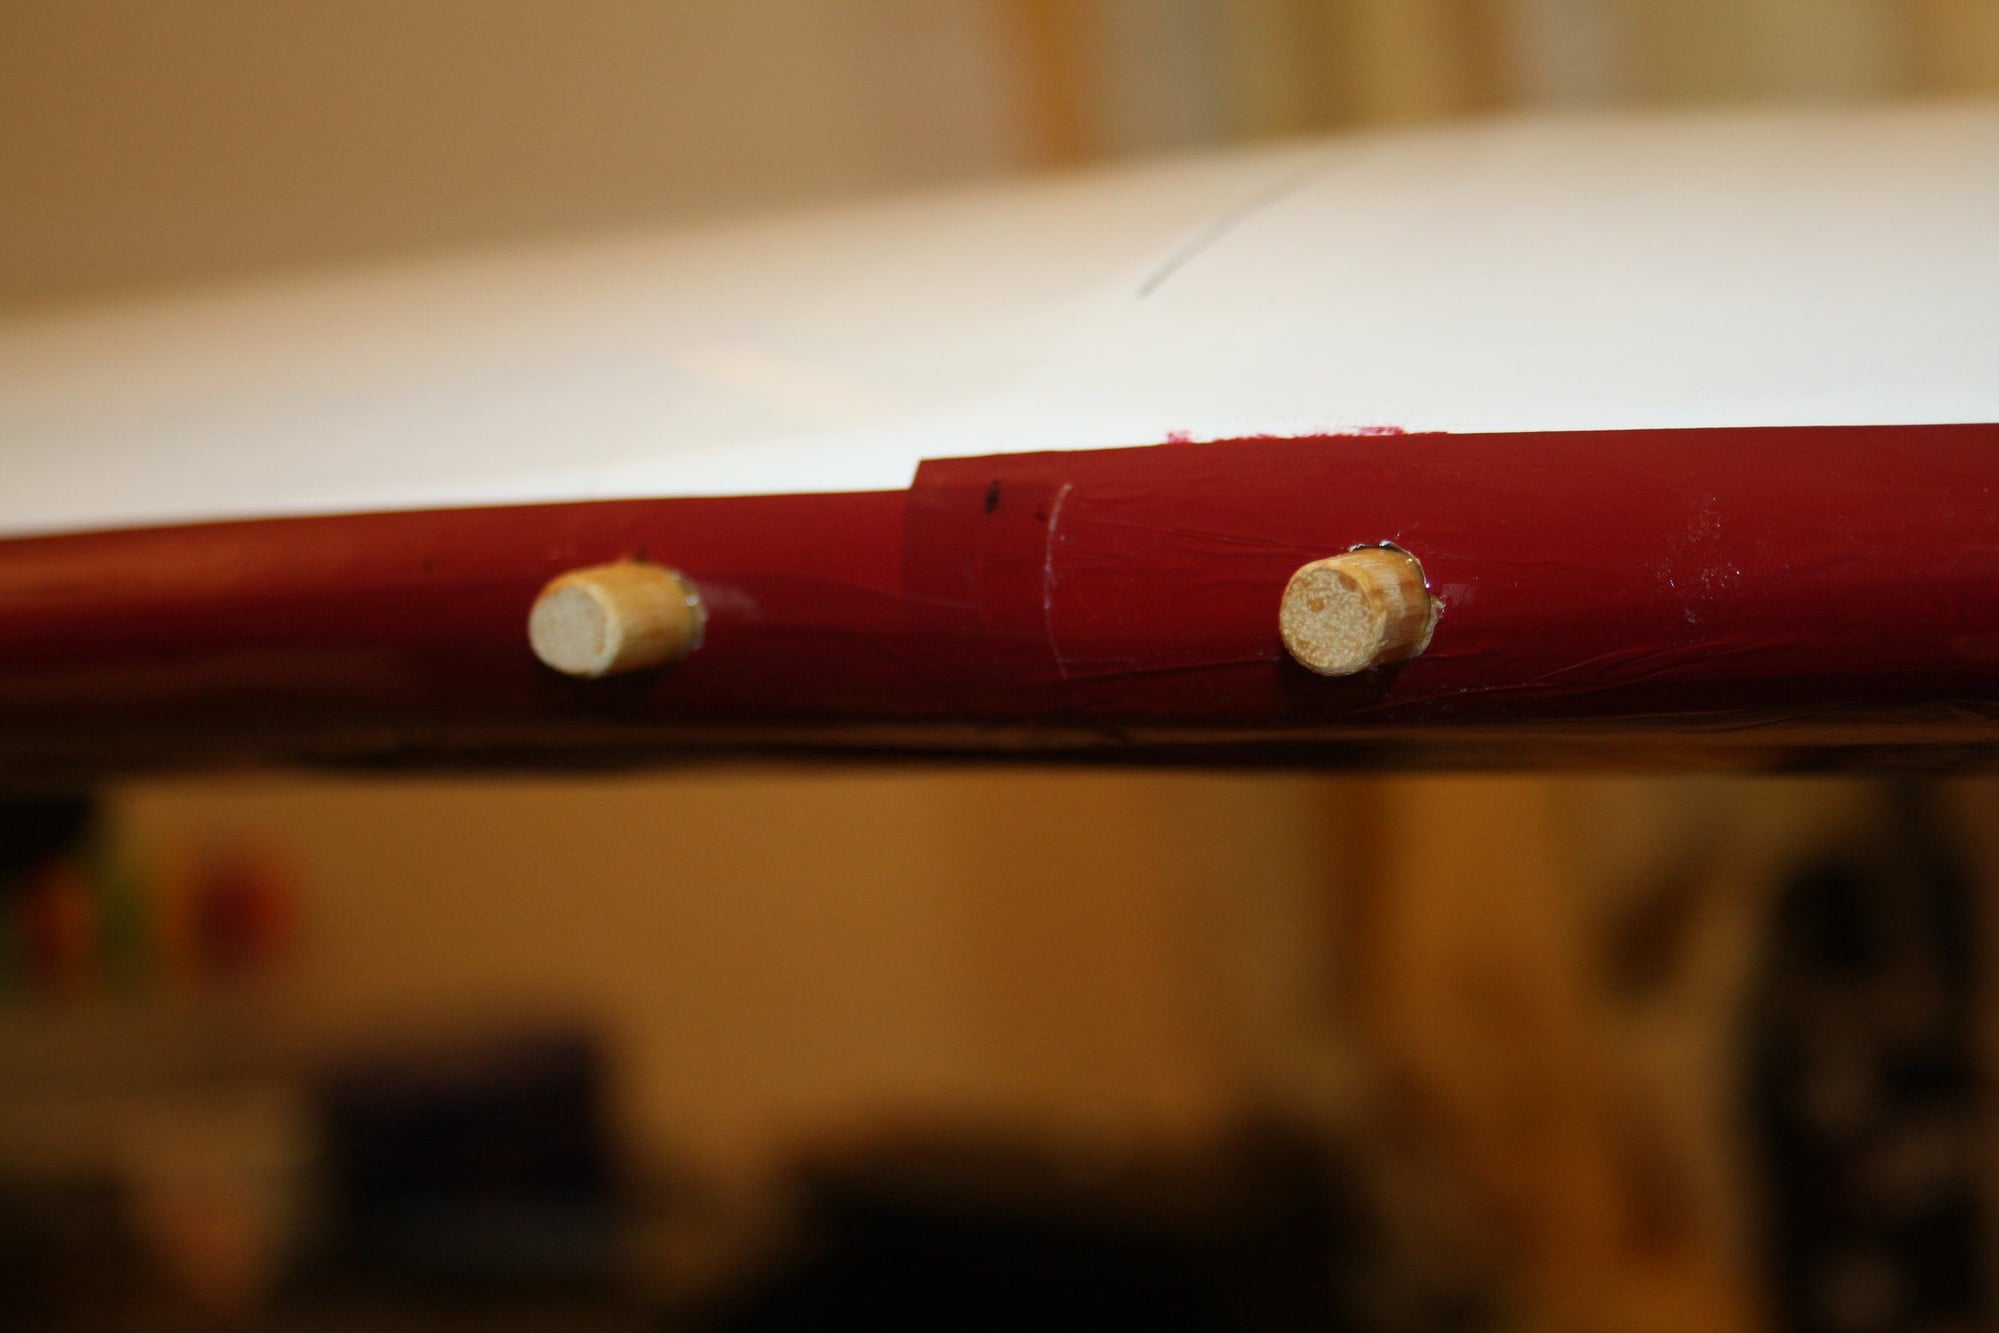
I drilled and fitted the wing dowels and checked the wing fit. I had to amend slightly the bolt holes to have it perfectly aligned.
I also covered the ailerons.


Cheers,
Eran
I drilled and fitted the wing dowels and checked the wing fit. I had to amend slightly the bolt holes to have it perfectly aligned.
I also covered the ailerons.
Cheers,
Eran
01-21-2020, 09:47 PM
#17
Thread Starter
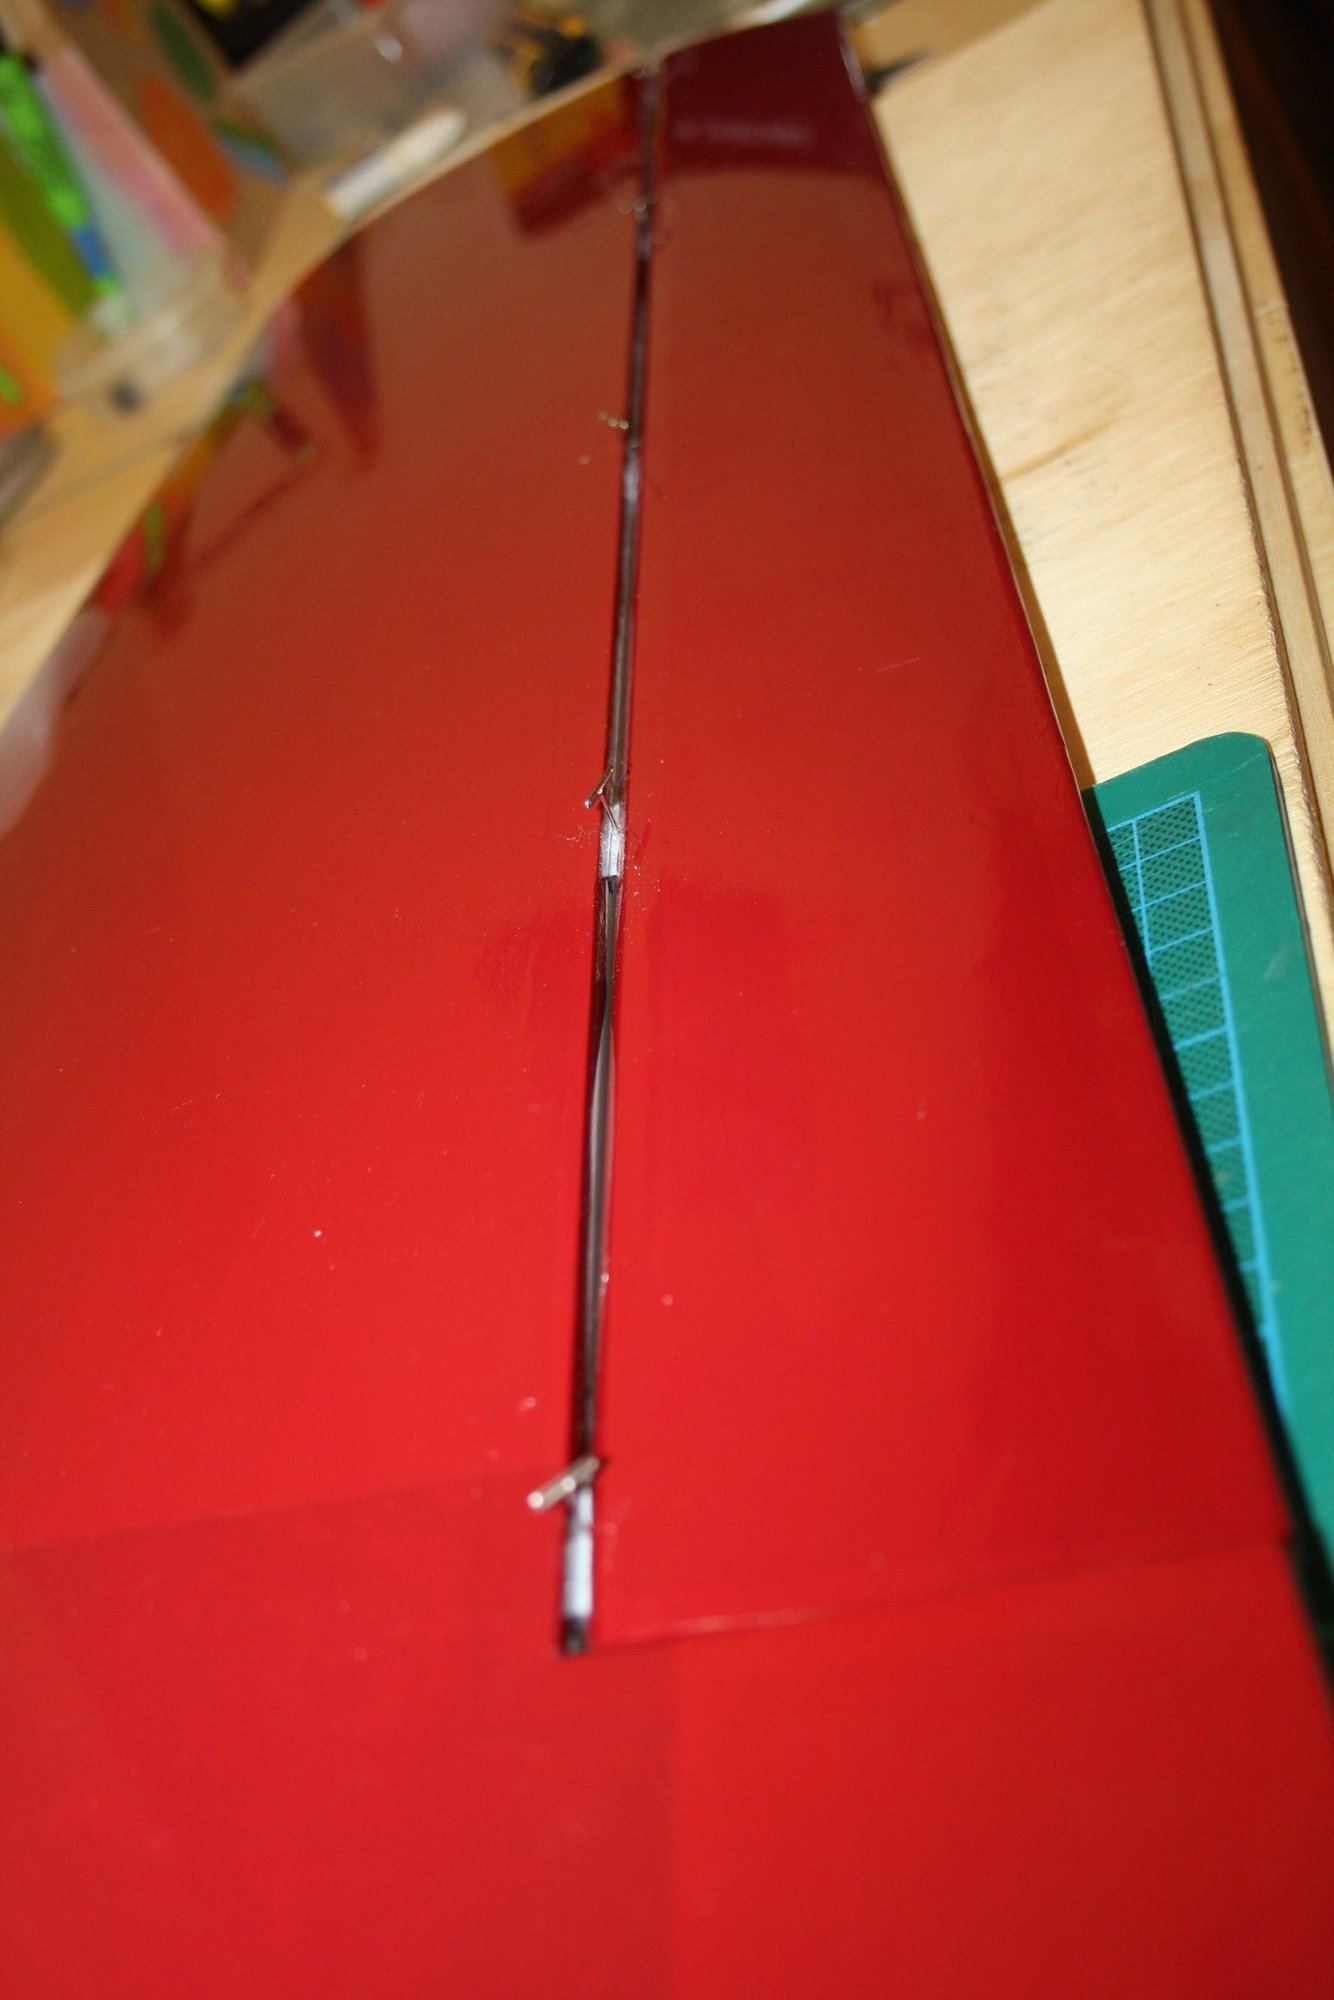
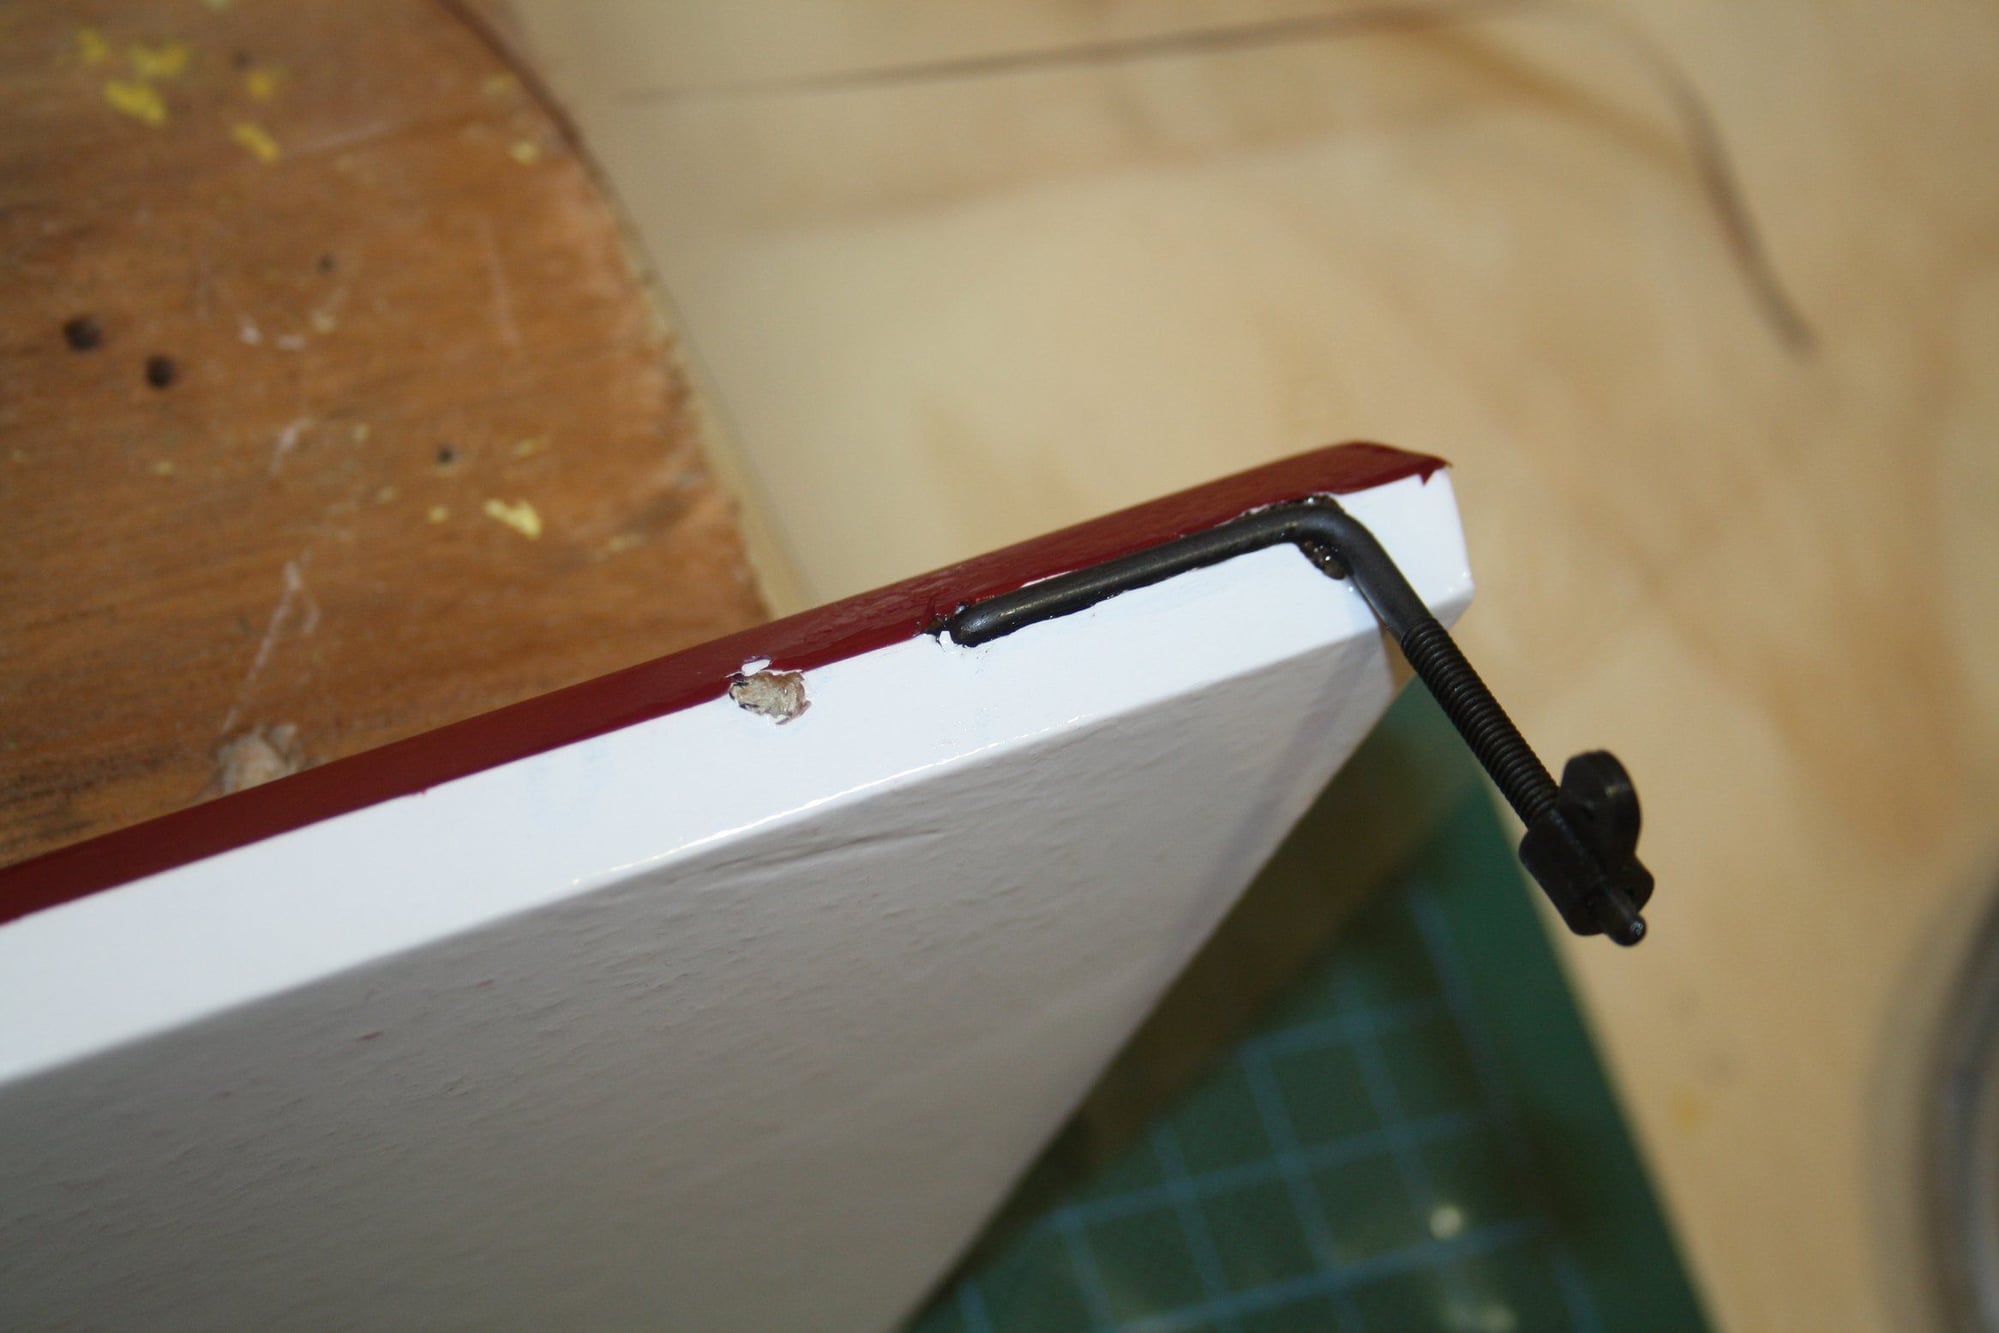
I did the finishing touches to the wing today.
Using T pins, I aligned the CA hinges and glued the ailerons into place.
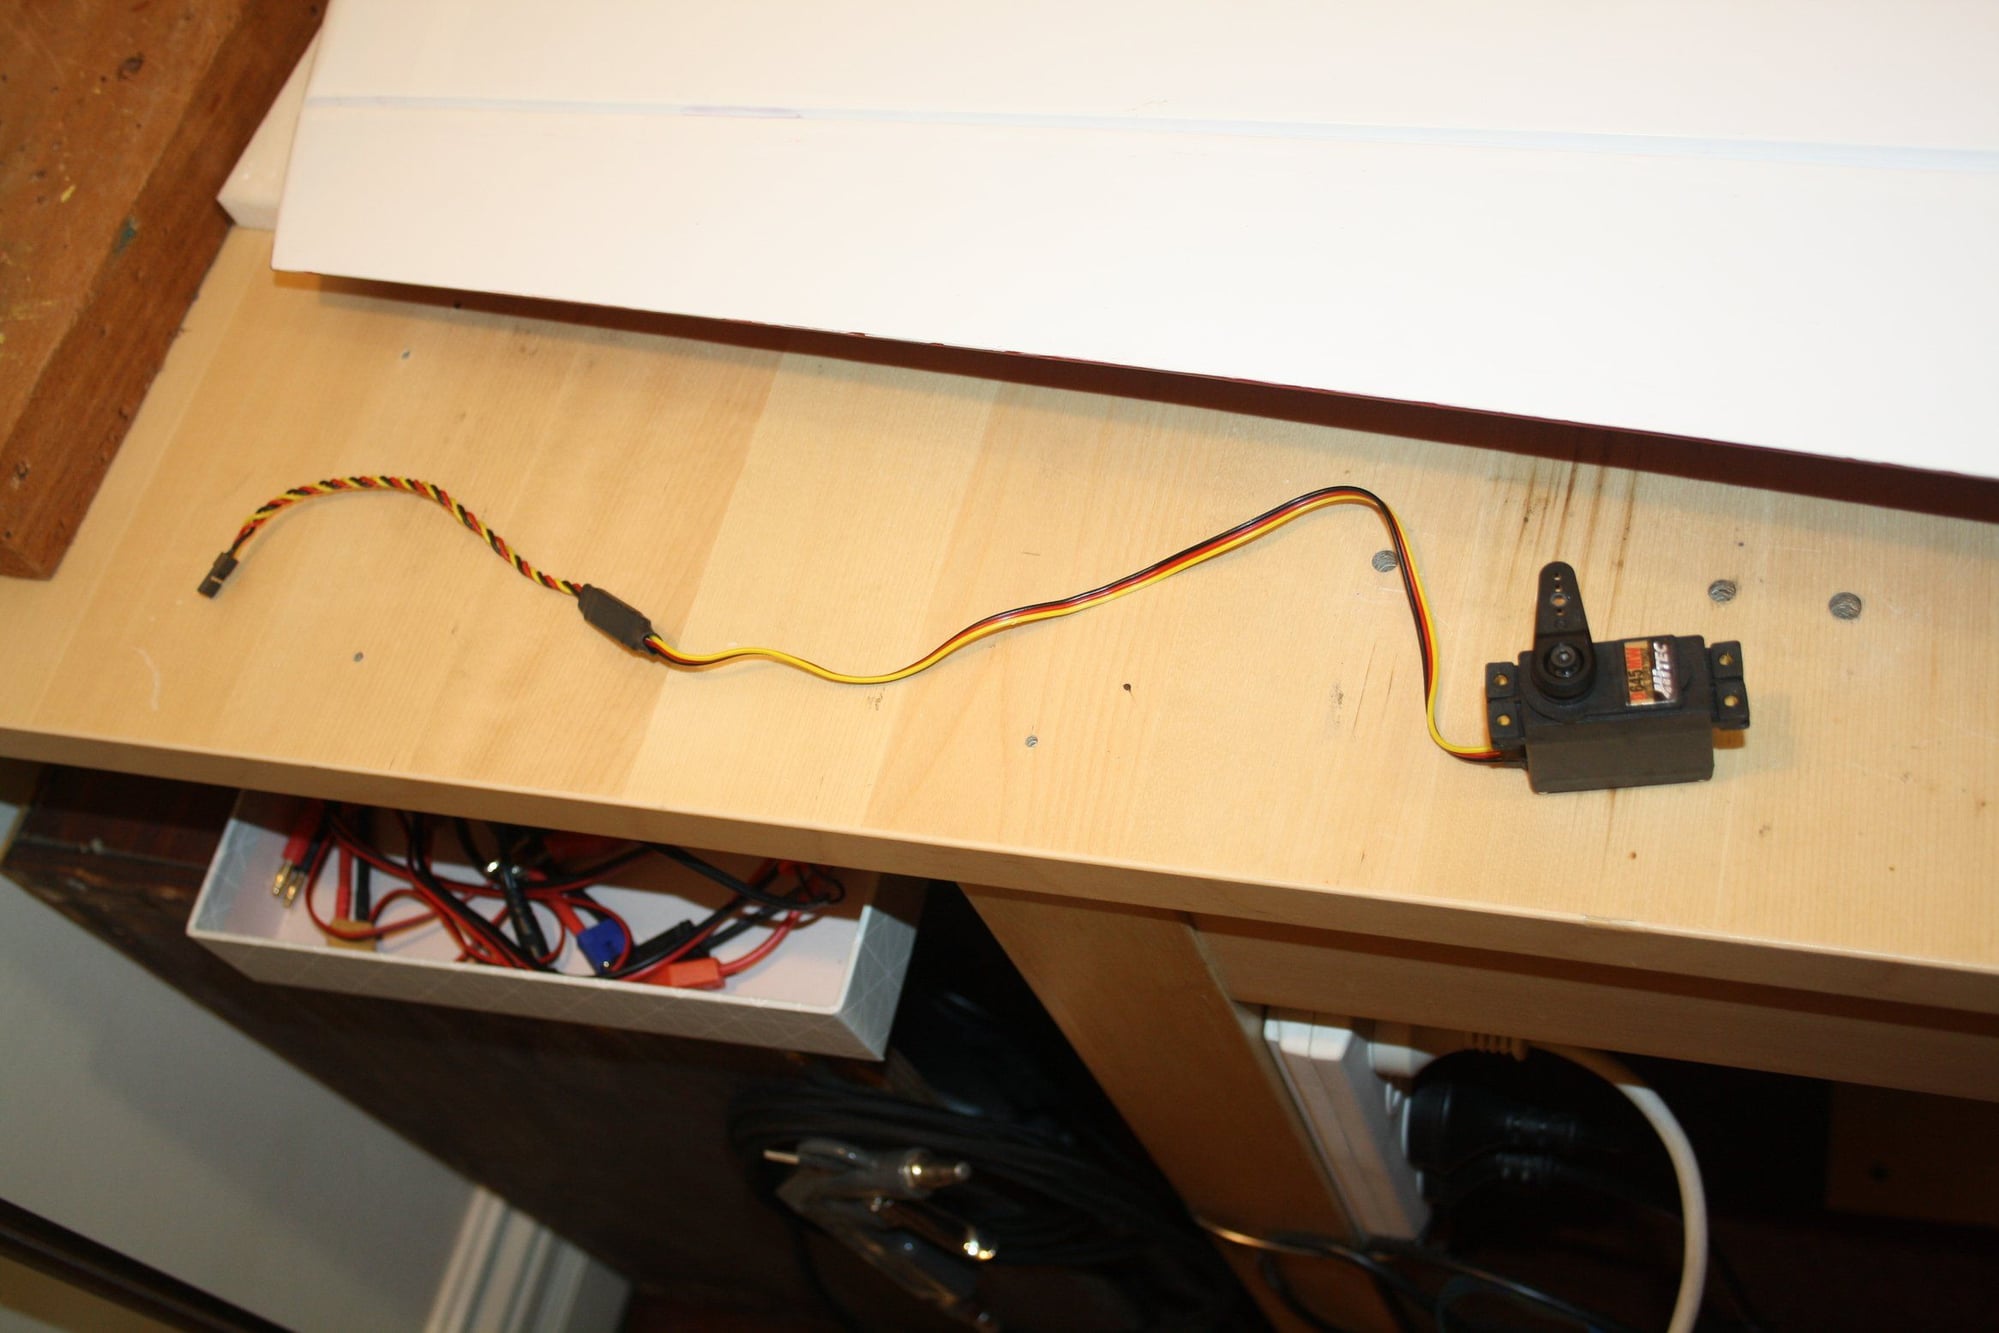
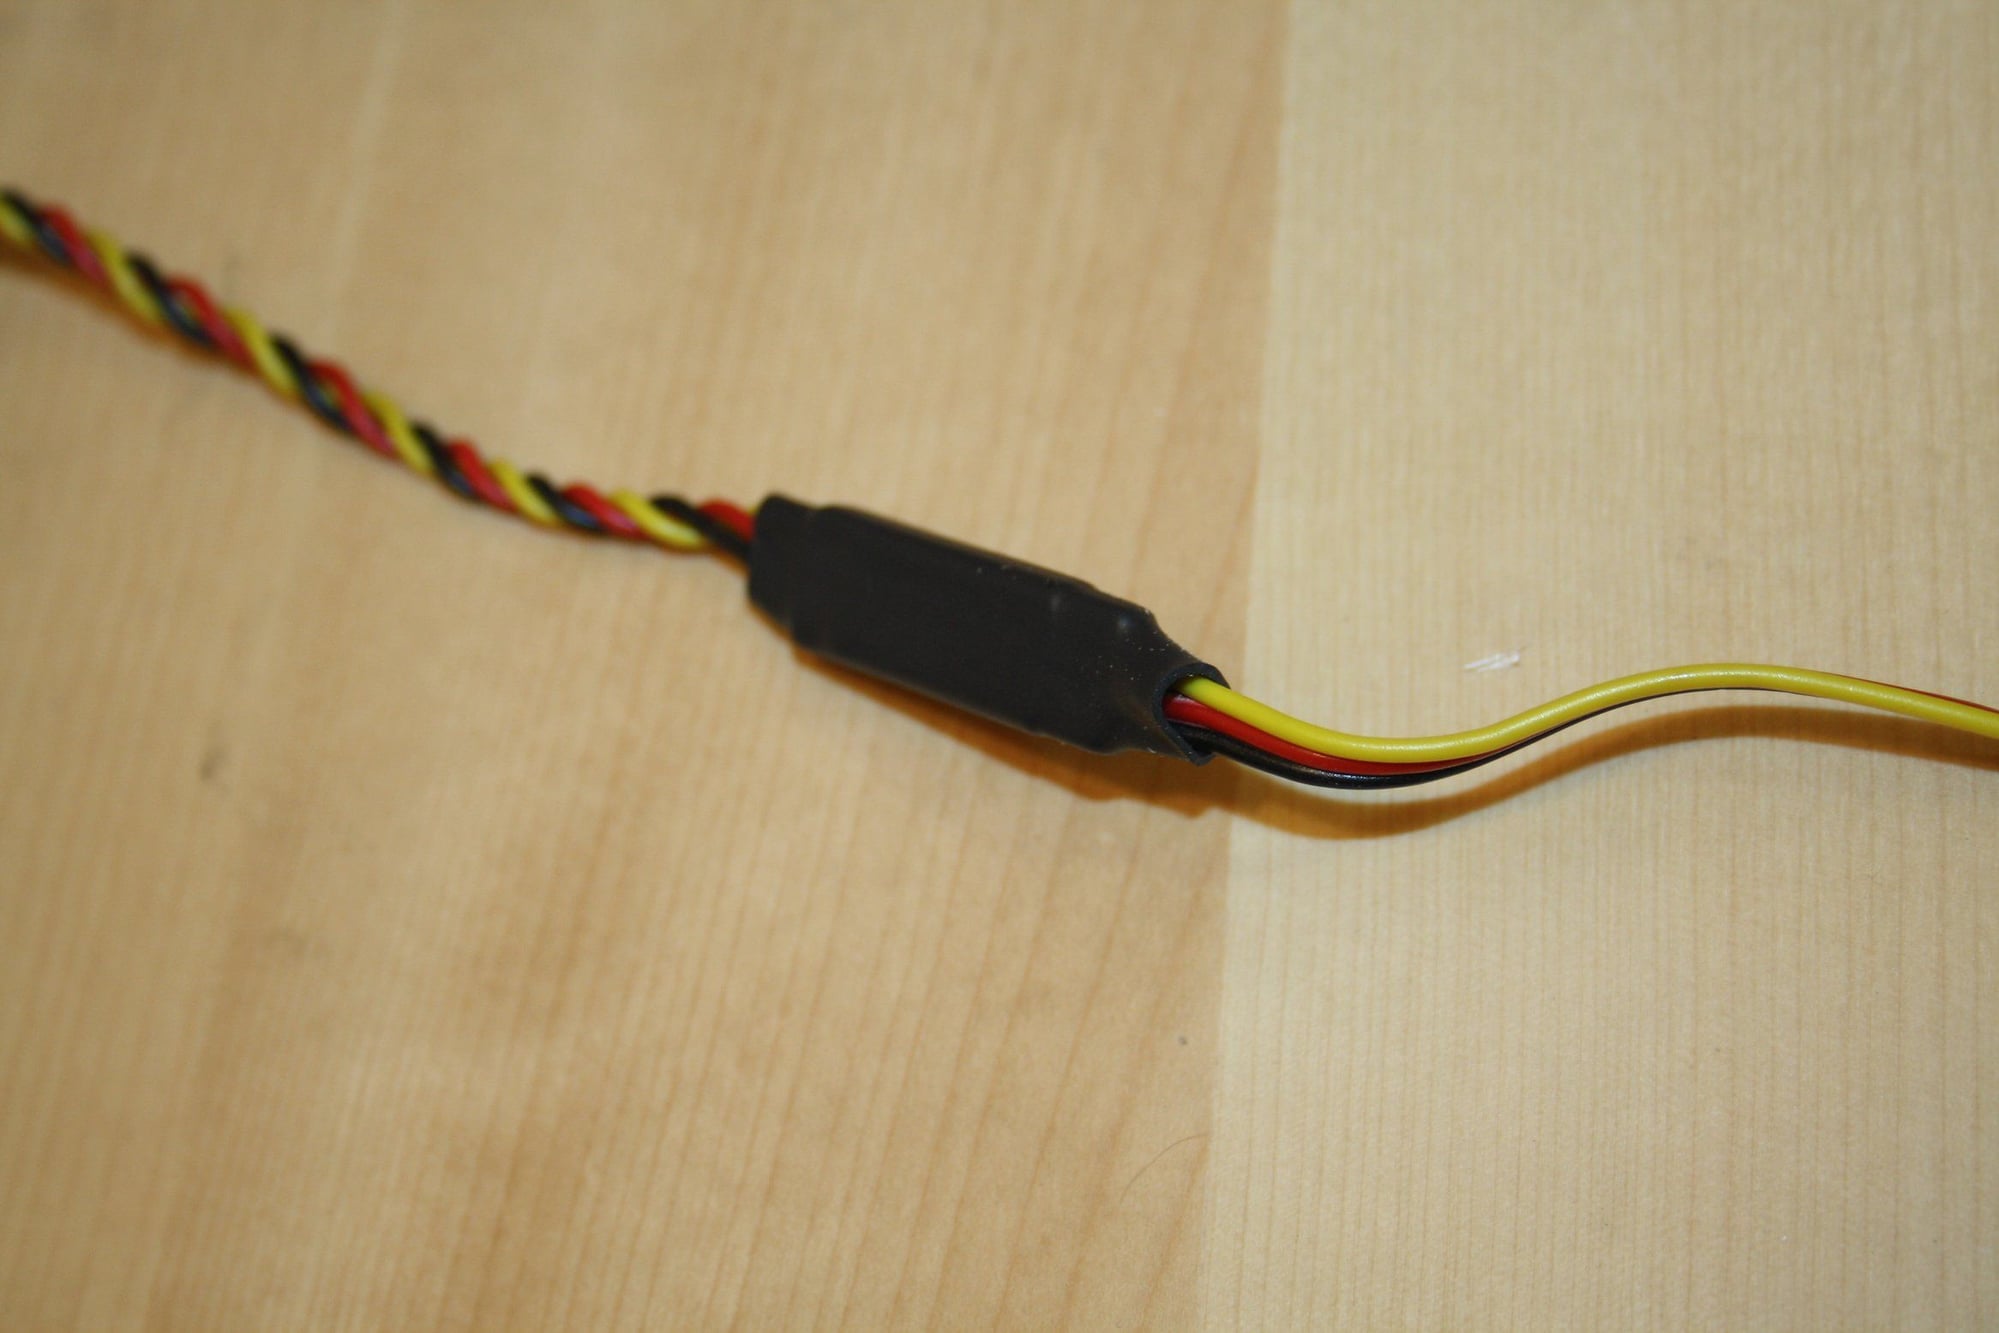
I attached 6" extension to the wing servos and secured it with a heat shrink, due to the fact that the passage inside the wing is too small for the plastic keepers I usually use.
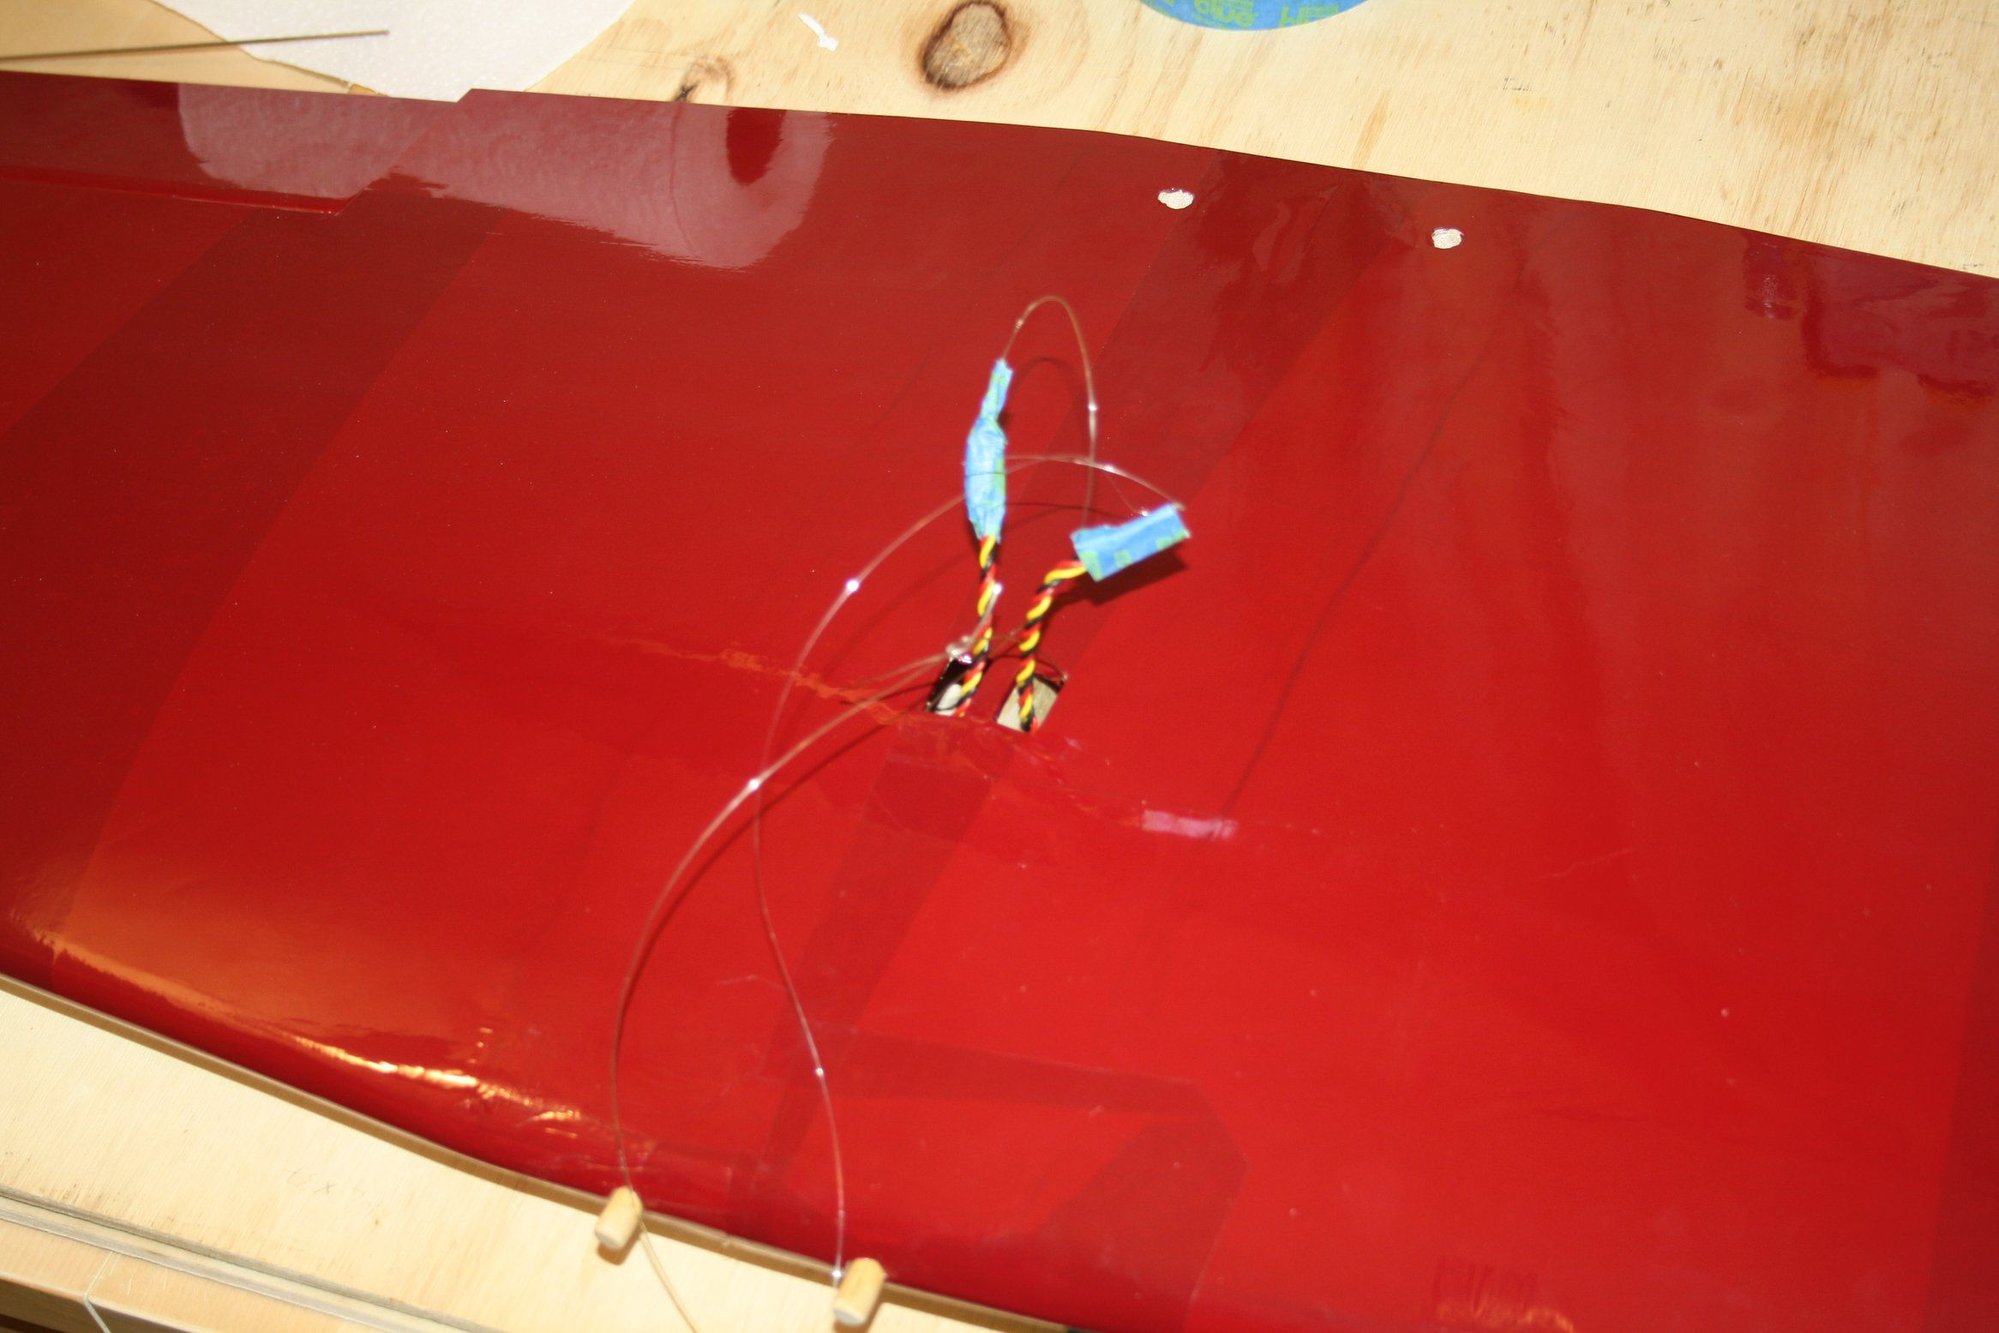
Then, it was simple servo installation and testing.
Cheers,
Eran
Using T pins, I aligned the CA hinges and glued the ailerons into place.
I attached 6" extension to the wing servos and secured it with a heat shrink, due to the fact that the passage inside the wing is too small for the plastic keepers I usually use.
Then, it was simple servo installation and testing.
Cheers,
Eran
01-23-2020, 03:35 PM
#19
Thread Starter
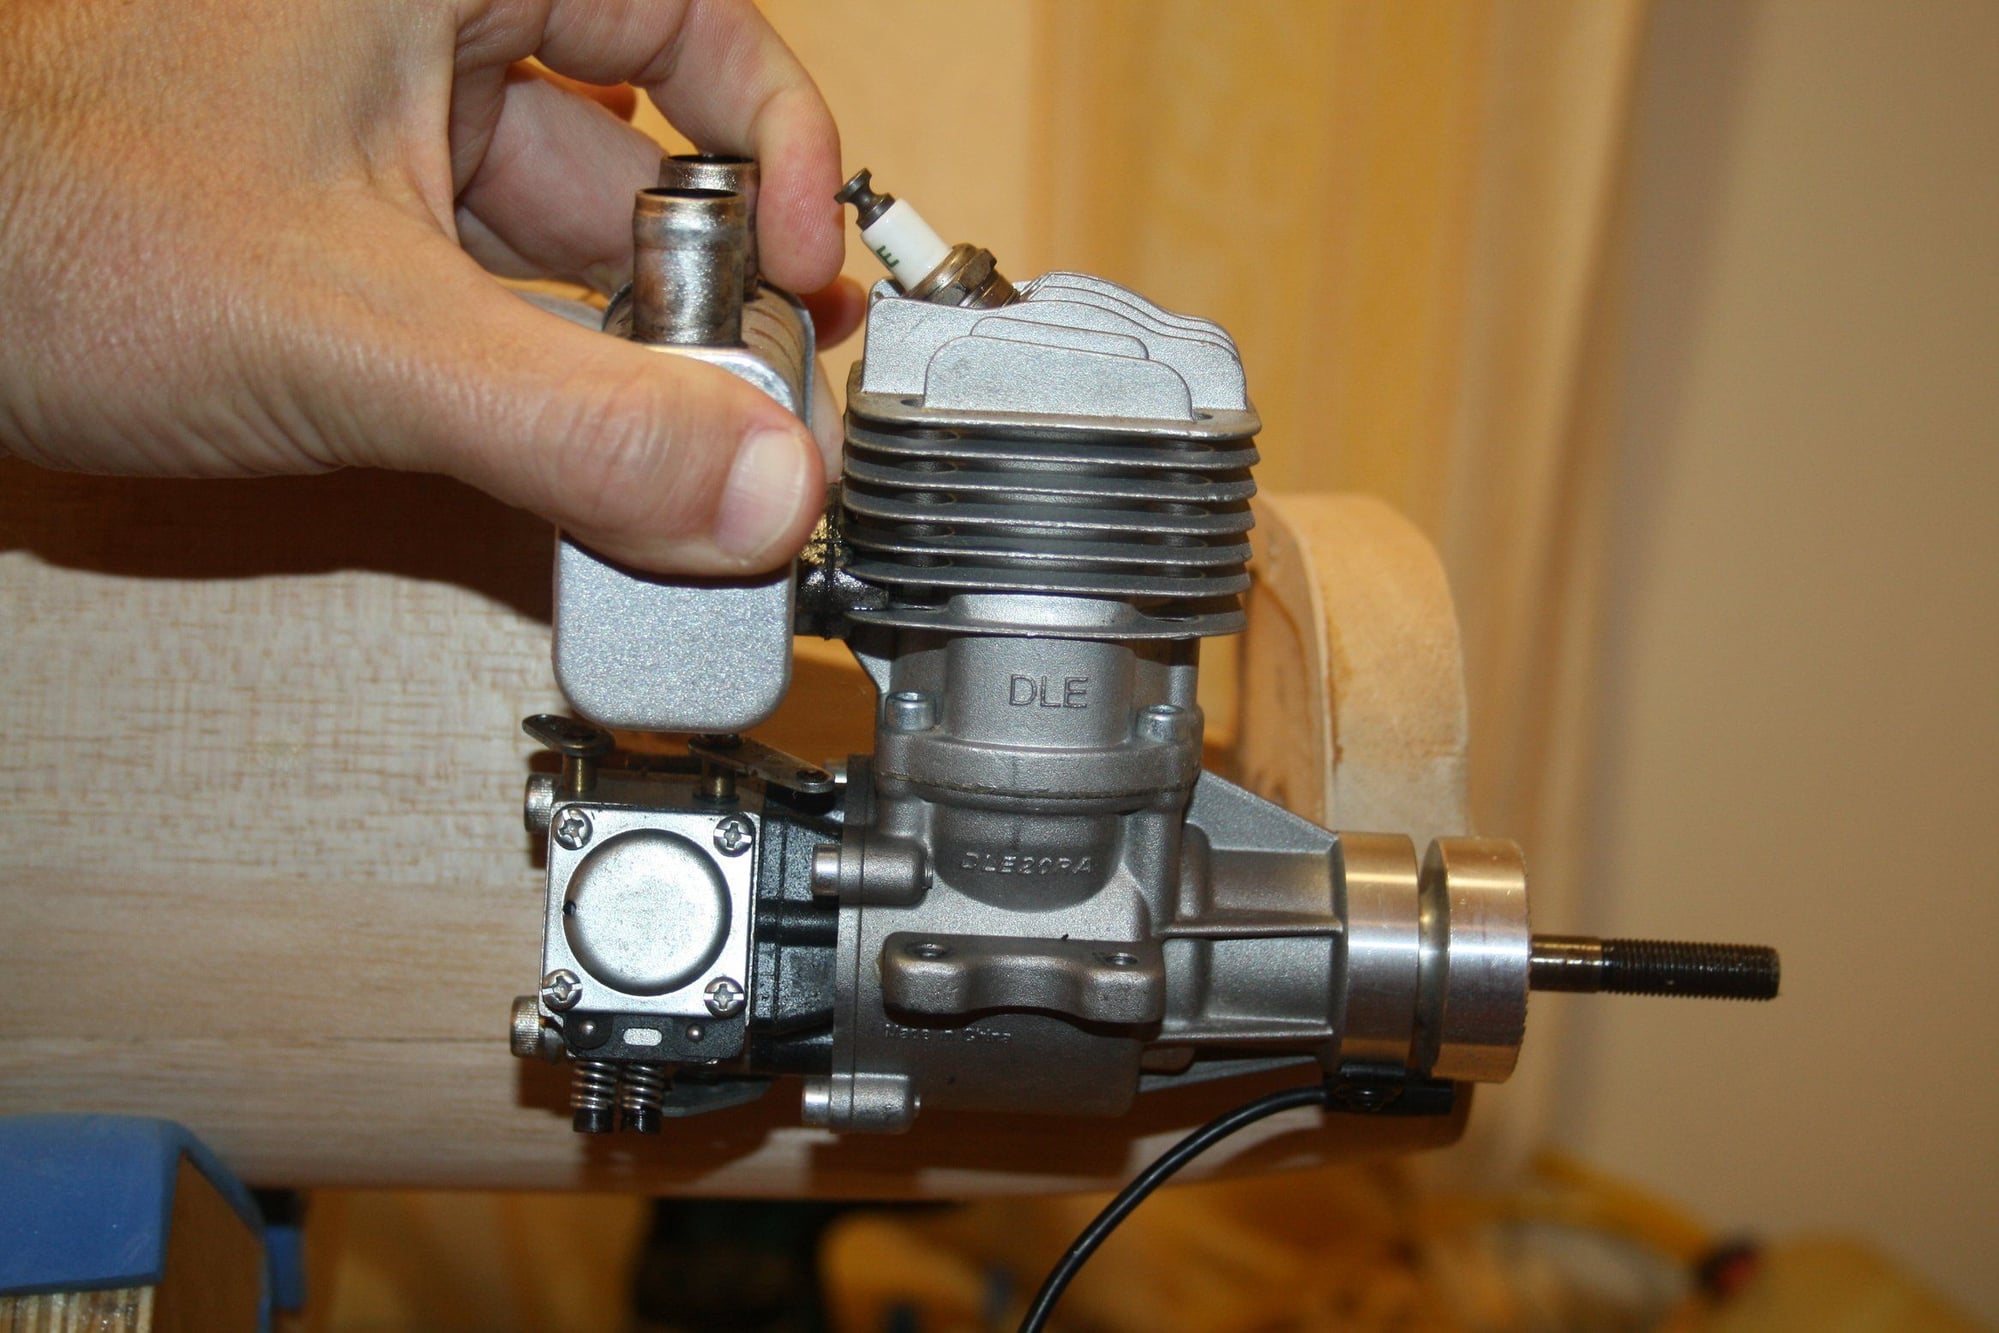
Carl - I happen to have a DLE-20RA I got from a friend a while ago, so I will probably use it in the Akromaster.
As to the one side sheeted stab - I have never seen this before either... This is how I got it : )
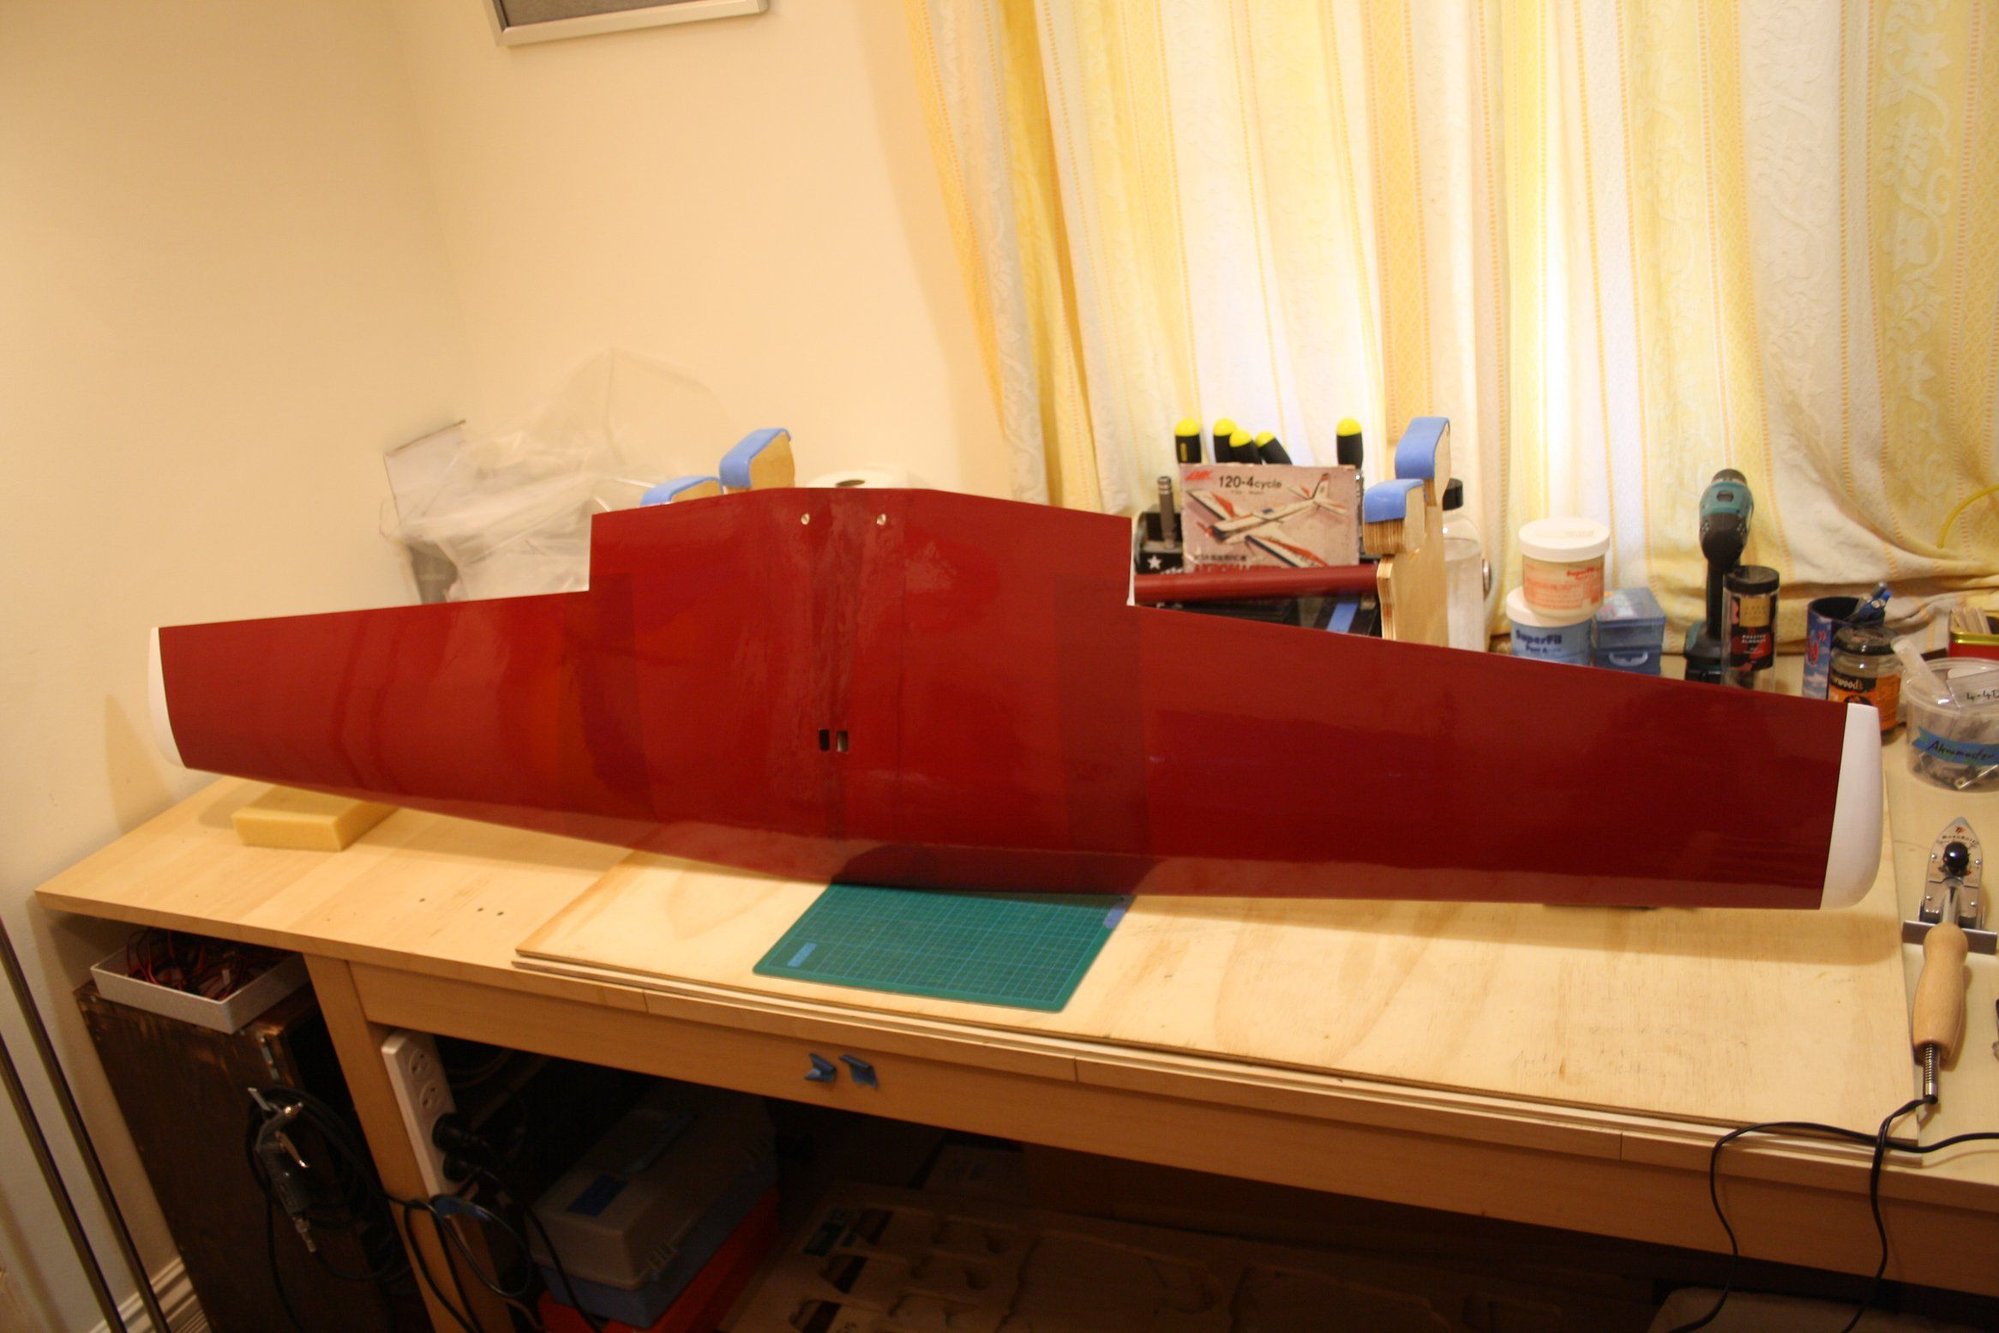
Yesterday I covered the horizontal stab in a similar pattern to the wing.

Cheers,
Eran
As to the one side sheeted stab - I have never seen this before either... This is how I got it : )
Yesterday I covered the horizontal stab in a similar pattern to the wing.
Cheers,
Eran
 01-29-2020, 10:50 PM
#22
Thread Starter
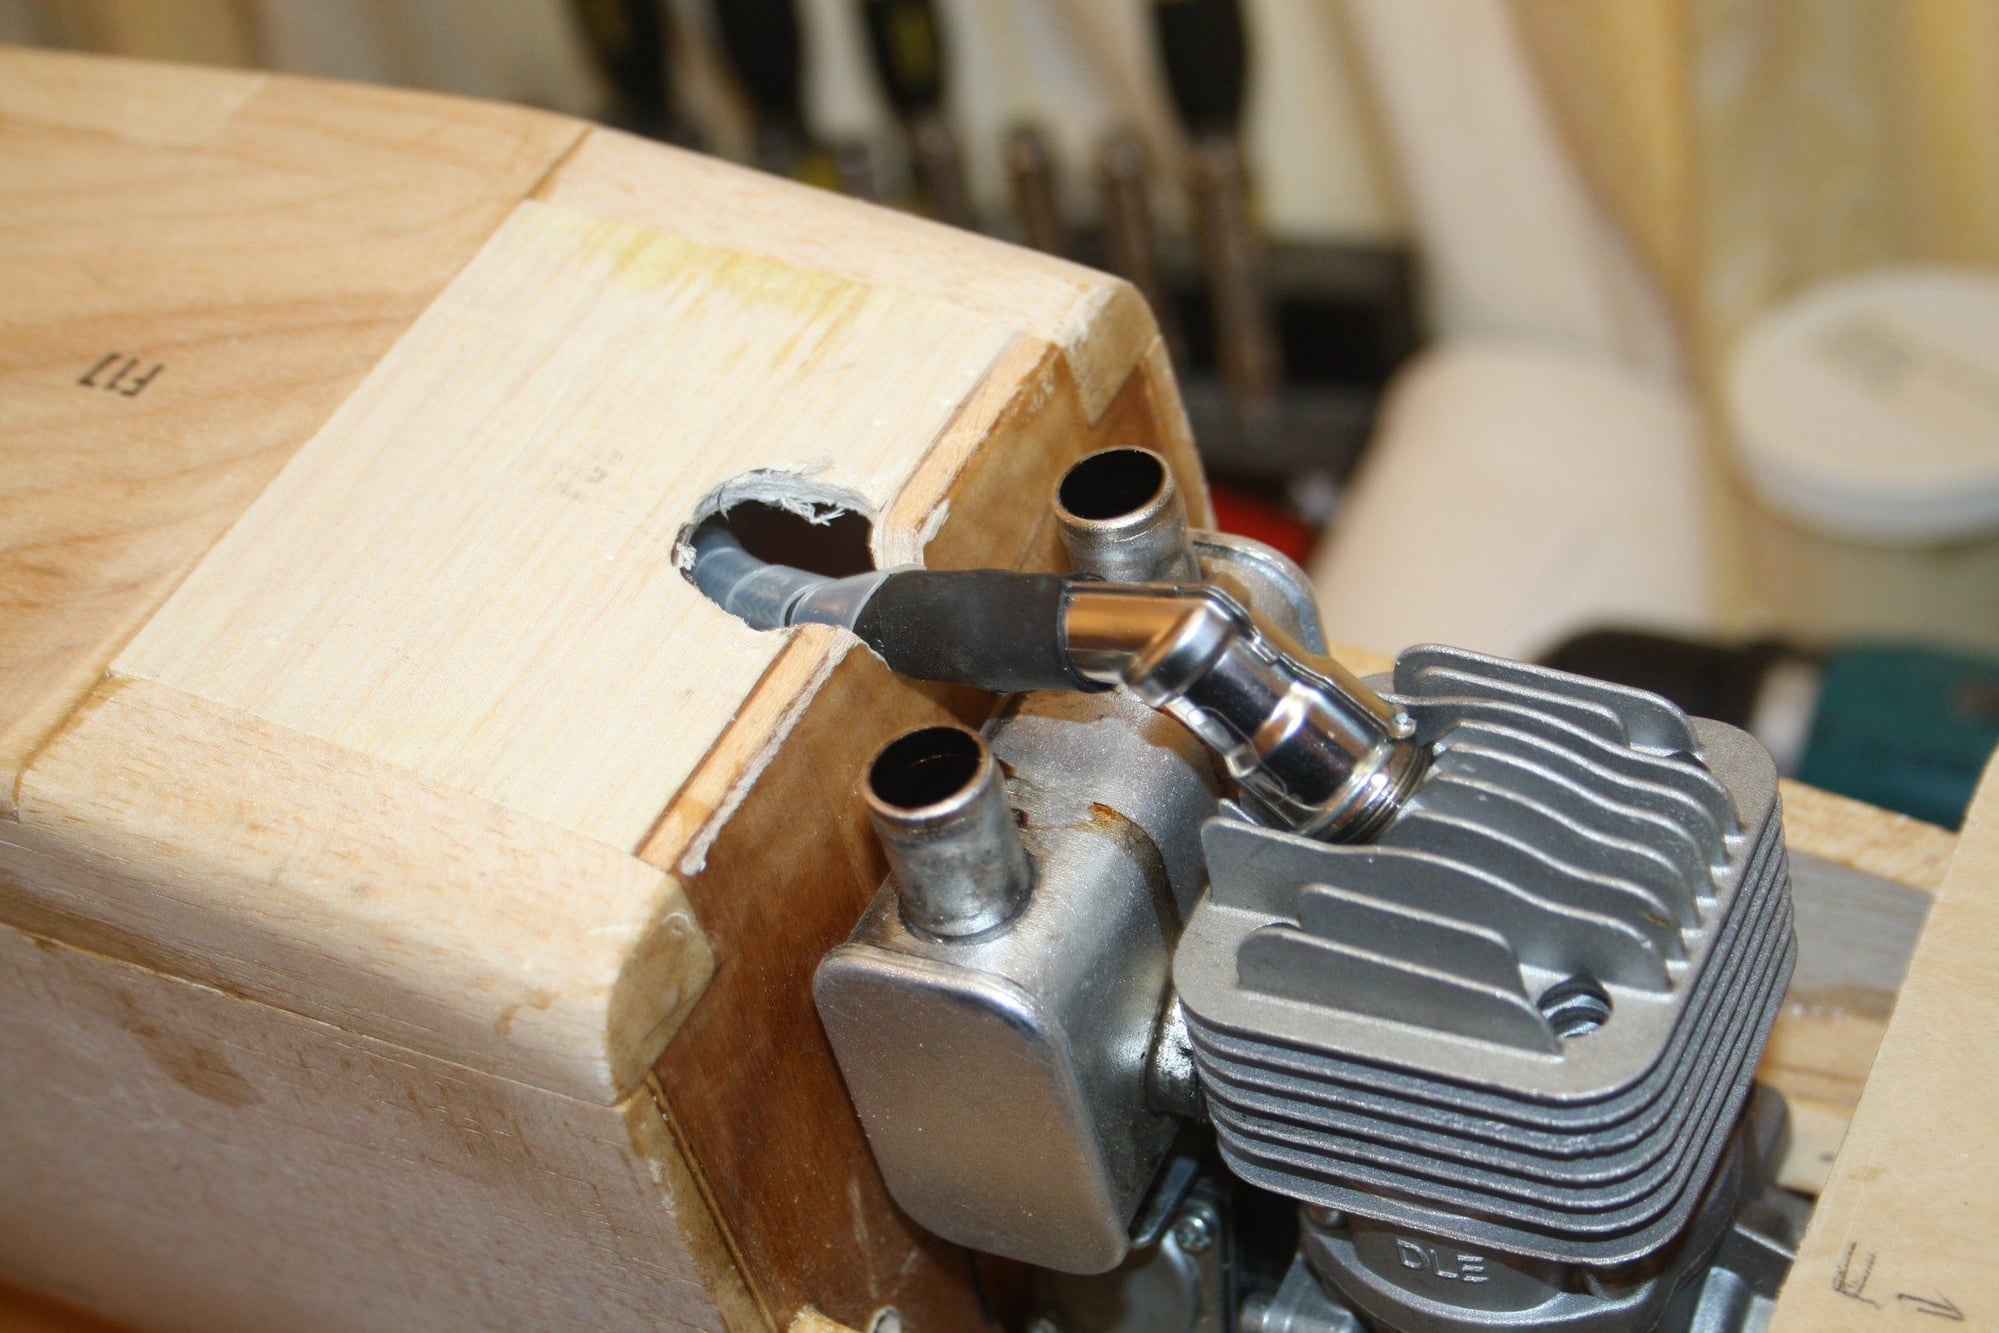
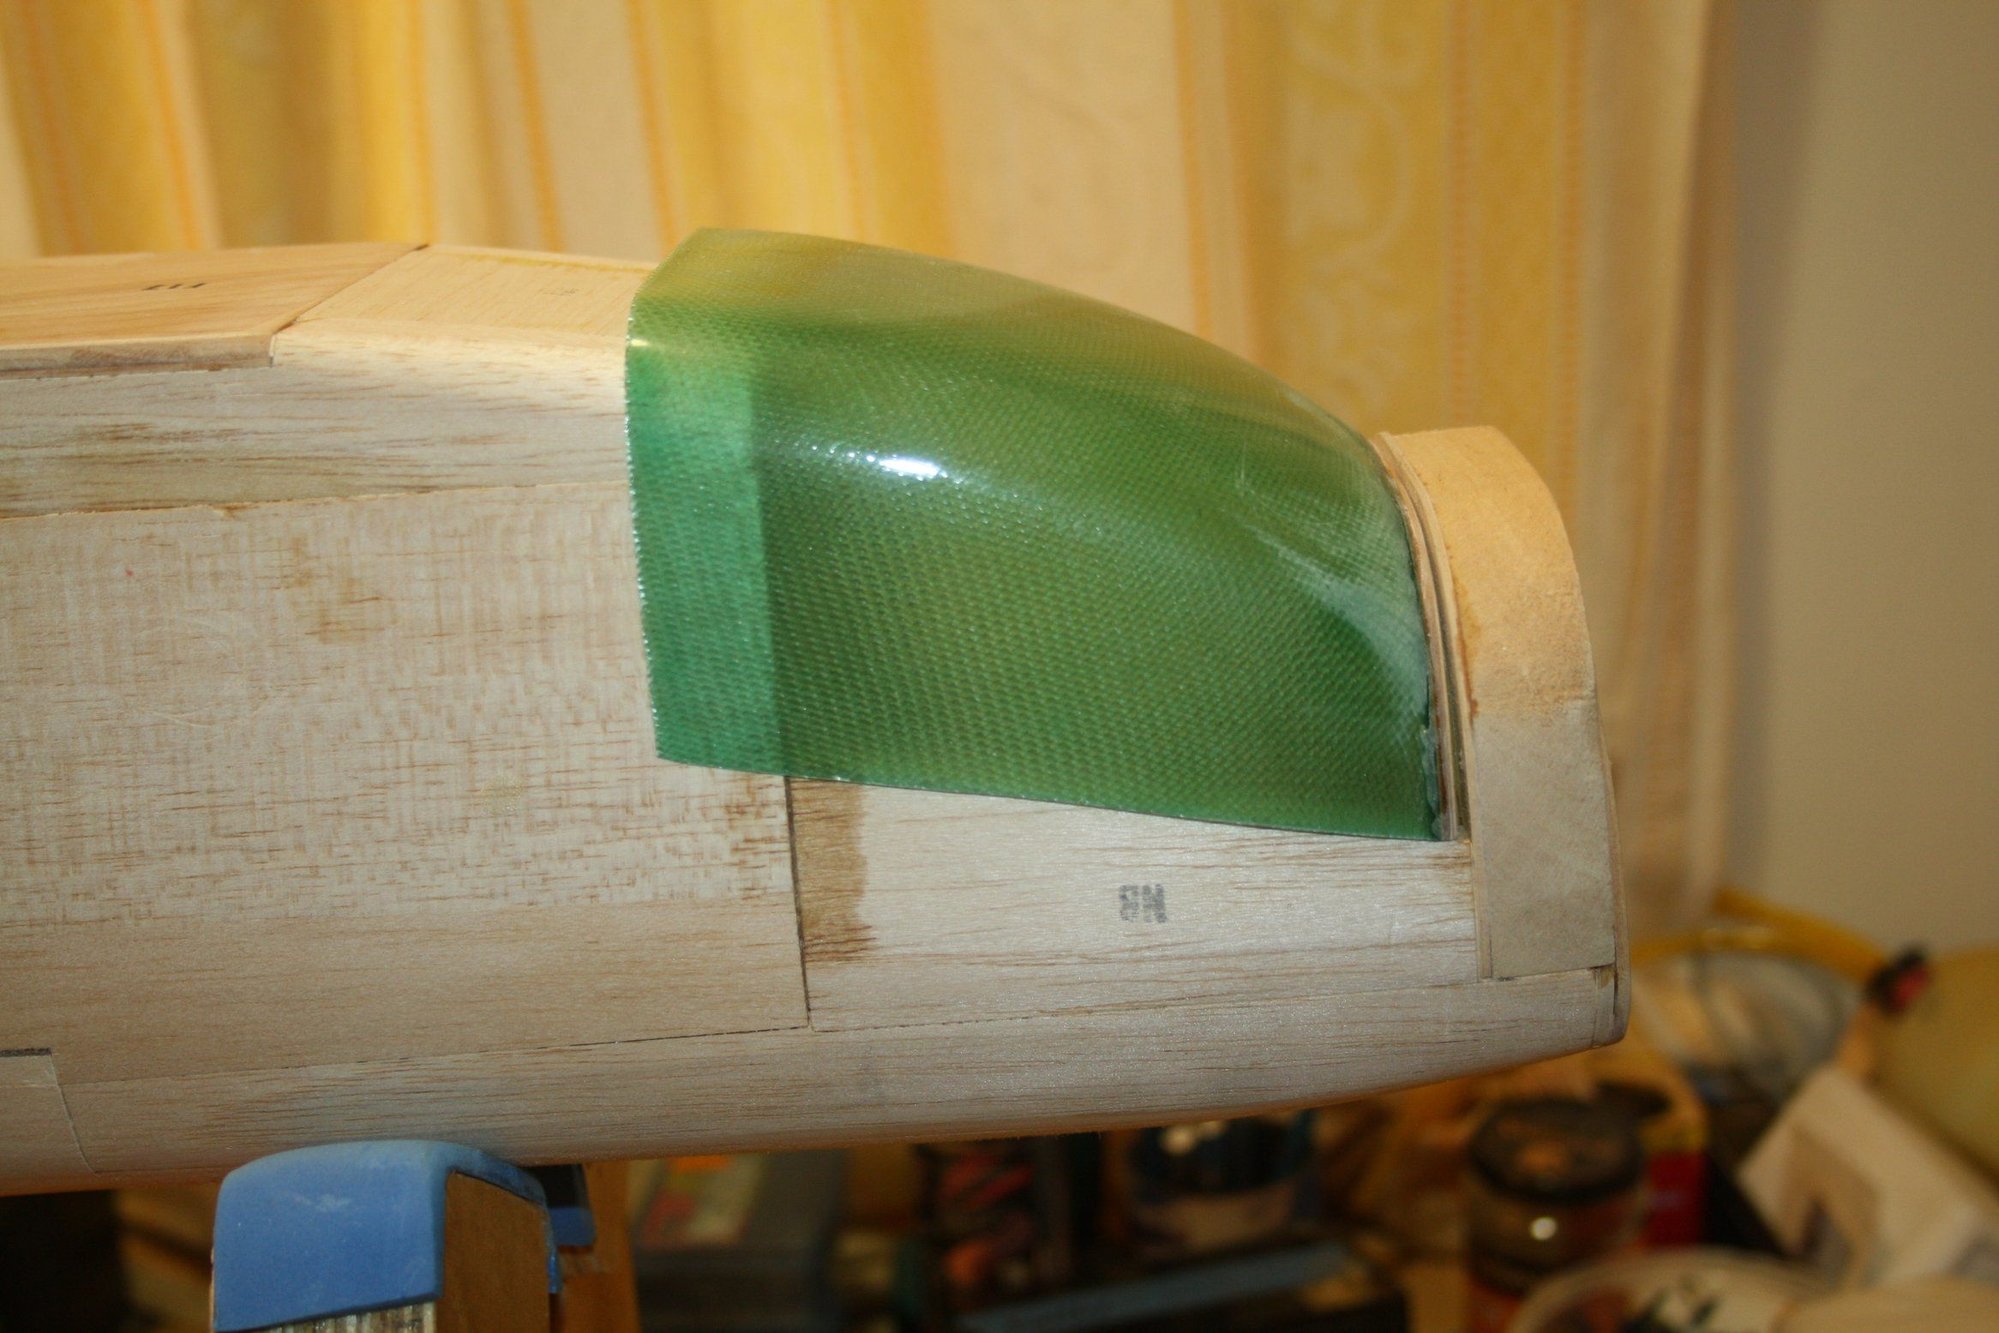
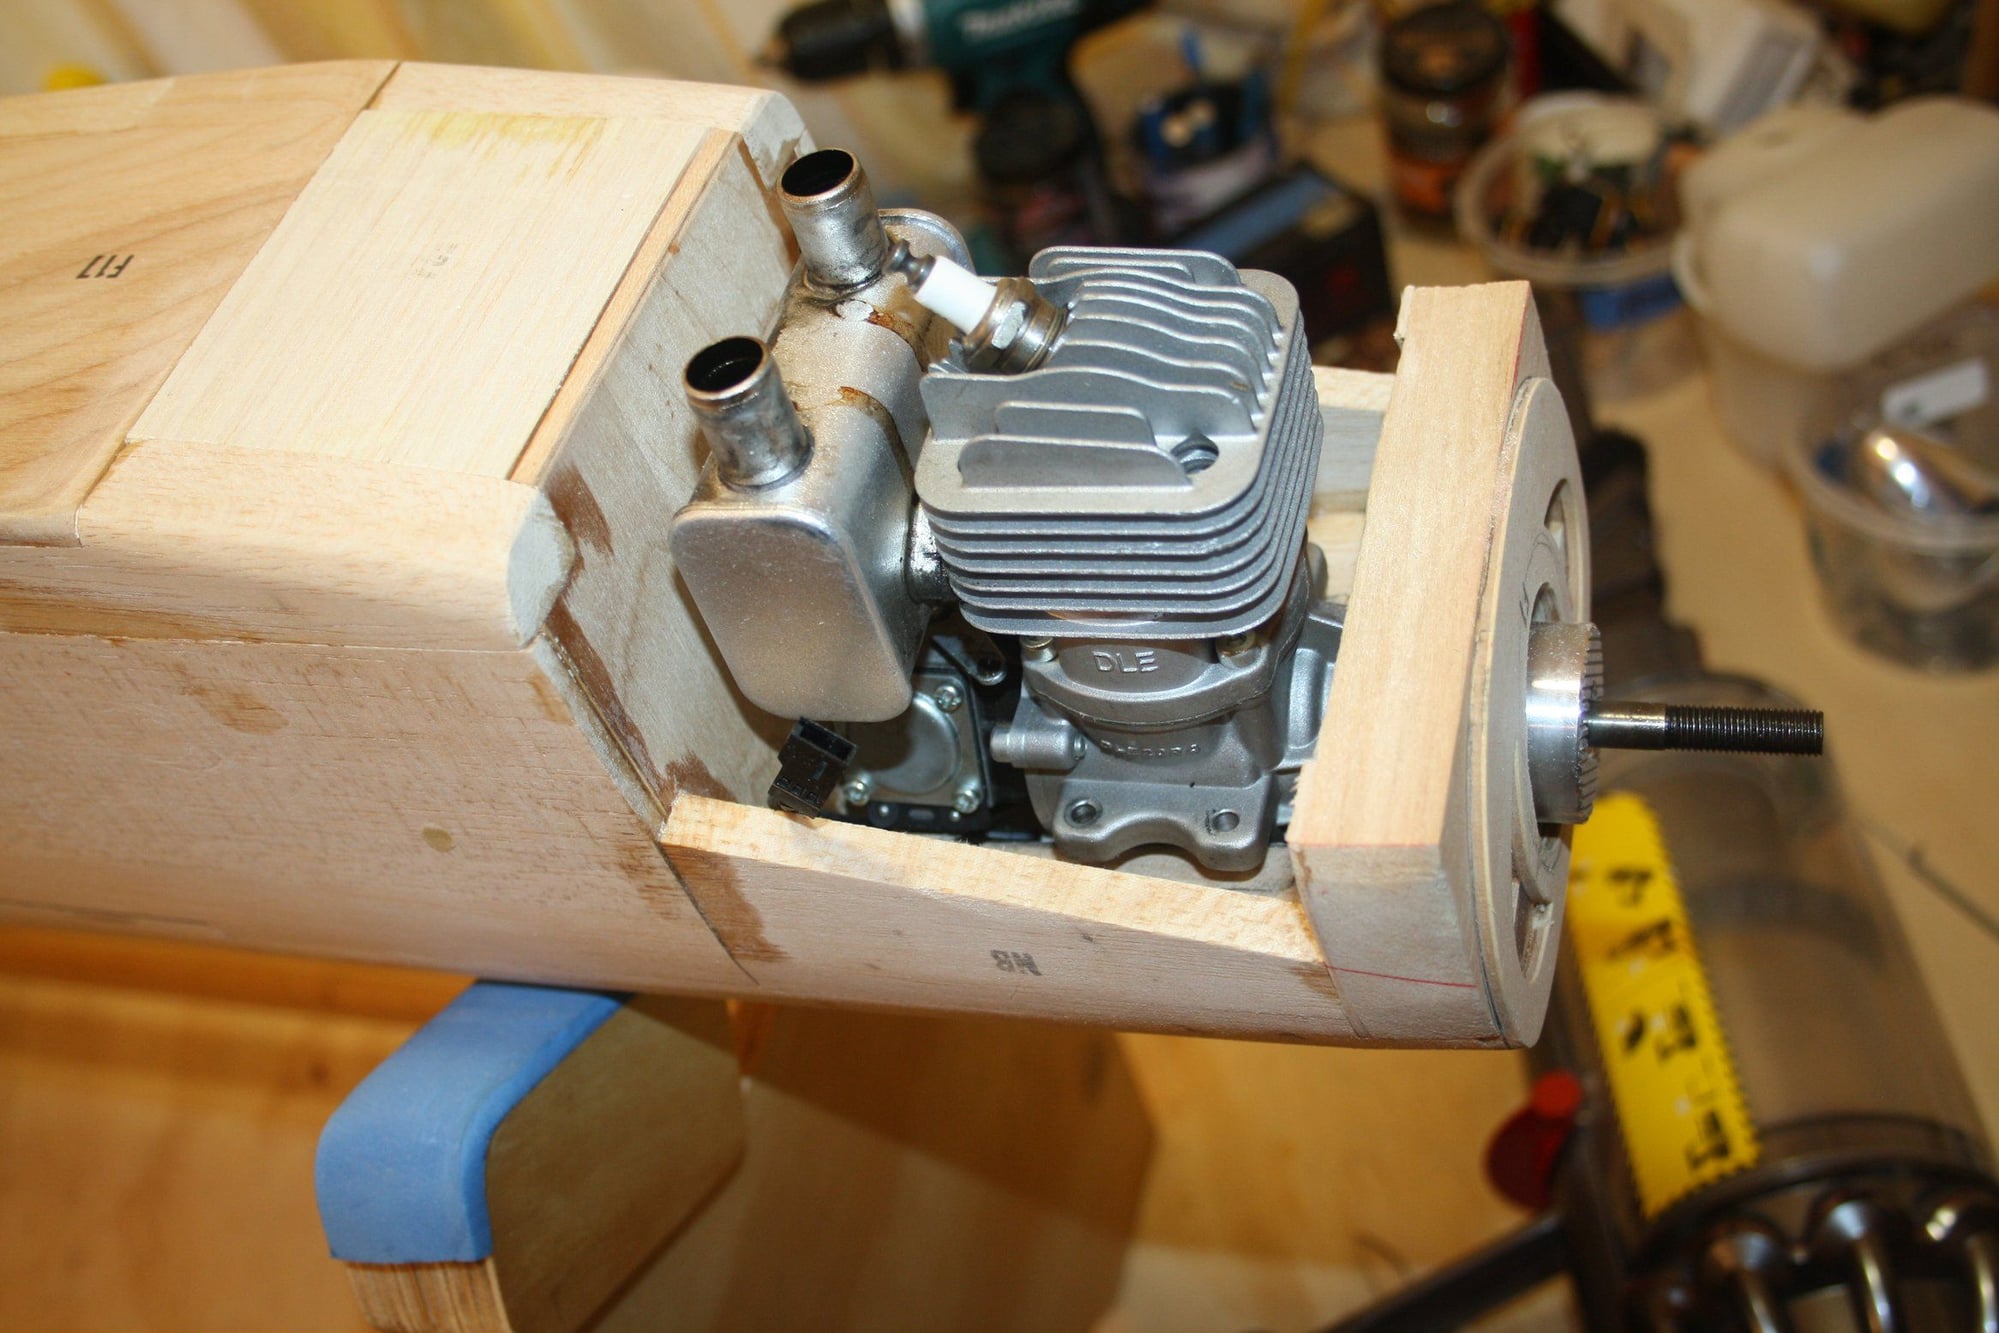
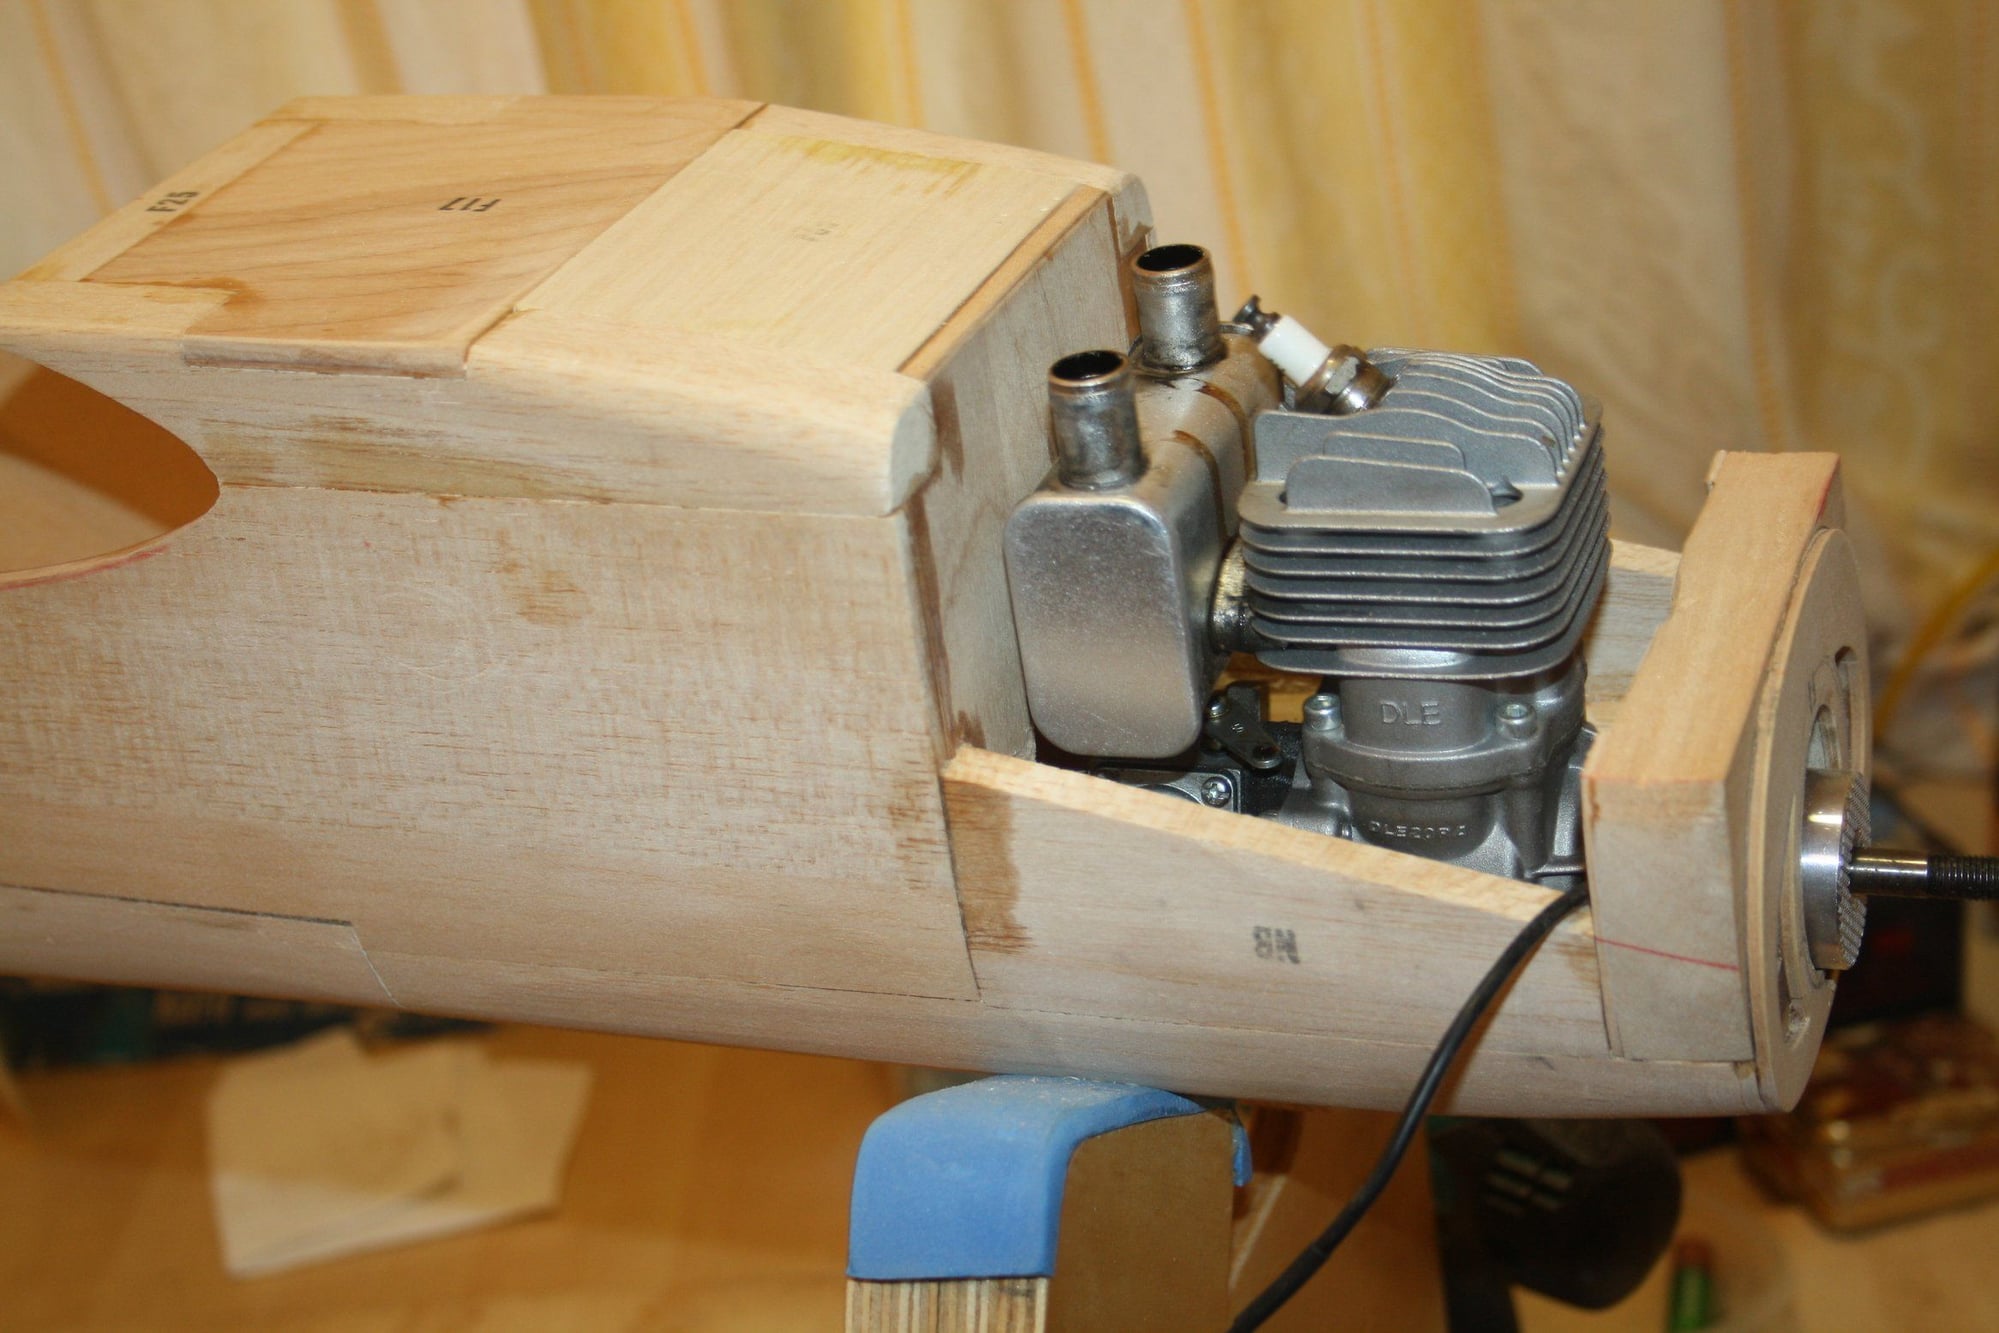
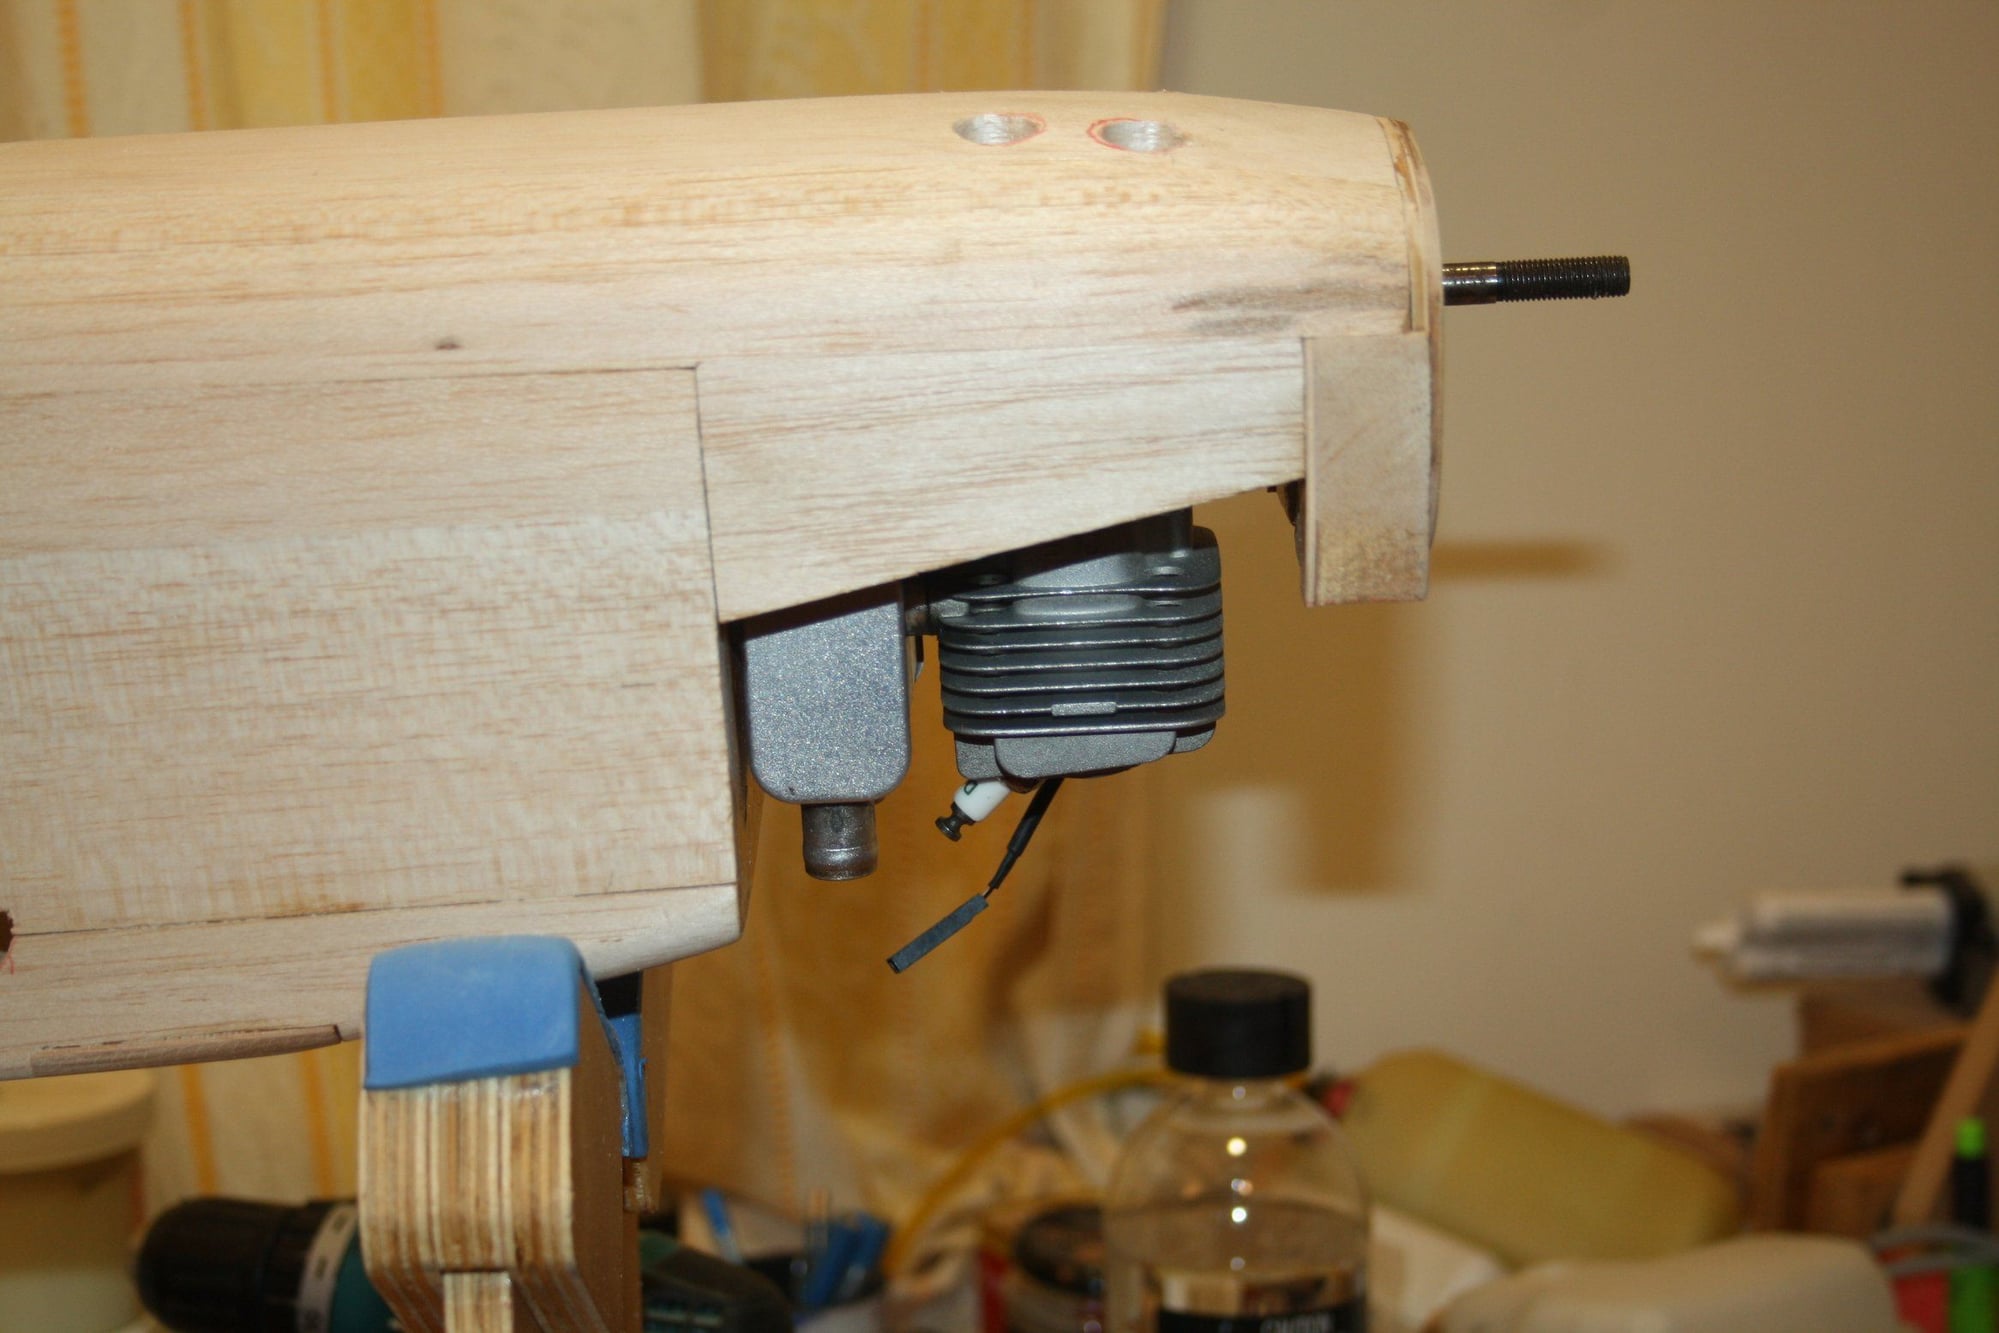
I had to address the "elephant in the room" and figure out if the DLE 20RA will fit.
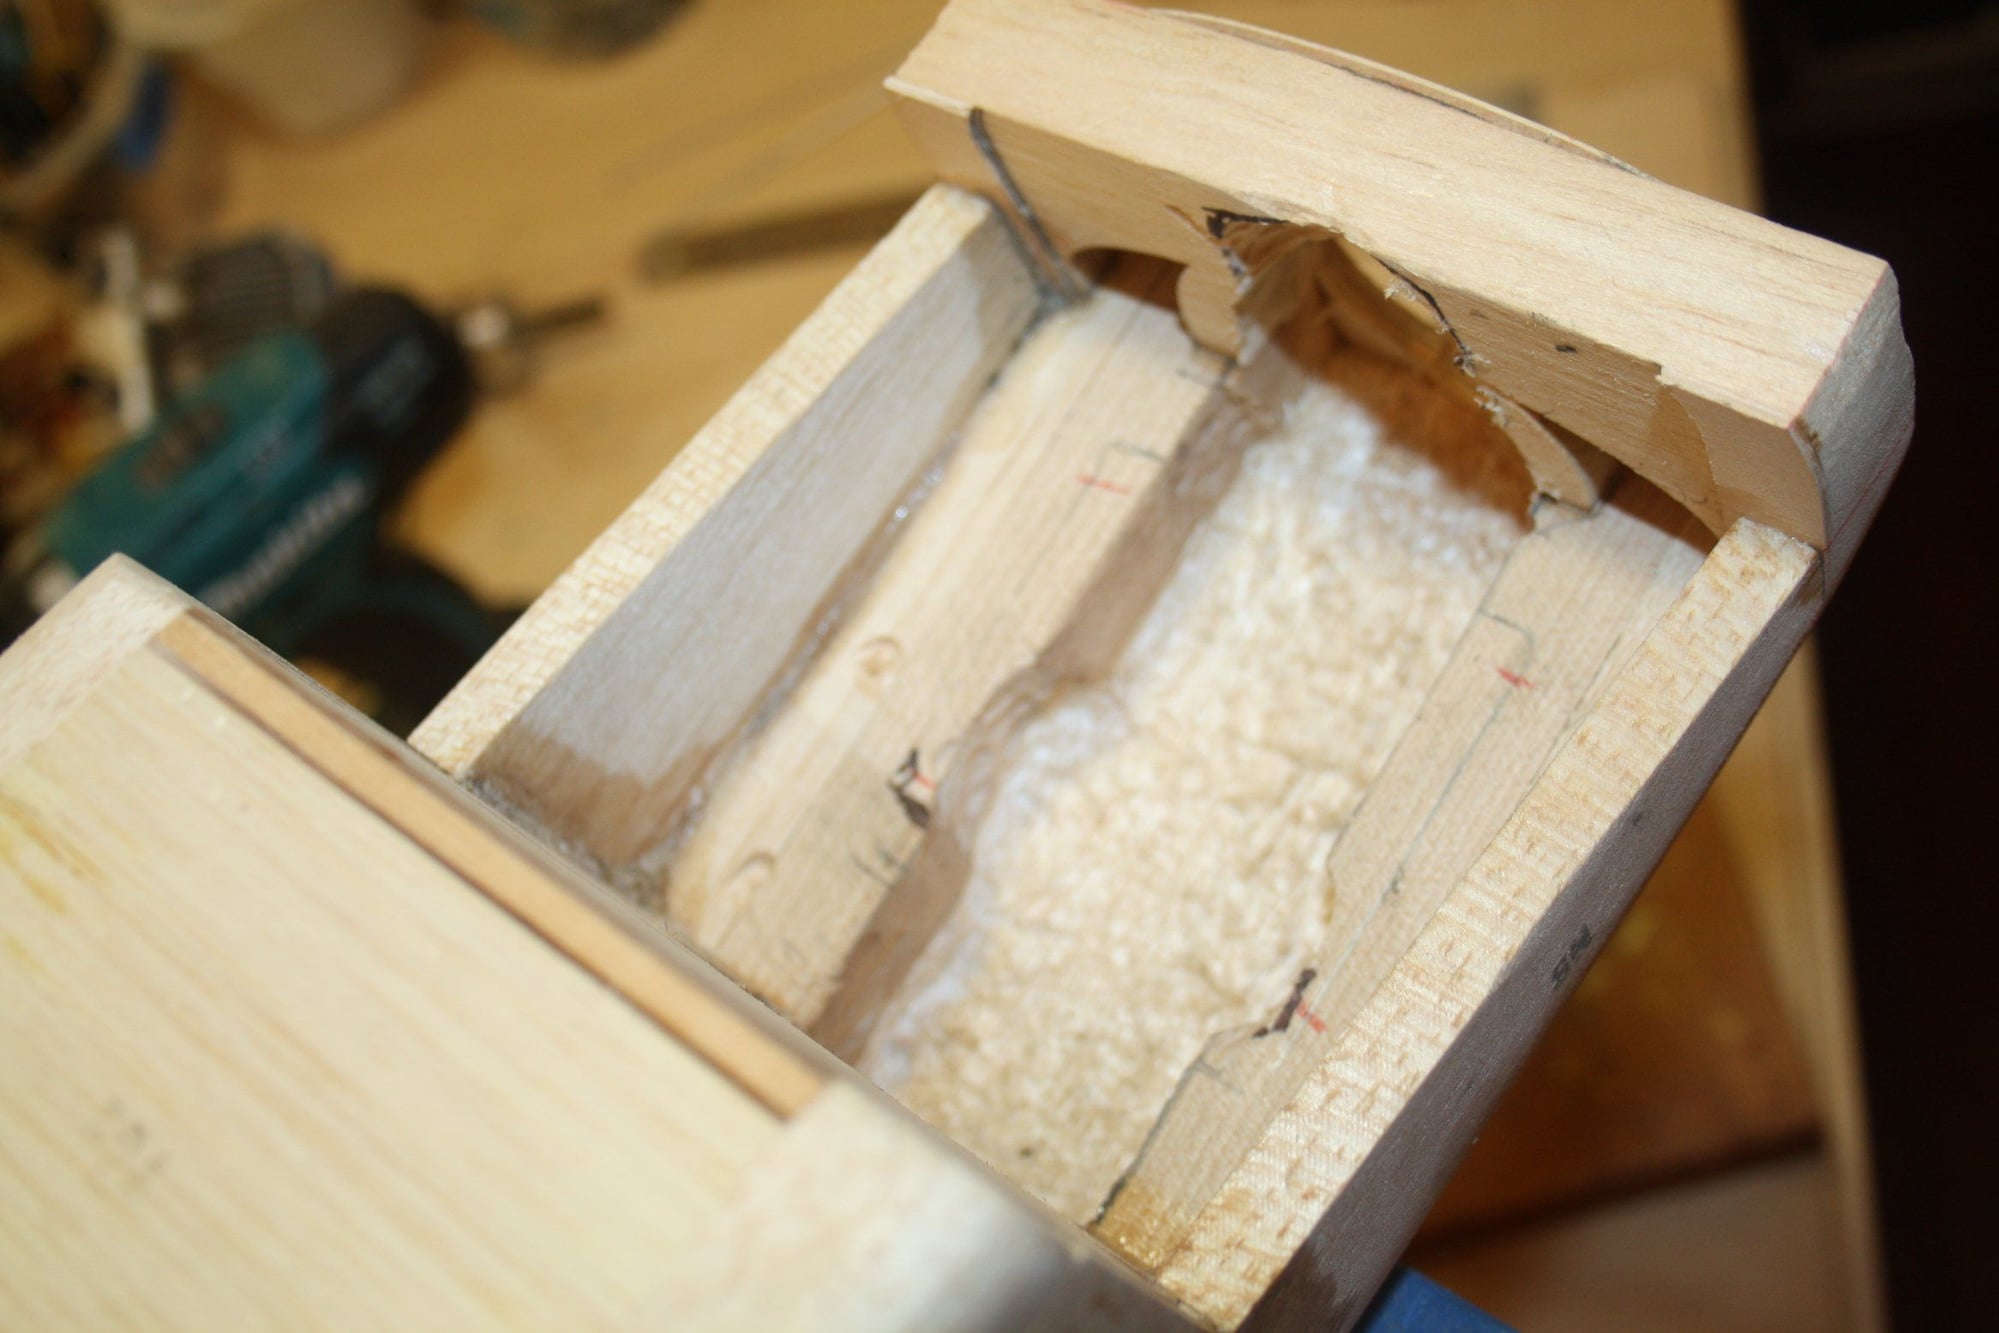
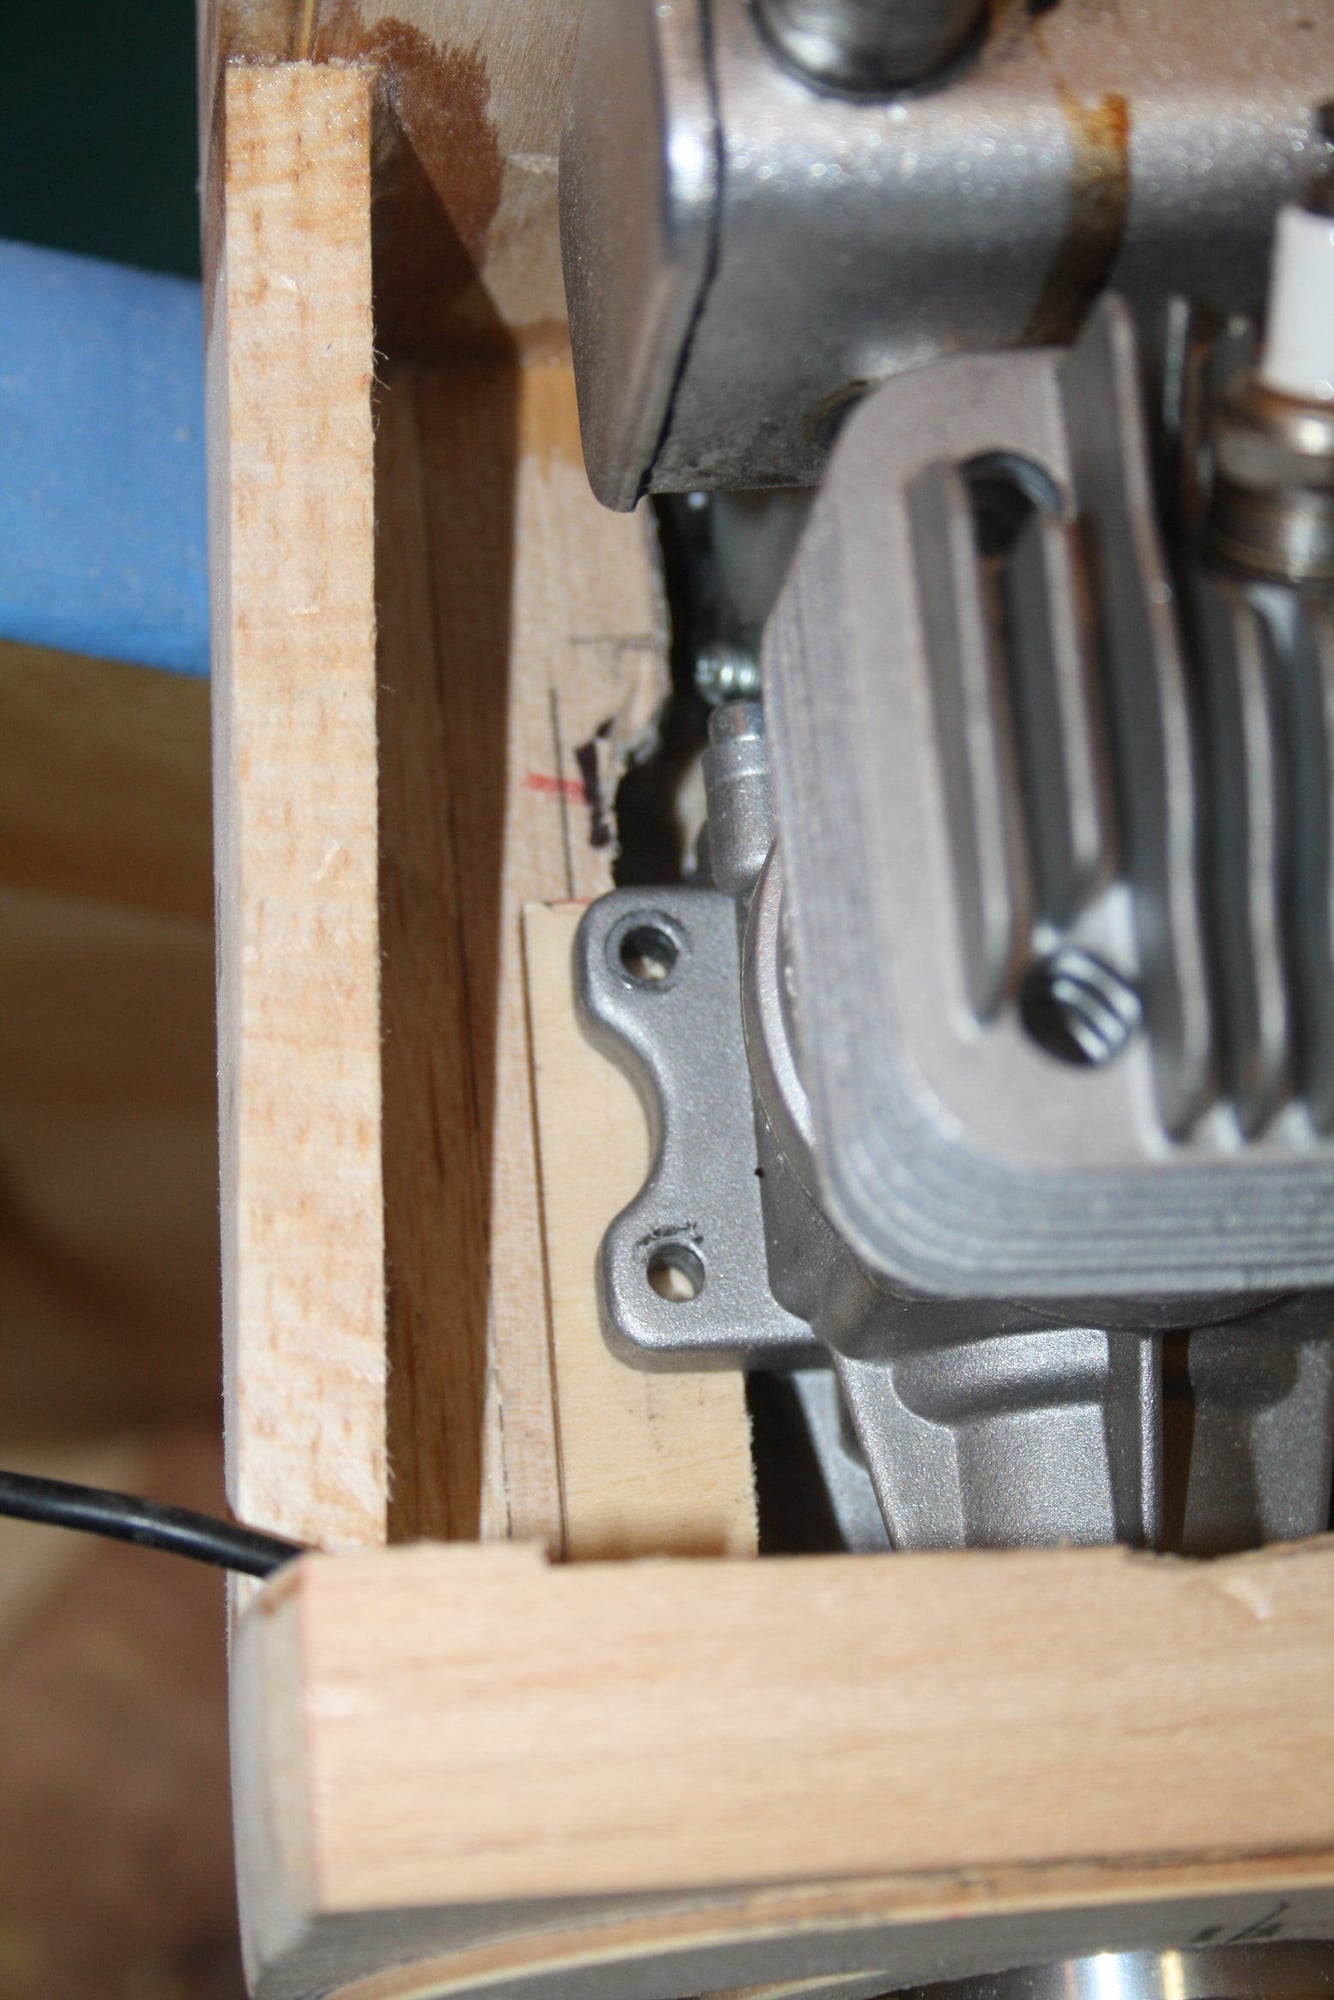
Yesterday I spent few hours fitting the engine in, starting with finding out that the engine will not just drop into the intended space.
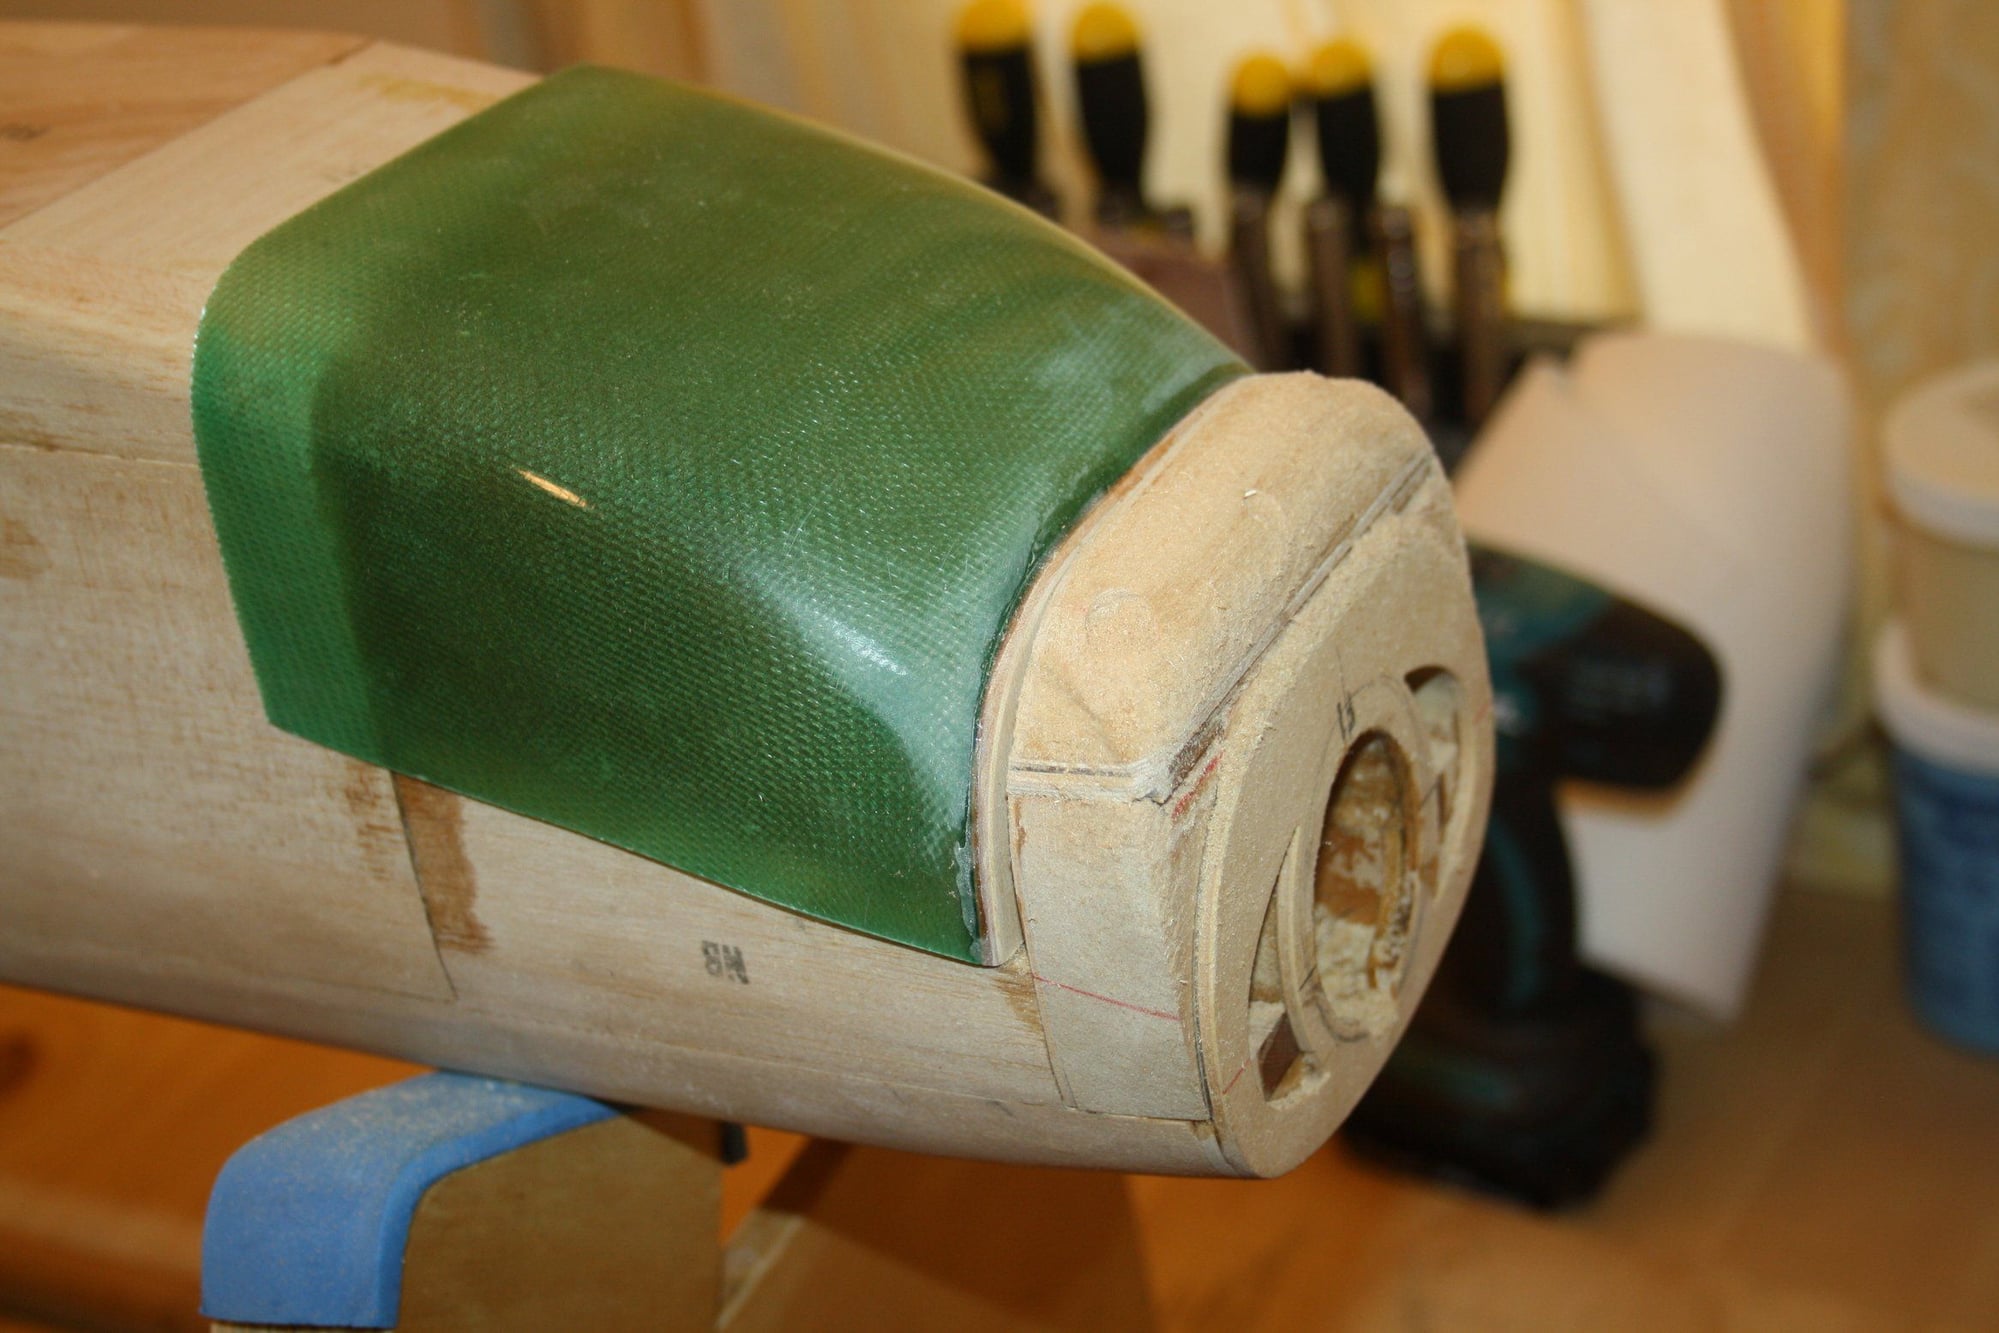
I had to cut the "chin" that holds the fibreglass "cowl" and in addition had to cut a hole in the firewall for the carburetor.
I then milled the area where the crankcase situated until the engine sat on the rails, just to find that it is way out off the required thrust line. I had to glue couple of plywood pieces to correct it.


Cheers,
Eran
Yesterday I spent few hours fitting the engine in, starting with finding out that the engine will not just drop into the intended space.
I had to cut the "chin" that holds the fibreglass "cowl" and in addition had to cut a hole in the firewall for the carburetor.
I then milled the area where the crankcase situated until the engine sat on the rails, just to find that it is way out off the required thrust line. I had to glue couple of plywood pieces to correct it.
Cheers,
Eran
02-04-2020, 12:08 AM
#23
Thread Starter
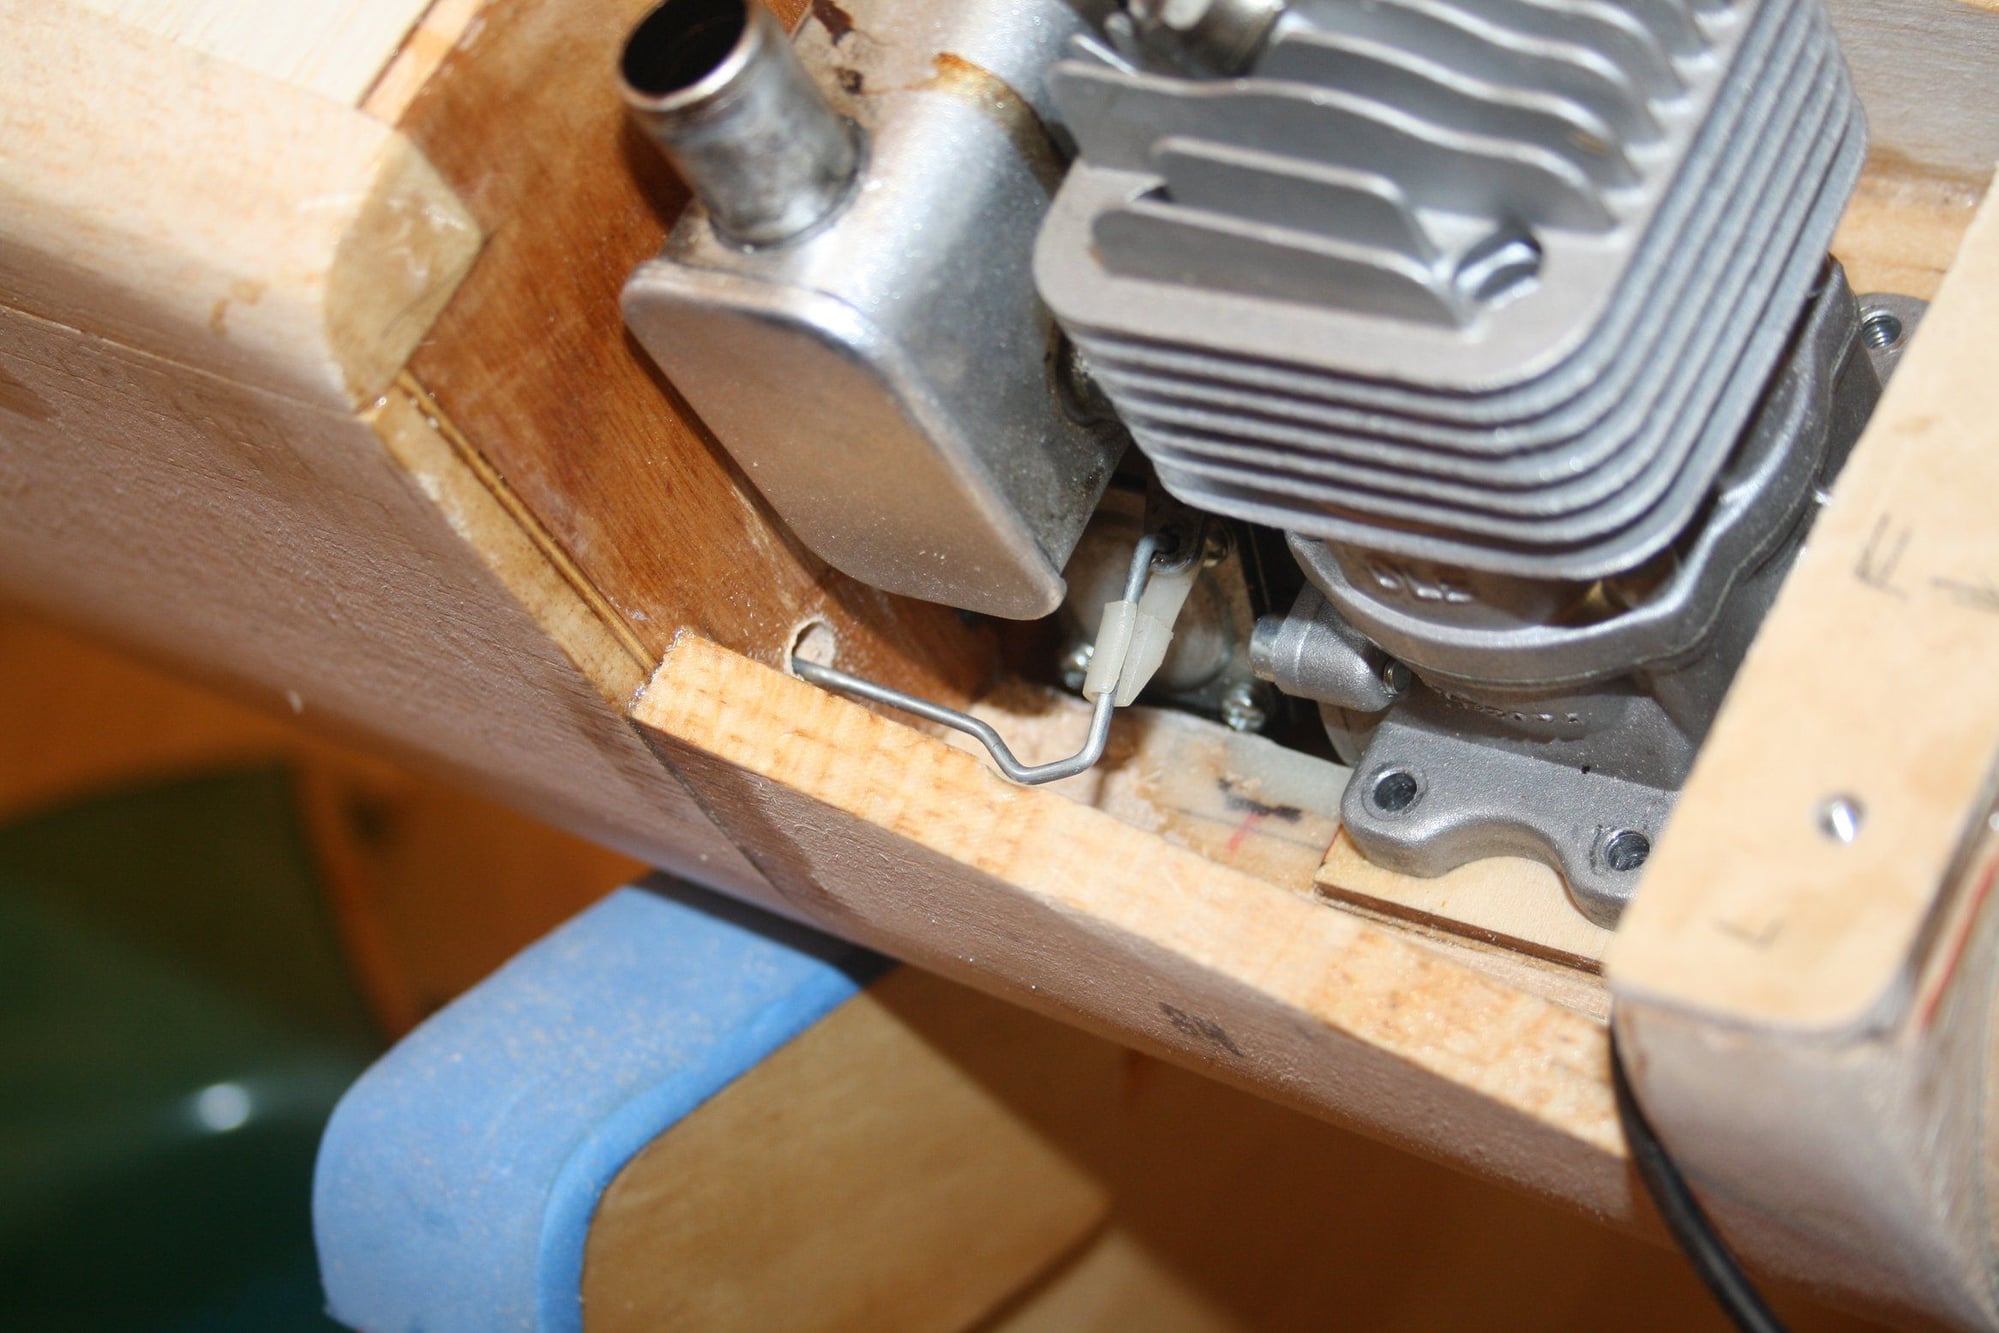
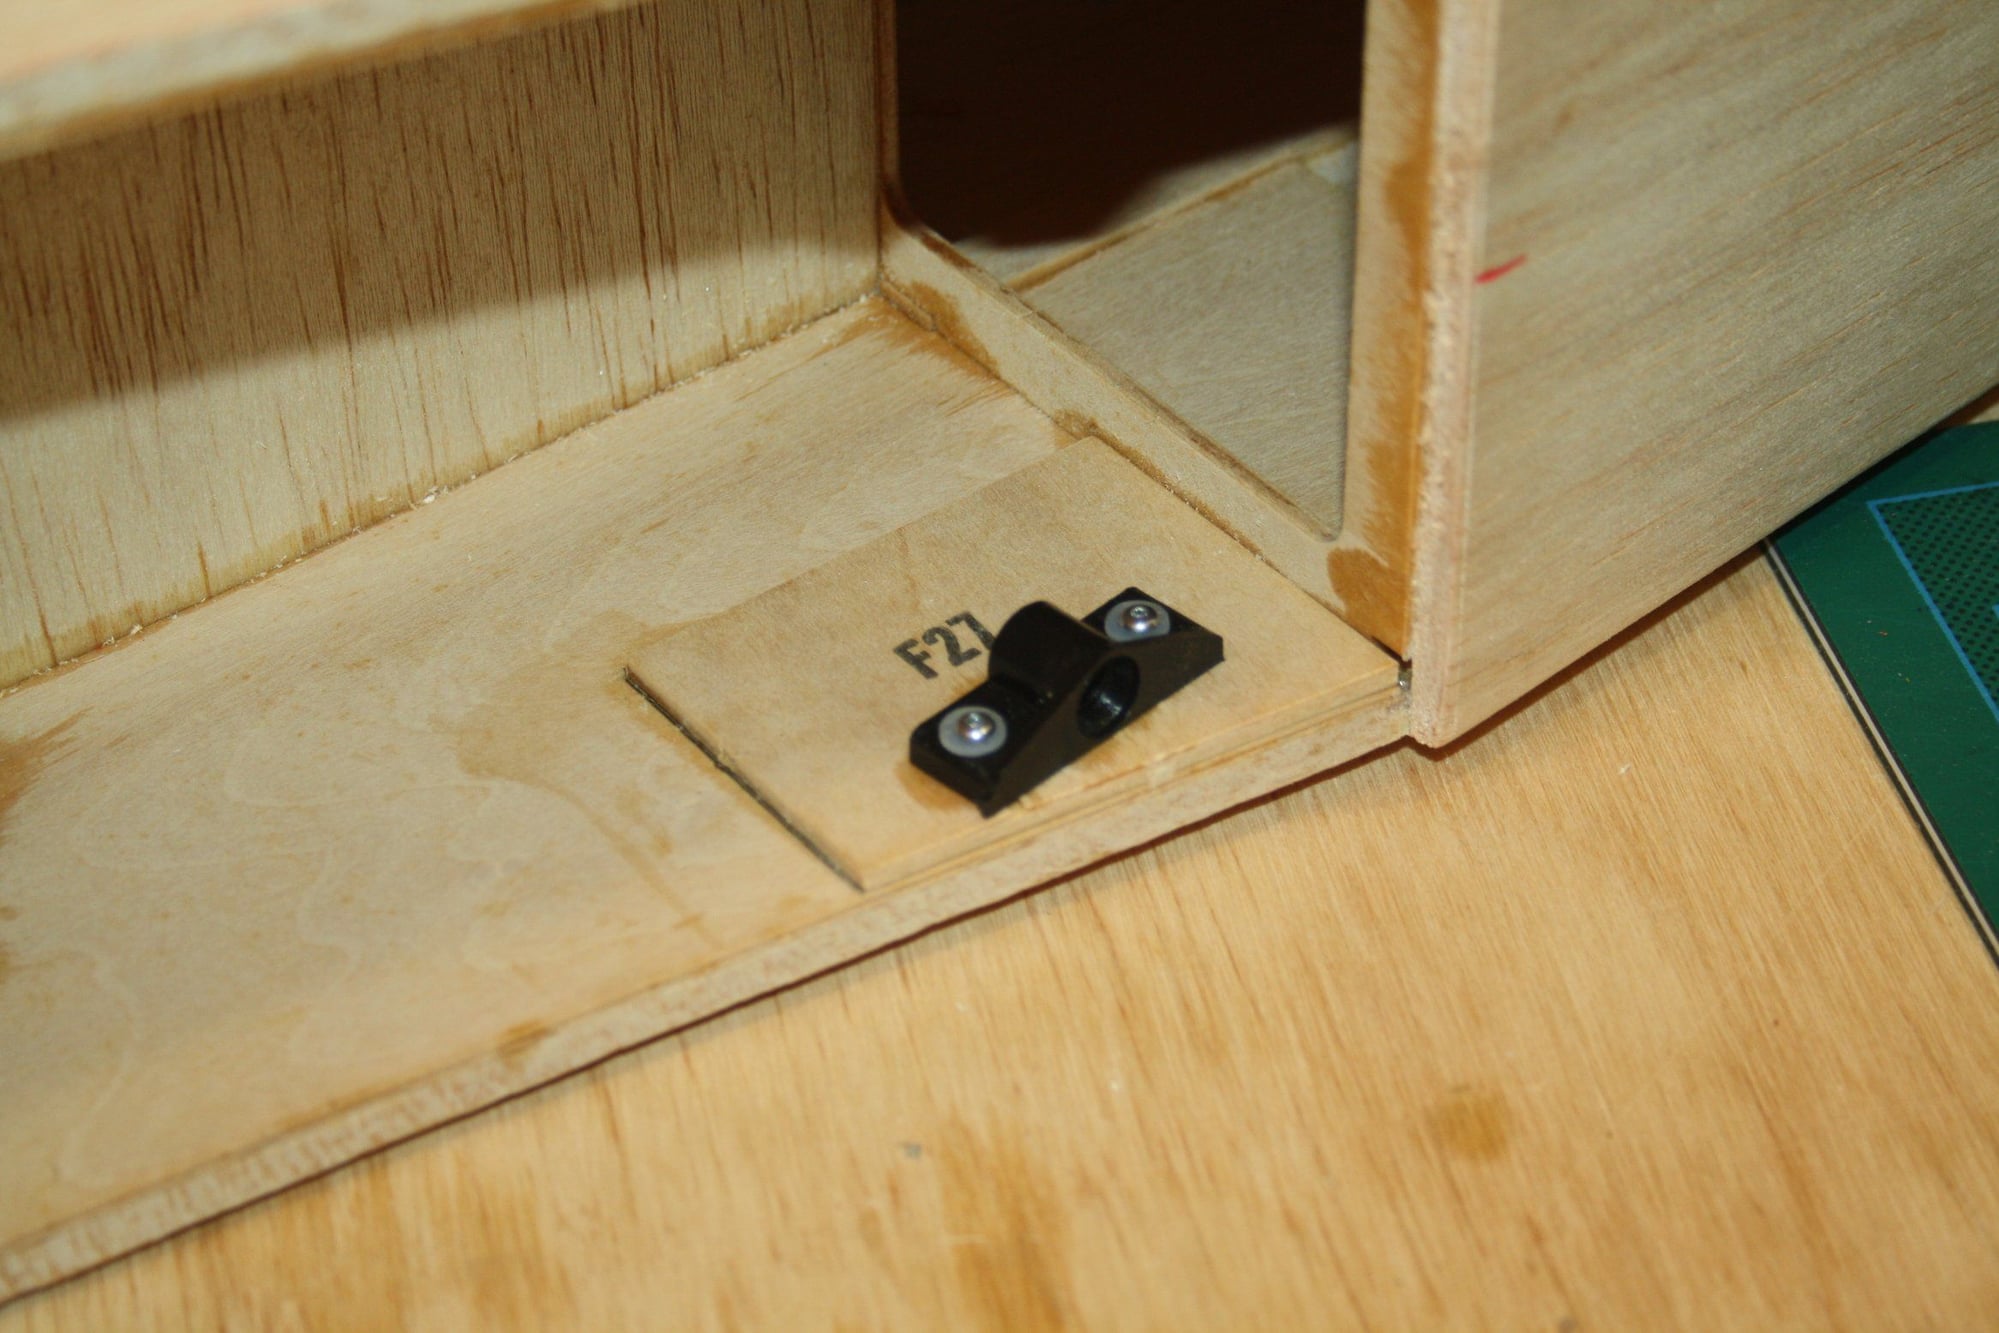
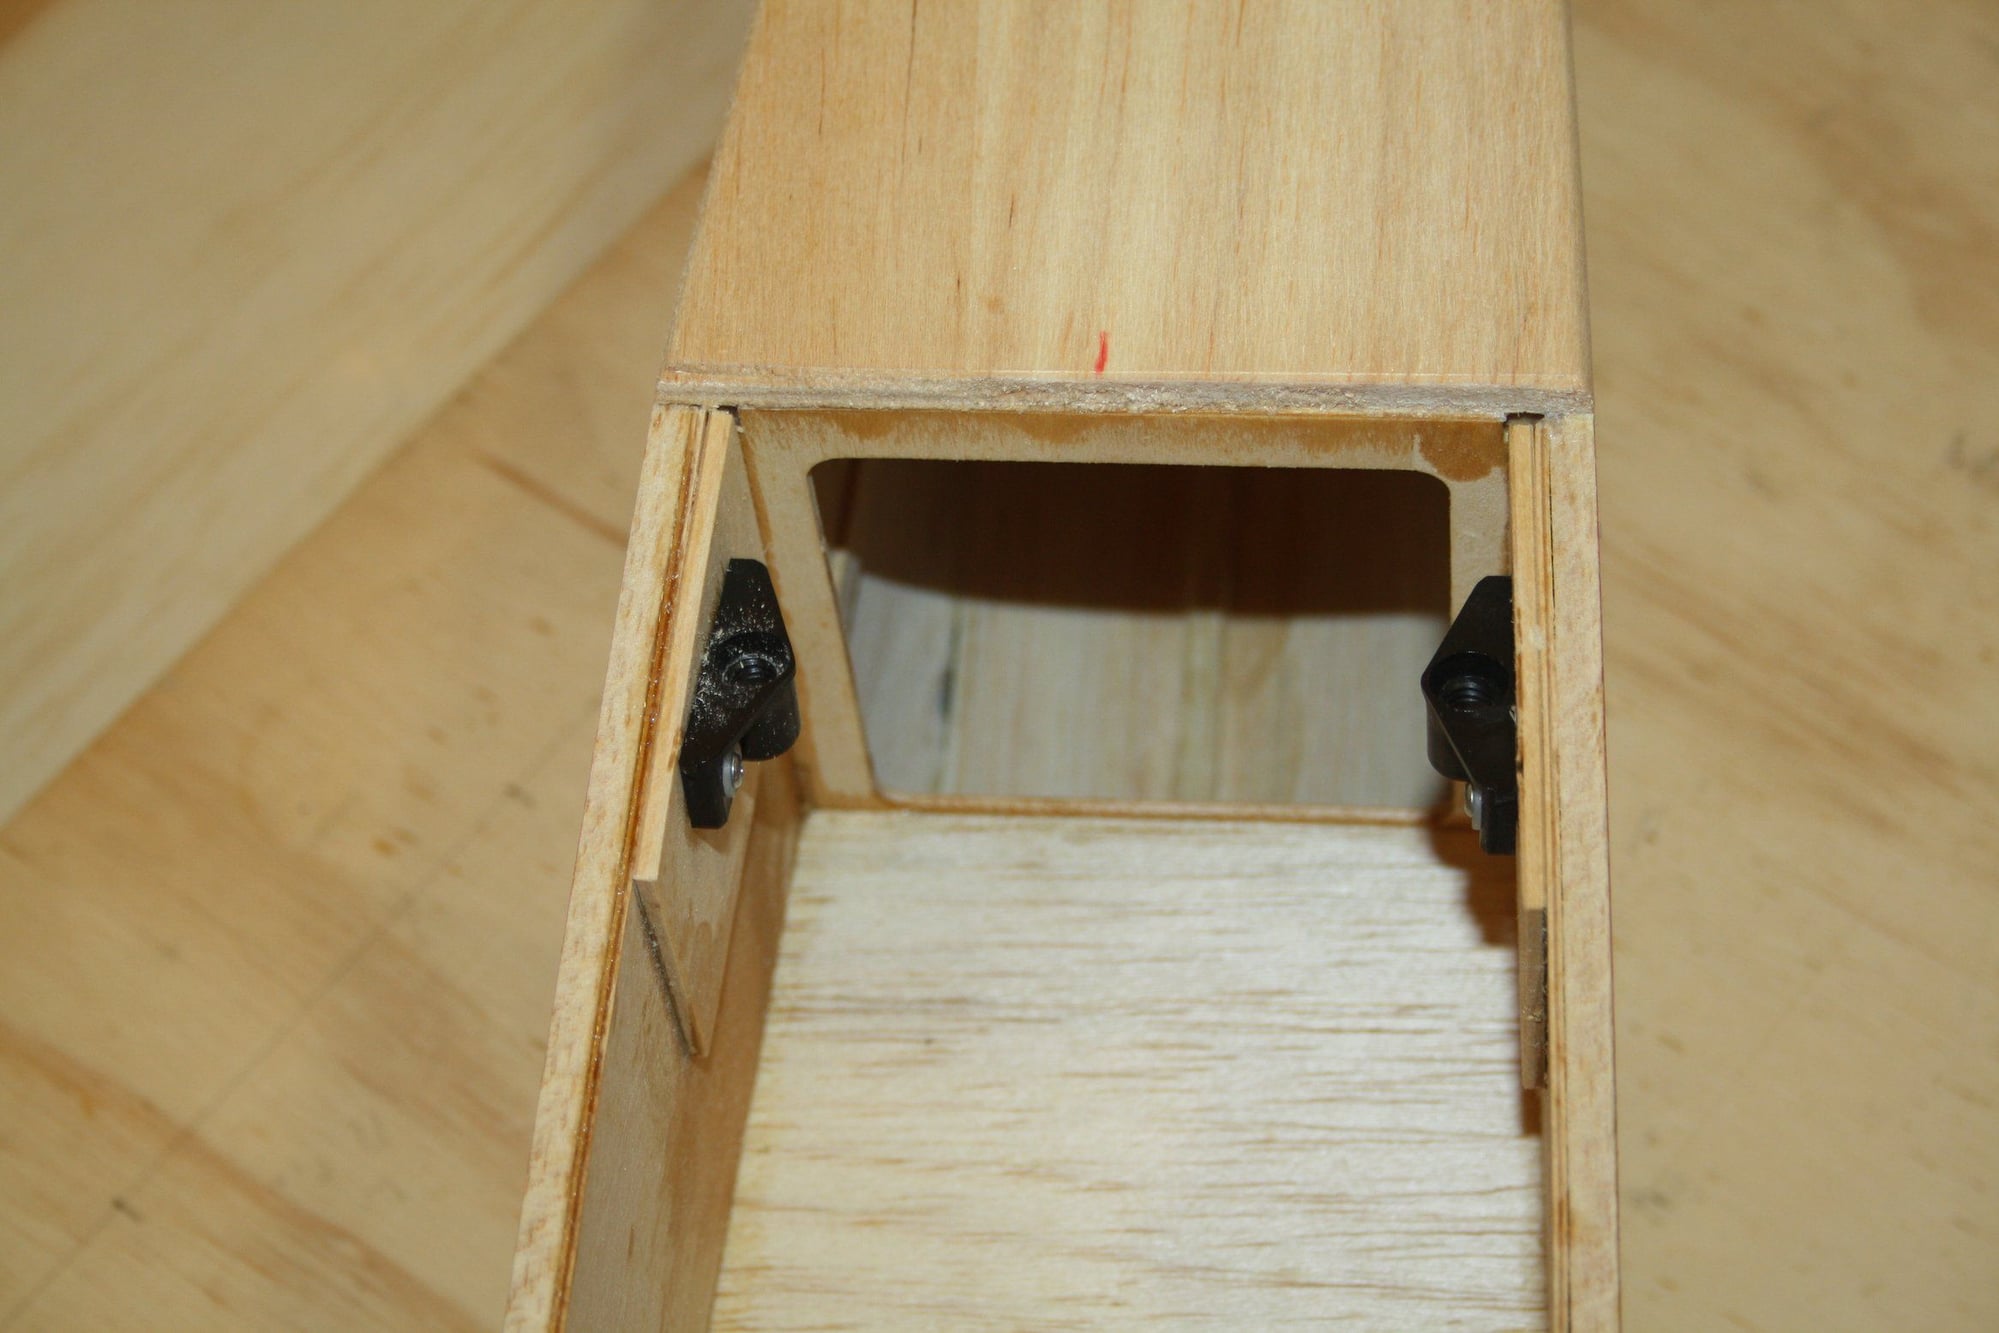
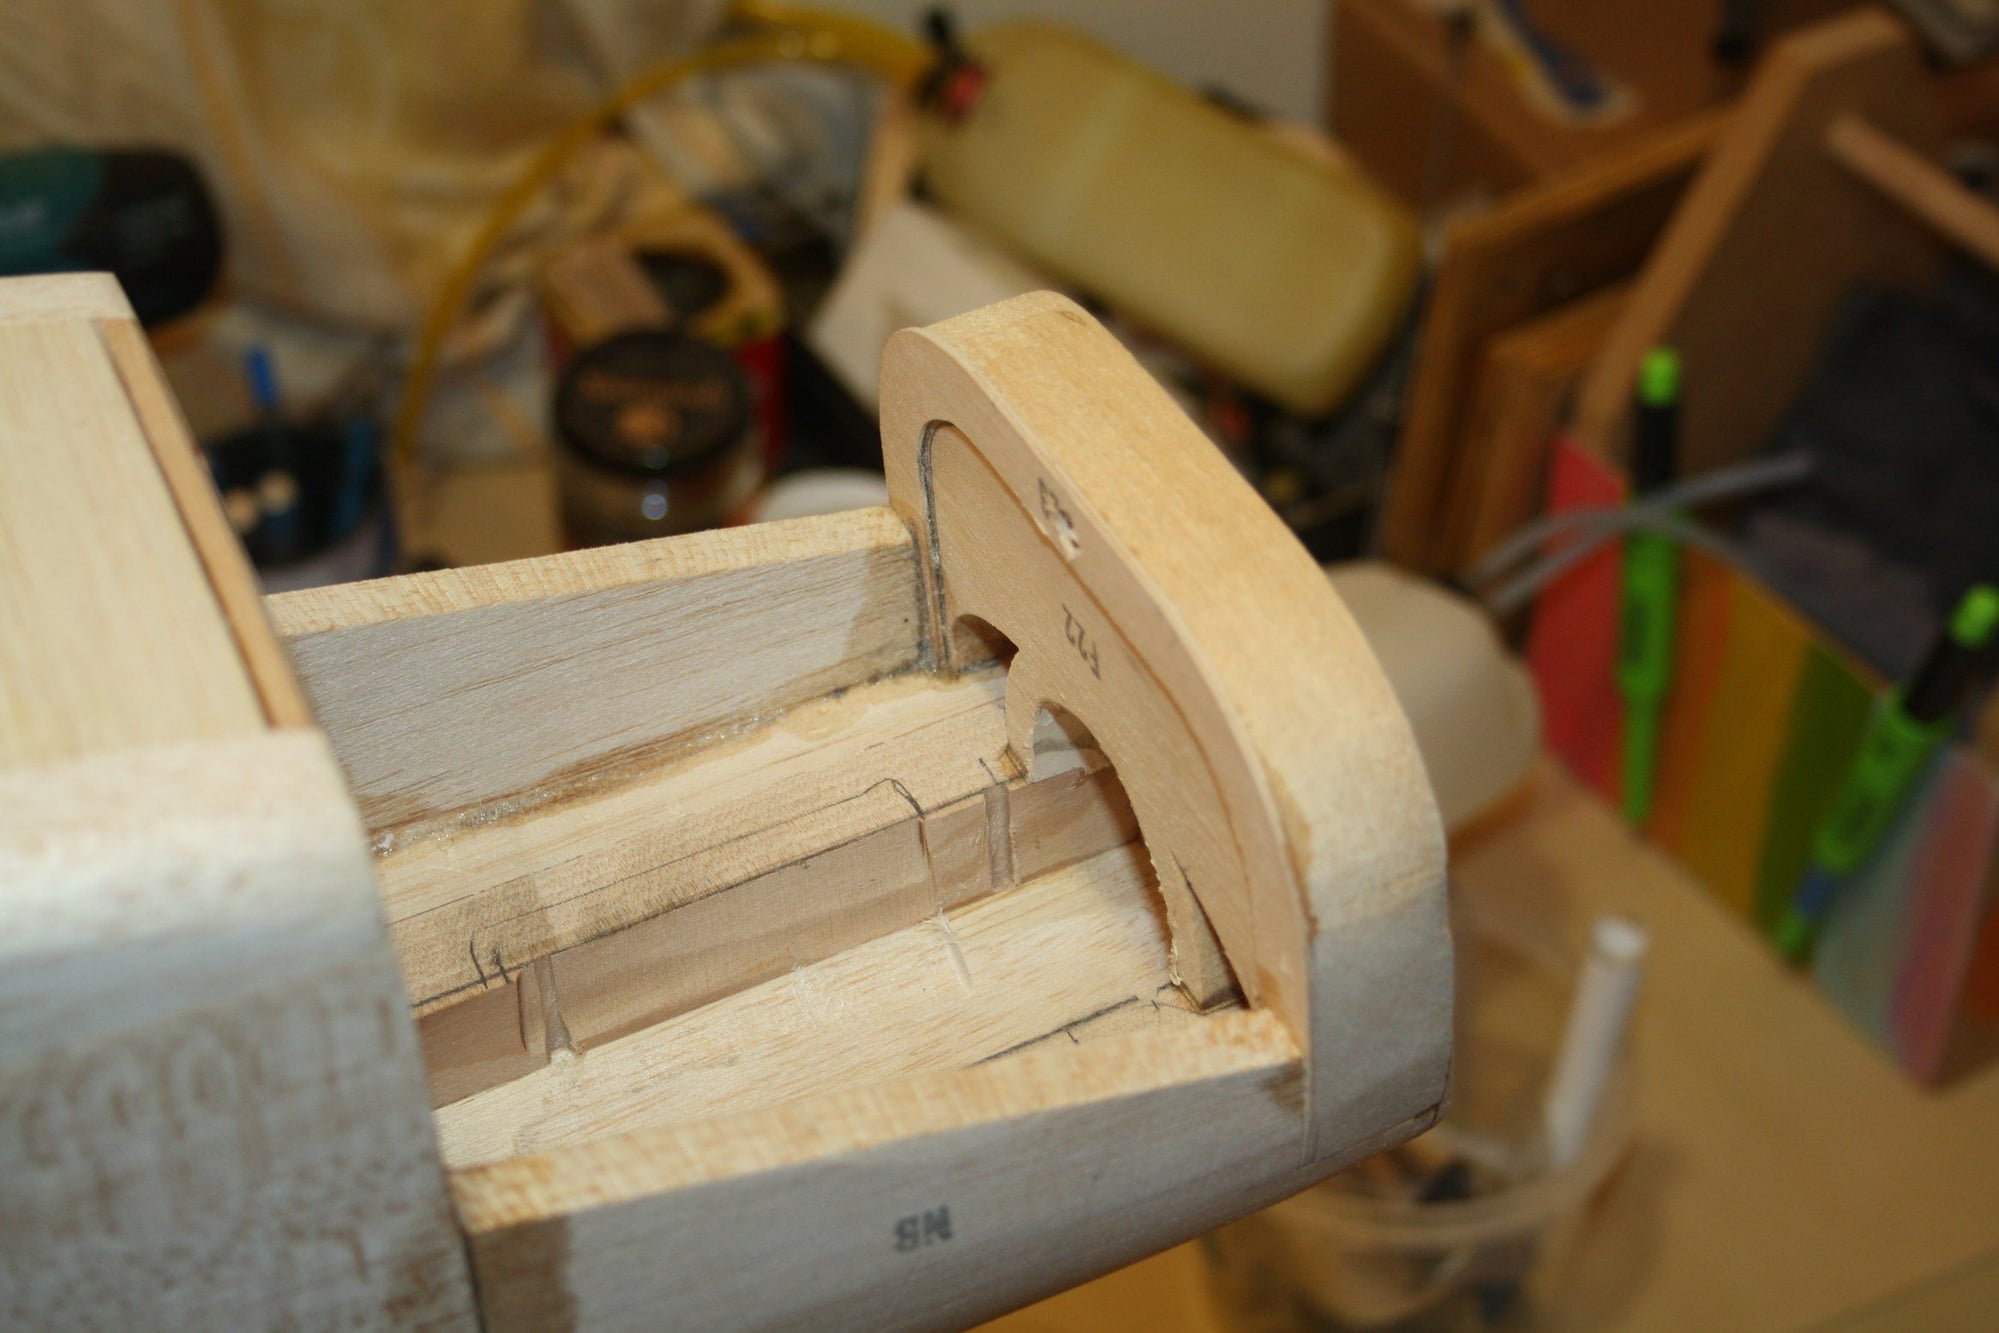
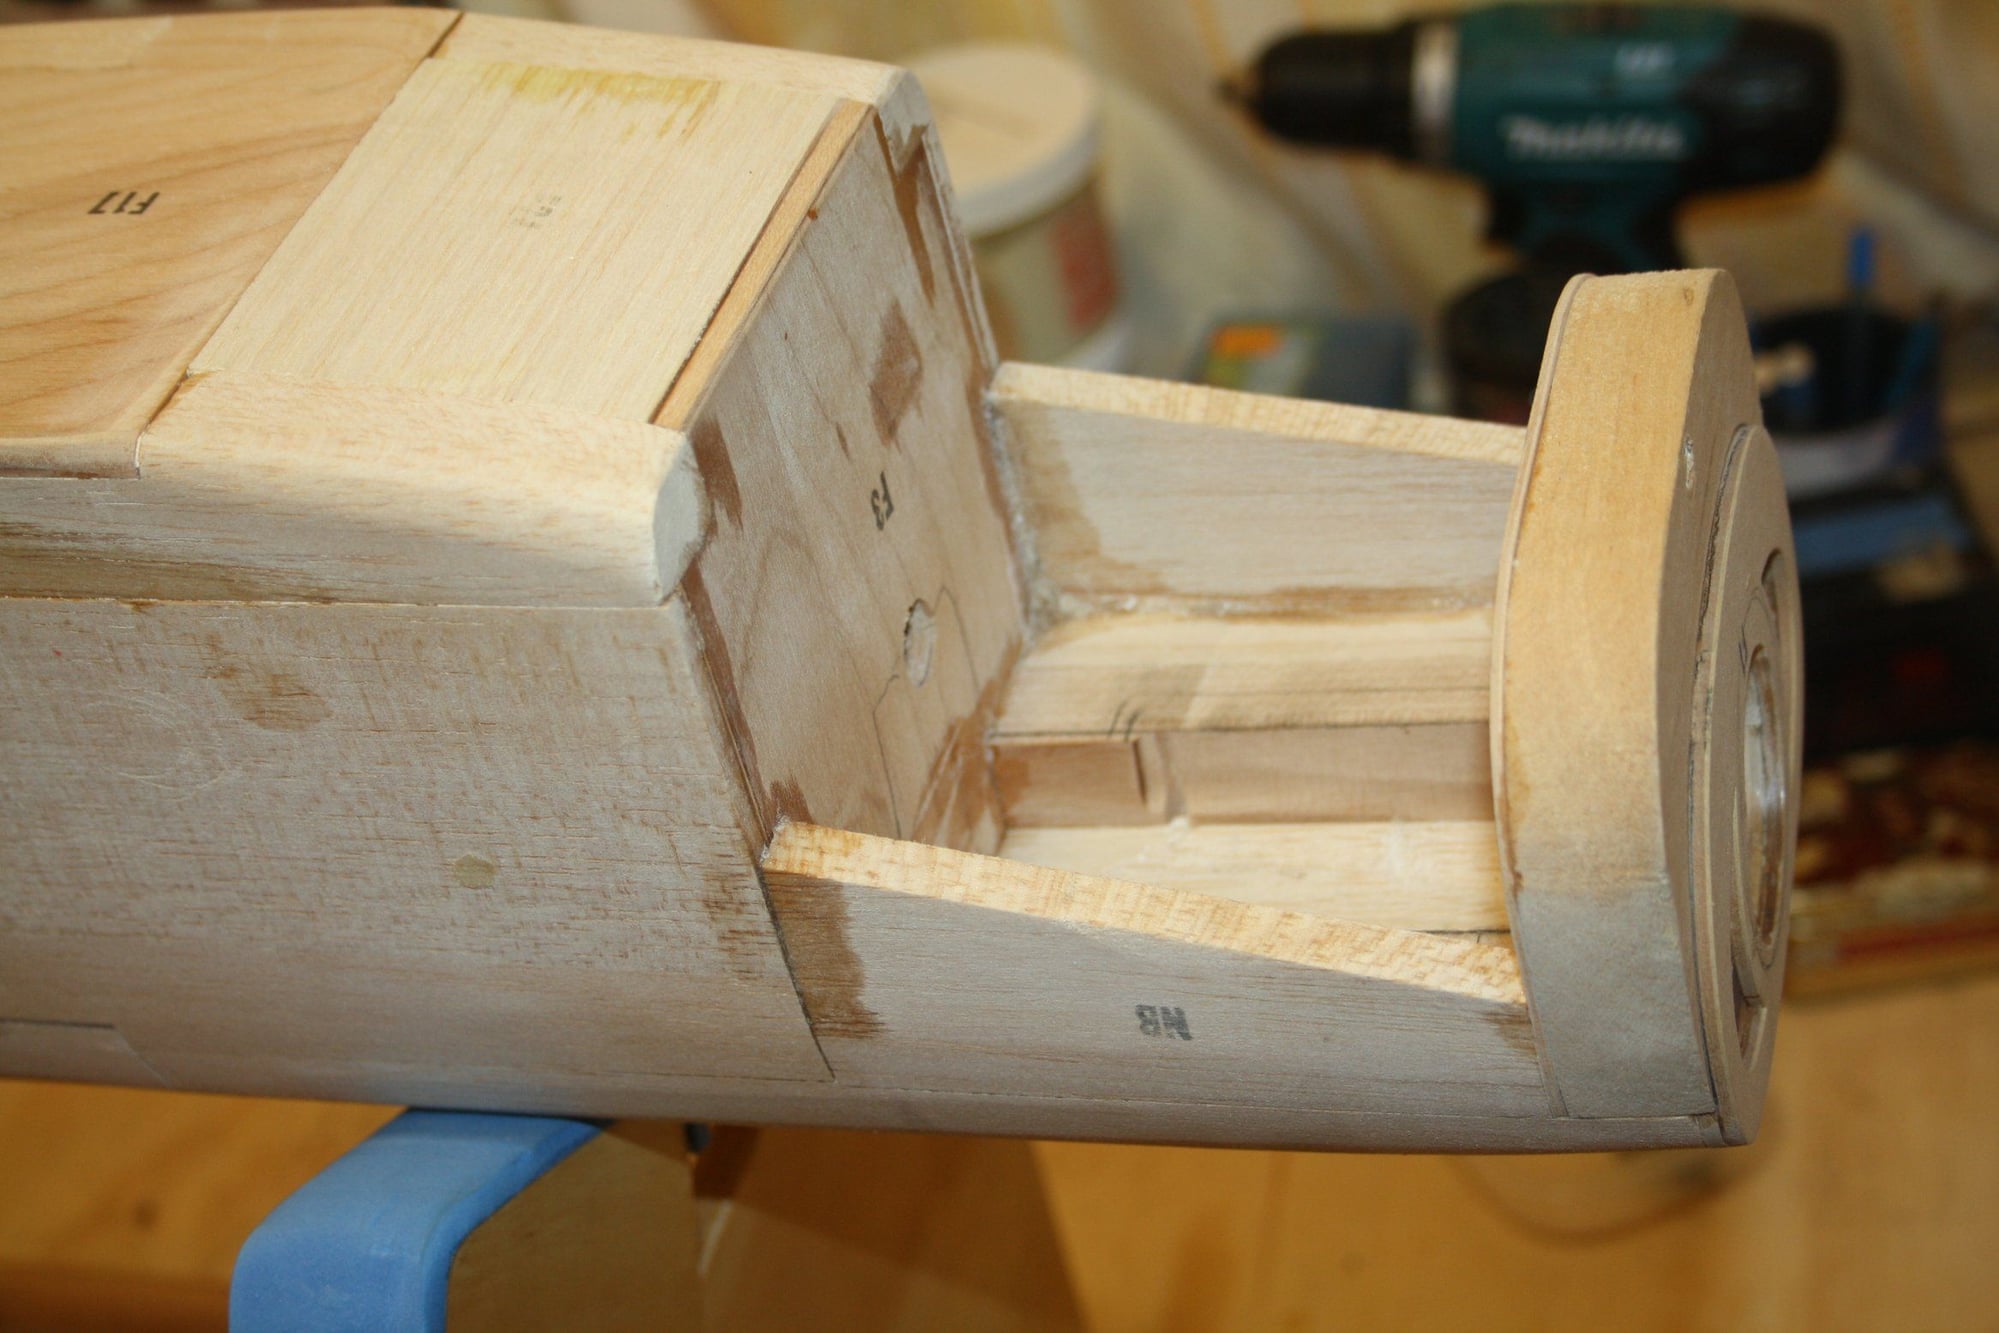
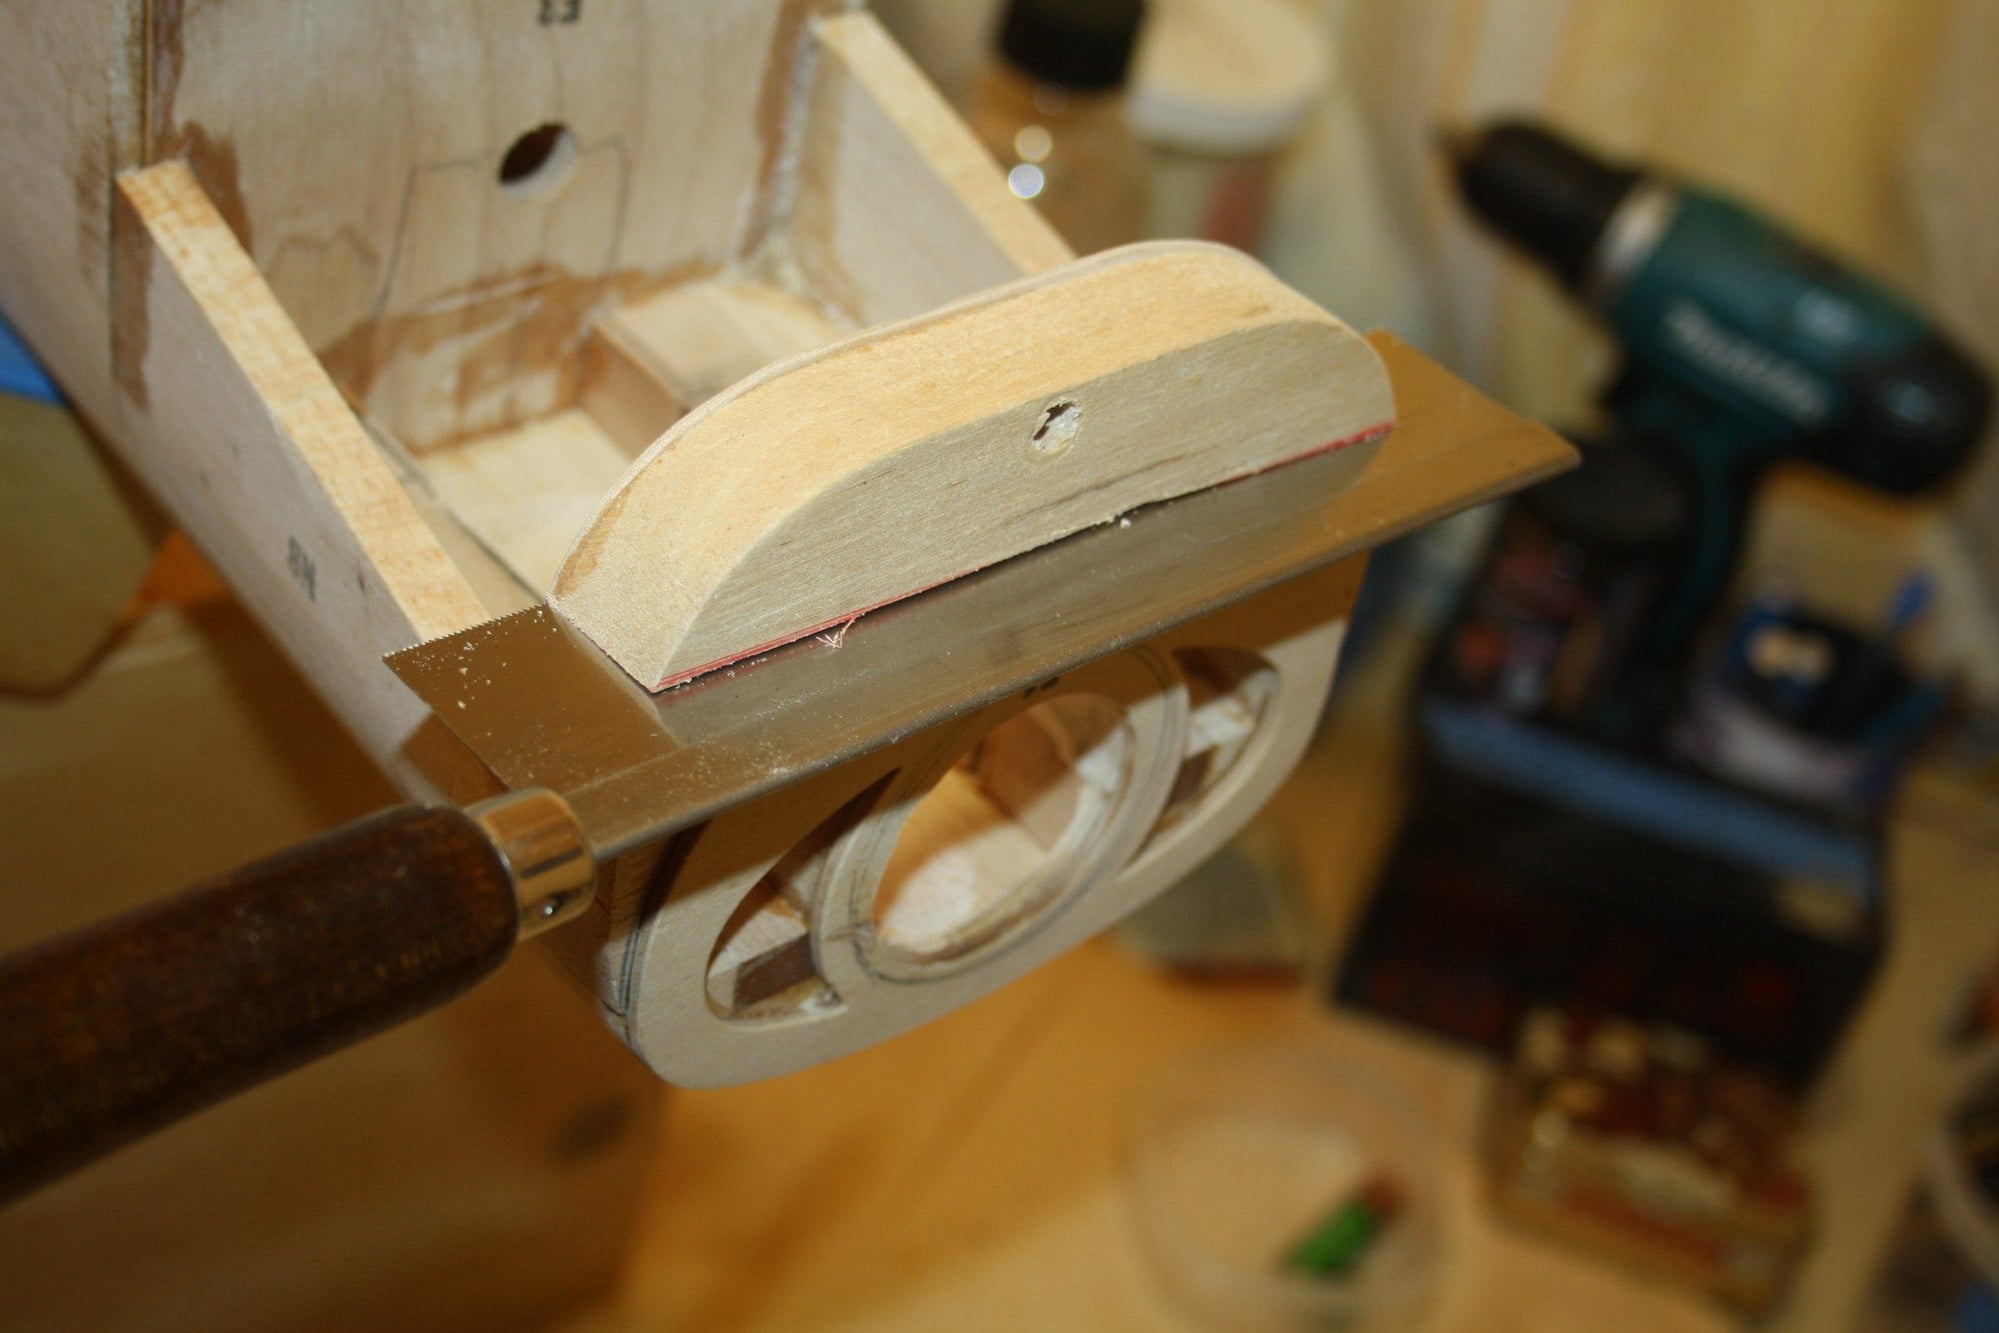
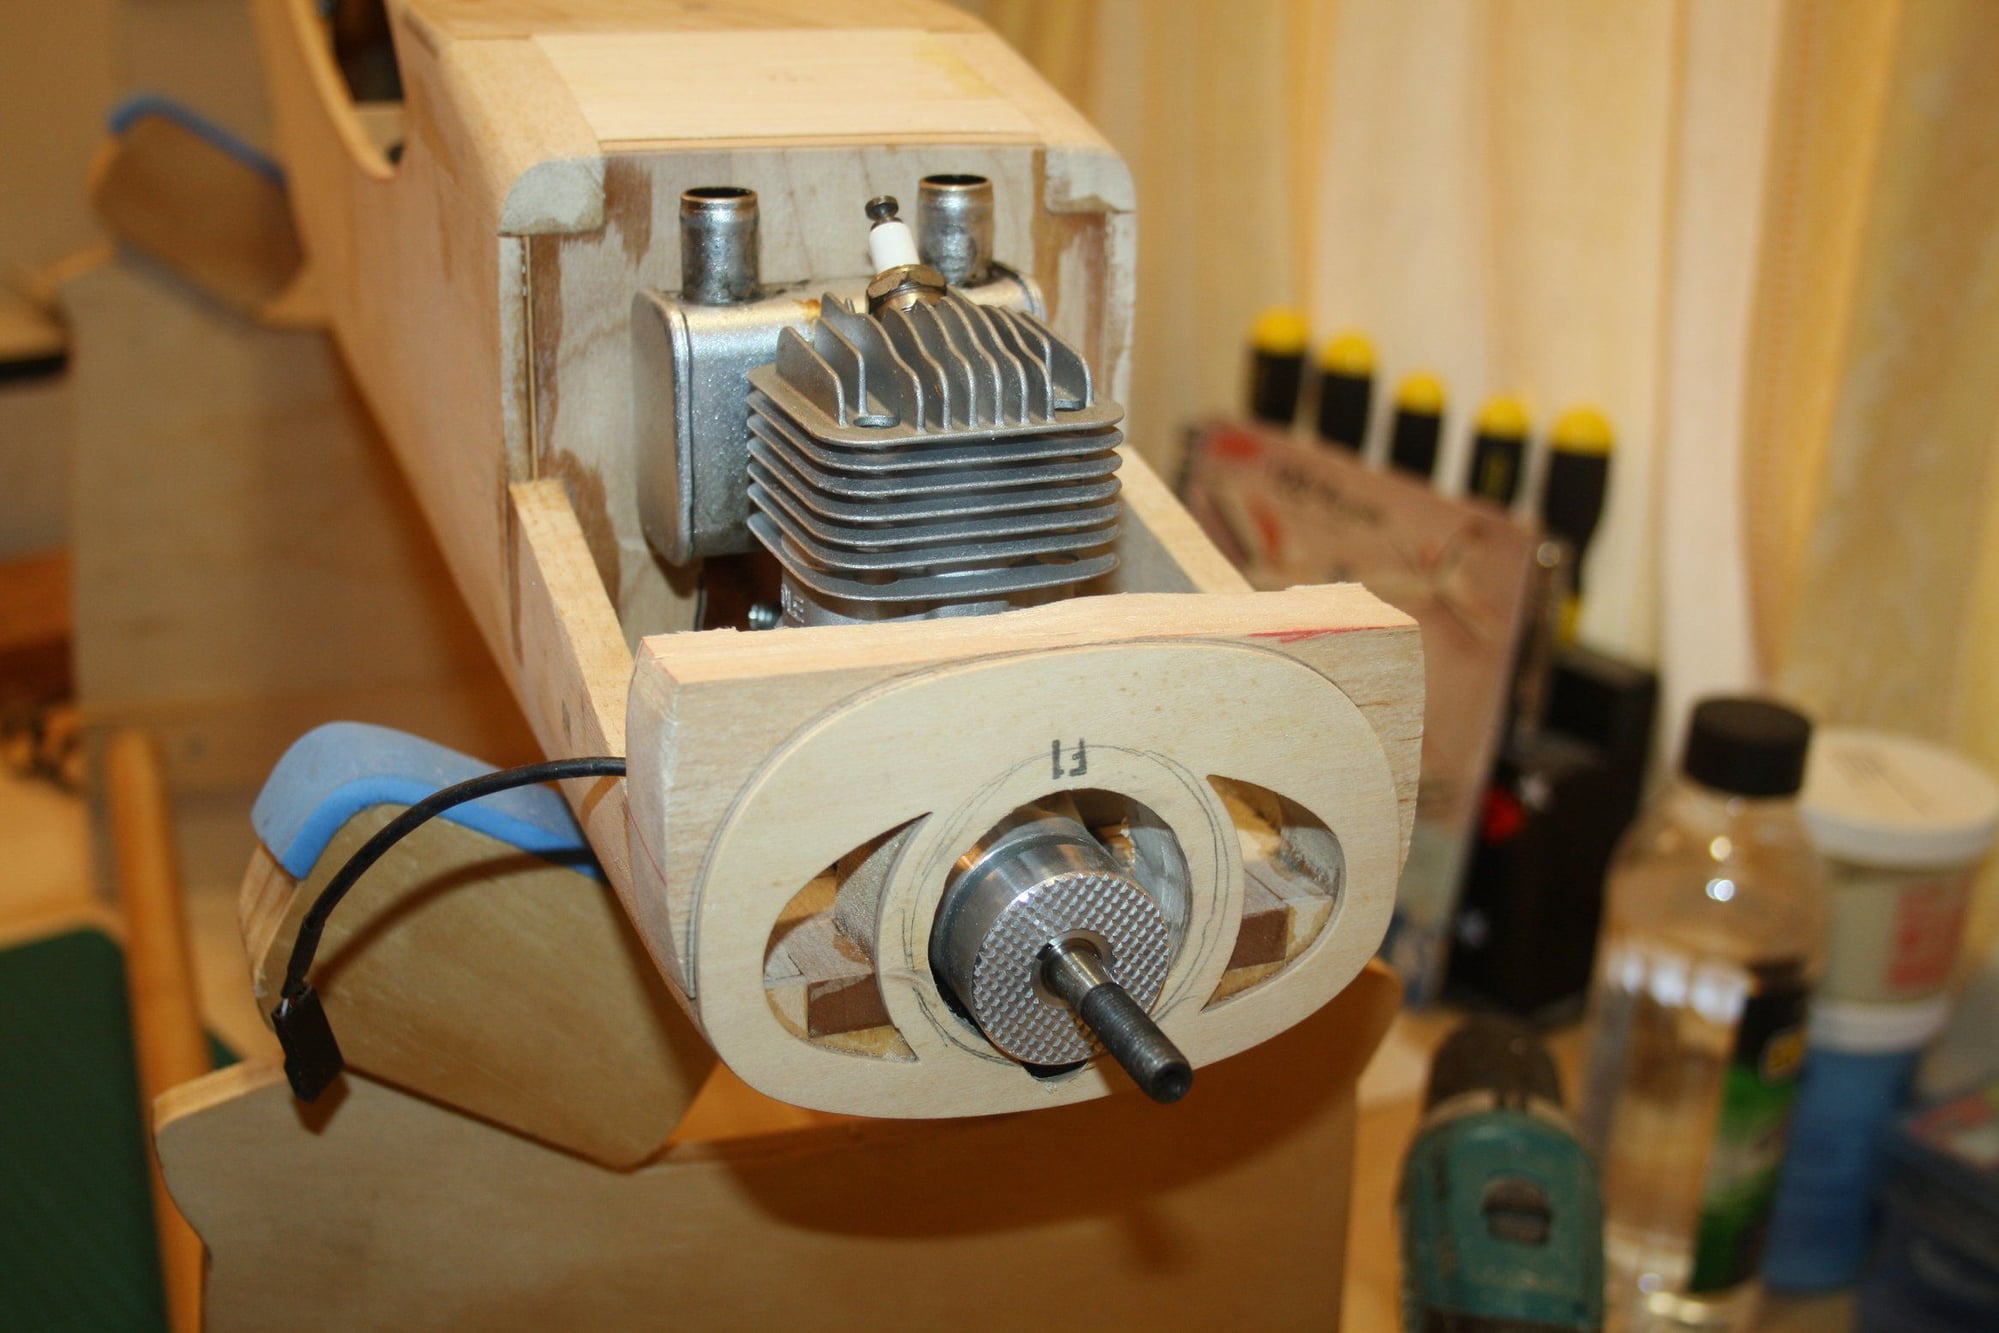
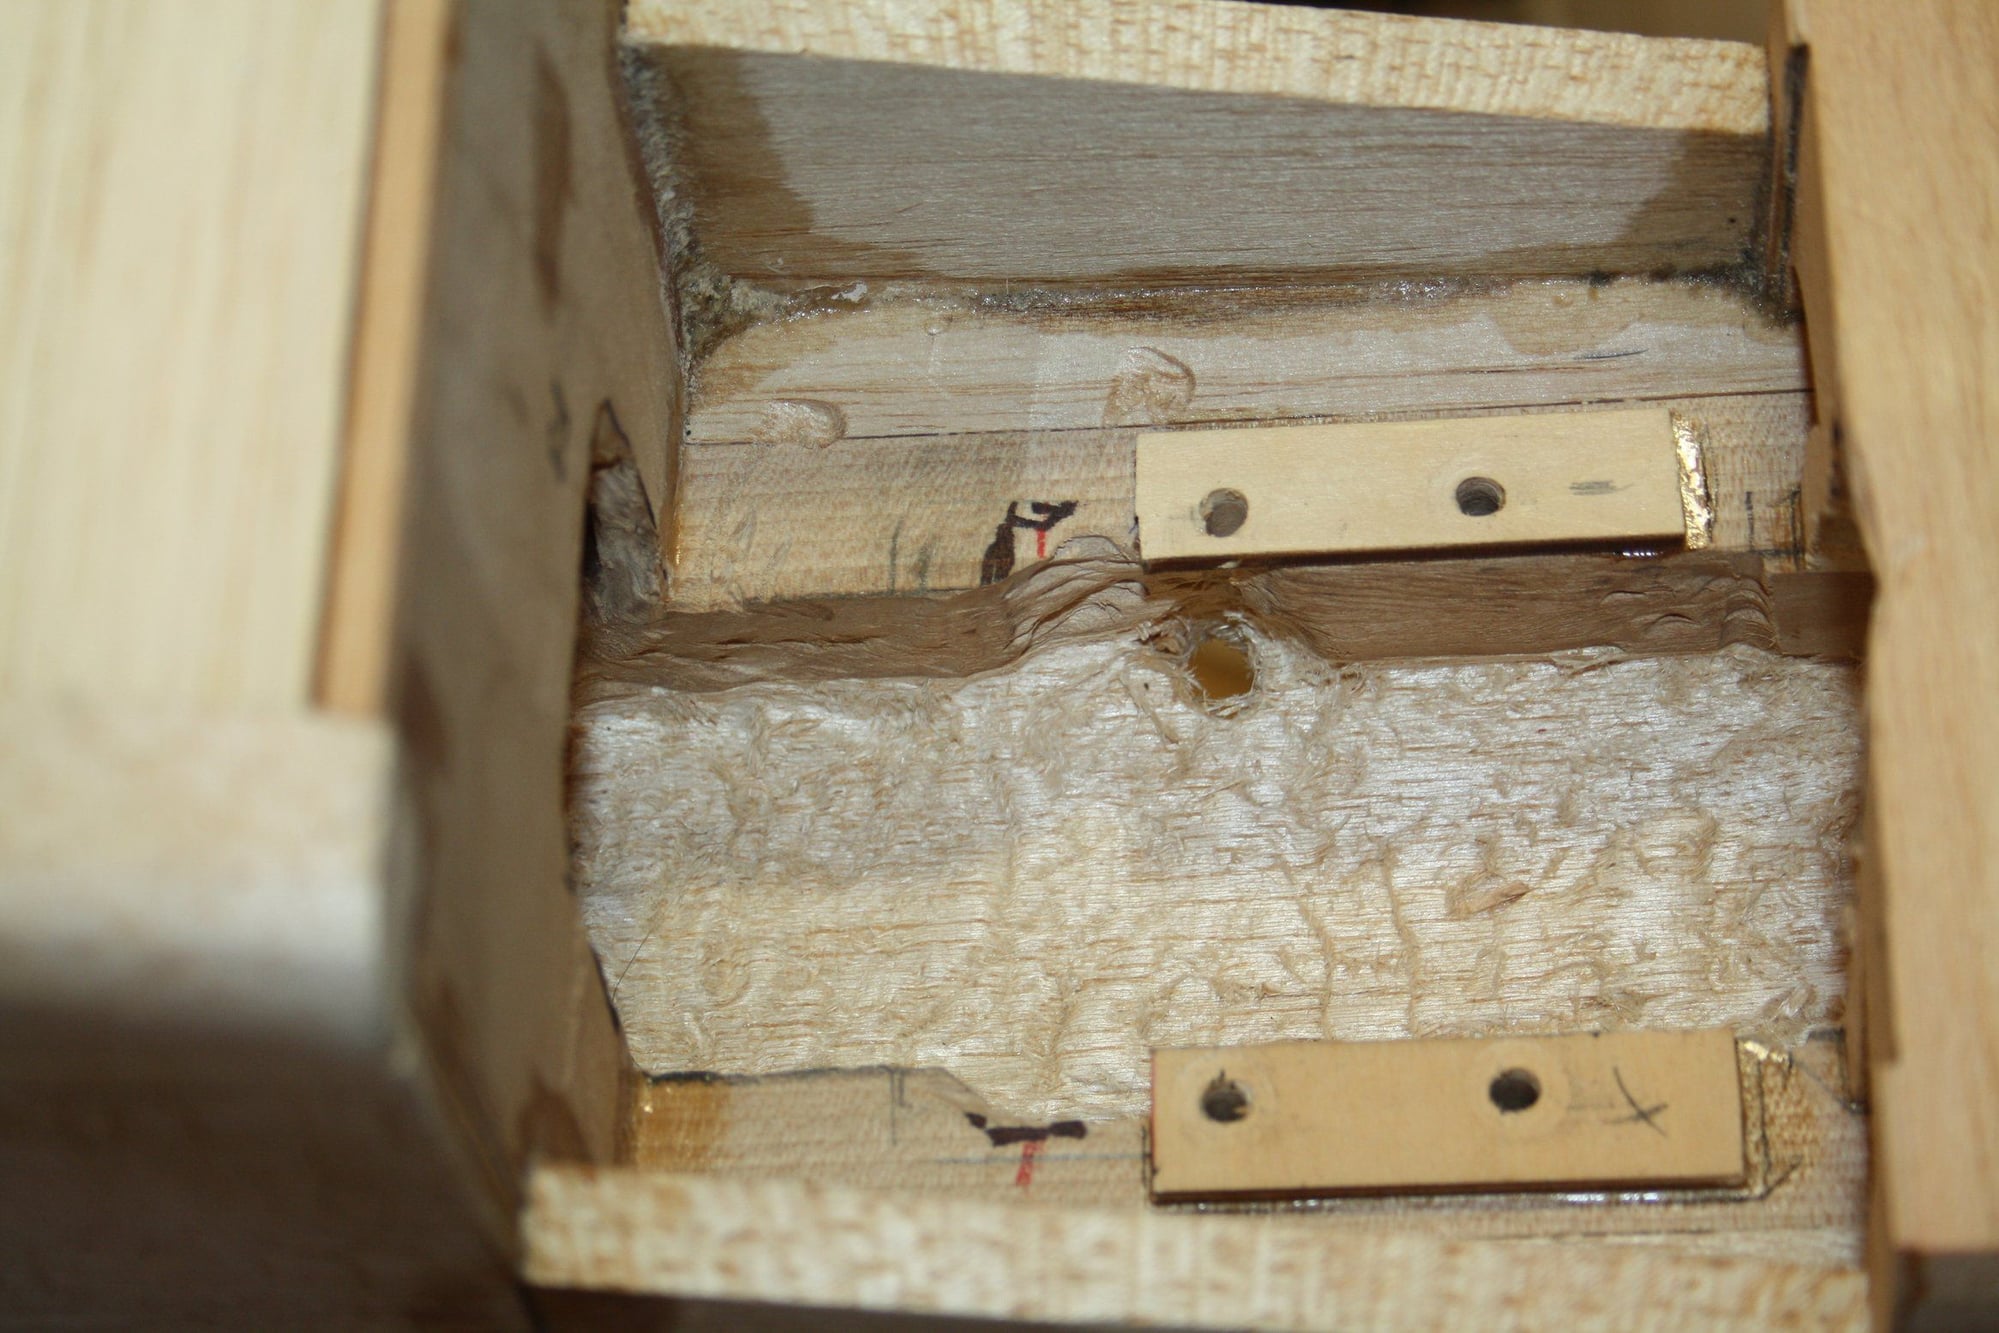
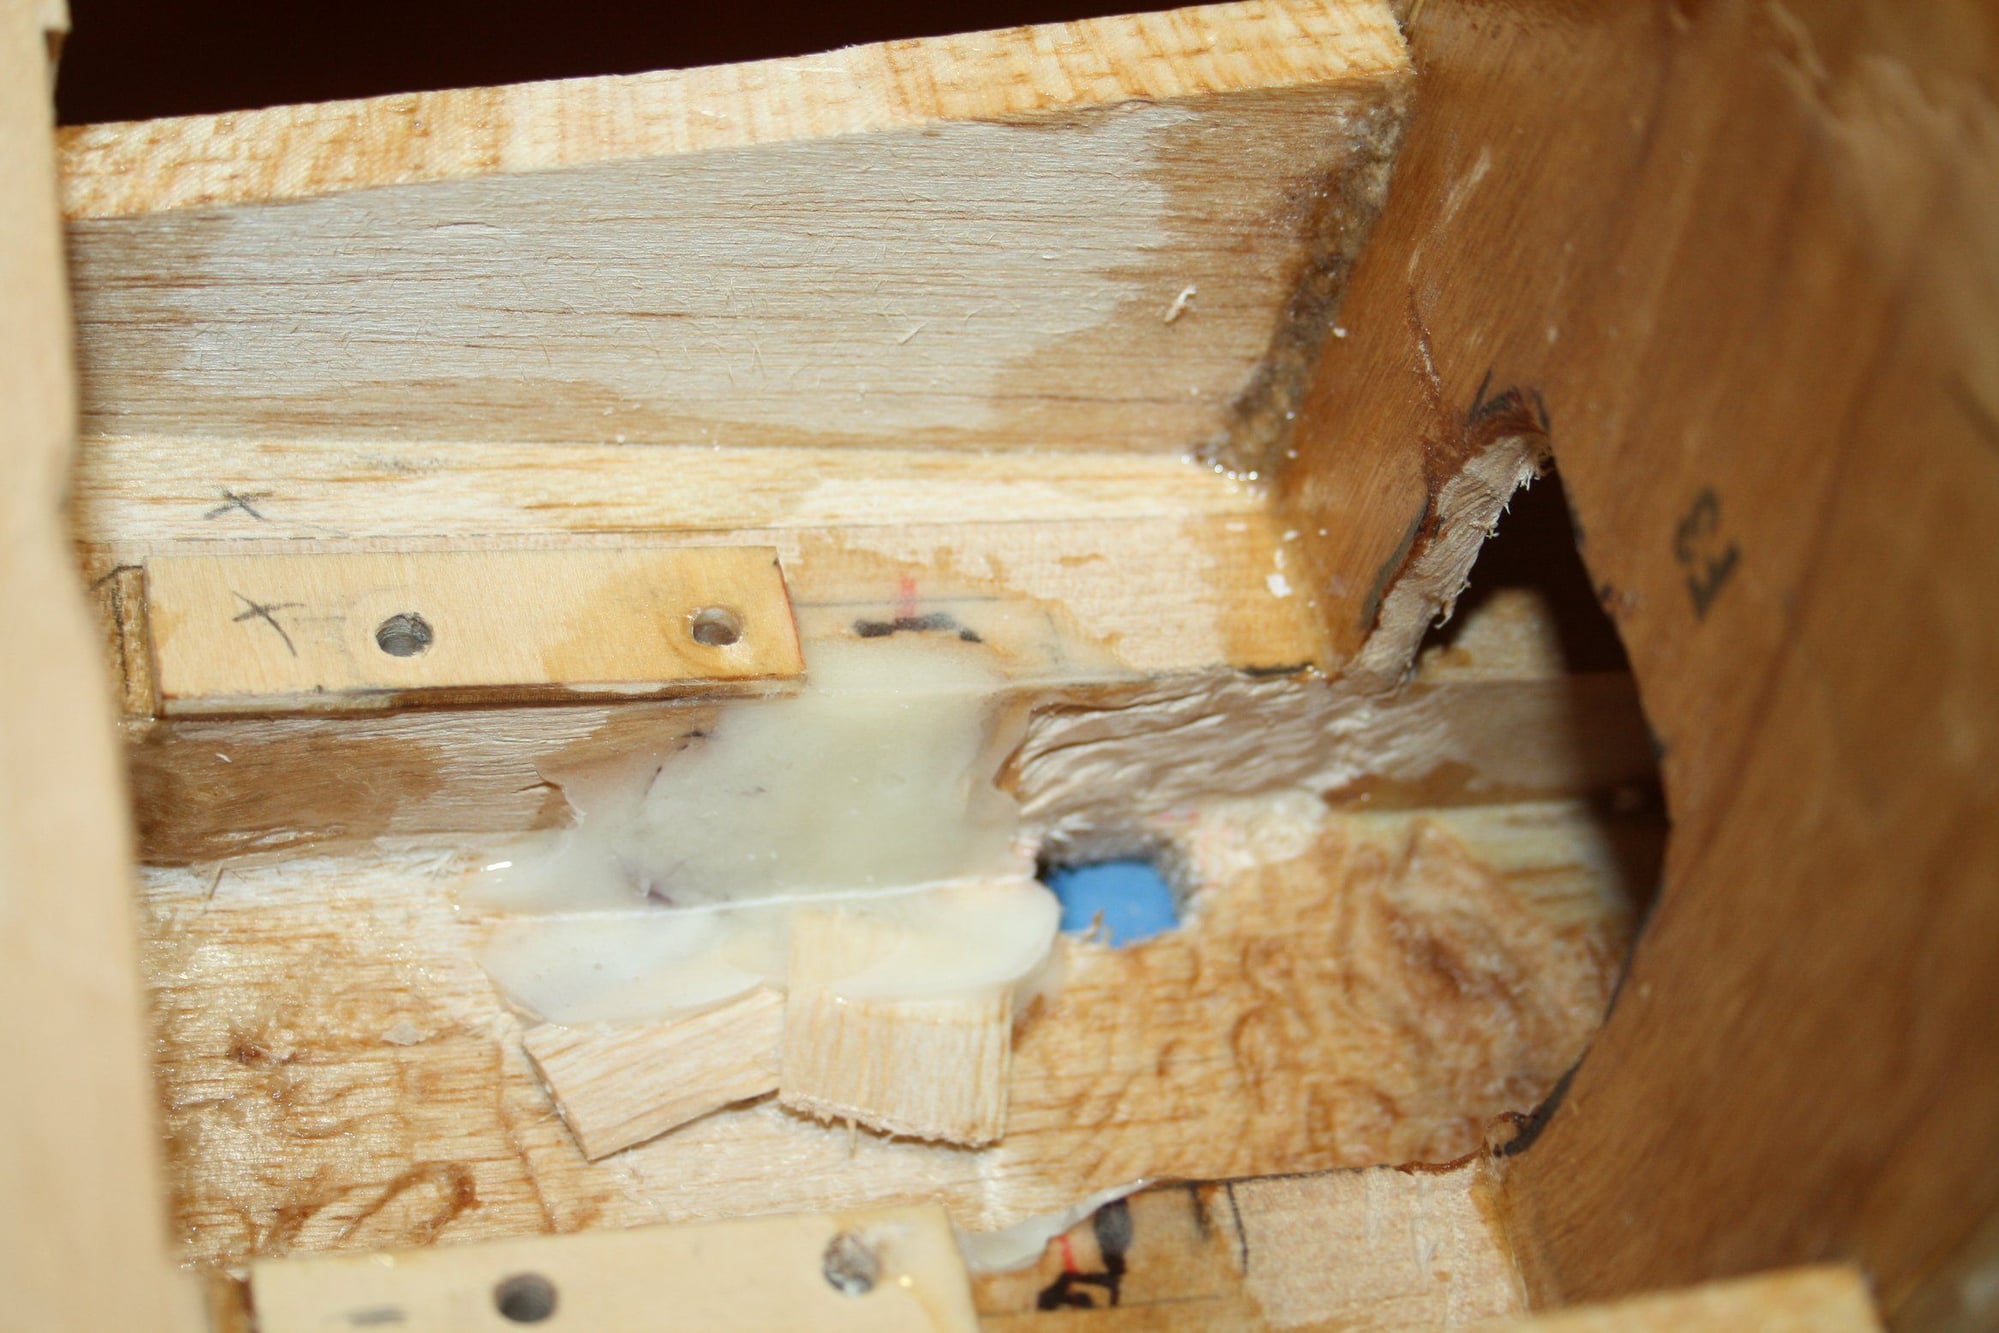
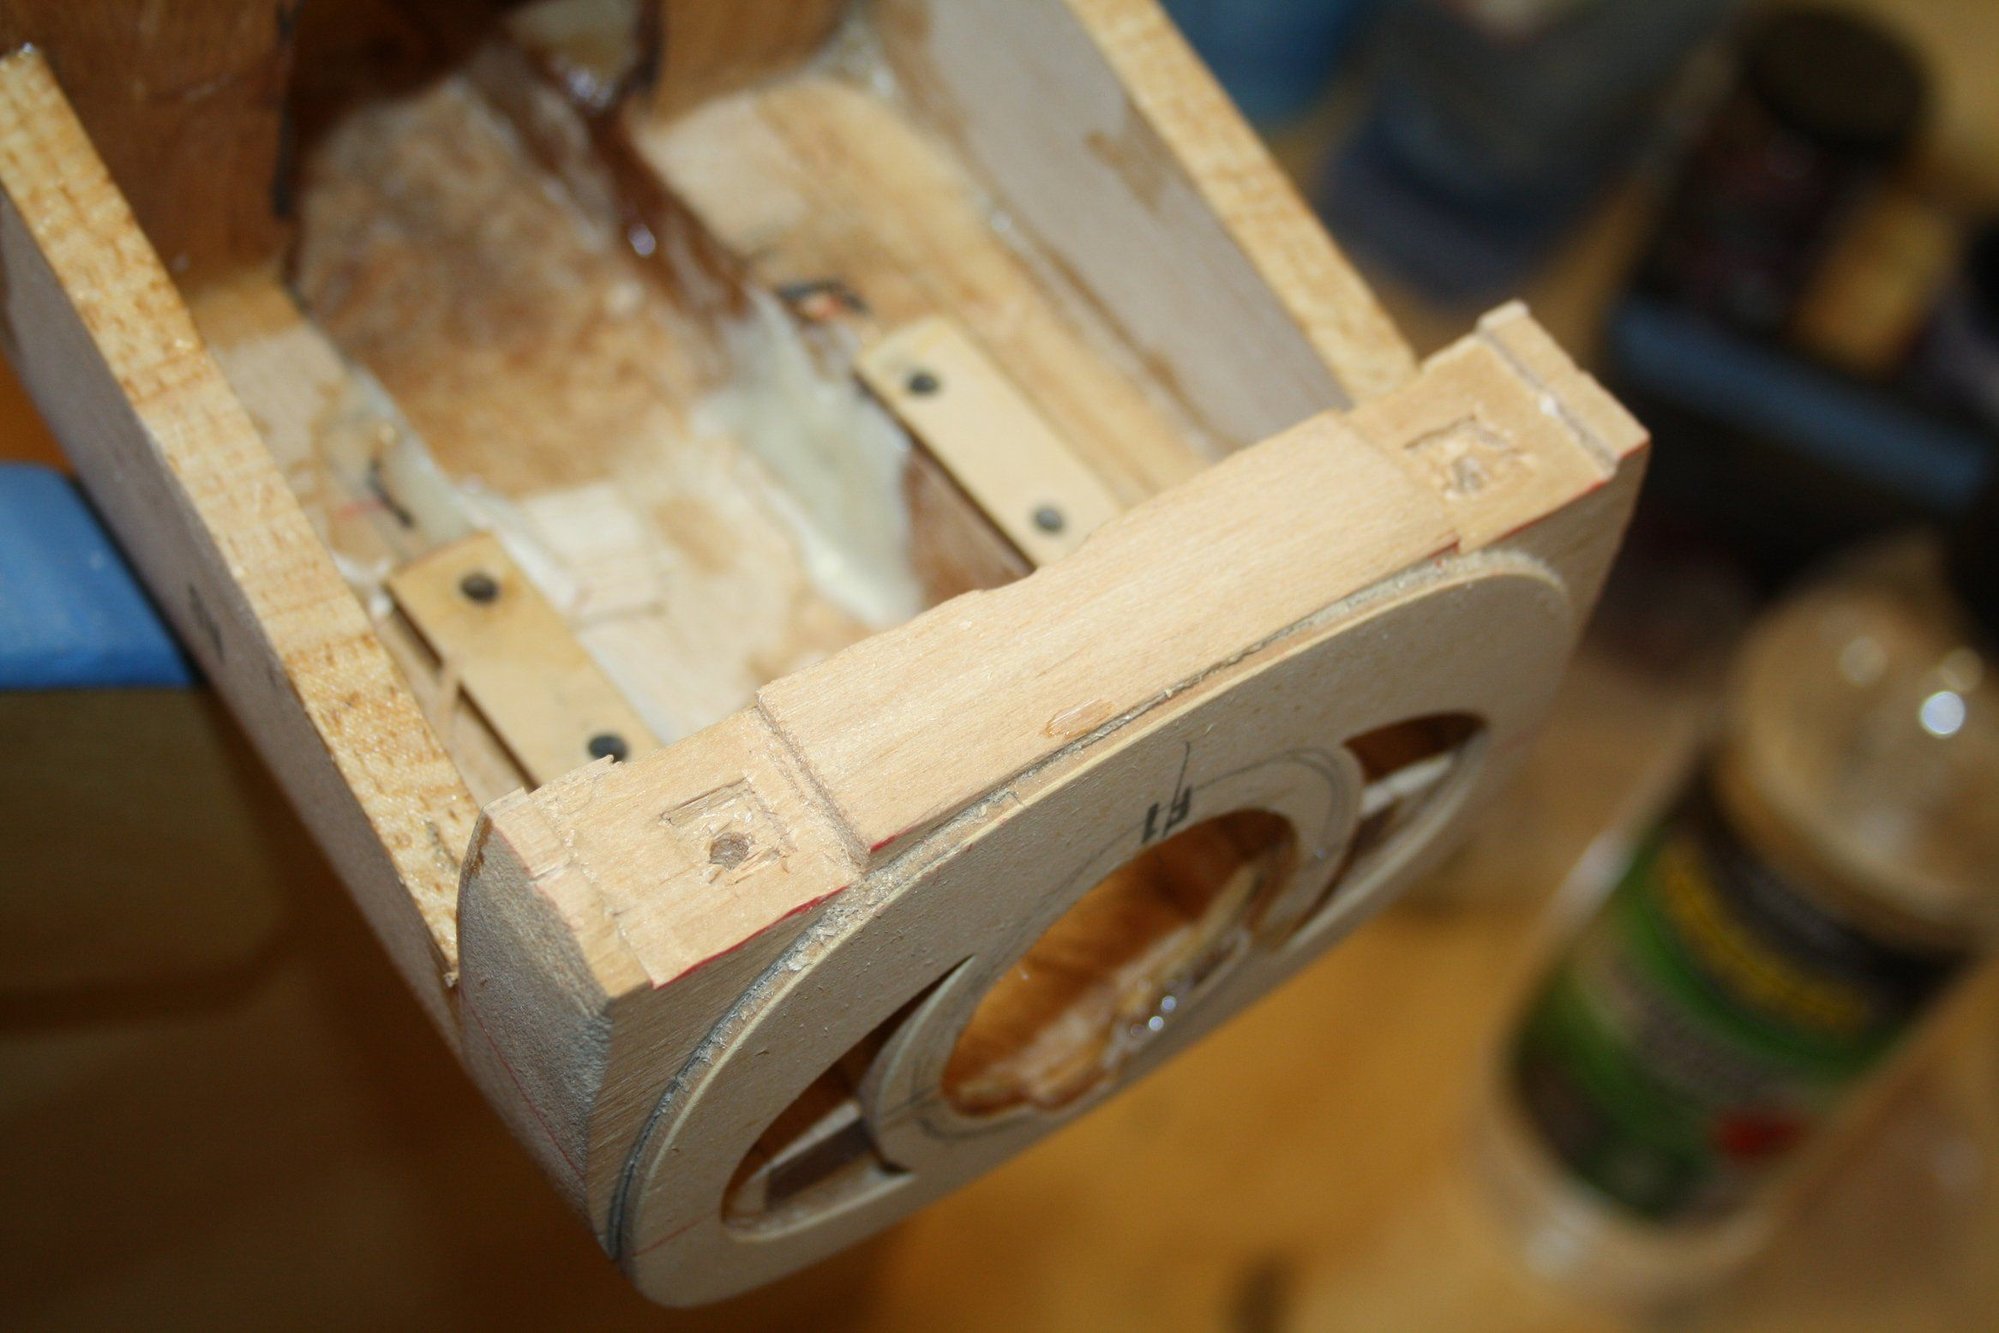
When I was drilling the engine mount it was obvious that I have a problem. The back mounting screws had no material underneath them (due to me milling material incorrectly when I was trying to have the engine sitting low).
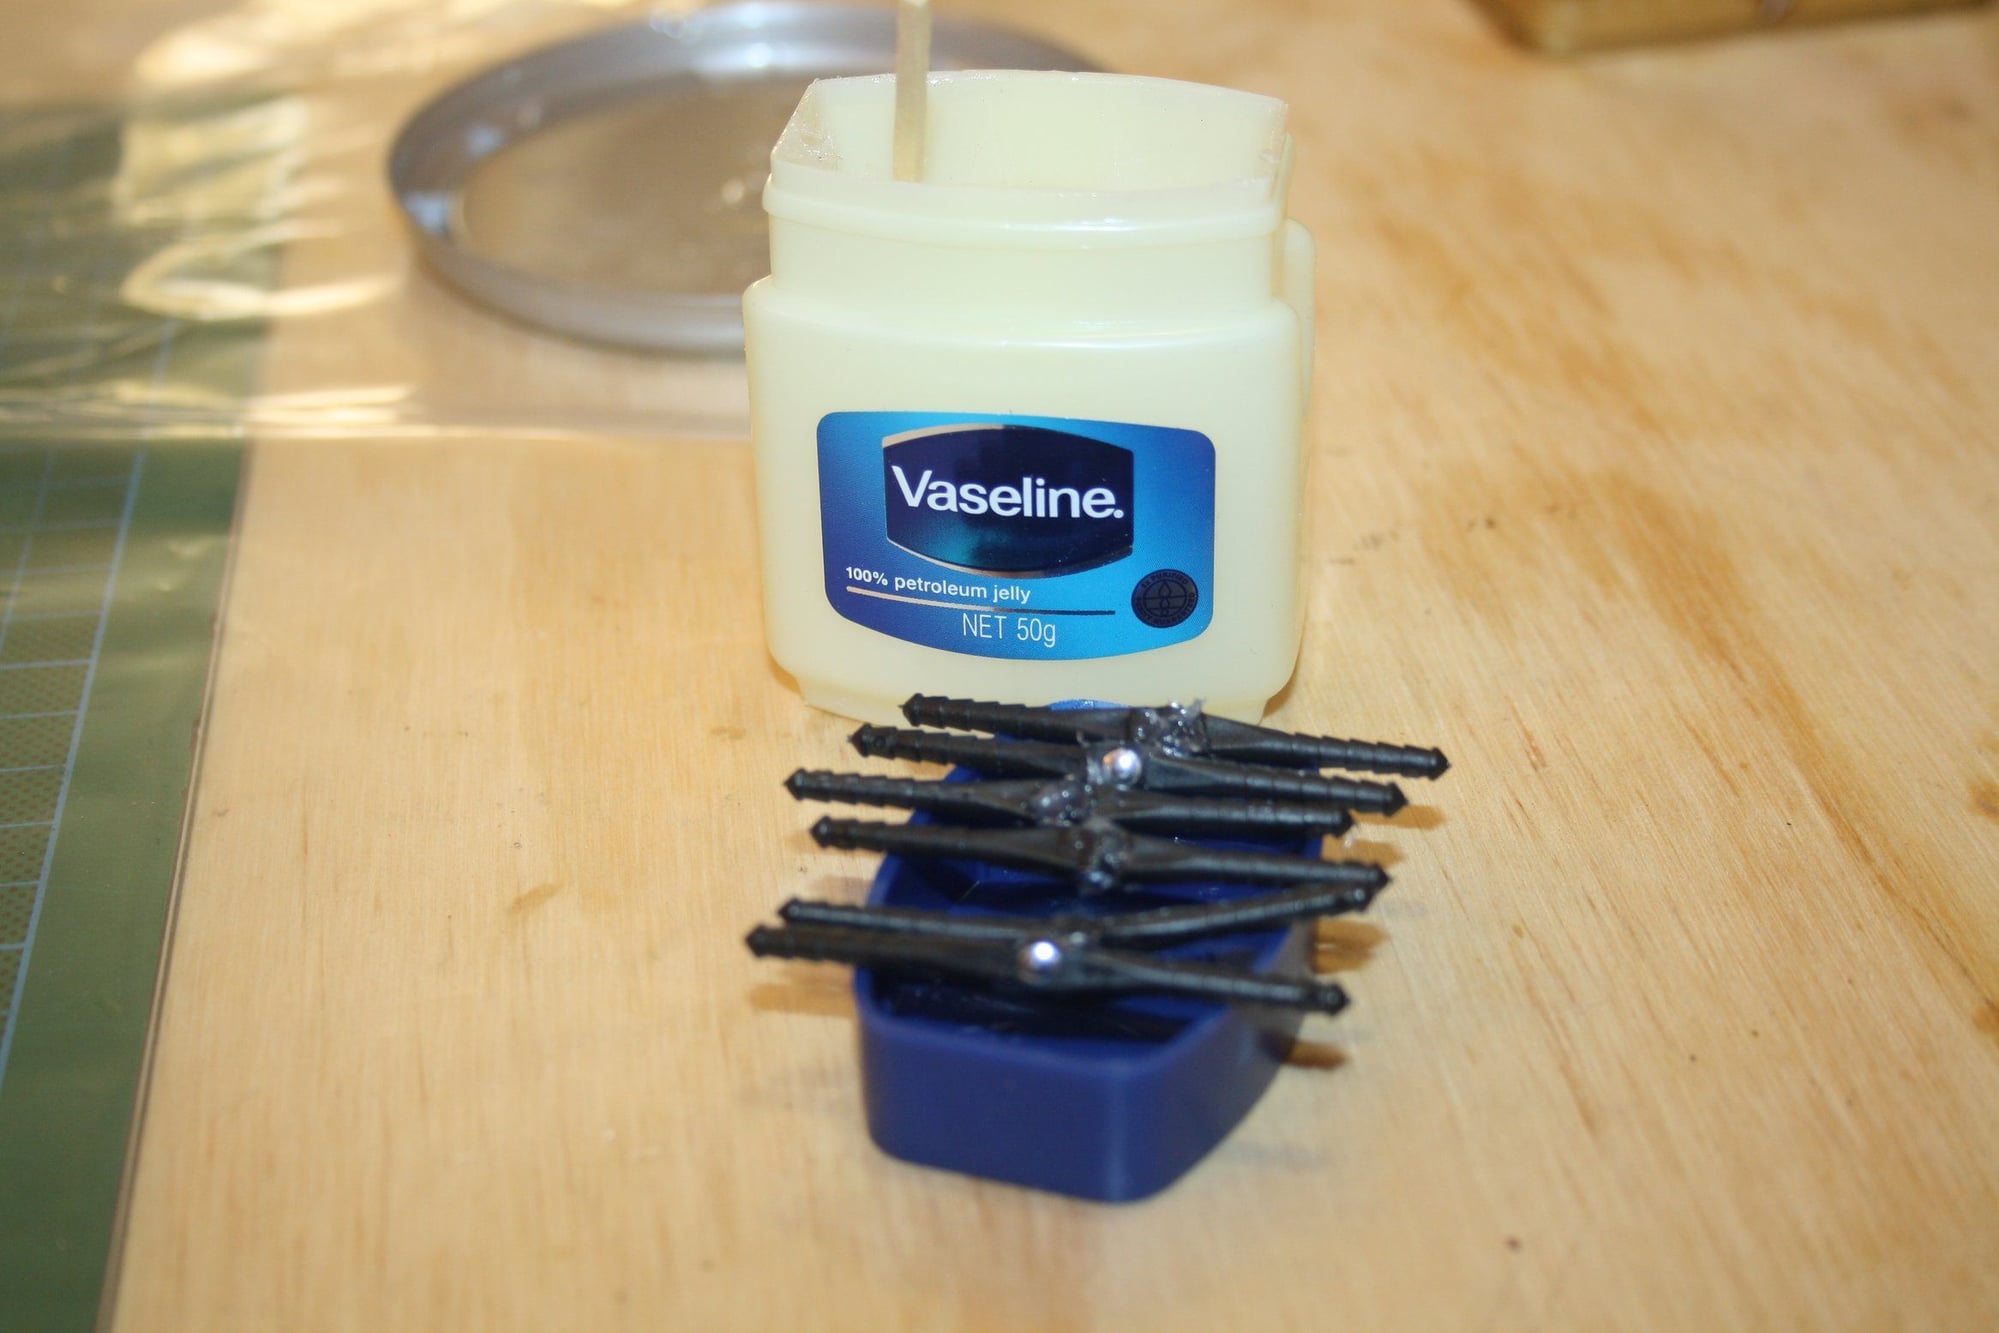
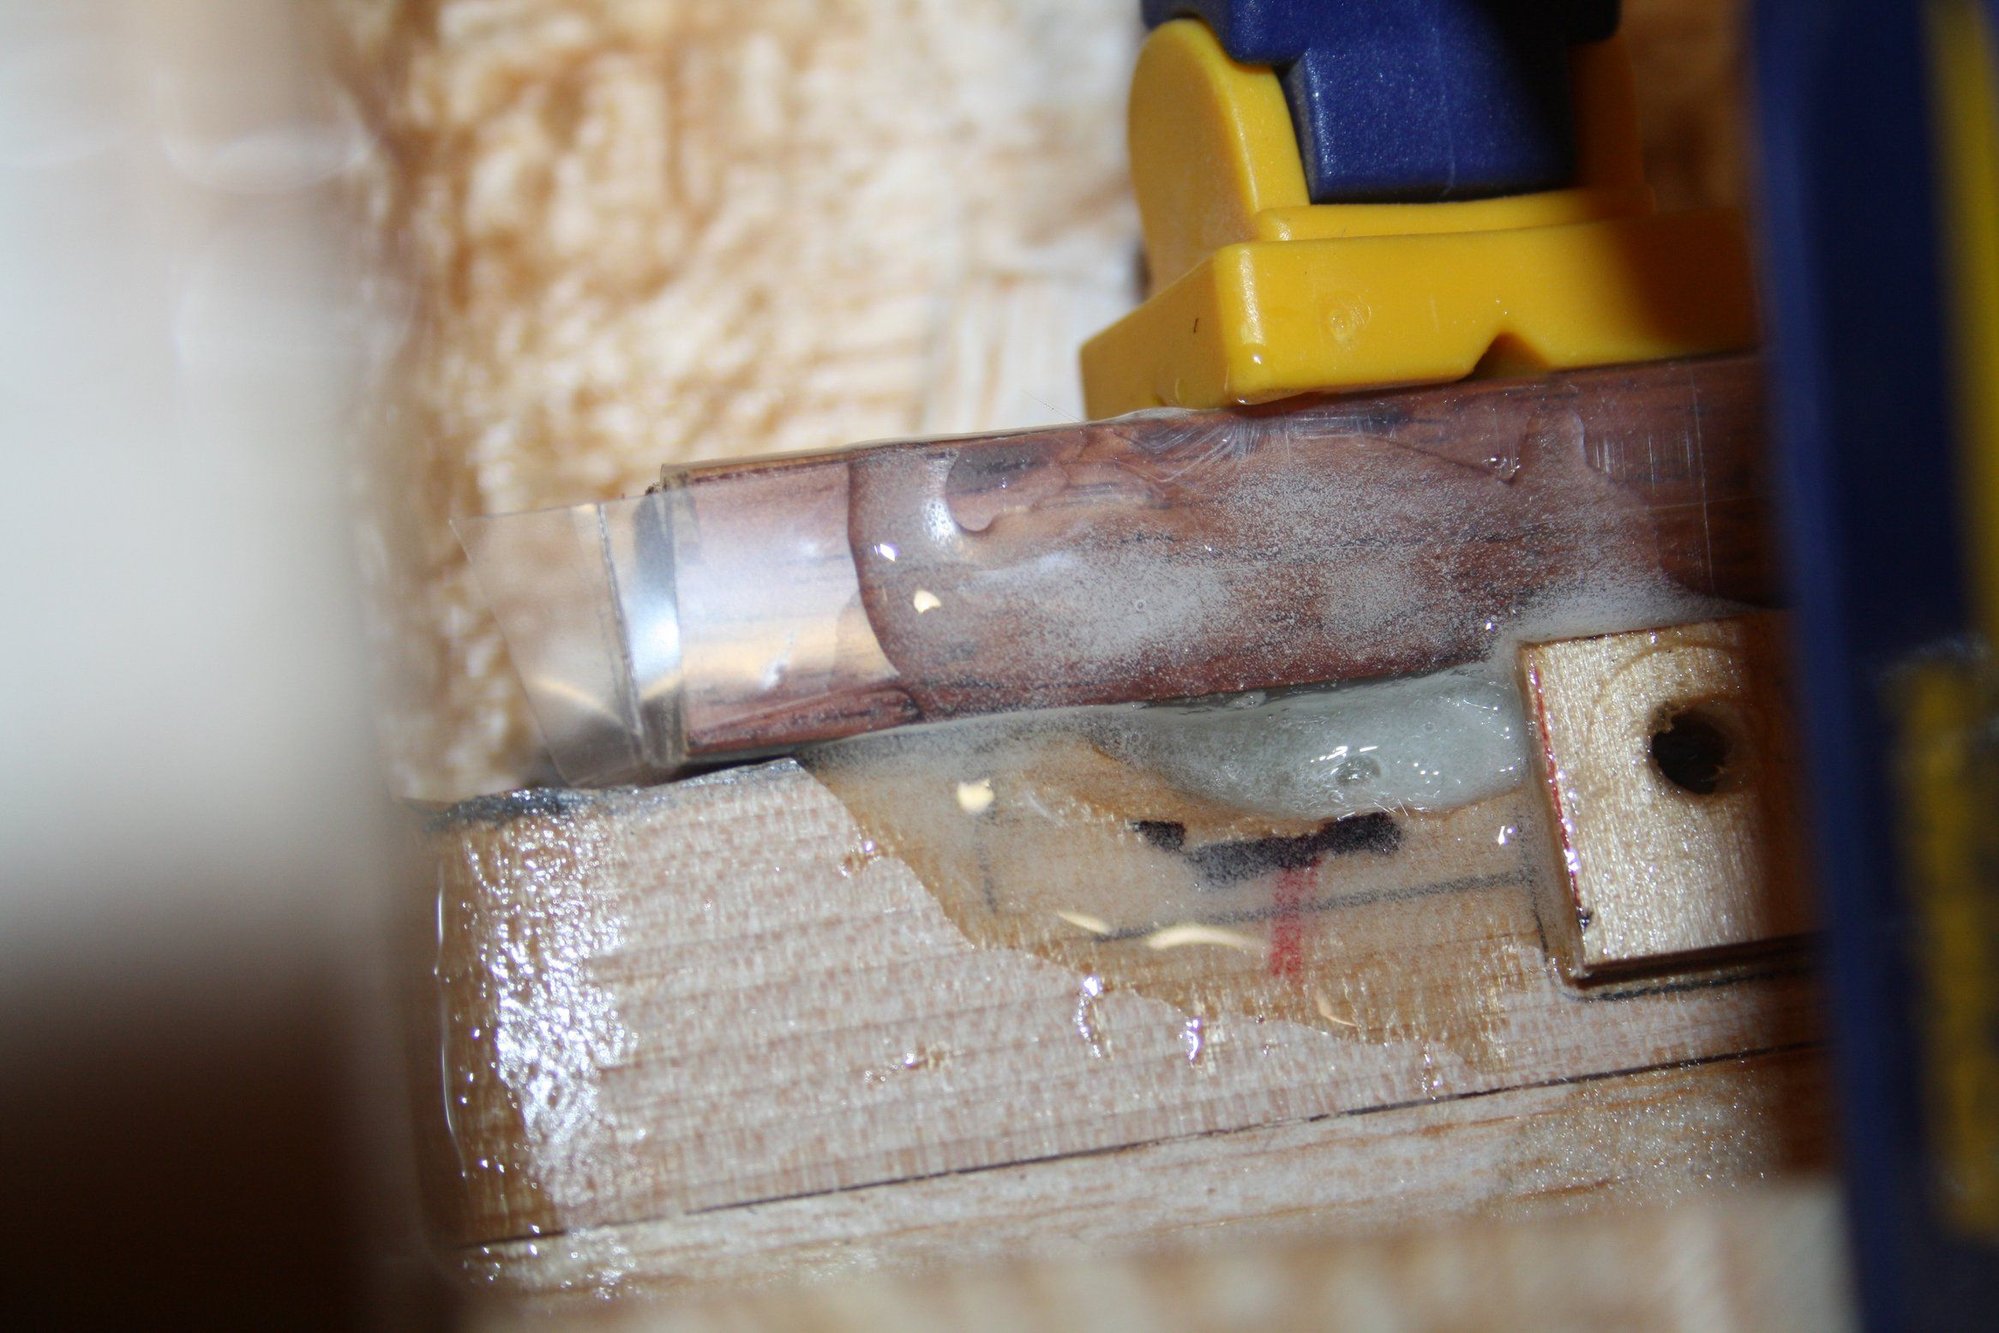
After a fair bit of coffee and spending time thinking what I should do to fix this, I decided to cast epoxy with fibreglass cloth pieces.
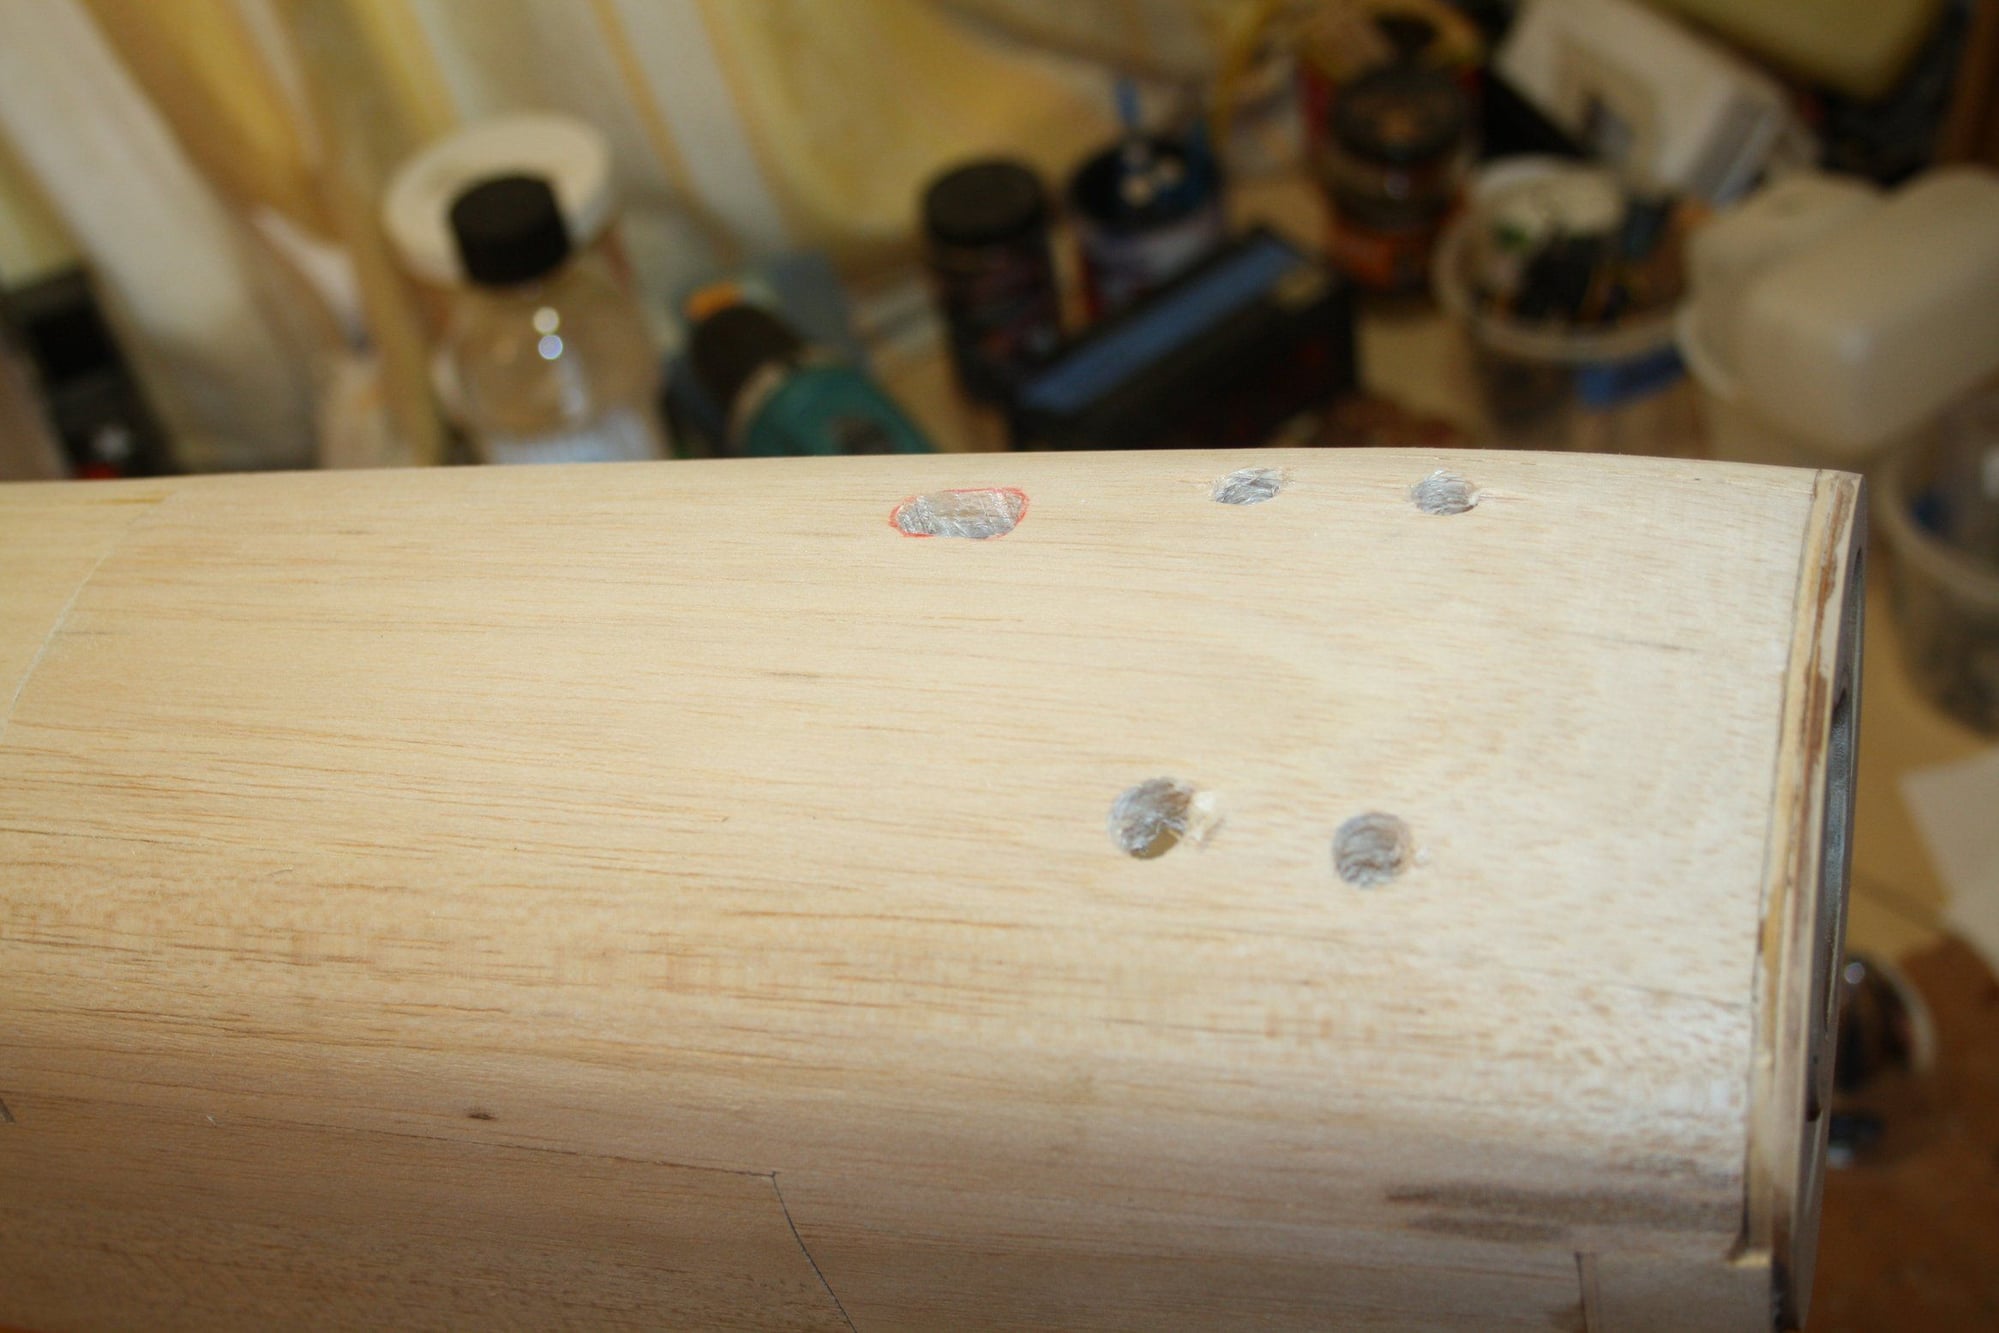
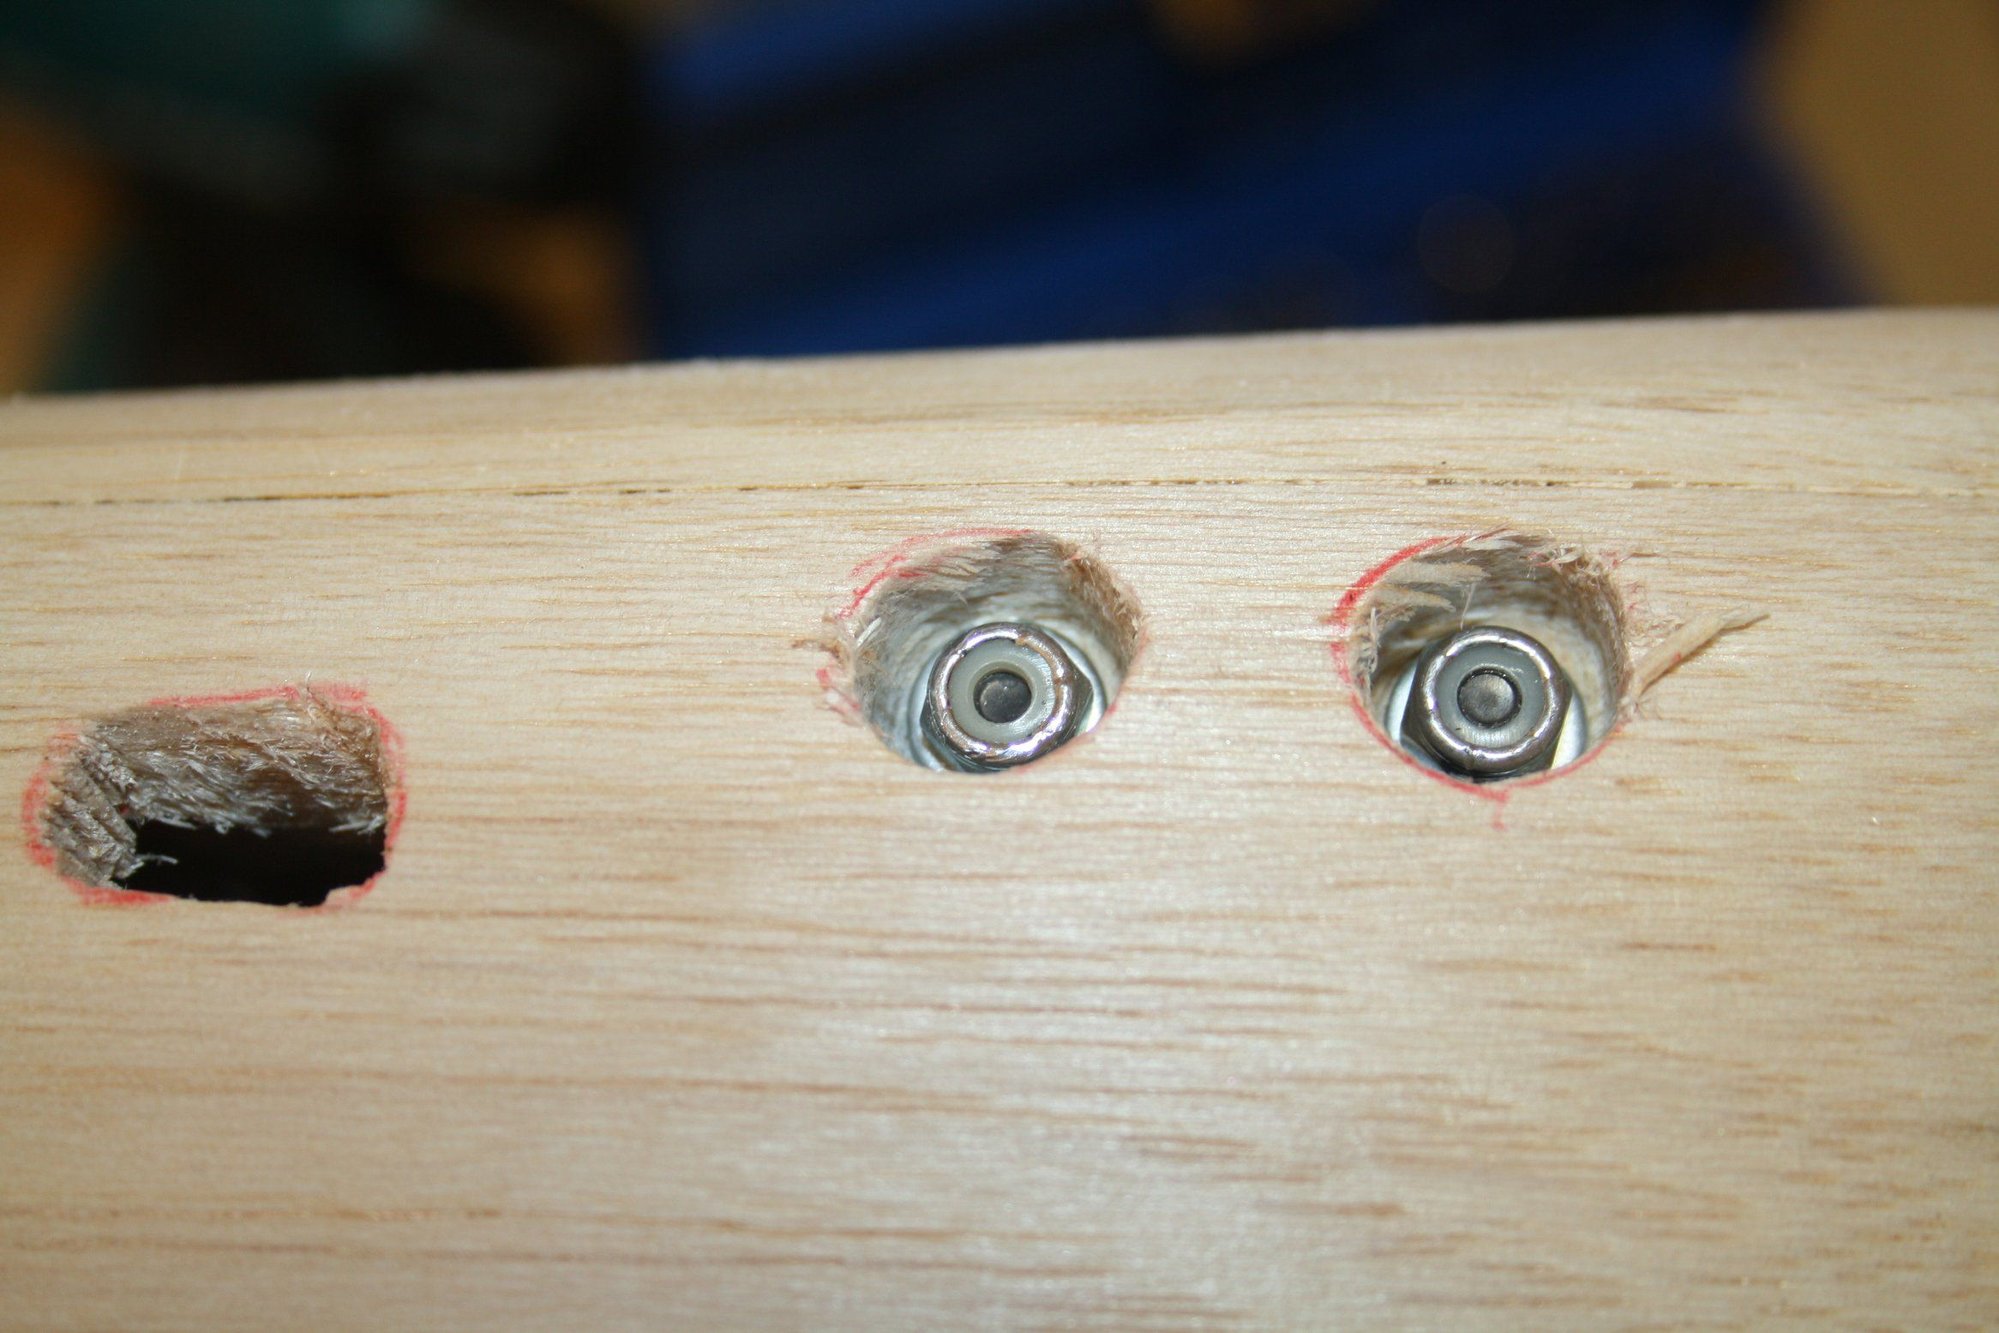
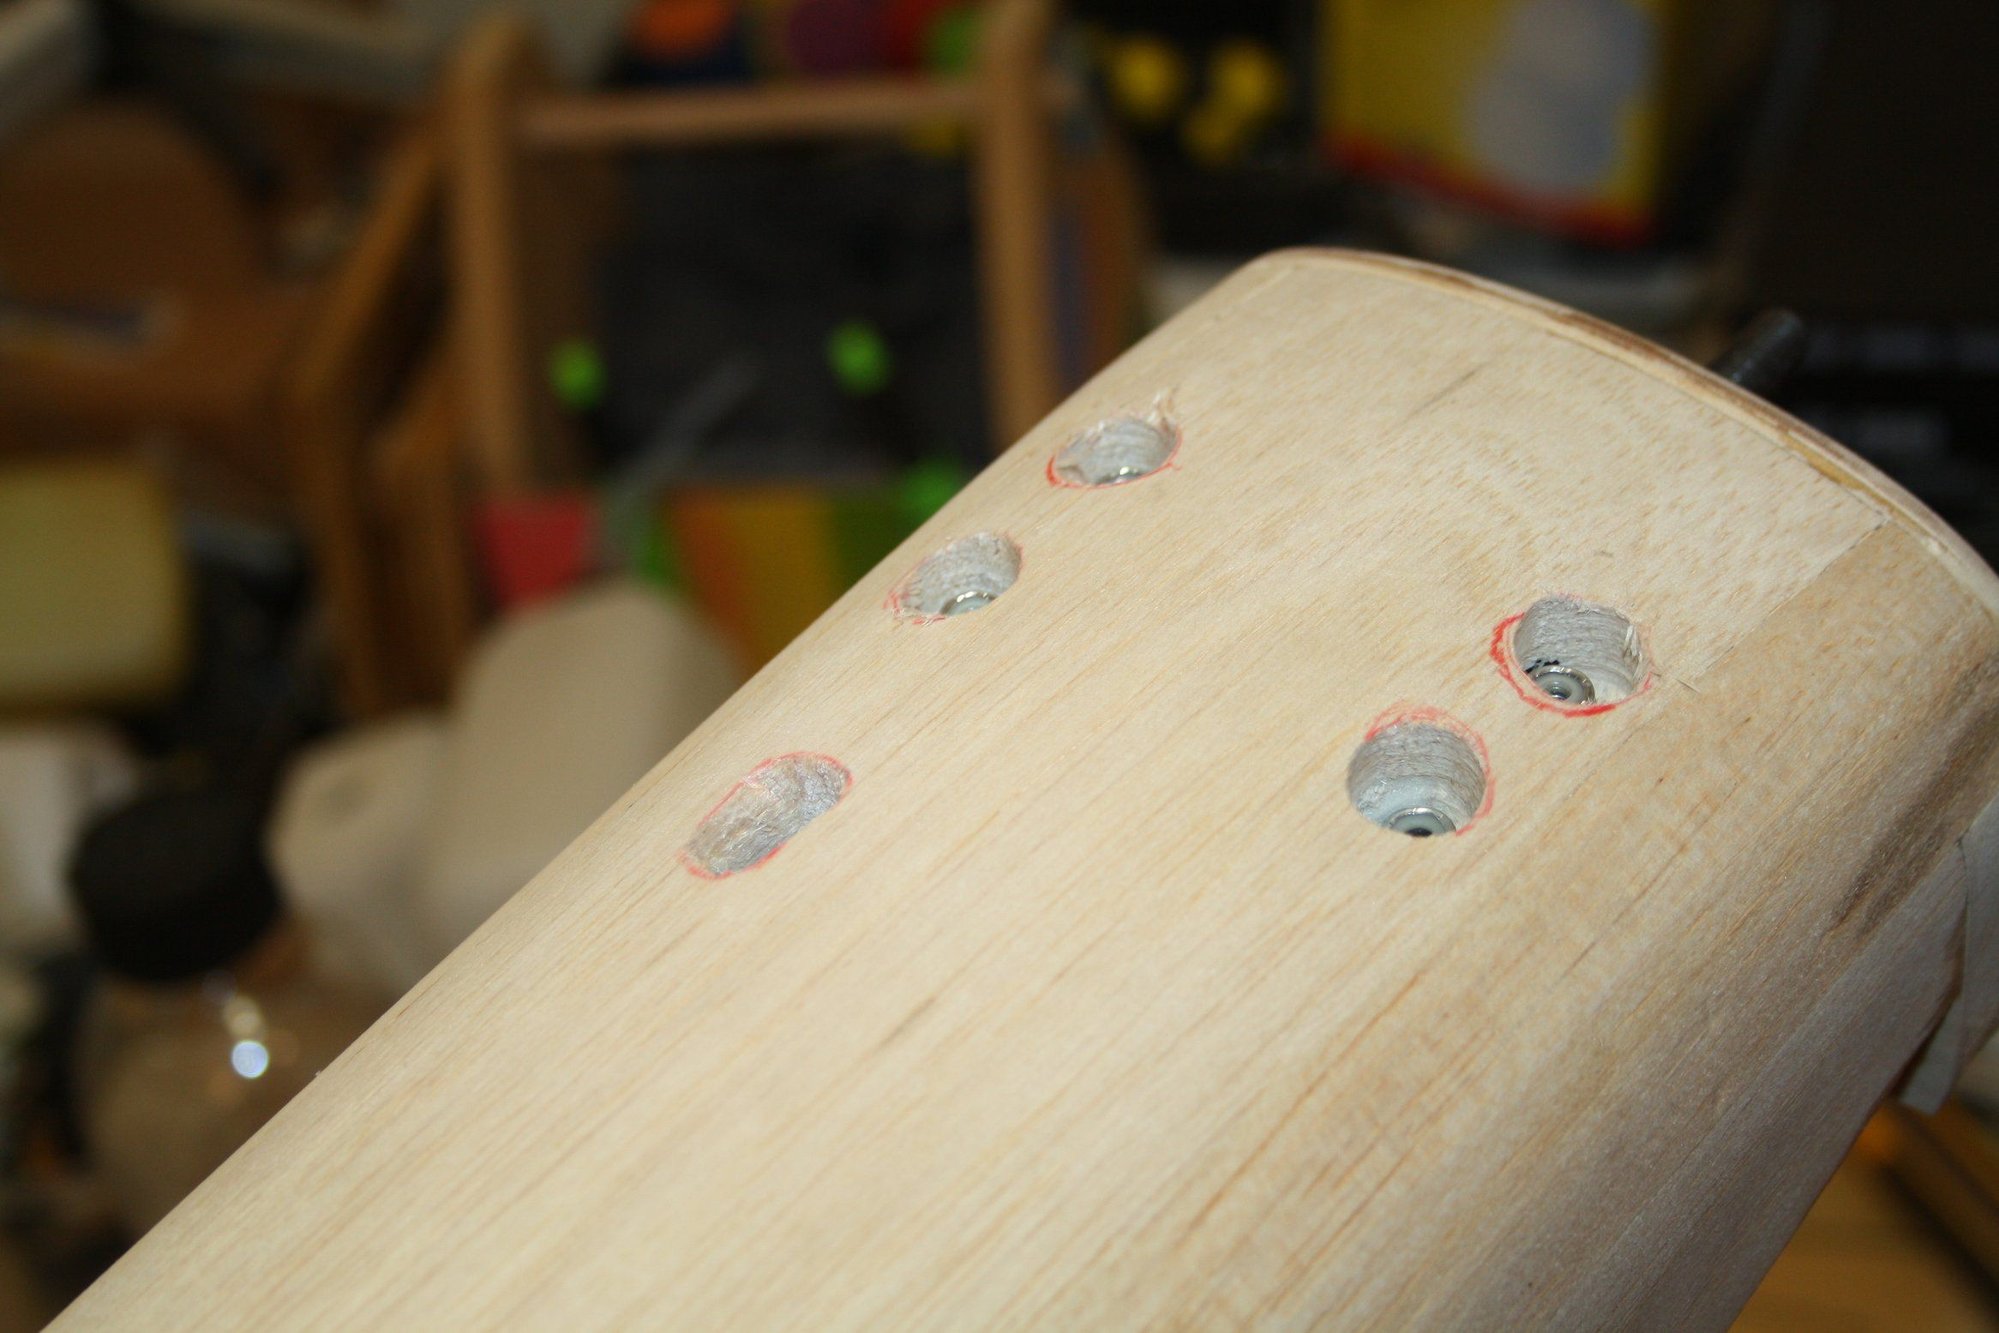
This worked quite well and the engine has been mounted satisfactory with the Nylon Insert Lock Nuts recessed into the balsa (the 5th elliptical hole is for engine tuning).
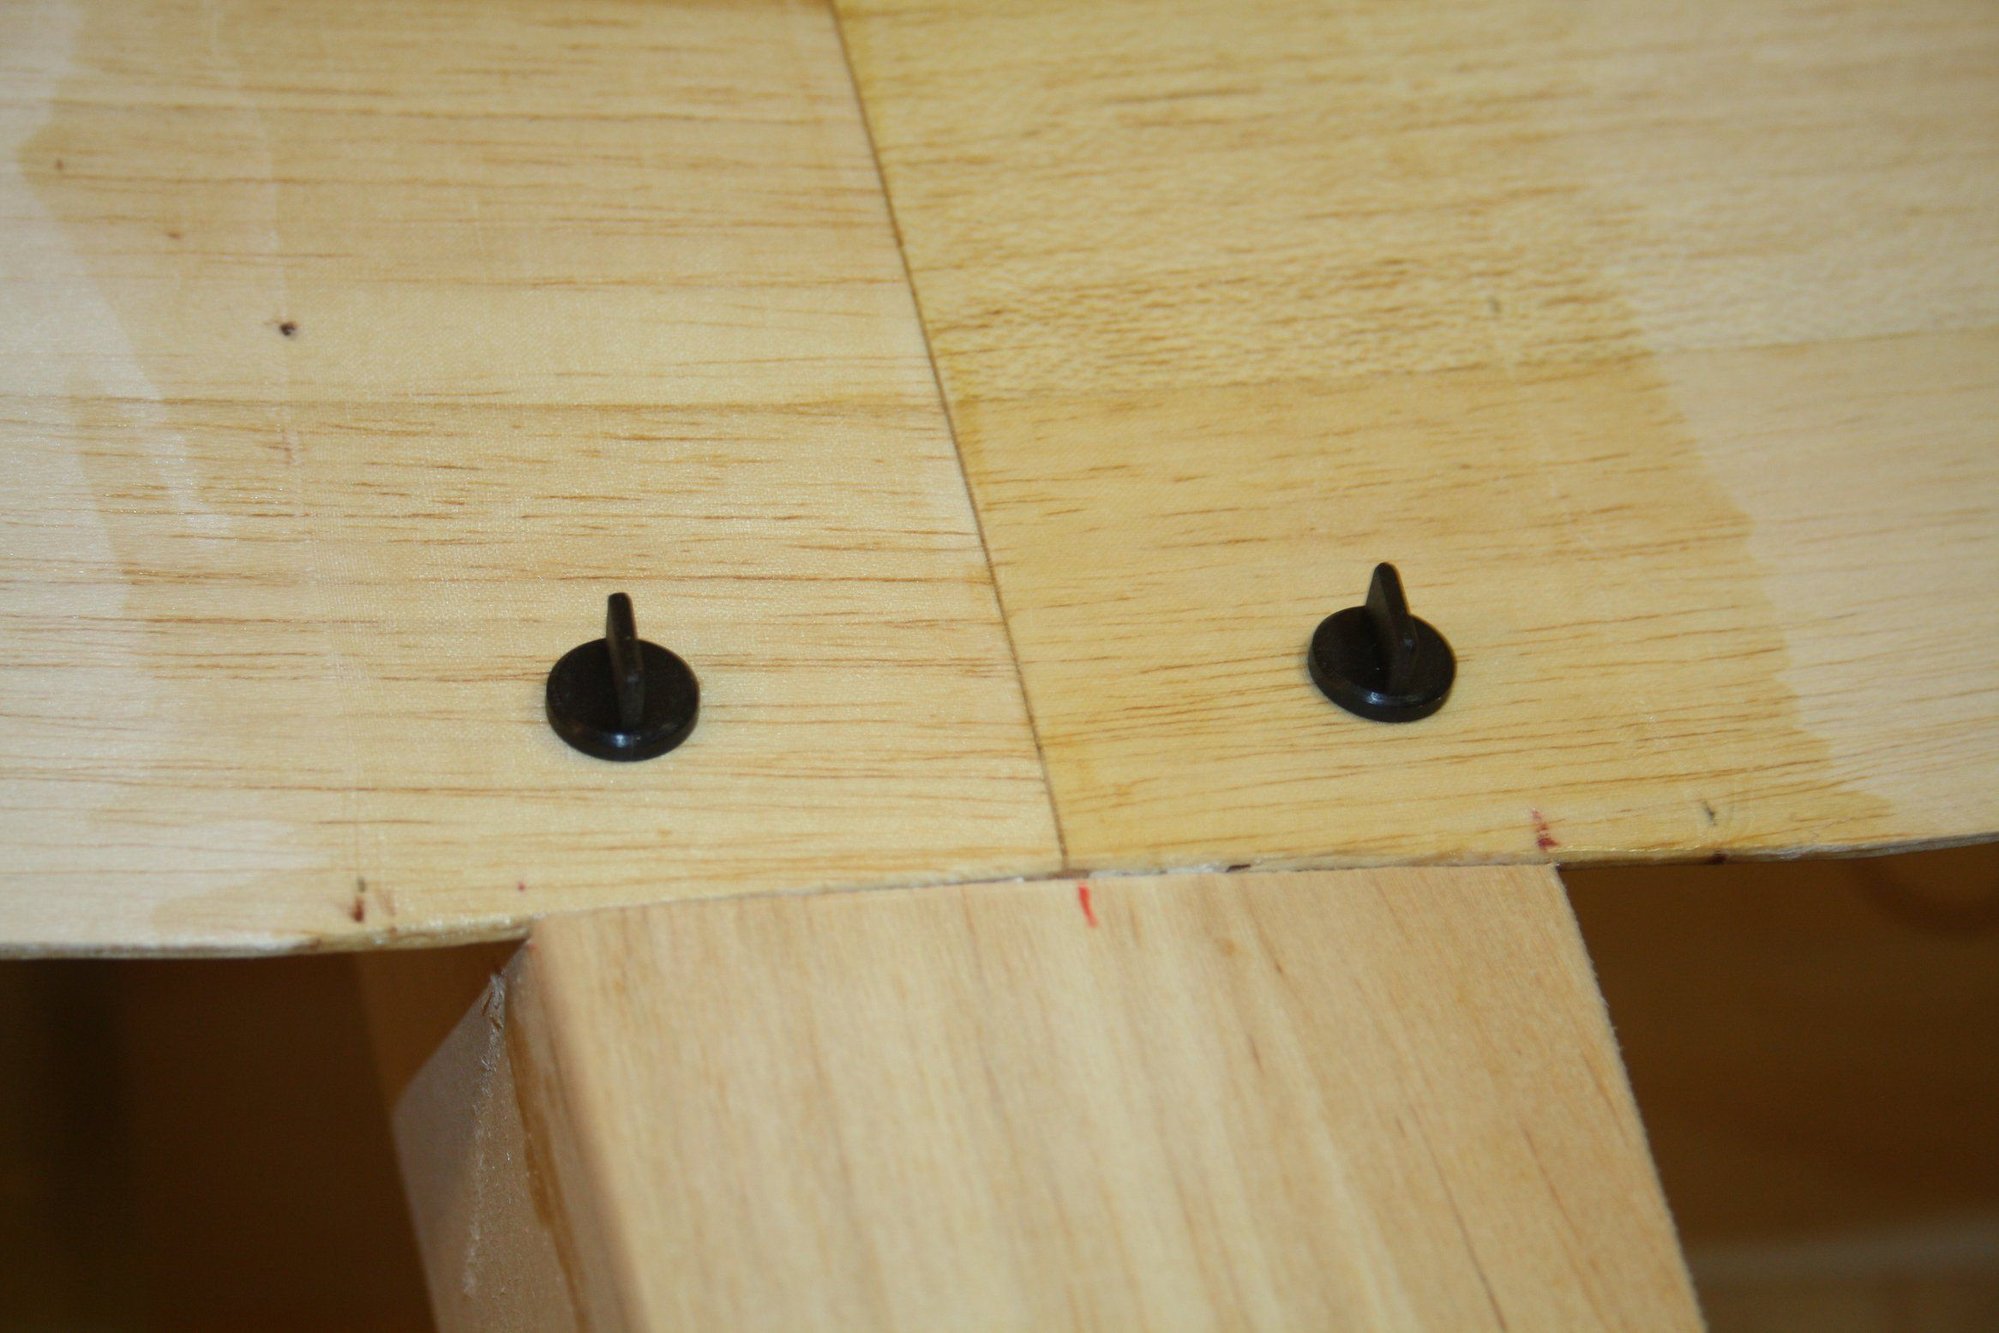
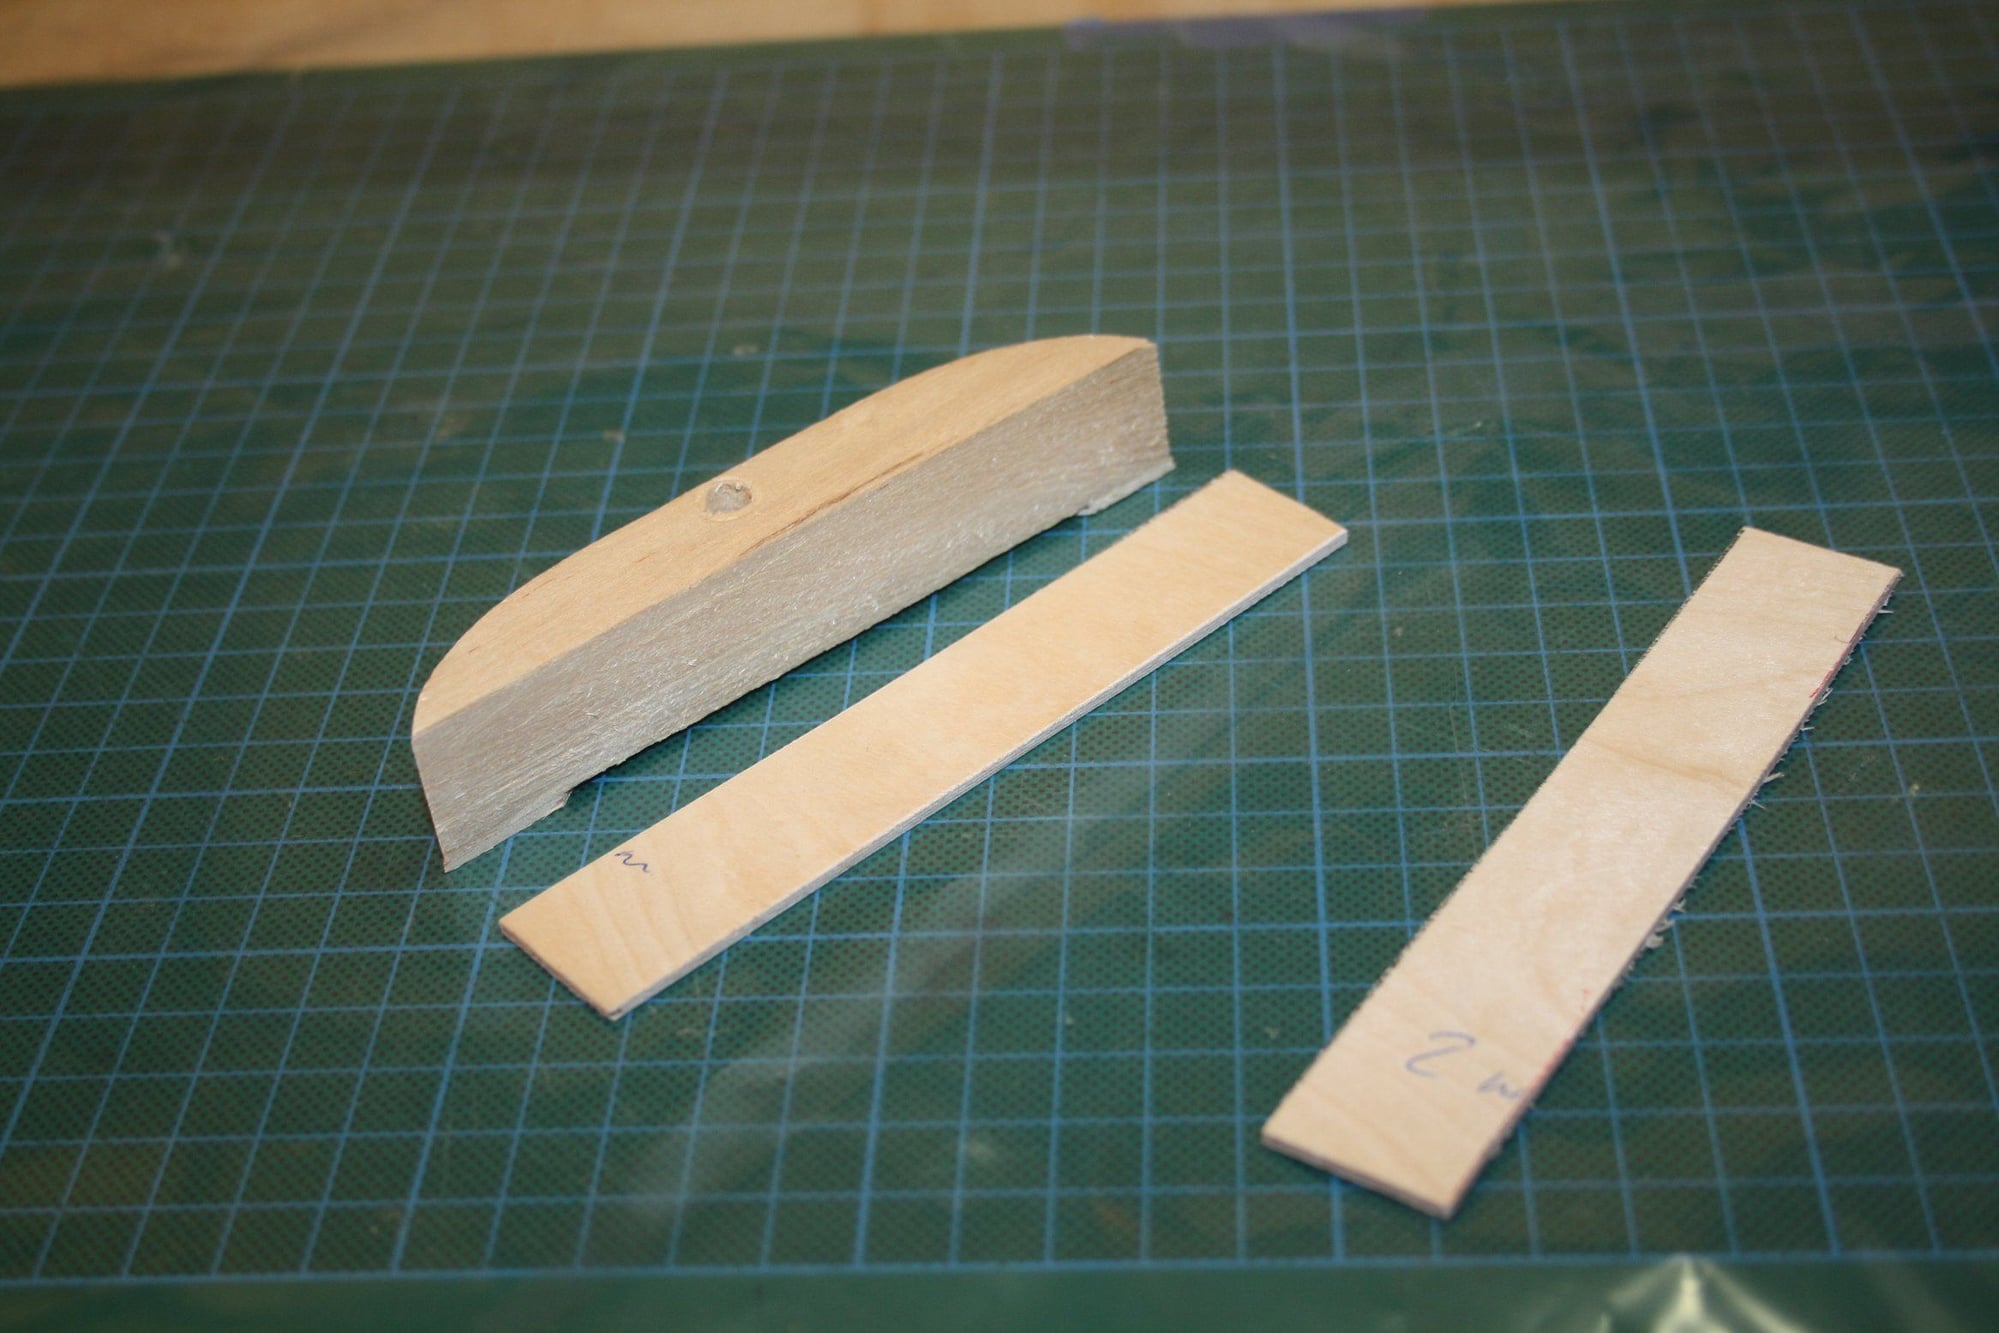
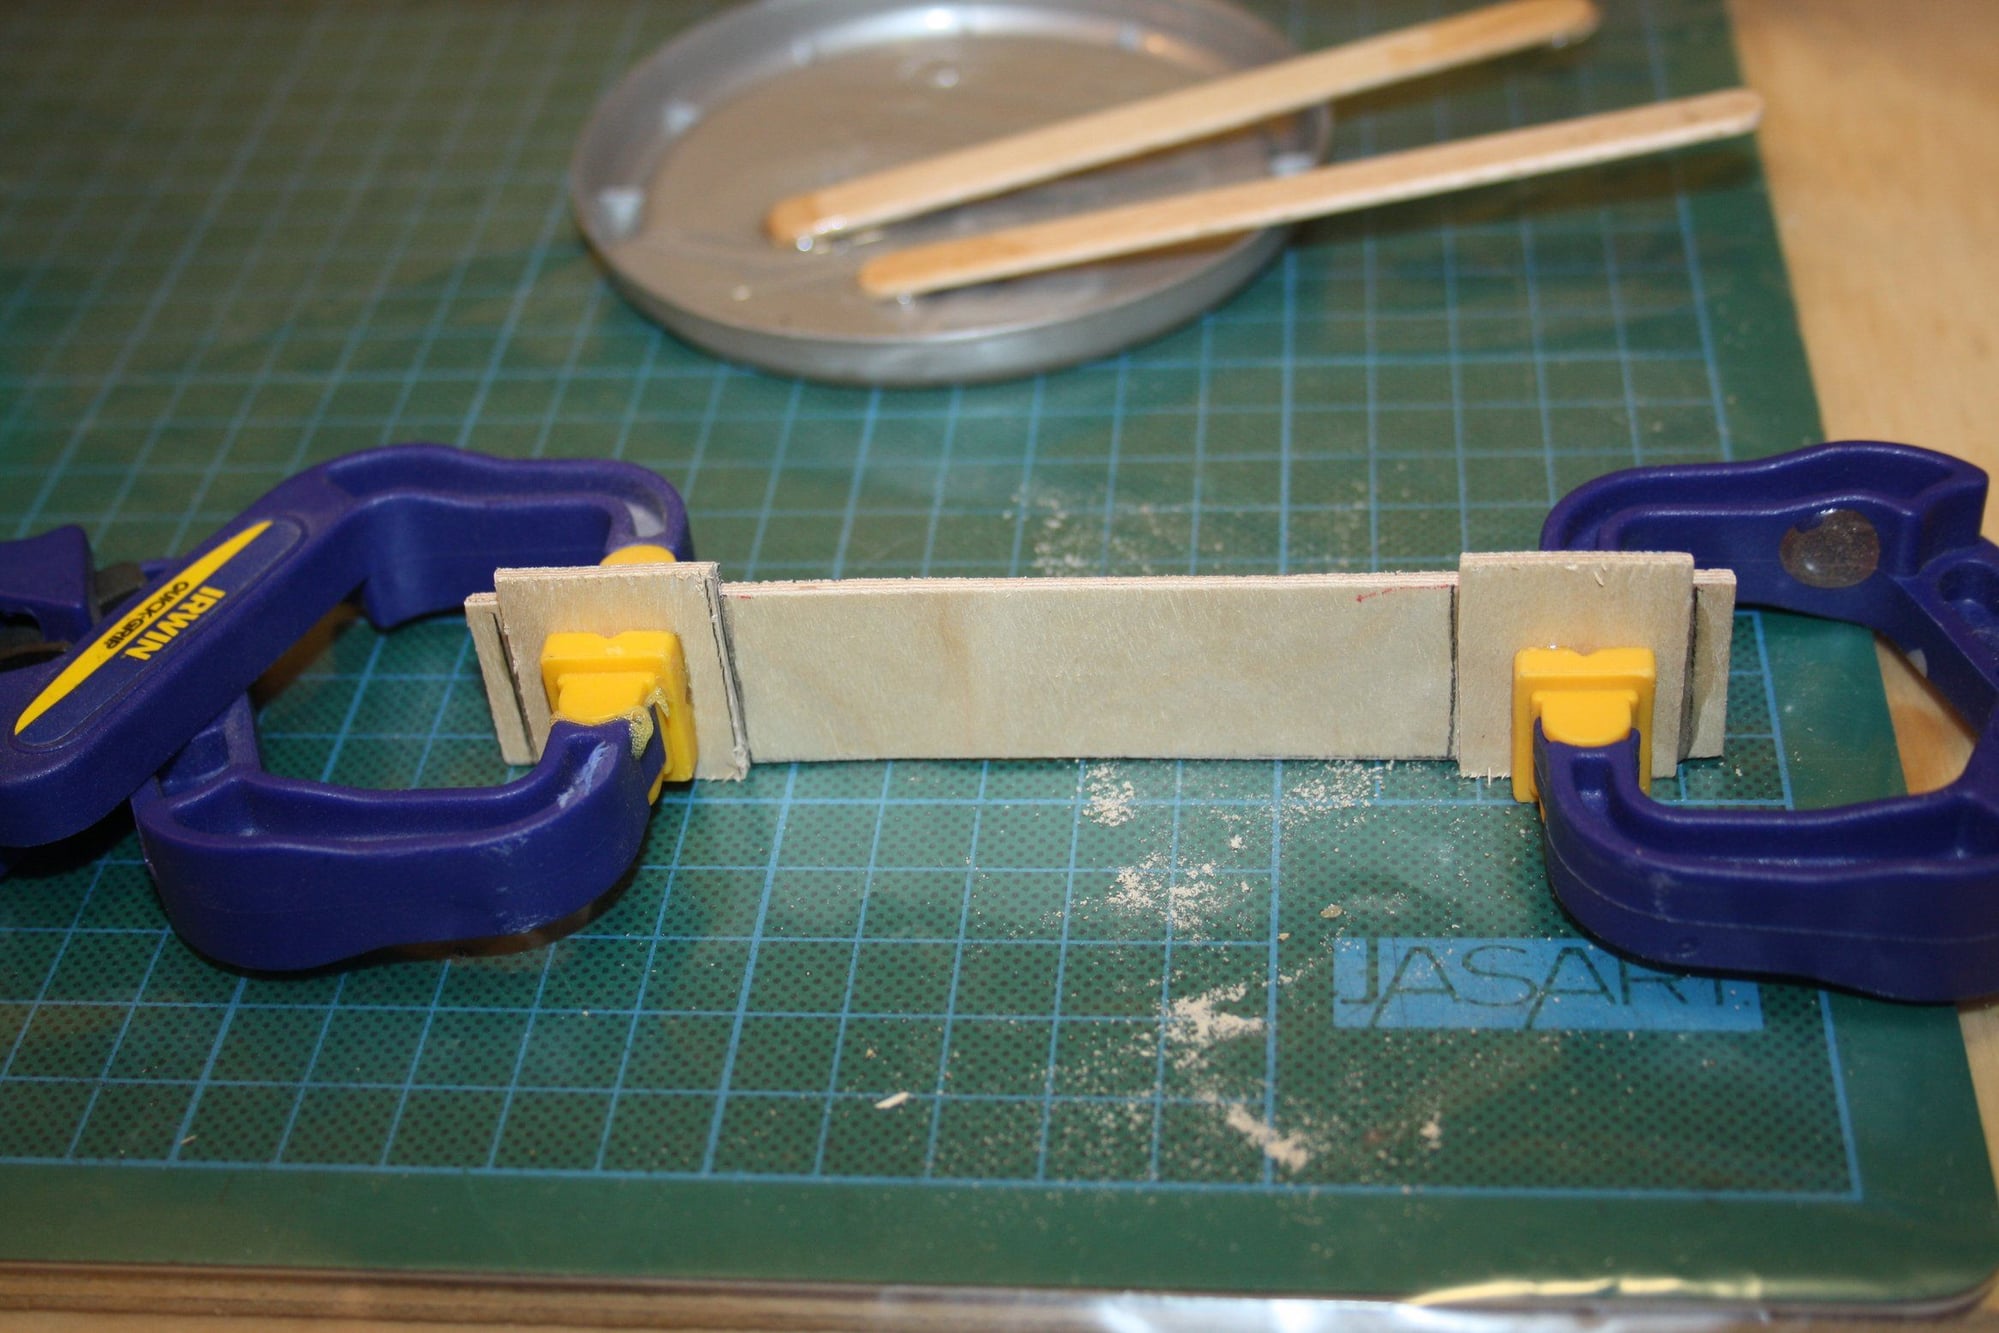
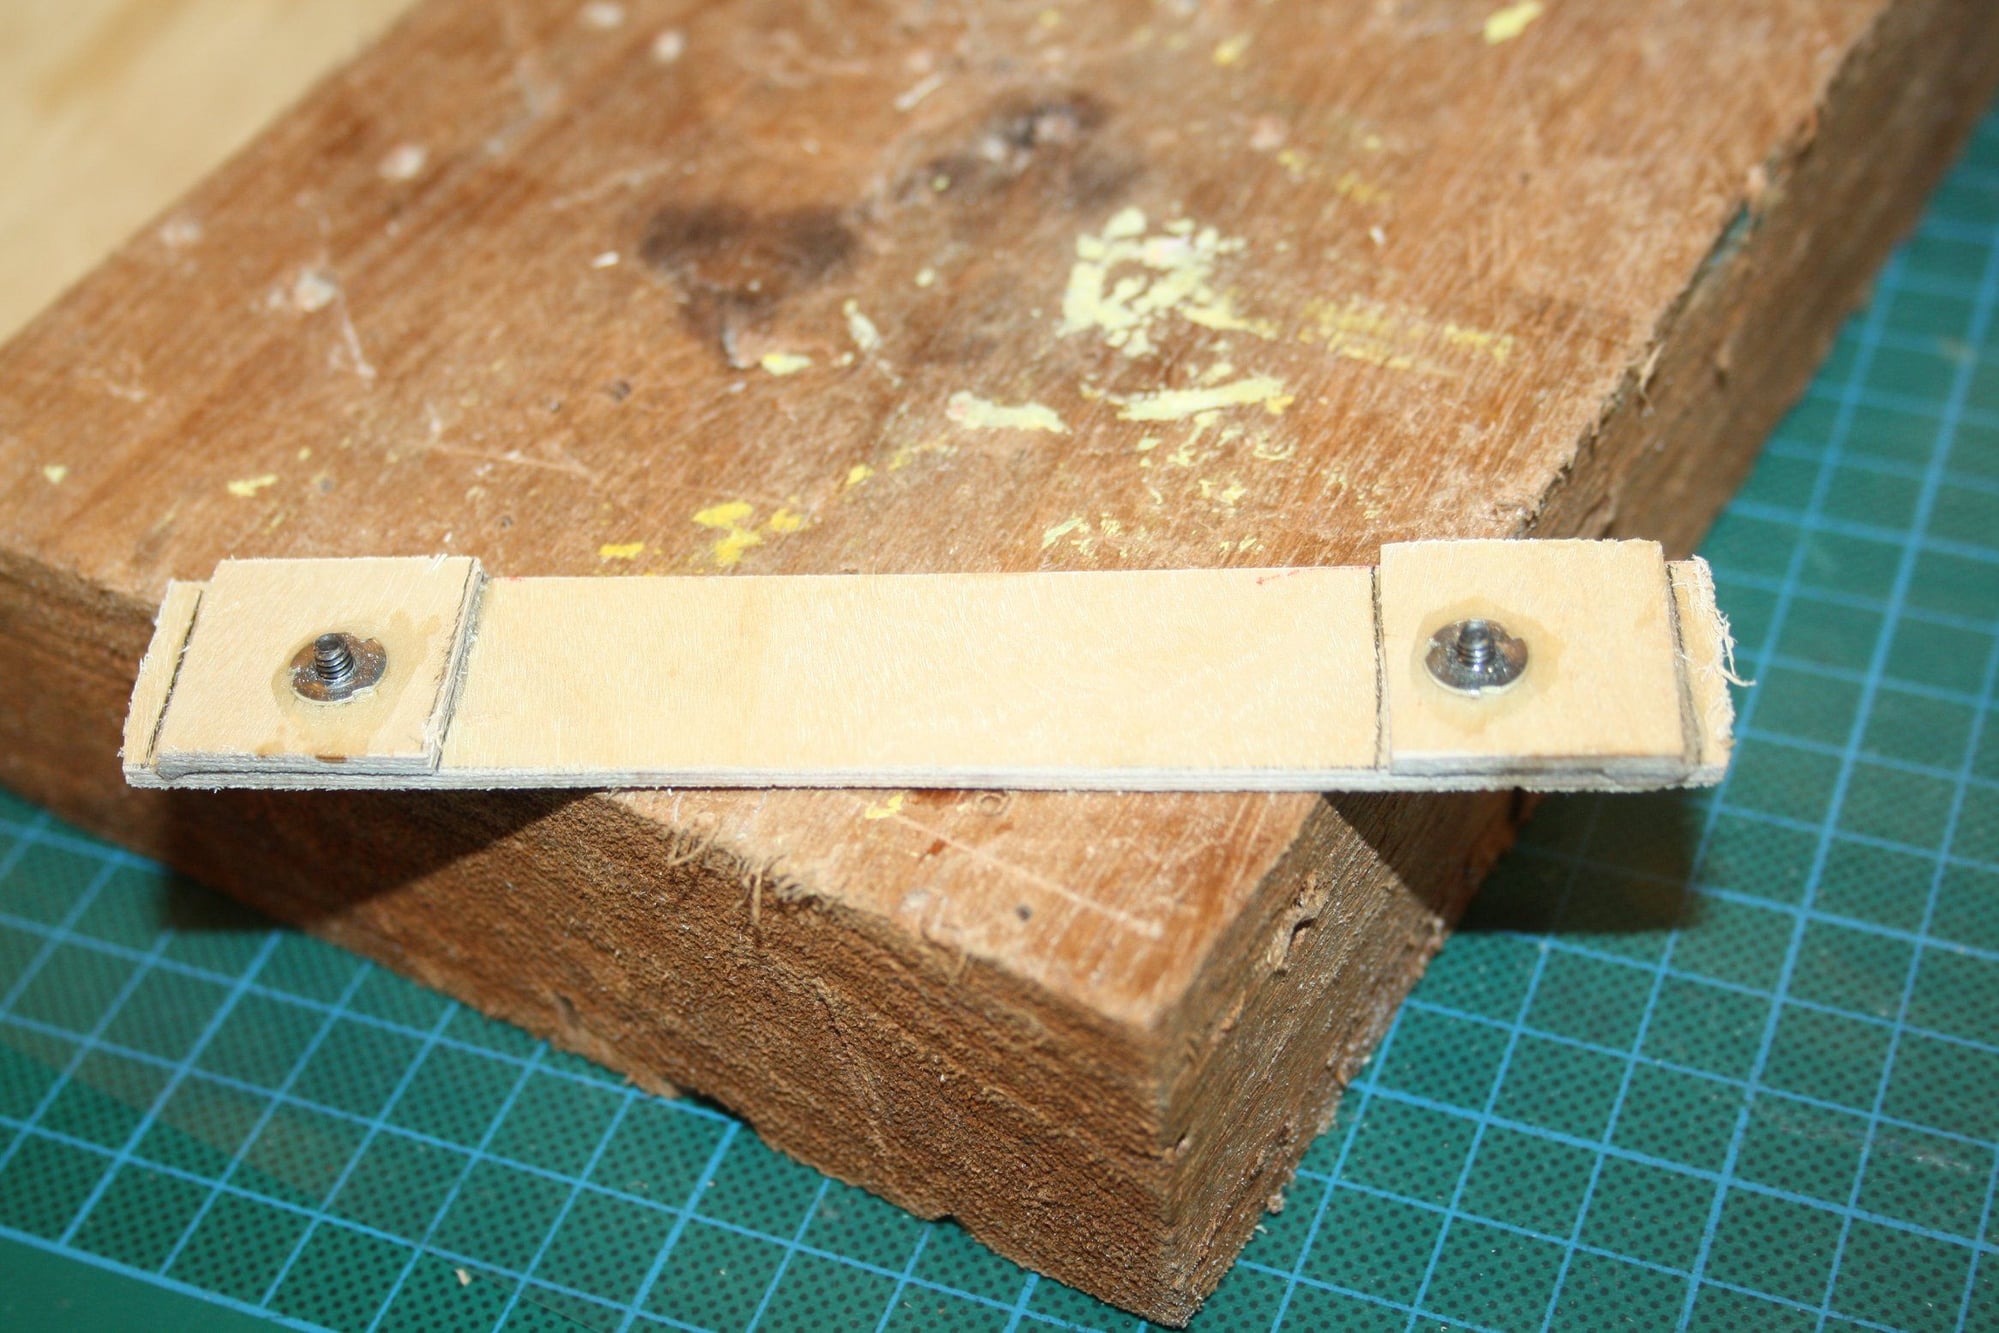
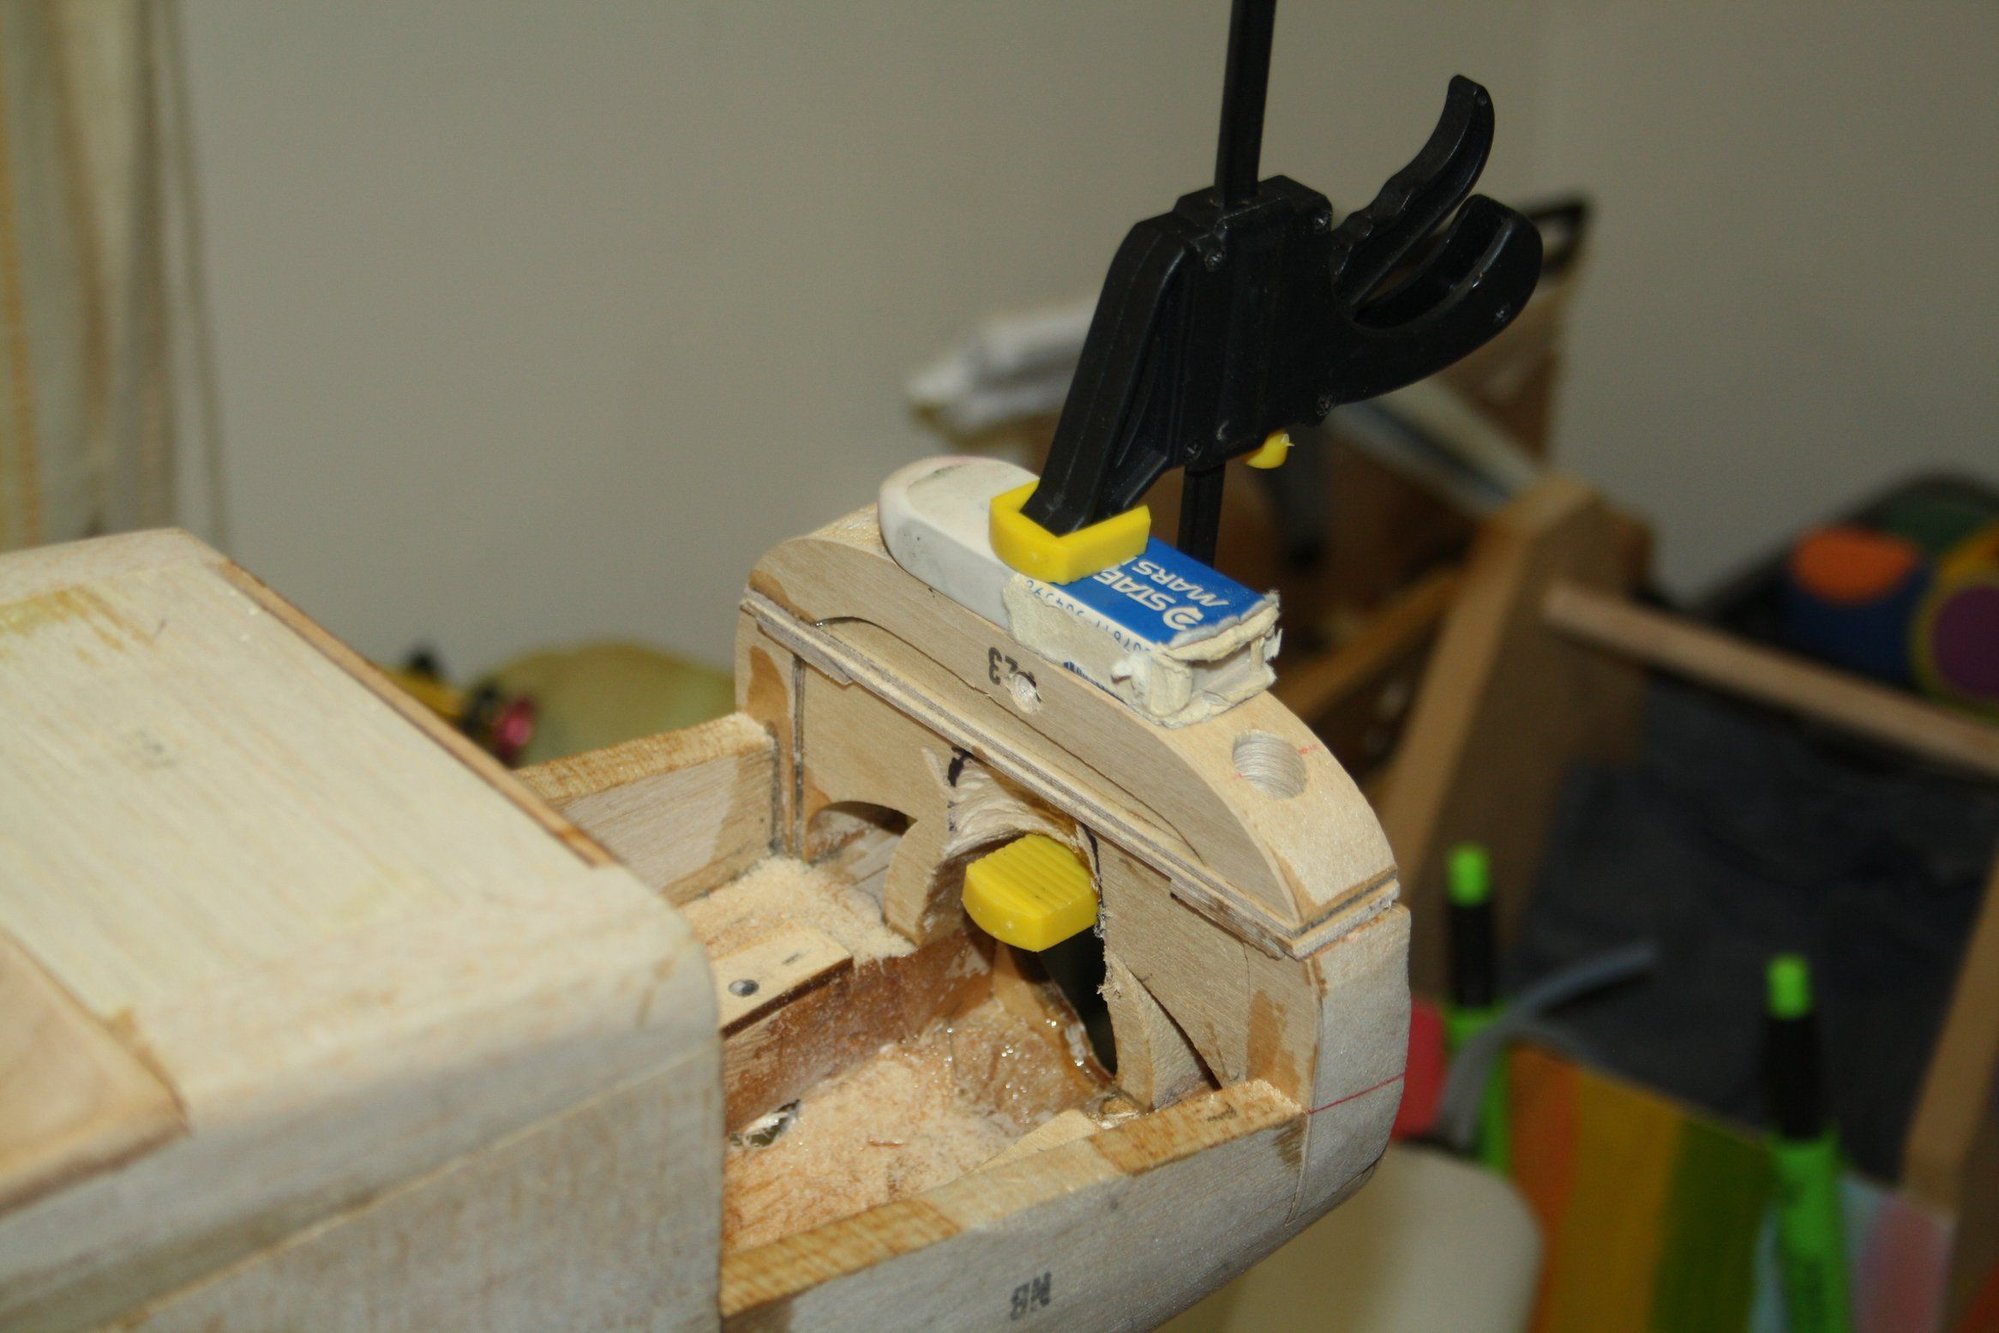
Next task is to fix the cowl "chin". I cut 4mm section and reinforced the mating area with two 2mm plywood pieces. These will hold the "chin" using 4-40 screws and blind nuts.


Cheers,
Eran
After a fair bit of coffee and spending time thinking what I should do to fix this, I decided to cast epoxy with fibreglass cloth pieces.
This worked quite well and the engine has been mounted satisfactory with the Nylon Insert Lock Nuts recessed into the balsa (the 5th elliptical hole is for engine tuning).
Next task is to fix the cowl "chin". I cut 4mm section and reinforced the mating area with two 2mm plywood pieces. These will hold the "chin" using 4-40 screws and blind nuts.
Cheers,
Eran
02-05-2020, 06:11 PM
#24
Thread Starter
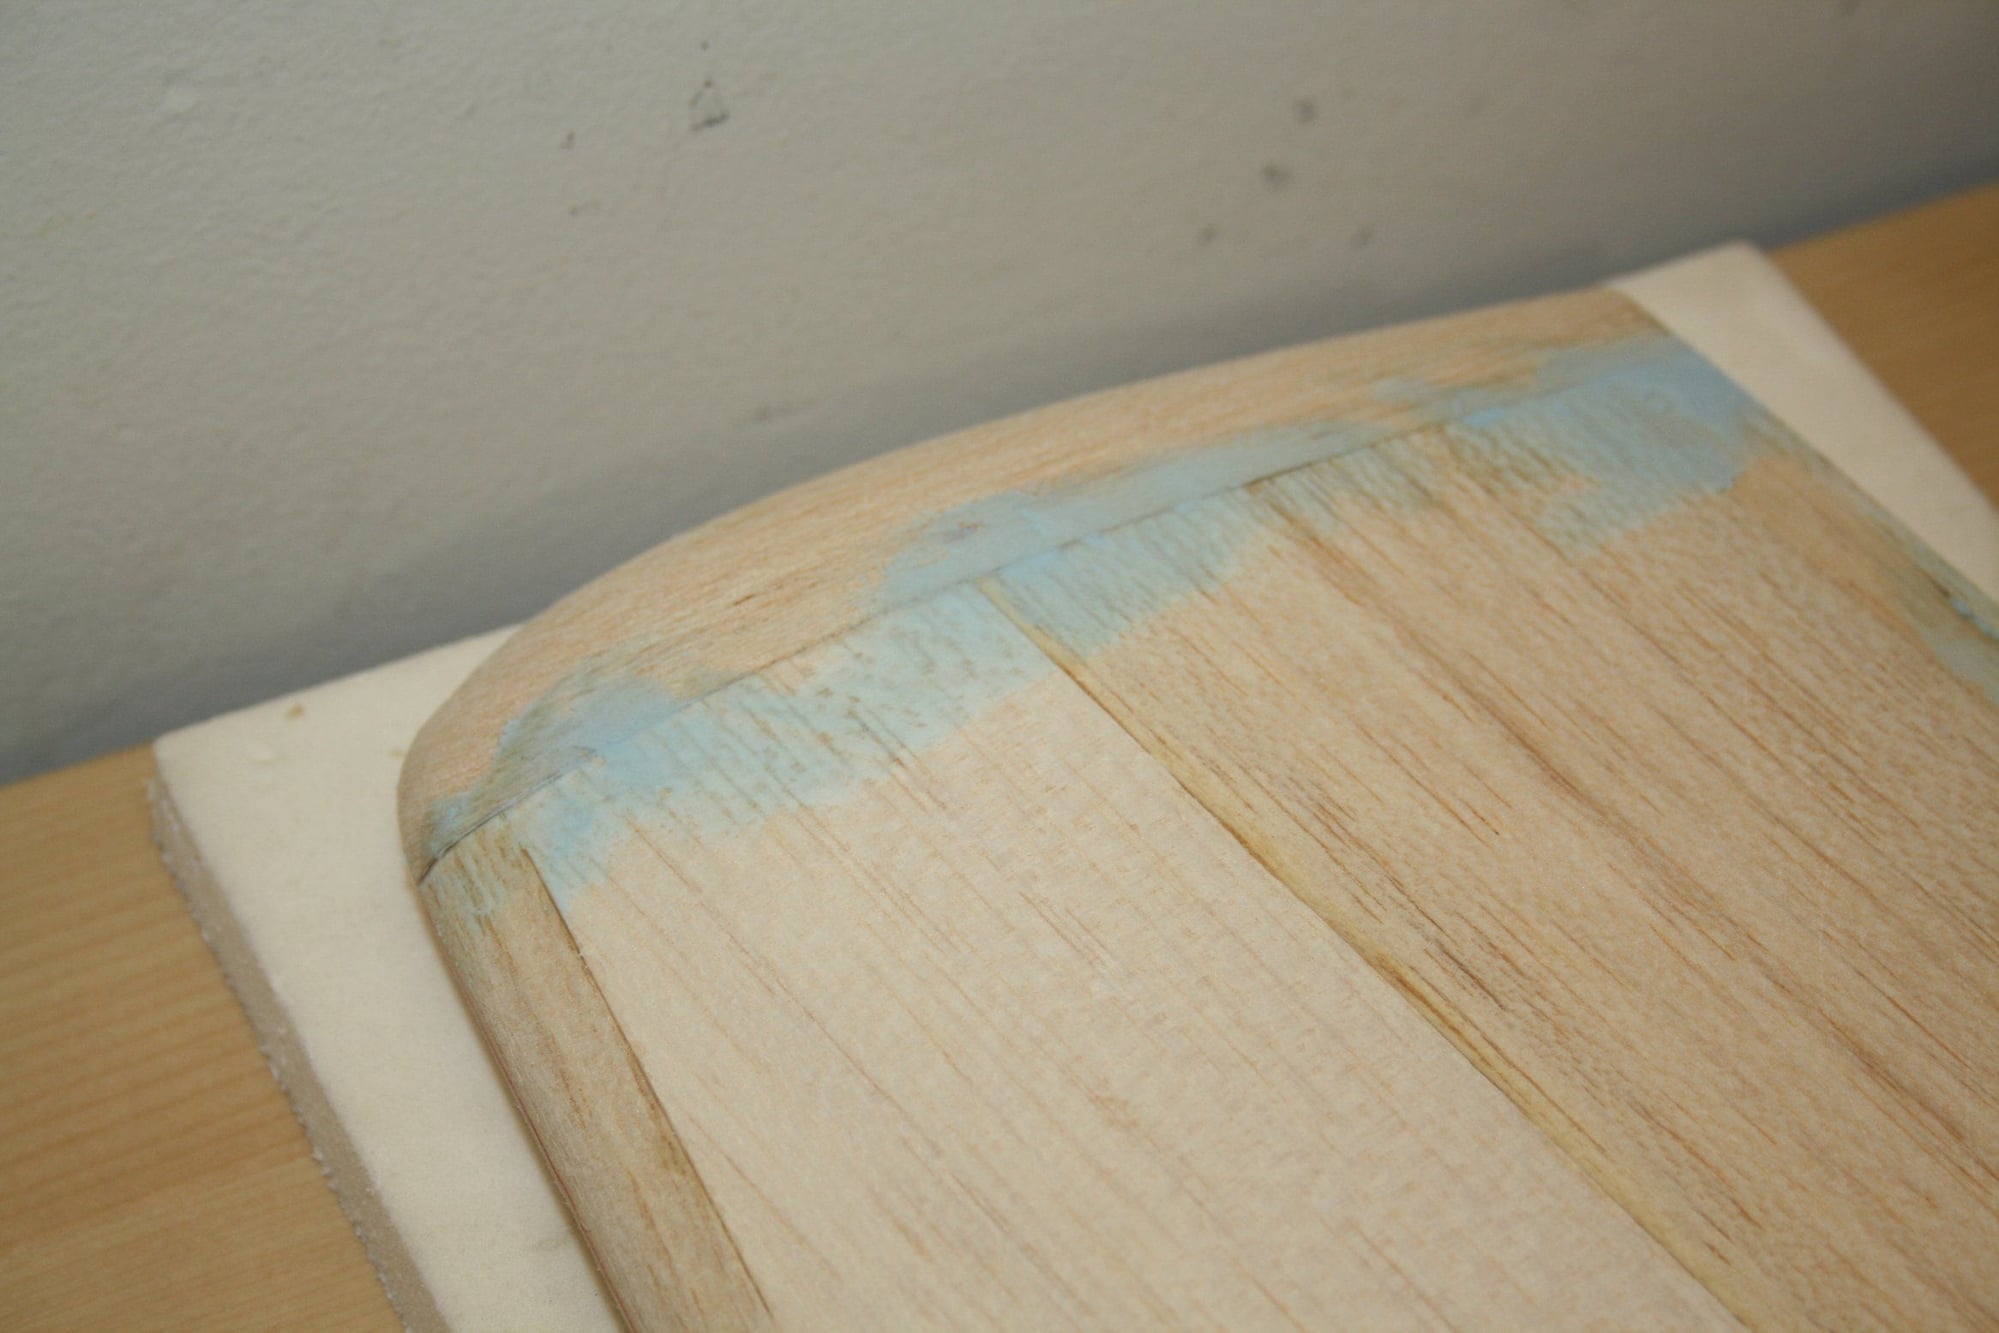
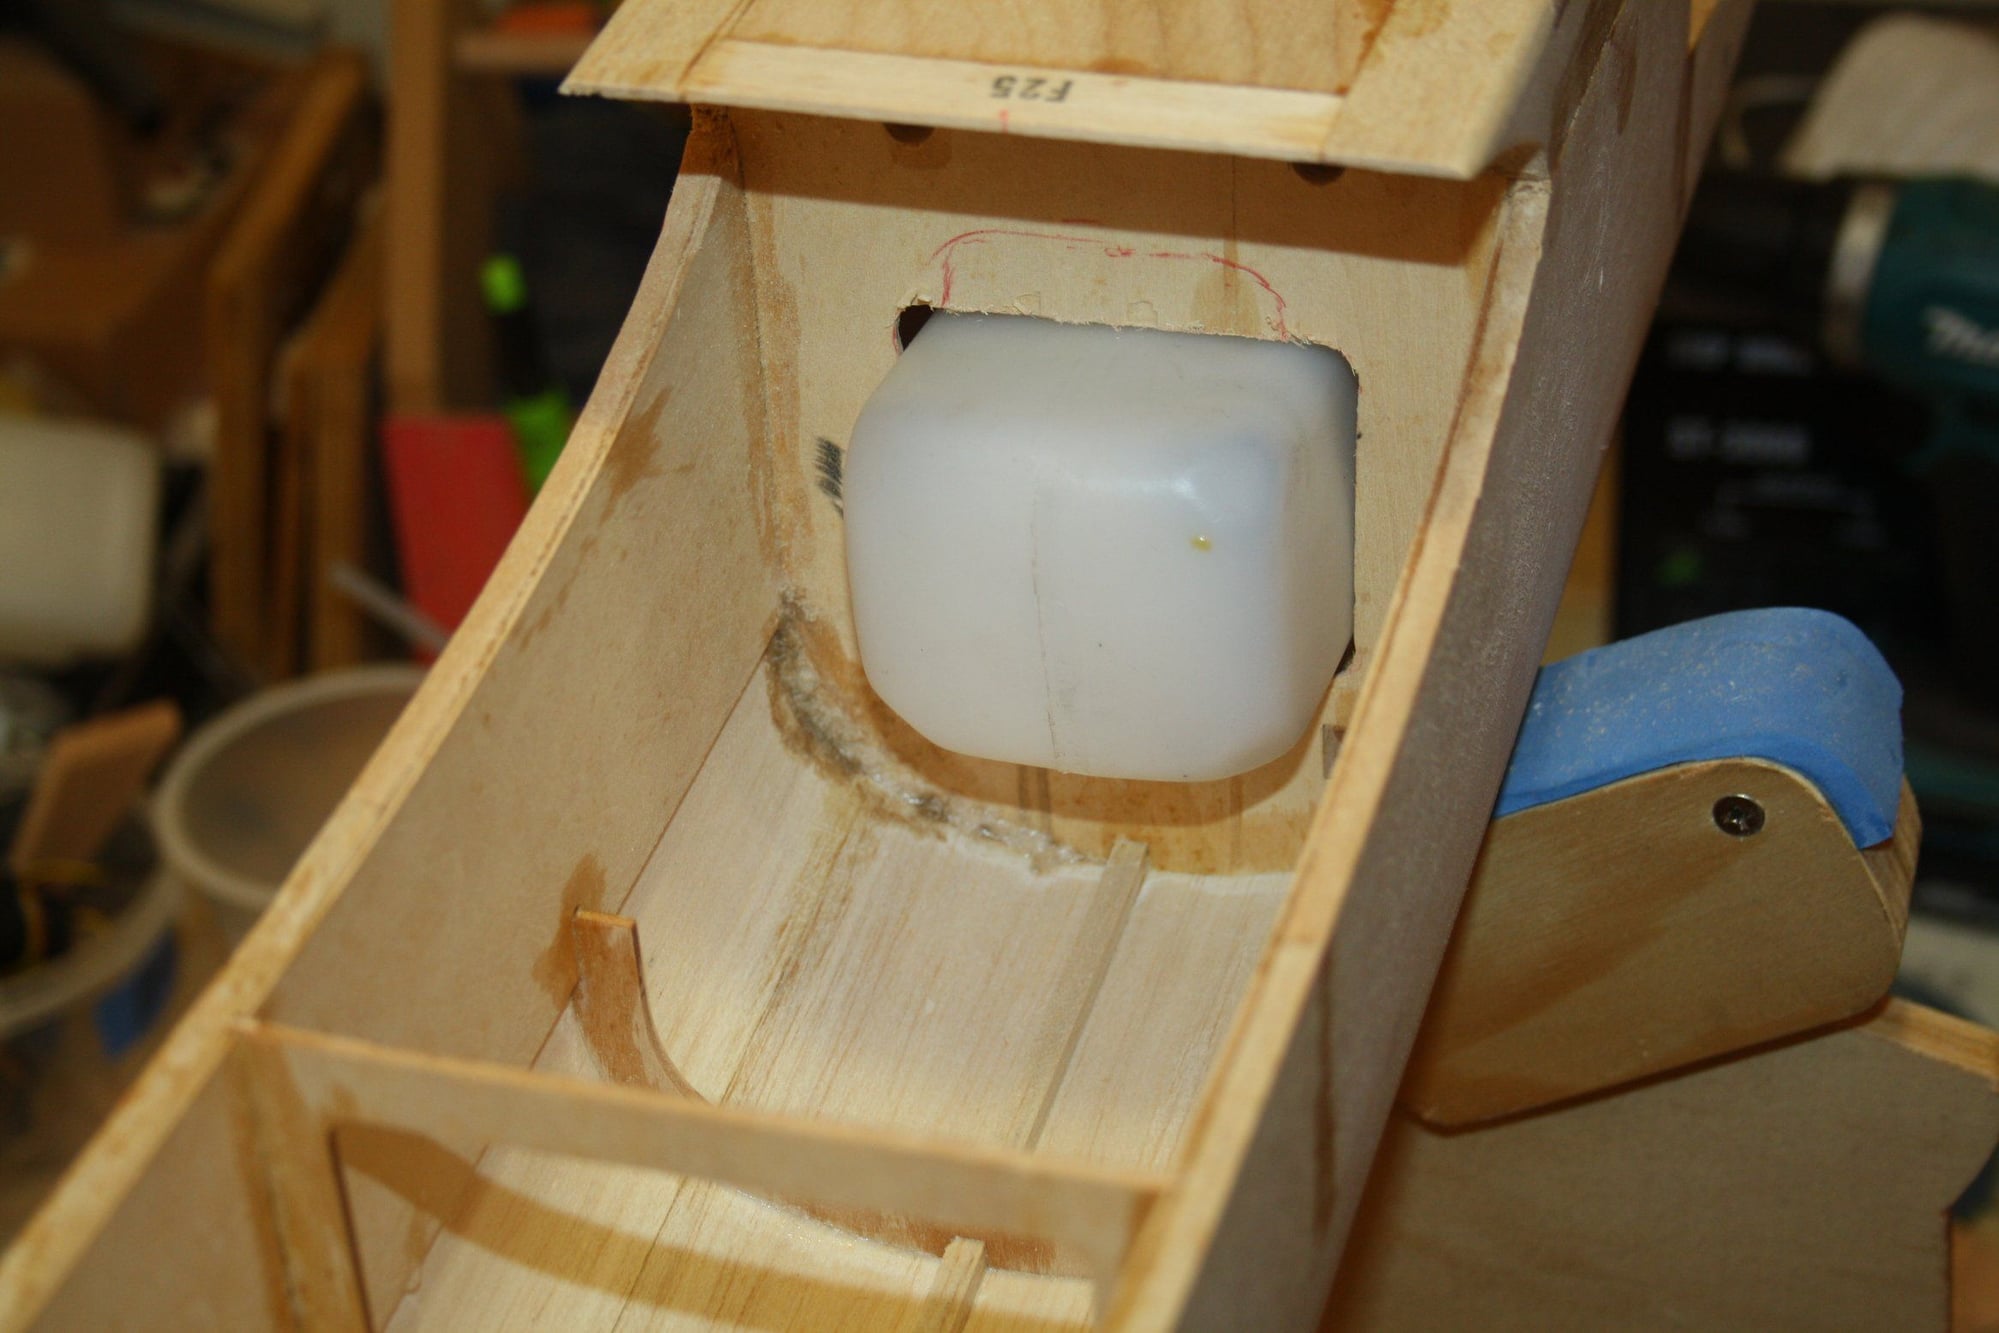
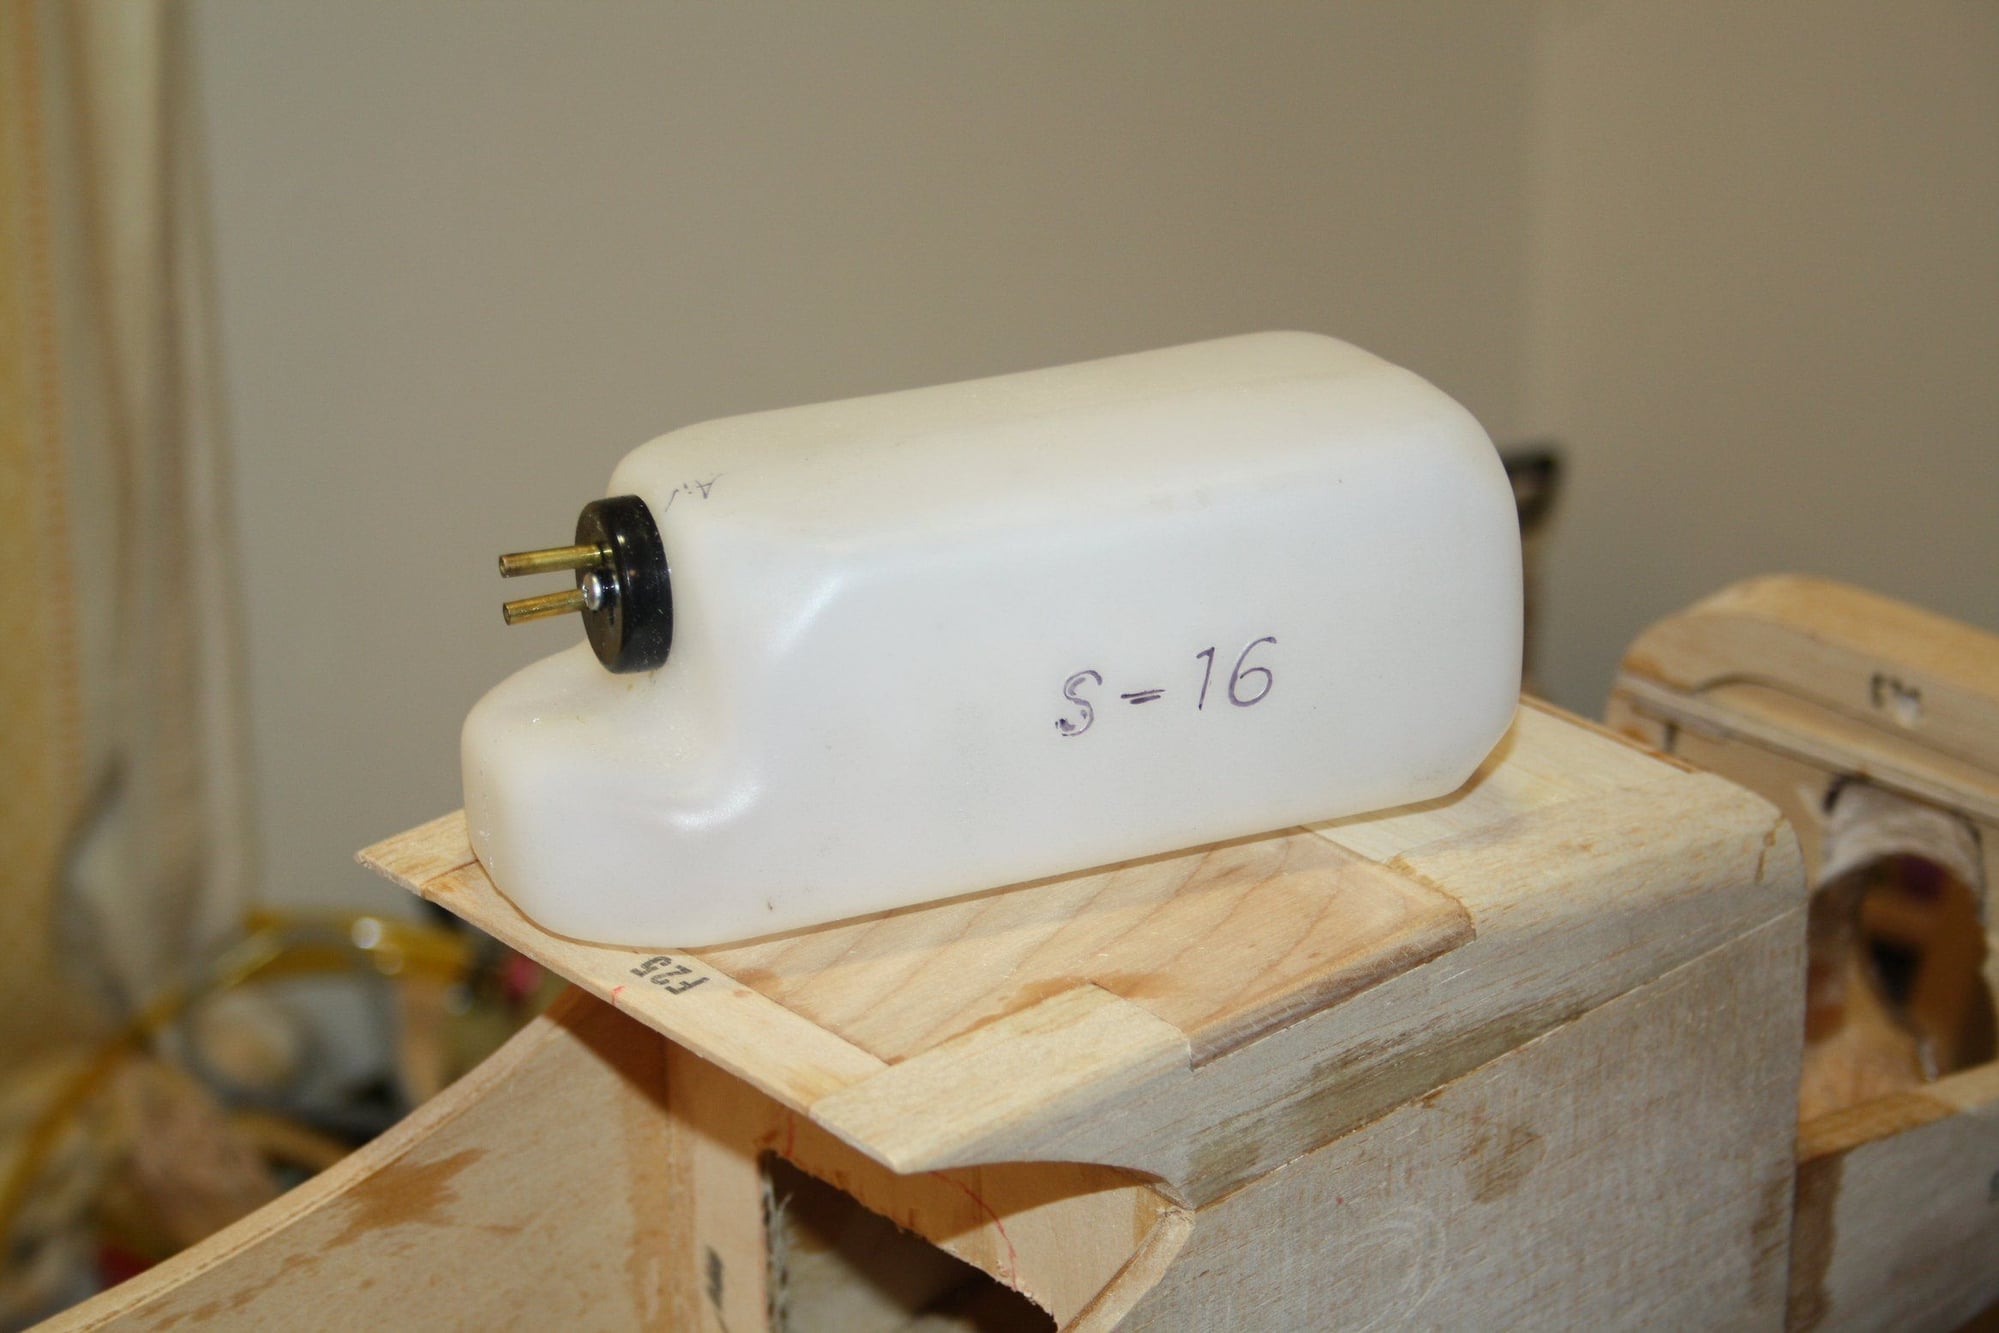
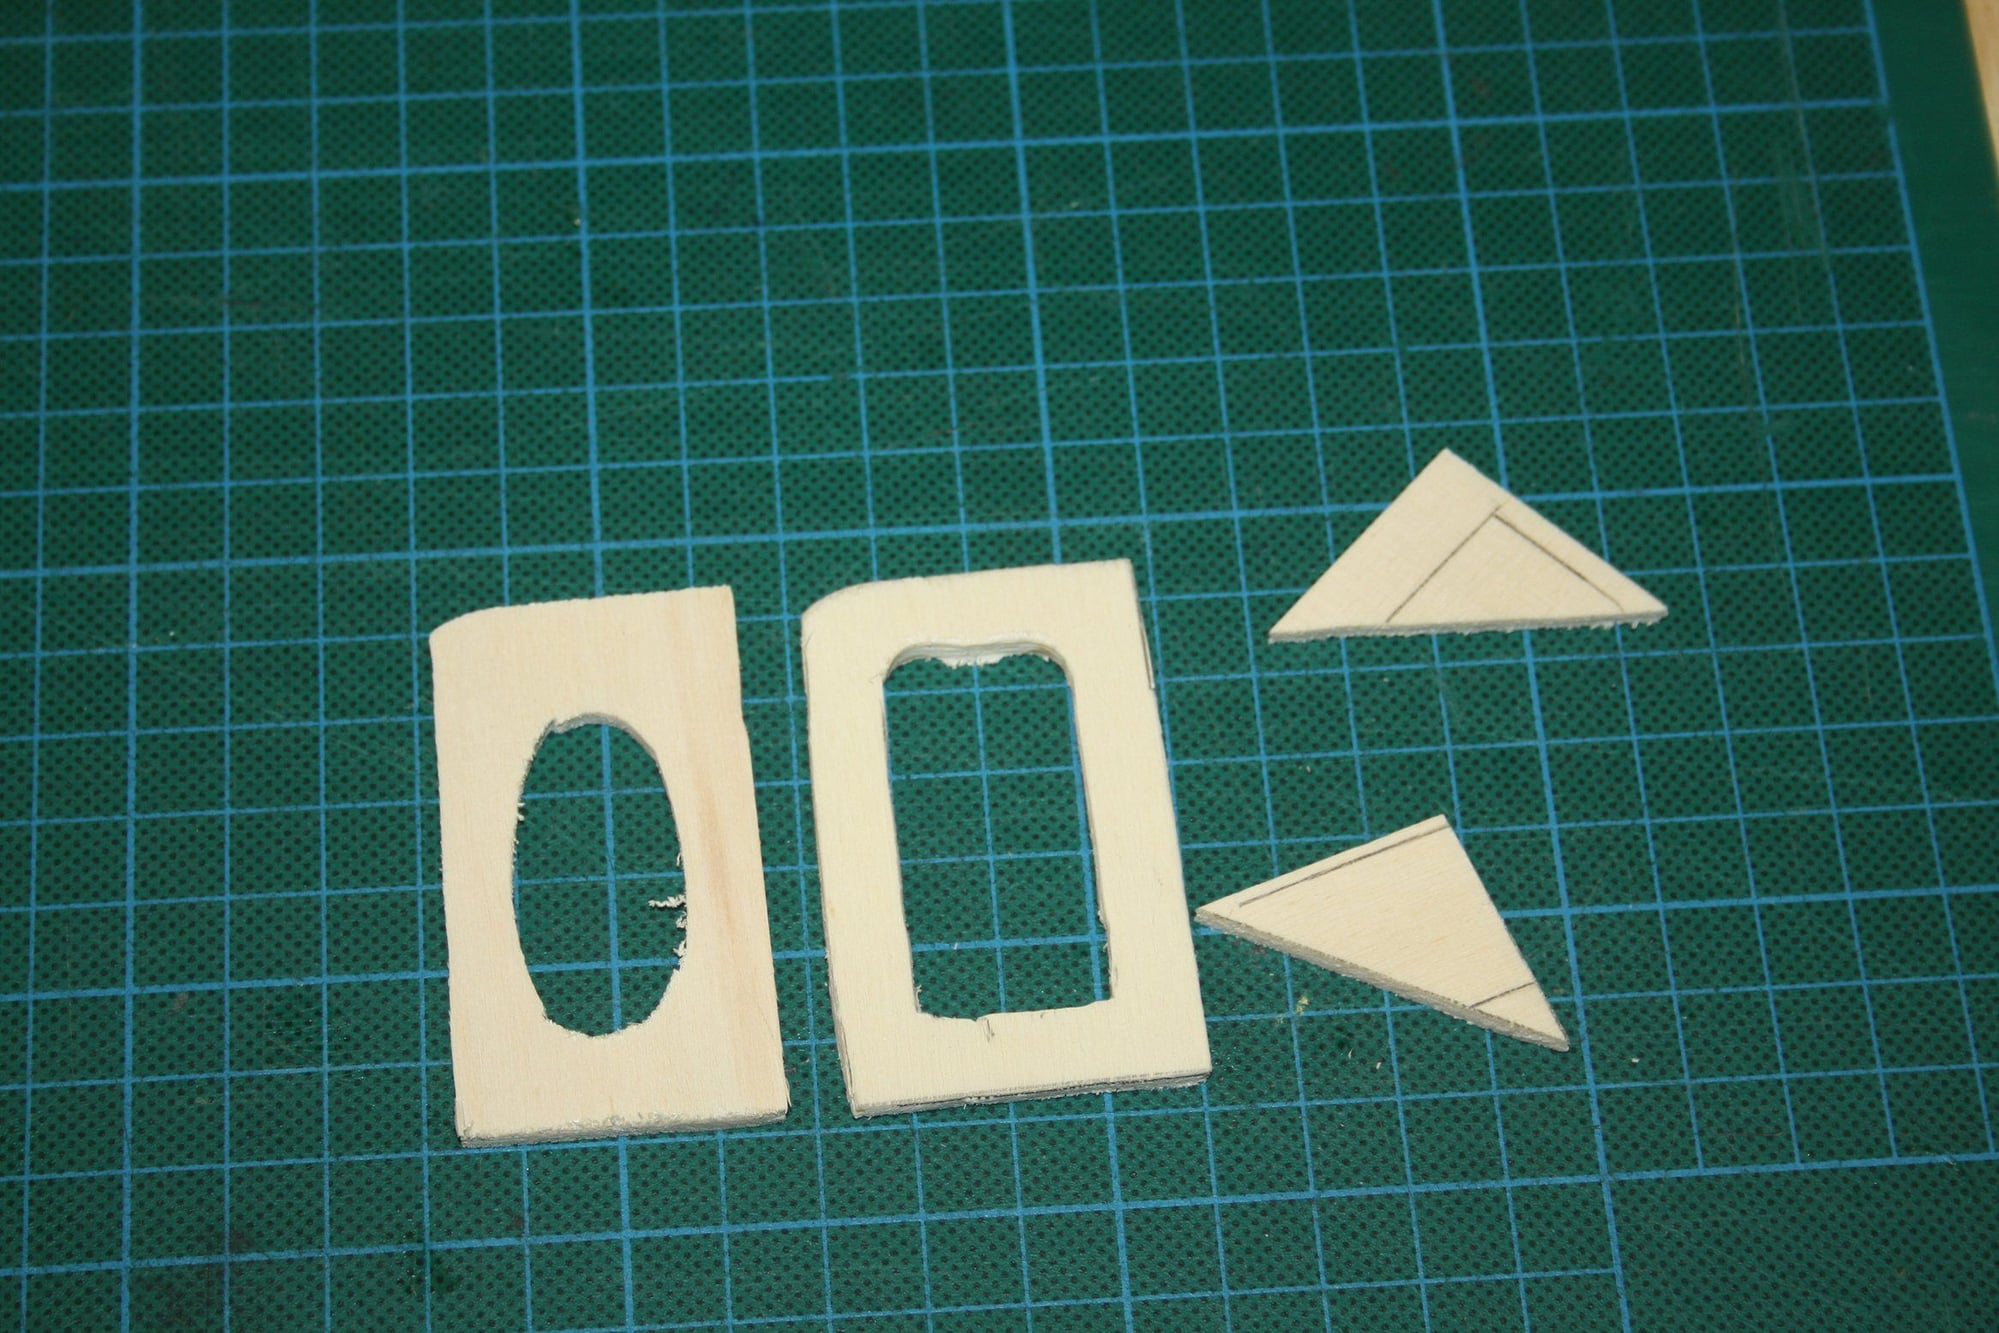
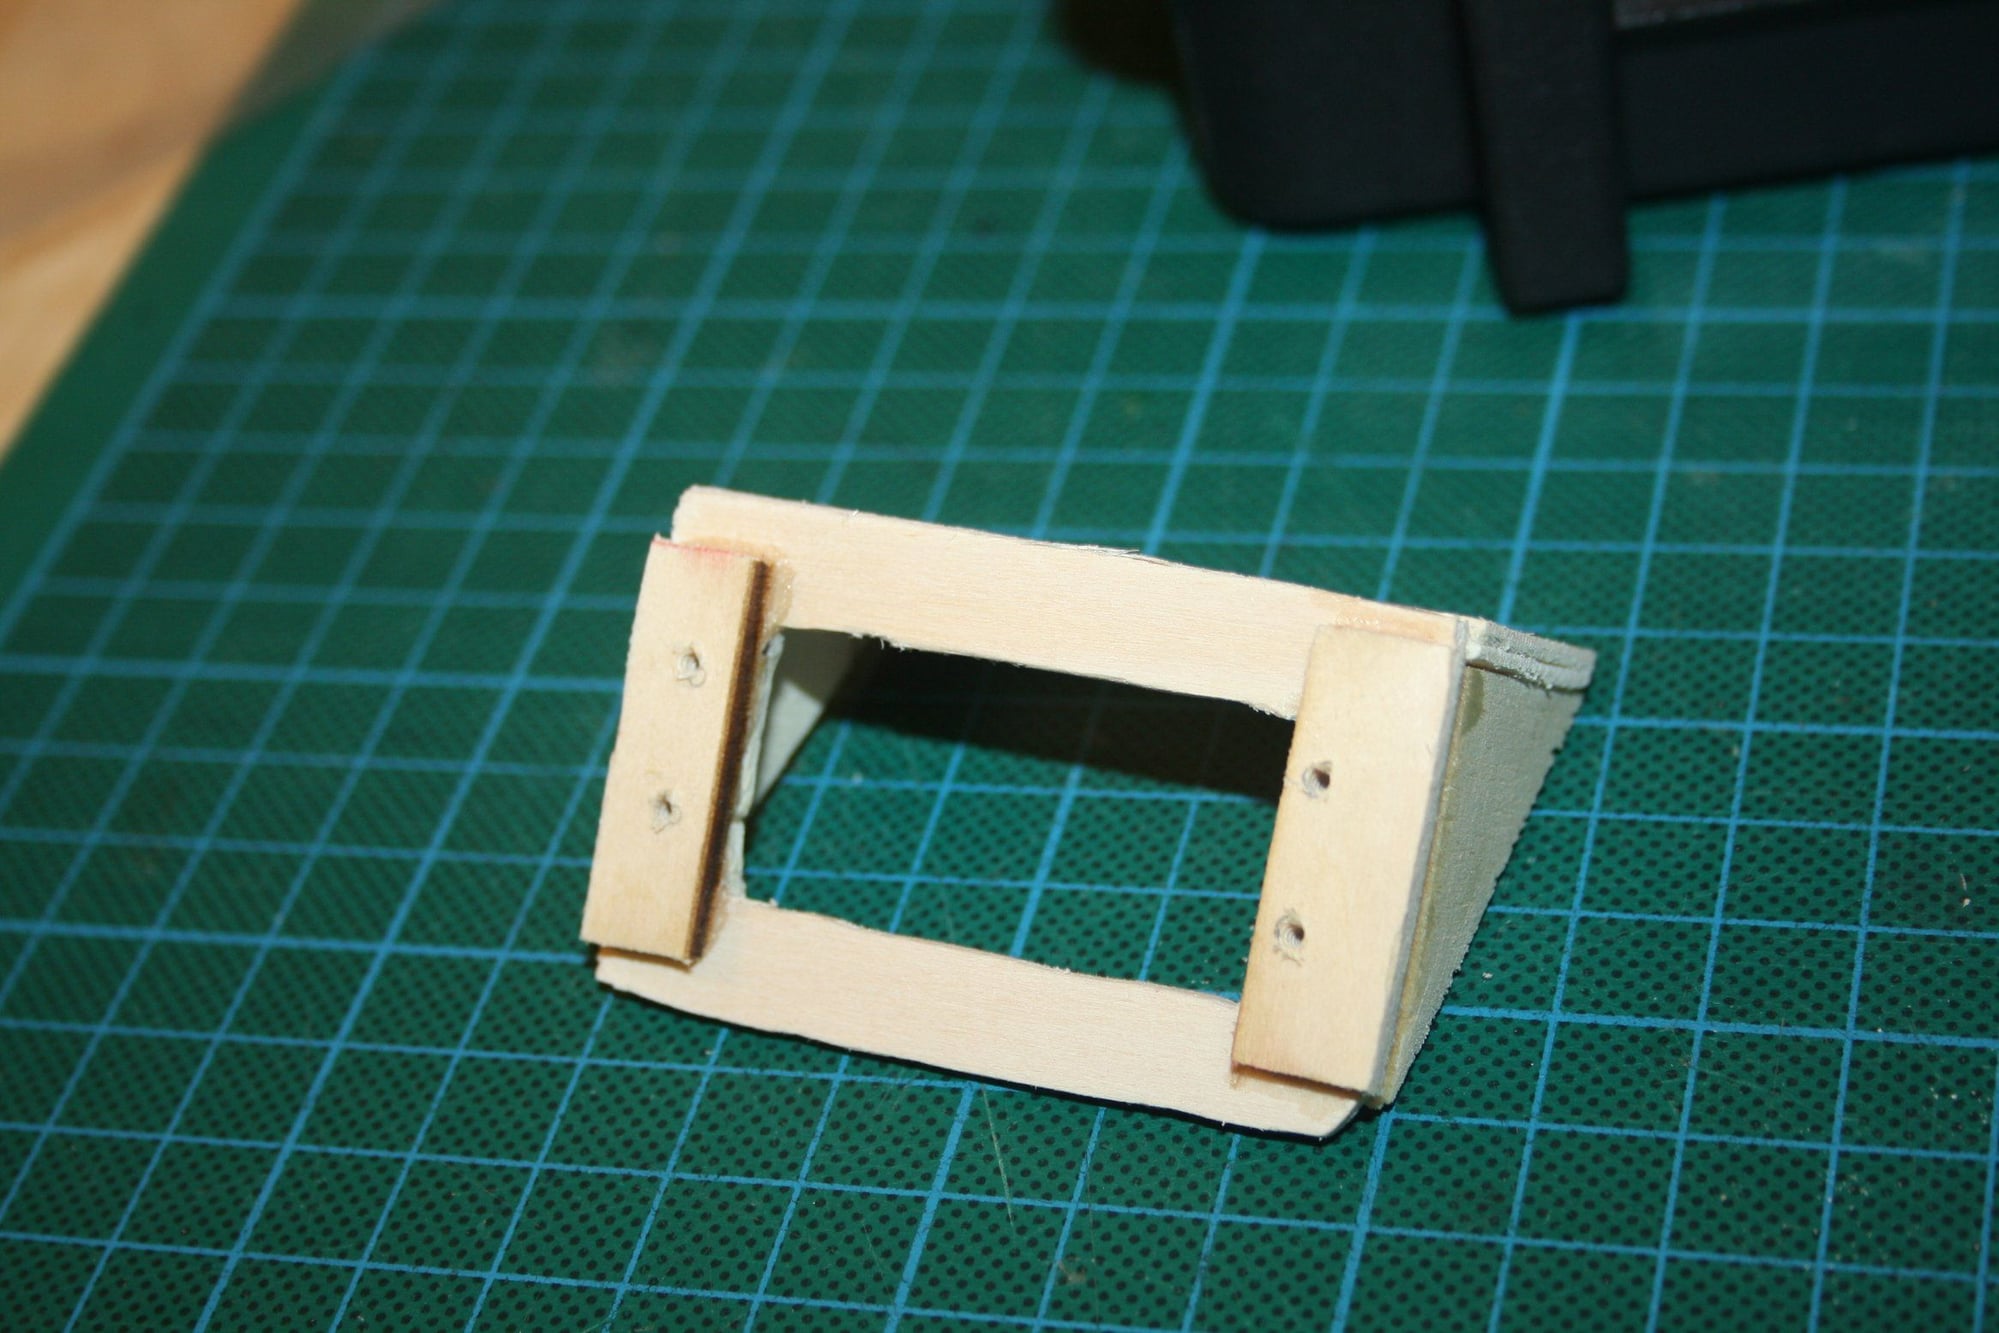
I had to cut the former hole larger to fit the Du-Bro SS-16 fuel tank.
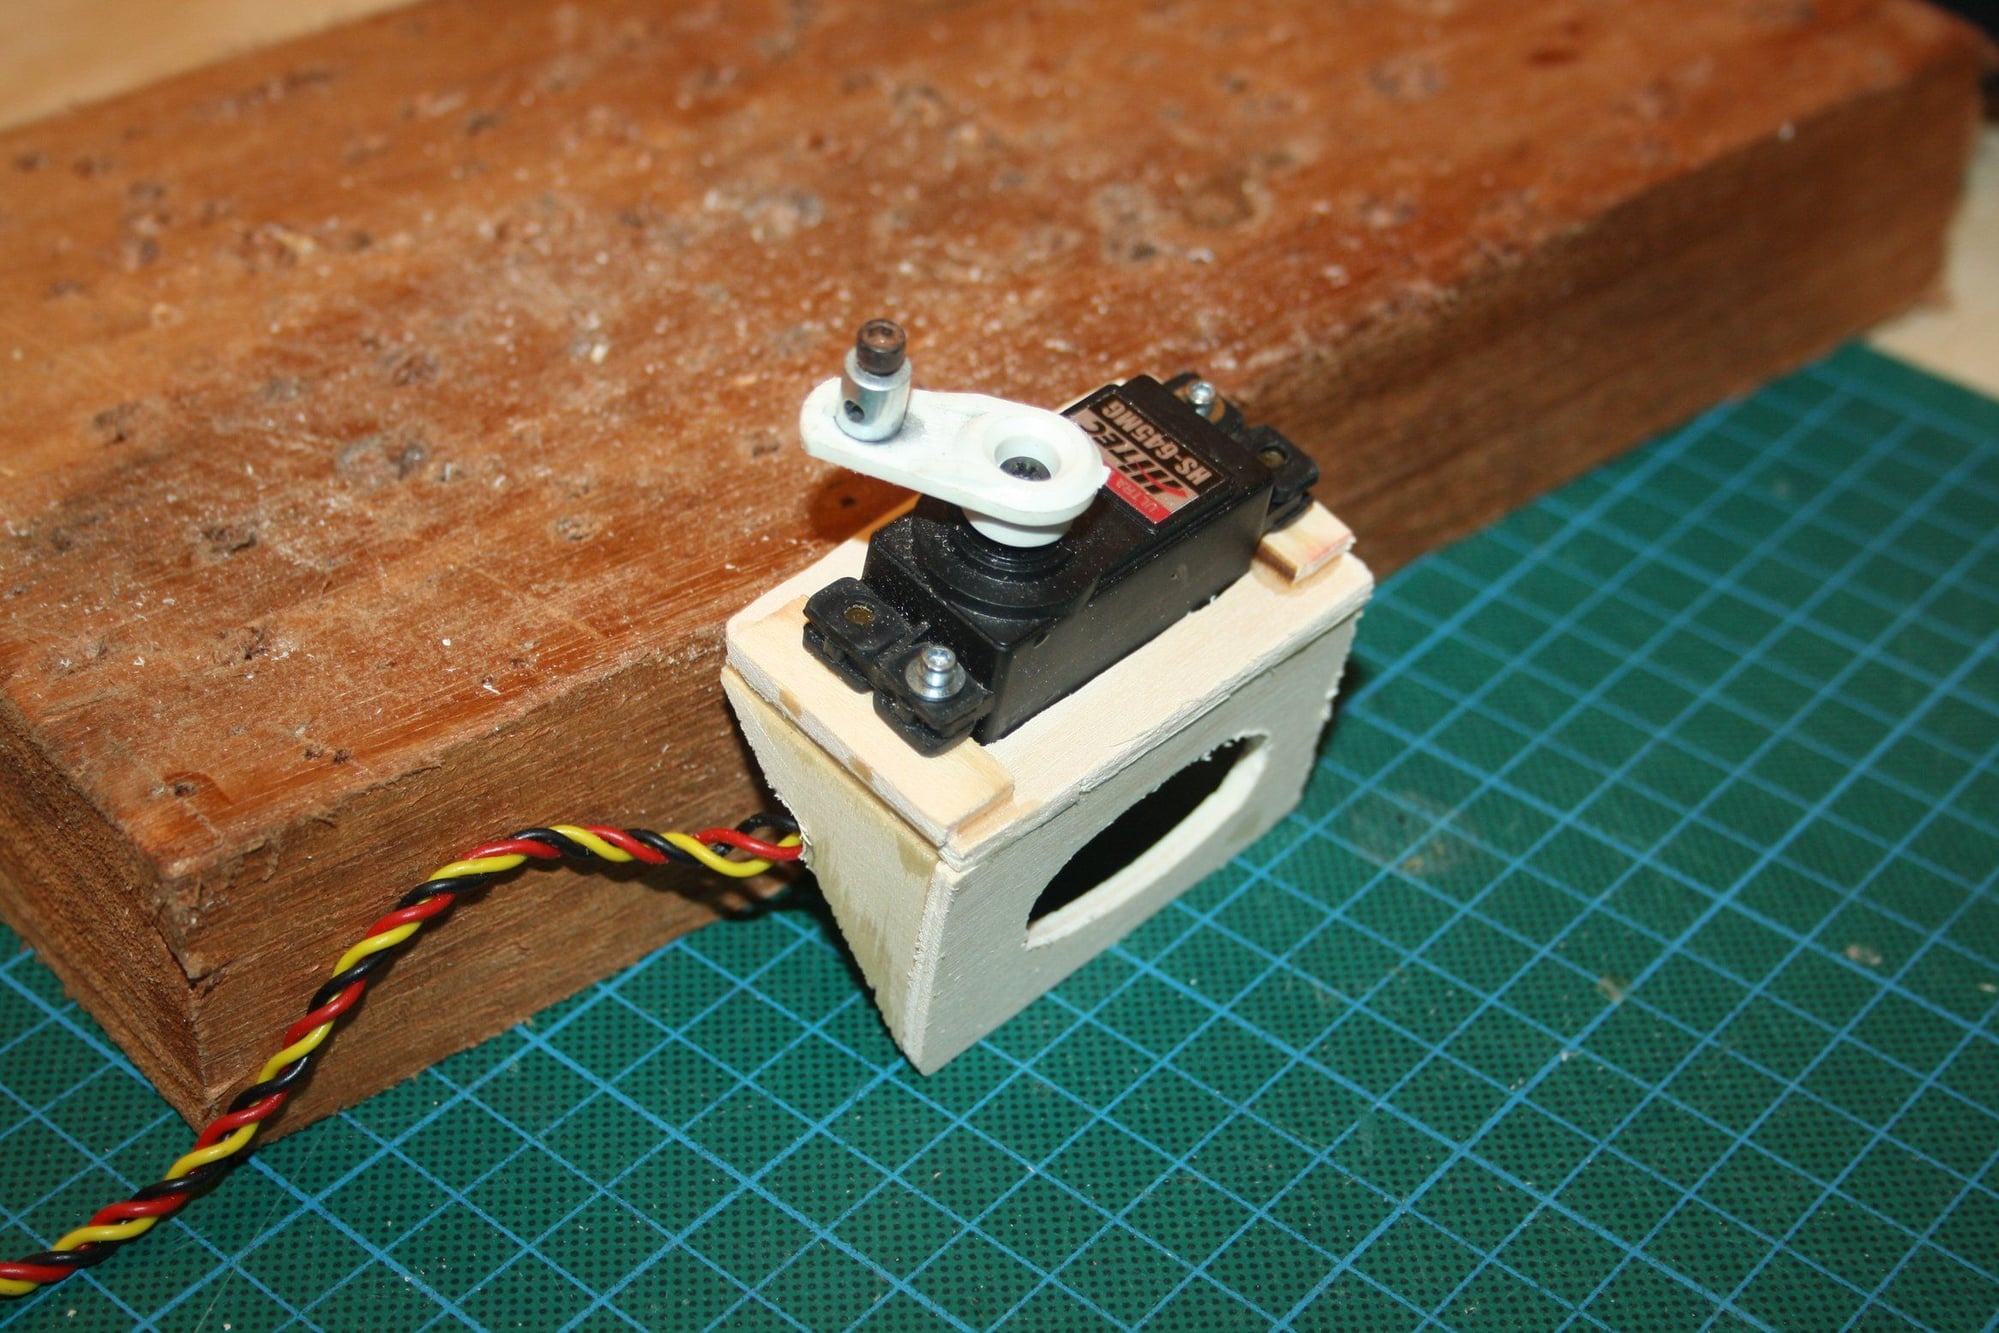
I made a servo mount out of some scrap lite-ply for the throttle servo and sanded the "chin".

Cheers,
Eran
I made a servo mount out of some scrap lite-ply for the throttle servo and sanded the "chin".
Cheers,
Eran