


Lanier RC 84" Stinger
 04-07-2023, 04:34 AM
#1

Thread Starter
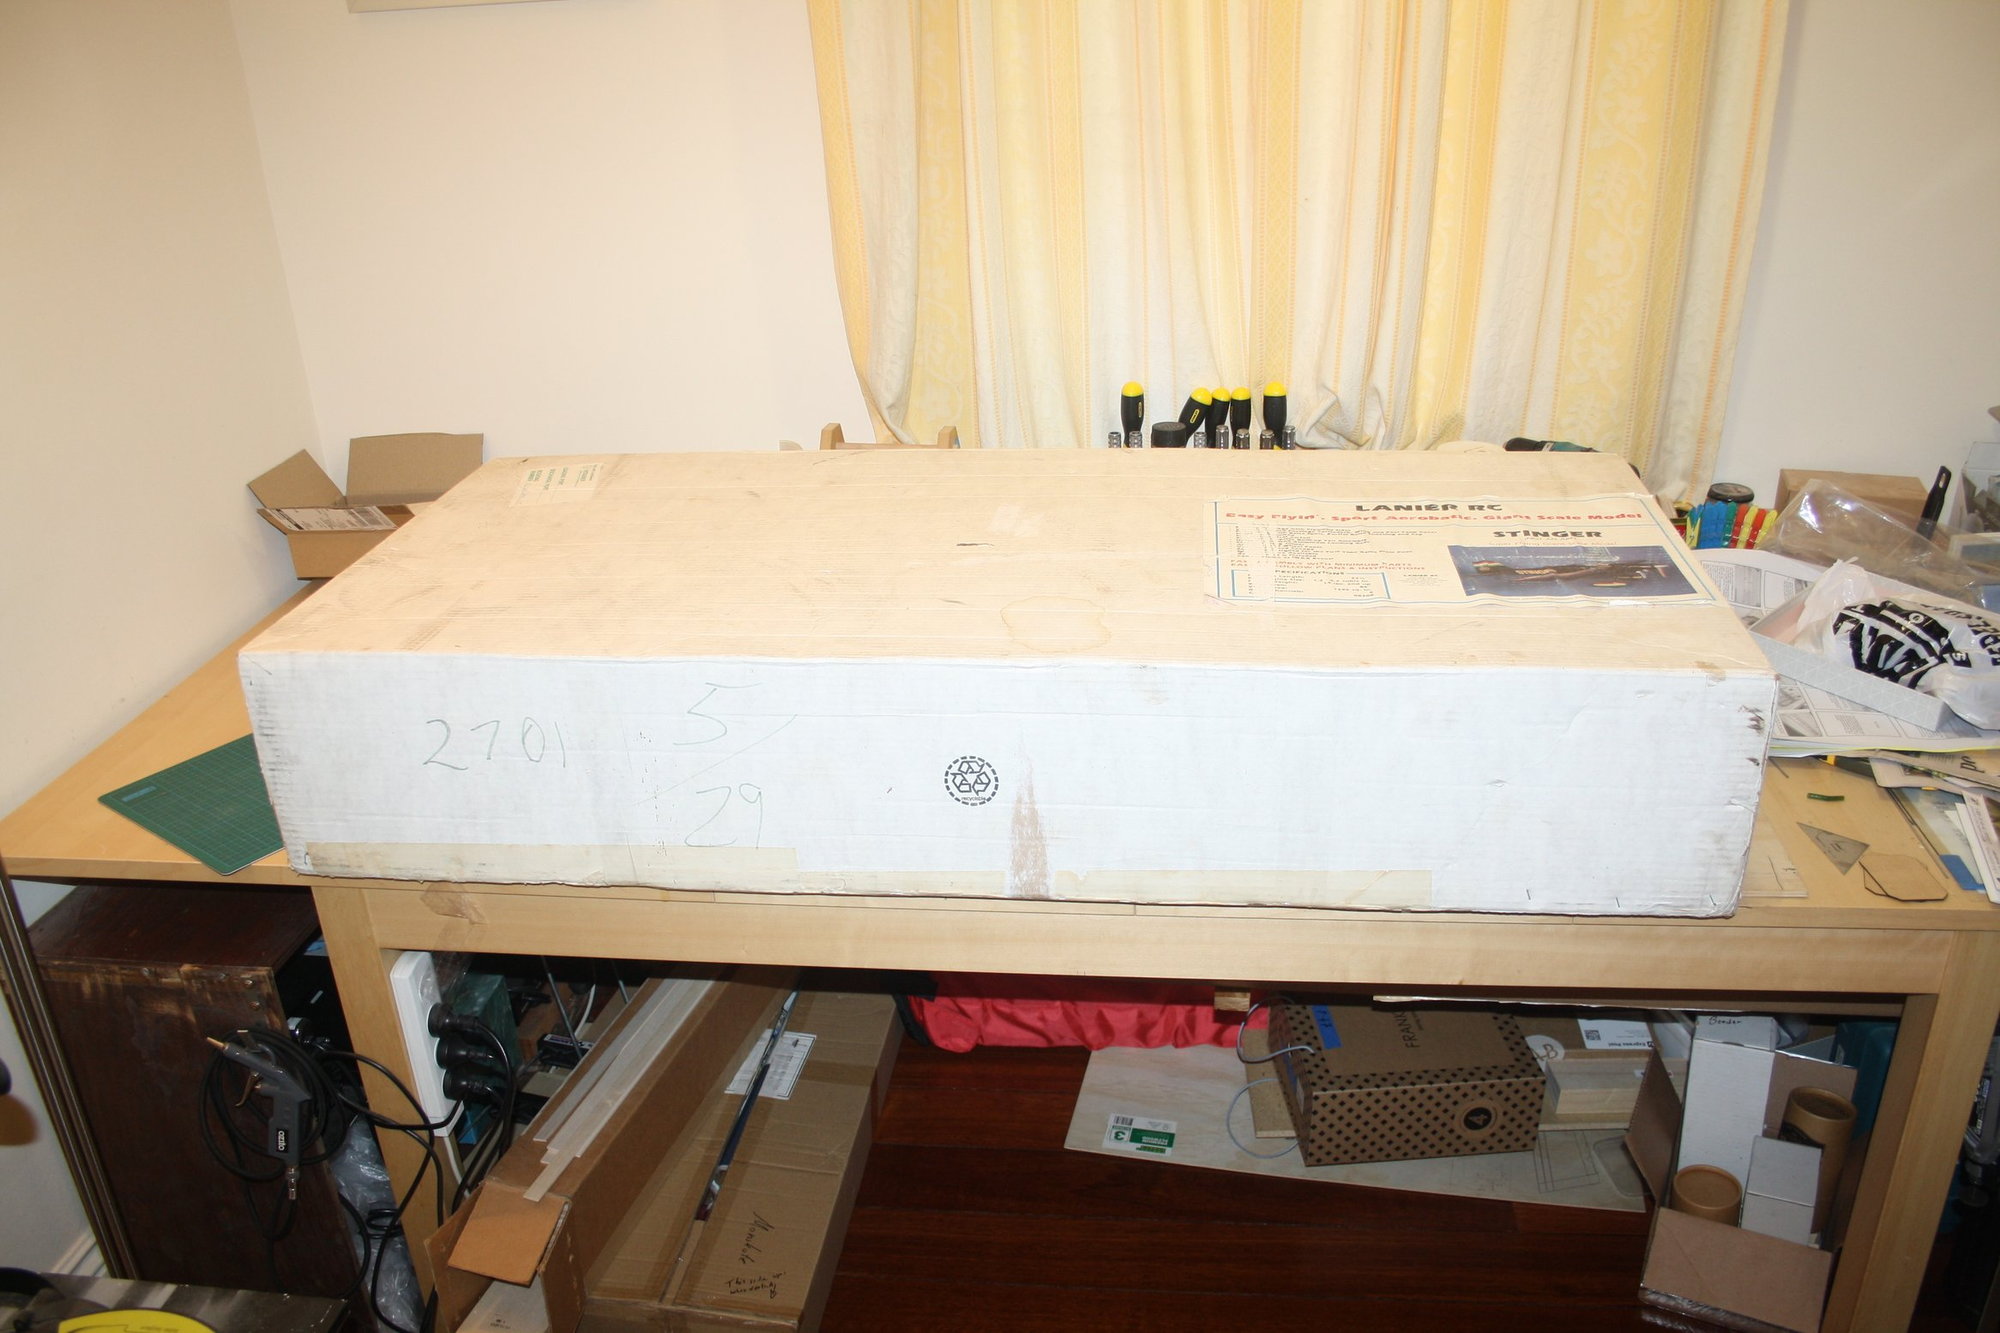
A couple of years ago I spotted the Lanier RC kit on the Australian RC Trading website and bought it on a whim. I never before even considered this kit.
On chatting to the previous owner, an elderly gentleman, he told me that he will not get to build it considering the lineup of kits he still has and that he hopes that this kit will be built and not just be sitting in a collection. I told him him that it will be build also not immediately as I had another project on the bench. With that project now completed, and the enormous box of this kit annoying me enough to choose this as my next project, here it is...
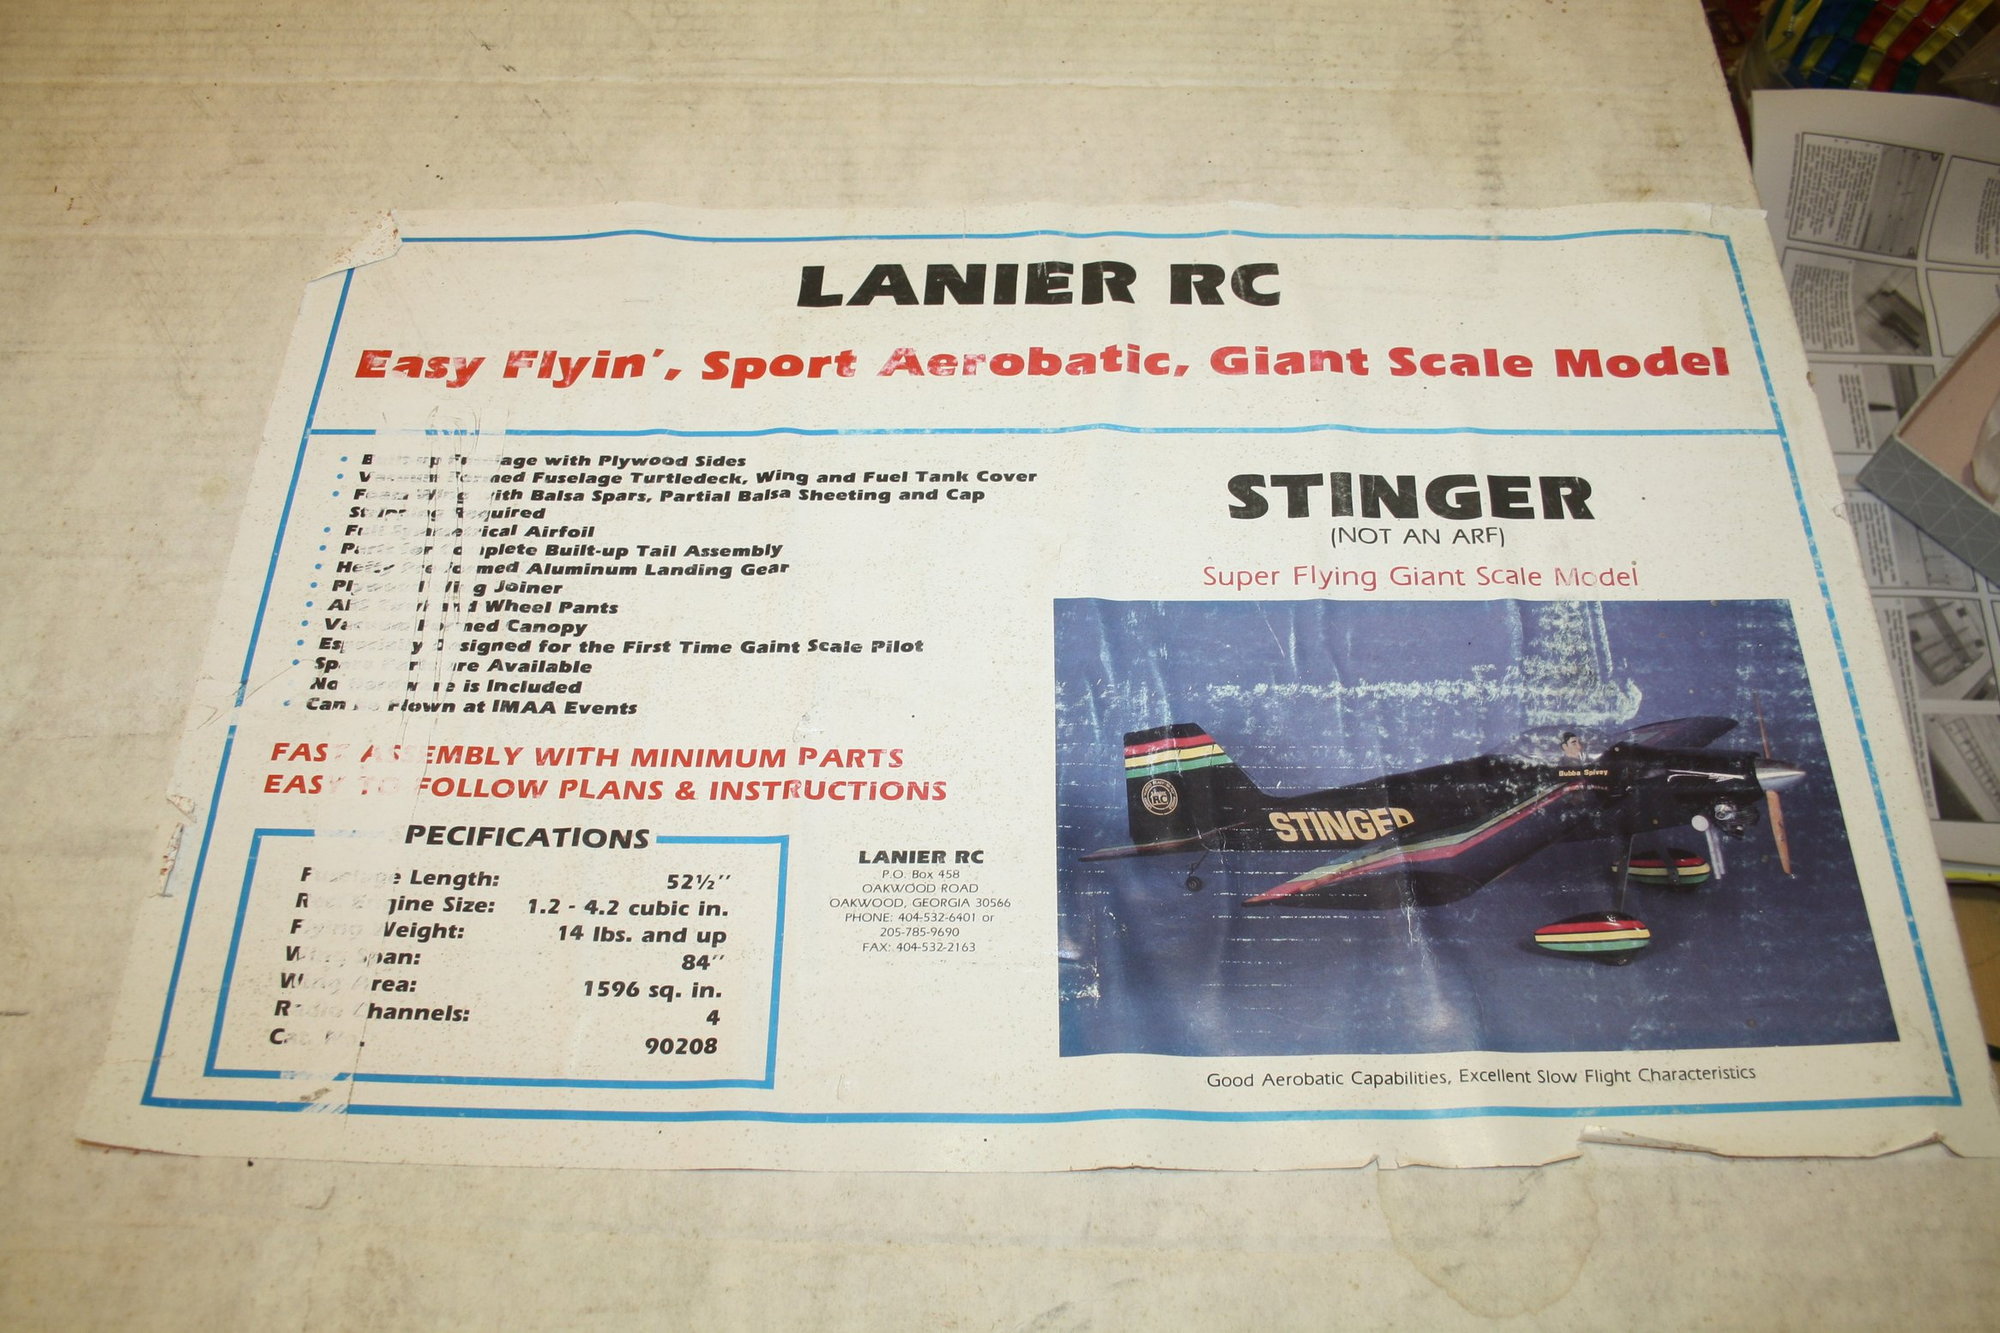
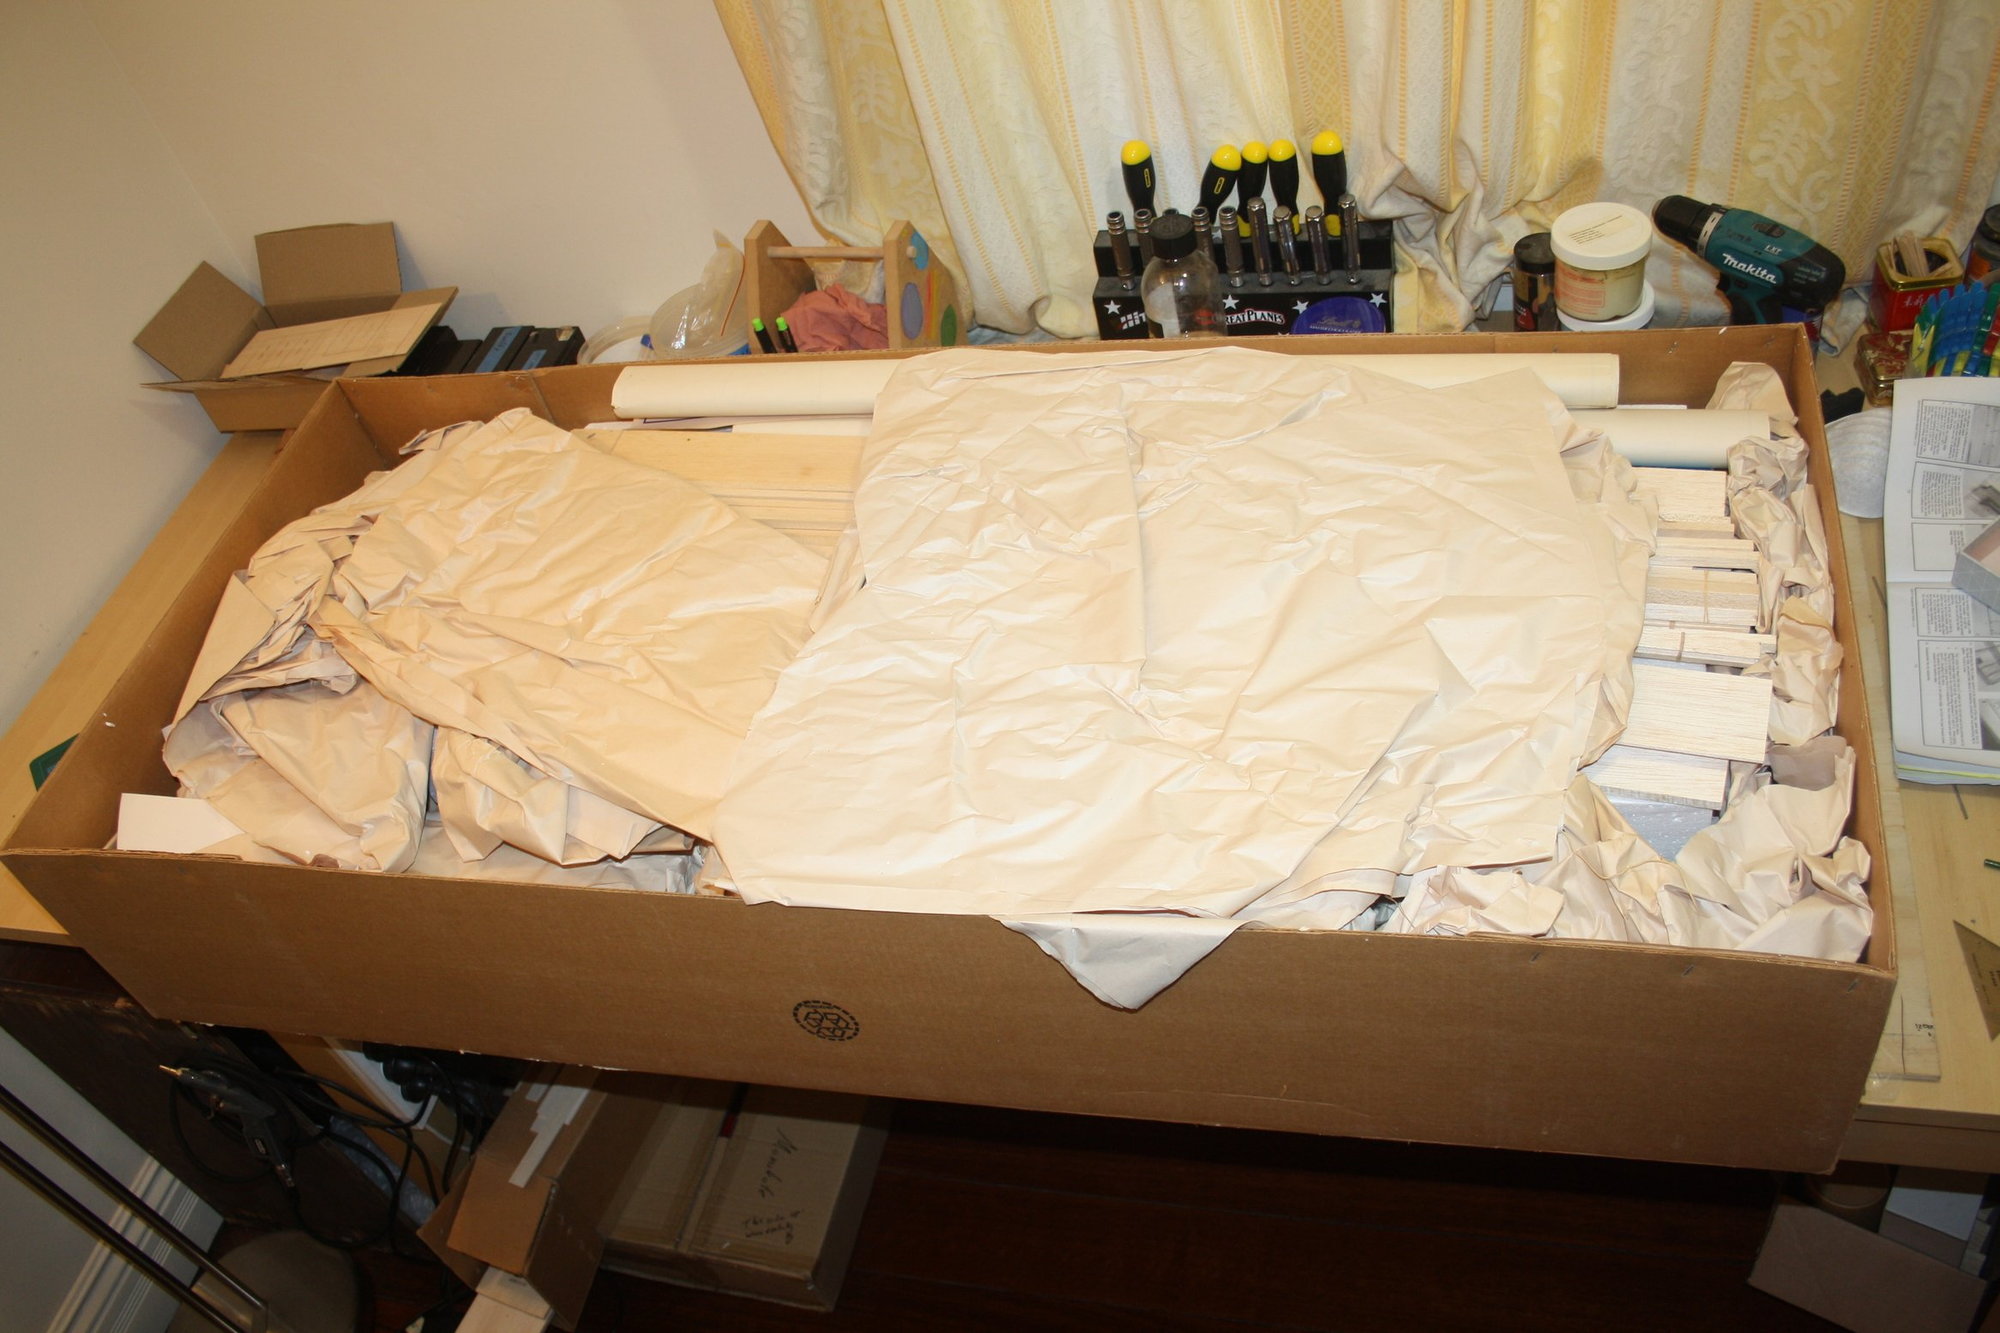
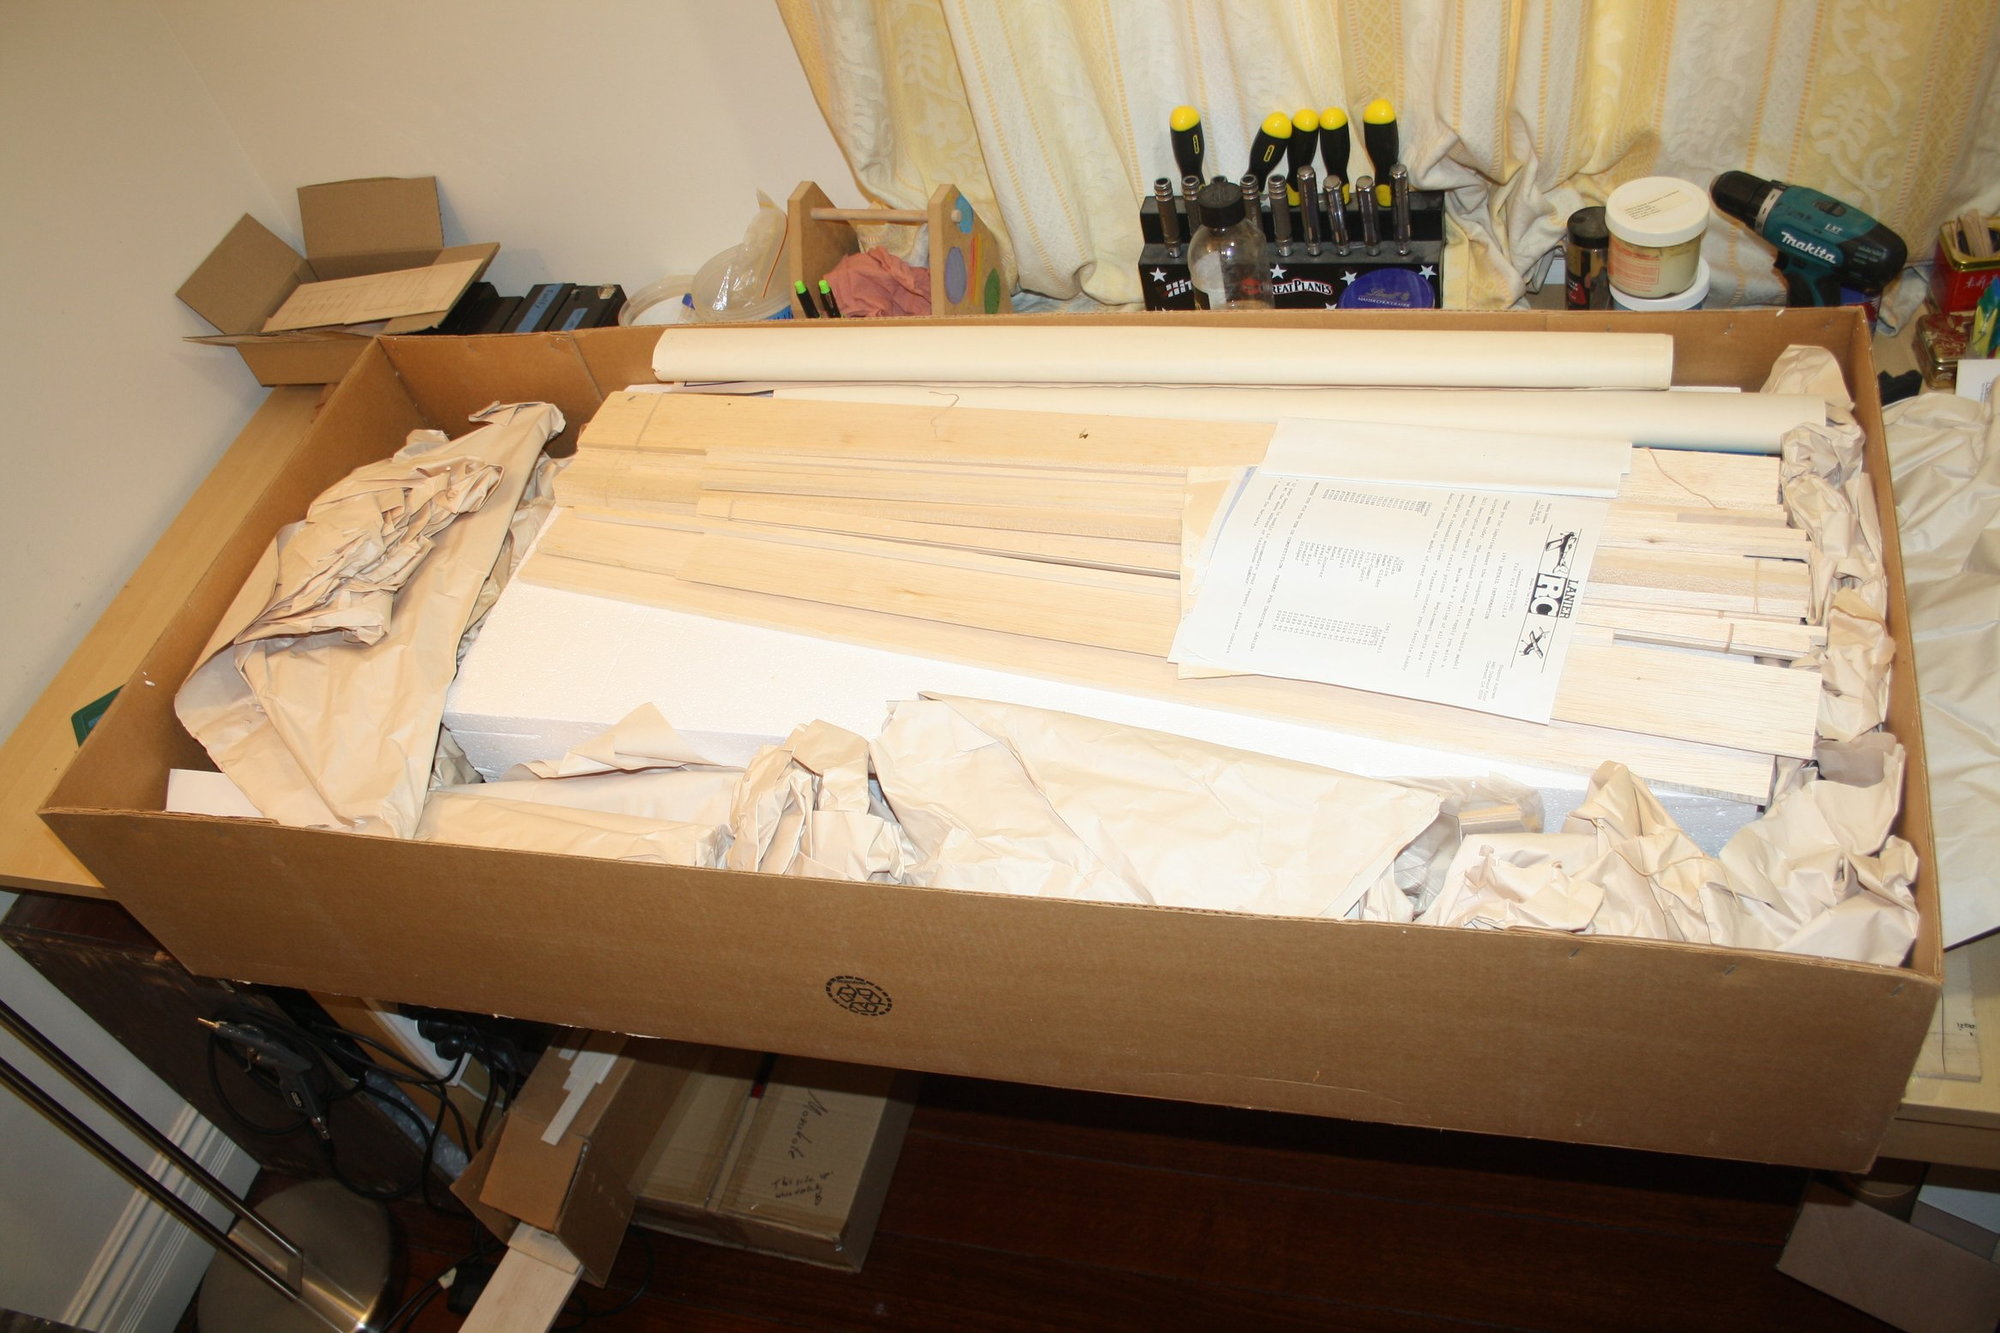
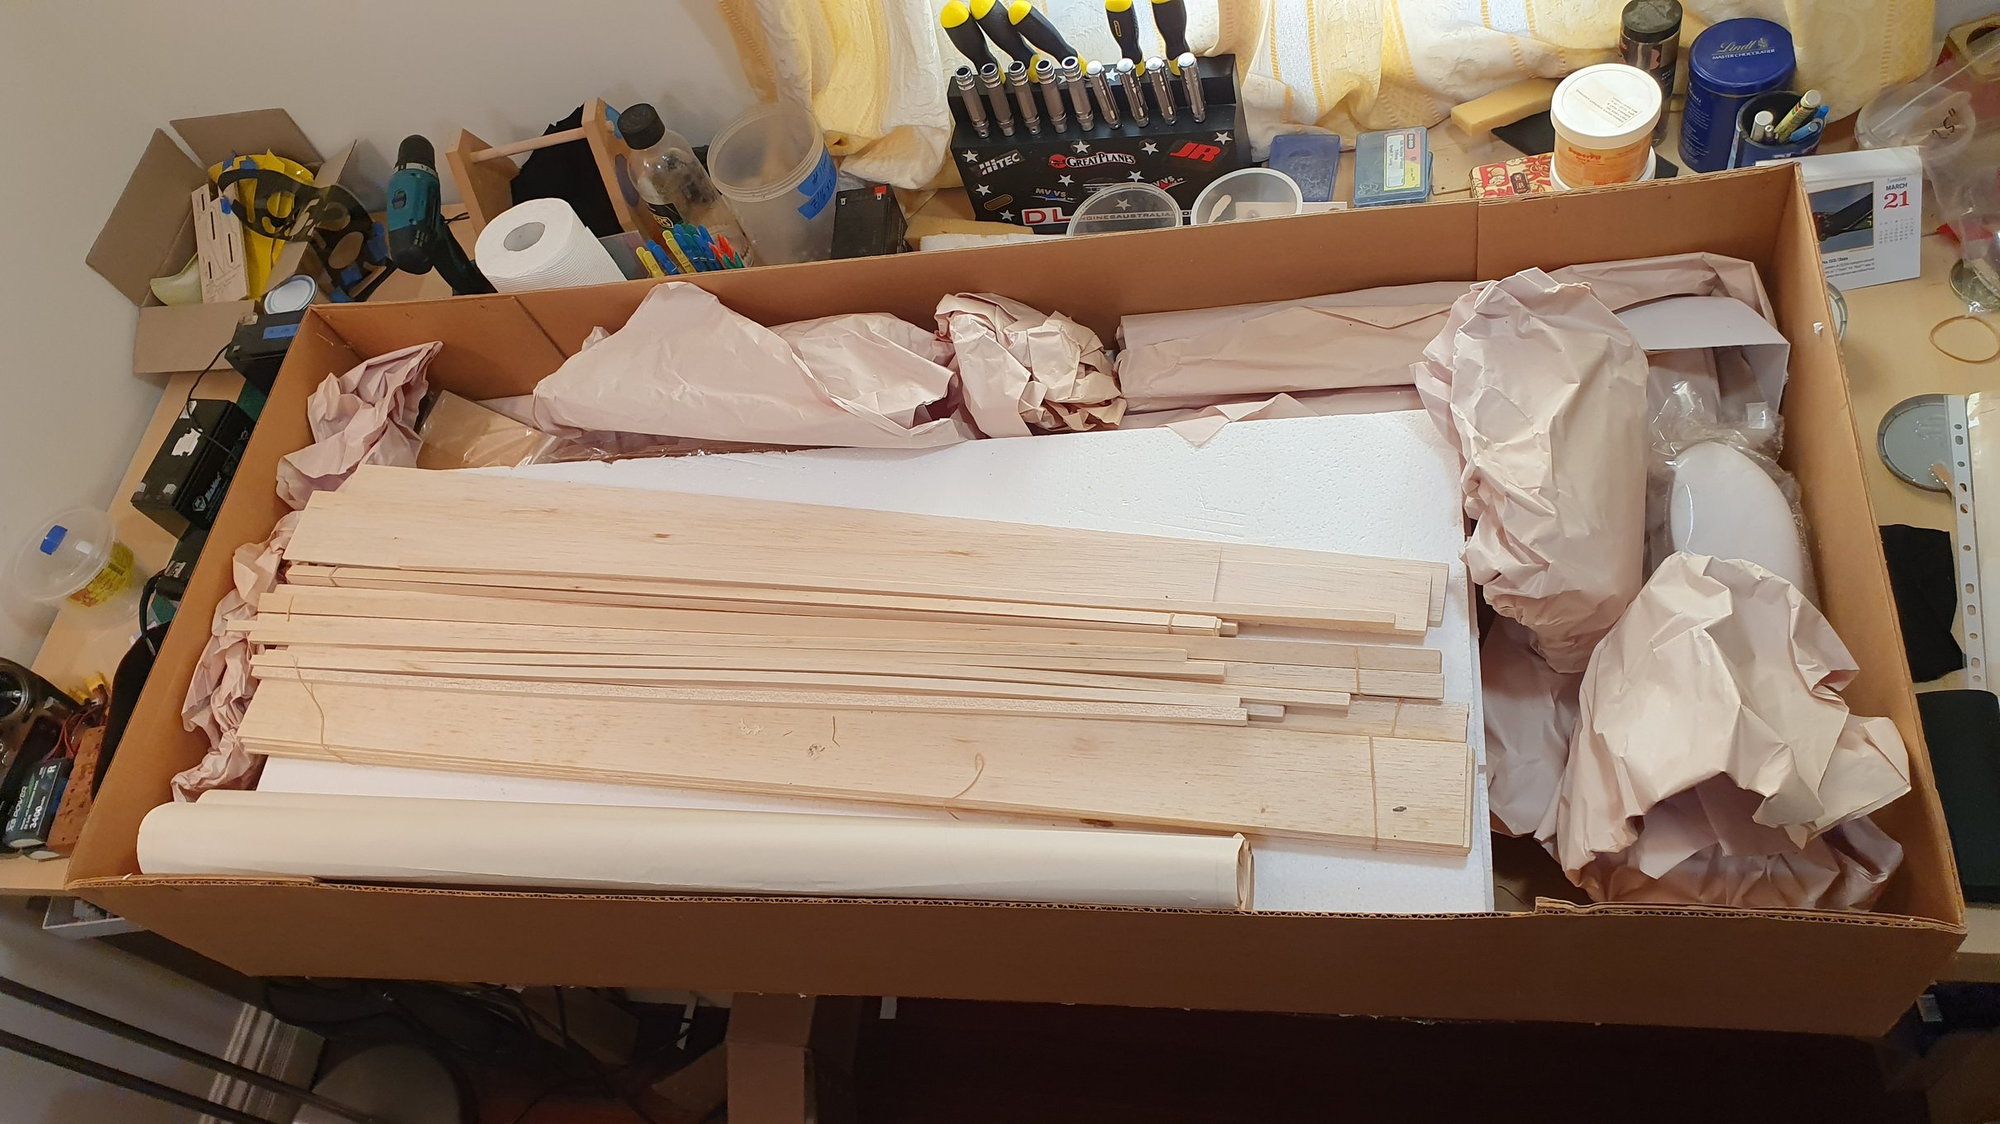
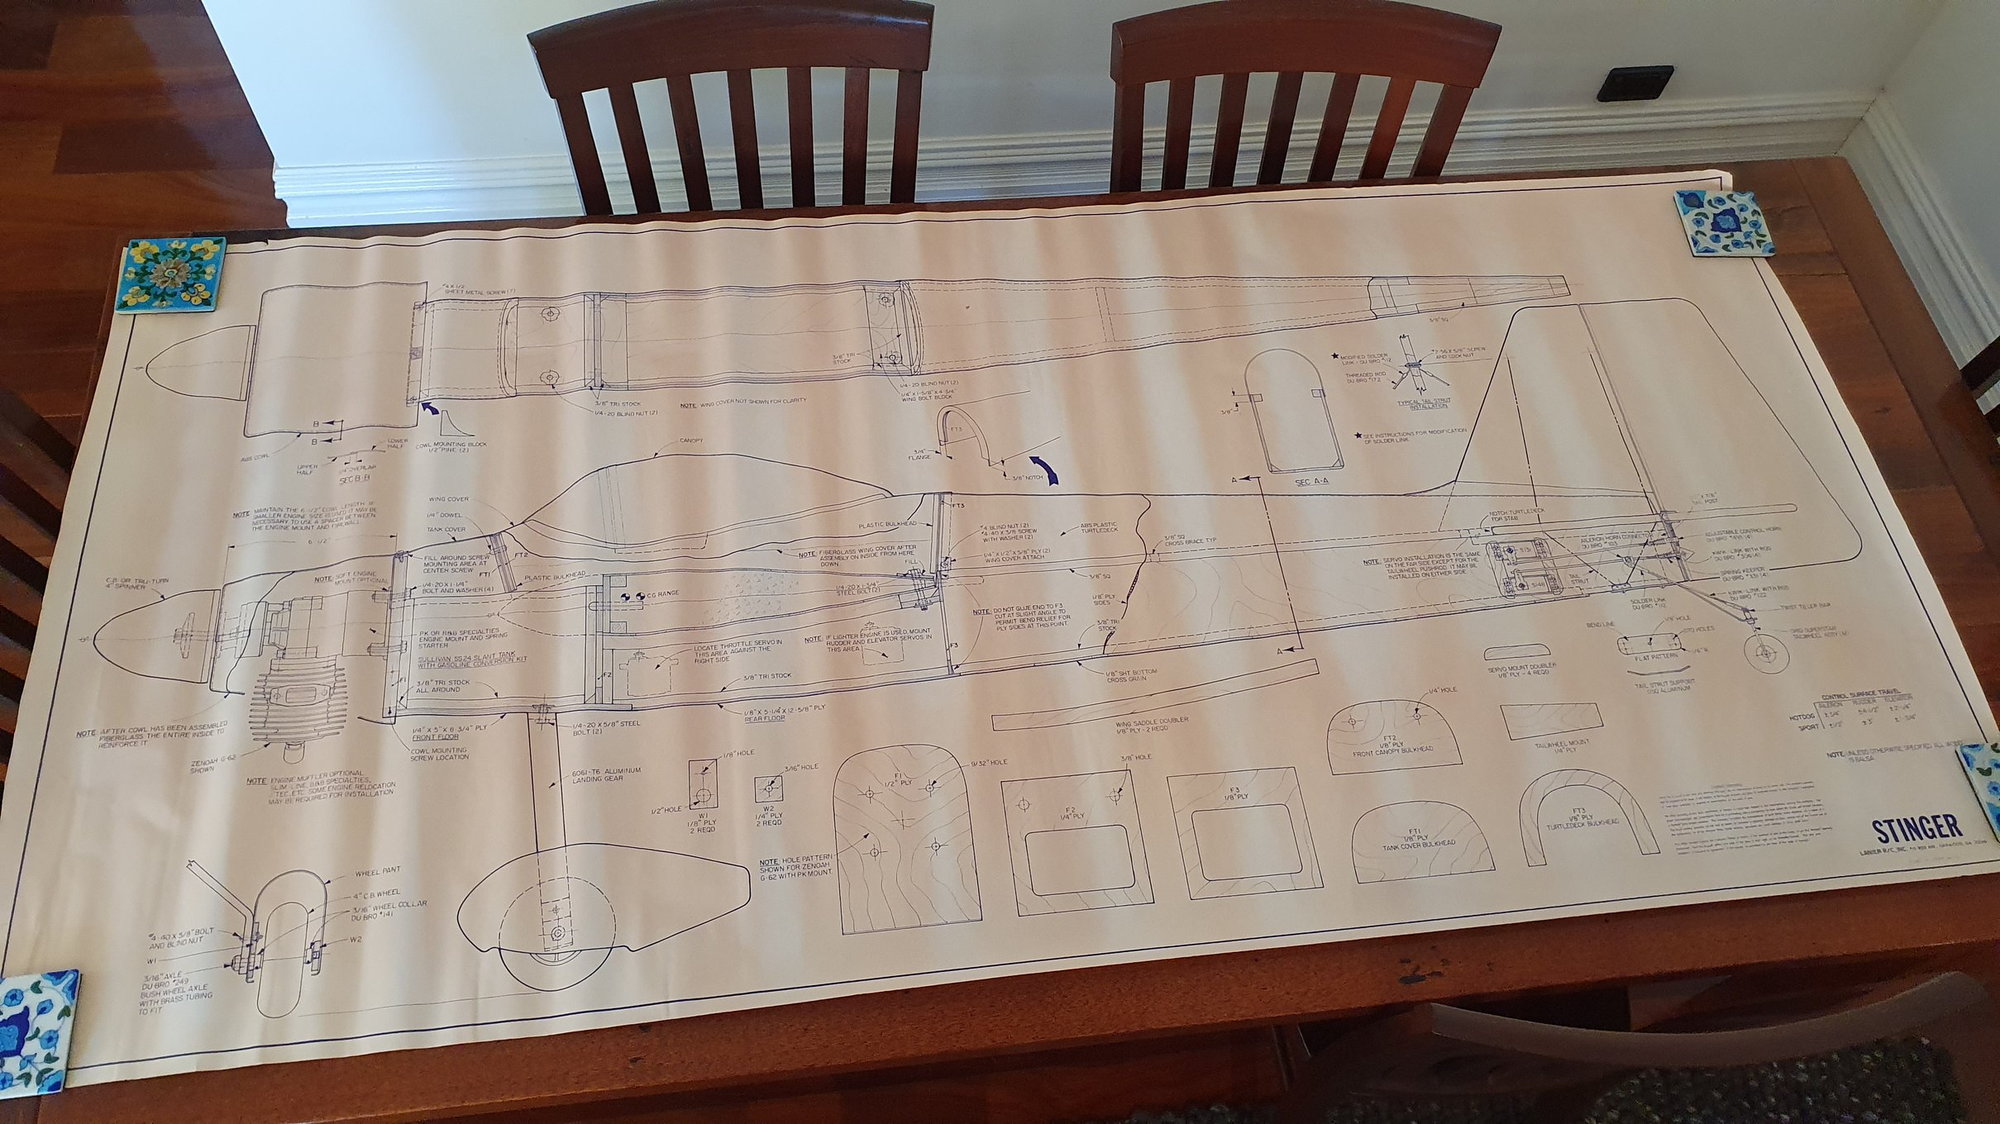
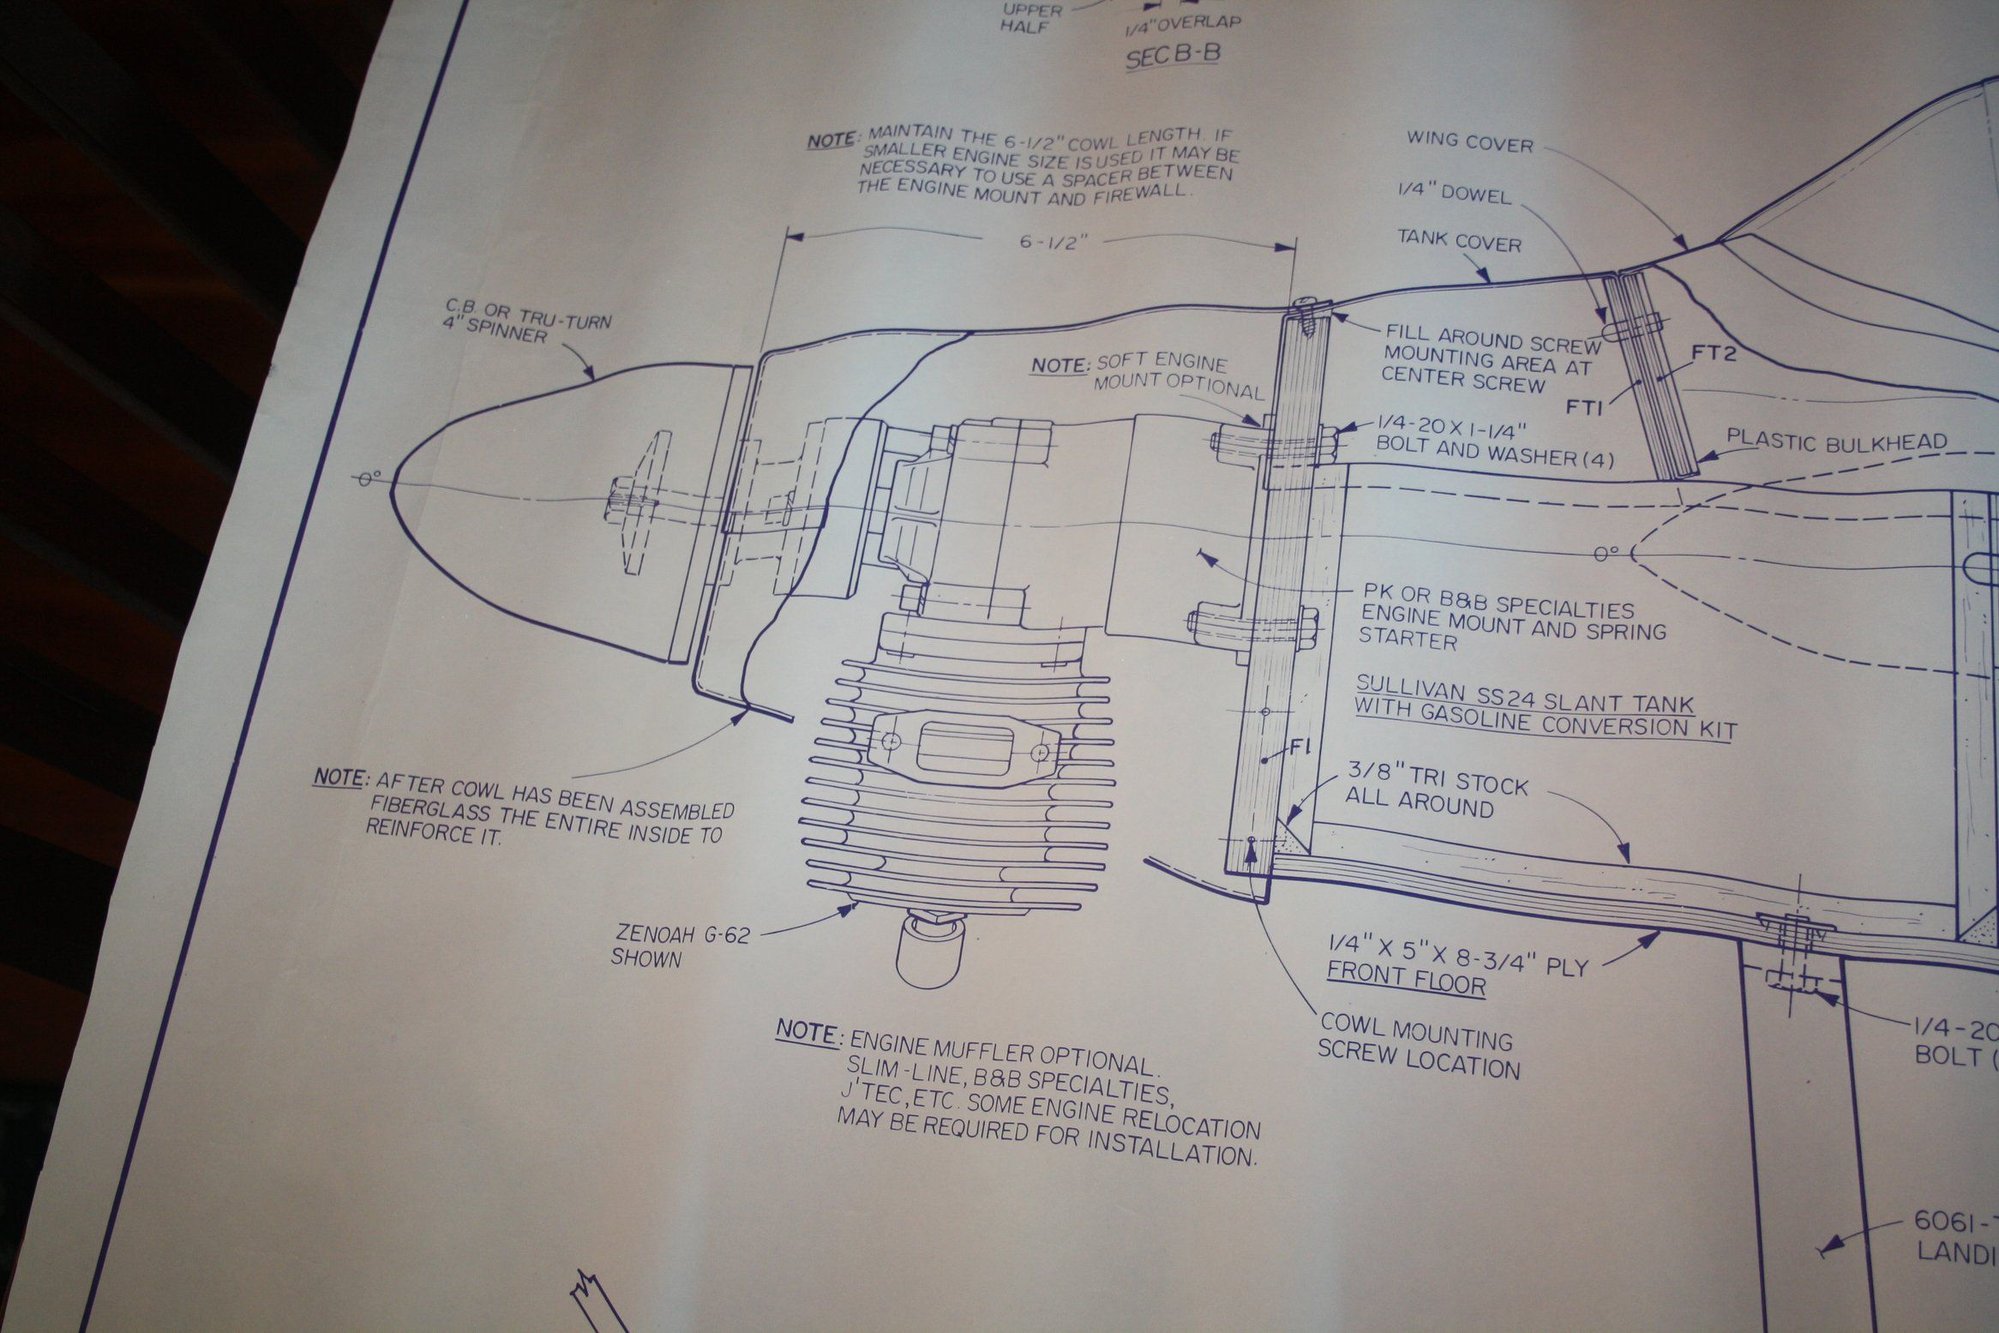
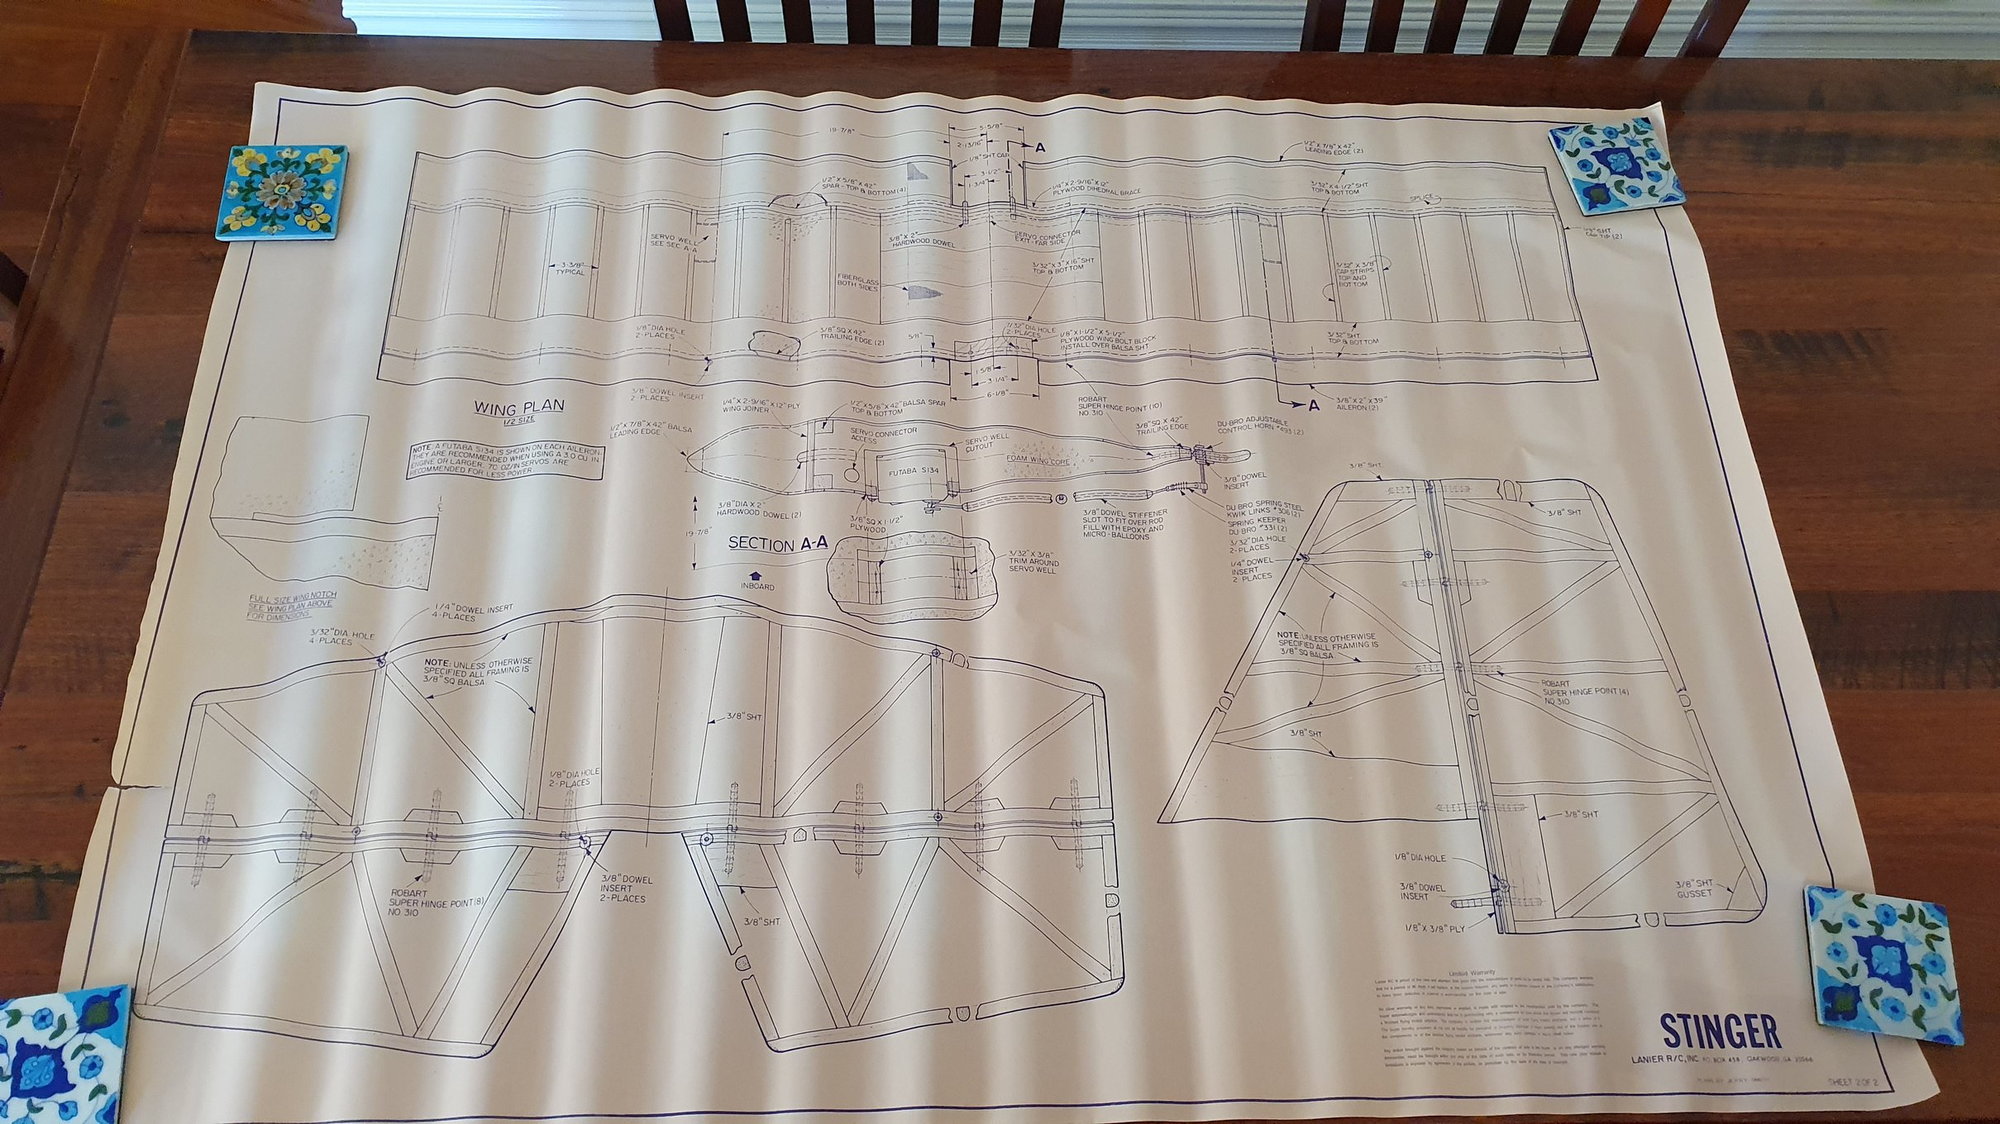
First impression opening the box is that everything is in good condition, with the plans and manual in fair condition. This kit has foam wings which is a first for me, and a fuselage turtle deck made out of what looks like ABS plastic parts. The plans show a Zenoah G-62 engine.
Here are some photos of the kit, content and plans:
Cheers,
Eran
On chatting to the previous owner, an elderly gentleman, he told me that he will not get to build it considering the lineup of kits he still has and that he hopes that this kit will be built and not just be sitting in a collection. I told him him that it will be build also not immediately as I had another project on the bench. With that project now completed, and the enormous box of this kit annoying me enough to choose this as my next project, here it is...
First impression opening the box is that everything is in good condition, with the plans and manual in fair condition. This kit has foam wings which is a first for me, and a fuselage turtle deck made out of what looks like ABS plastic parts. The plans show a Zenoah G-62 engine.
Here are some photos of the kit, content and plans:
Cheers,
Eran
 04-07-2023, 04:43 AM
#2
Thread Starter
The kit had printed material of the type that cannot be found today. I scanned it for you to enjoy.
Eran
- The "1991 Price List". Can you imagine current manufacturer including such a document in print locking the prices of all the kits for a full year?
- The catalogue.. Drool on the options available in 1991... Note the section "About Our kits..." describing the "Pre-finished fuselage made from vacuum formed ABS plastic"... - While popular for a short while, this didn't turn out to be a great option for RC aeroplanes construction material and was phased out by most manufacturers.
- Part List - Note page 2 comment "If the part you want is not listed, use the list as a guide and send a sketch of what you want. We will do our best to send you what you need". Can you imagine such service today?
Eran
Last edited by erans; 04-07-2023 at 04:48 AM.
04-07-2023, 08:58 PM
#3

My Feedback: (19)
The Stinger is a great old airplane! A couple of things you might want to improve on is updating the cowl to a fiberglass one for durability and replacing the ABS plastic rear deck with formers and sheeting or stringers. The ABS parts are so heavy (though functional) but they detract greatly from the airplanes performance. Anything you can do to eliminate excess weight will reward you with a much better flying airplane. They fly well as designed but fly so much better when lightened! The G-62 is still a good choice but one of the modern 50 - 55 engines coupled with a lightened fuselage would greatly improve the performance. You would remove well over a pound of excess weight with just those two changes! Enjoy your stinger! I wish I still had one!
04-07-2023, 10:52 PM
#4
Thread Starter
Thank you for the comment Truckracer.
My plan (subject to change at any moment ; ) ) is to probably use a DLE engine.
As to the ABS parts, this is a proper dilemma for me after reading your suggestions. I usually attempt to construct my aeroplanes the way they were designed (as much as practical). I do use modern RC gear and engines, and when single servo is used for ailerons I always change to individual servos, but, other then that, unless there is a safety concern I am attempting to follow the original designer intent. I will have a think about it when I get to the fuselage as your suggestion is making a lot of sense.
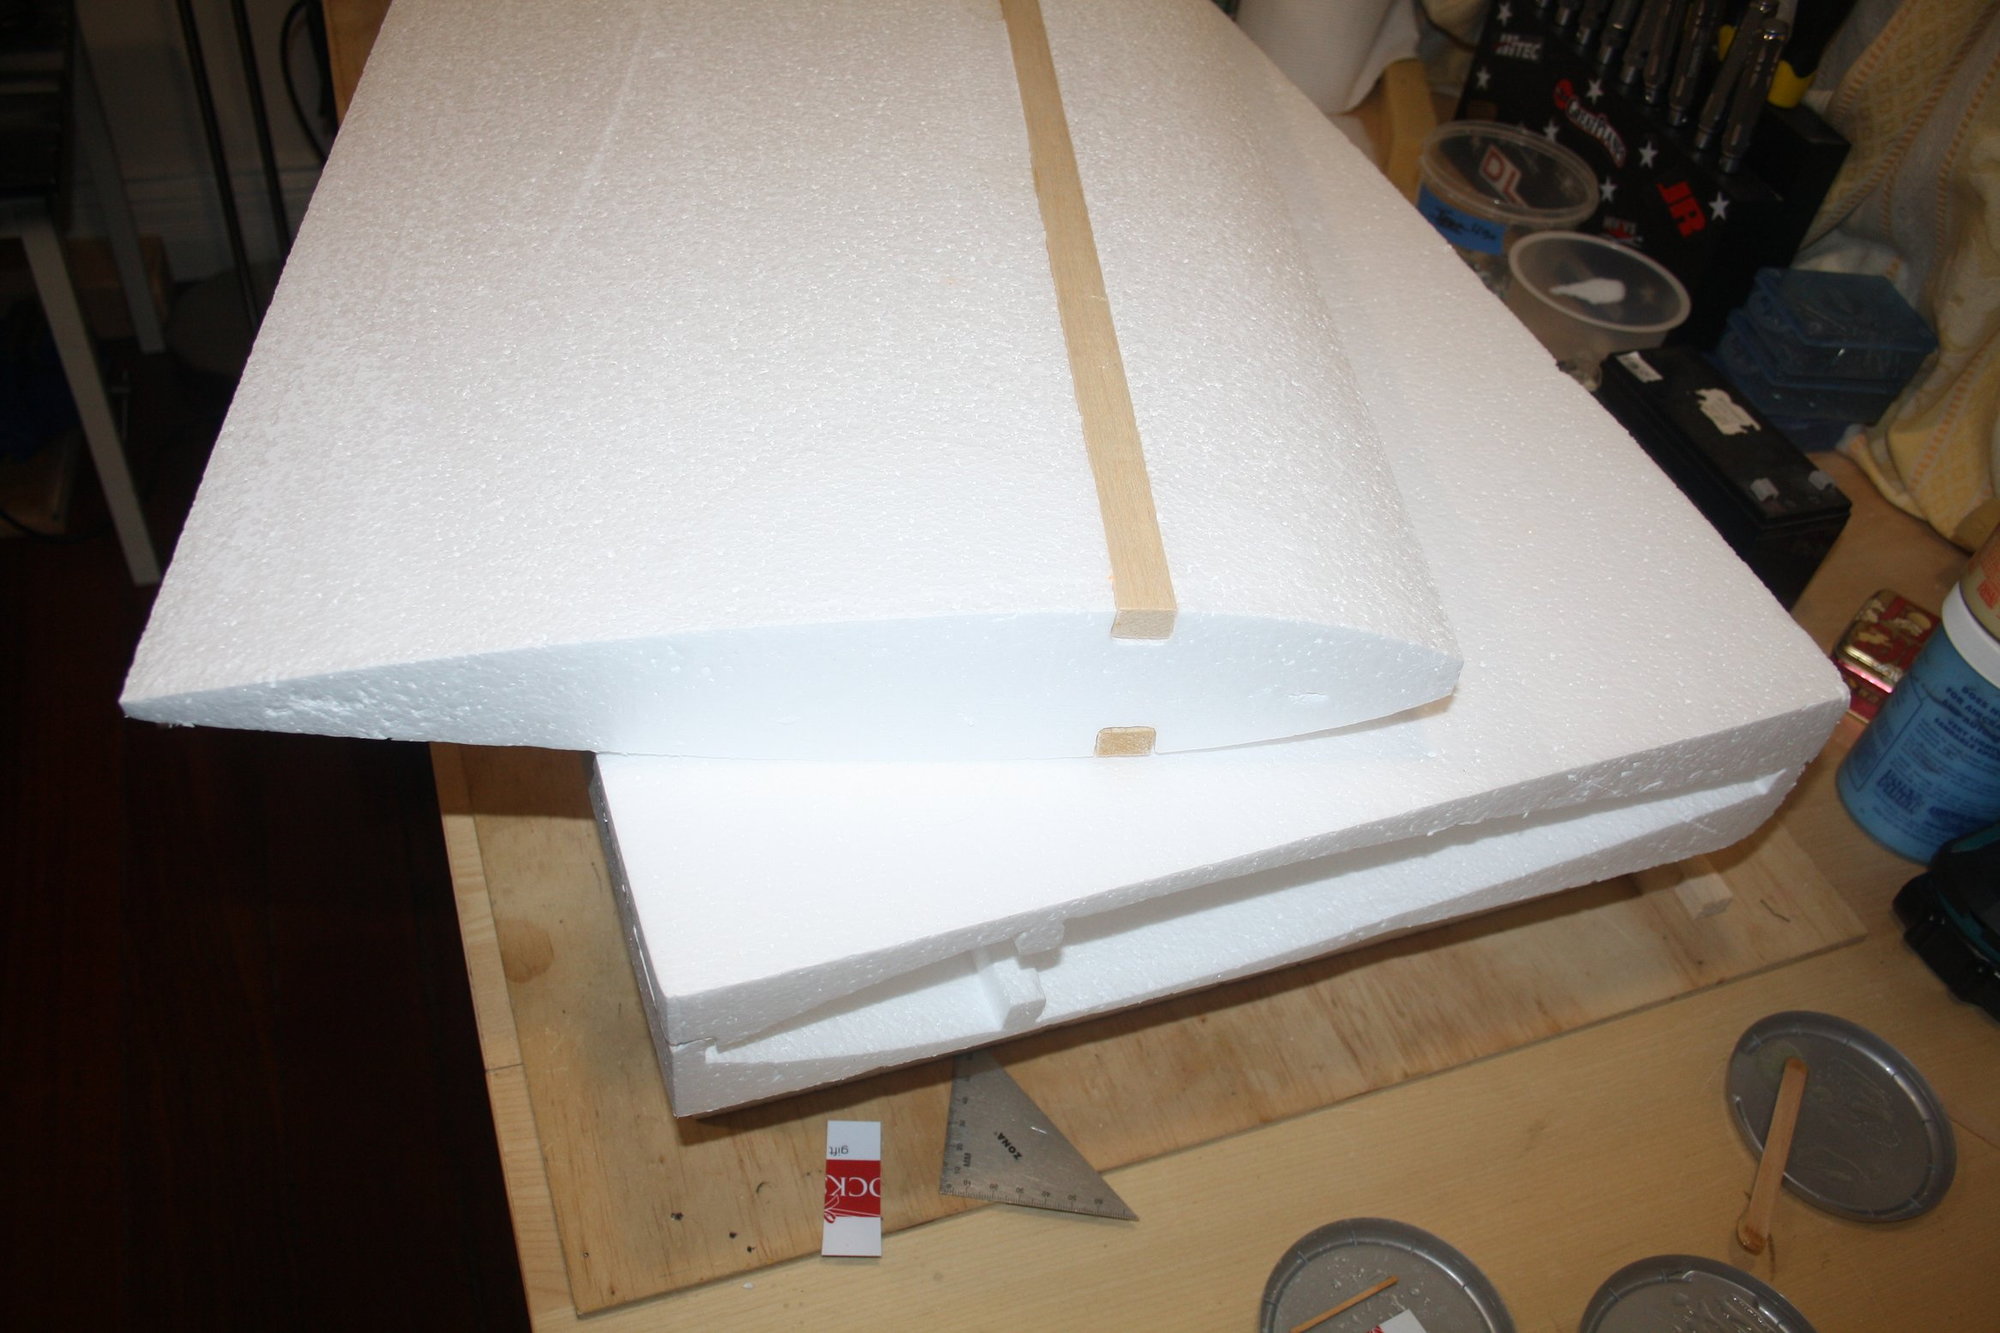
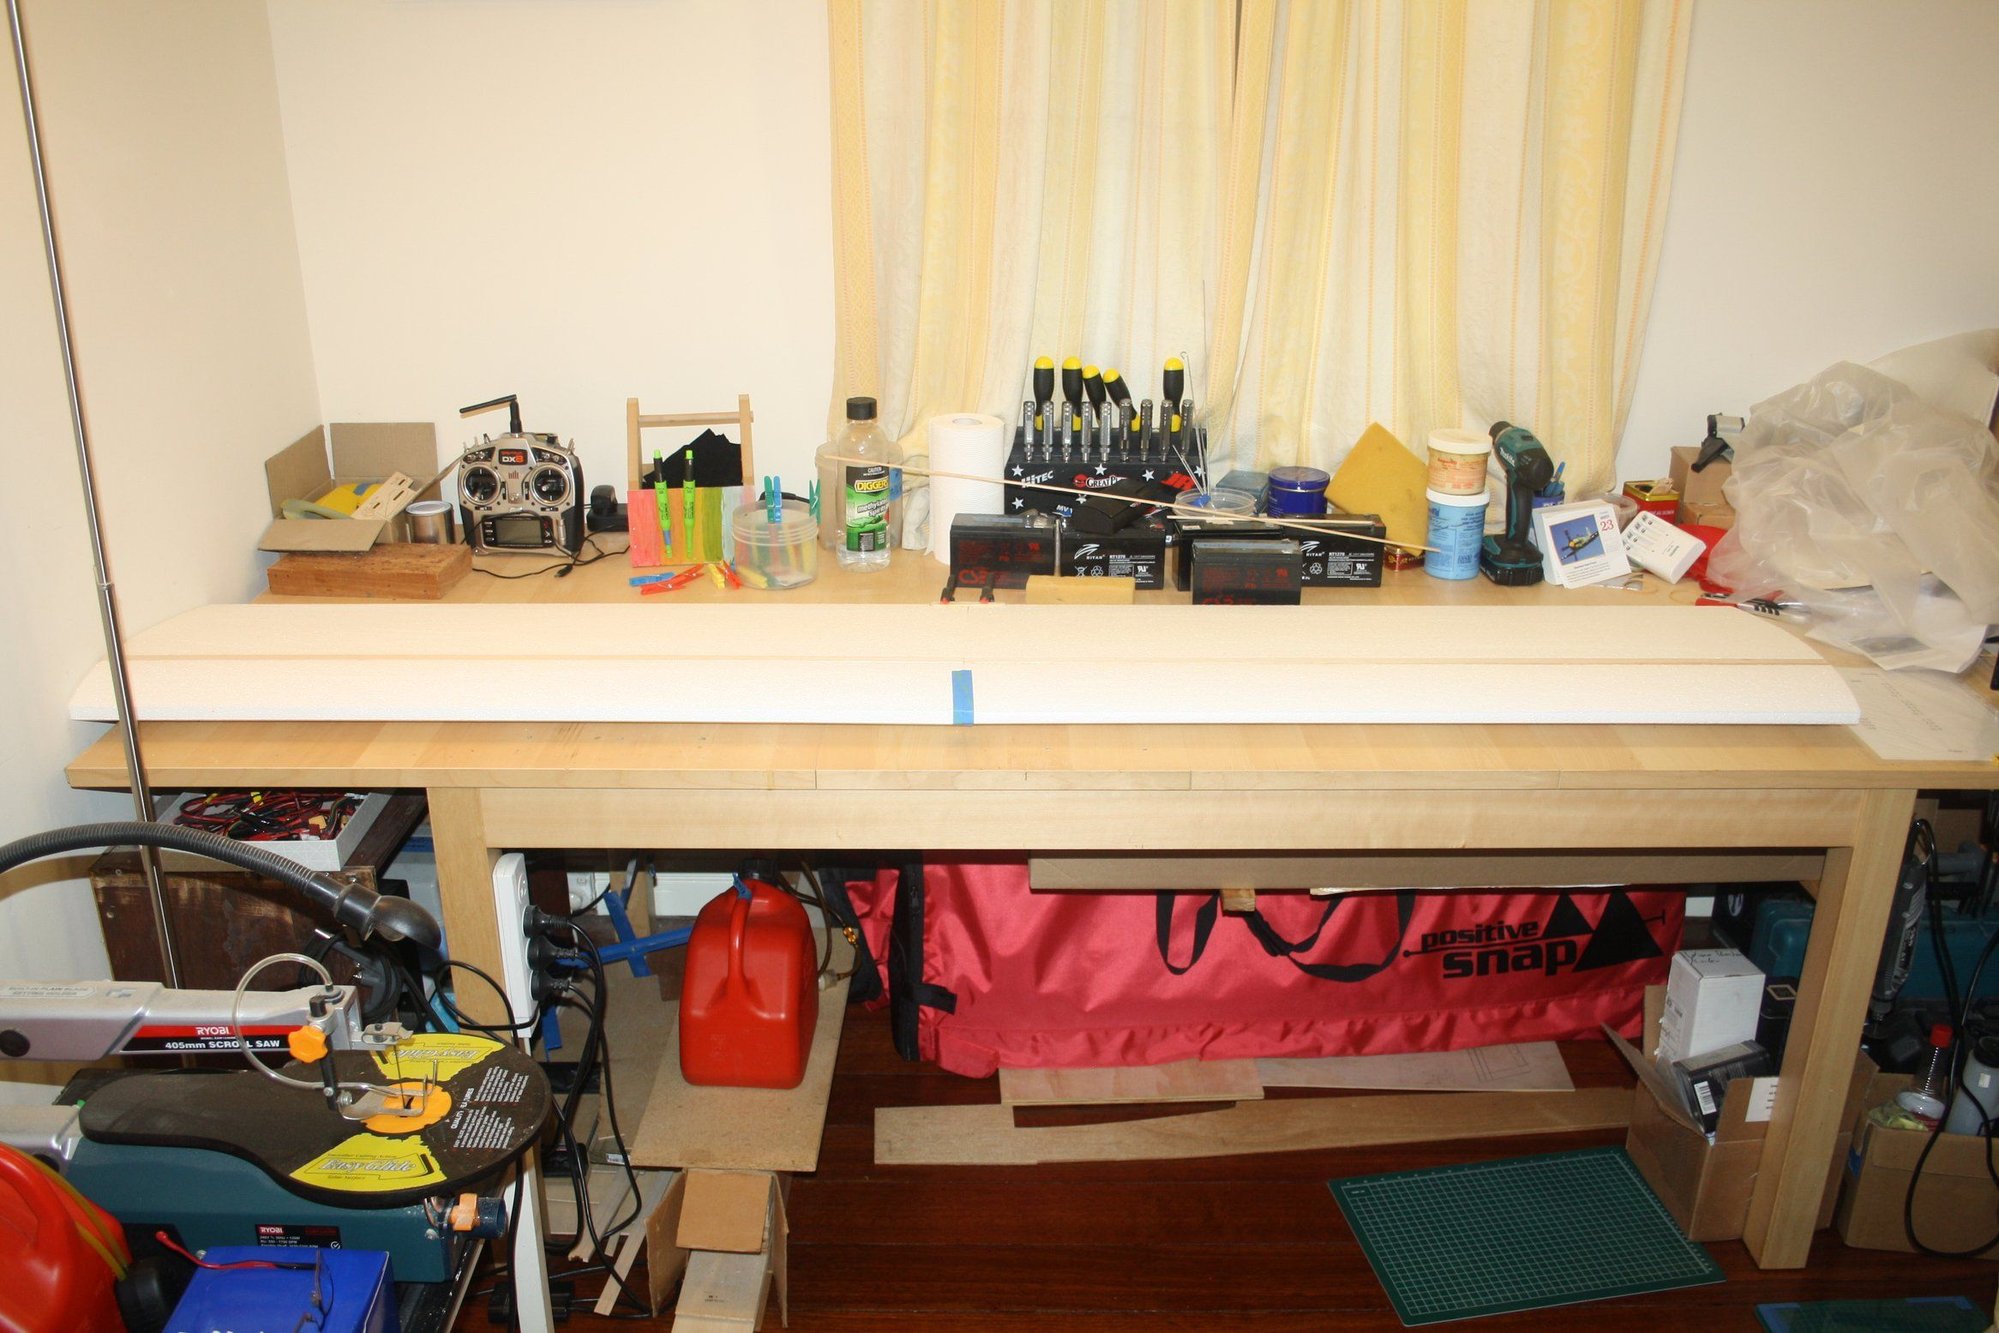
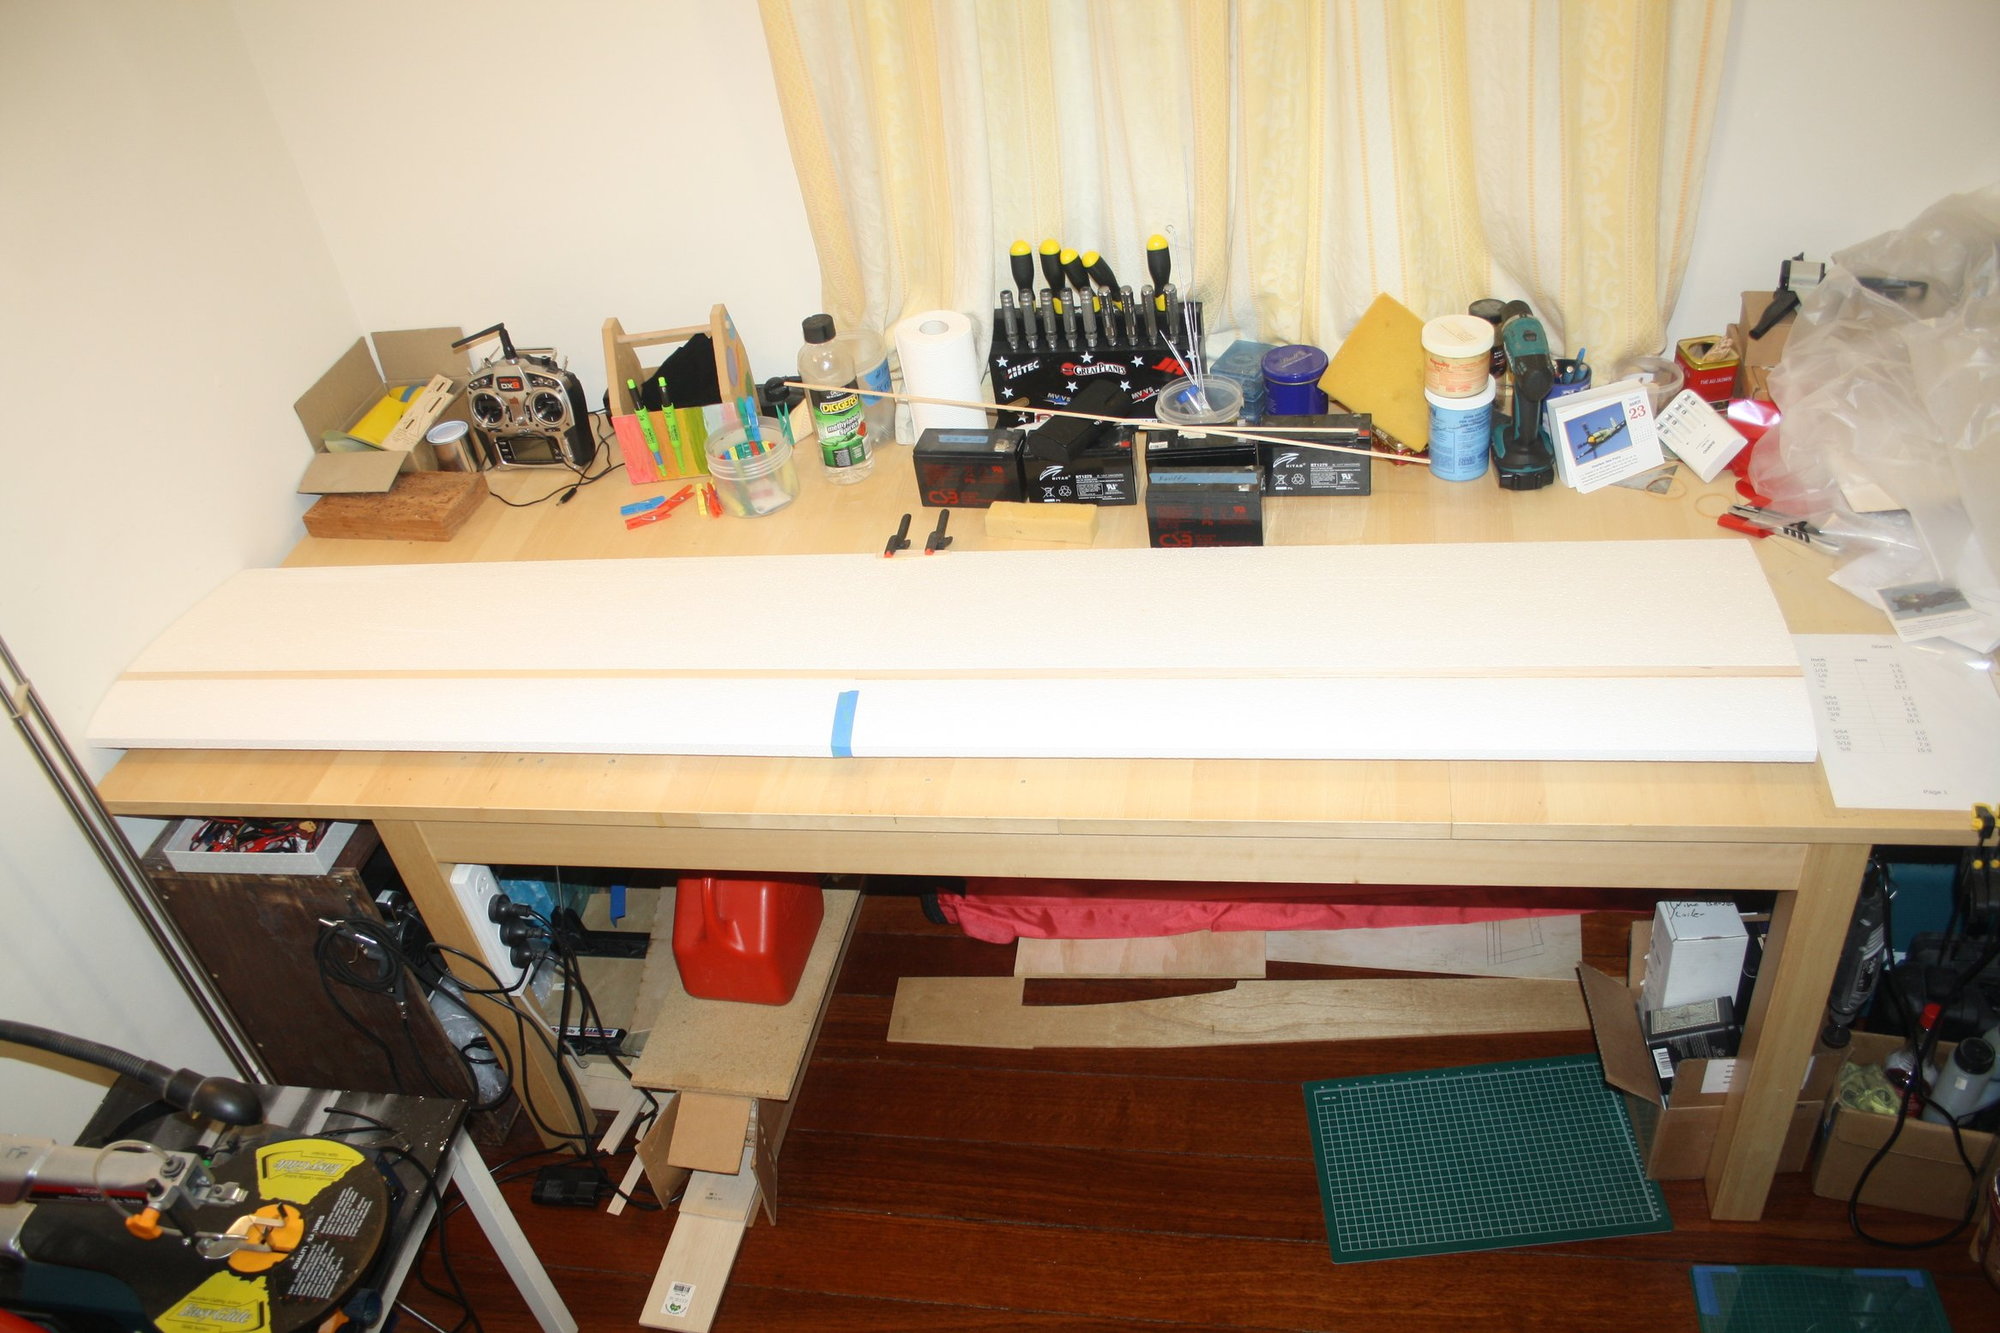
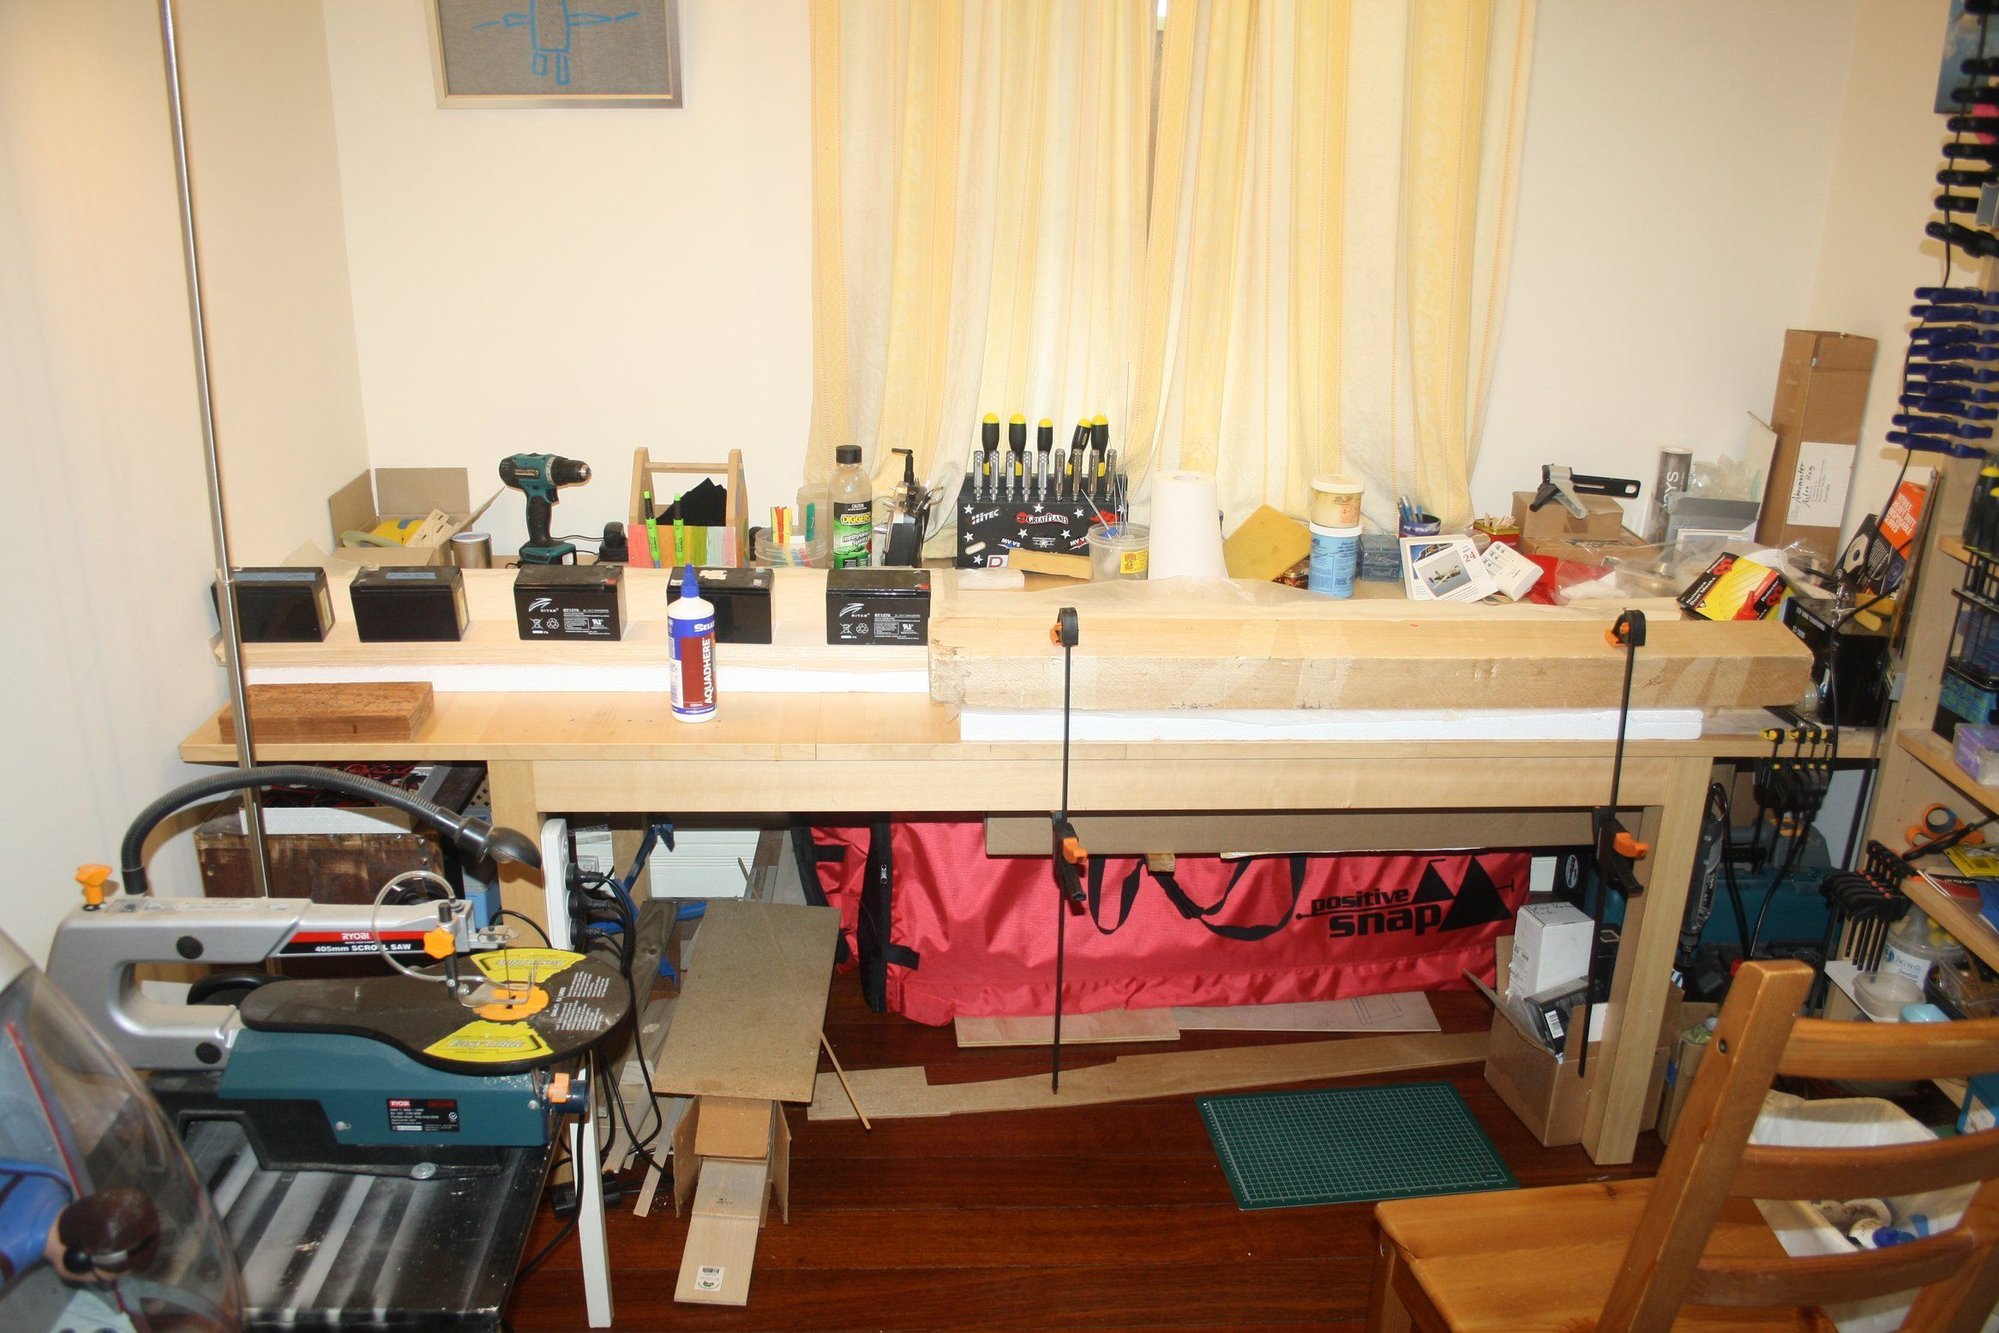
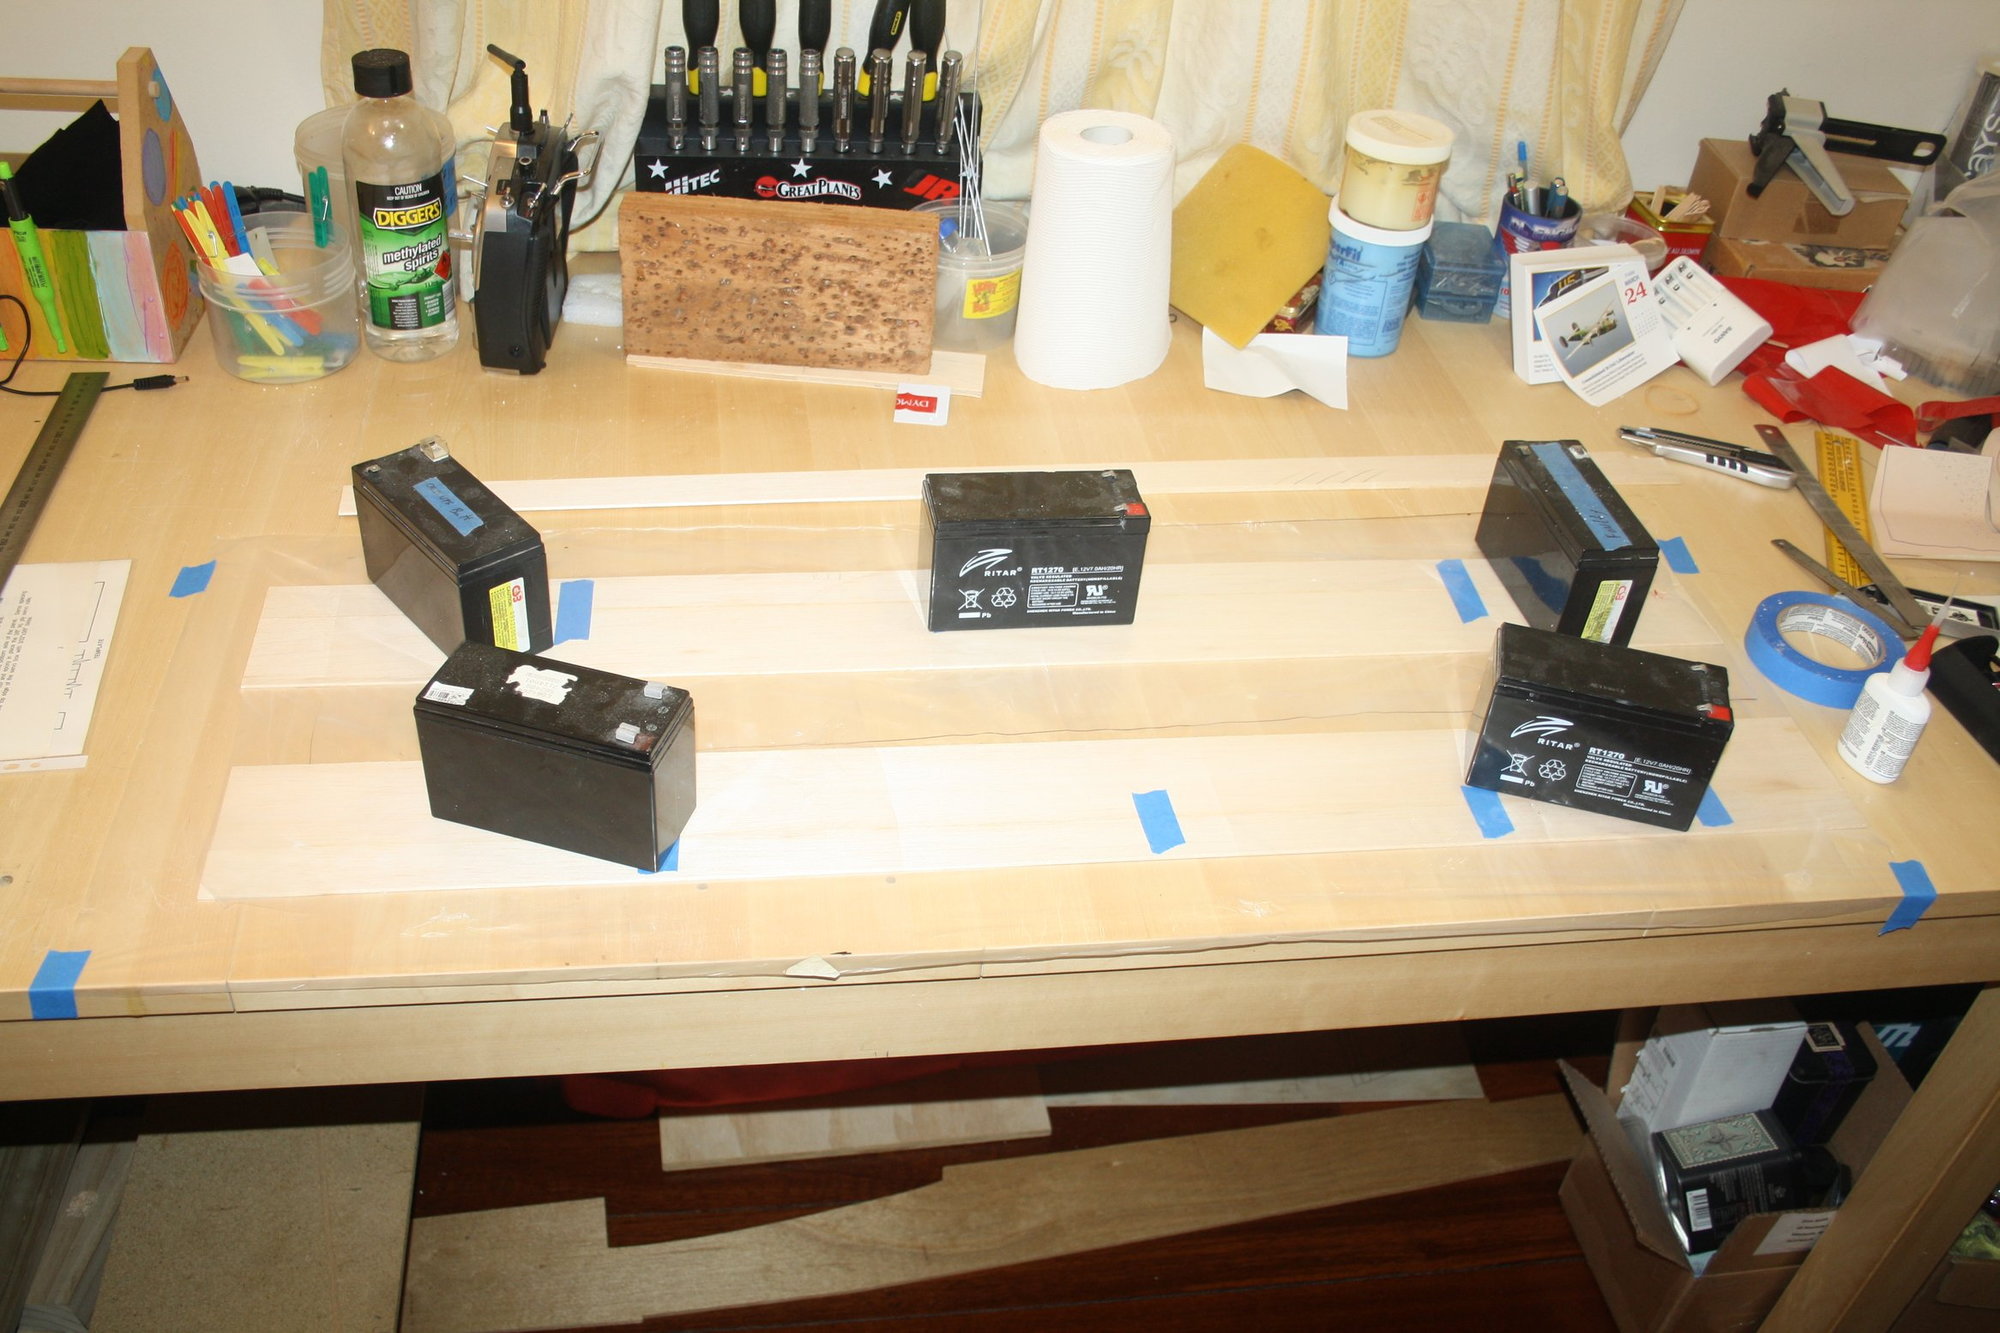
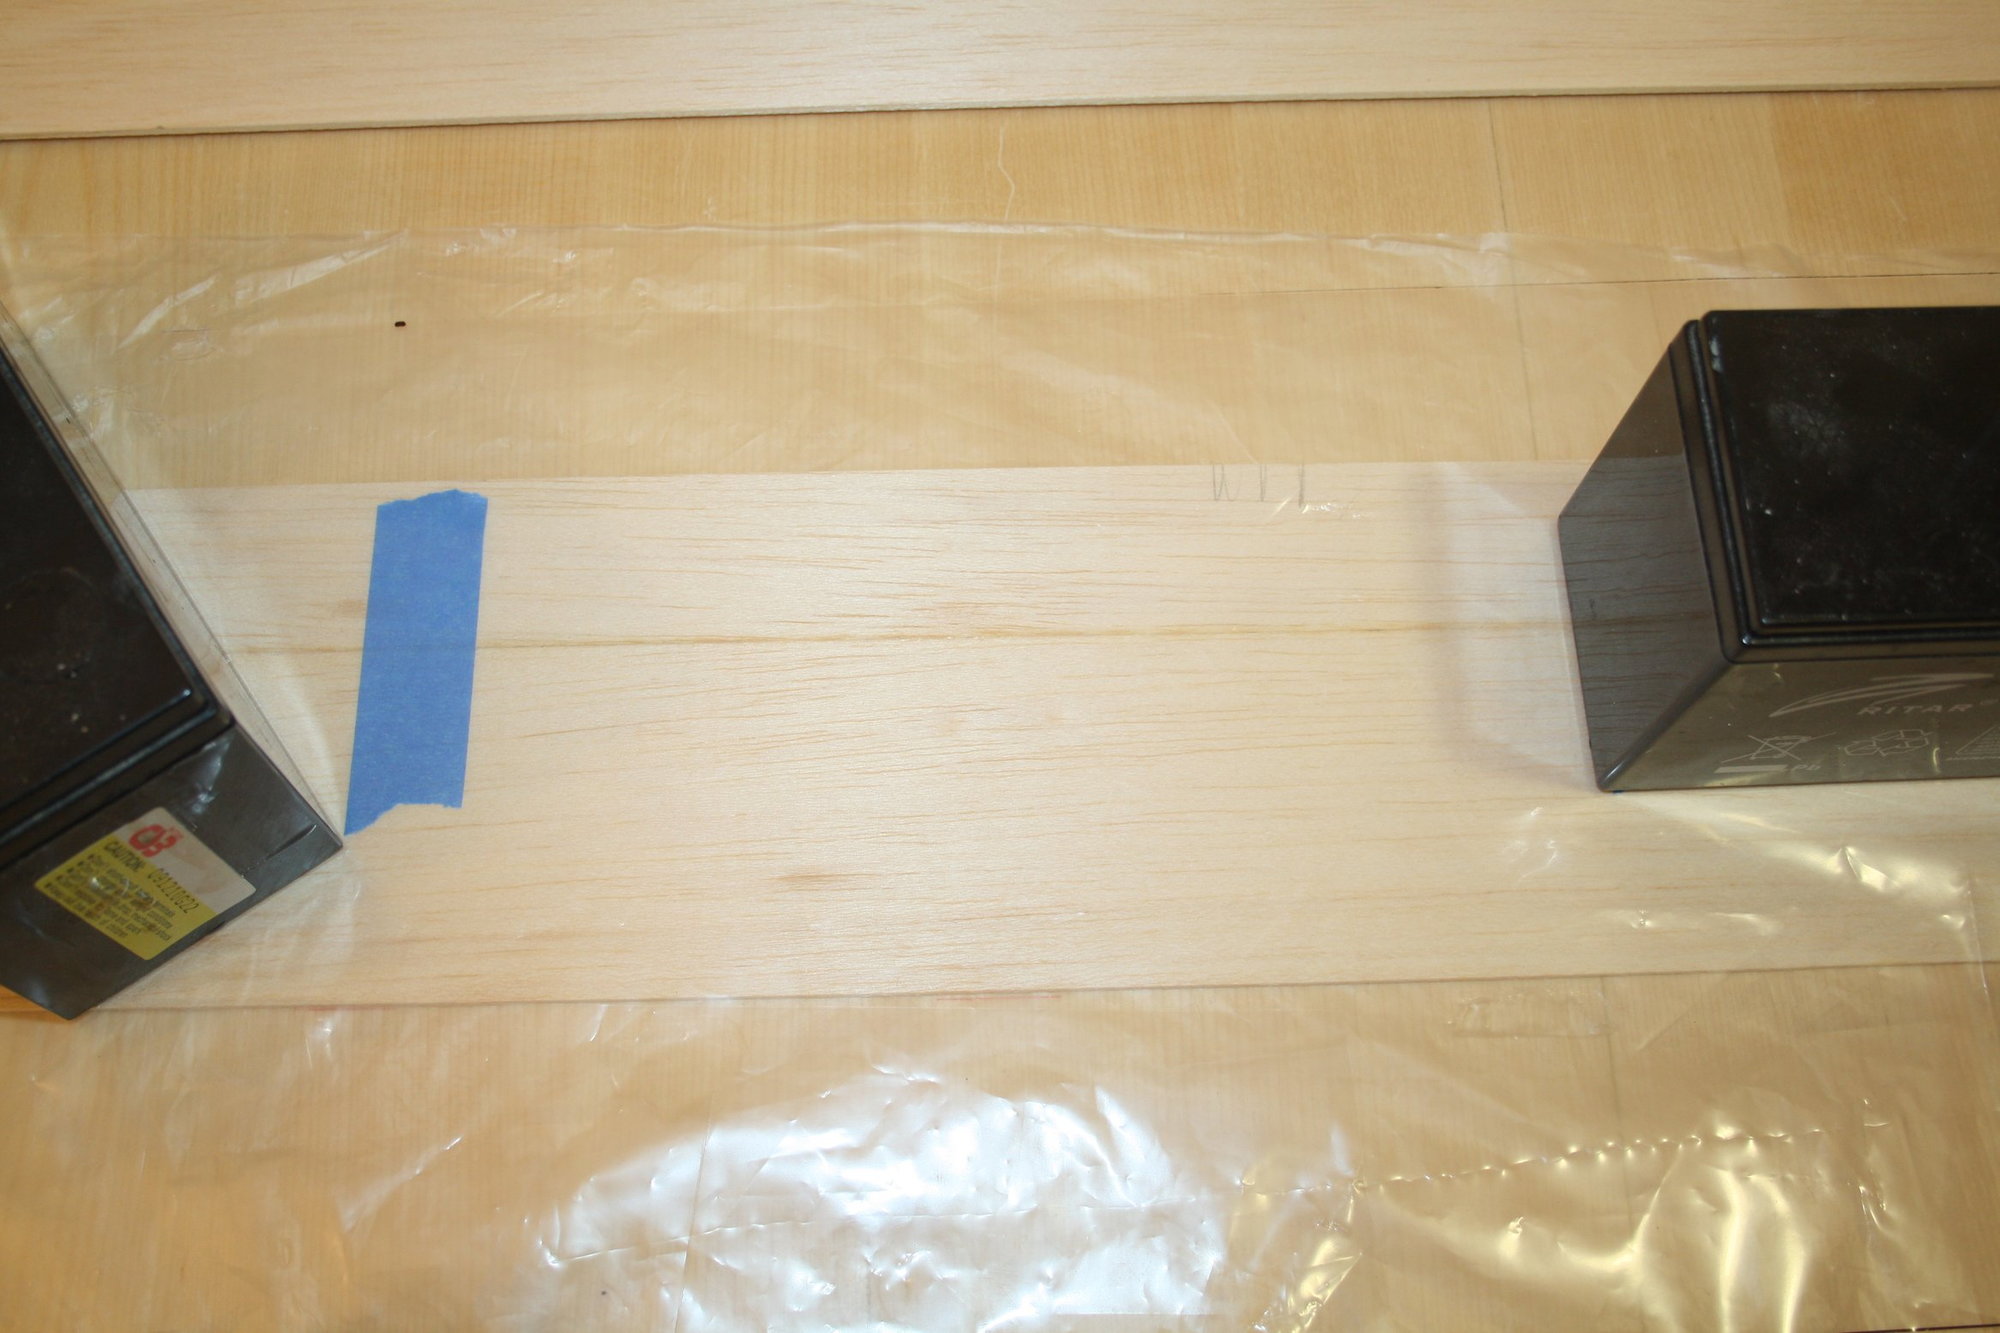
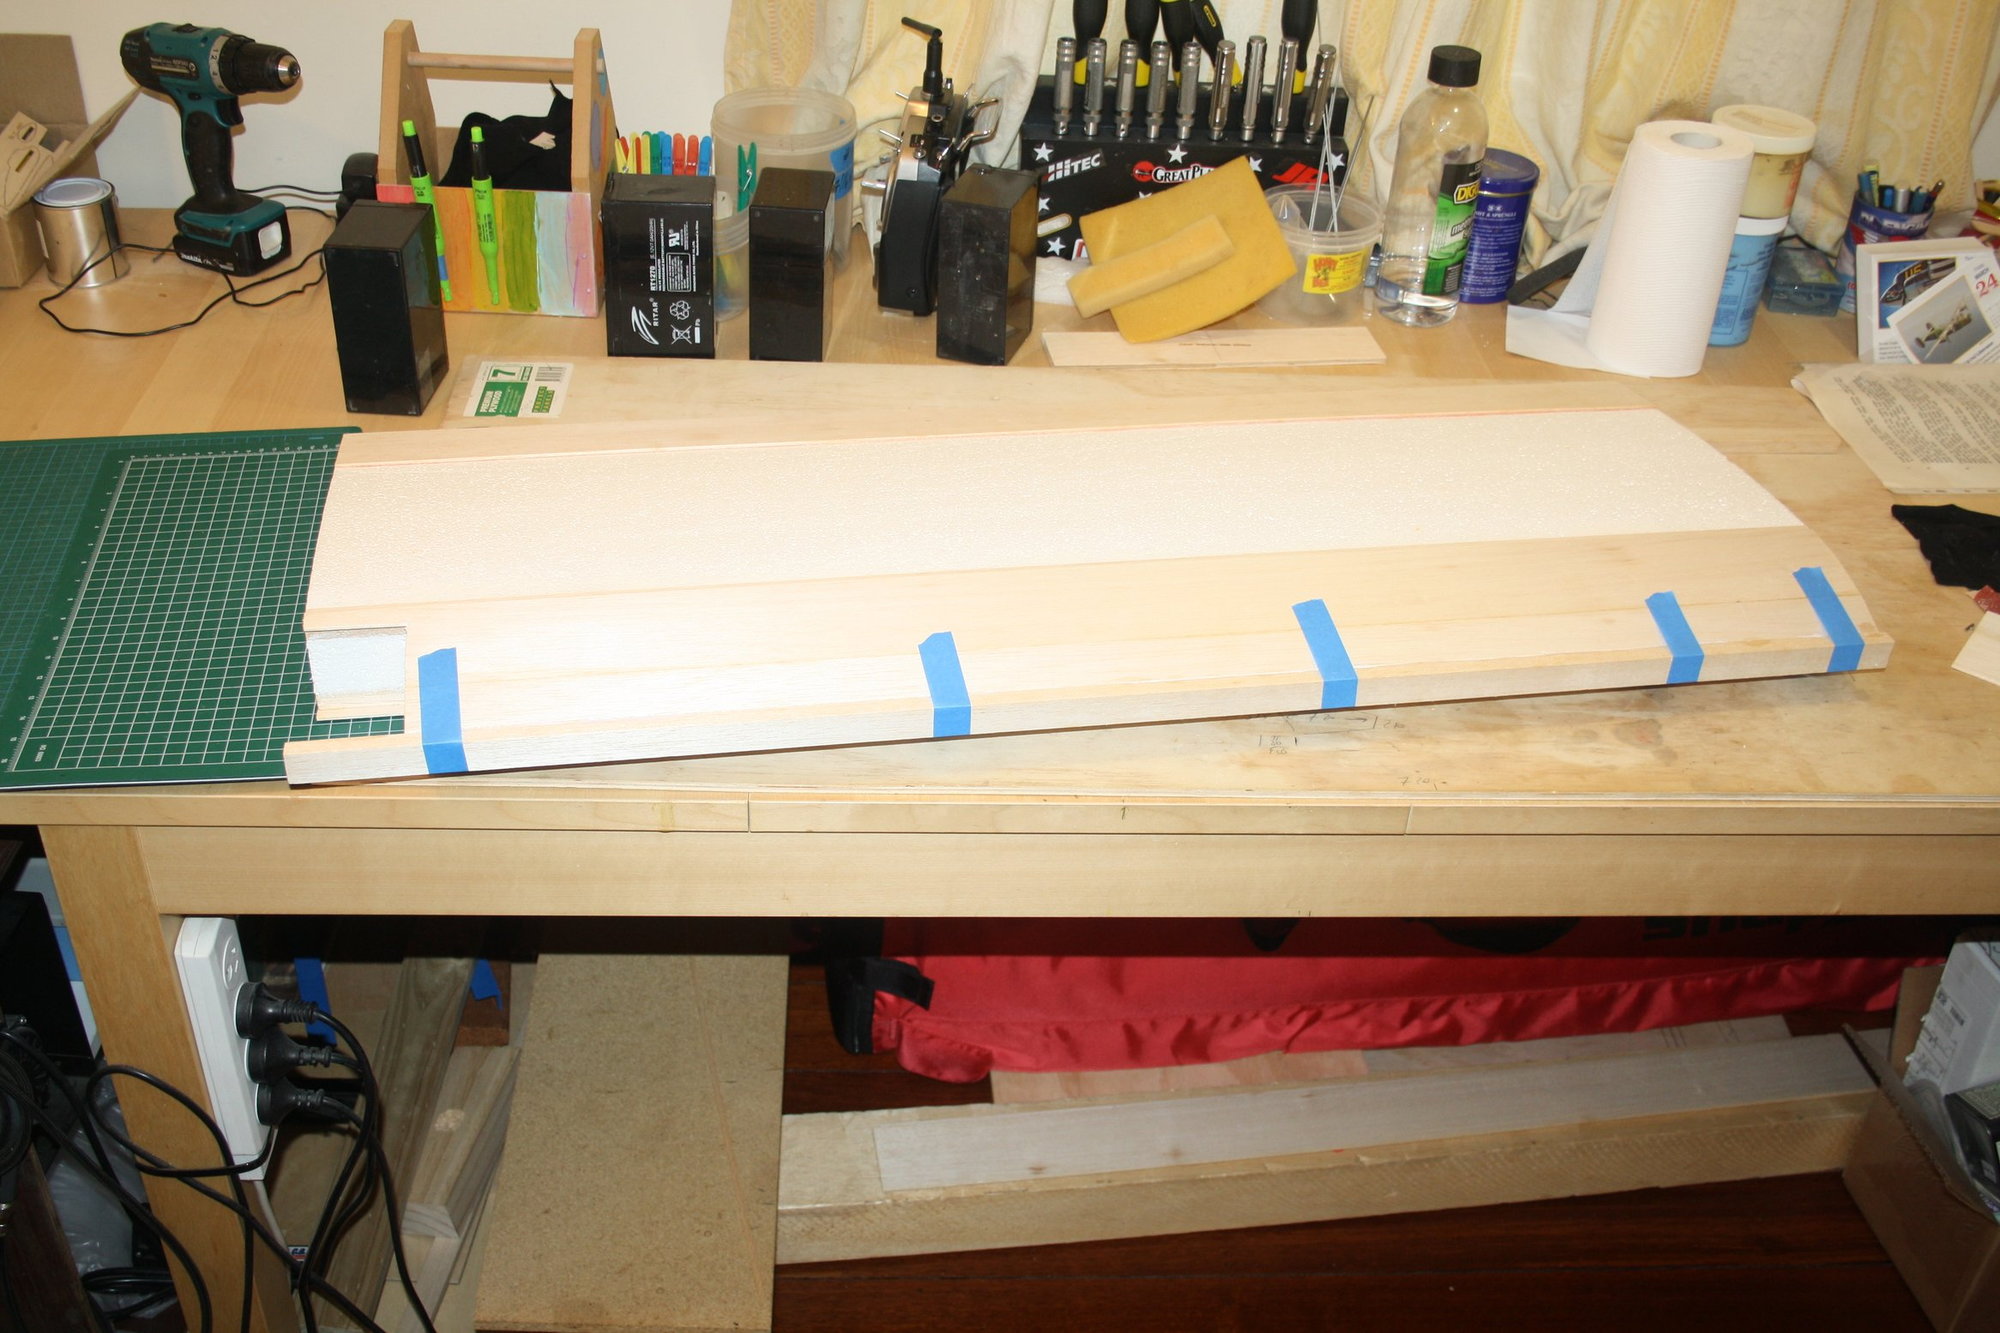
Back to the built, following a light sanding of the wings foam cores imperfections, I started the process of gluing the spars:
Cheers,
Eran
My plan (subject to change at any moment ; ) ) is to probably use a DLE engine.
As to the ABS parts, this is a proper dilemma for me after reading your suggestions. I usually attempt to construct my aeroplanes the way they were designed (as much as practical). I do use modern RC gear and engines, and when single servo is used for ailerons I always change to individual servos, but, other then that, unless there is a safety concern I am attempting to follow the original designer intent. I will have a think about it when I get to the fuselage as your suggestion is making a lot of sense.
Back to the built, following a light sanding of the wings foam cores imperfections, I started the process of gluing the spars:
Cheers,
Eran
04-08-2023, 07:26 PM
#5
My Feedback: (19)
No problem building the kit exactly as Lanier designed it. As I said in my previous post it is a fantastic, enjoyable airplane to fly. It just has potential to be more enjoyable and more durable with a few changes. Enjoy the build and flying it. As said before, I wish I still had one to fly!!
04-13-2023, 07:49 PM
#6
Thread Starter
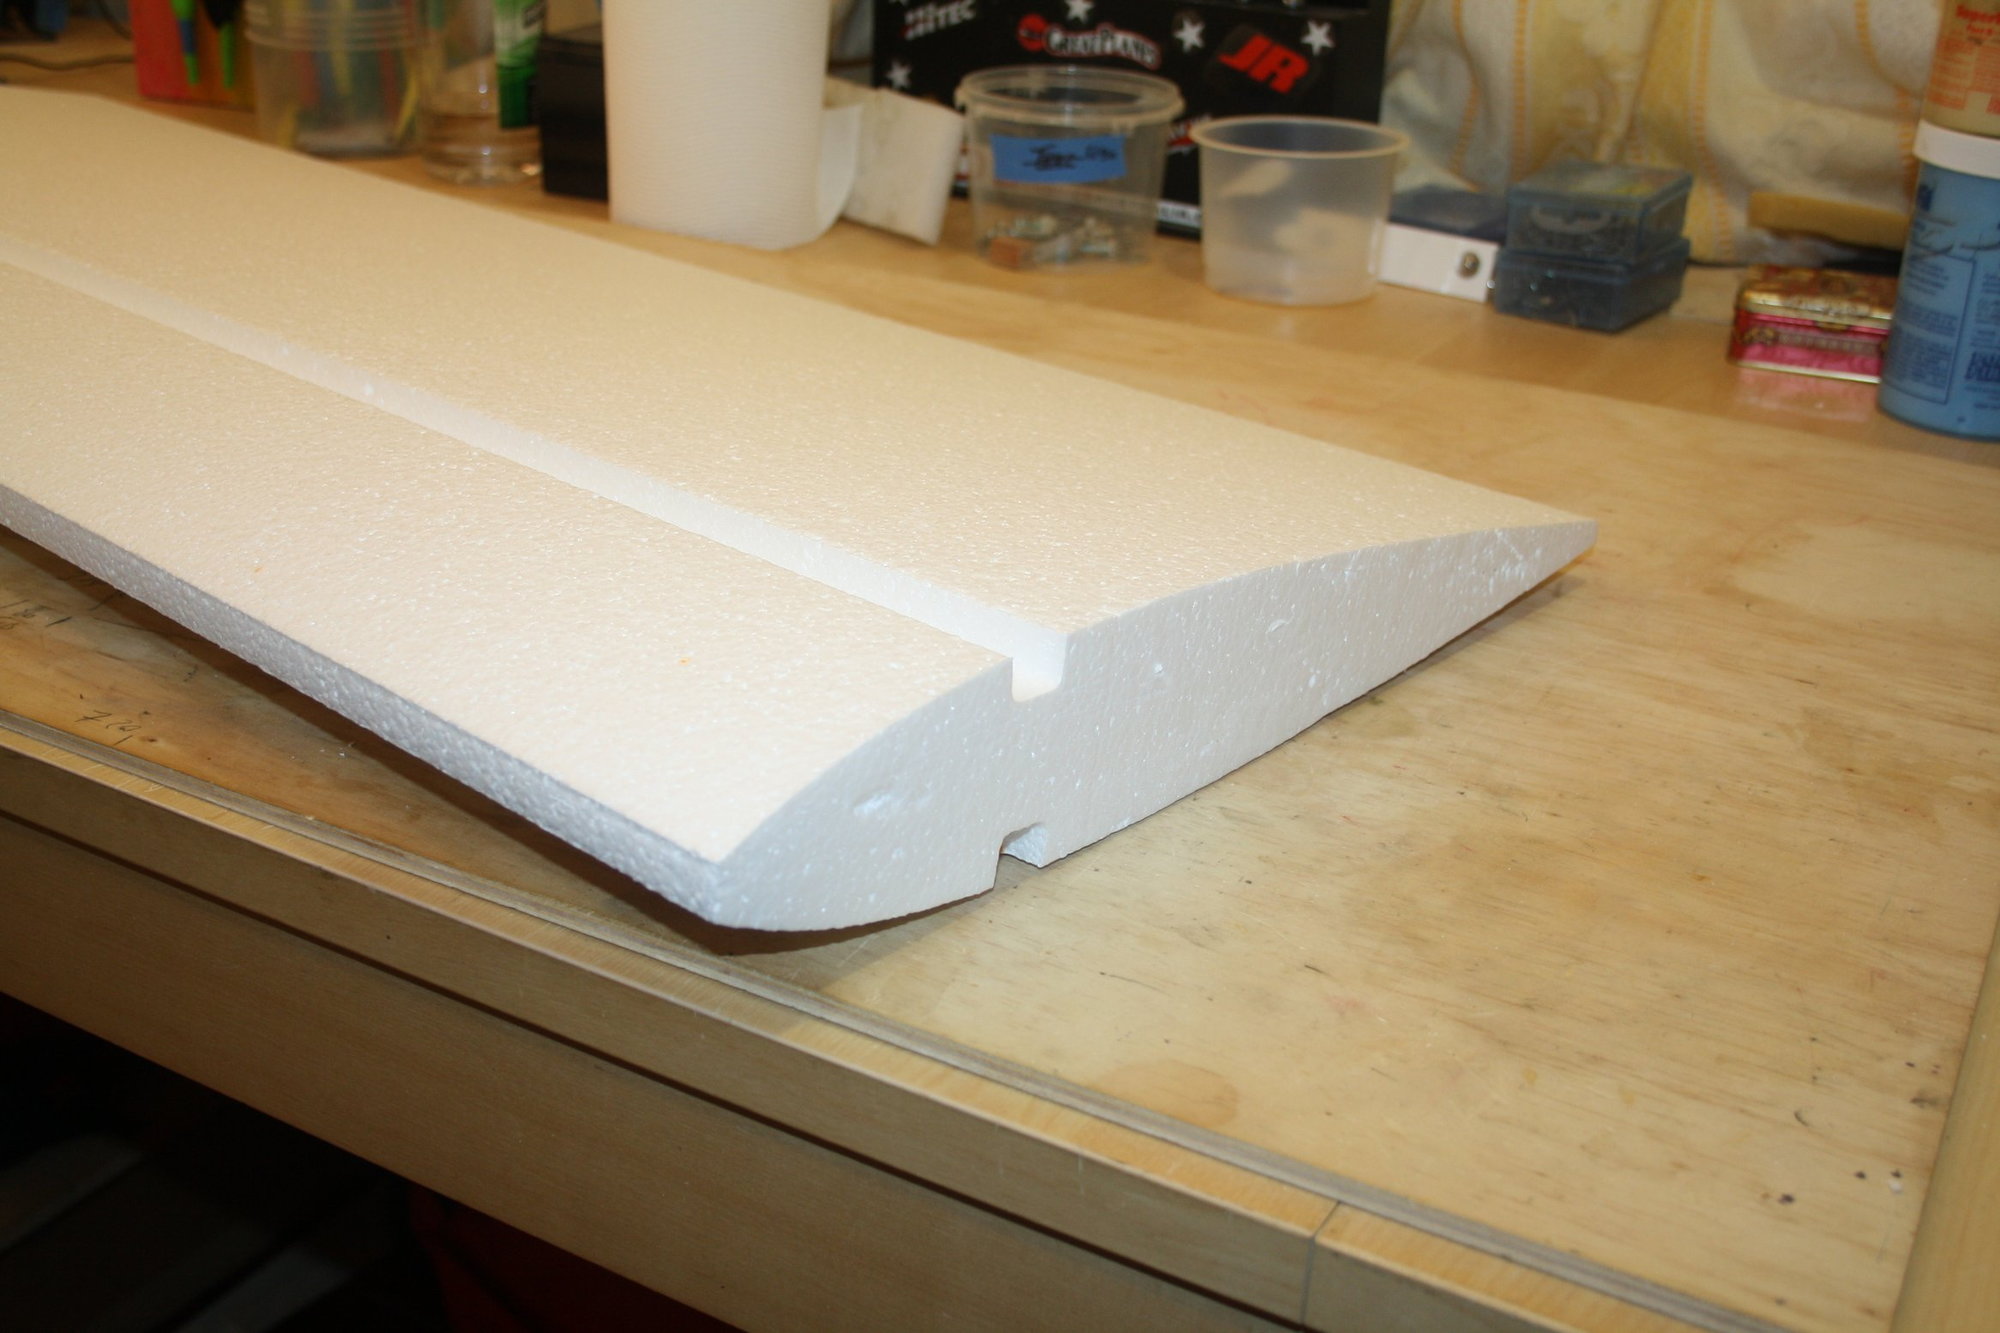
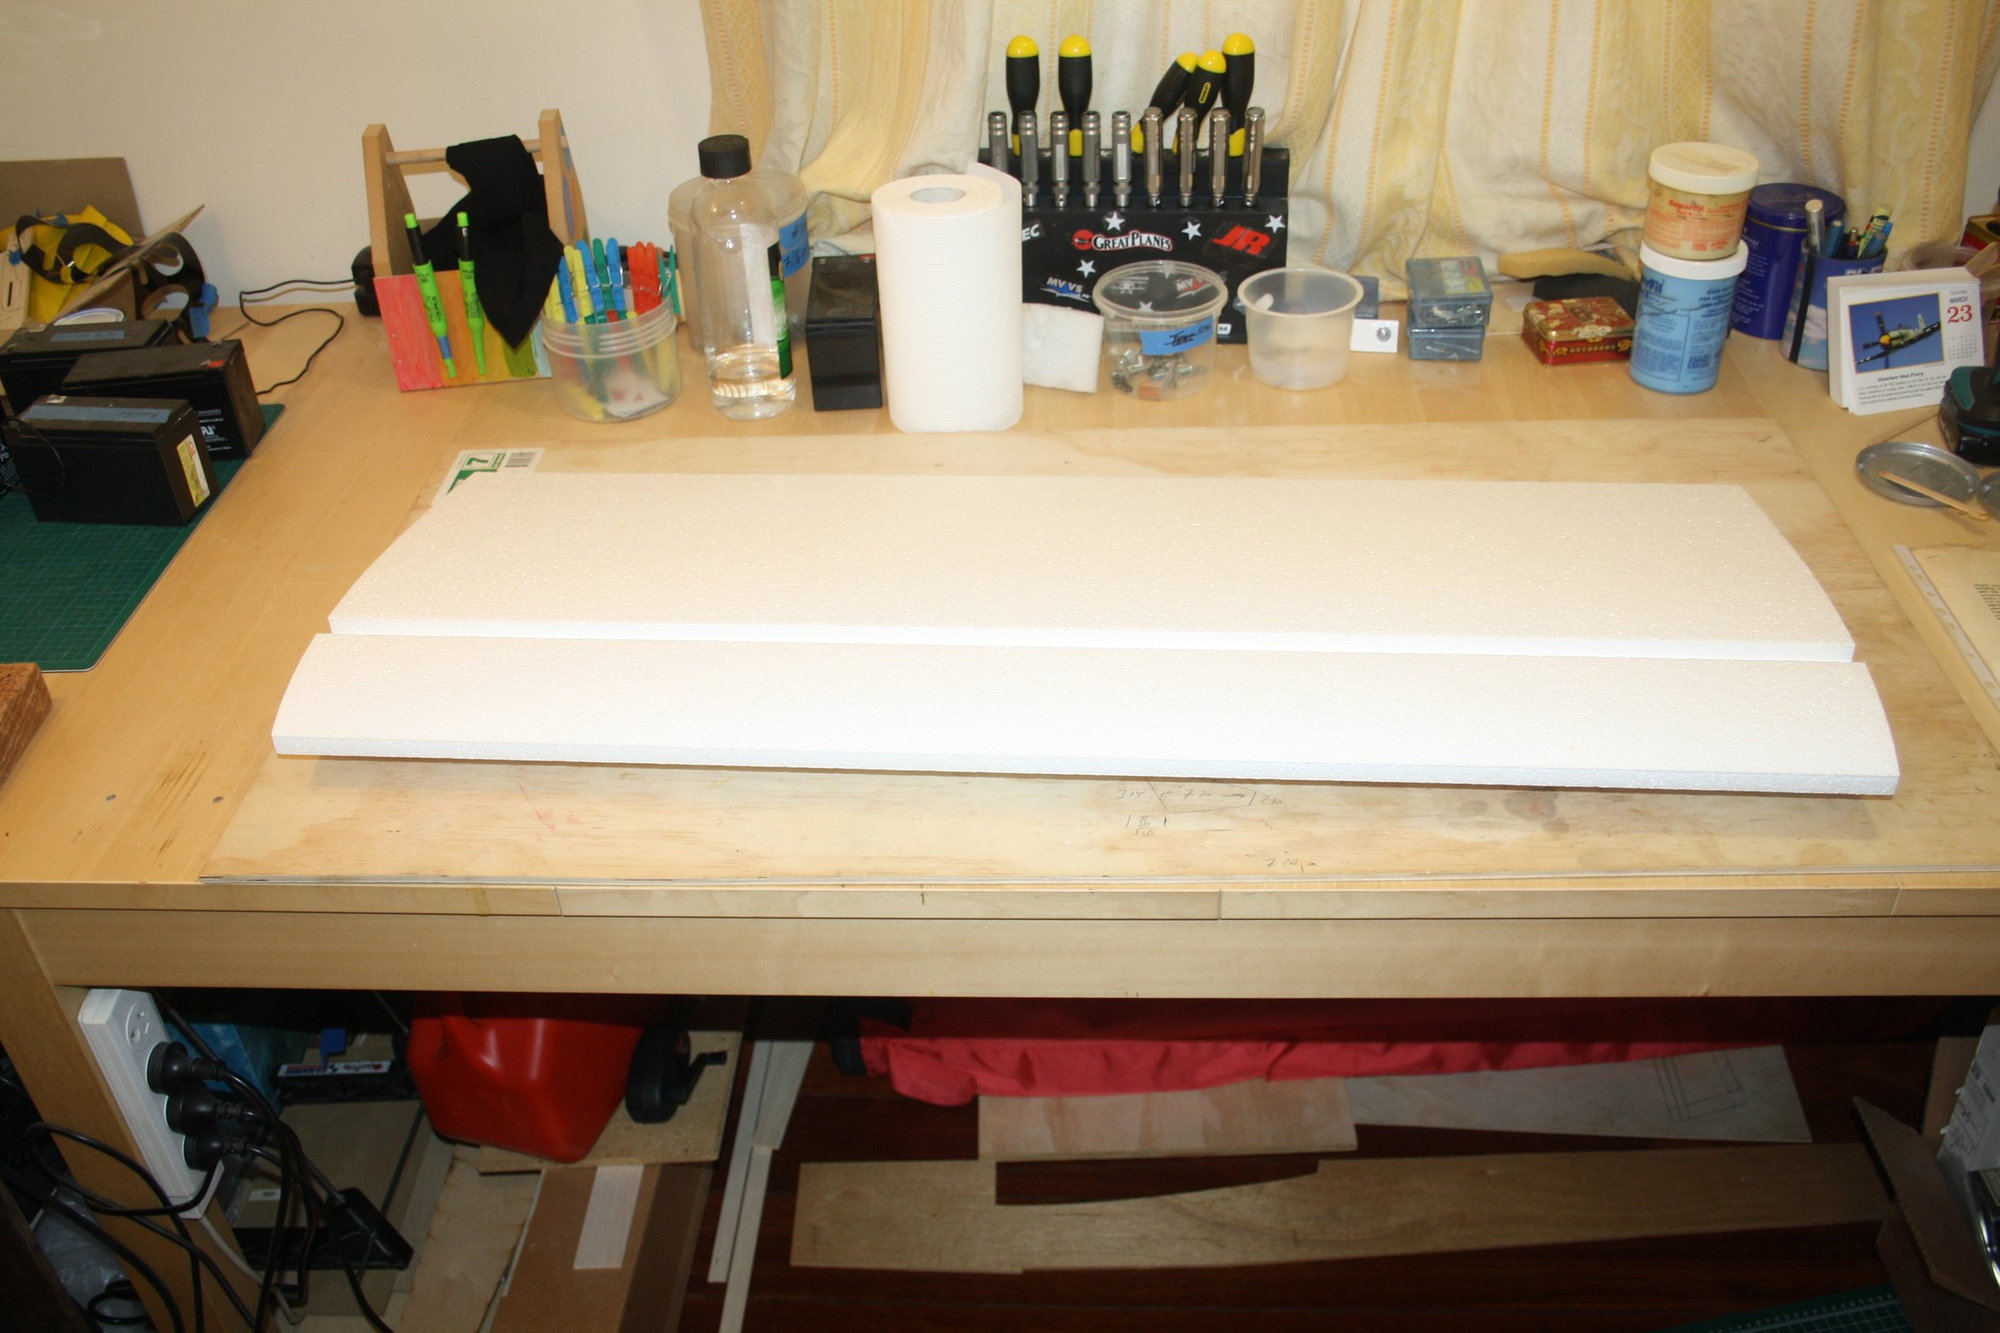
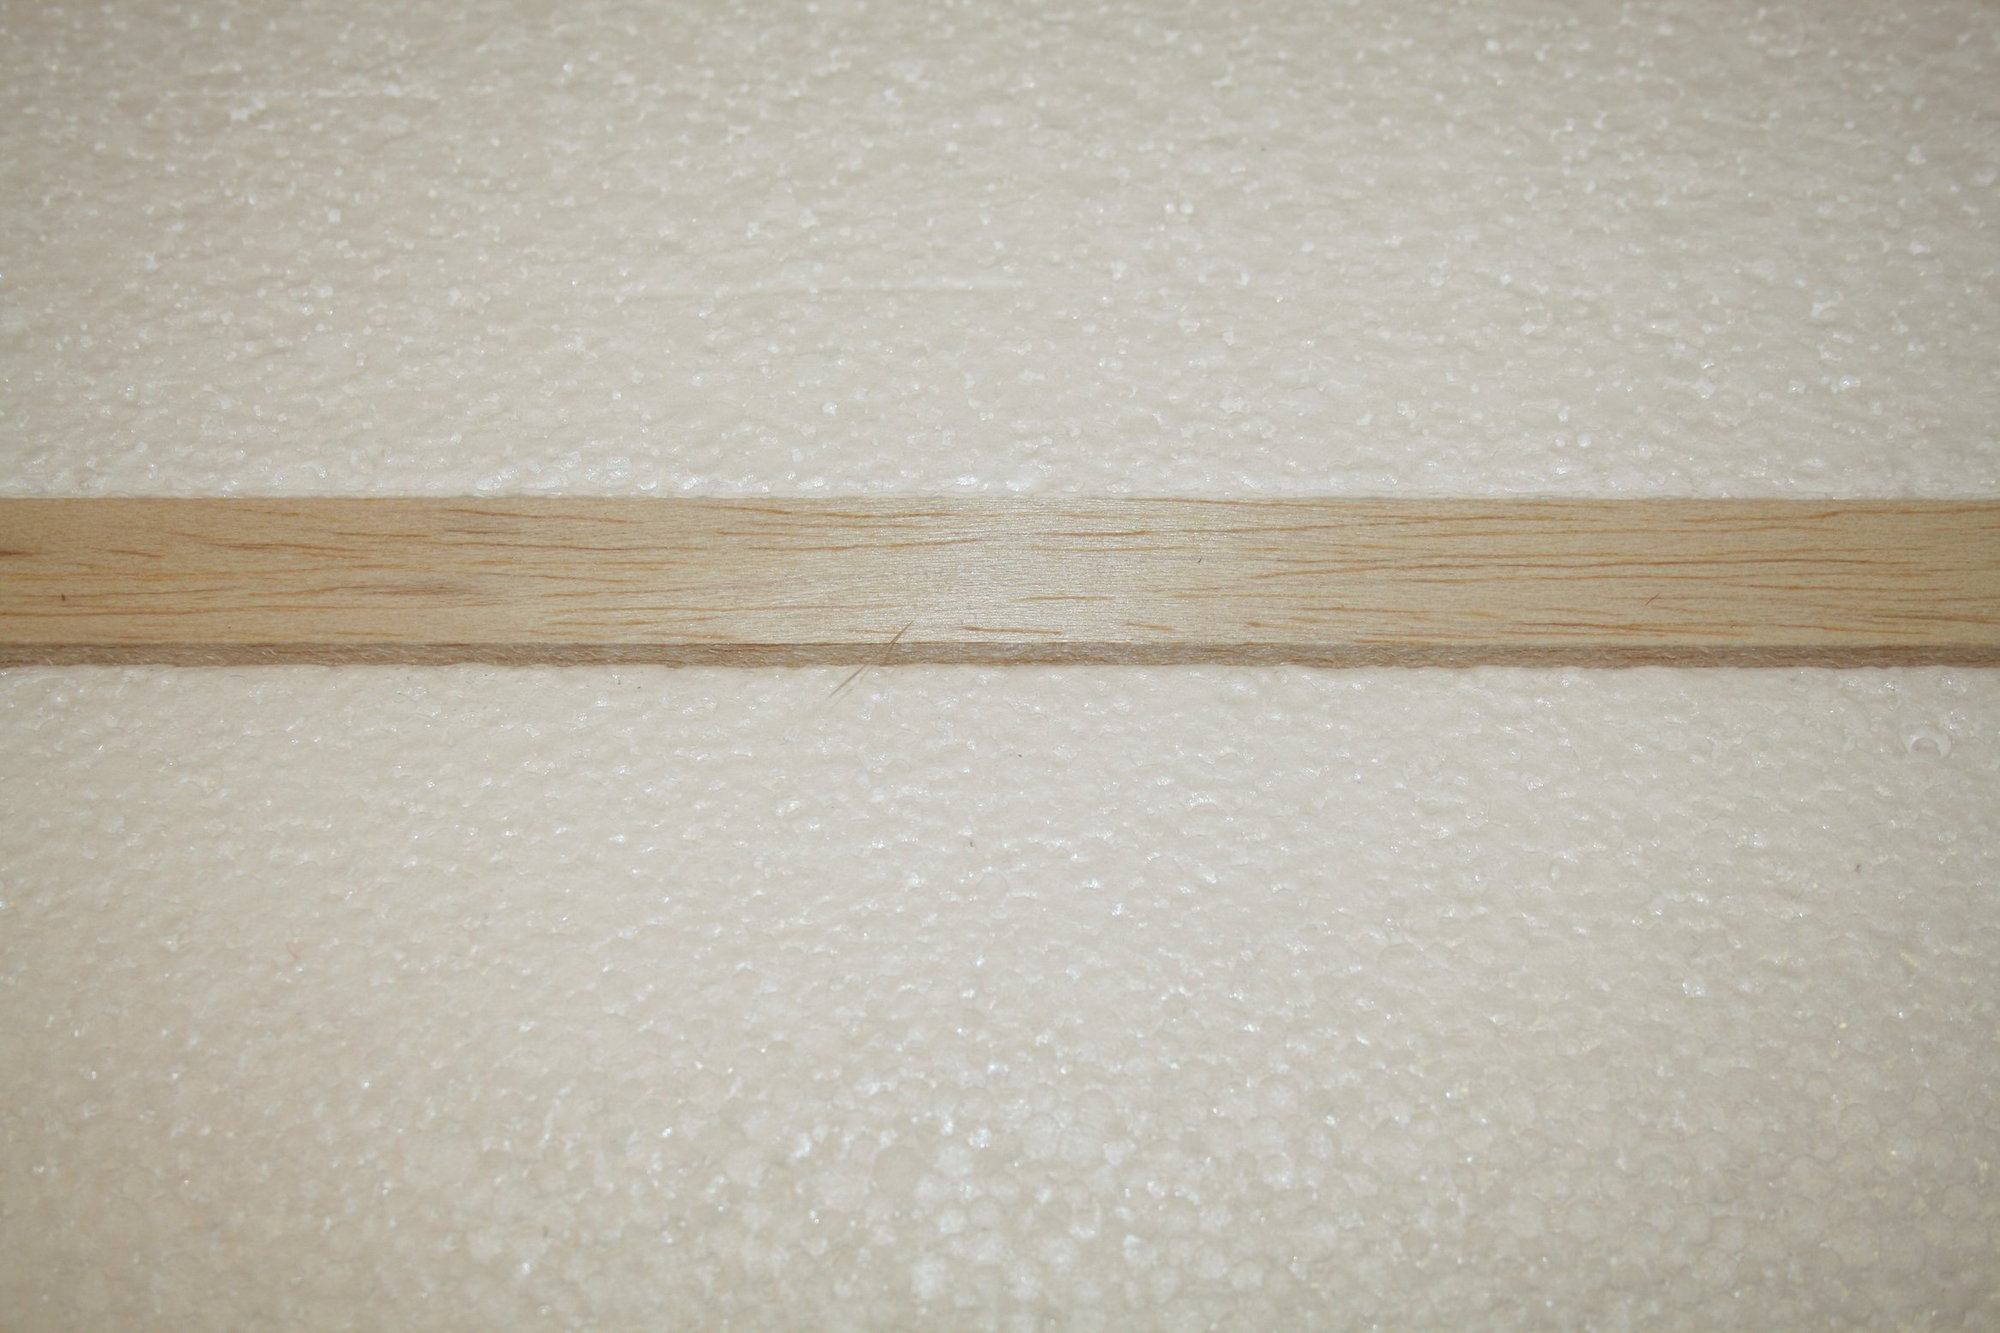
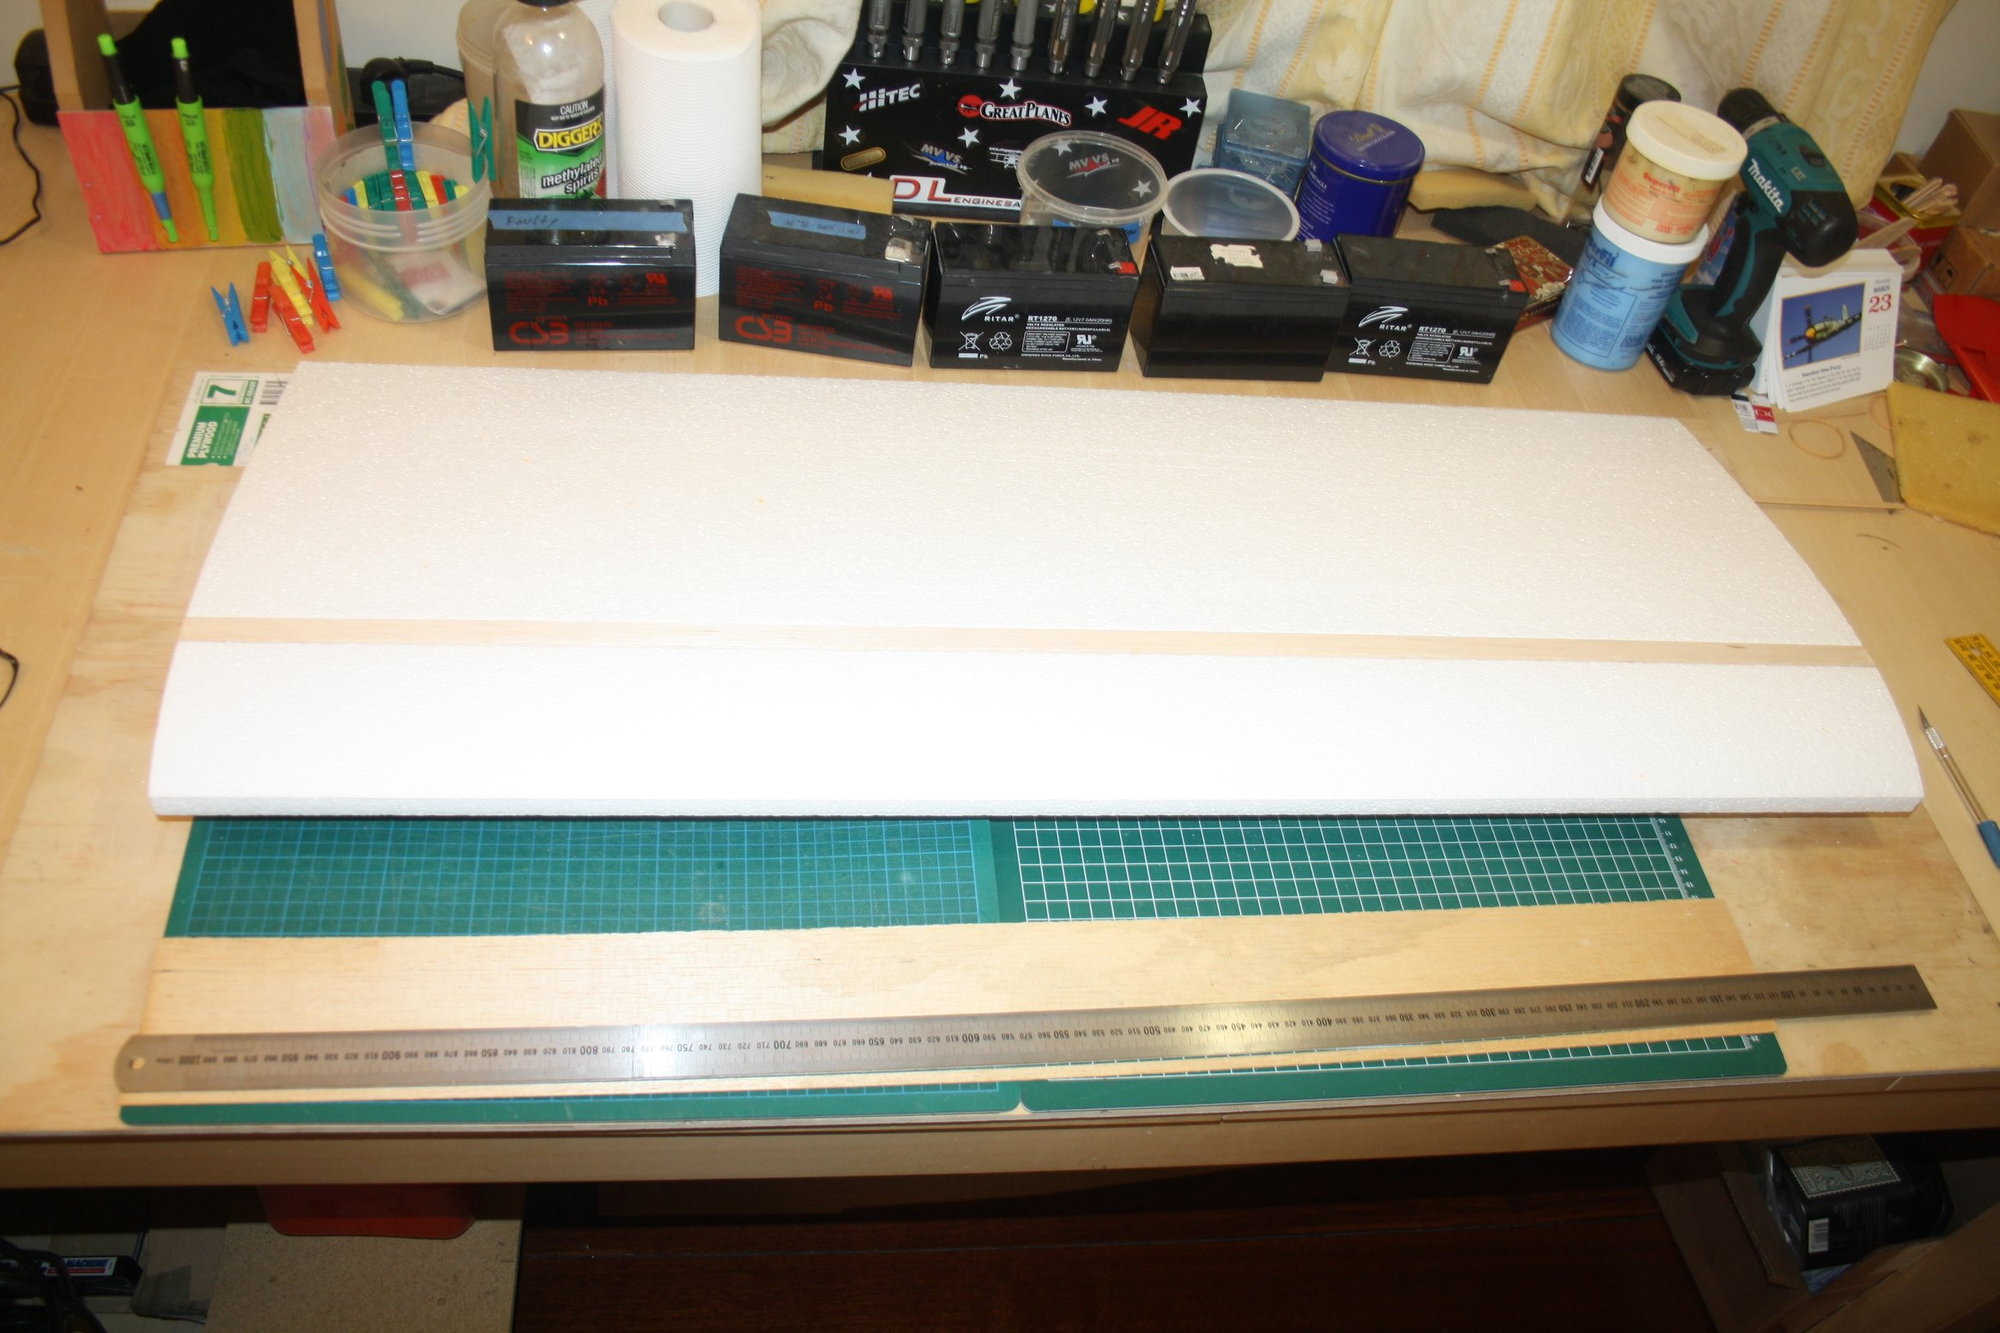
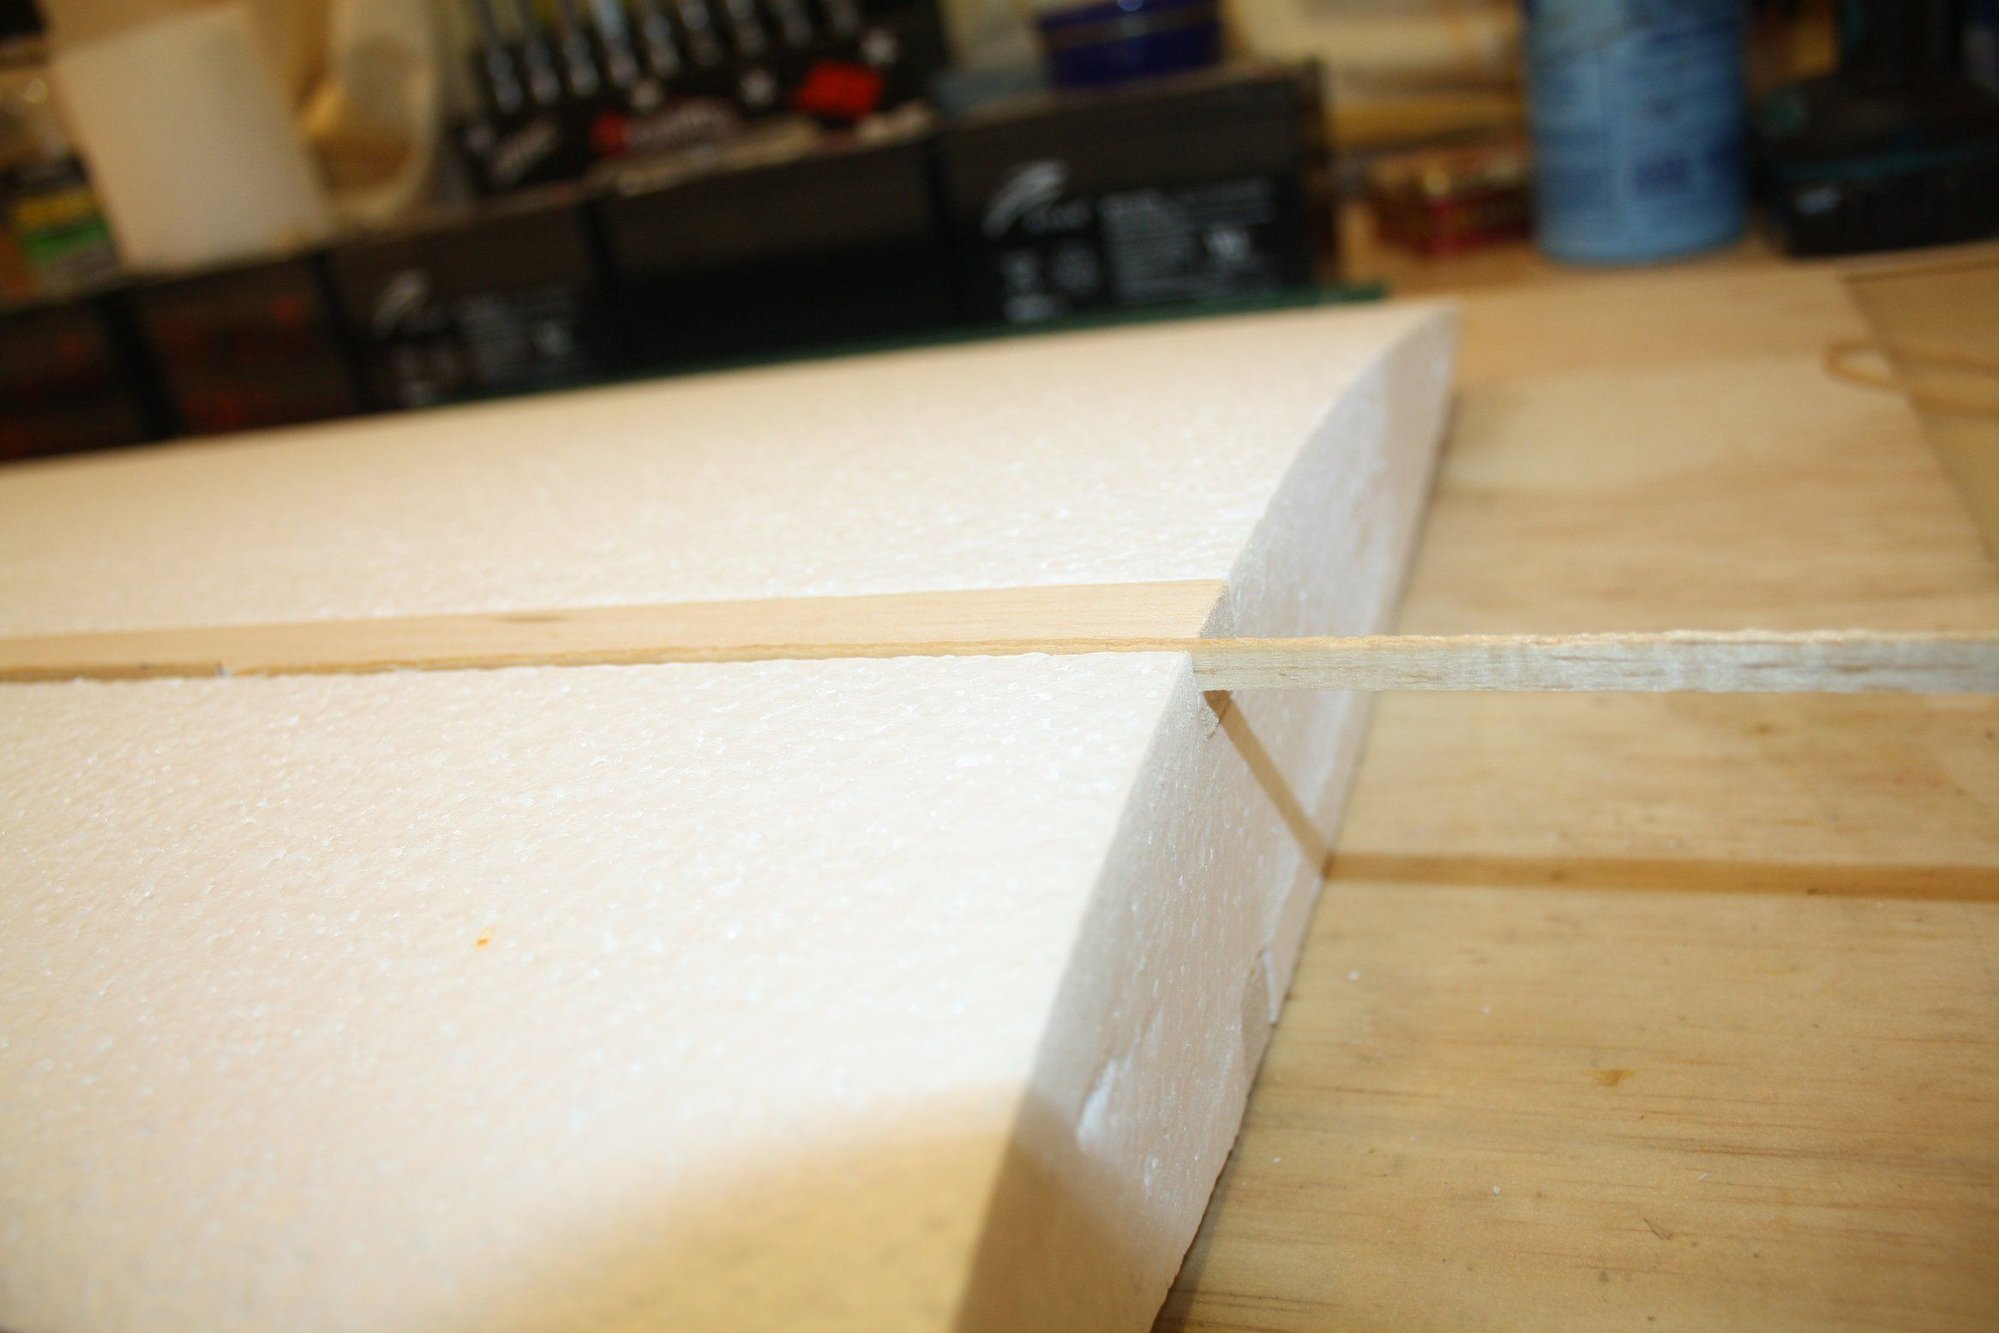
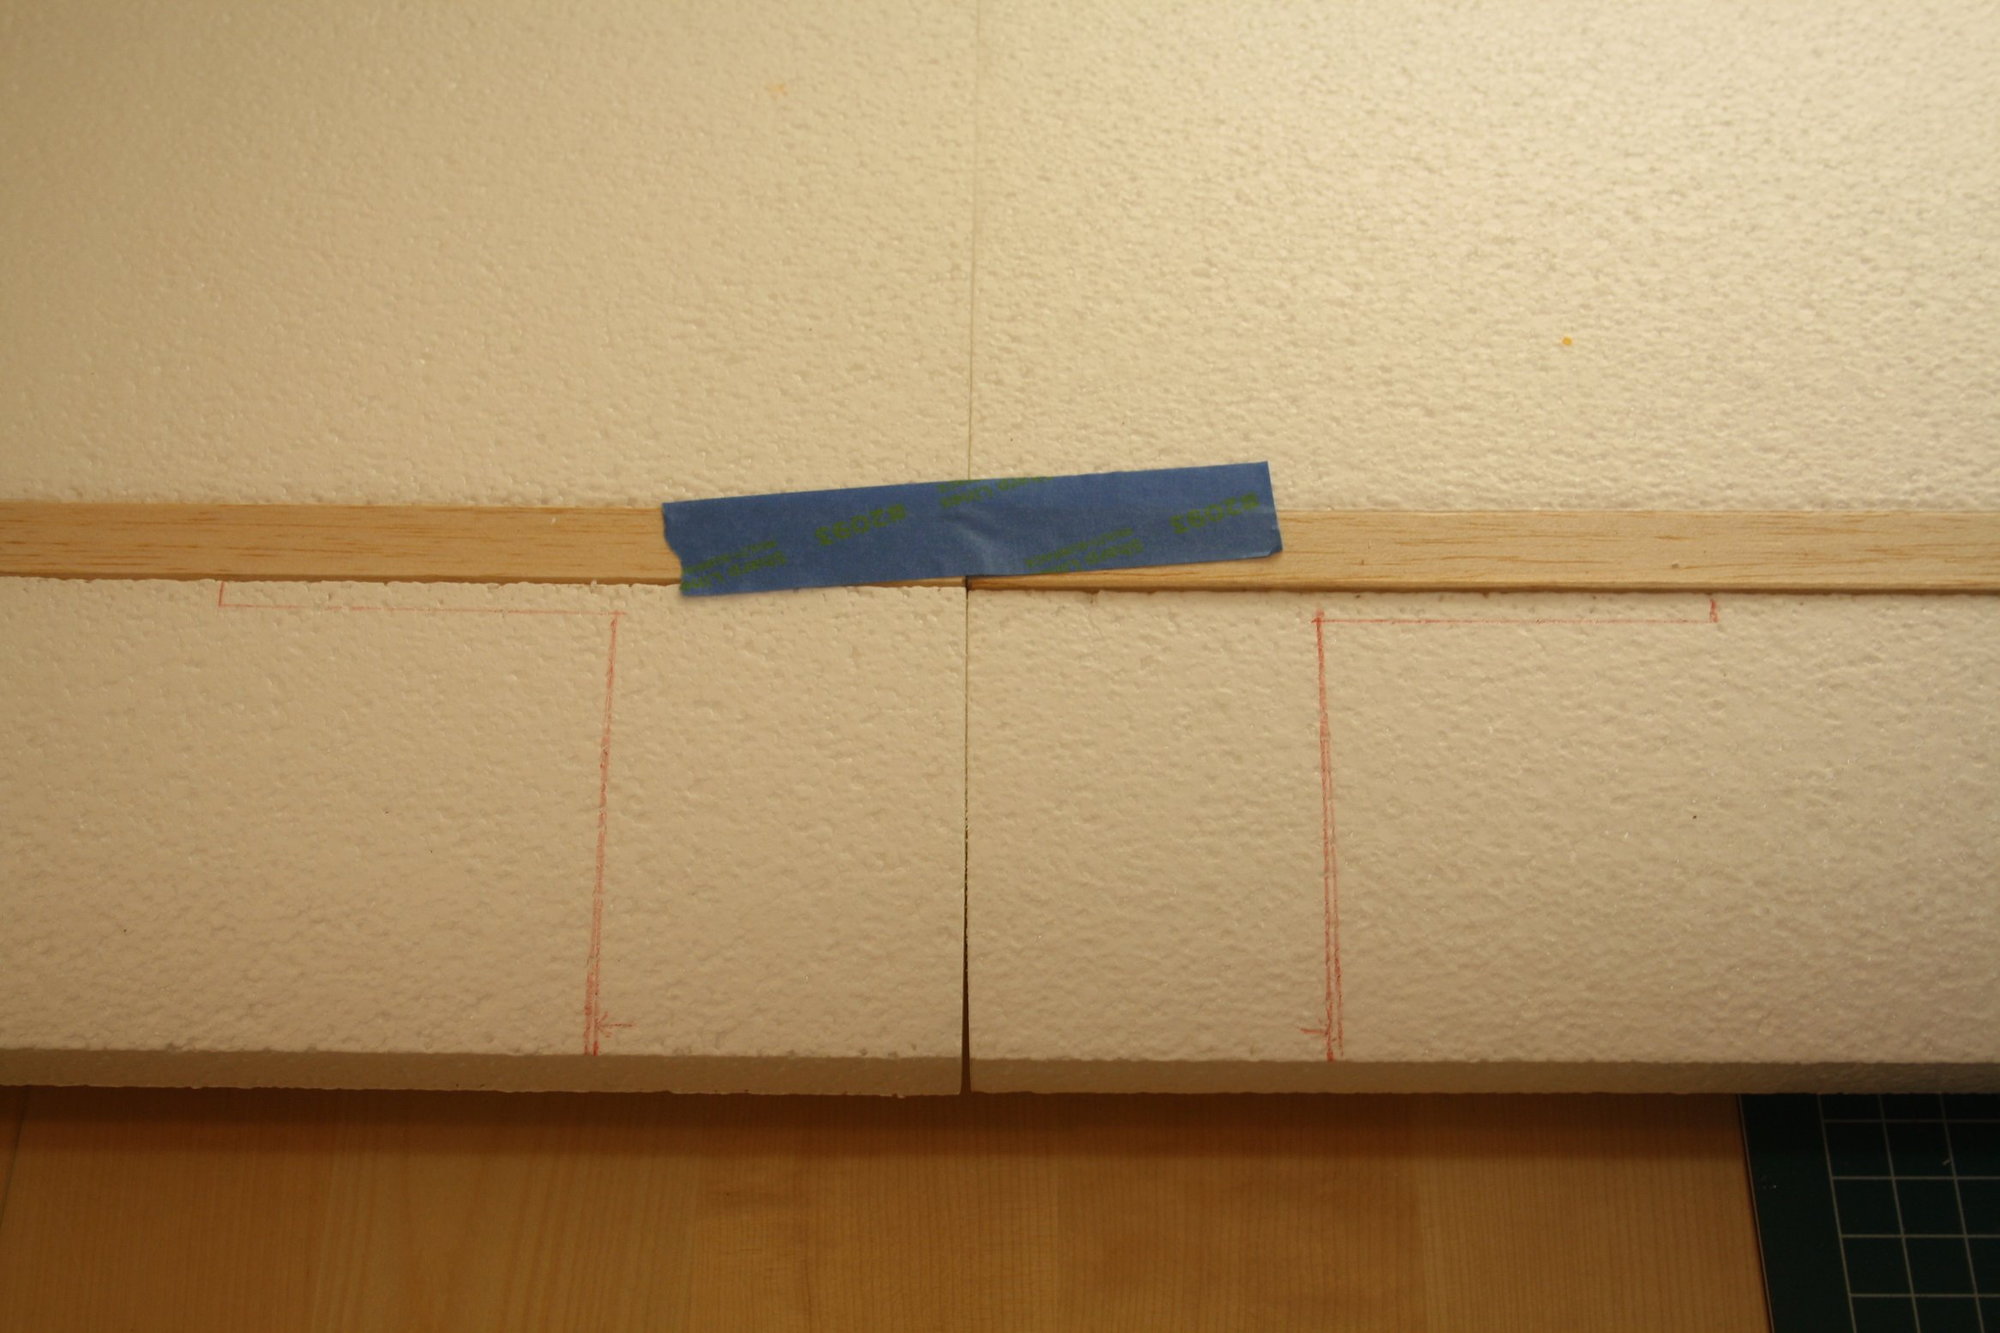
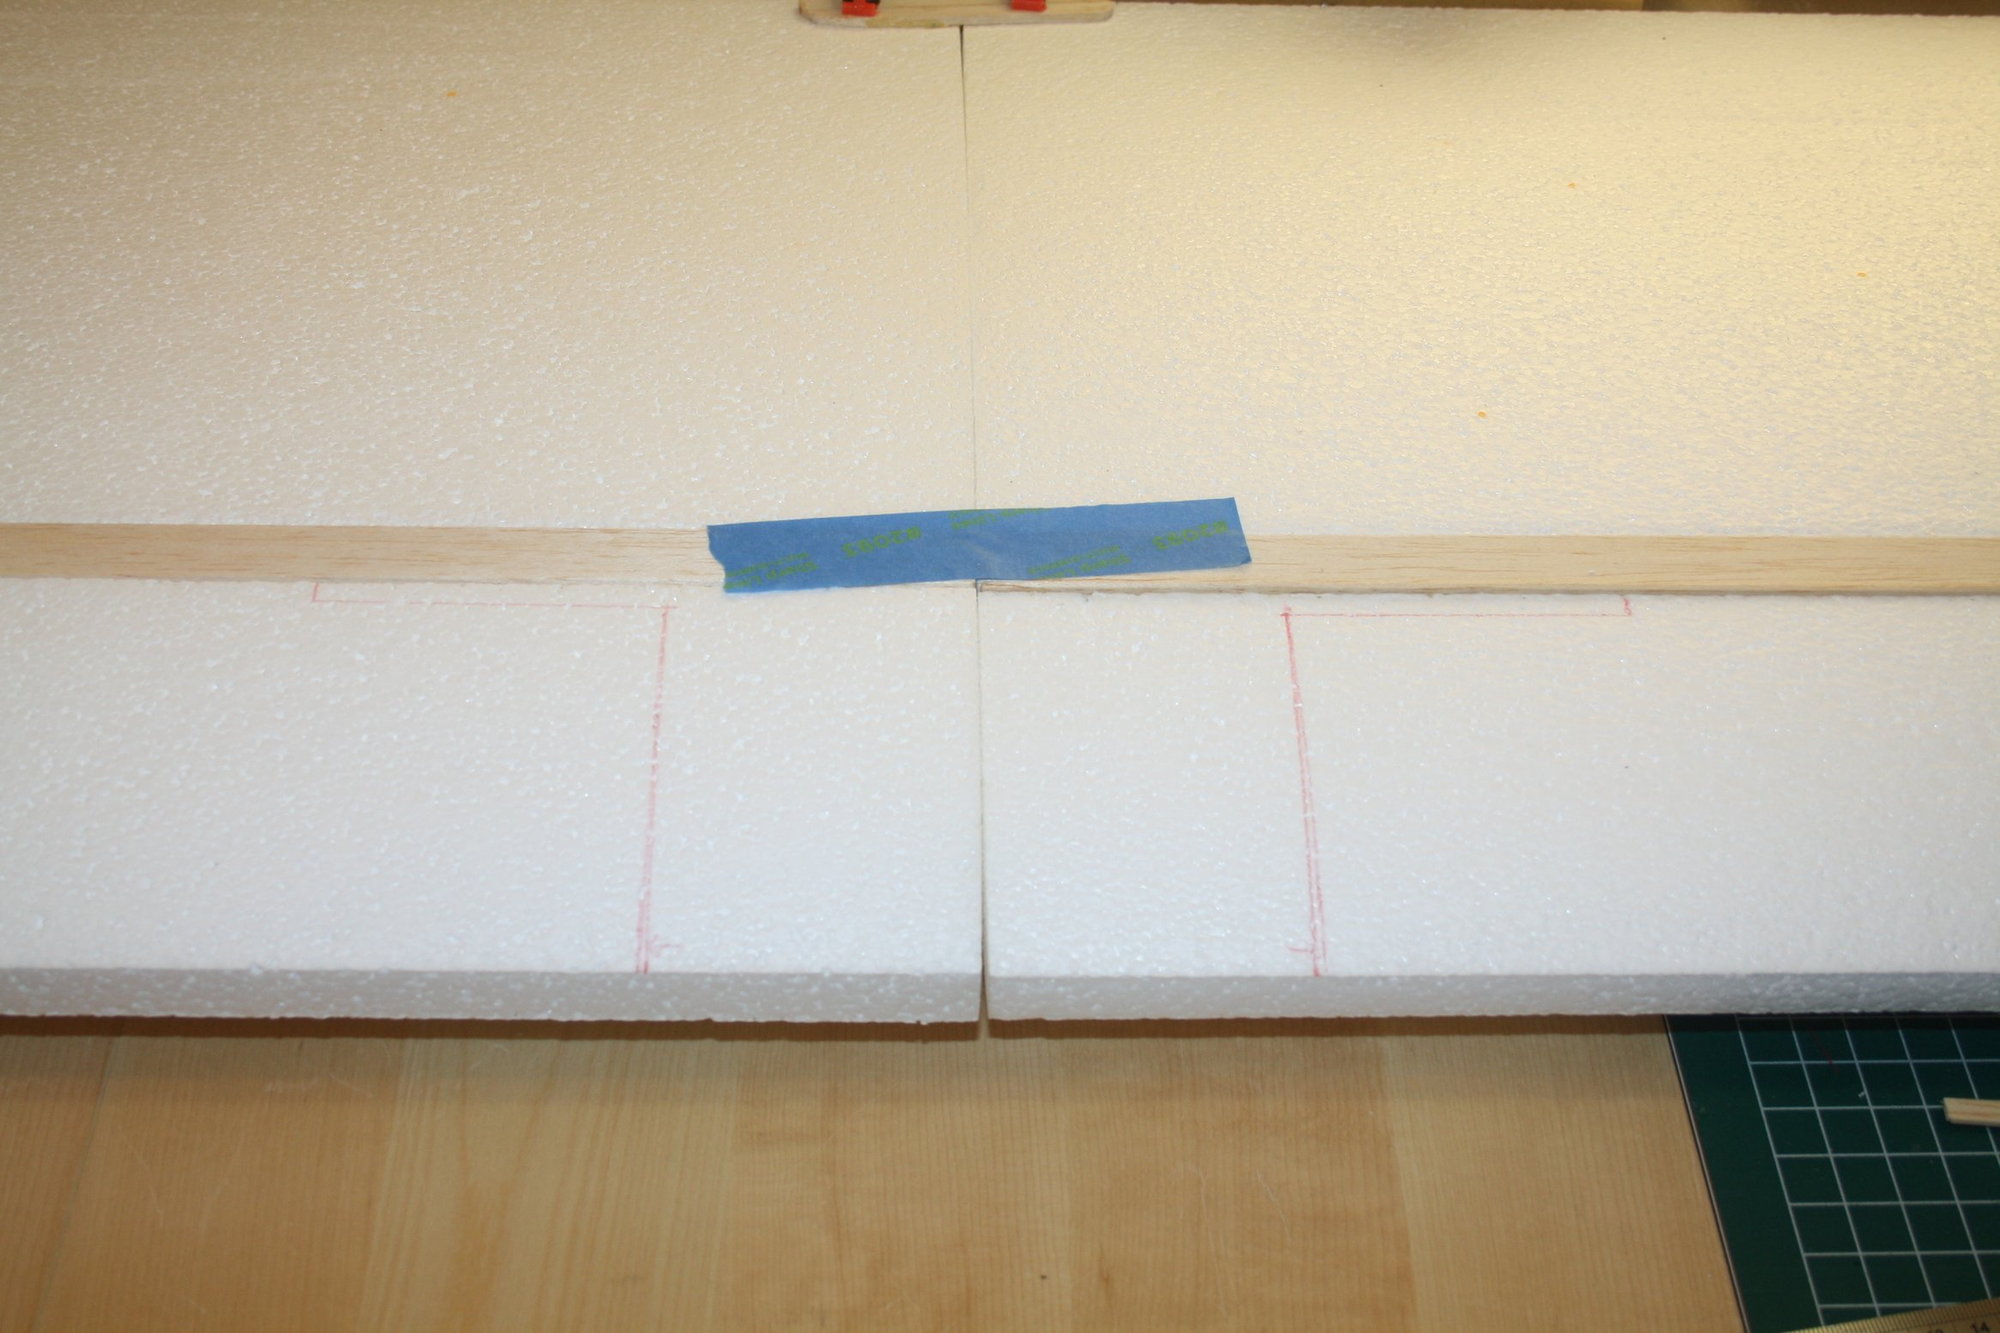
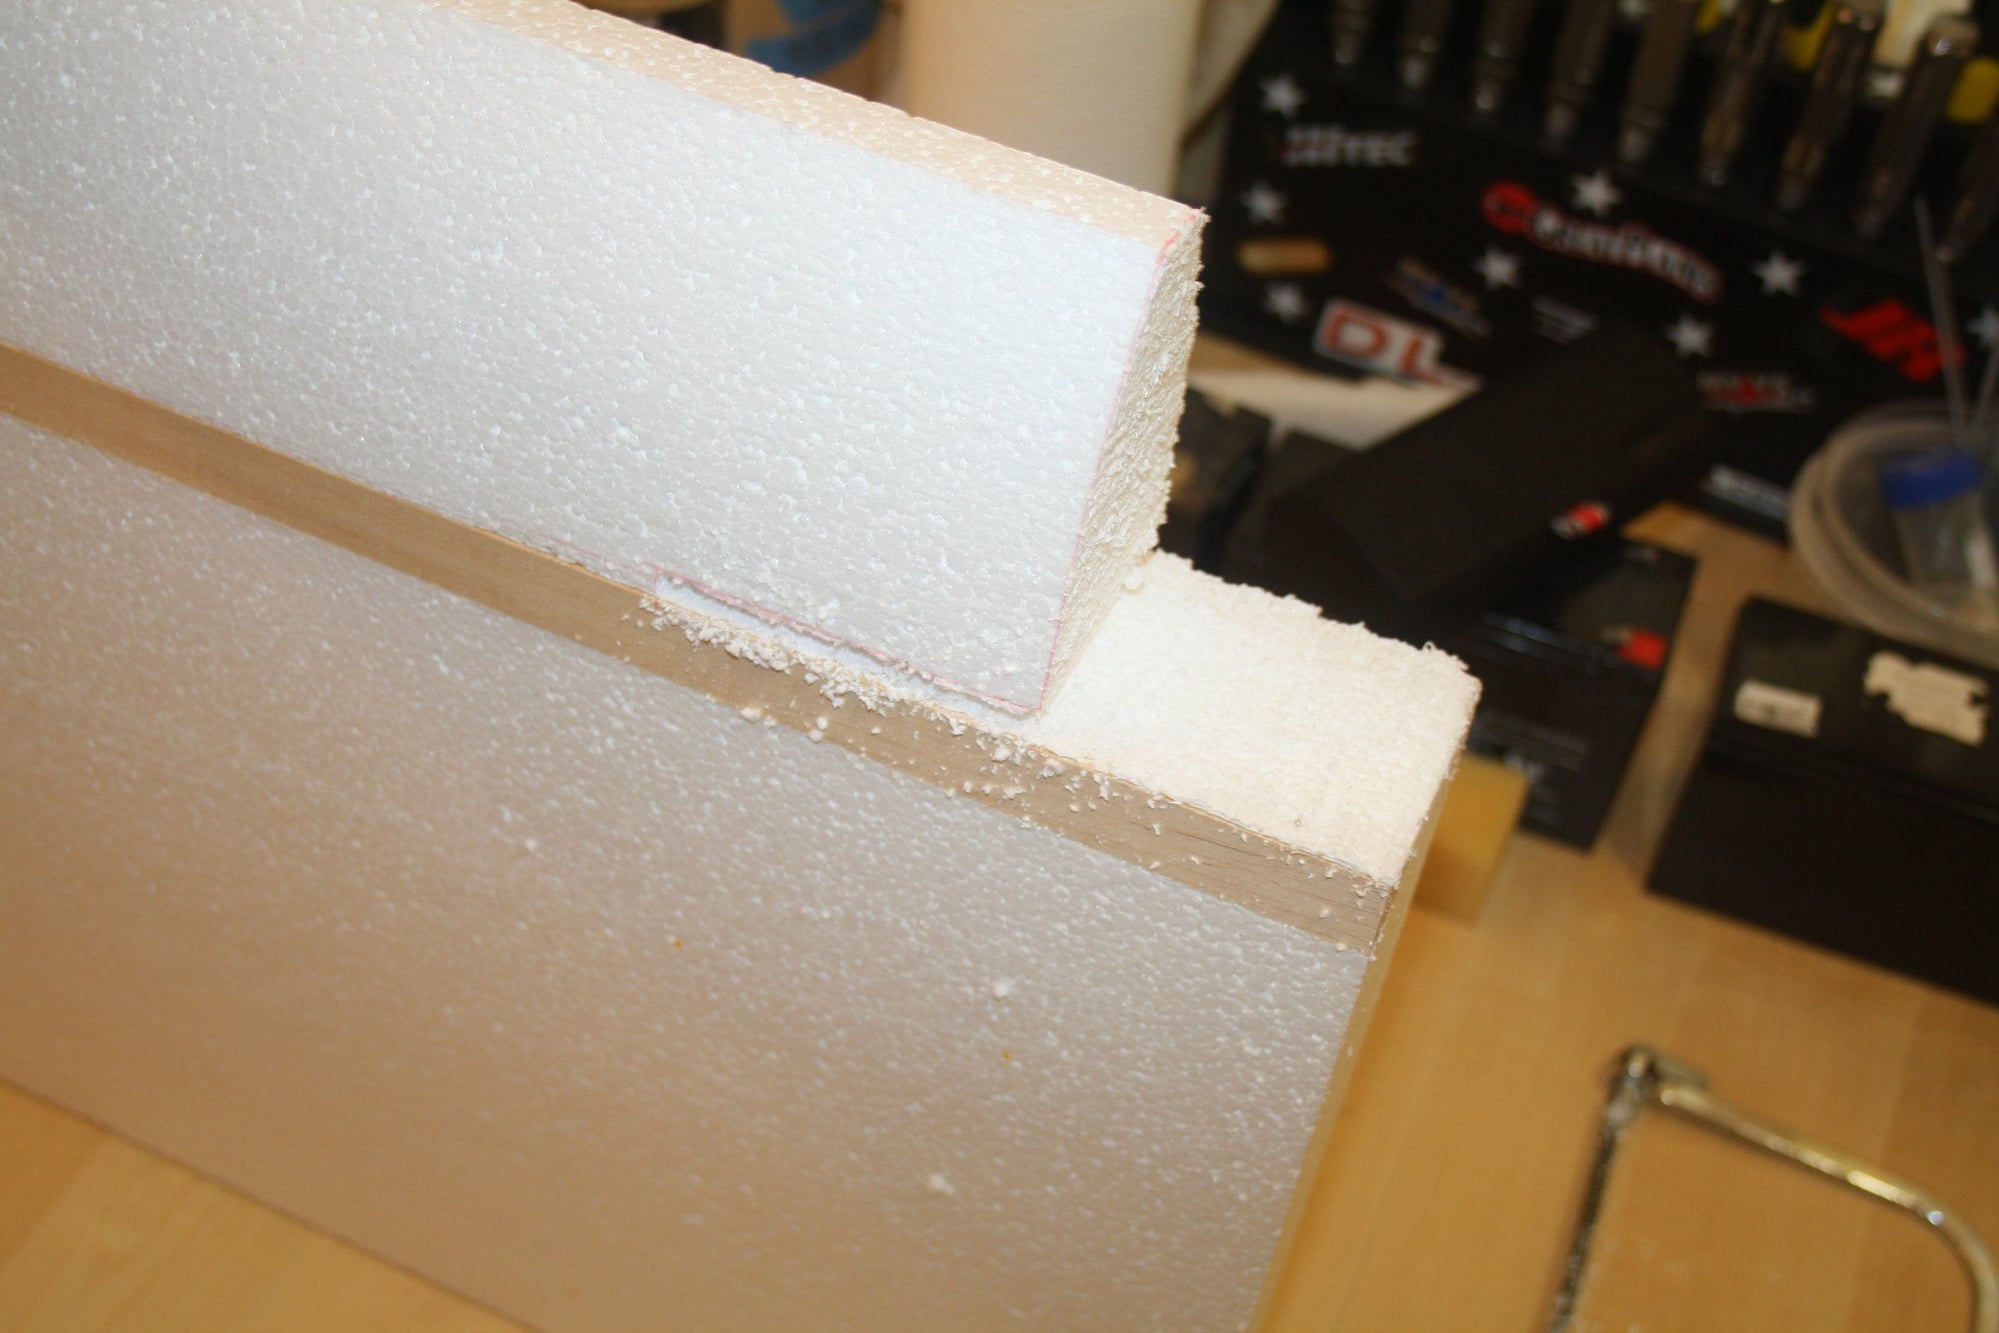
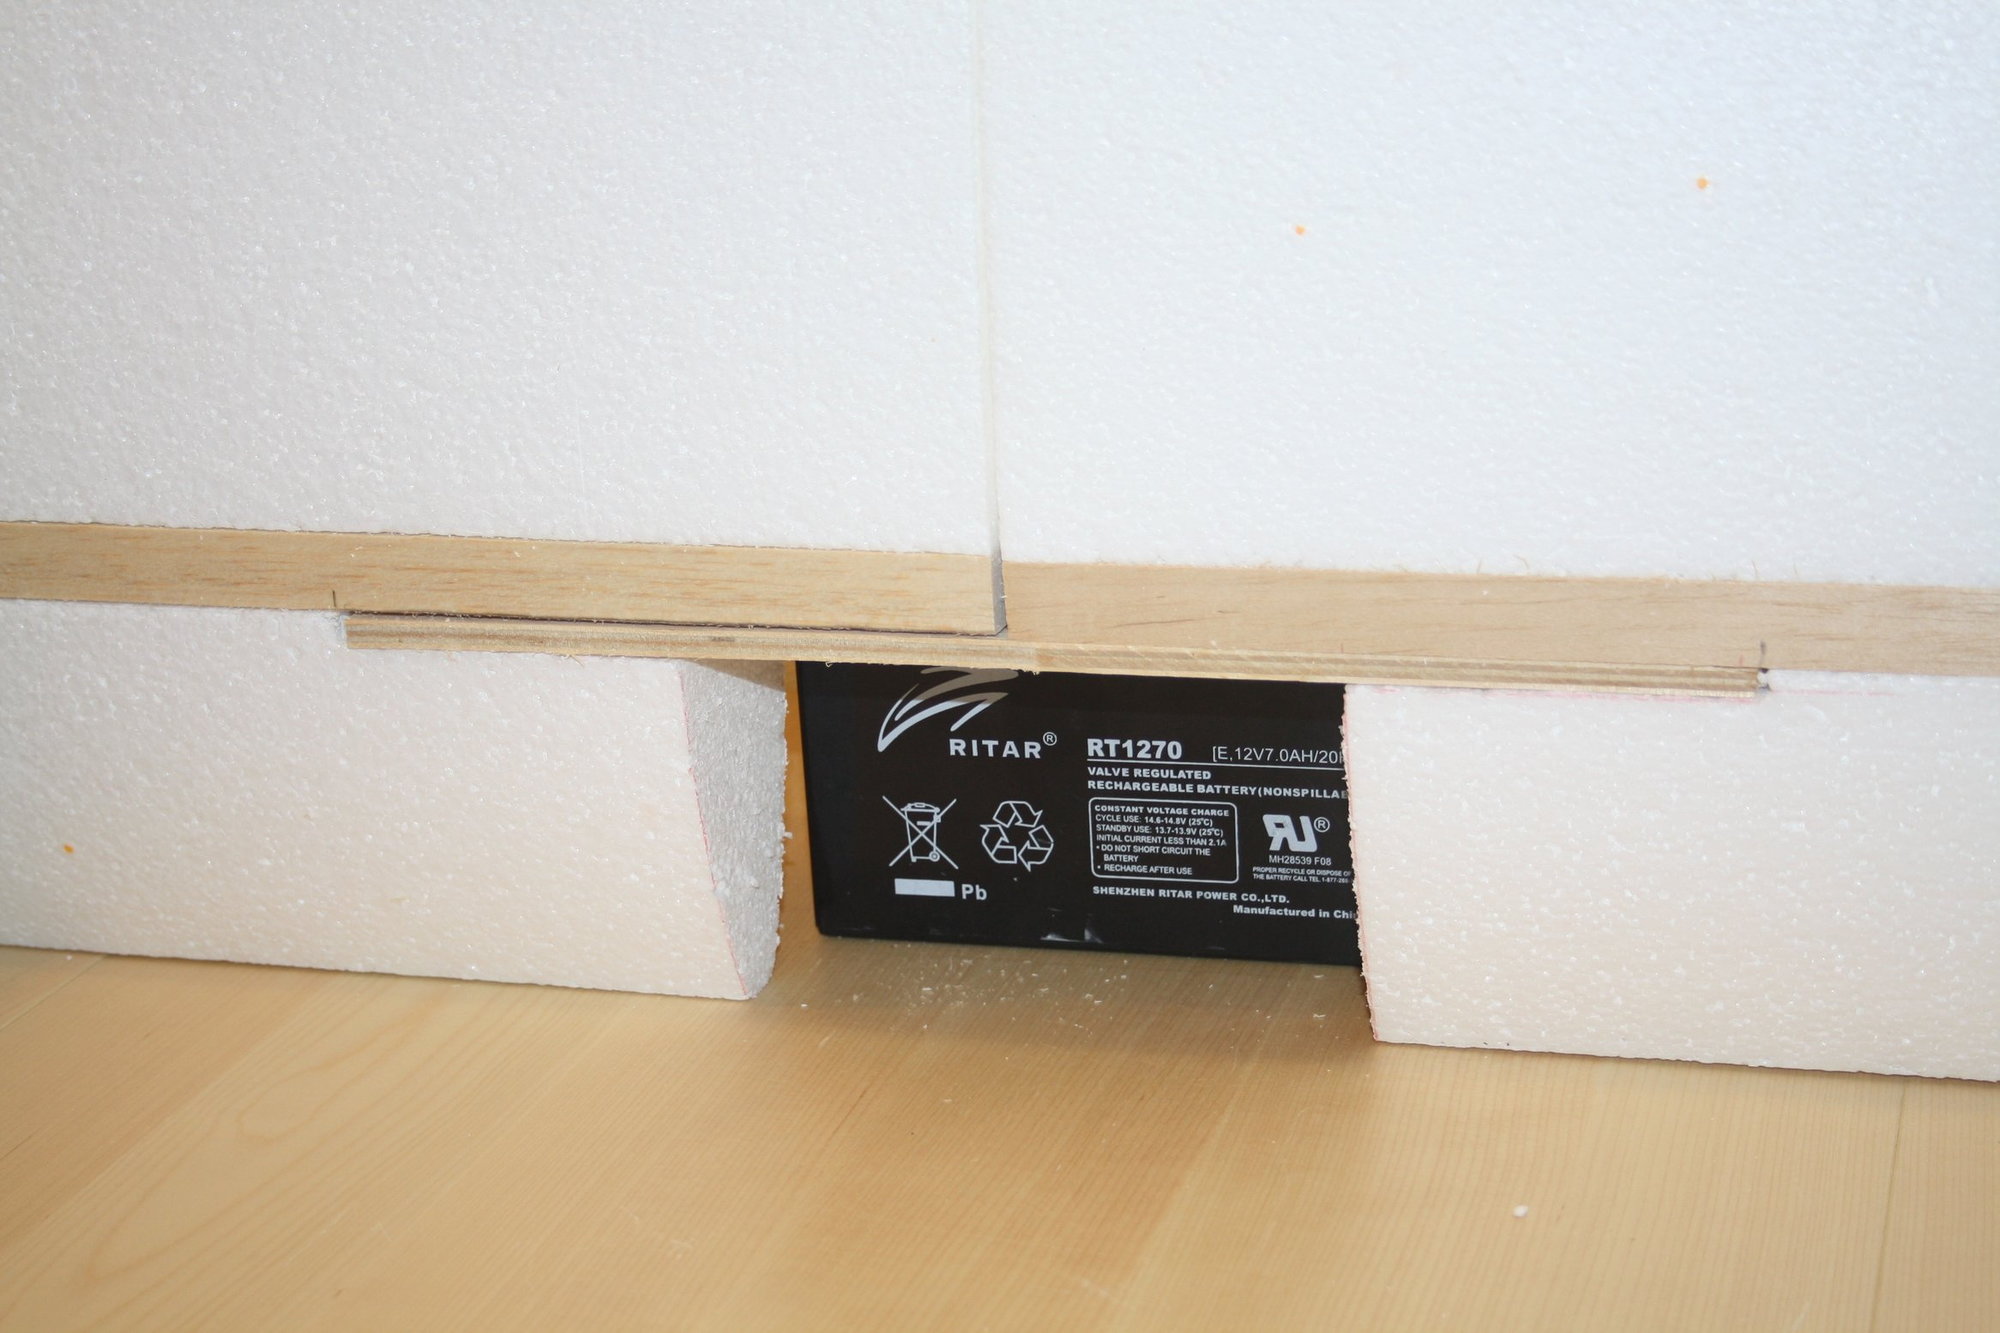
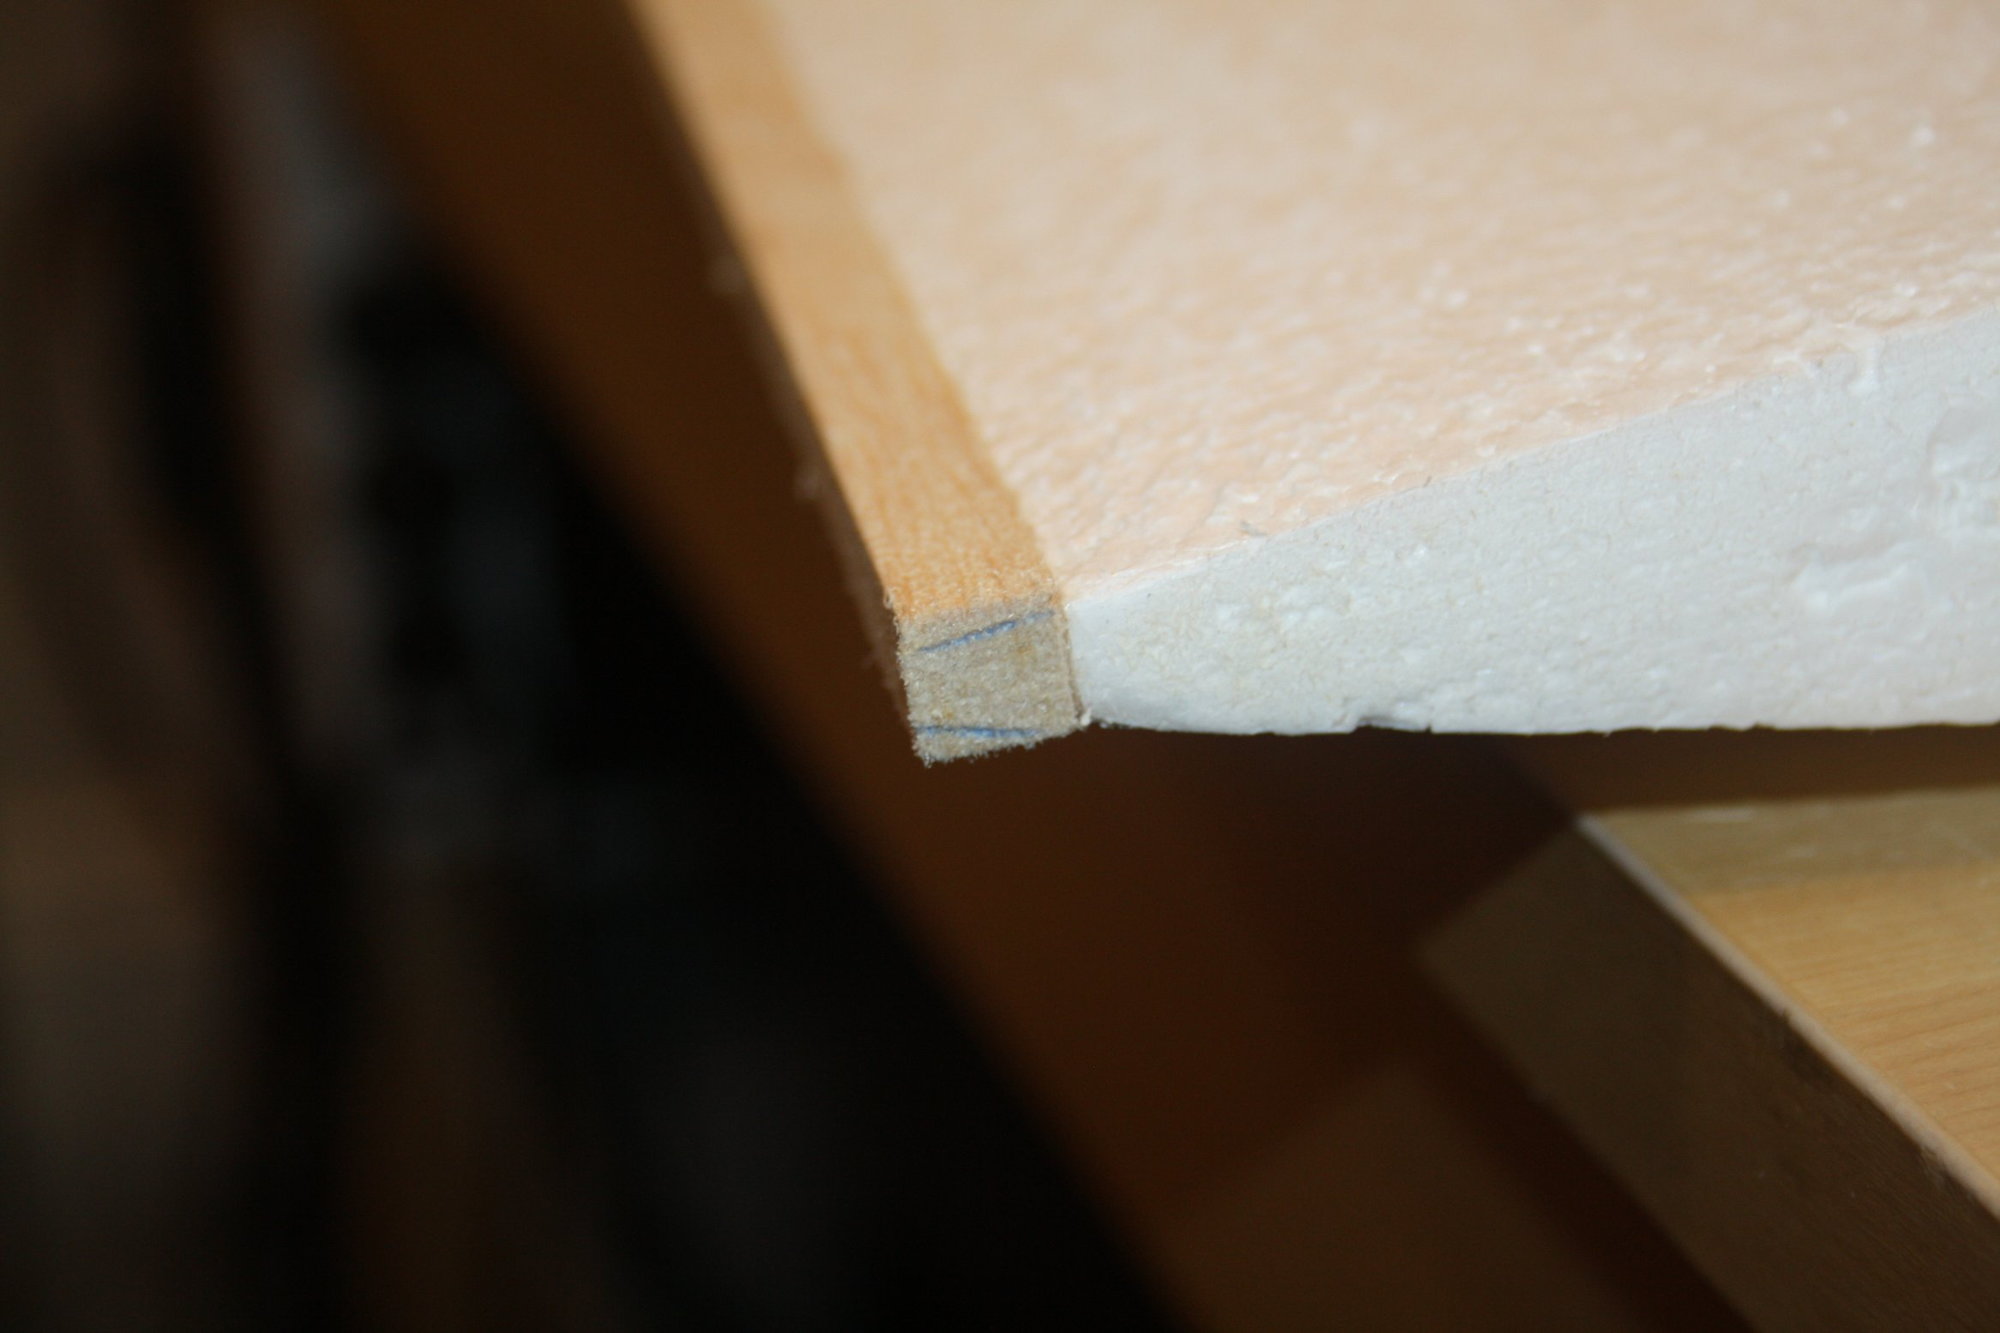
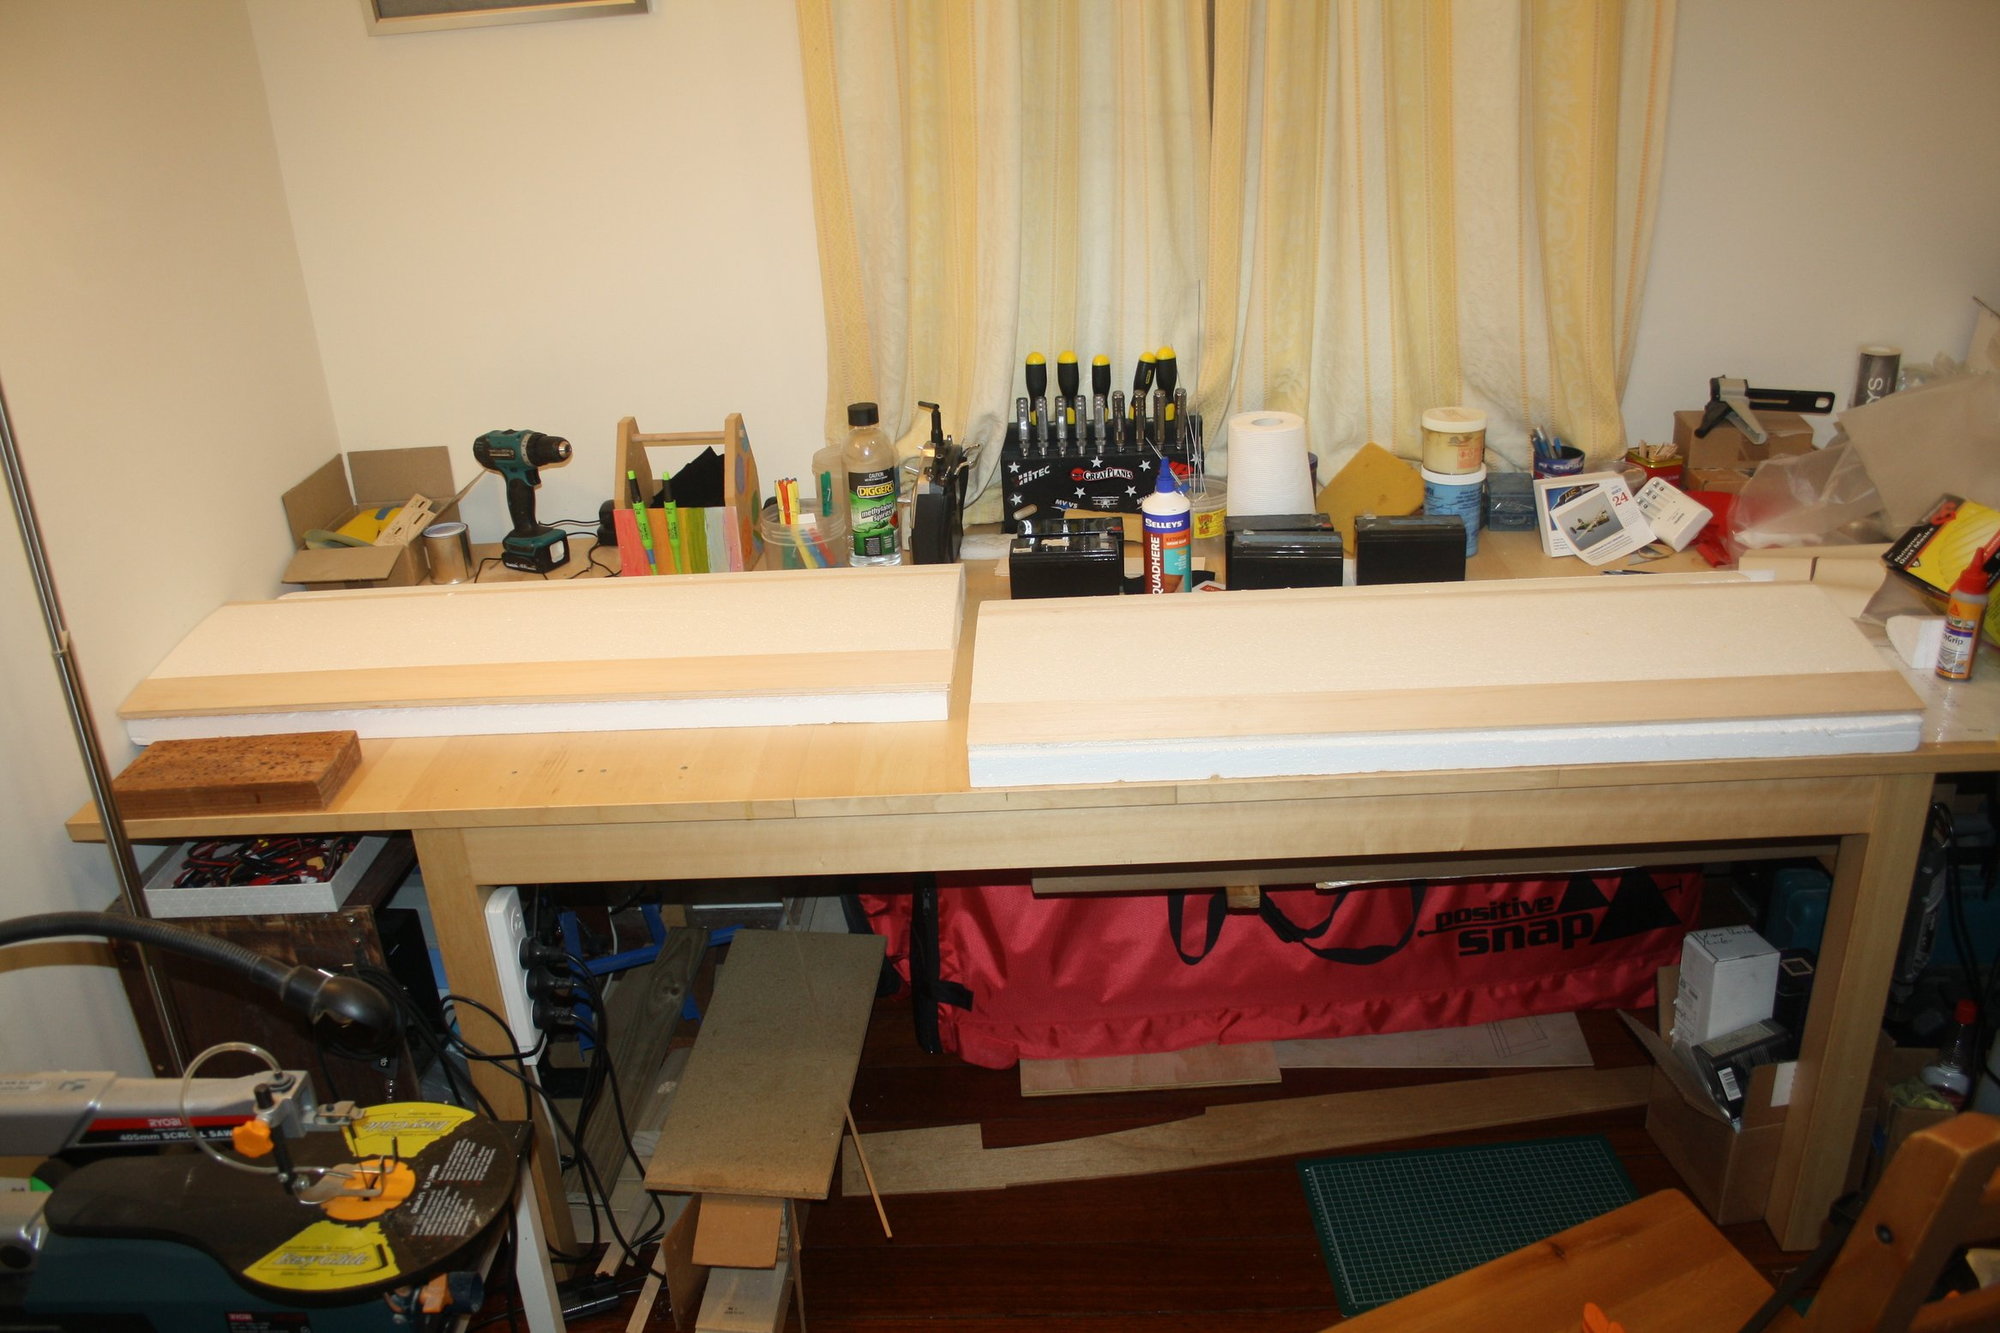
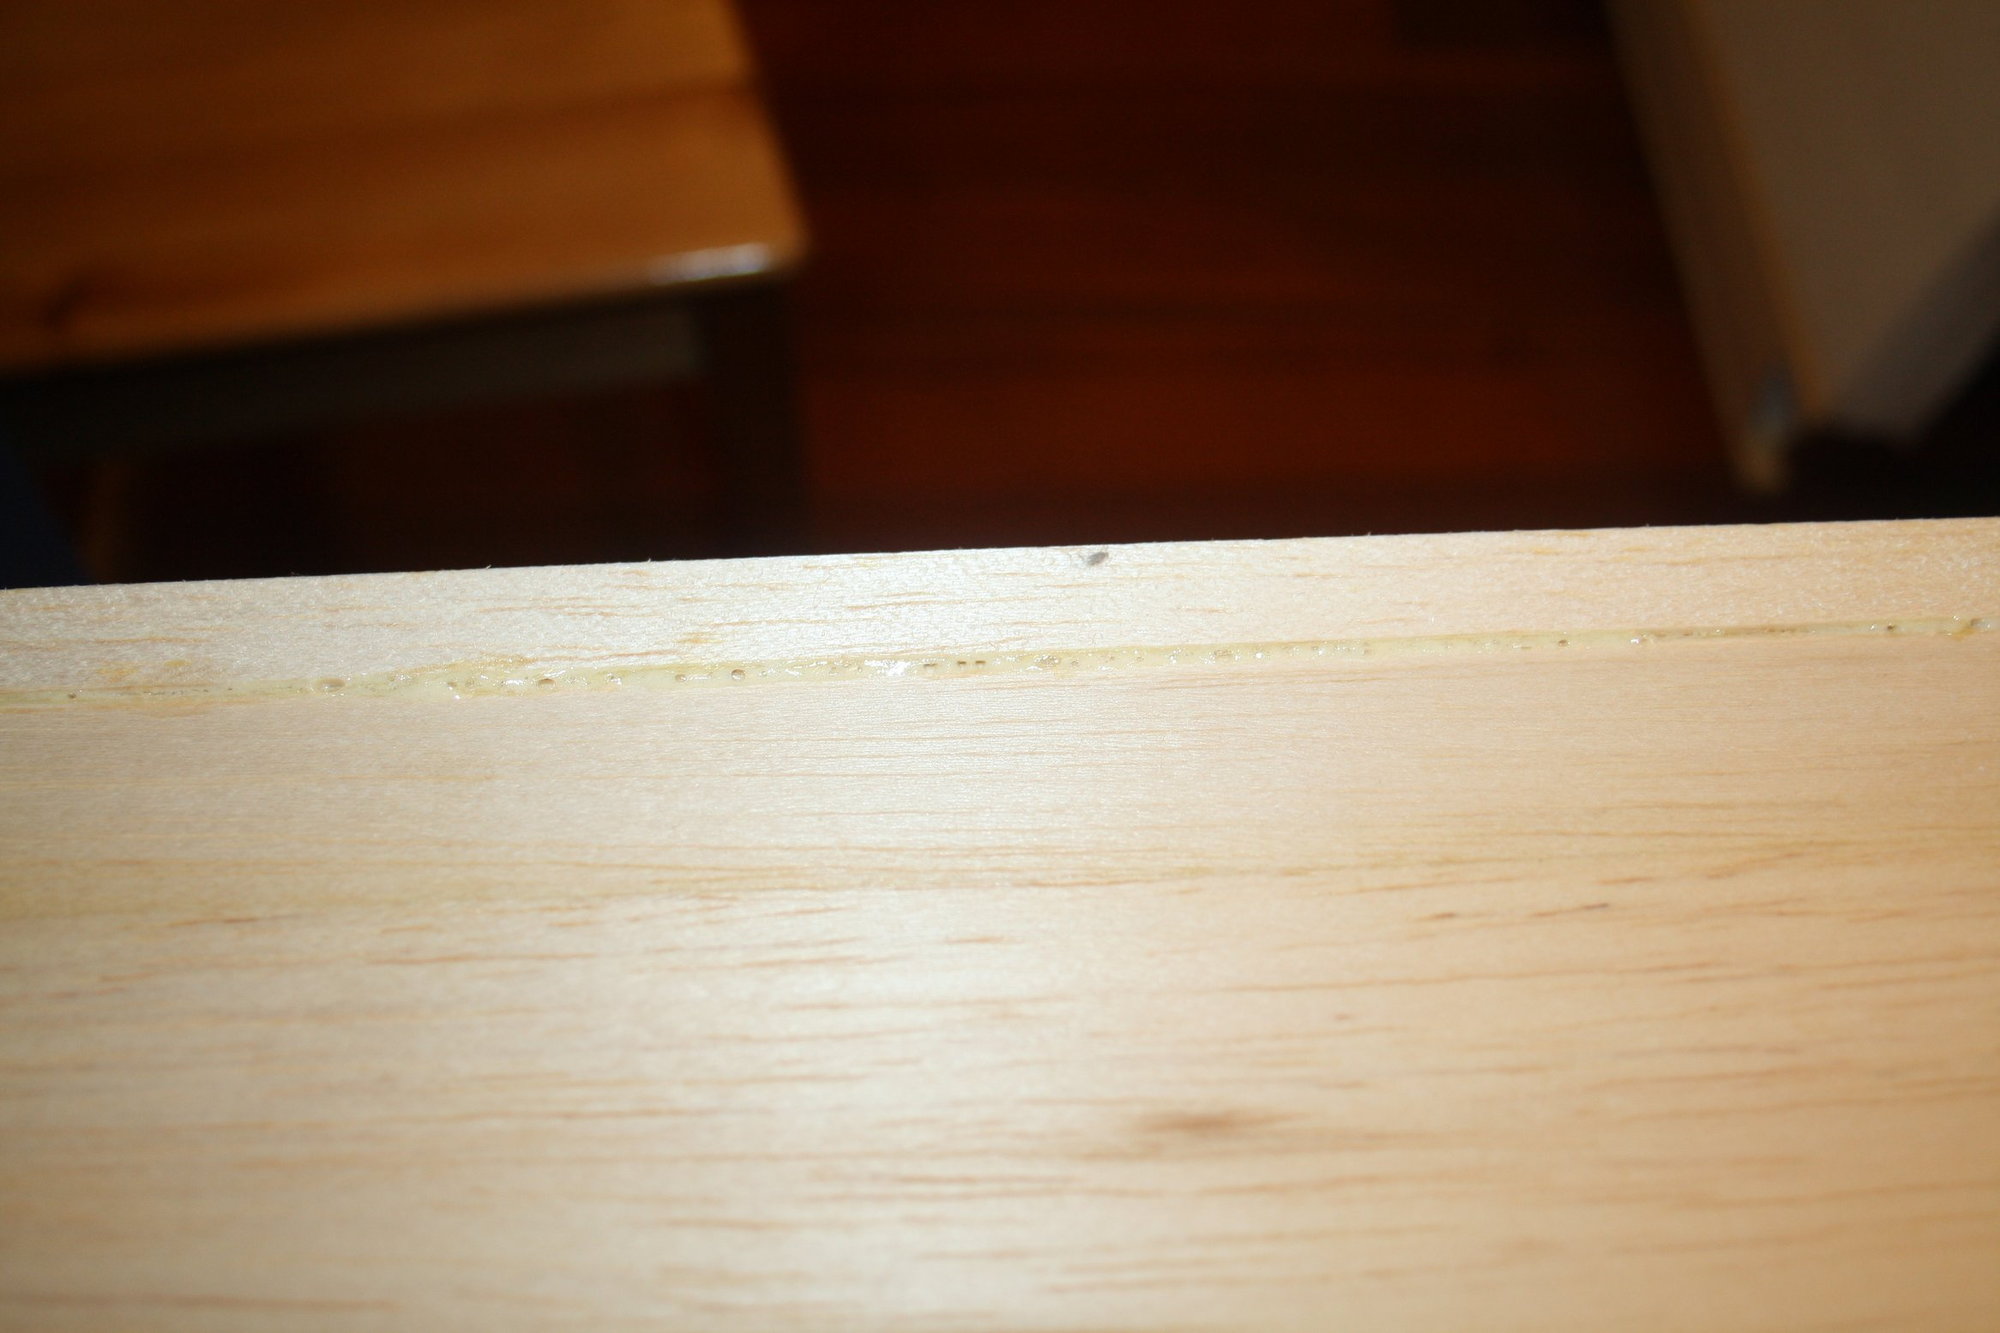
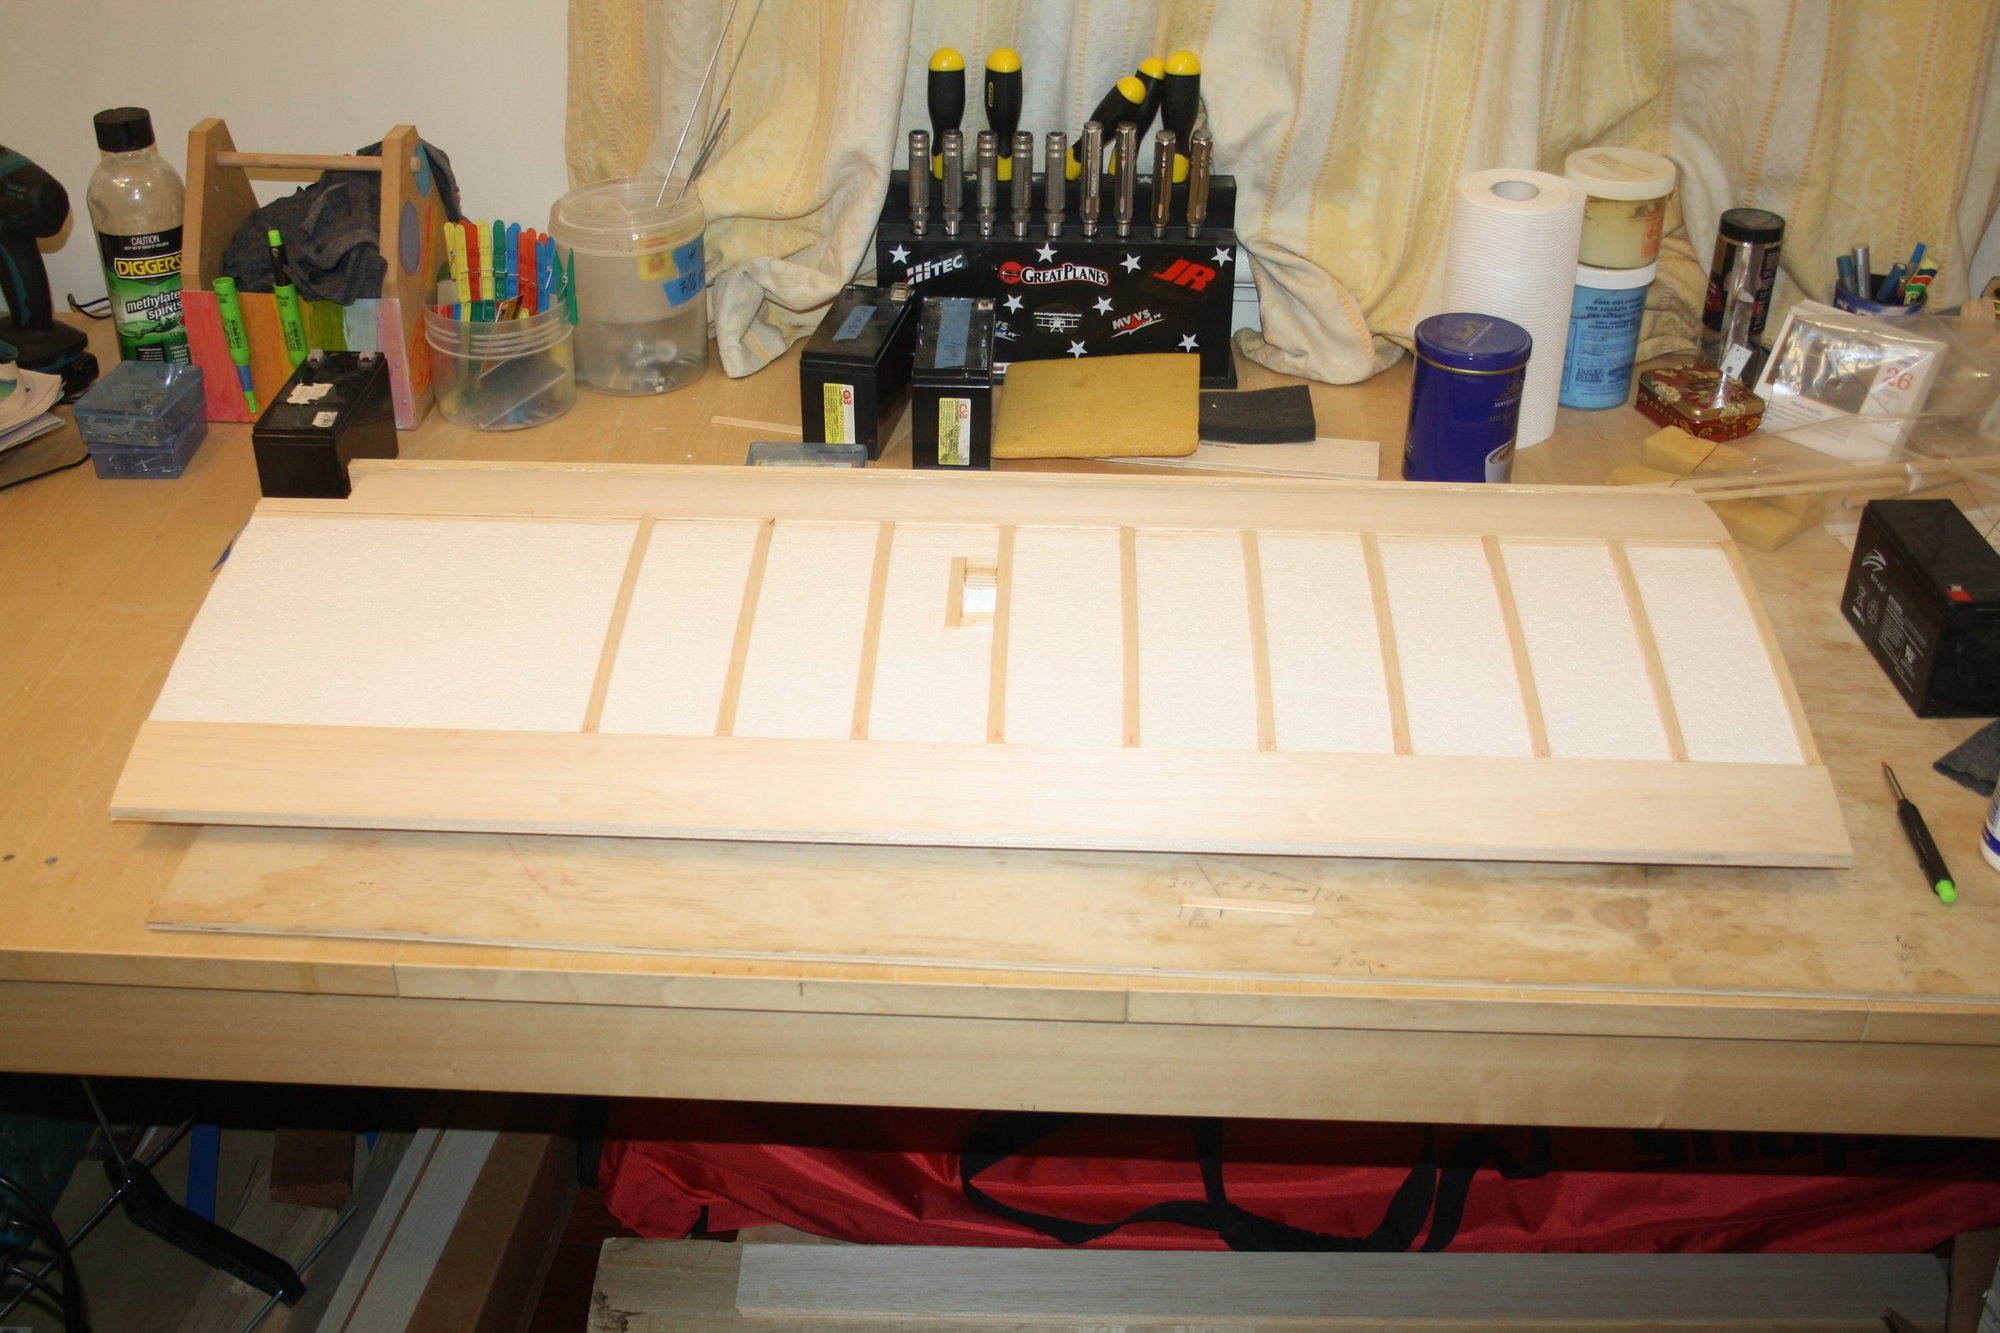
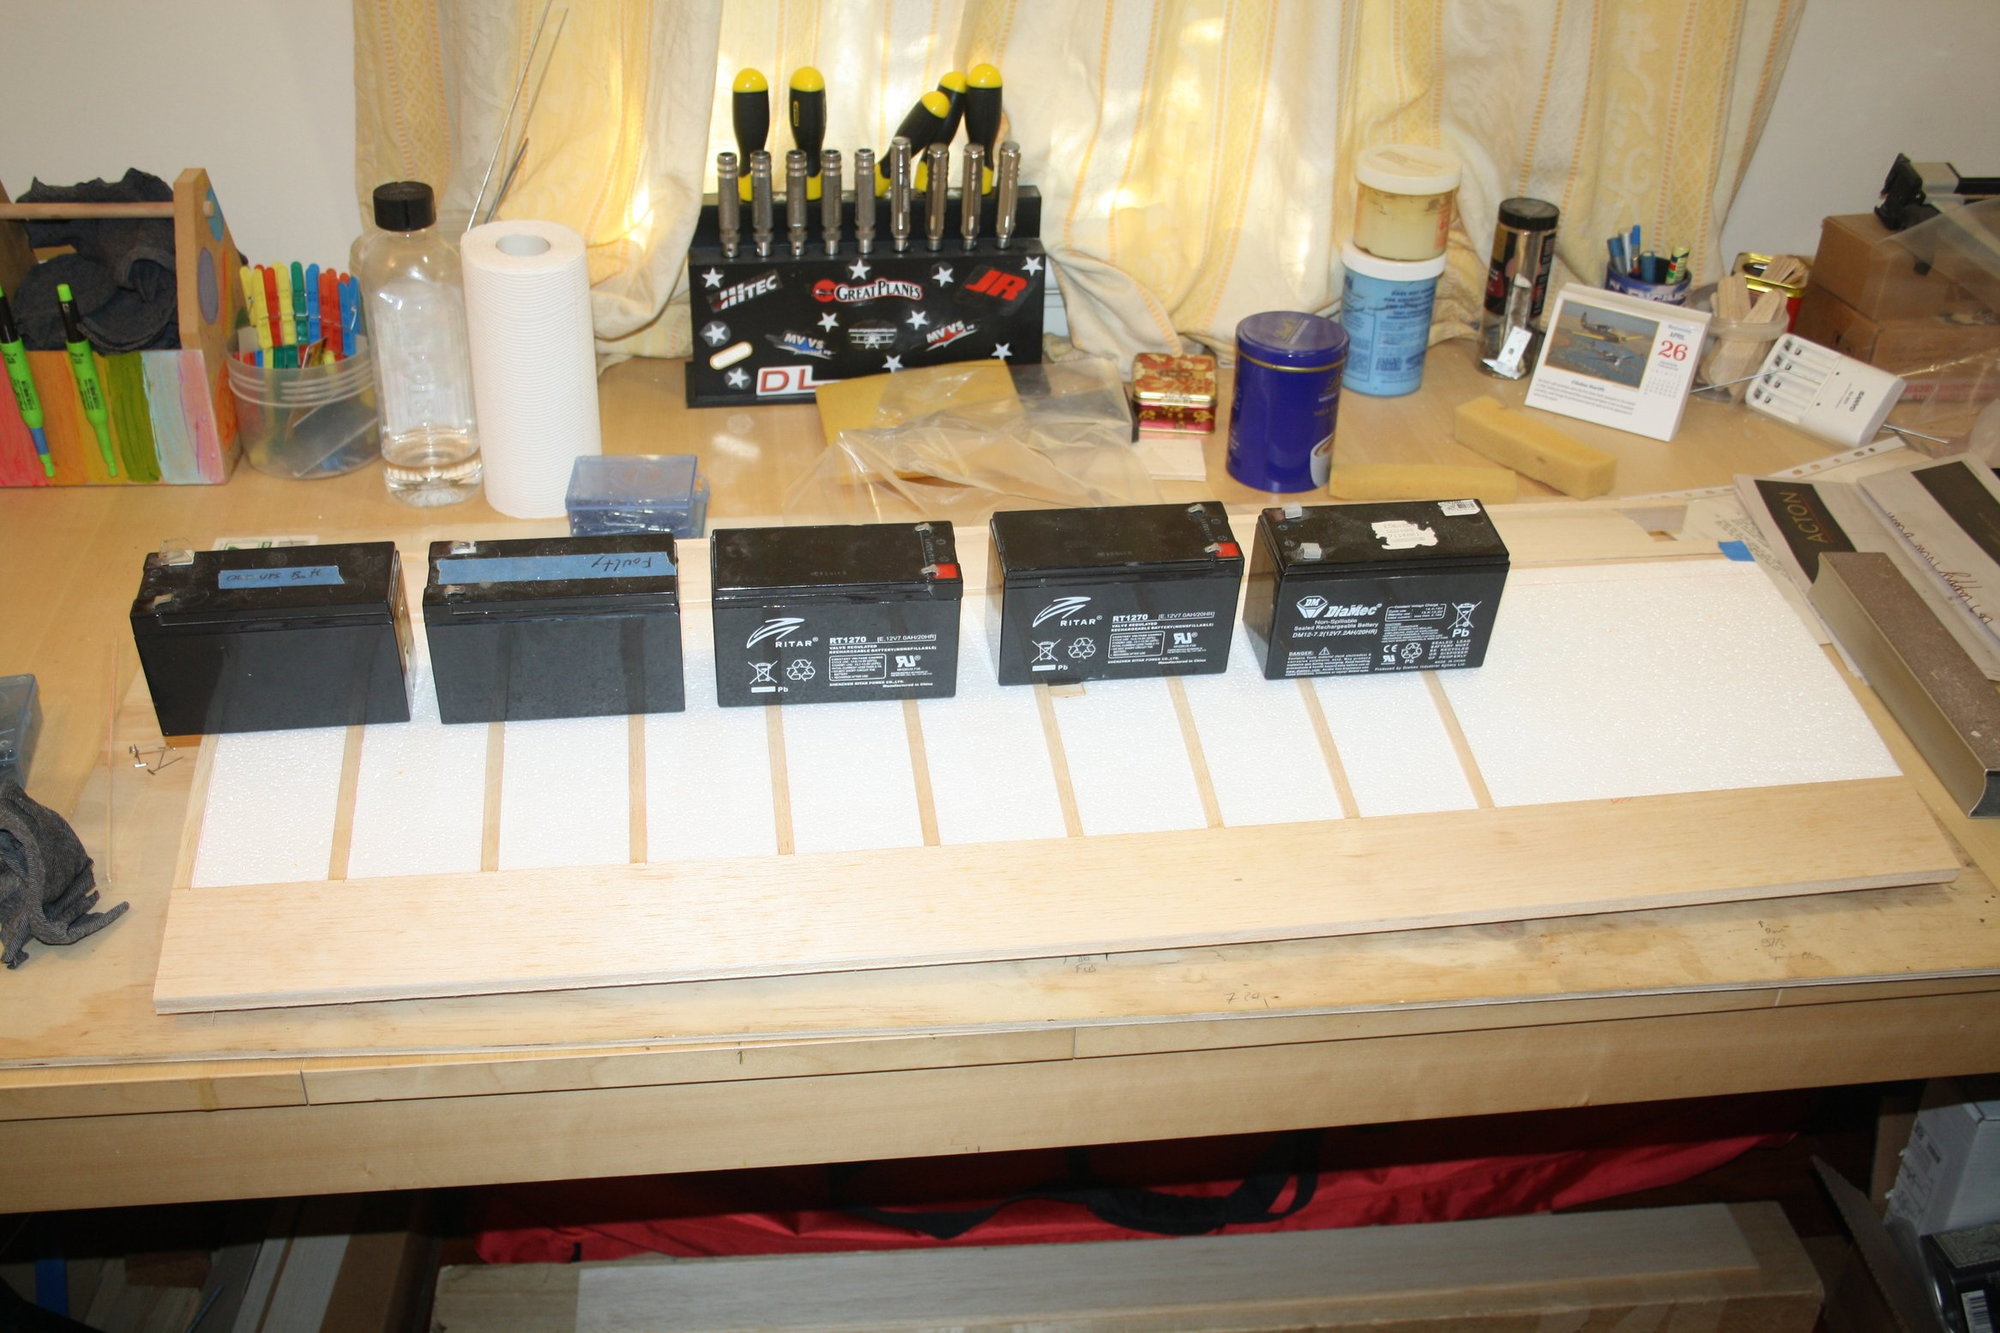
I got all the spars glued into place. The cuts in the foam was too wide on one panel and I used some balsa to fill the gap.
This build is progressing very slowly due to the use of PVA glue when interfacing with the foam, which has very long curing time. I contemplated the use of Polyurethane glue, but I am worried that the expansion properties will cause issues.
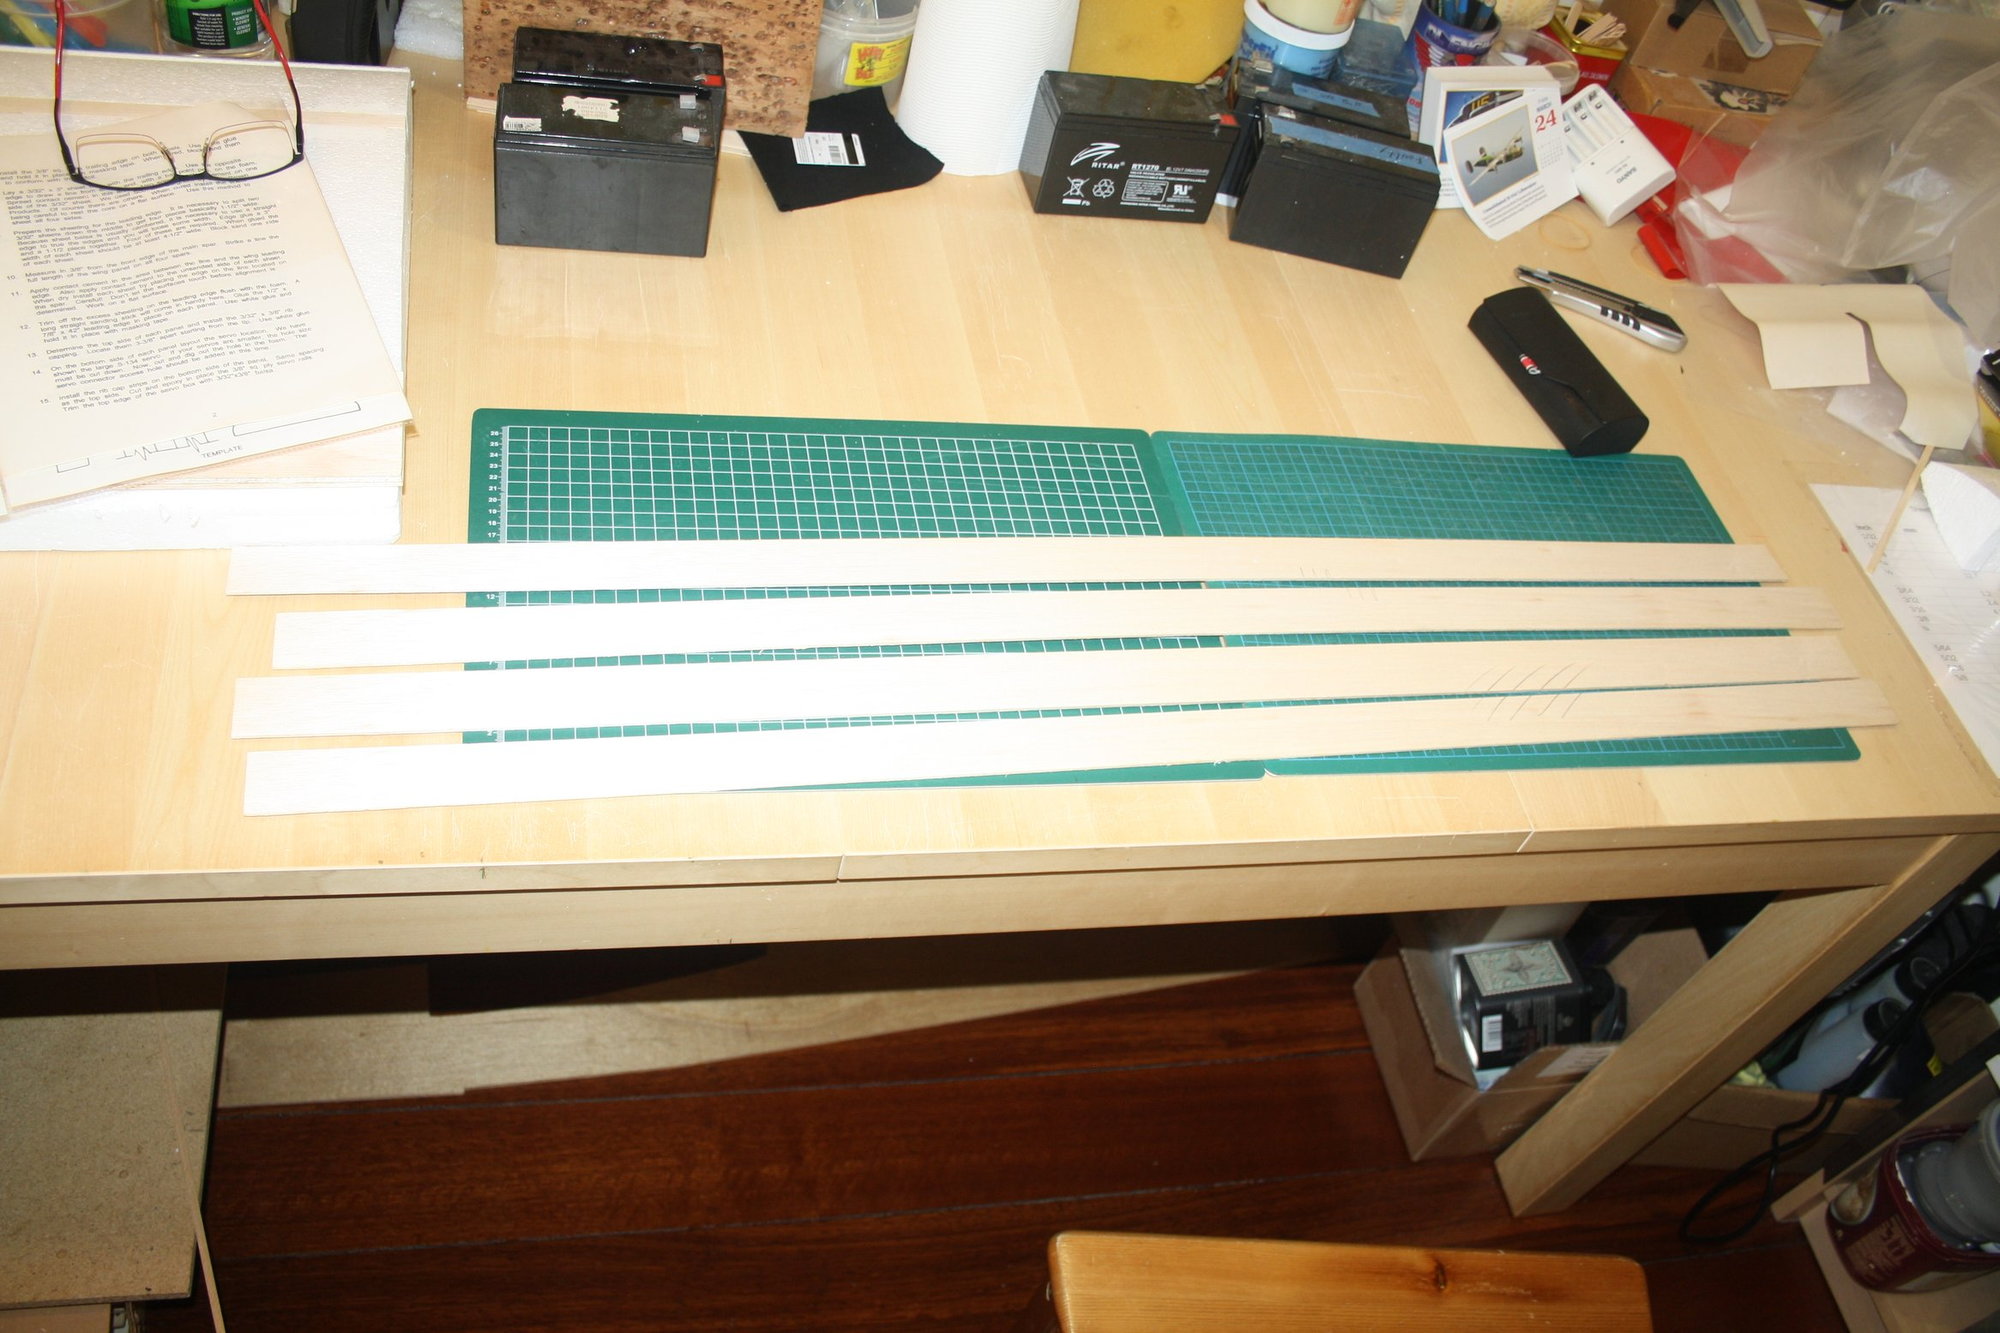
With 8 sheets of balsa to be glued next (4x Leading Edge and 4x Trailing Edge), it is by some margin the least productive use of time I had on a kit build... Minutes to set up and apply the glue and 24 hours waiting time.
Cheers,
Eran
This build is progressing very slowly due to the use of PVA glue when interfacing with the foam, which has very long curing time. I contemplated the use of Polyurethane glue, but I am worried that the expansion properties will cause issues.
With 8 sheets of balsa to be glued next (4x Leading Edge and 4x Trailing Edge), it is by some margin the least productive use of time I had on a kit build... Minutes to set up and apply the glue and 24 hours waiting time.
Cheers,
Eran
04-20-2023, 04:49 PM
#7
Thread Starter
Thank you JasonRussell.
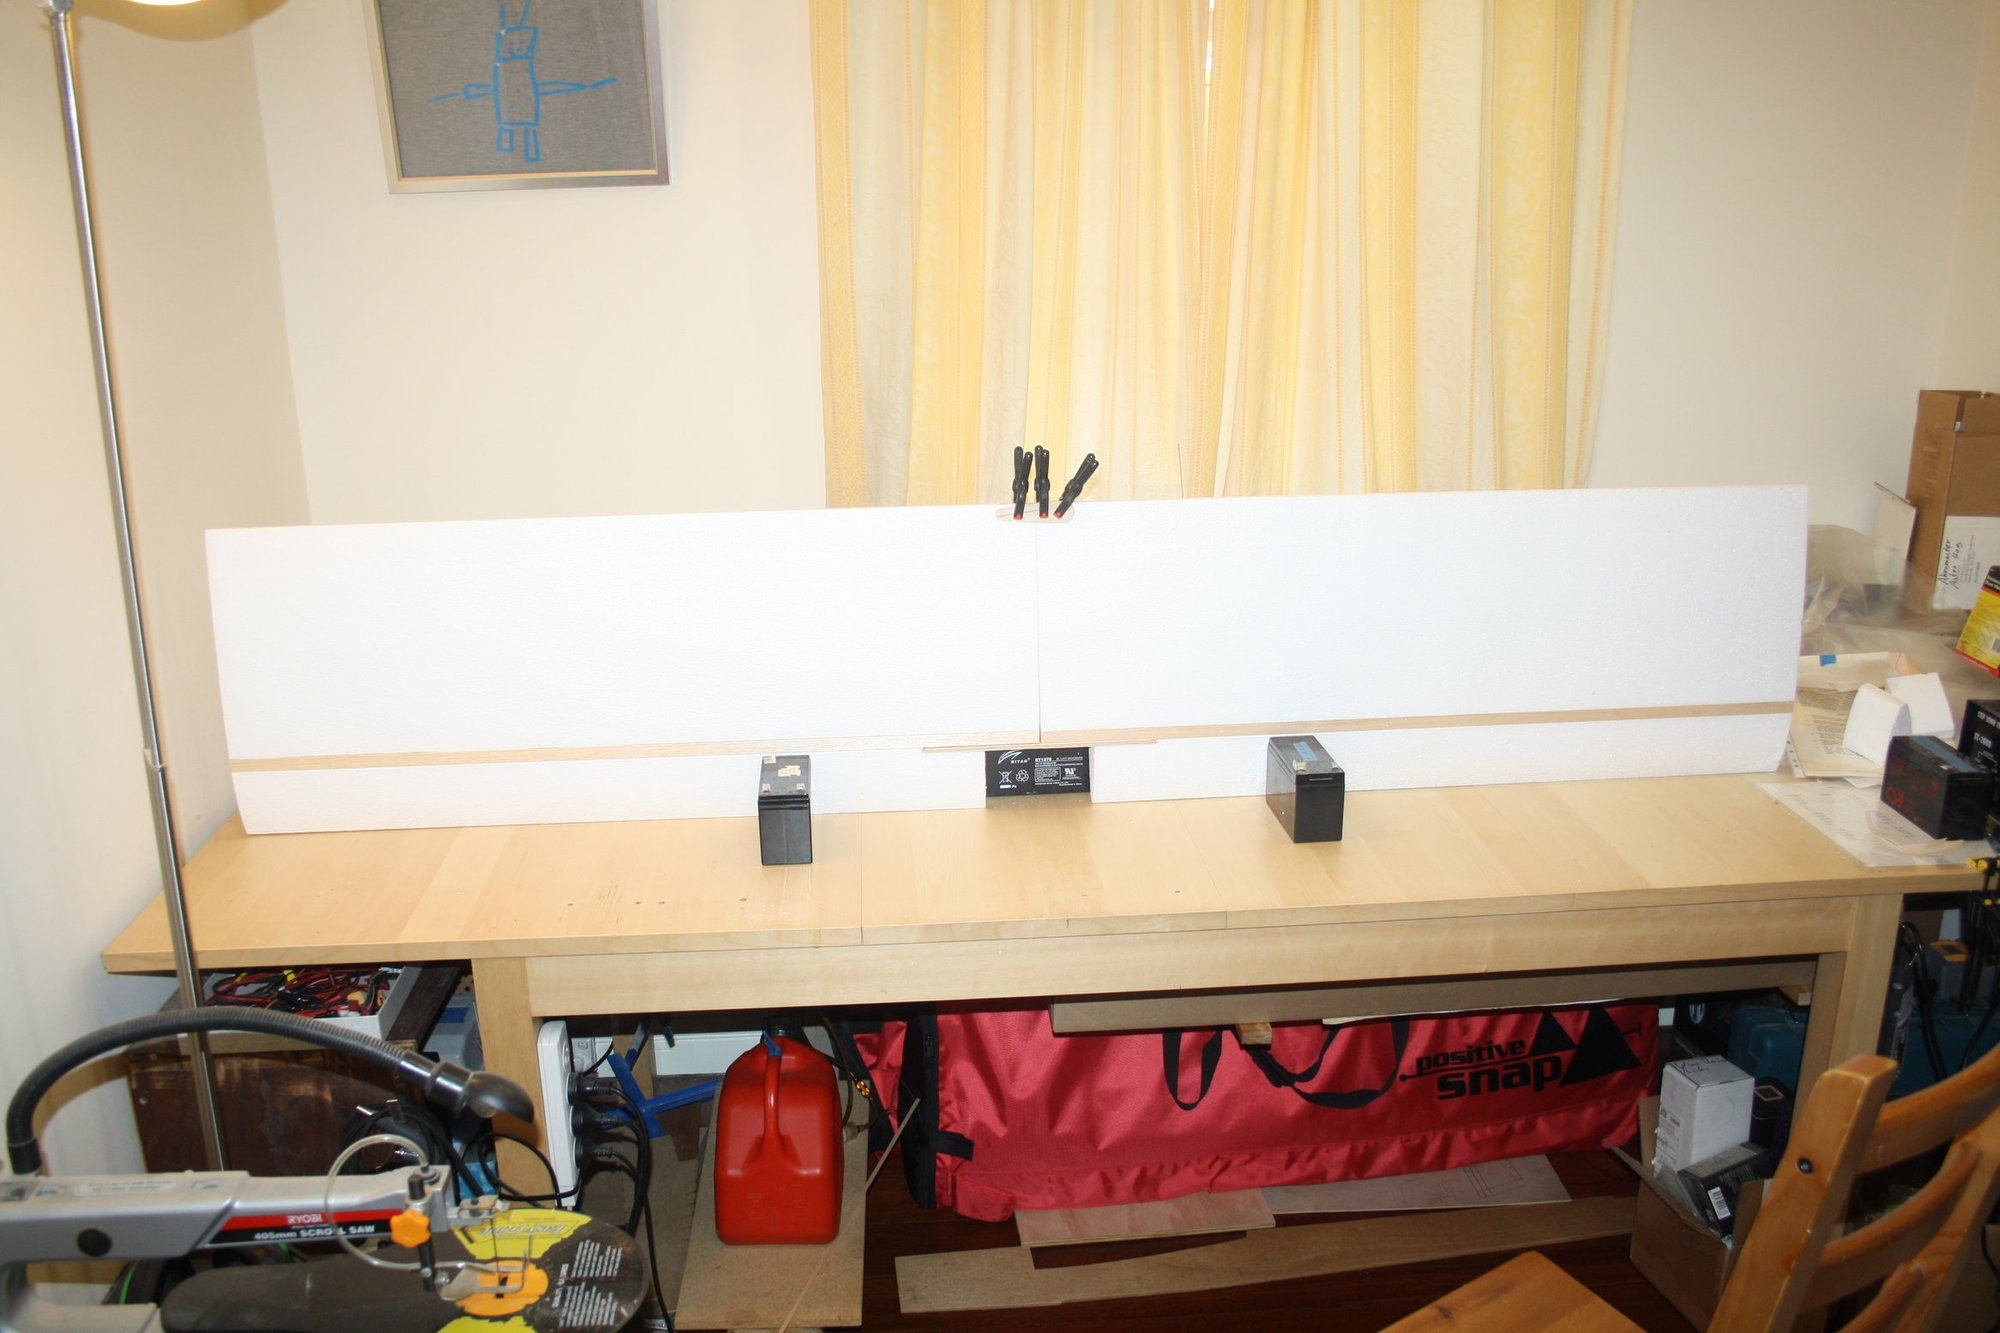
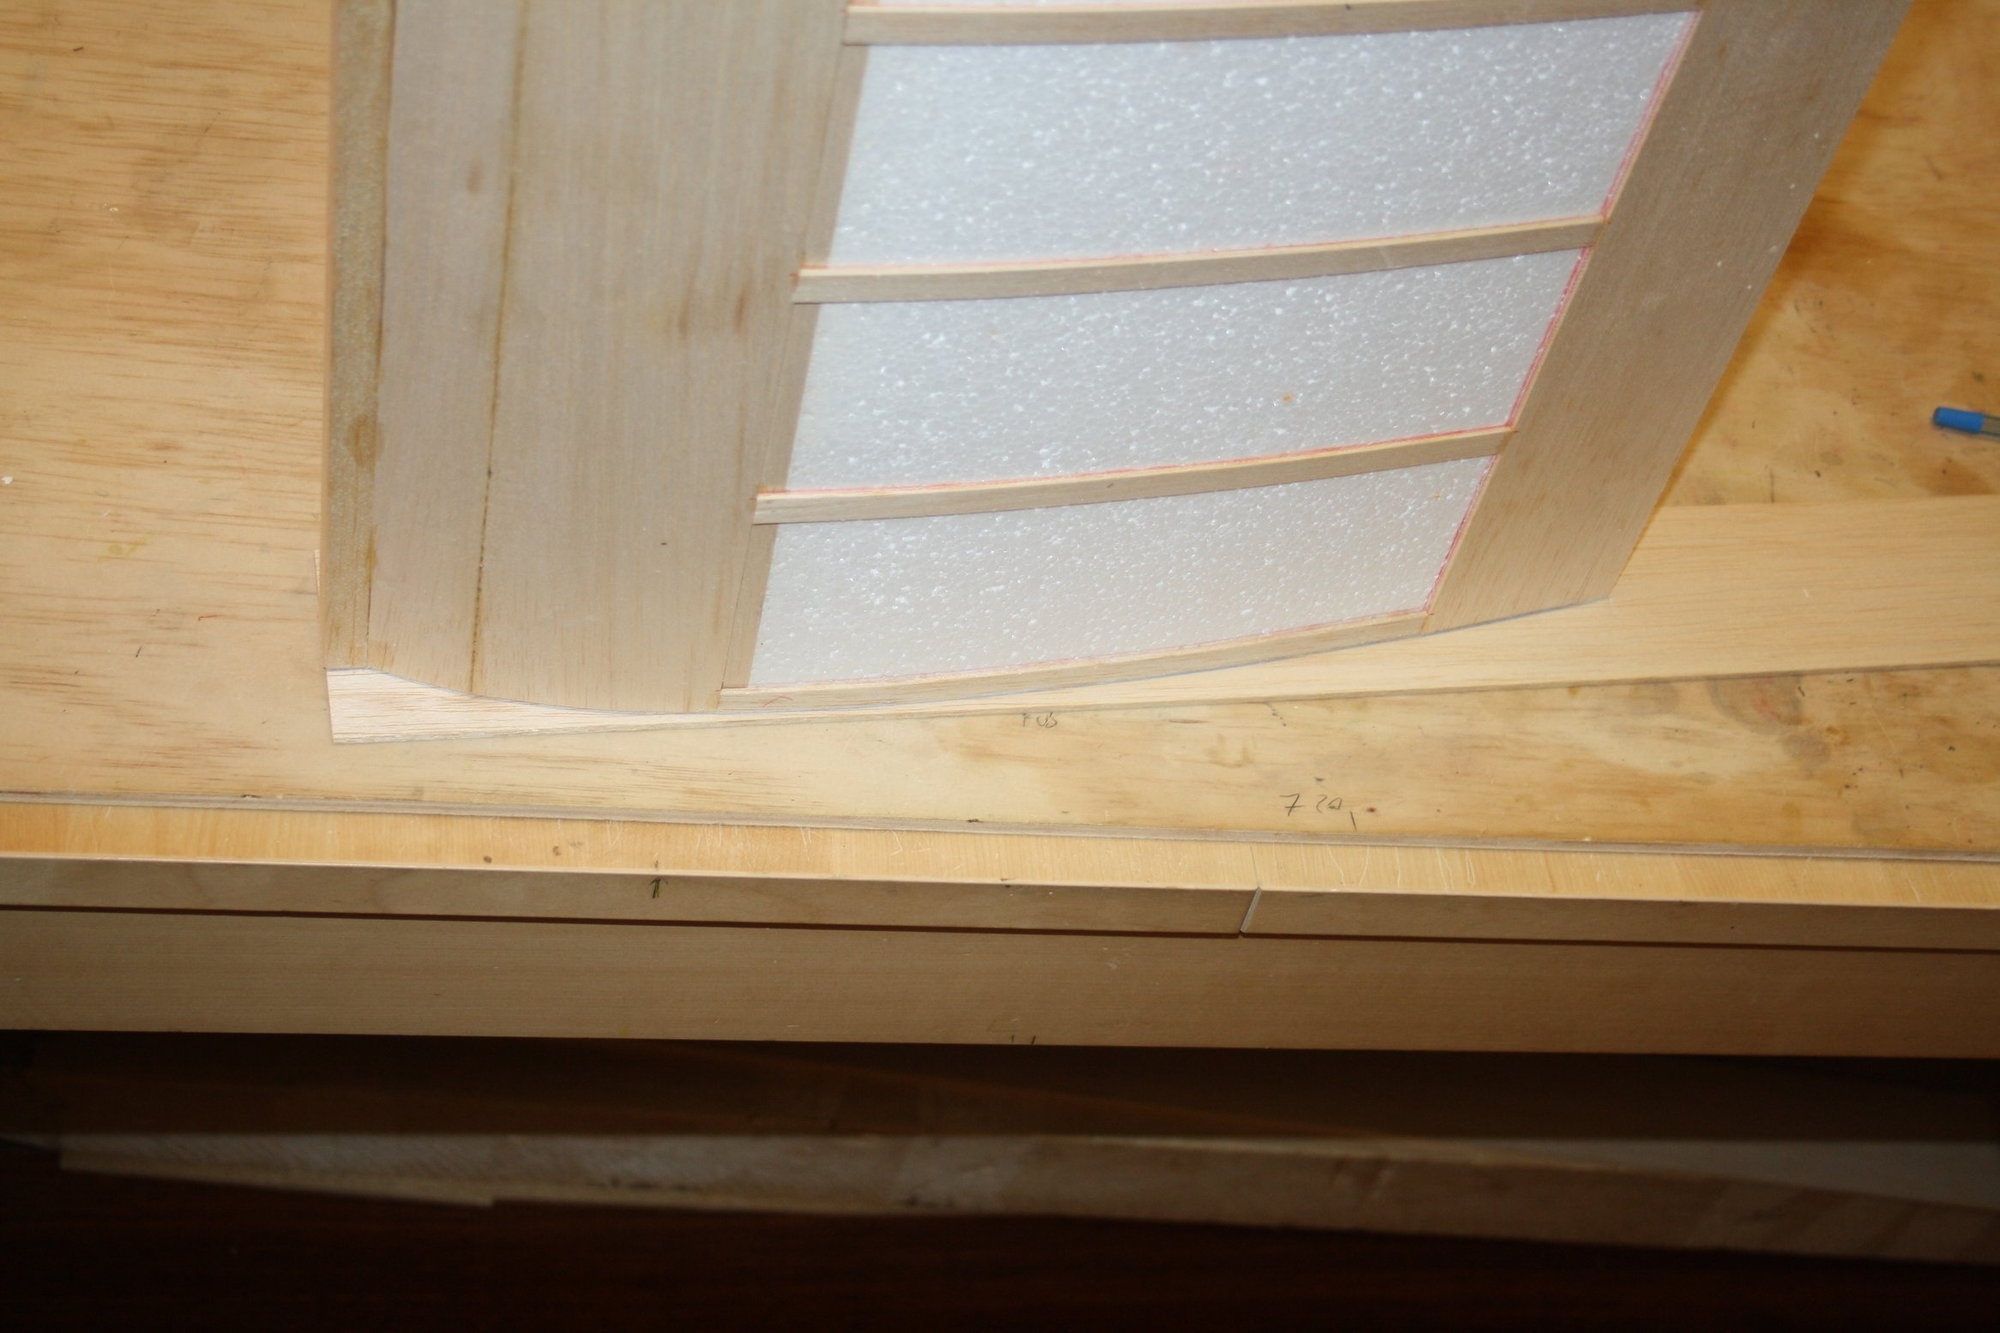
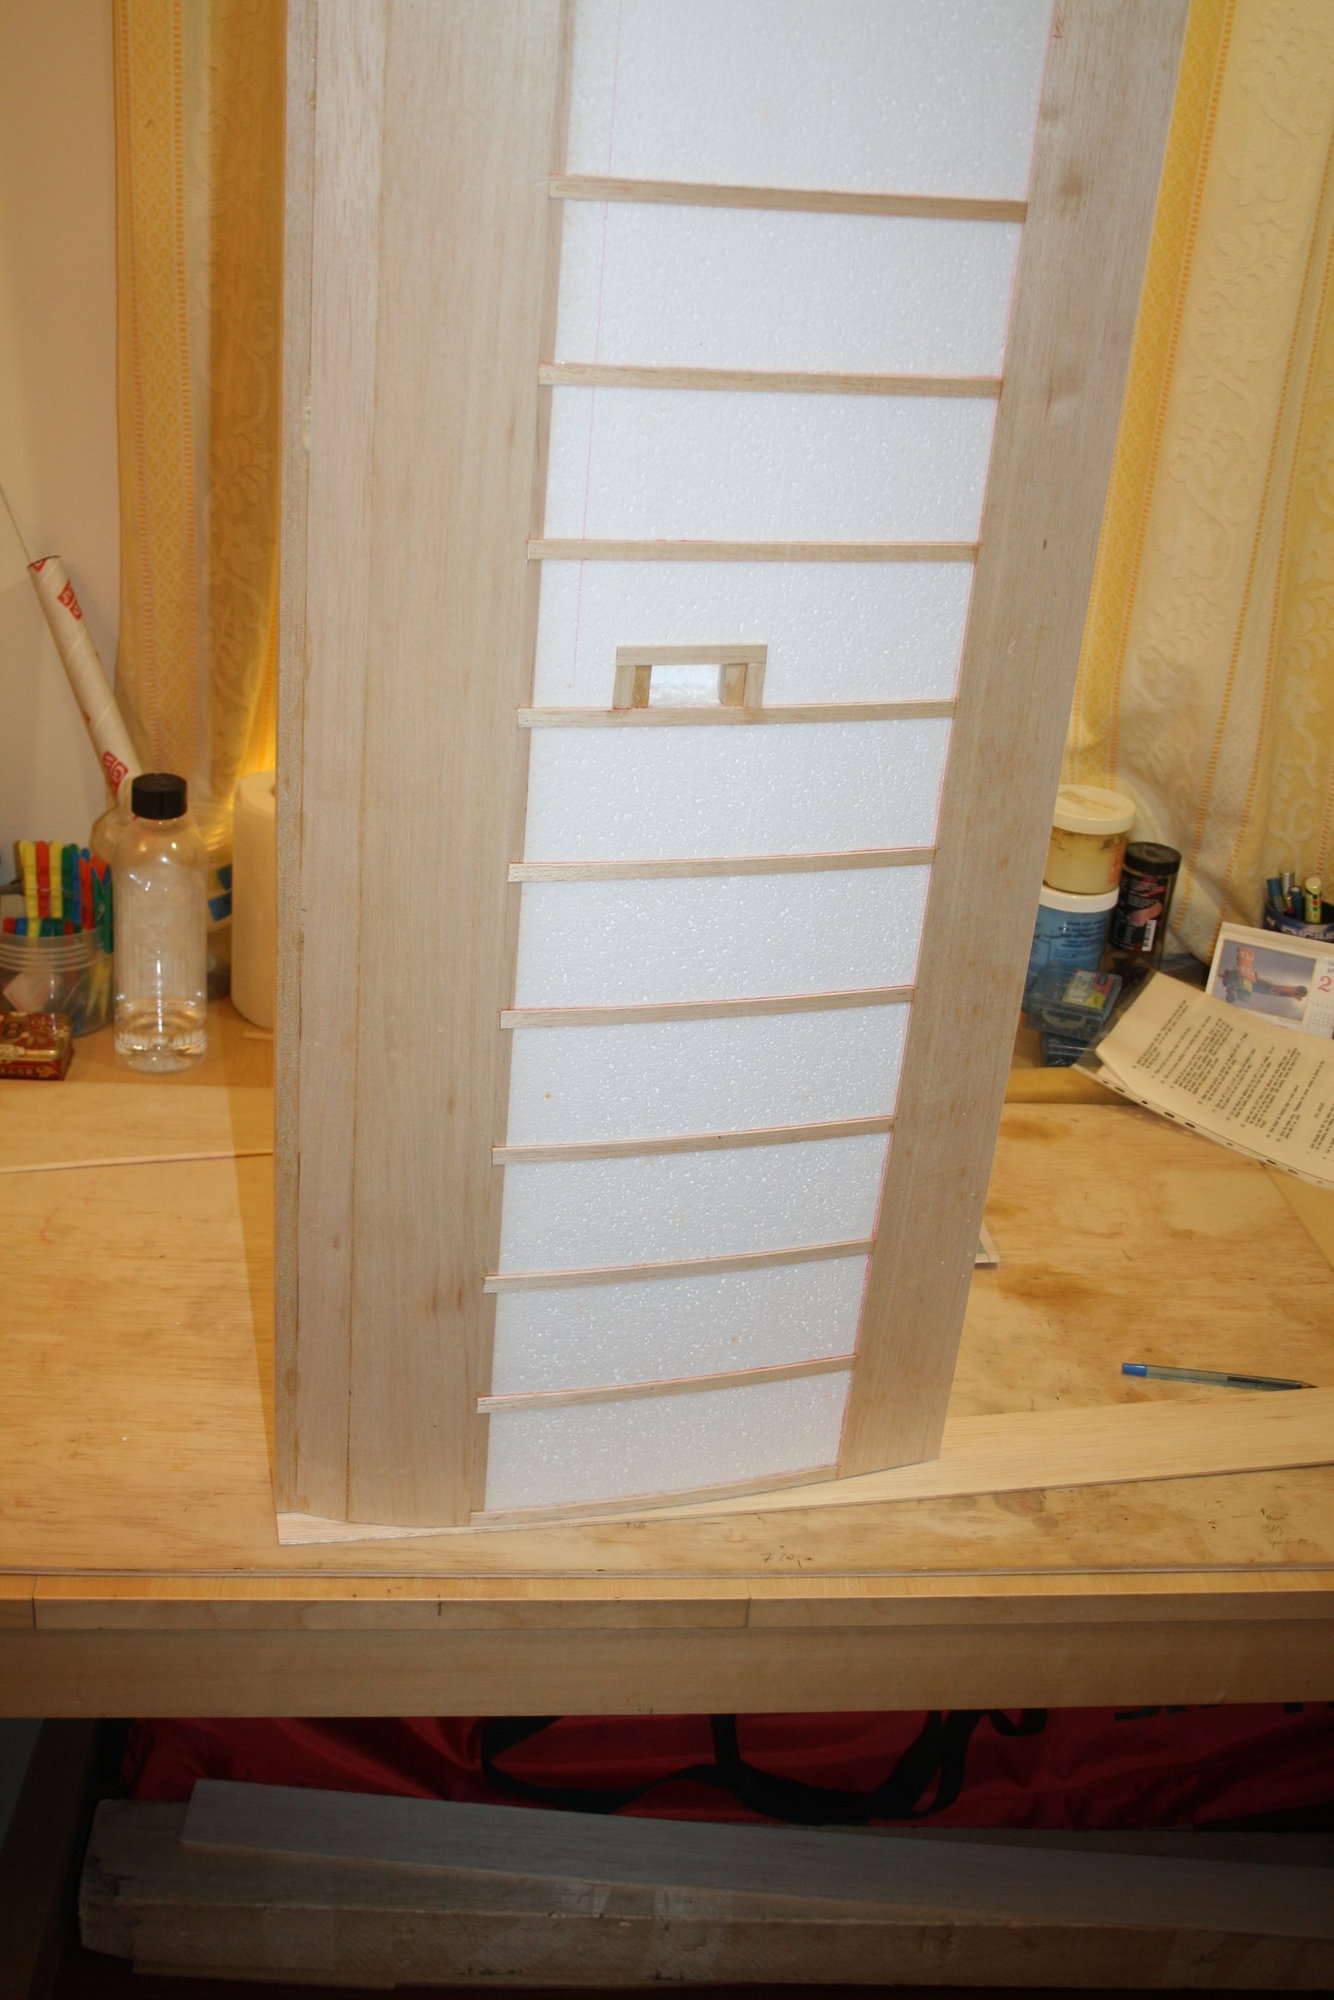
I made some progress also this build is slow due to some parallel projects I am doing at the same time. I held both wings together to have a feel of the size, it is quite impressive.
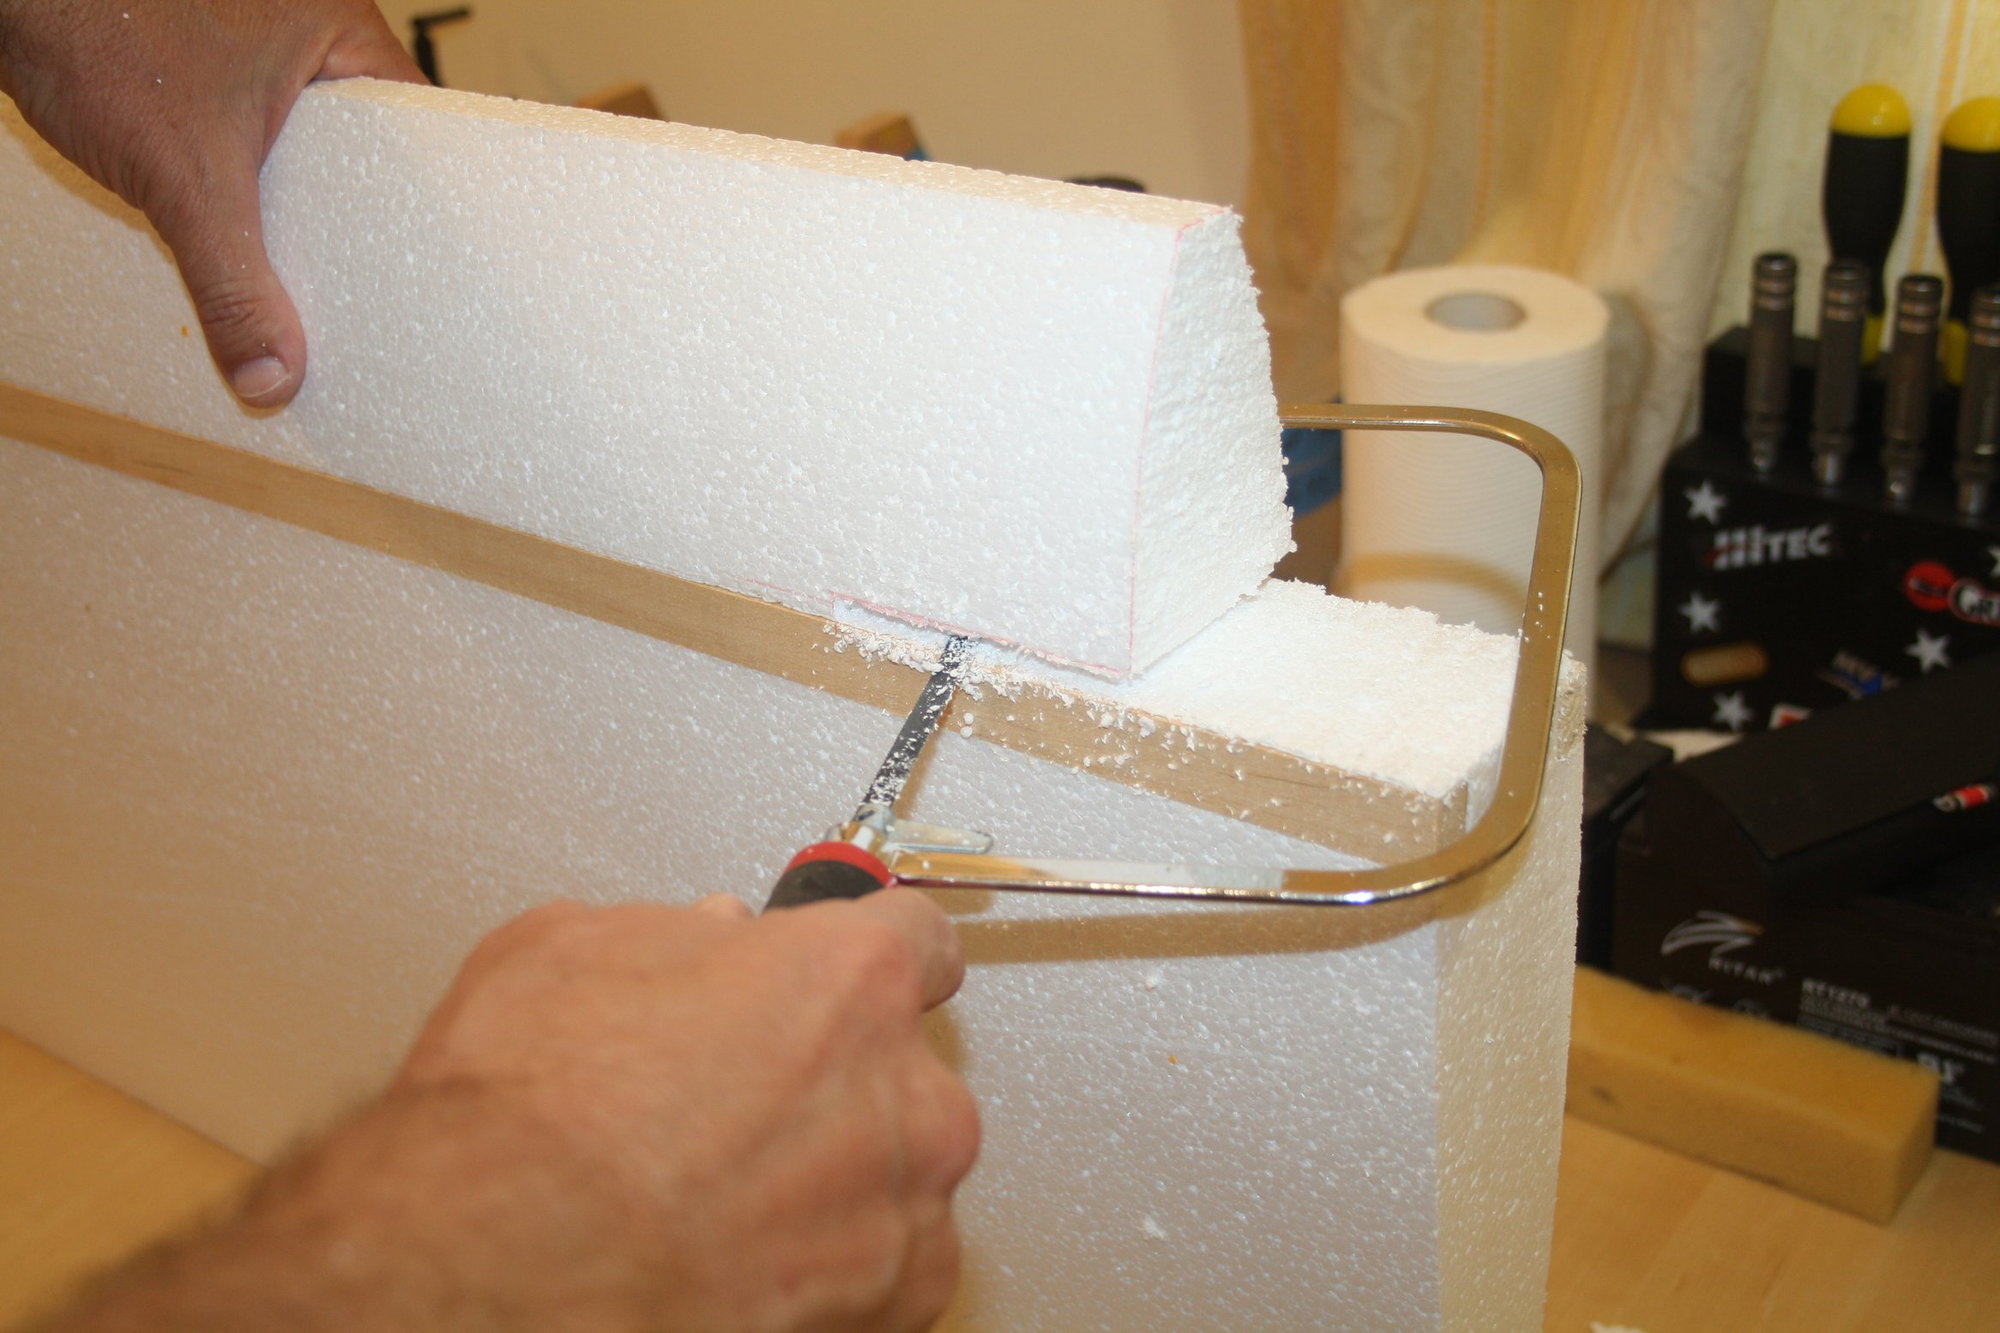
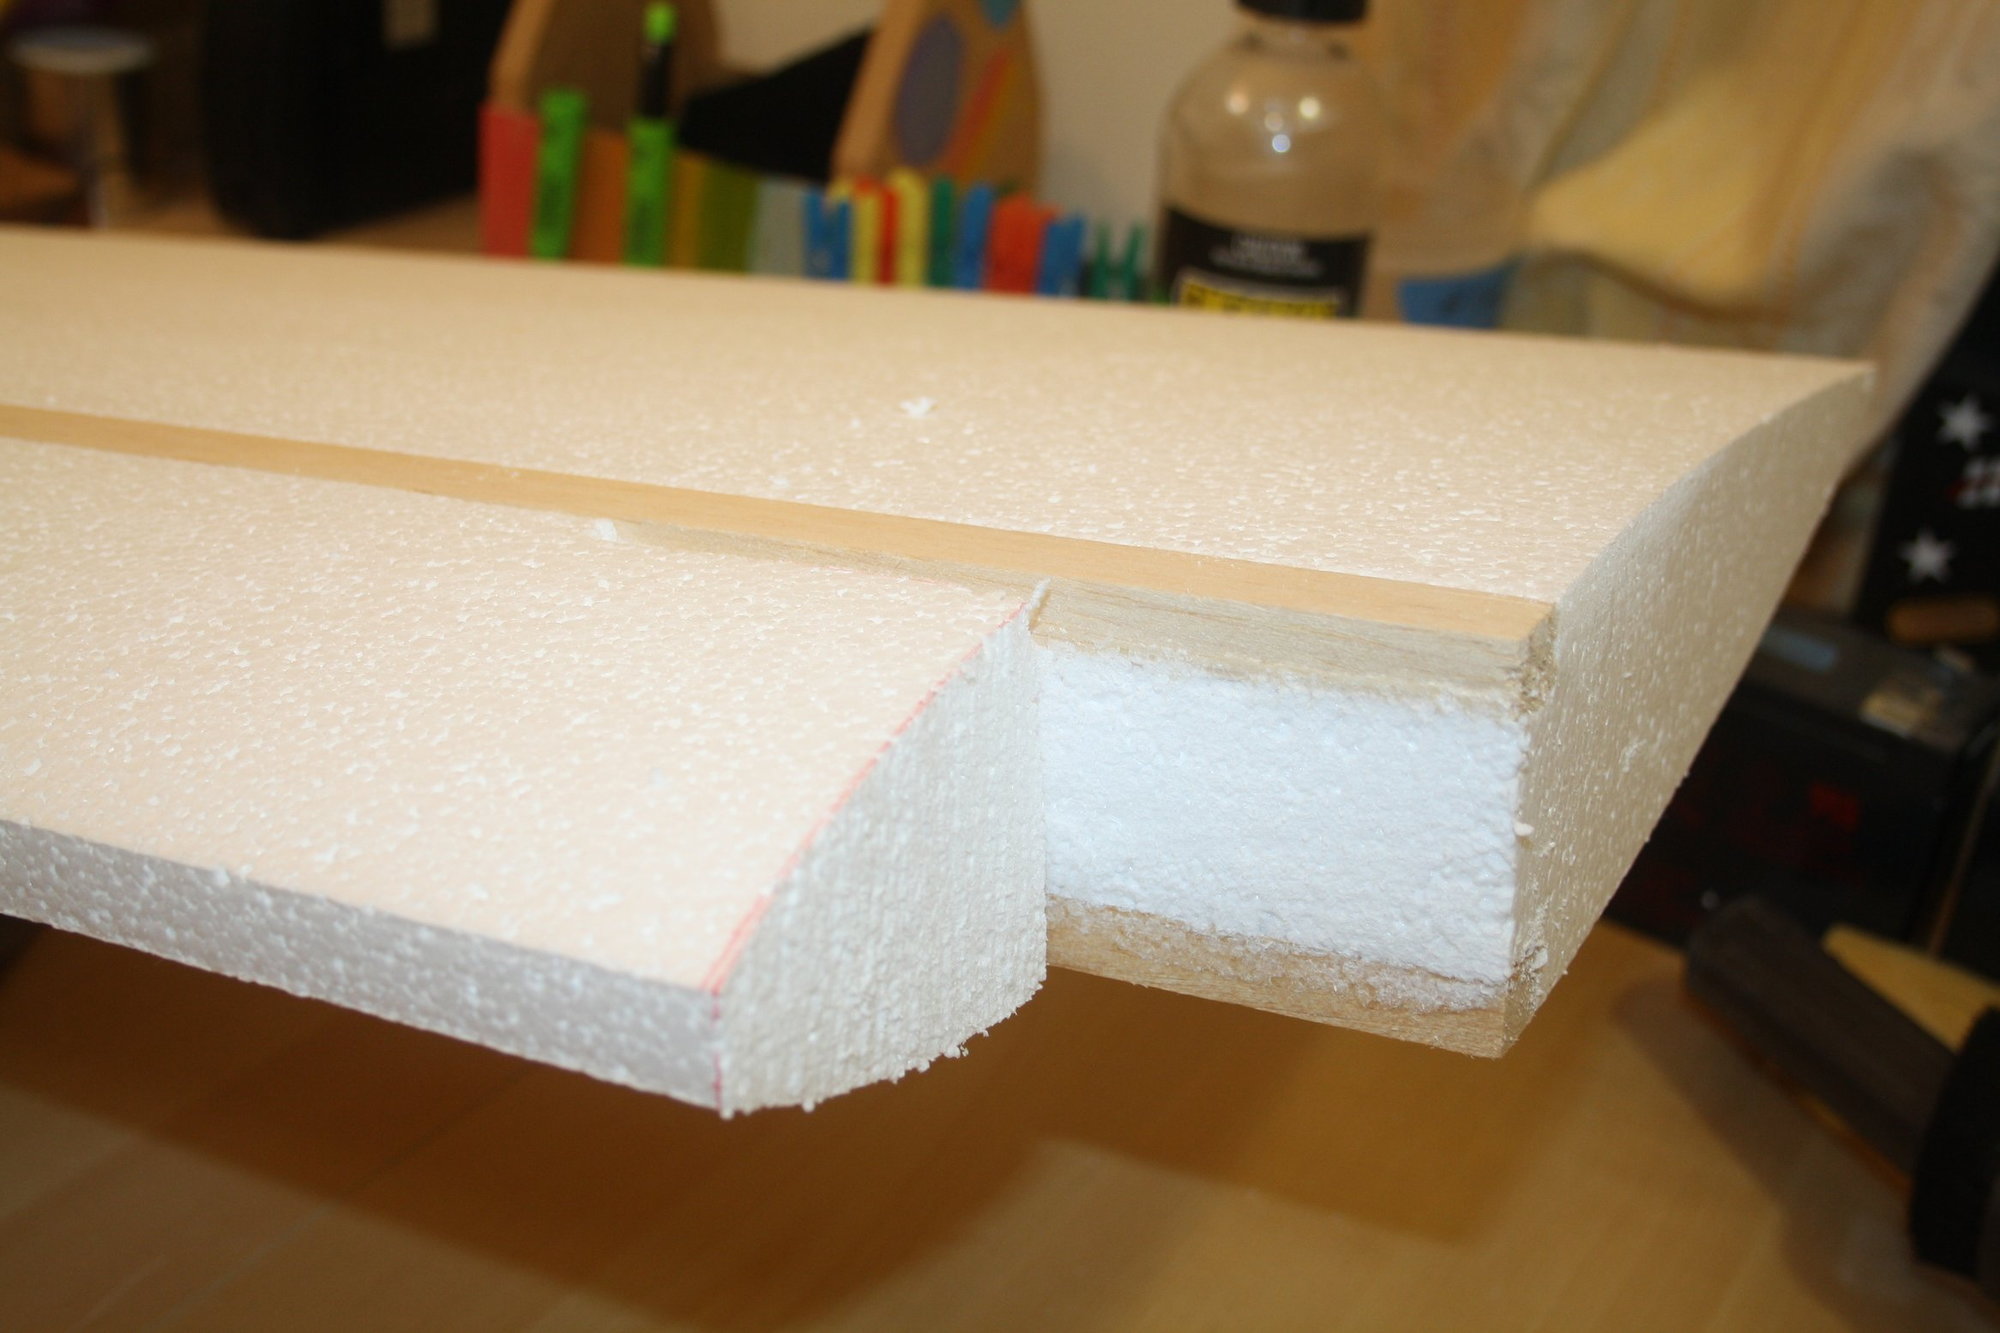
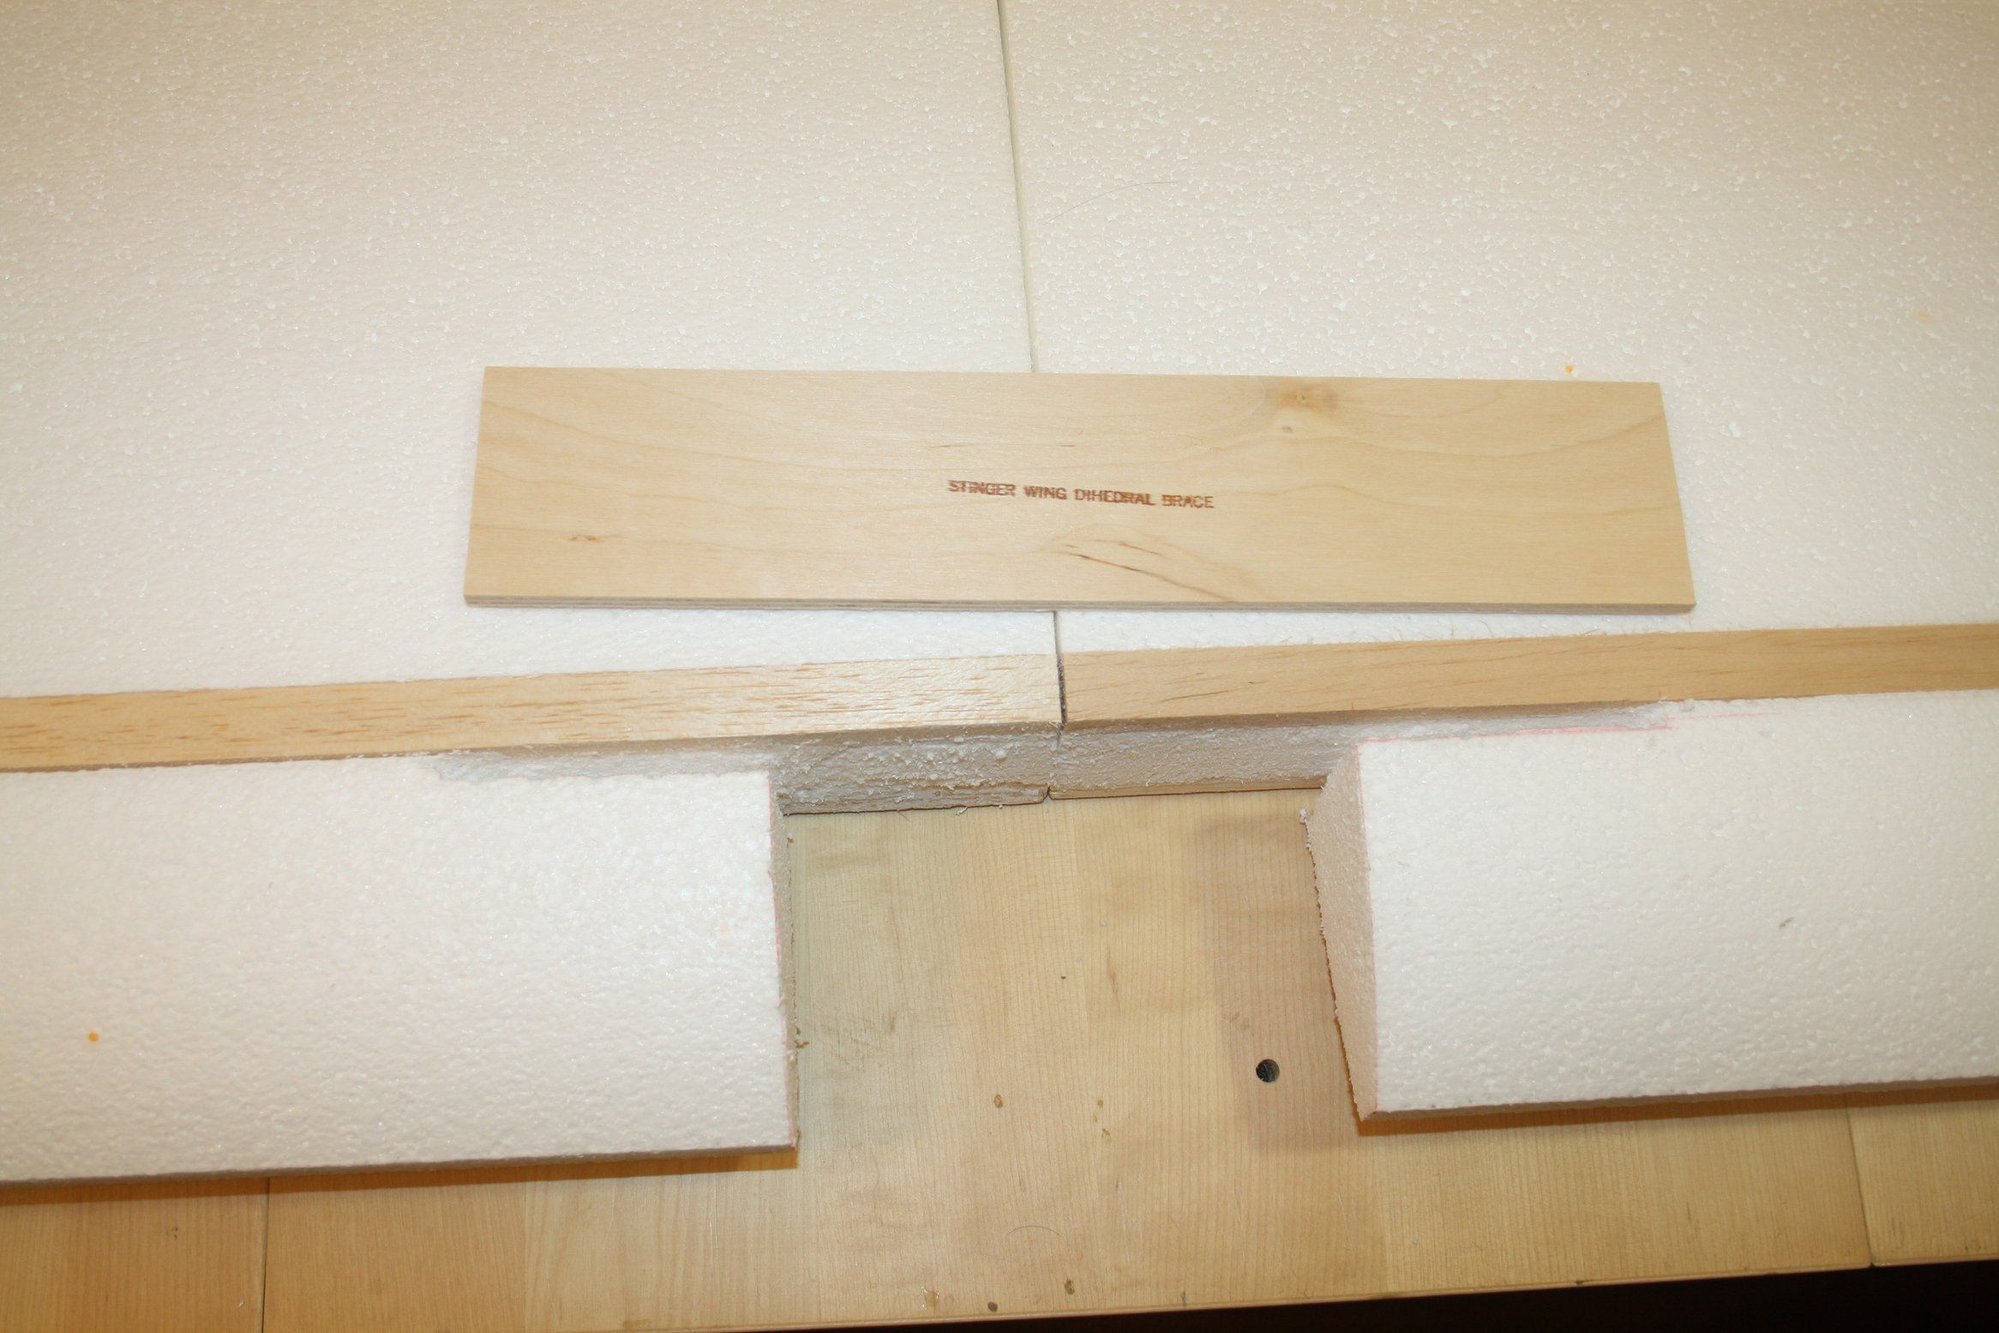
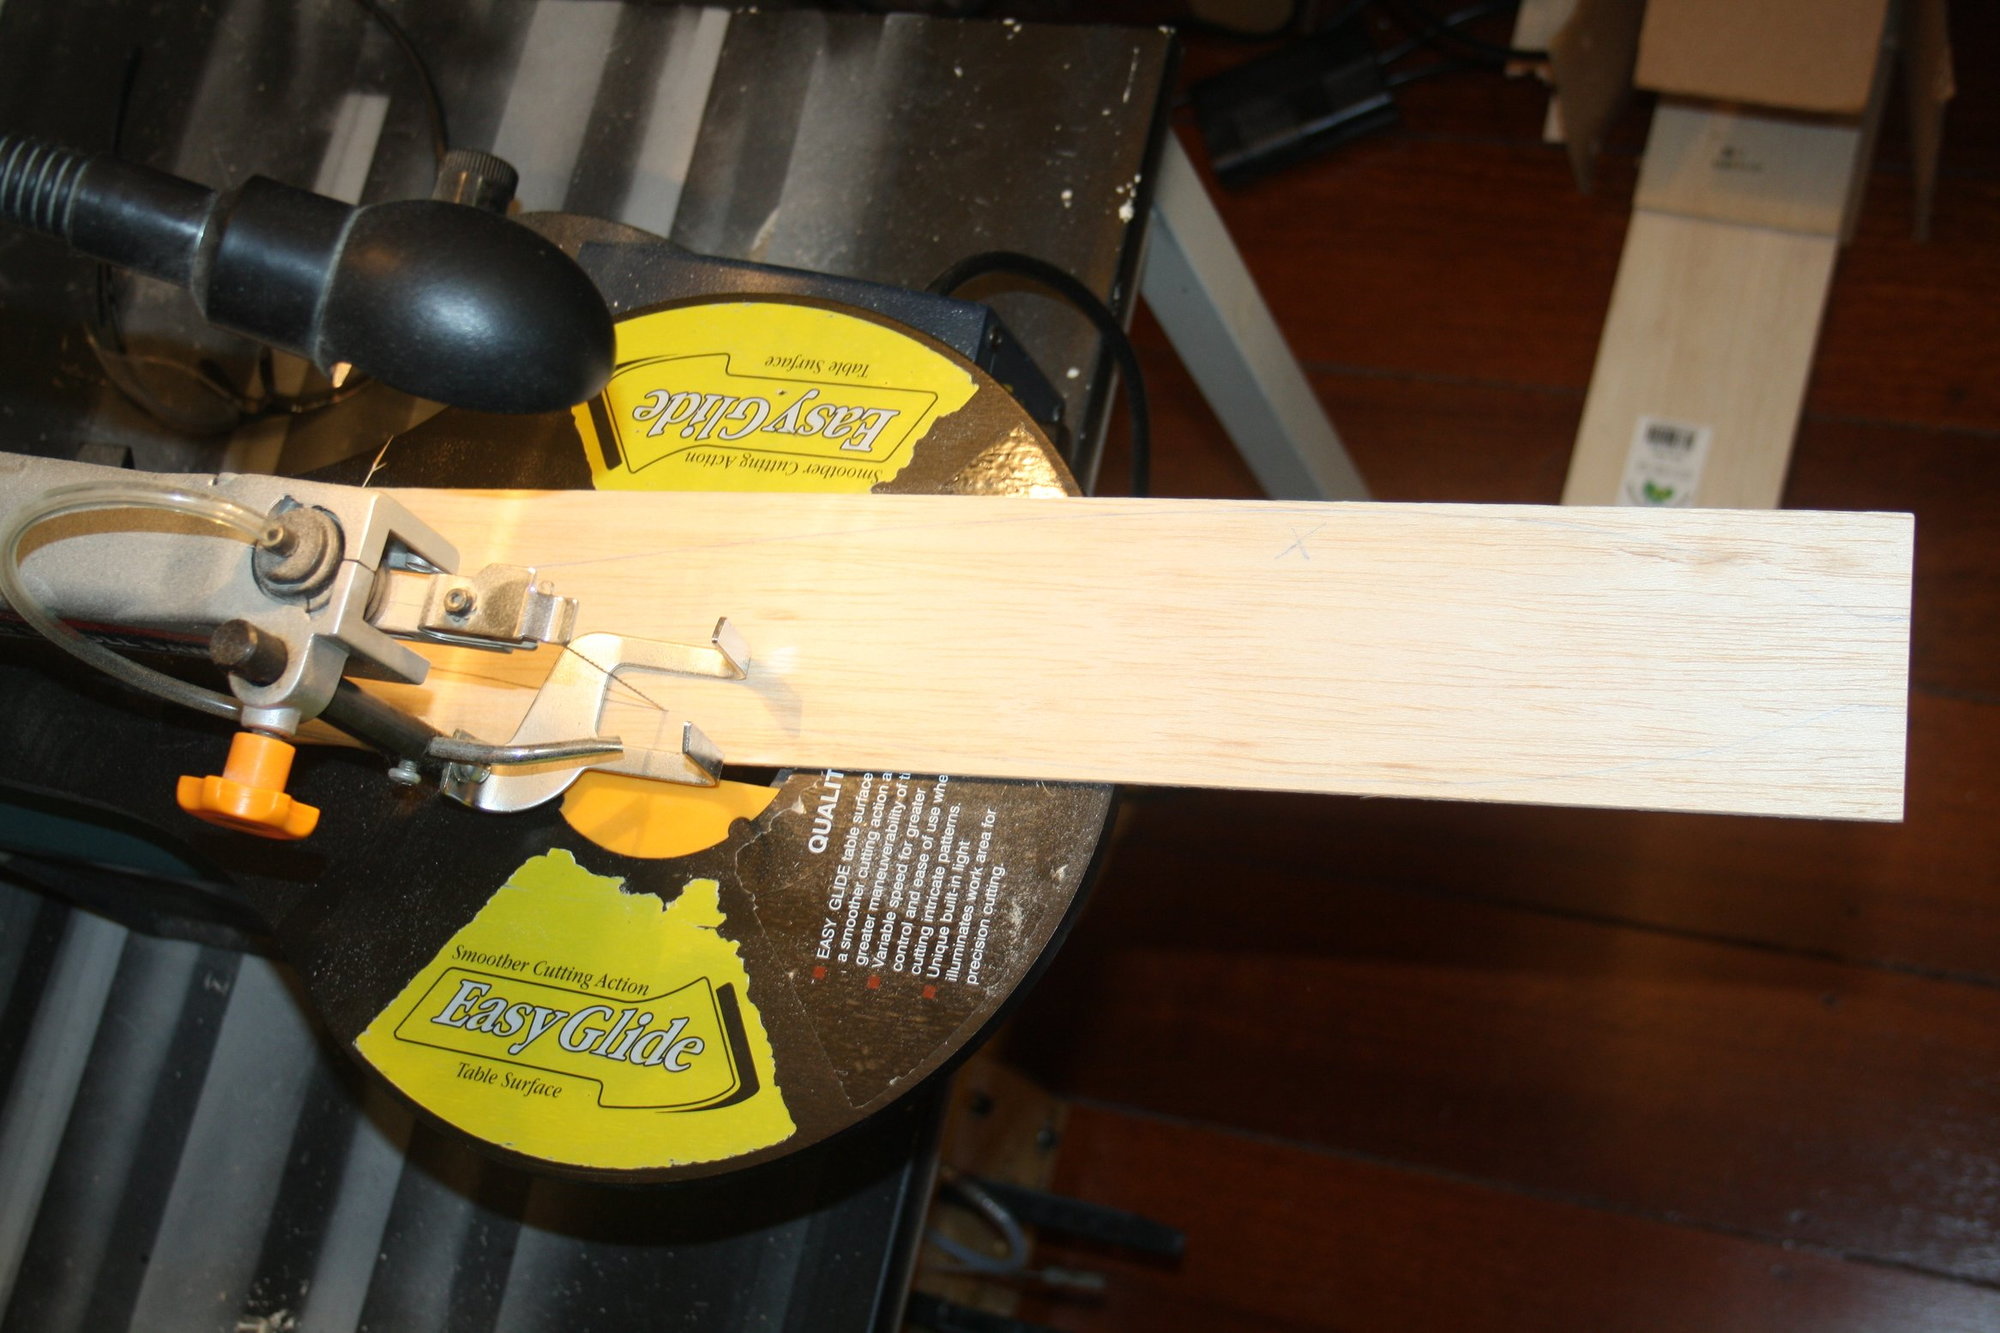
The center section cut outs are done using the template from the plans.

Cheers,
Eran
I made some progress also this build is slow due to some parallel projects I am doing at the same time. I held both wings together to have a feel of the size, it is quite impressive.
The center section cut outs are done using the template from the plans.
Cheers,
Eran
05-02-2023, 09:39 PM
#8
Thread Starter
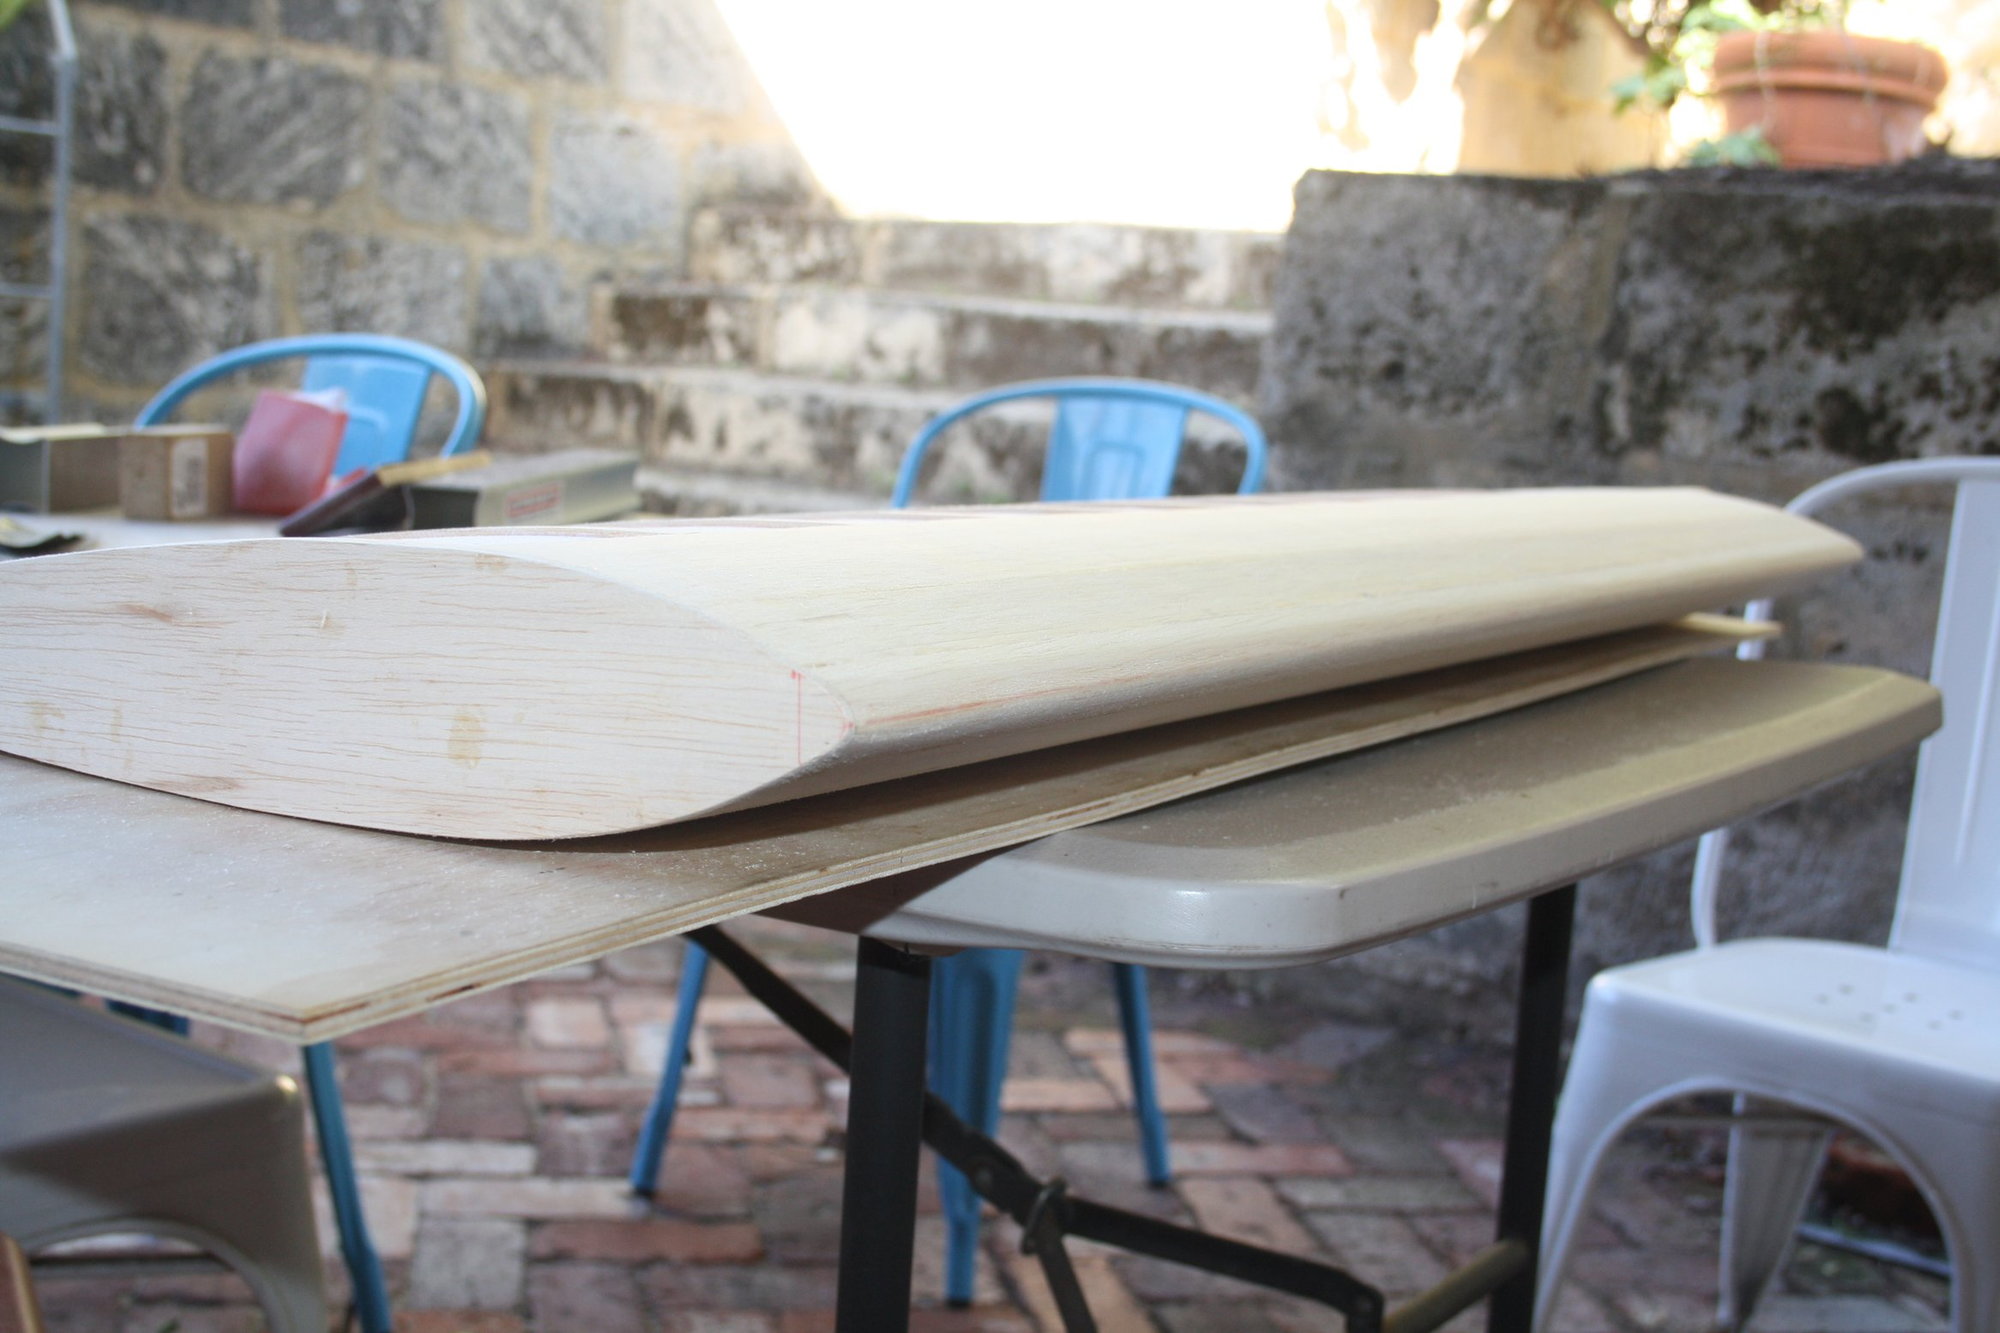
A quick check that the center brace fits OK and the wings join straight, and on to the Trailing Edge, gluing it in place and sanding to shape.
Cheers,
Eran
Cheers,
Eran
05-25-2023, 02:50 AM
#9
Thread Starter
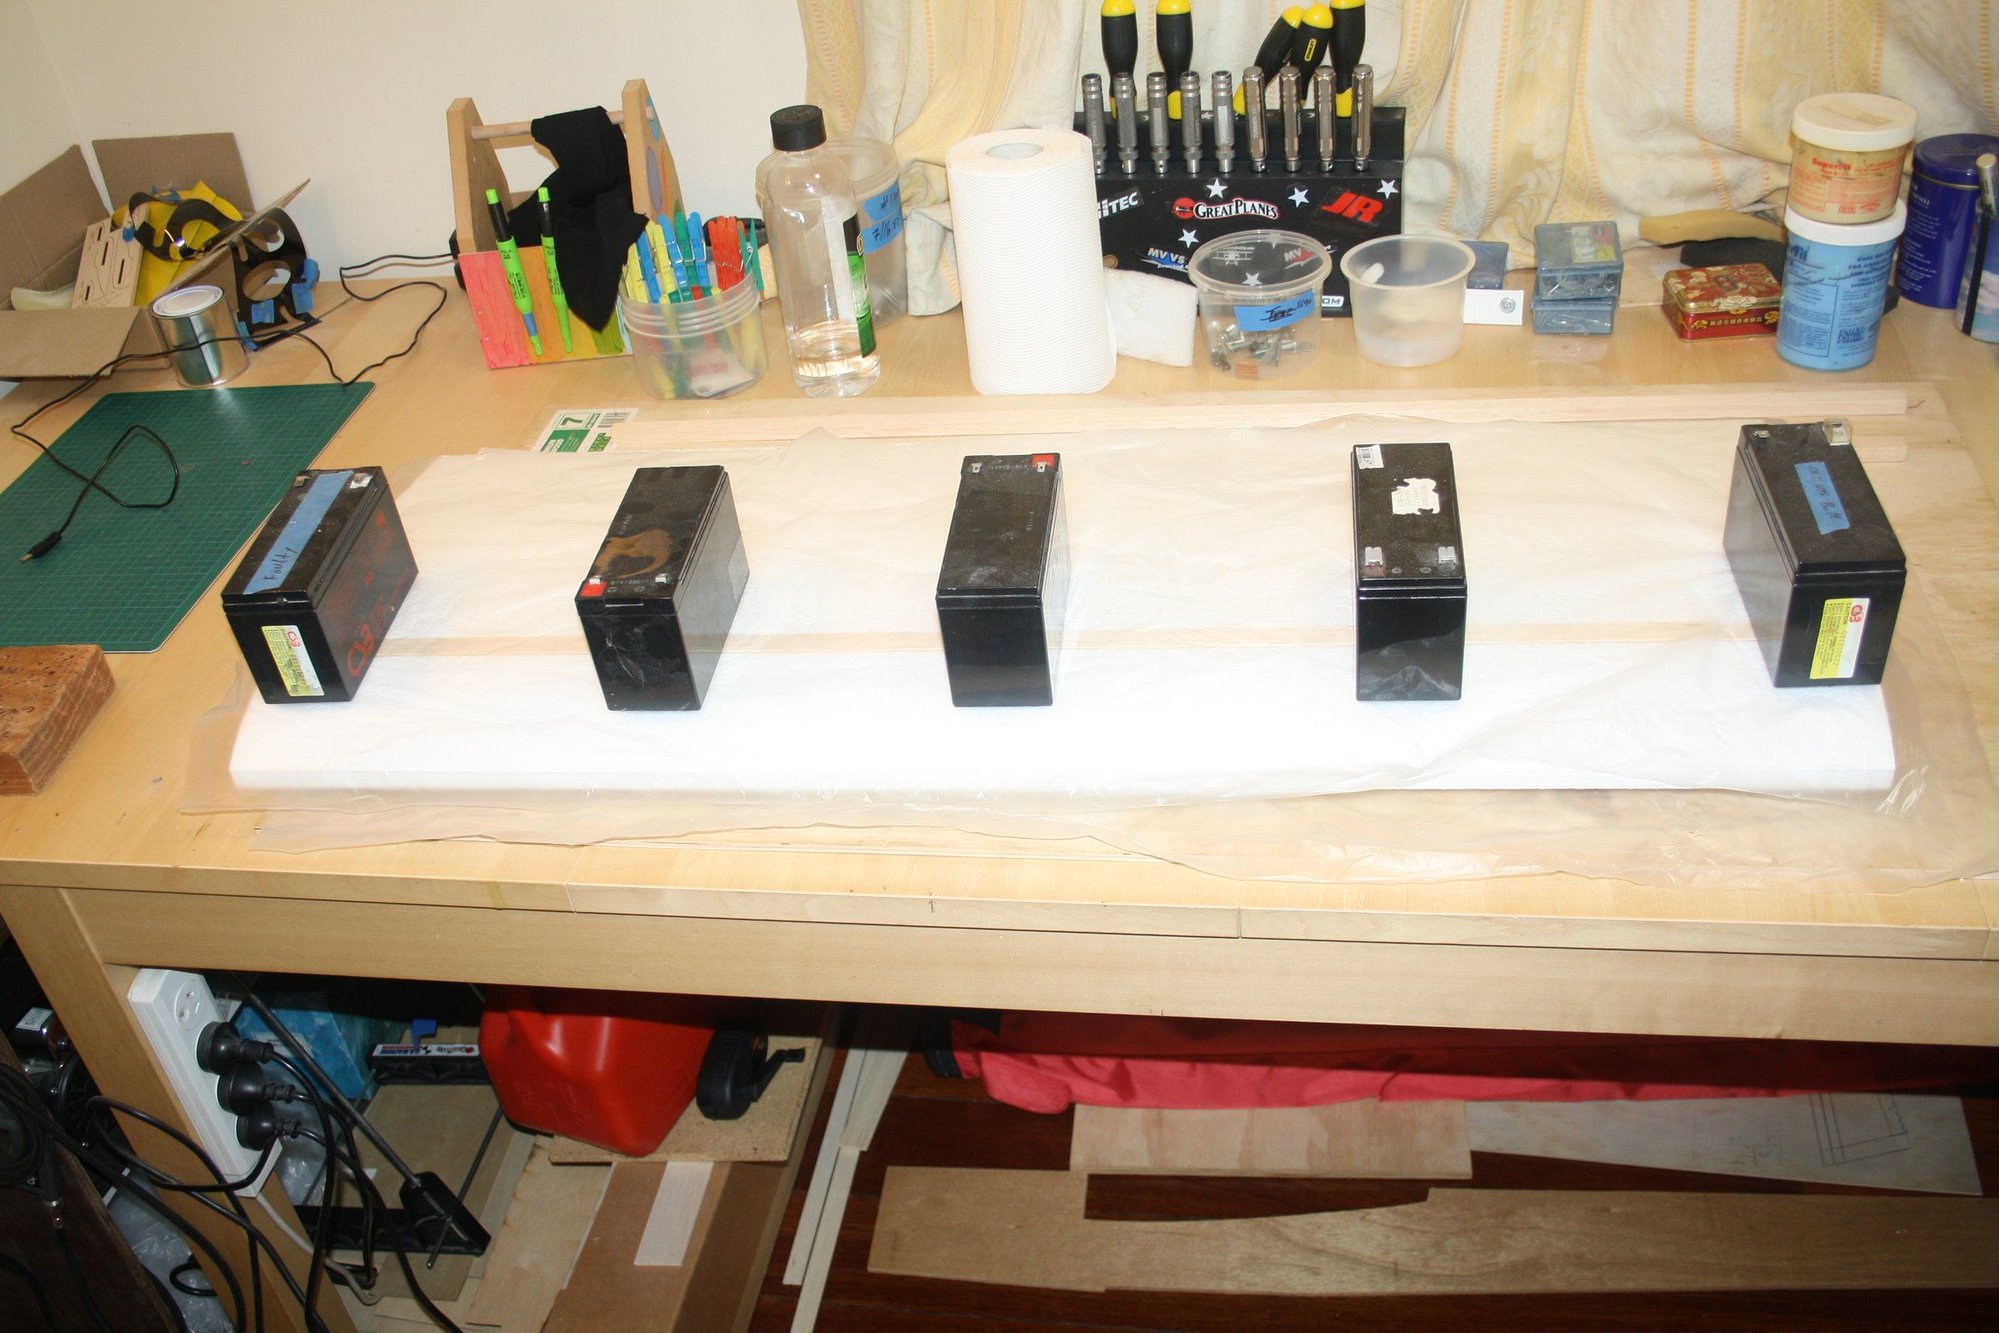
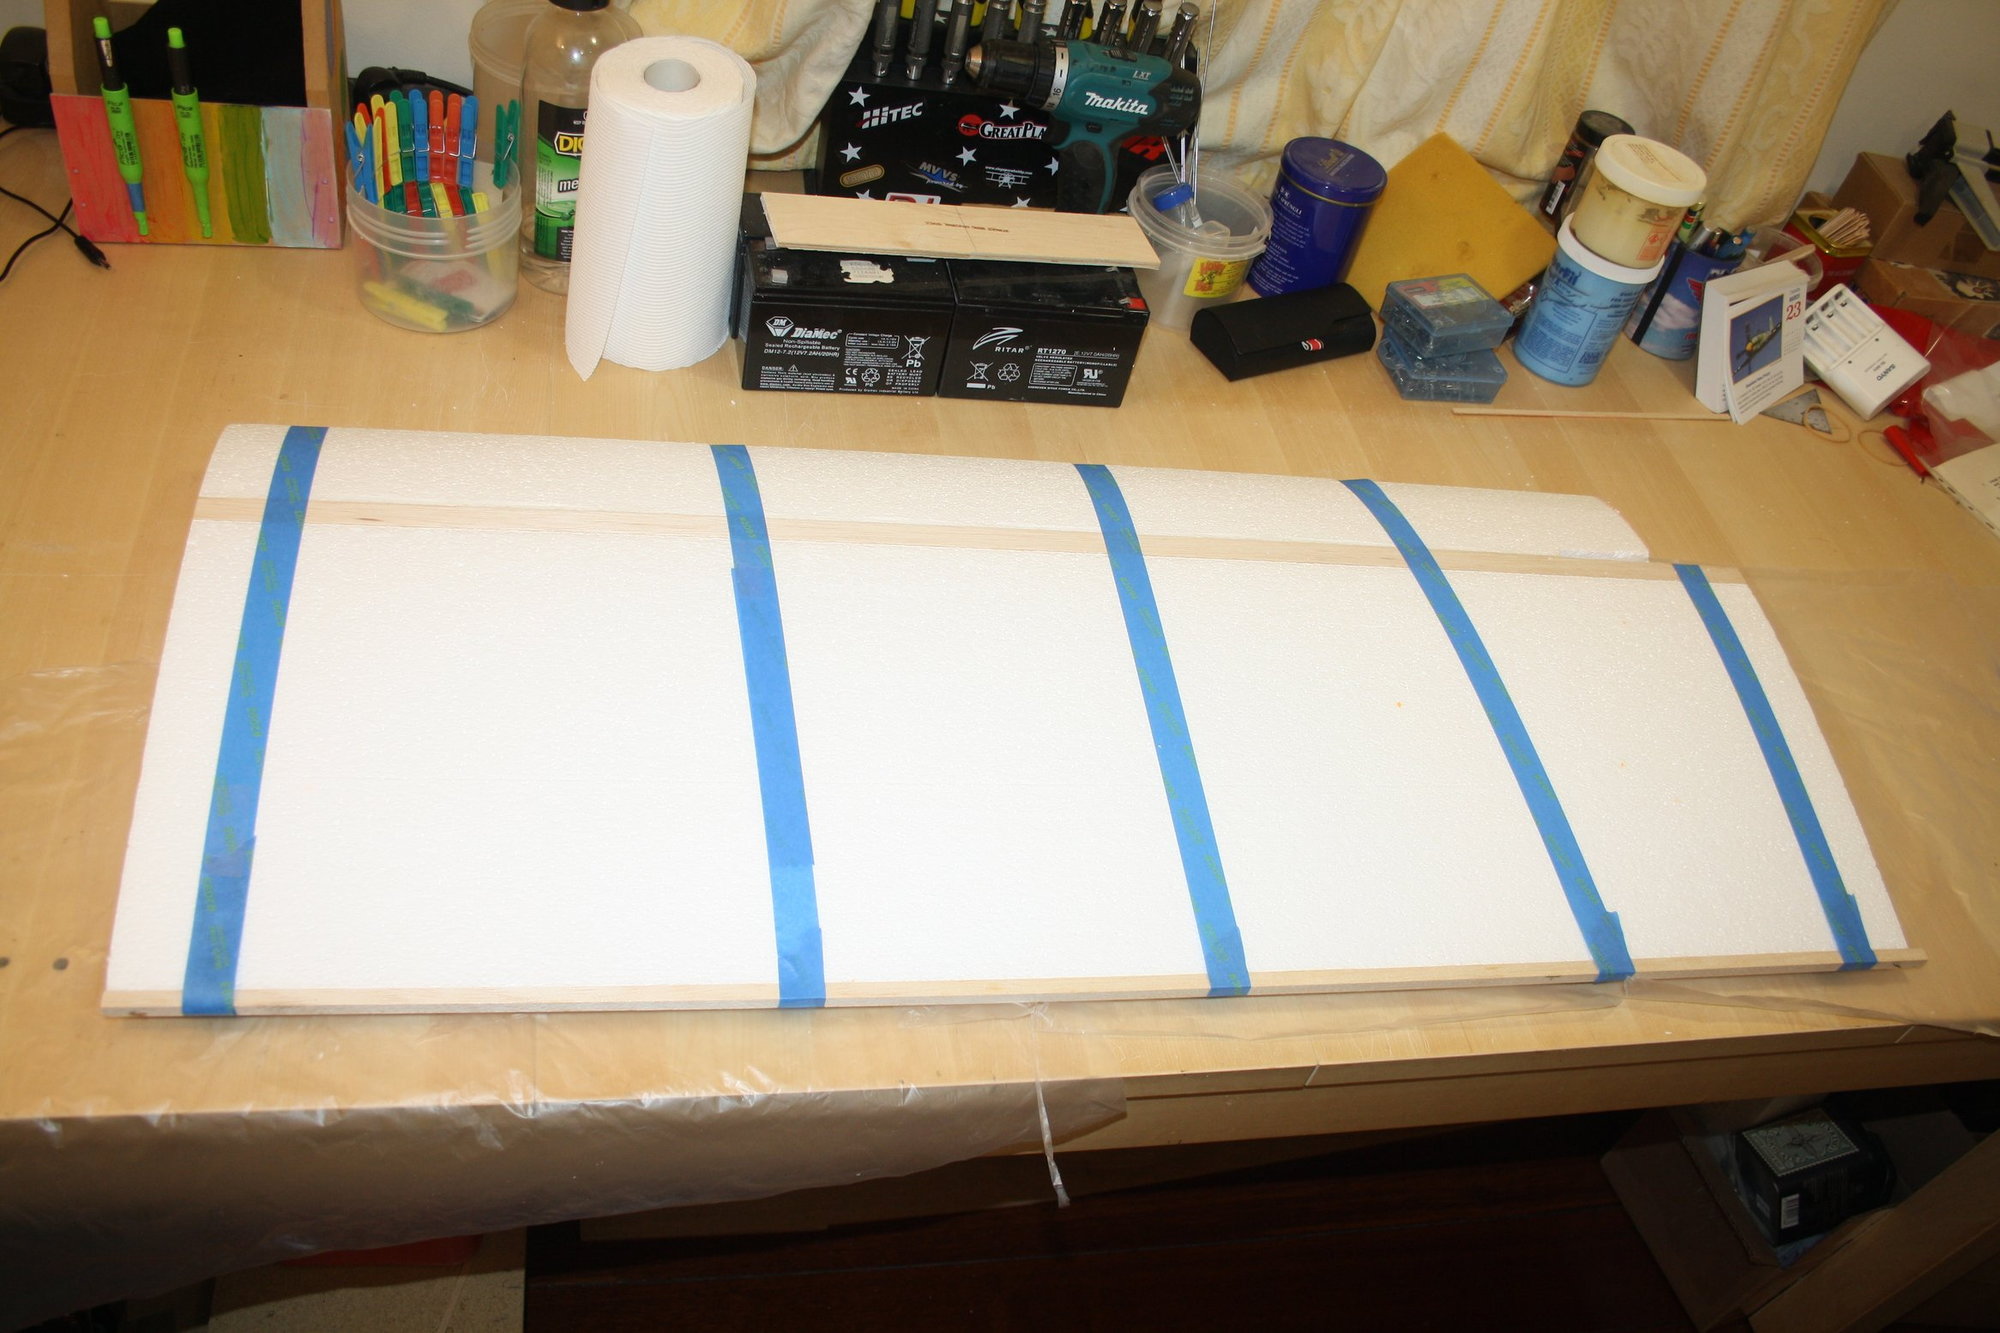
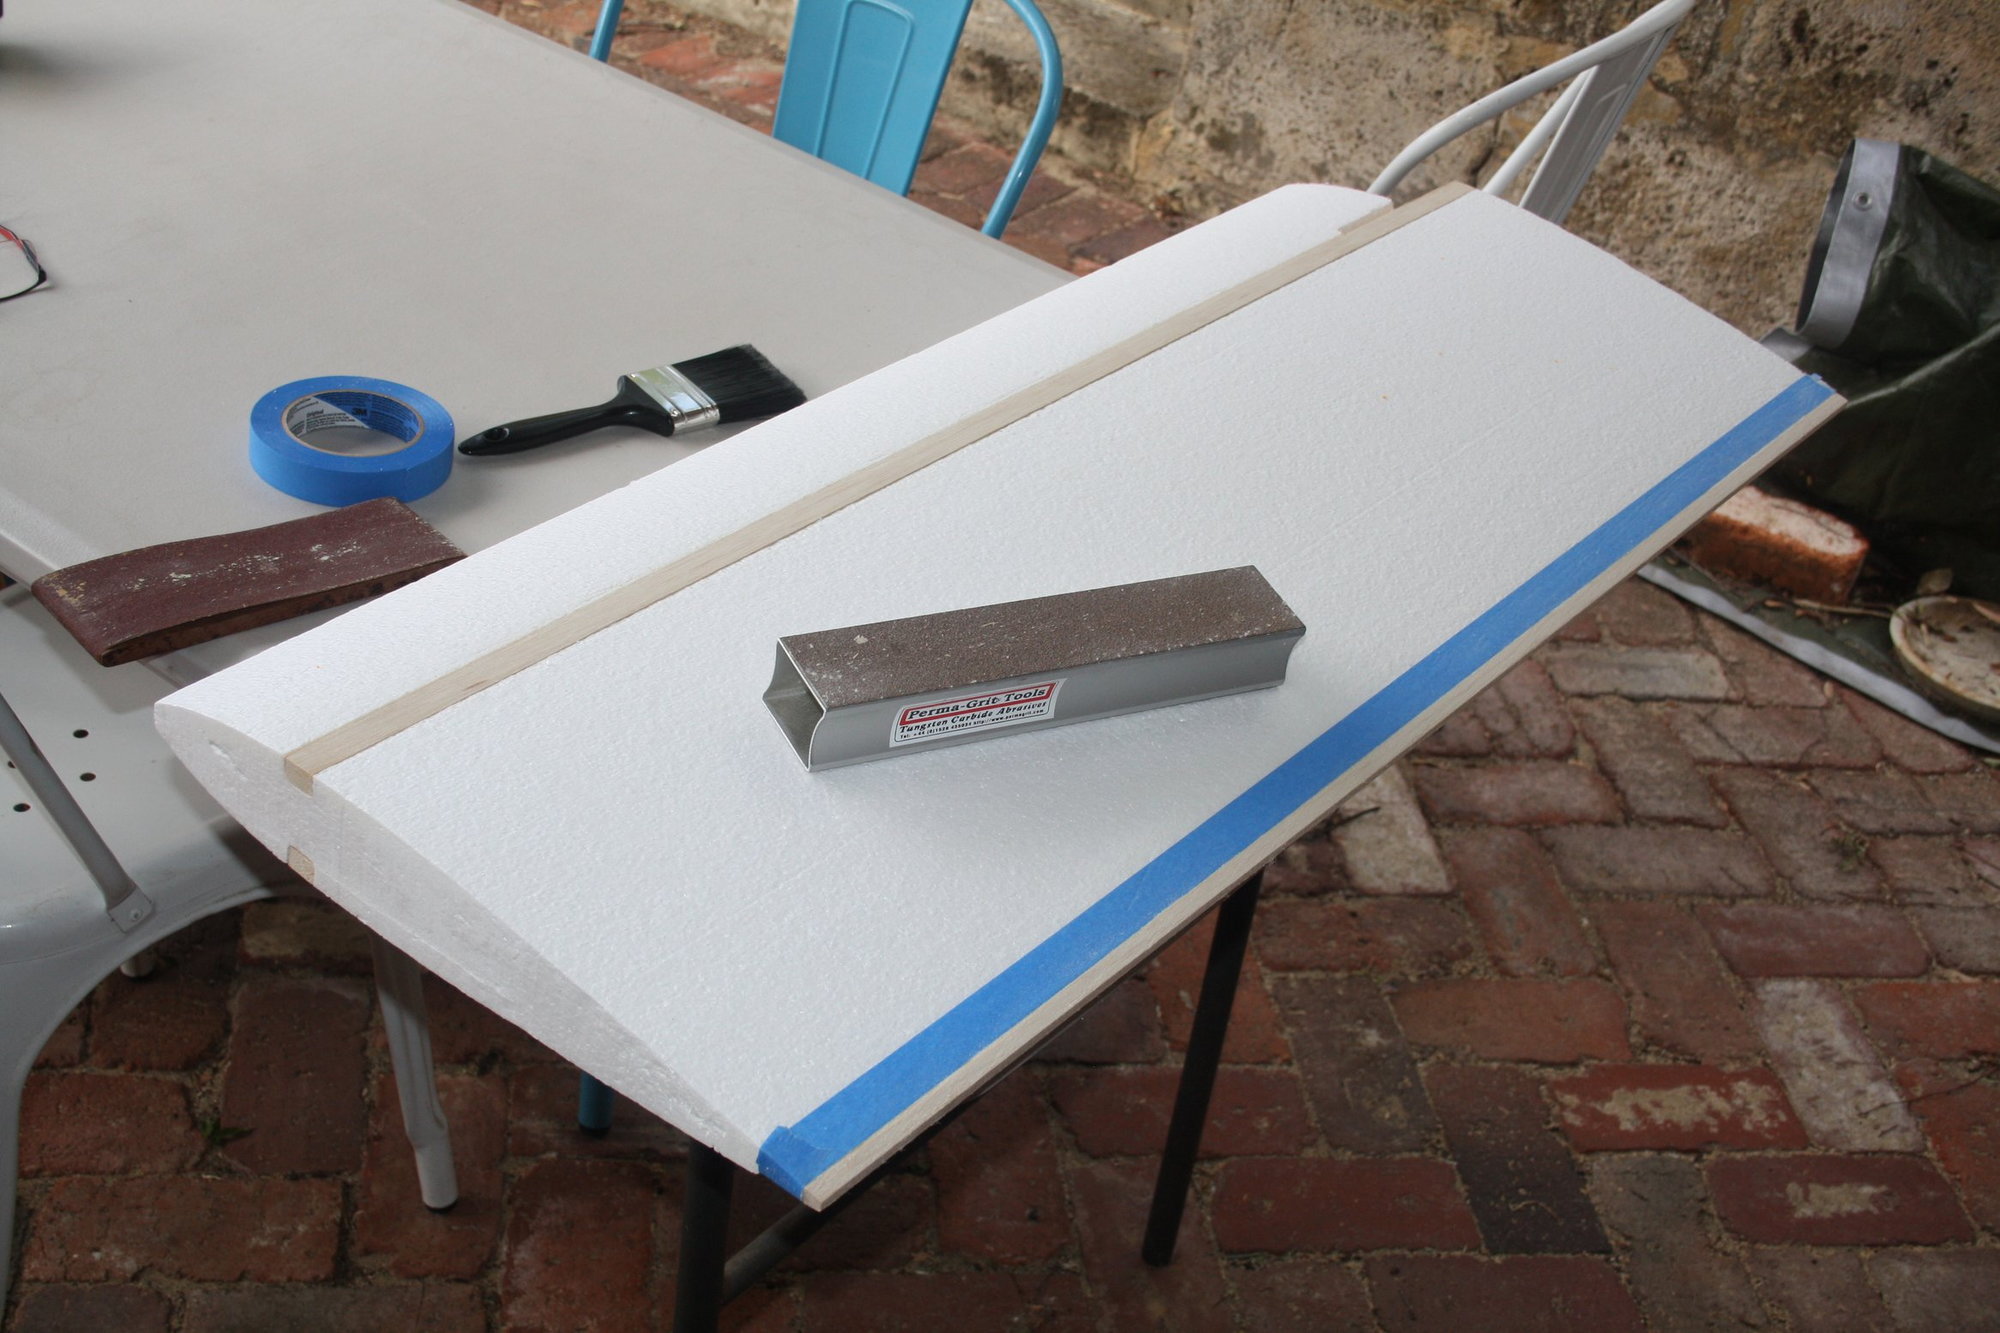
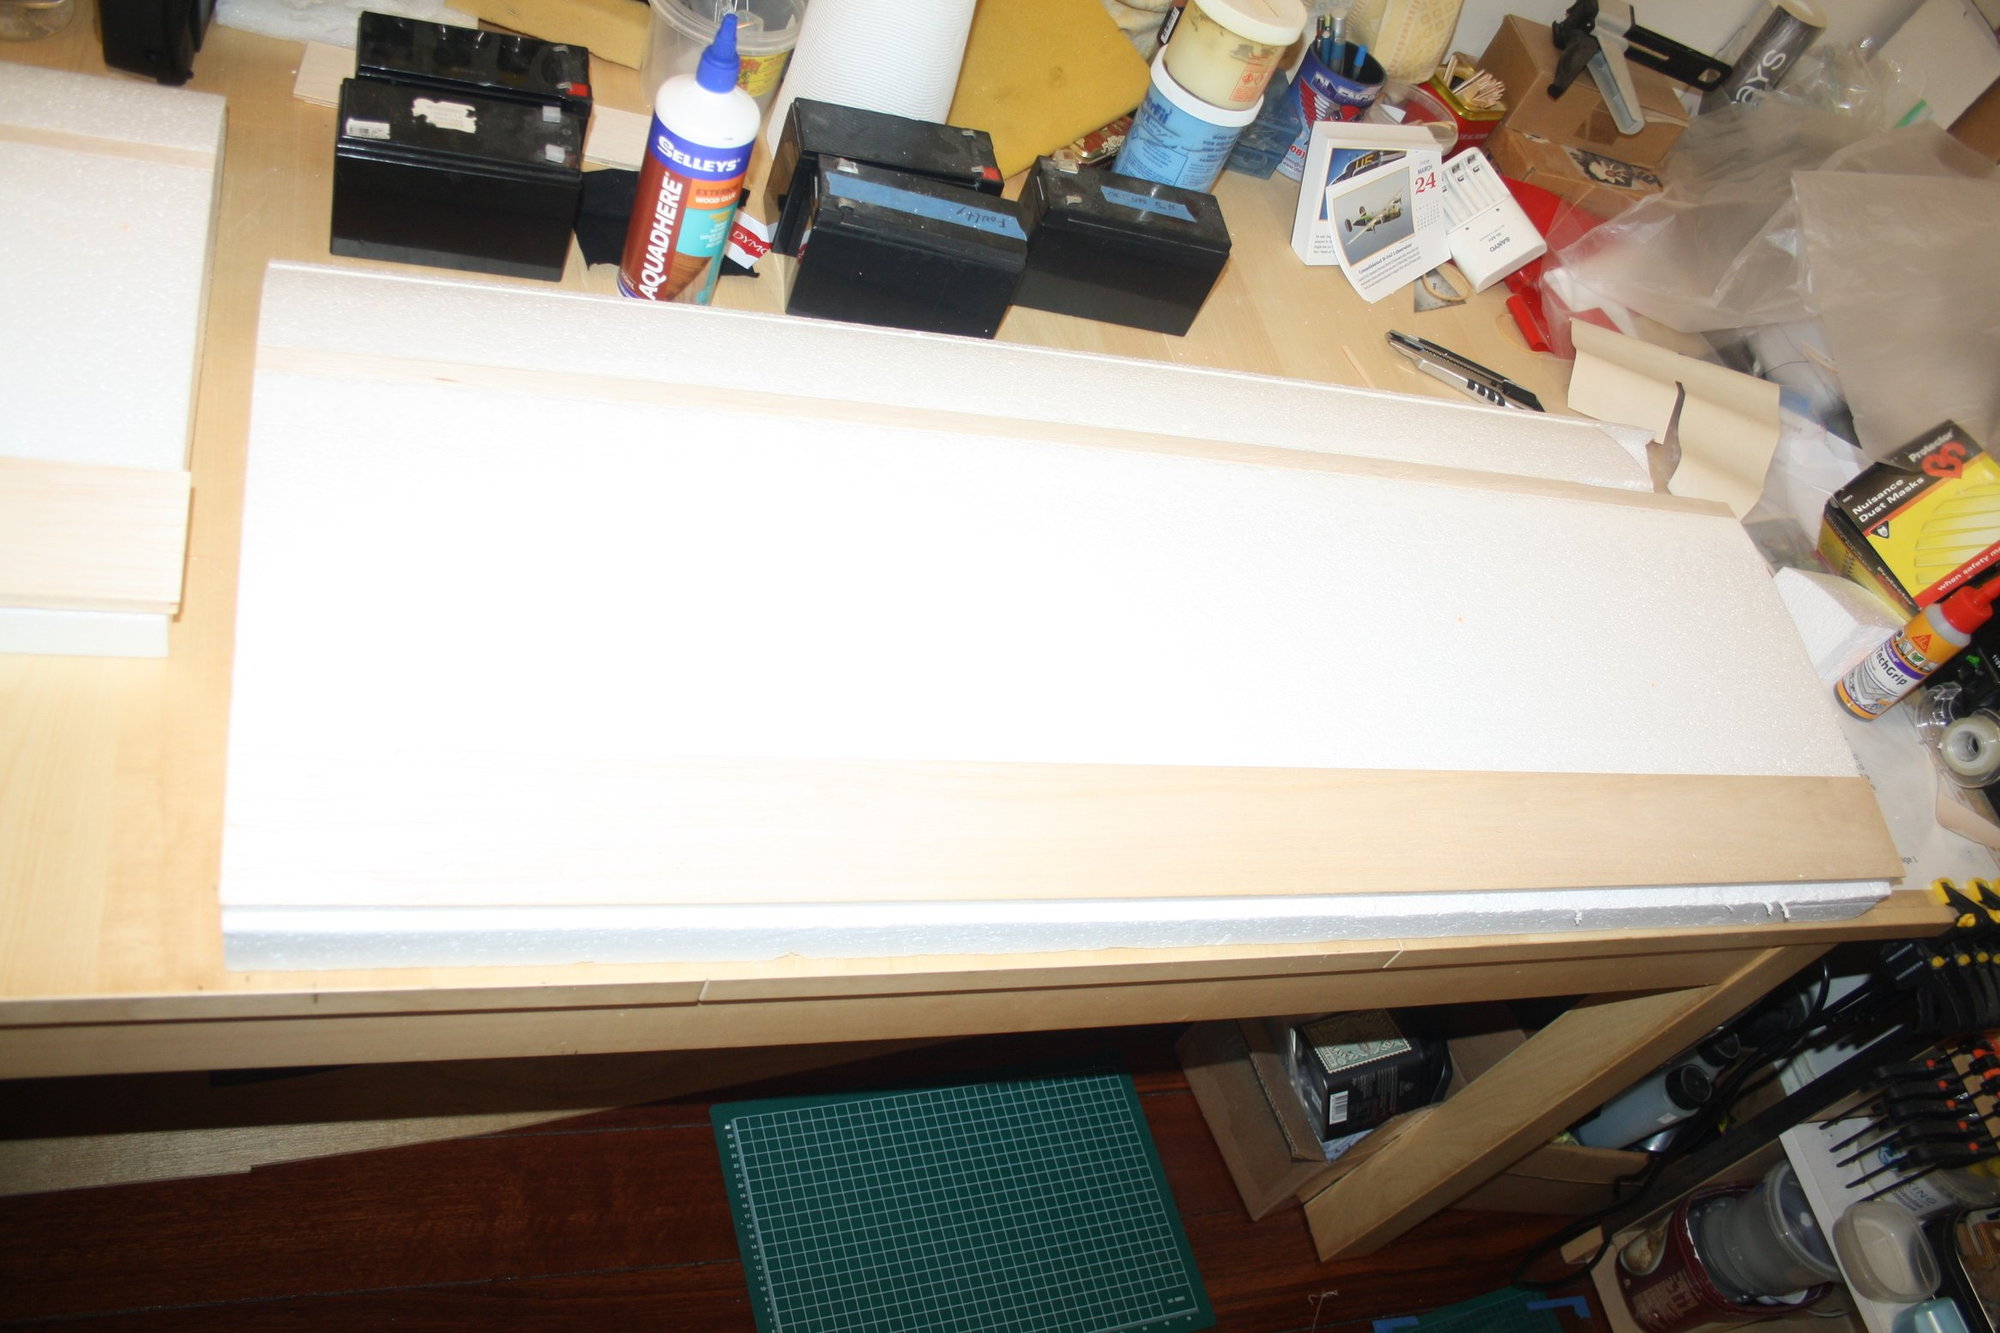
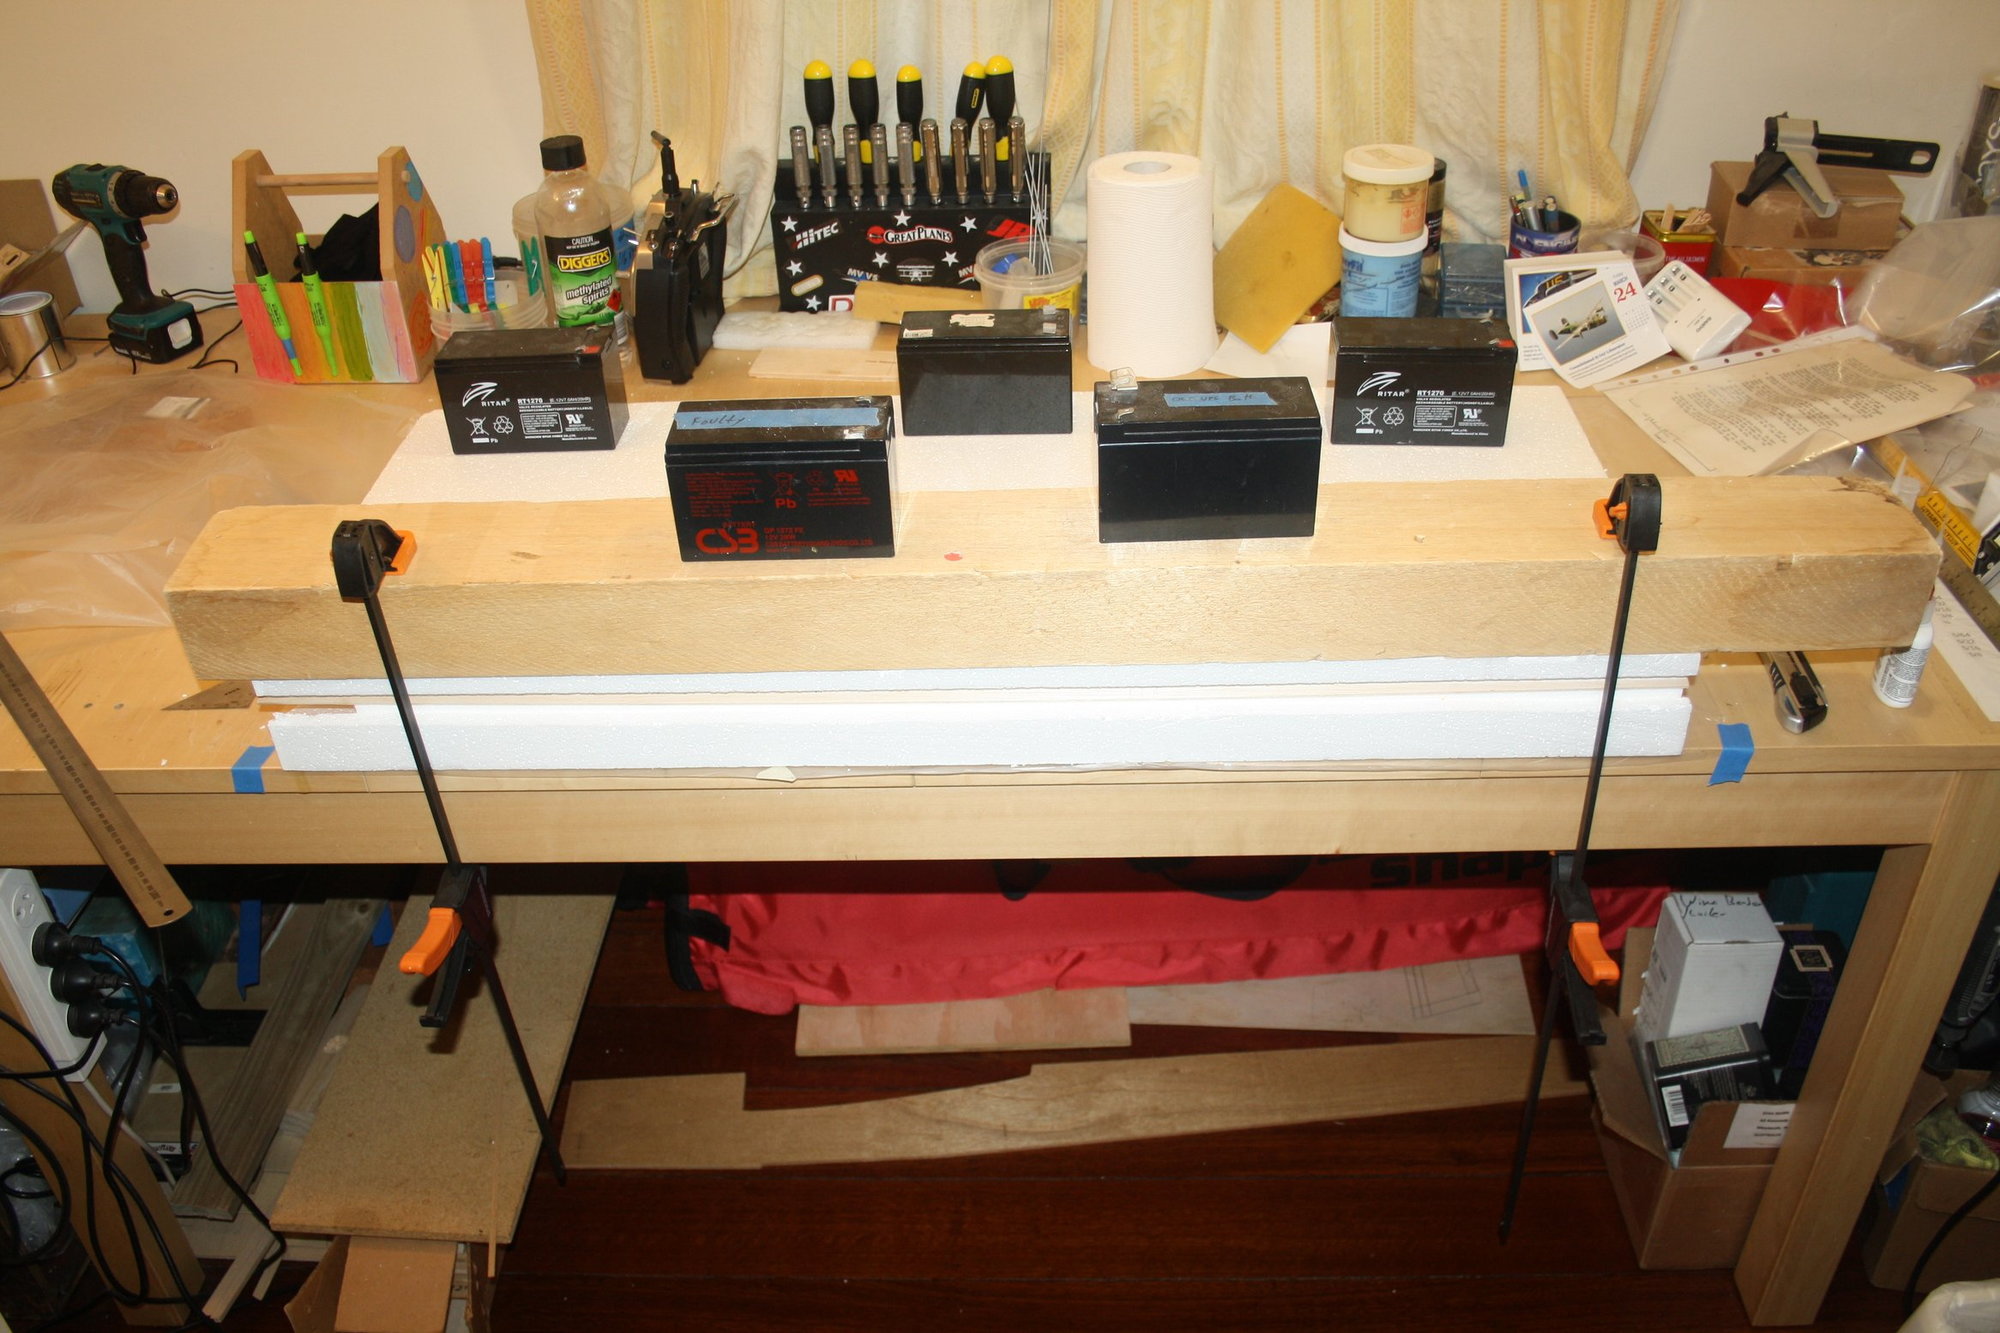
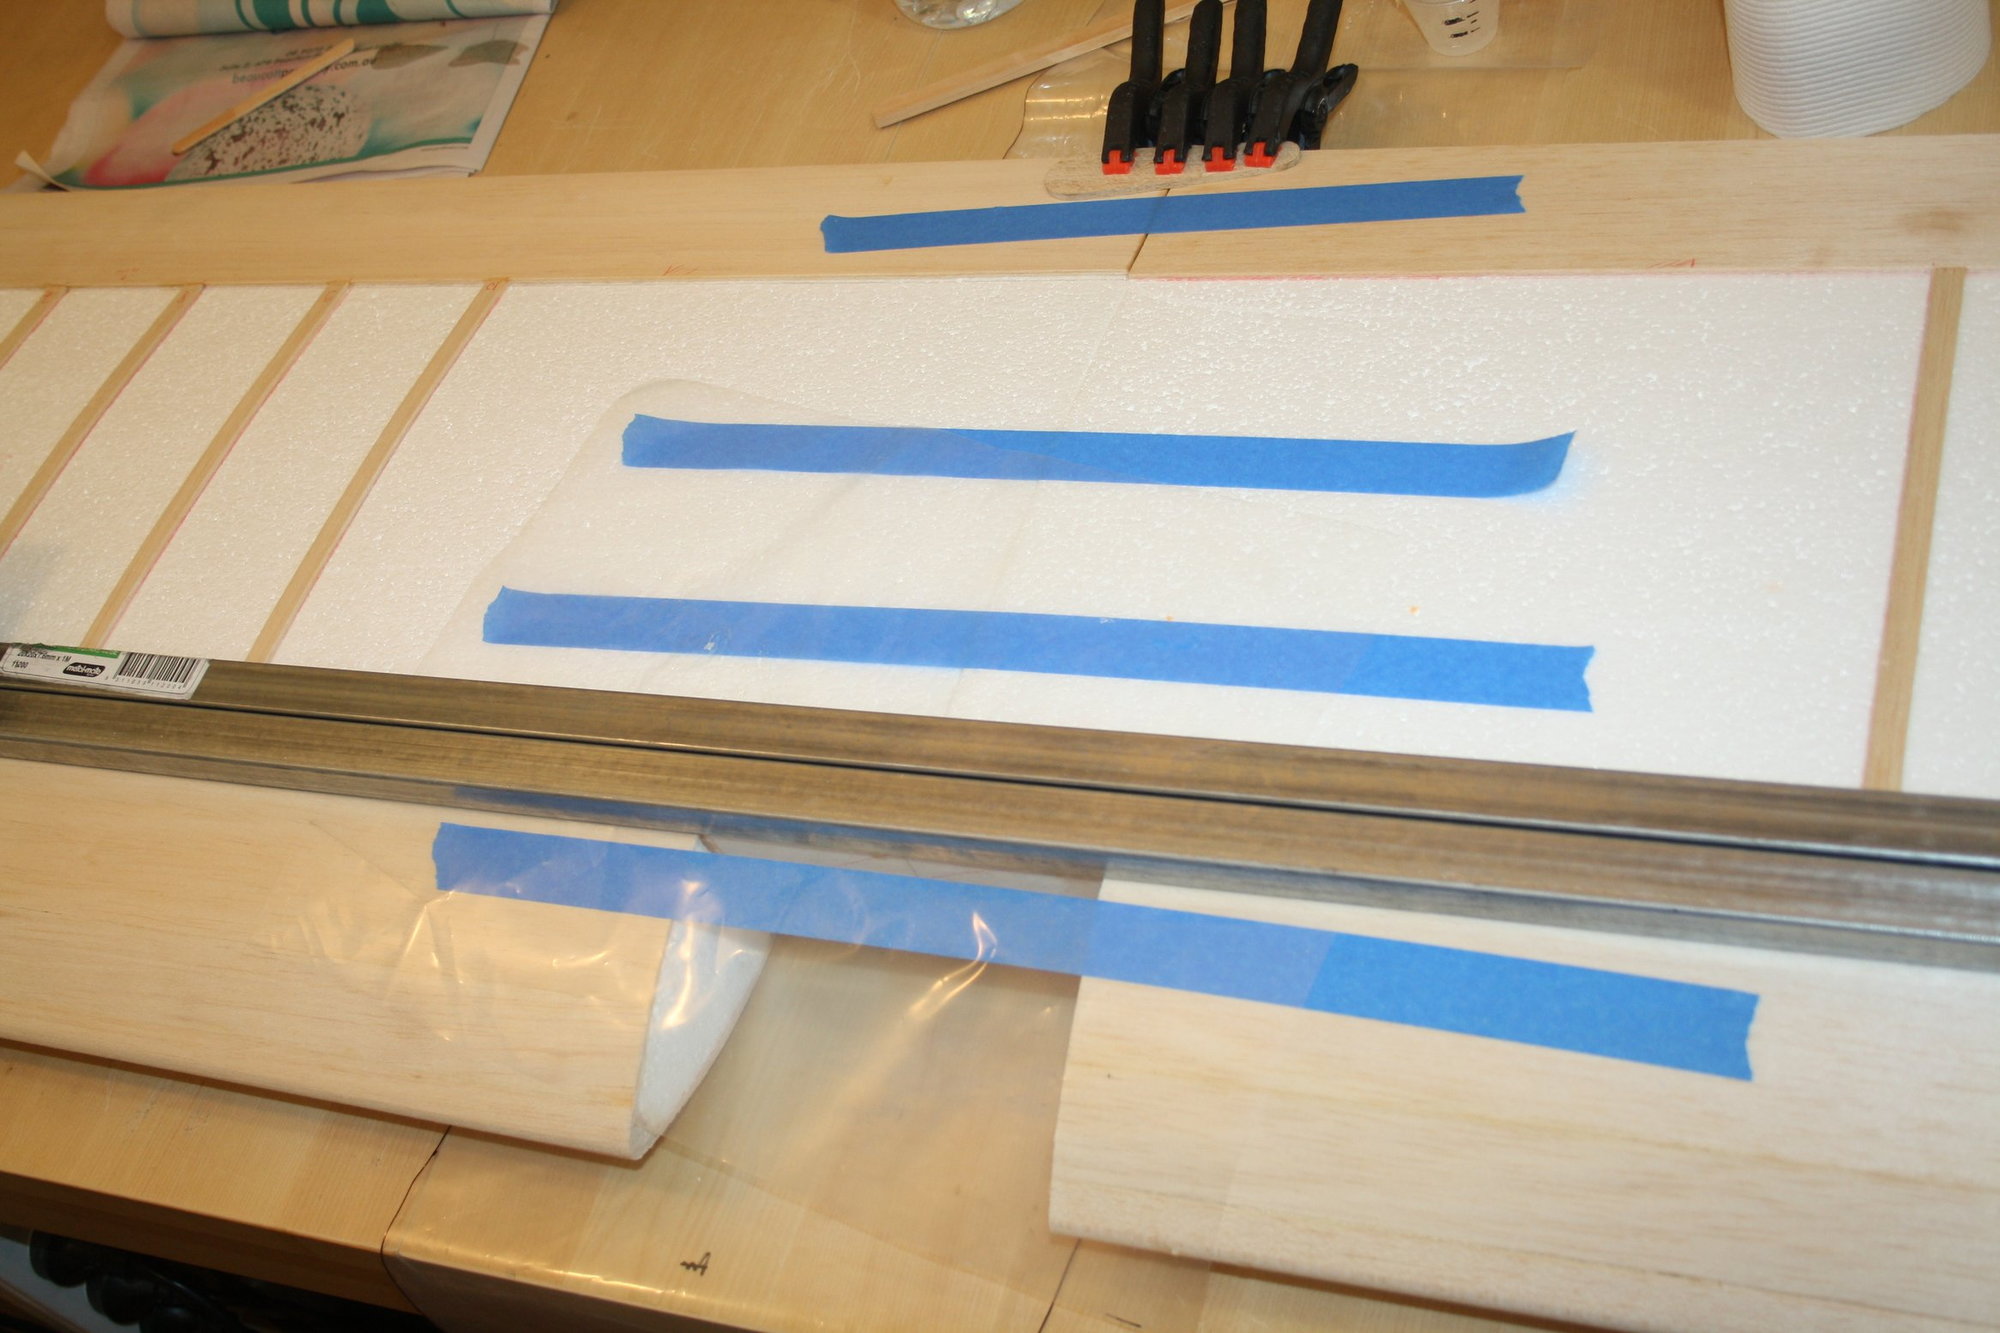
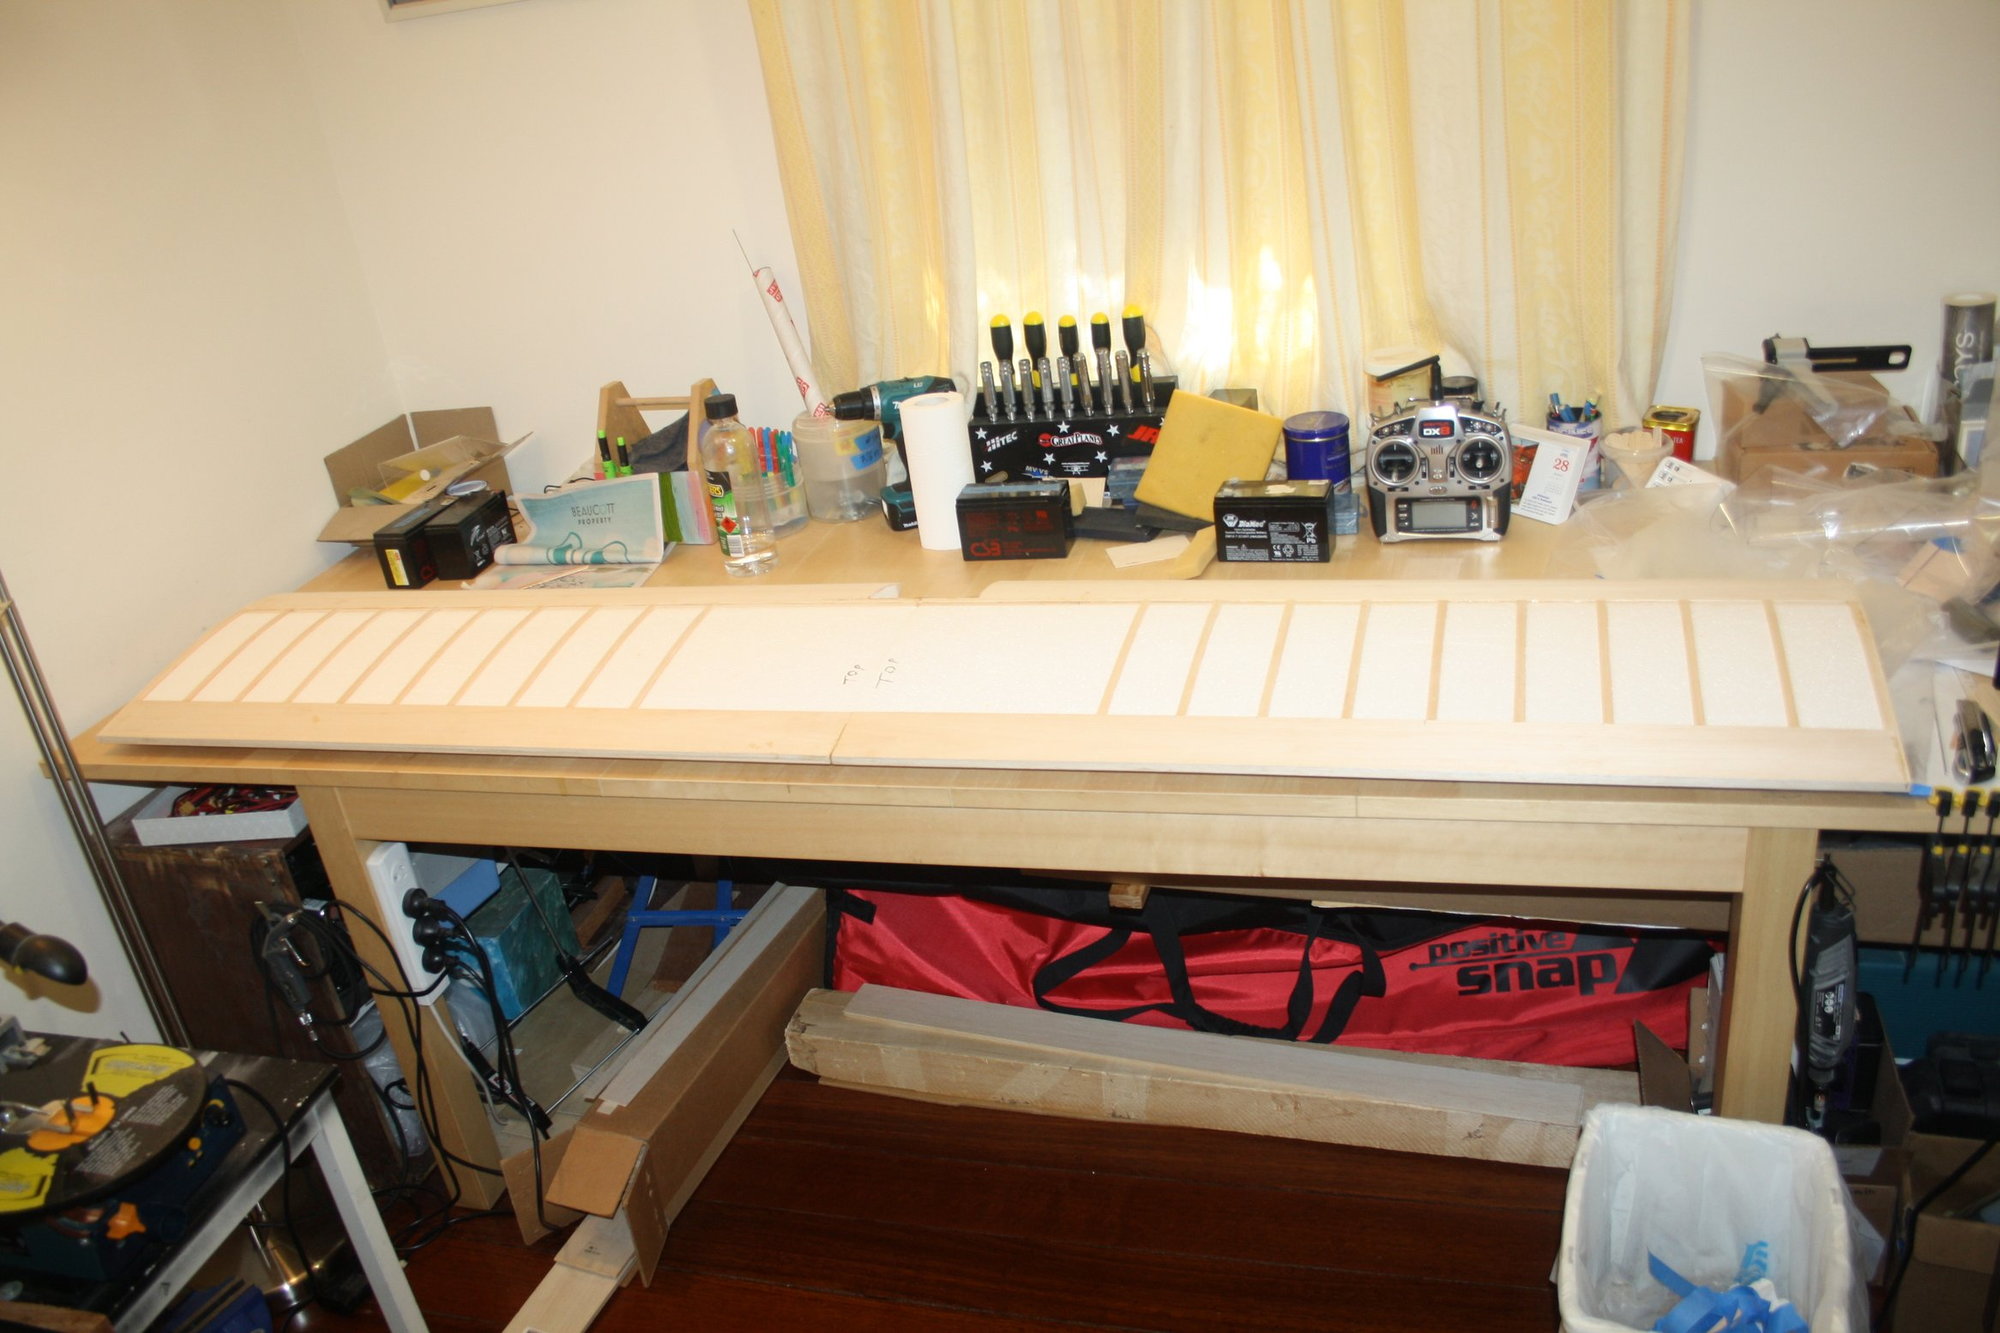
Sheeting took forever to do, using PVA glue and waiting 24 hours between sheets. I was using the foam block to cradle the wing section on the table.
Starting with the Trailing Edge four sheets:
Cheers,
Eran
Starting with the Trailing Edge four sheets:
Cheers,
Eran
05-25-2023, 02:57 AM
#10
Thread Starter
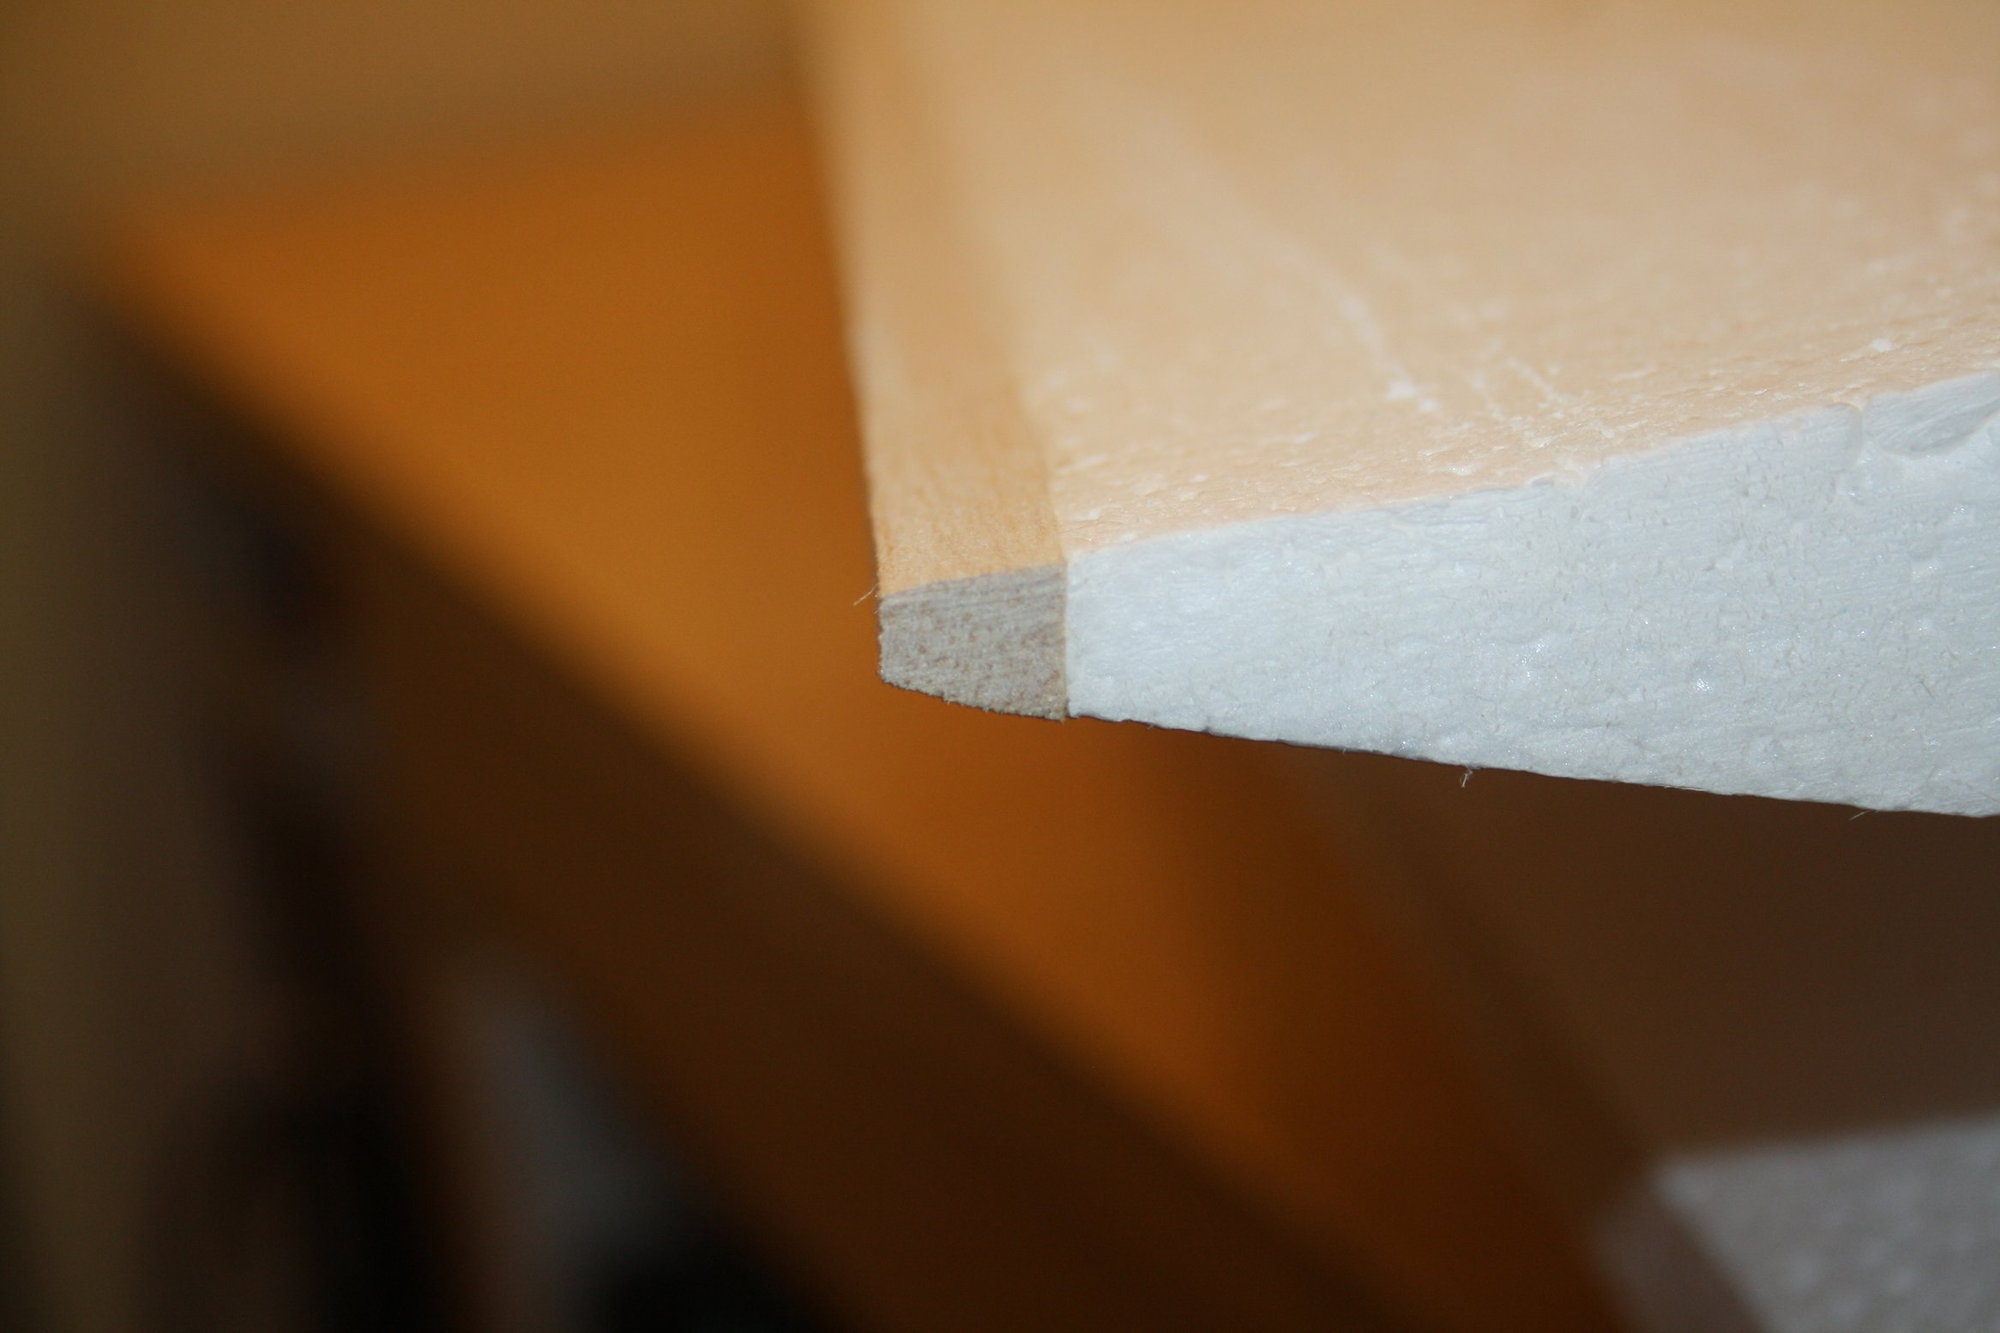
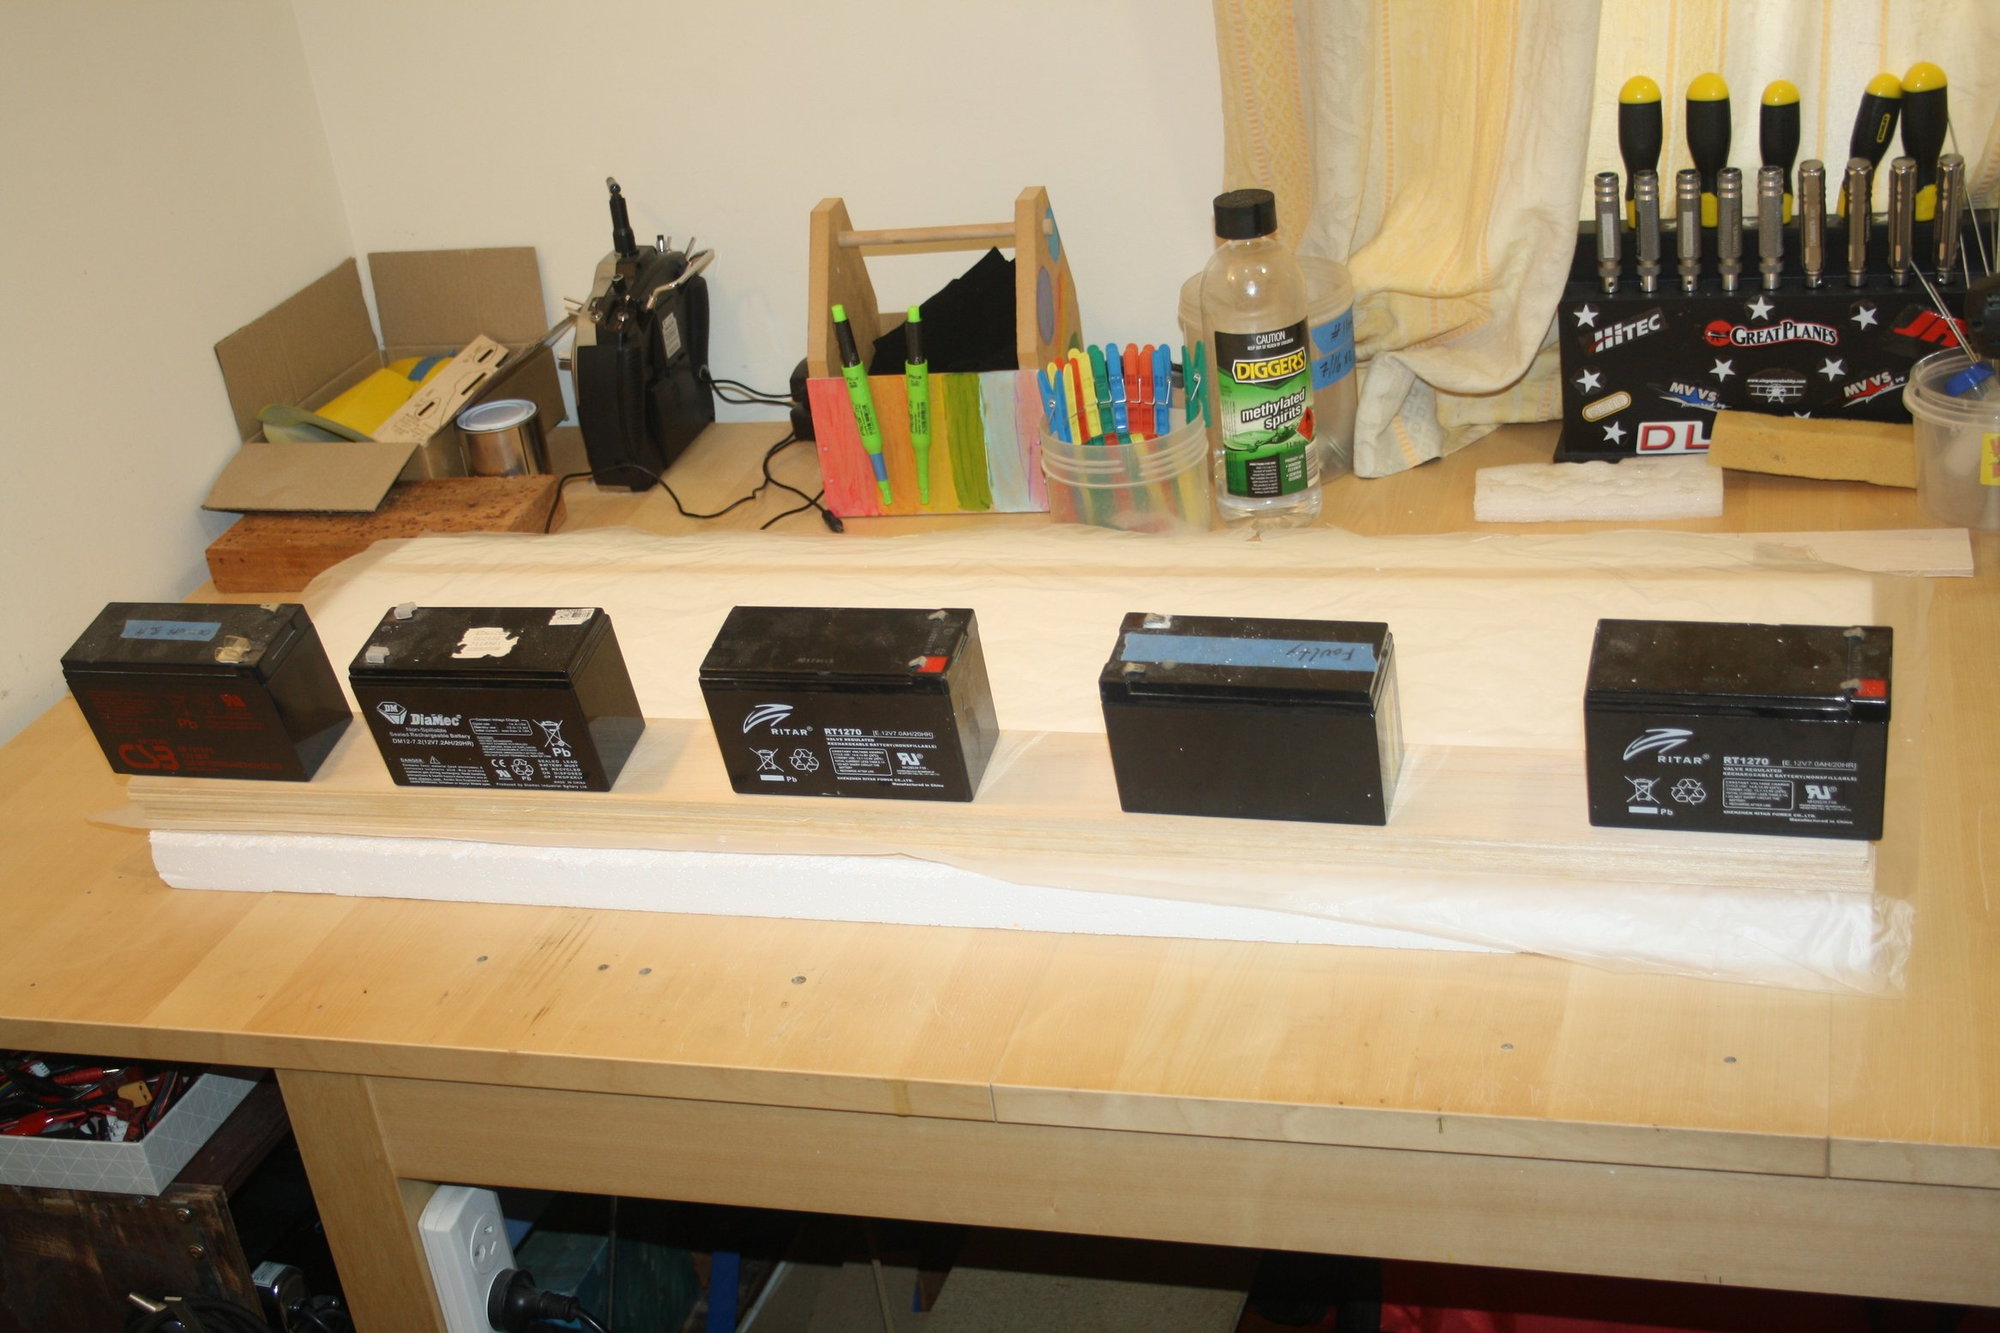
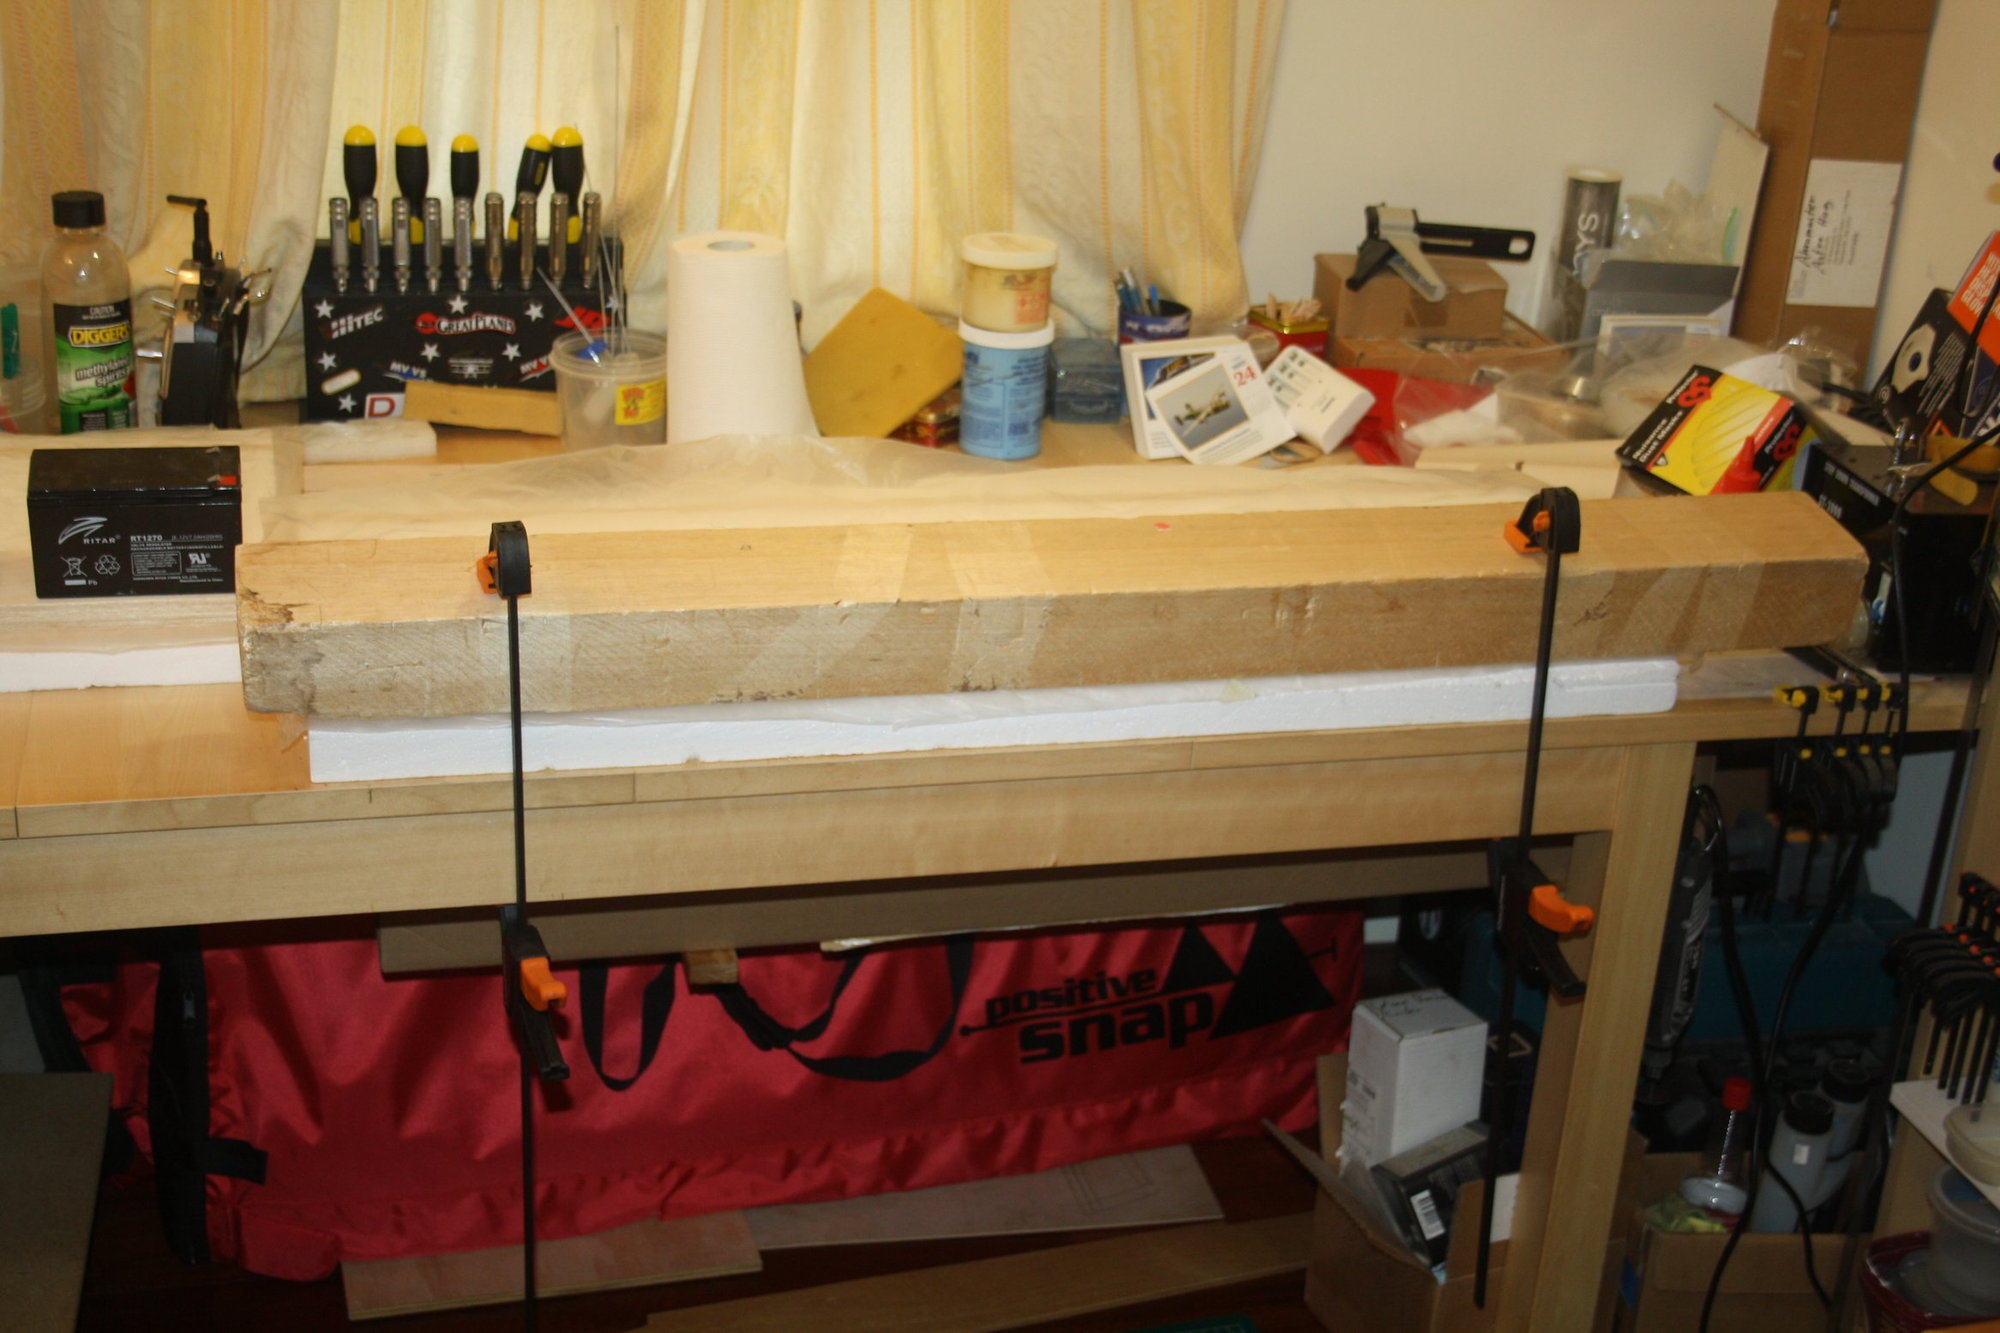
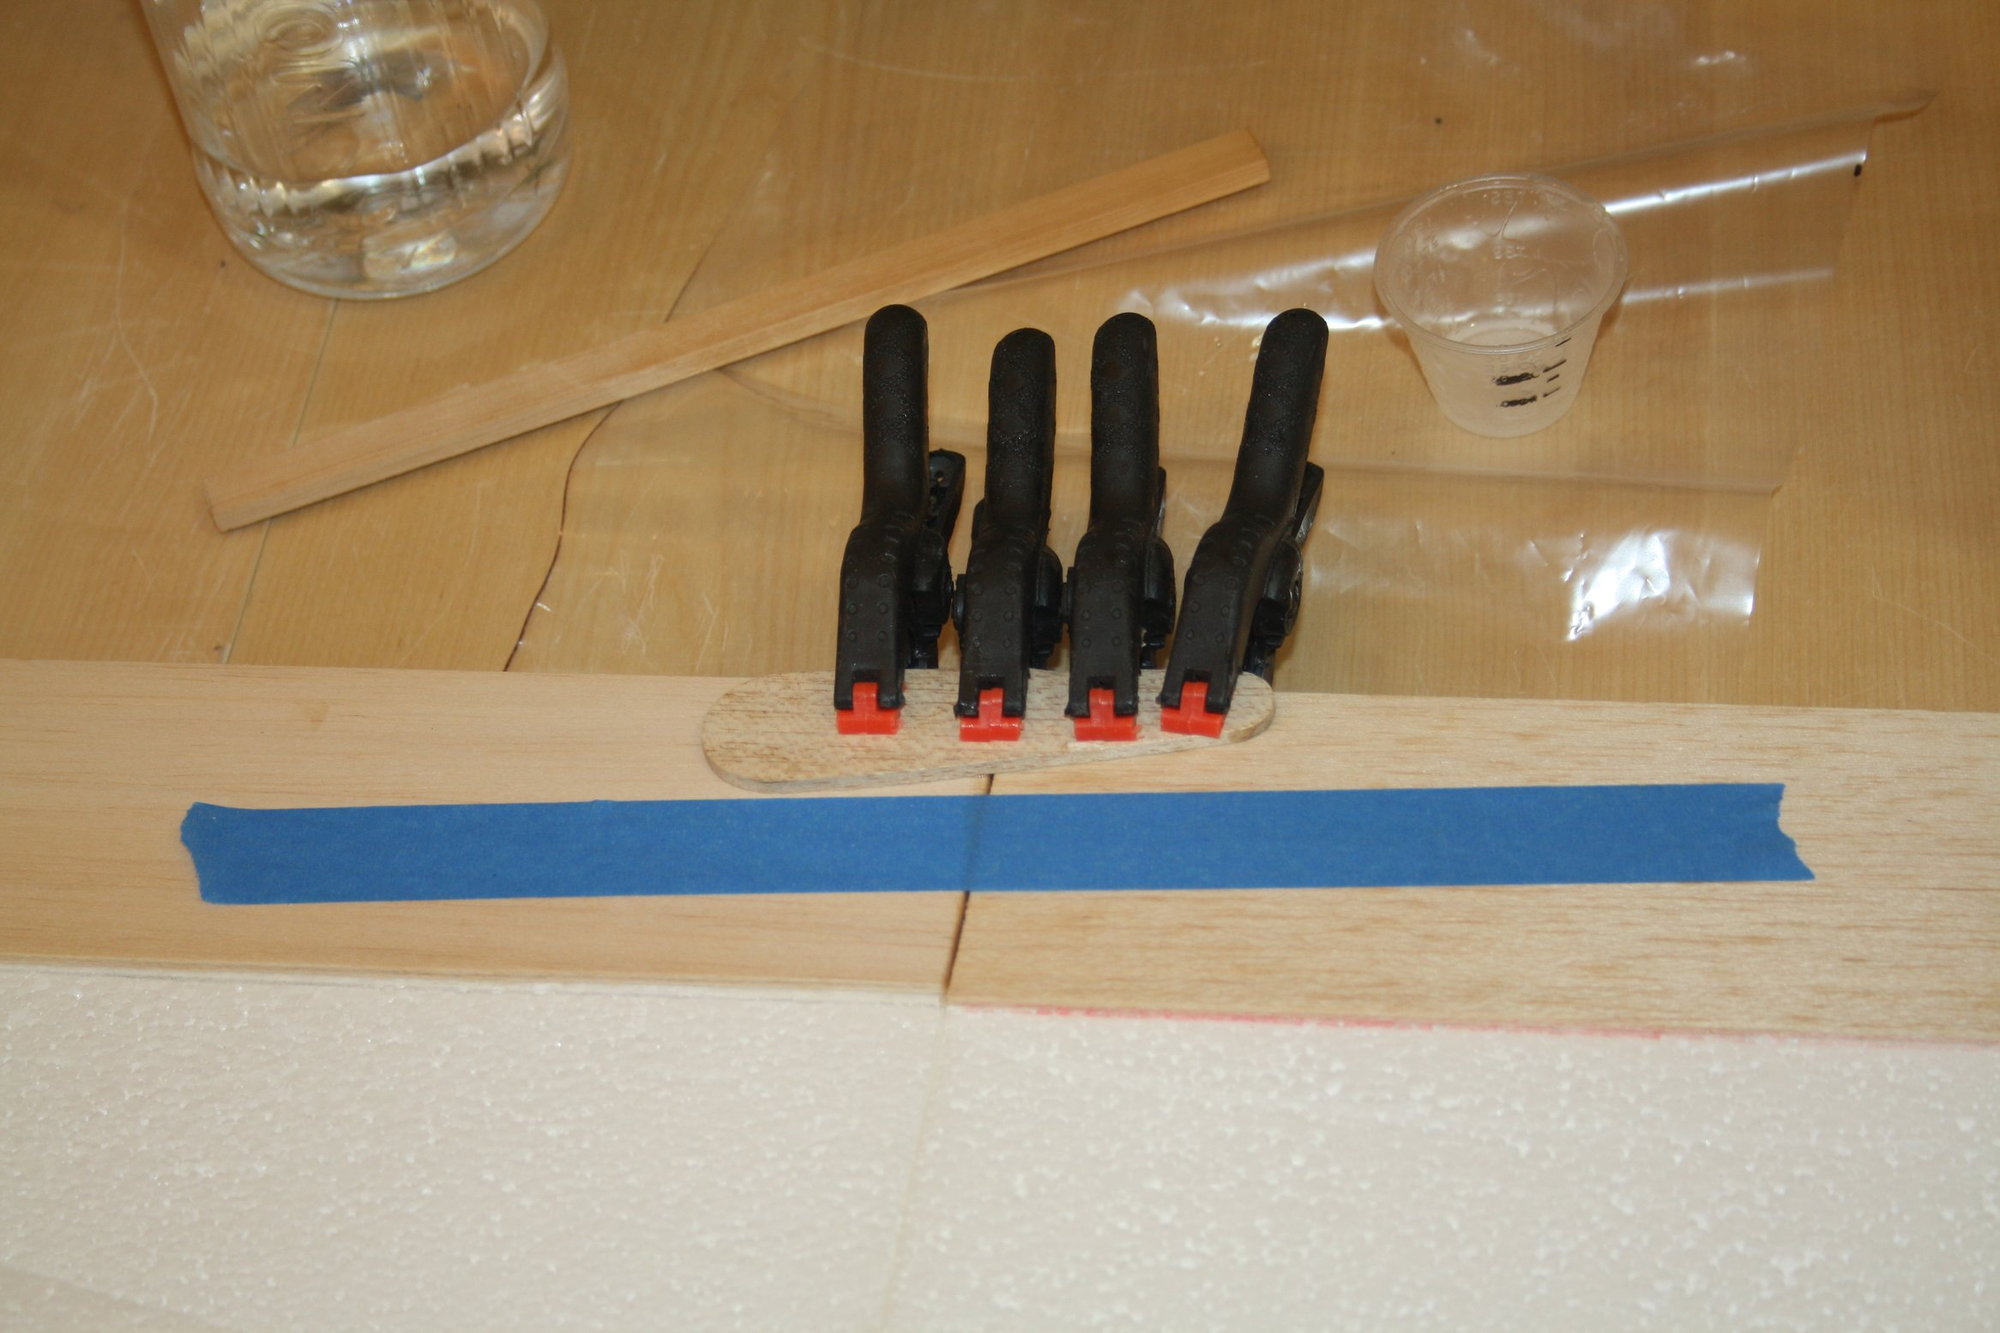
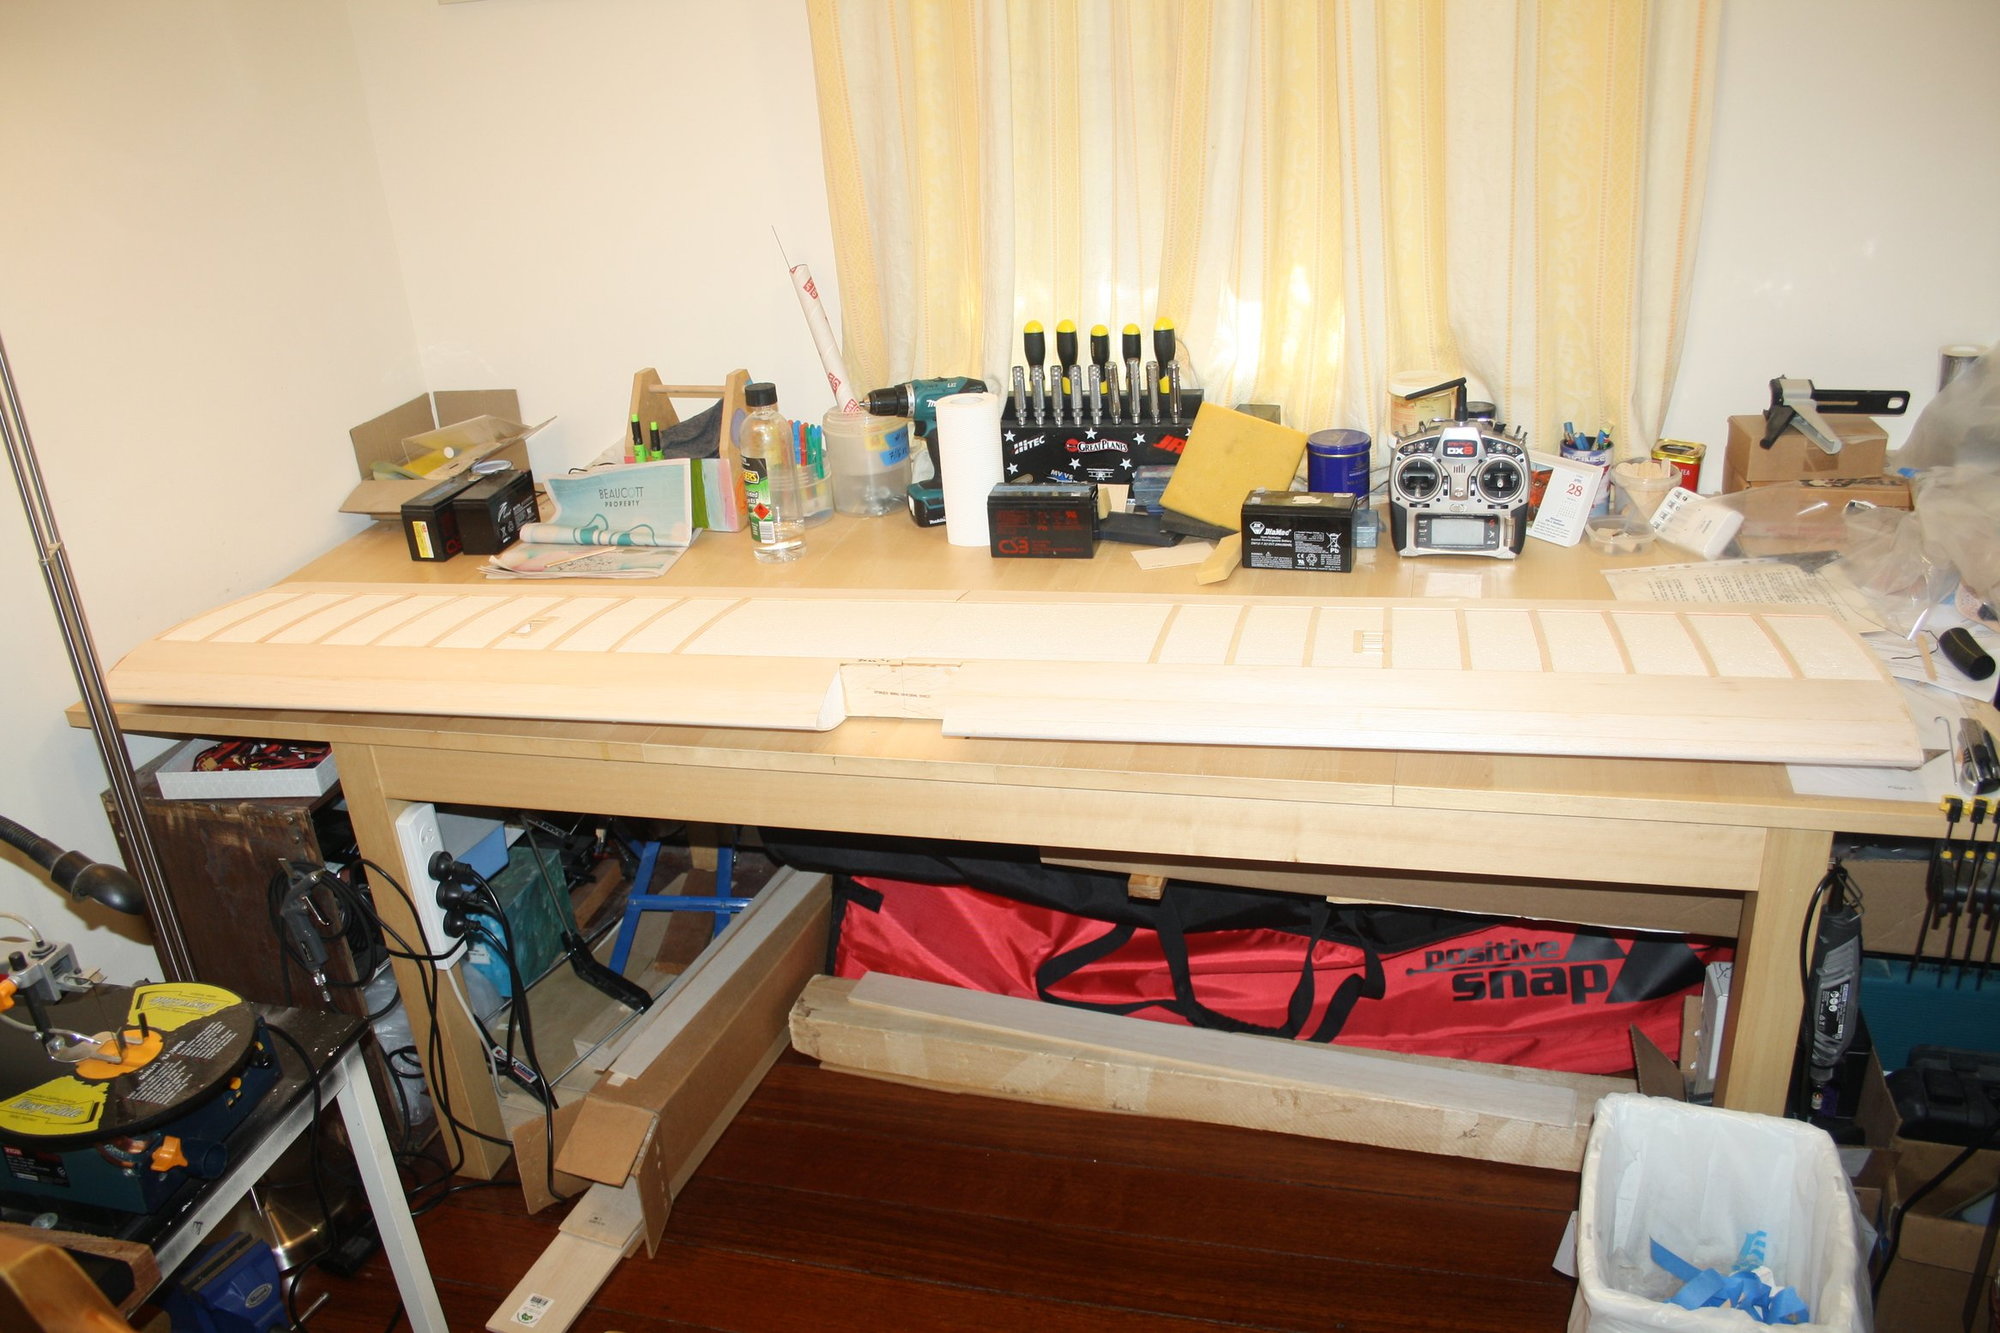
Leading Edge sheets are made out of glued joined sheeting sections.
I used PVA where the sheet contact the foam, and CA where it contacts the spar (flat on flat), which allowed me to adhere the curvature at the LE with weight and clamping, again using the foam blocks to keep the airfoil shape flat on the table.

Cheers,
Eran
I used PVA where the sheet contact the foam, and CA where it contacts the spar (flat on flat), which allowed me to adhere the curvature at the LE with weight and clamping, again using the foam blocks to keep the airfoil shape flat on the table.
Cheers,
Eran
05-26-2023, 09:23 PM
#11
Thread Starter
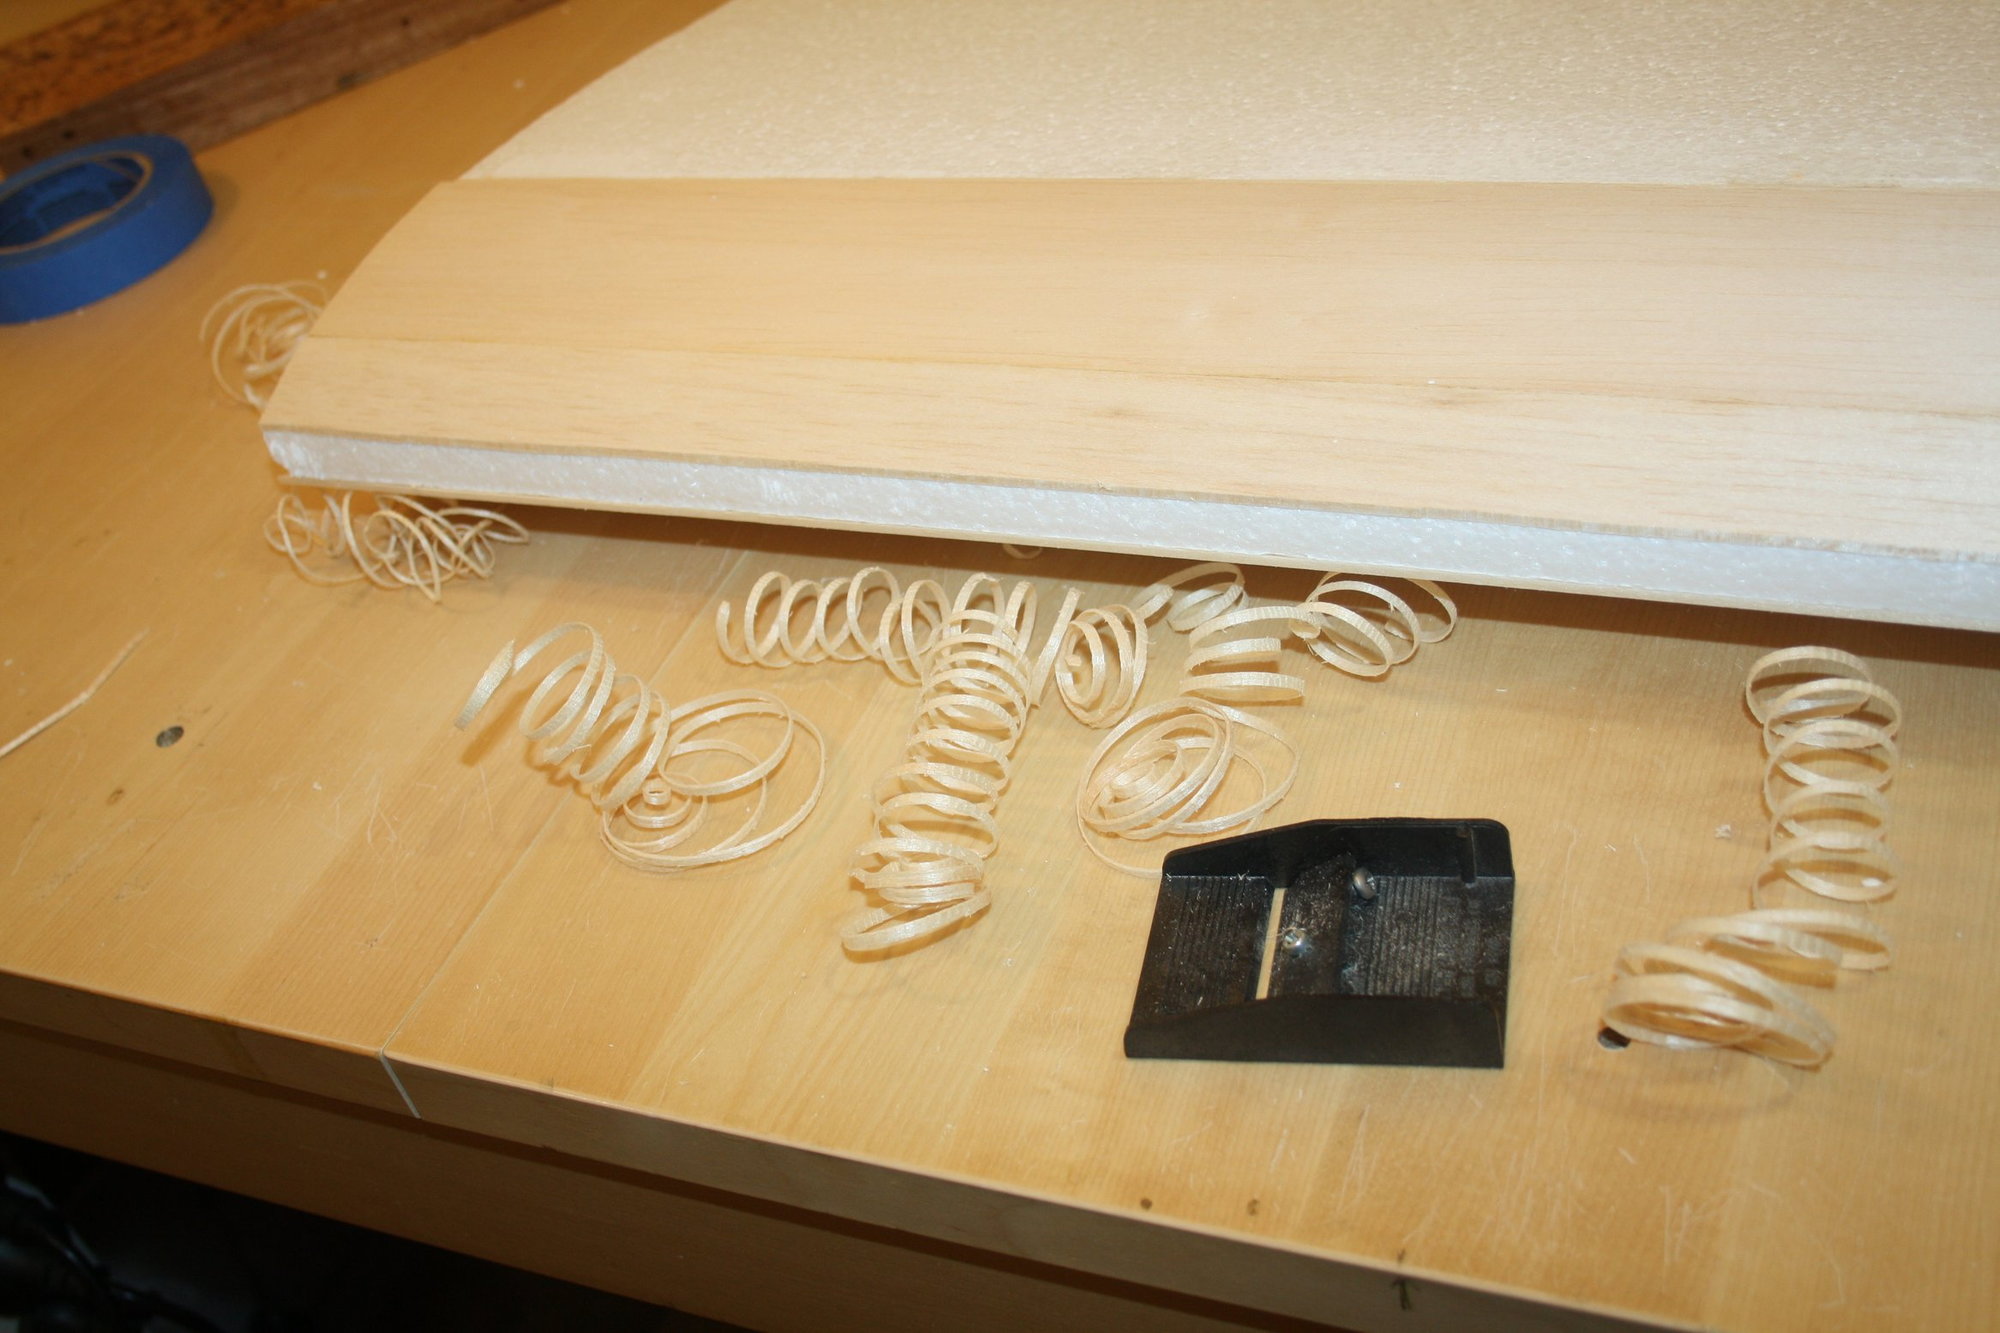
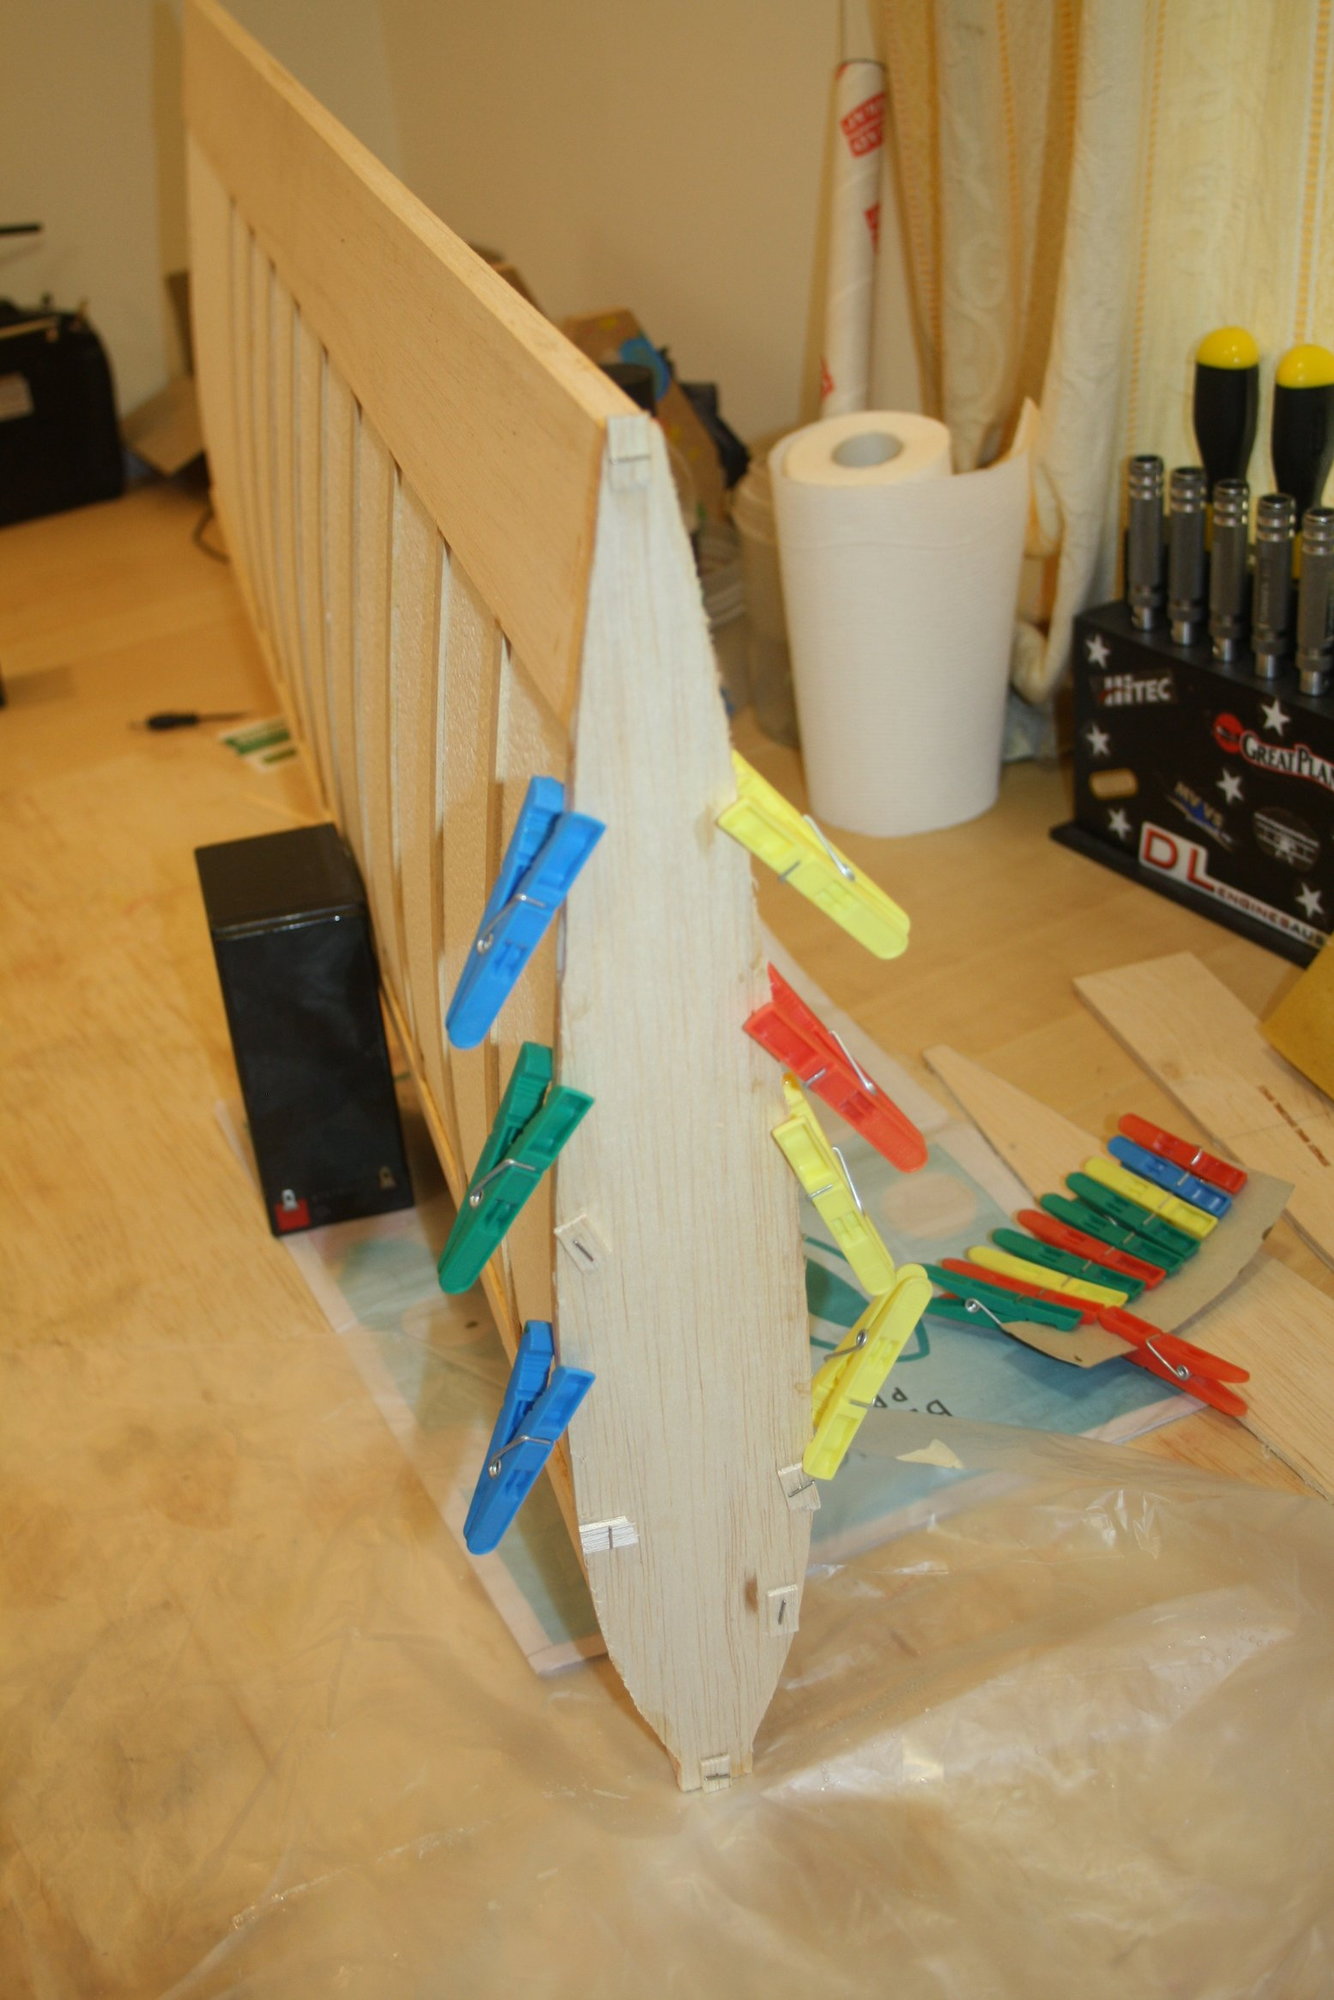
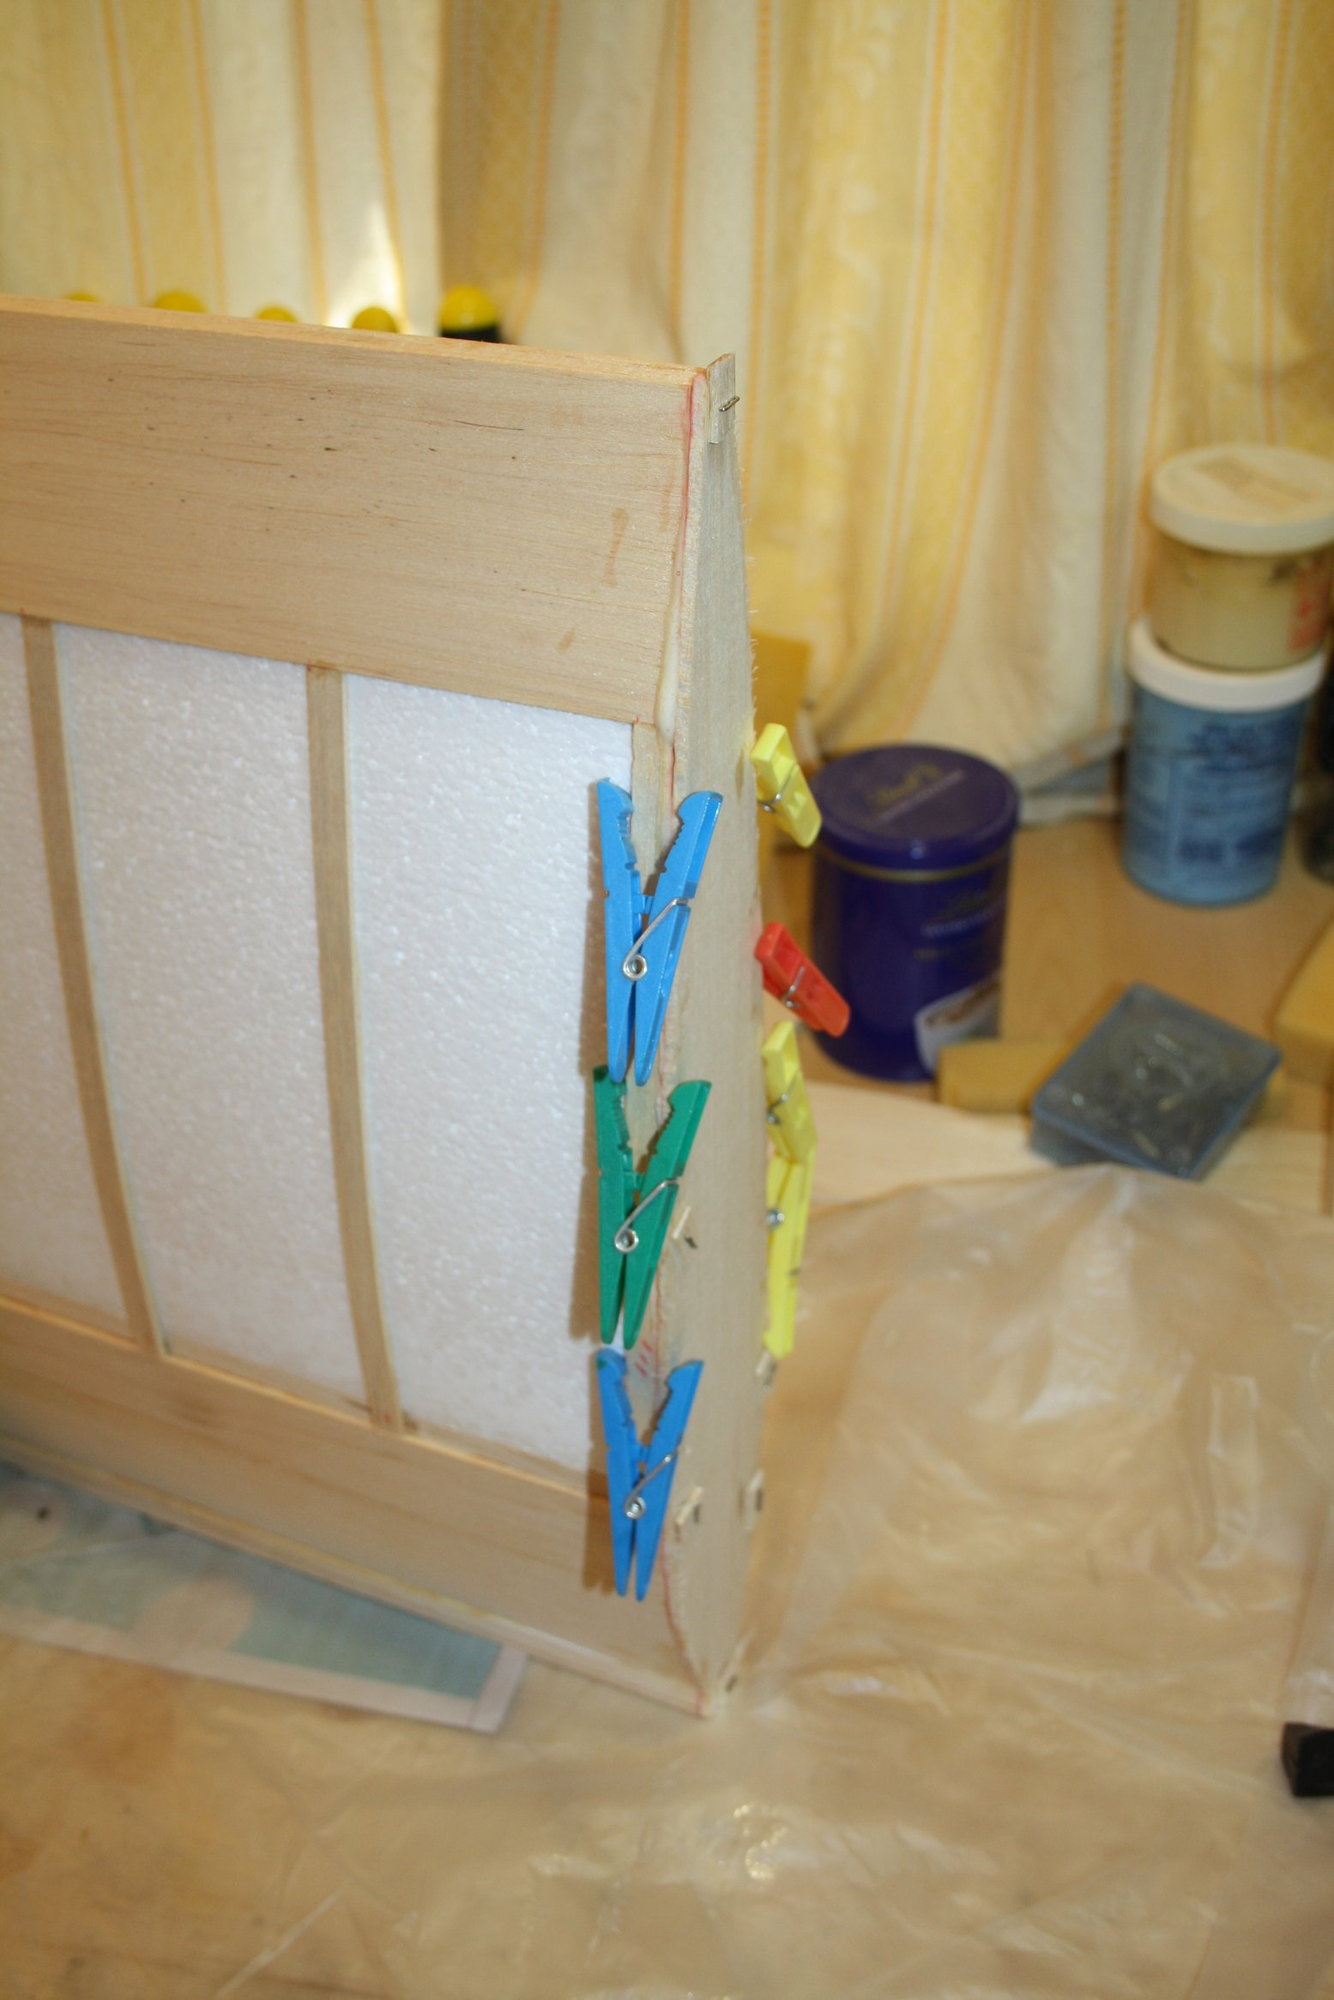
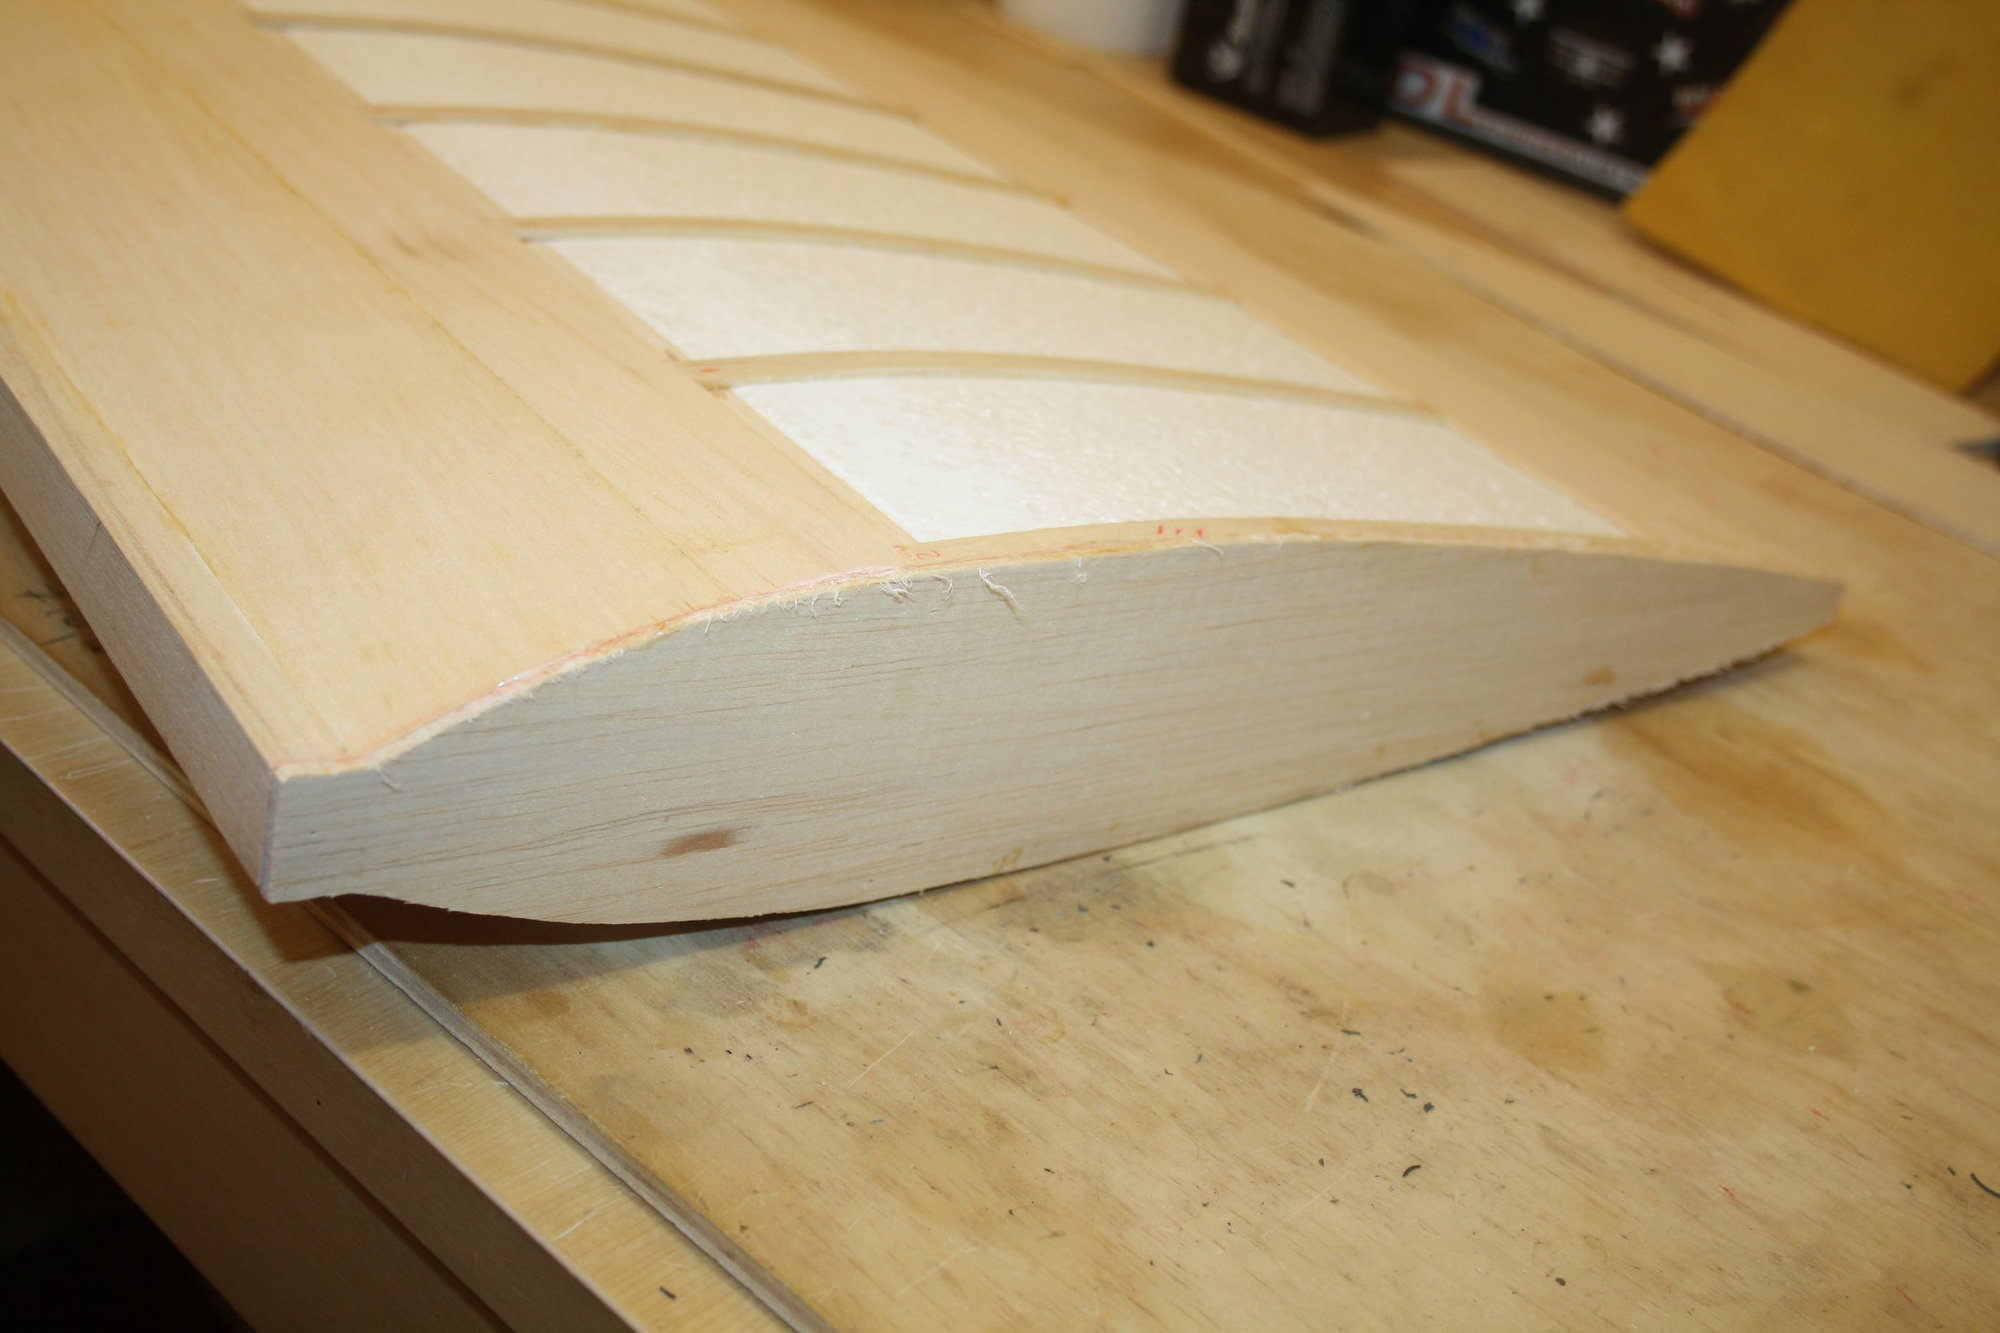
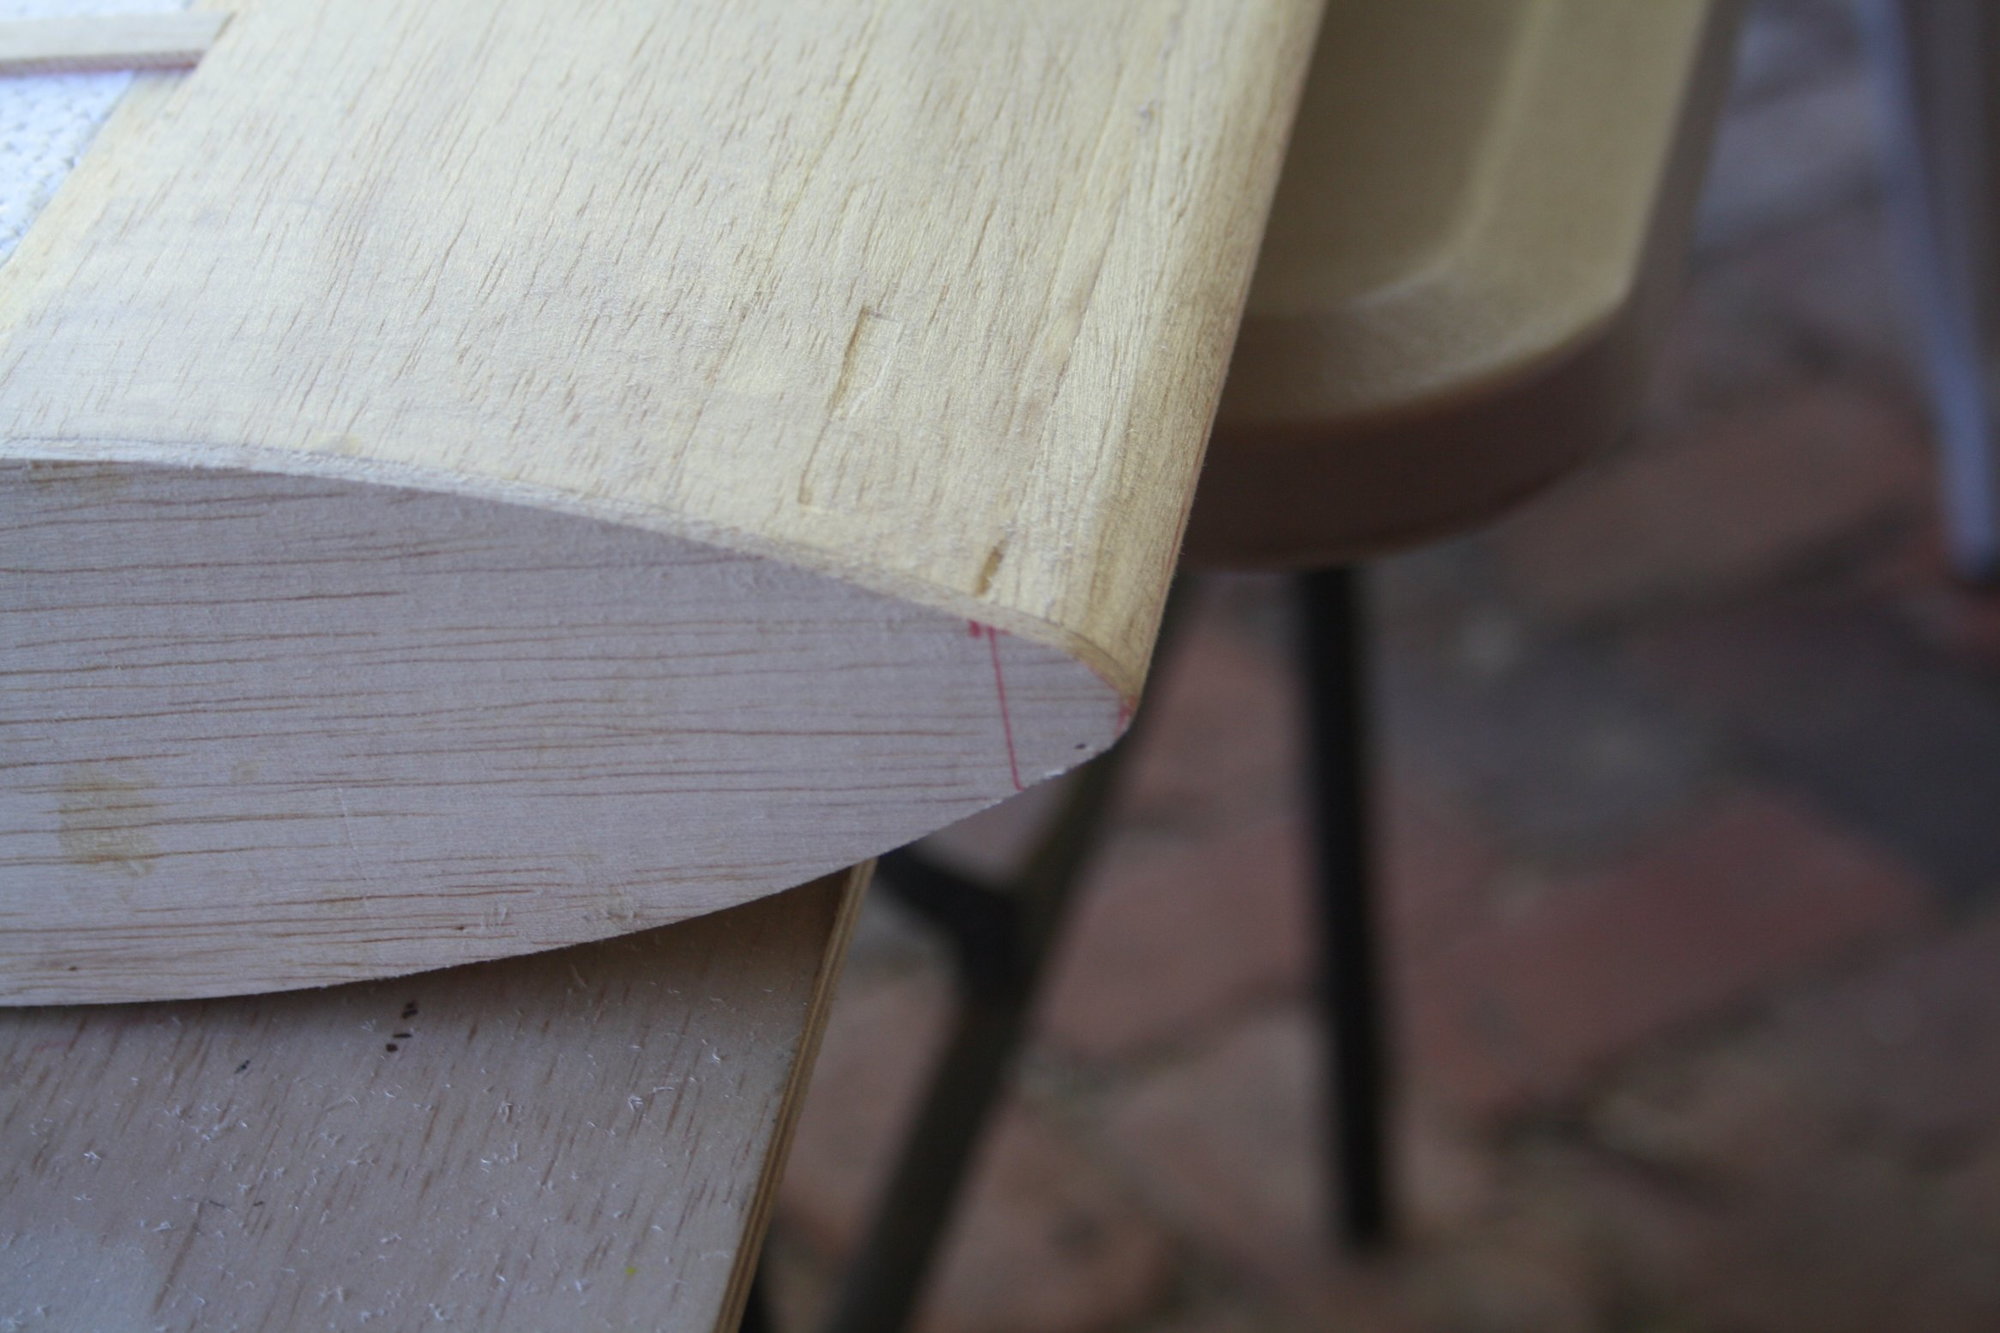
After planing and sending the LE sheeting to conform to the foam, the LE blocks were glued into place using Polyurethane glue. The top "rib cups" were then added.

Cheers,
Eran
Cheers,
Eran
05-31-2023, 10:55 PM
#12
Thread Starter
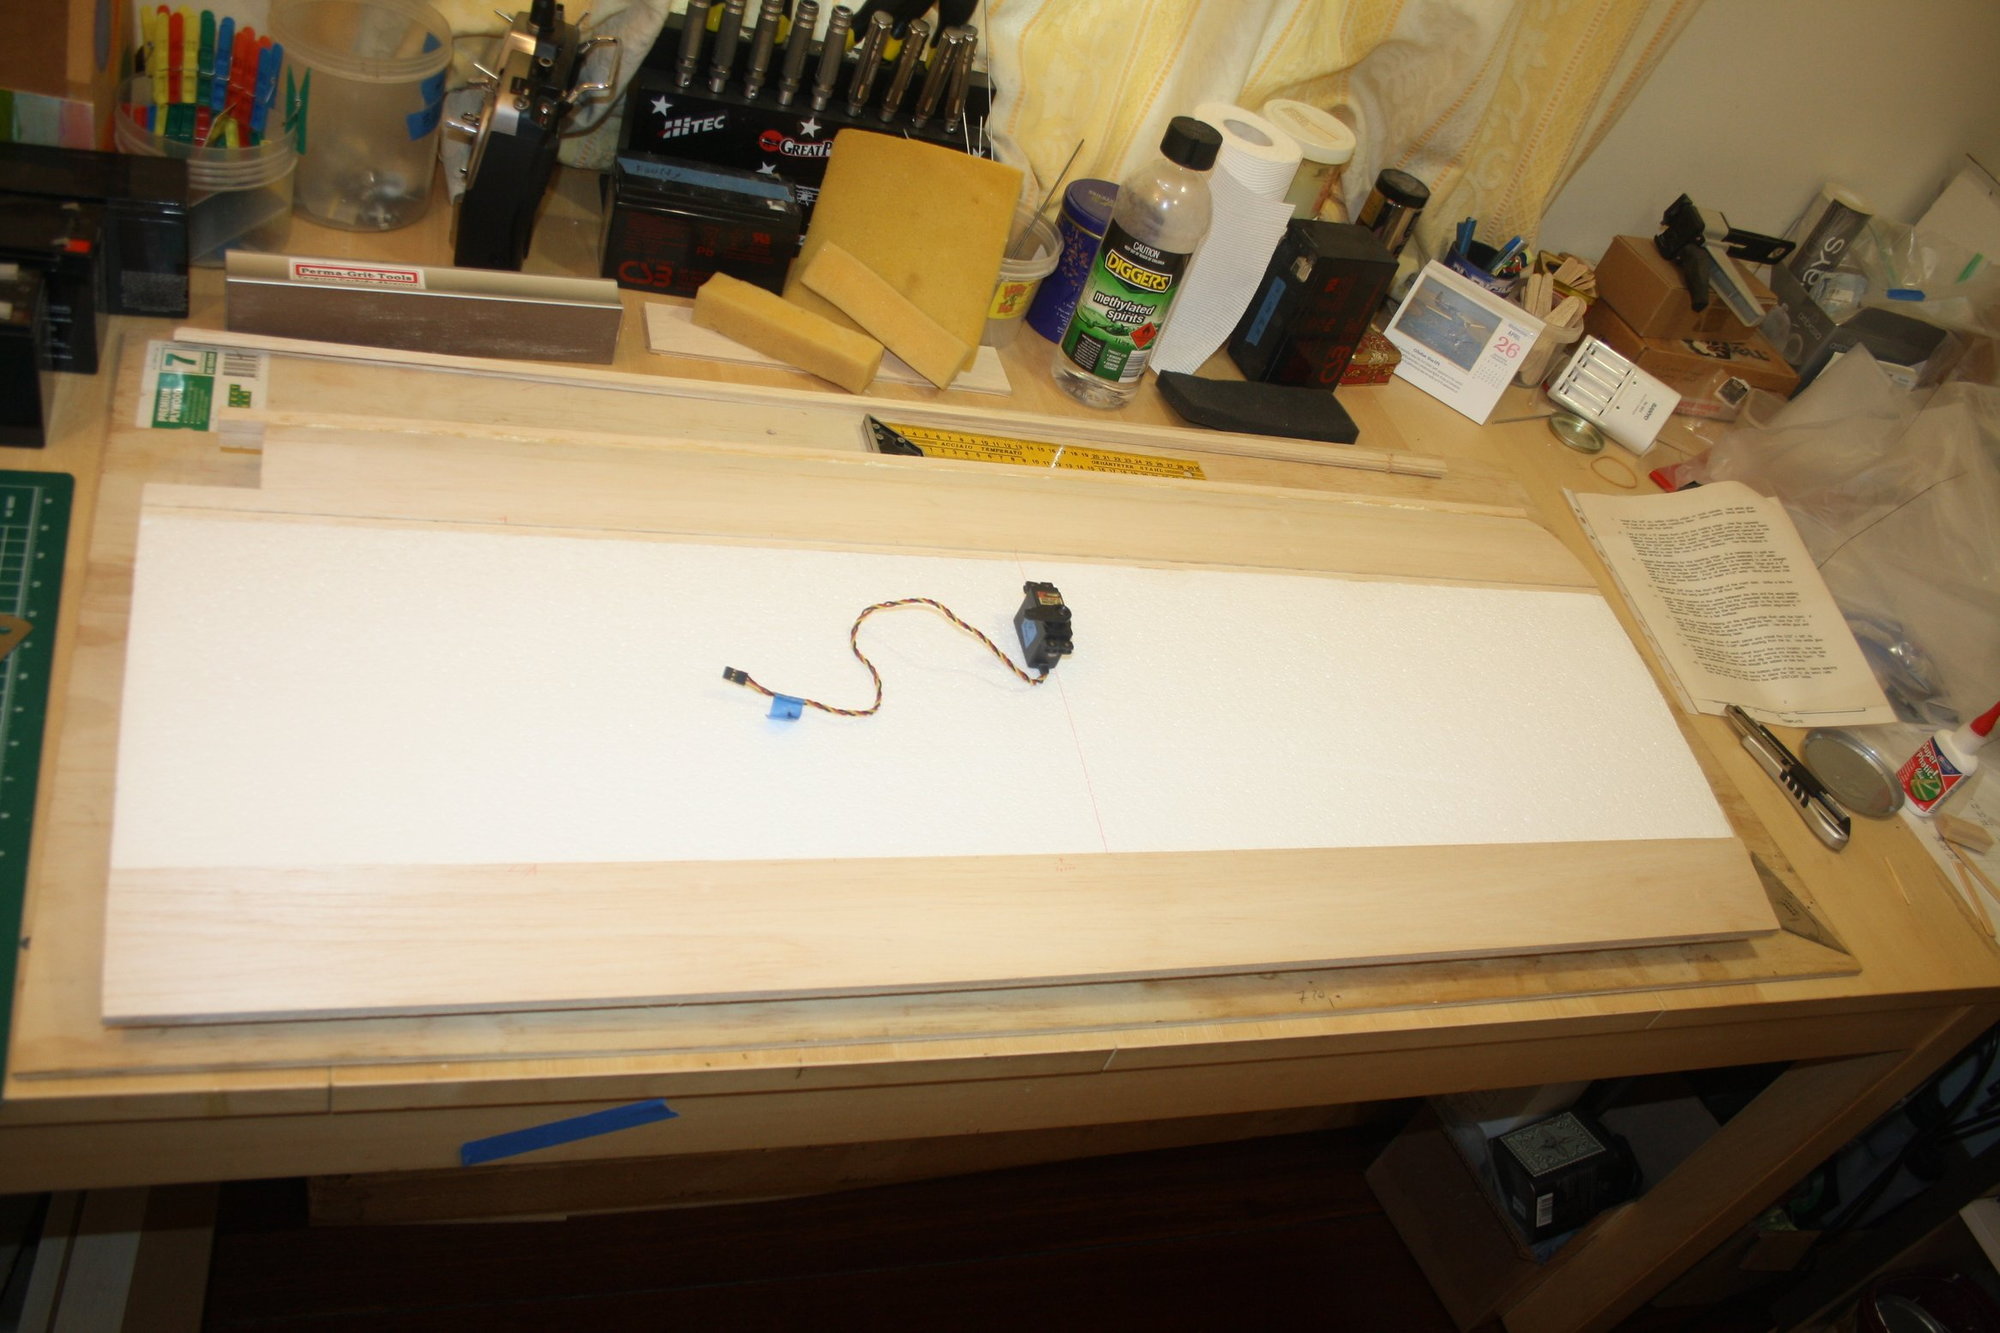
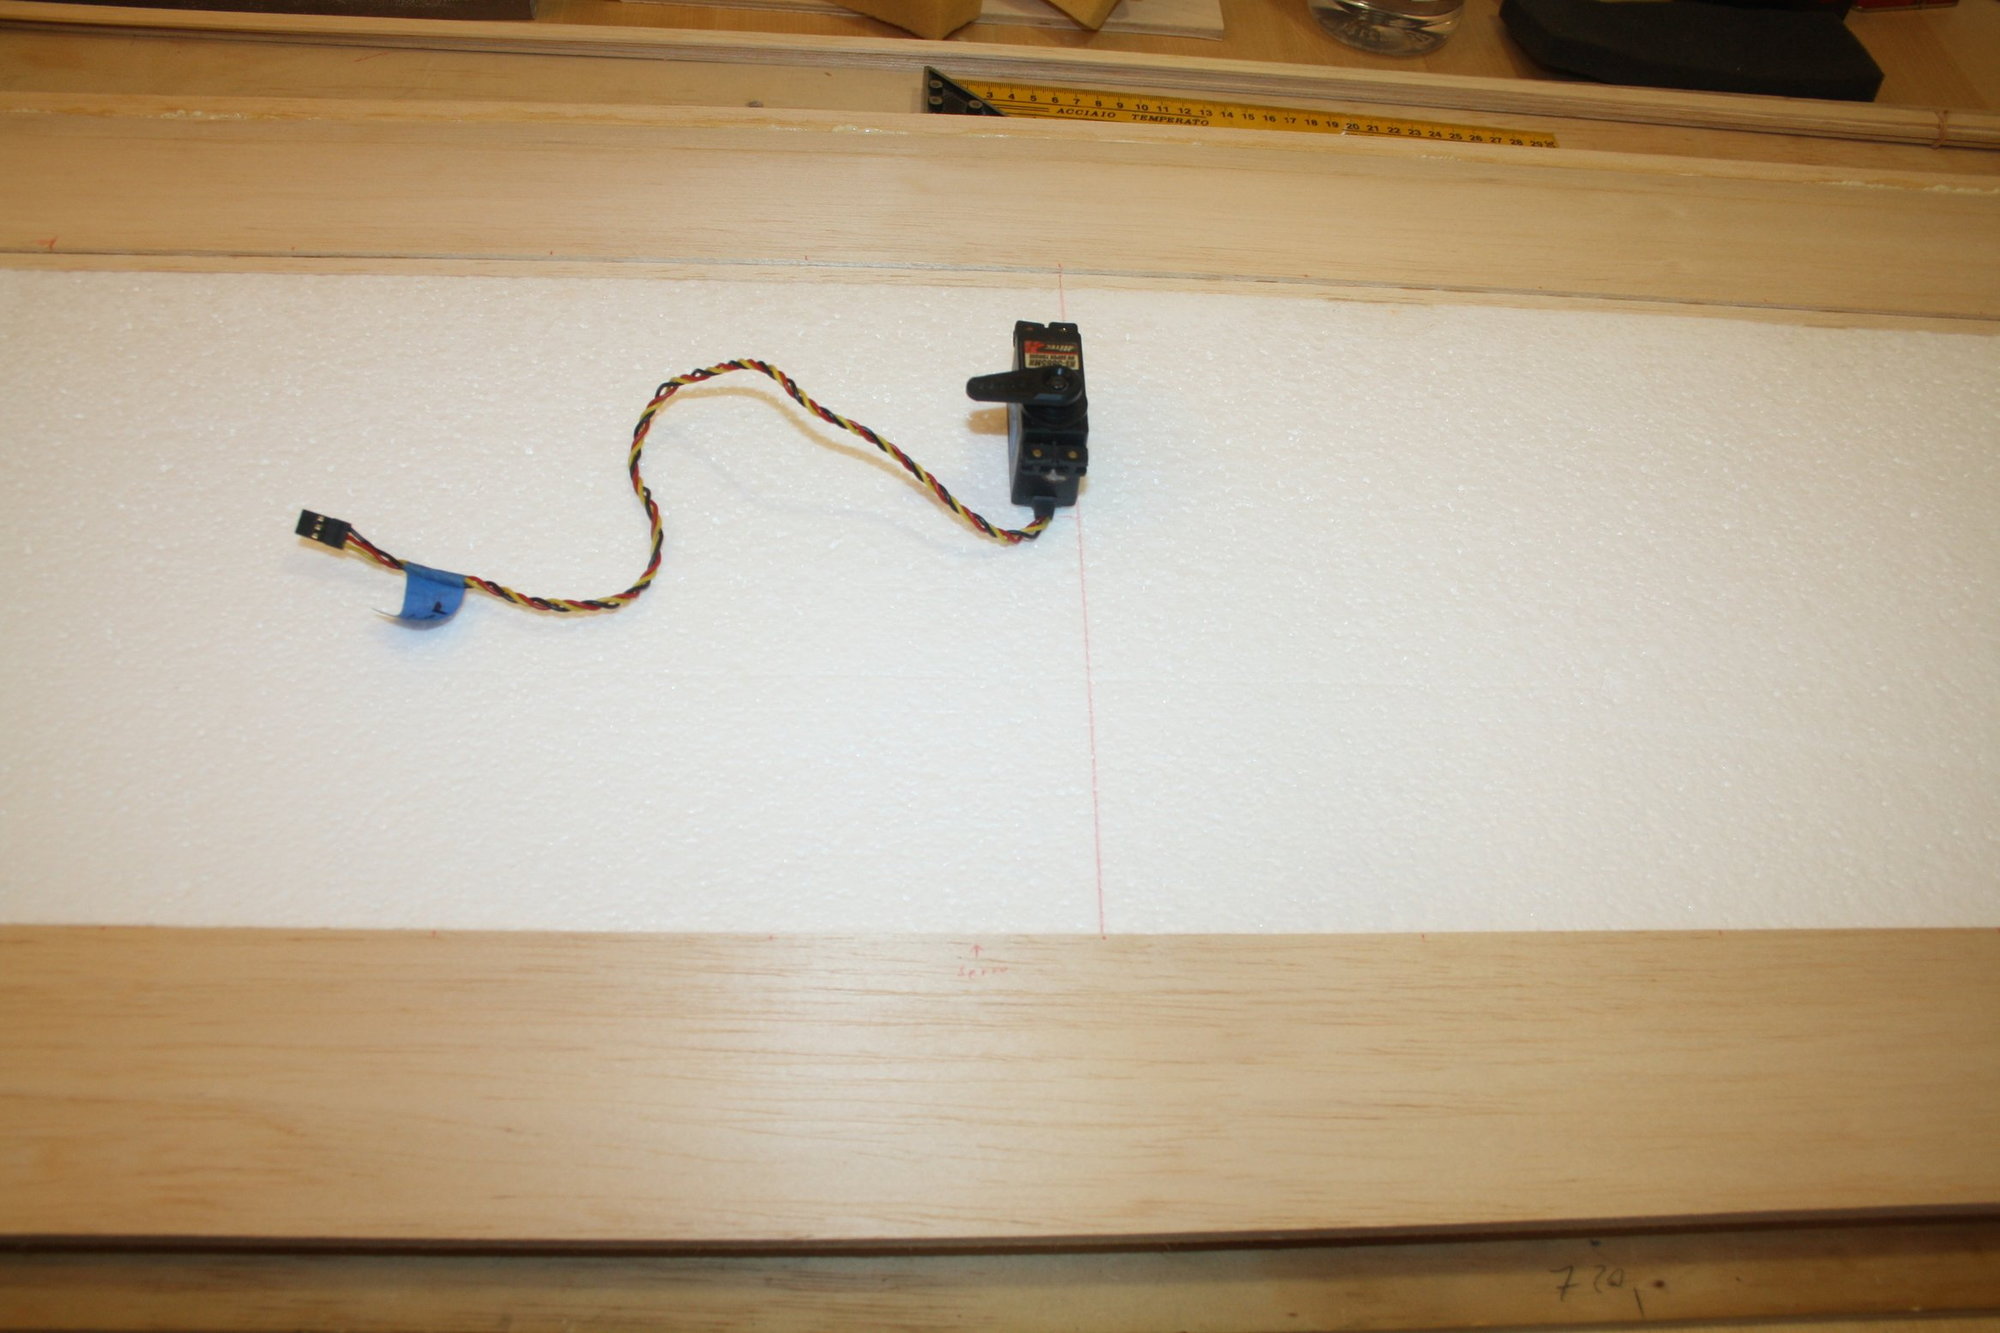
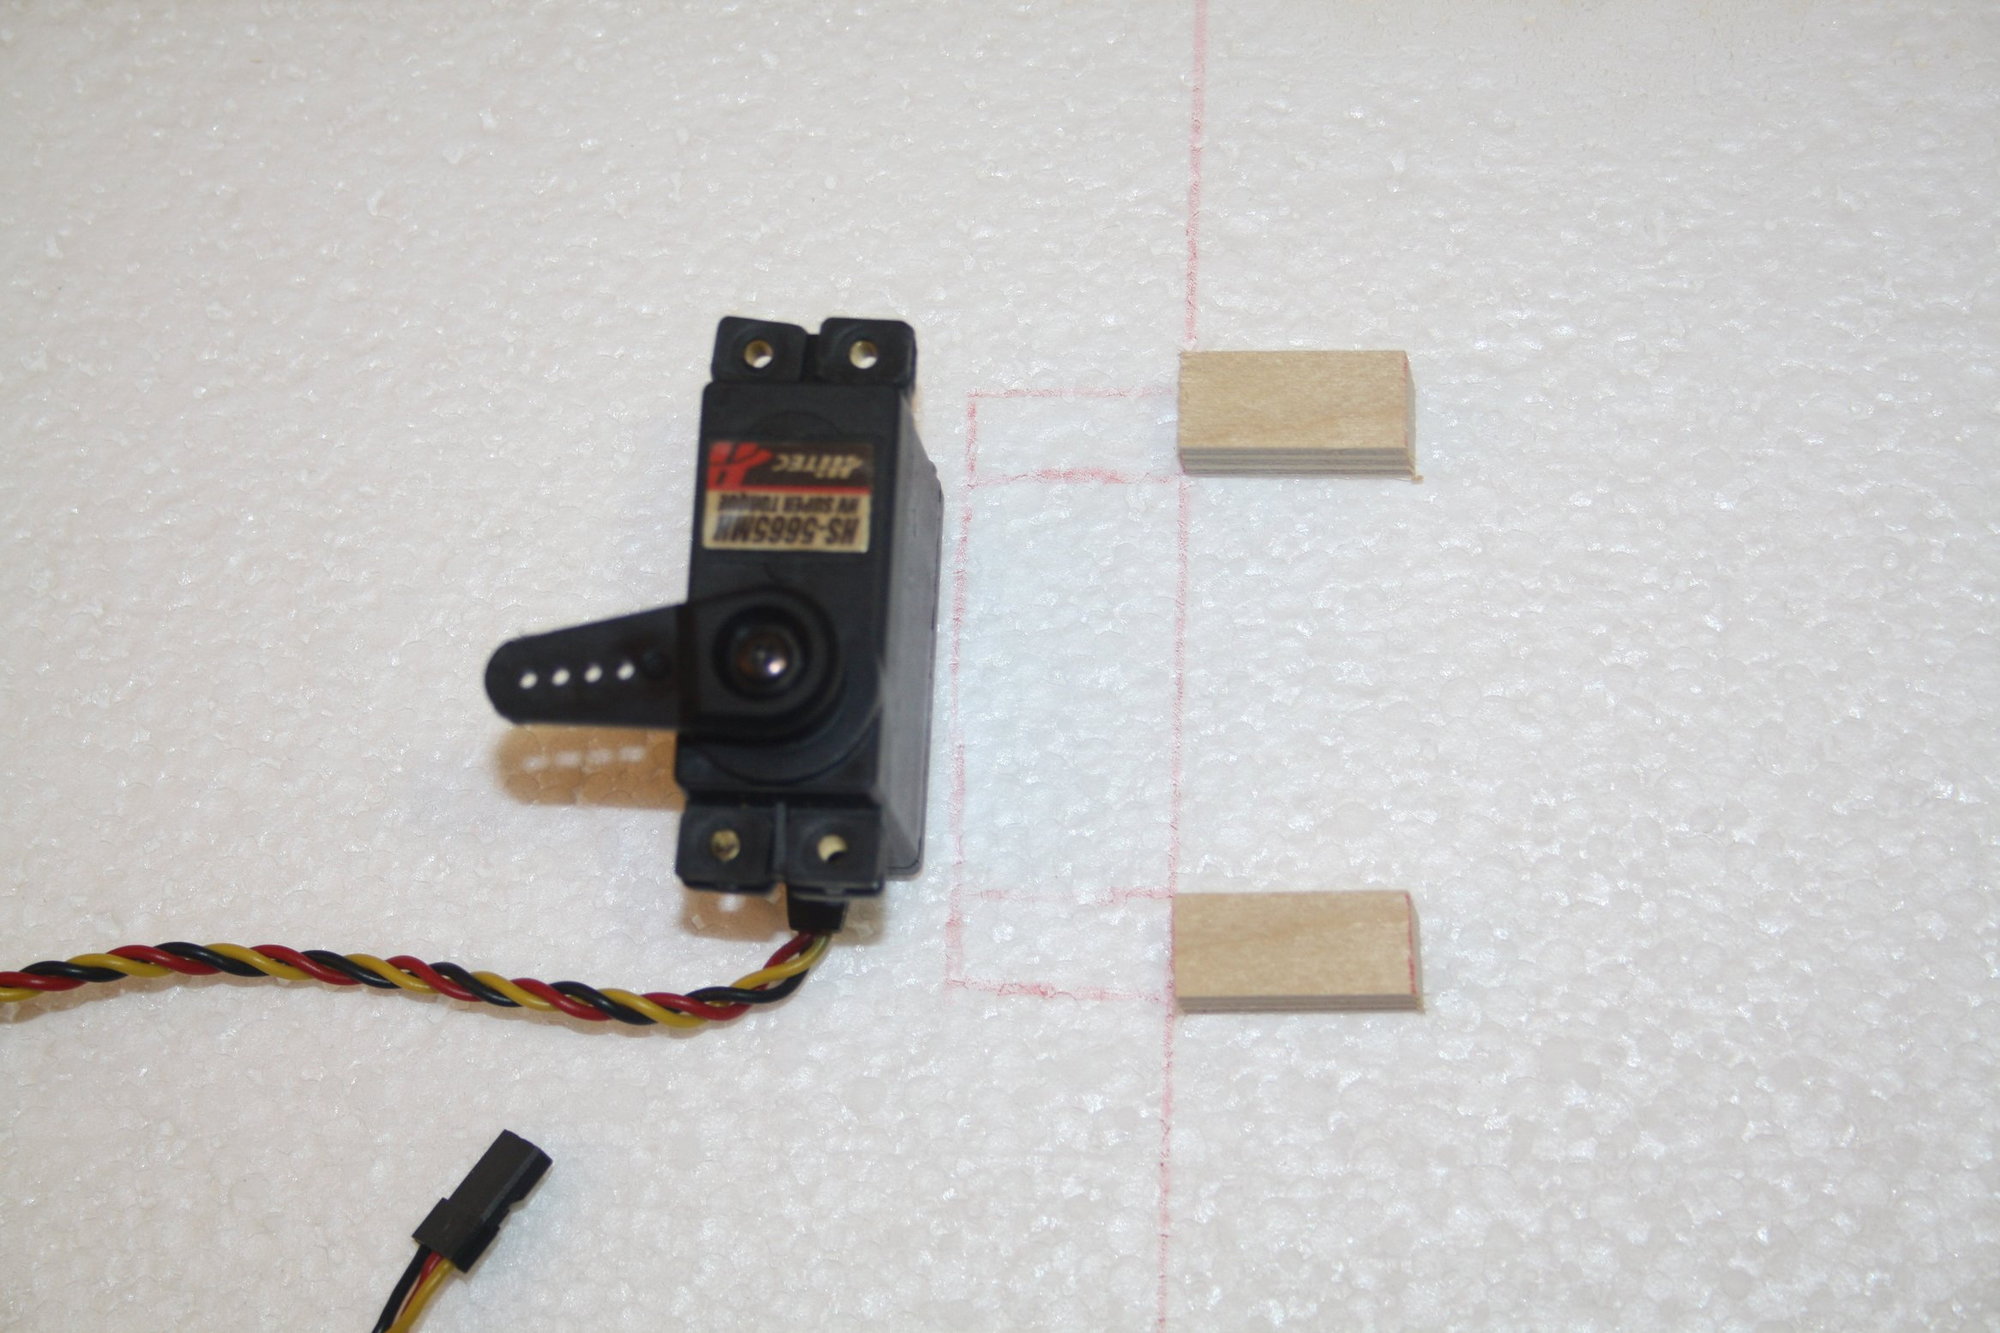
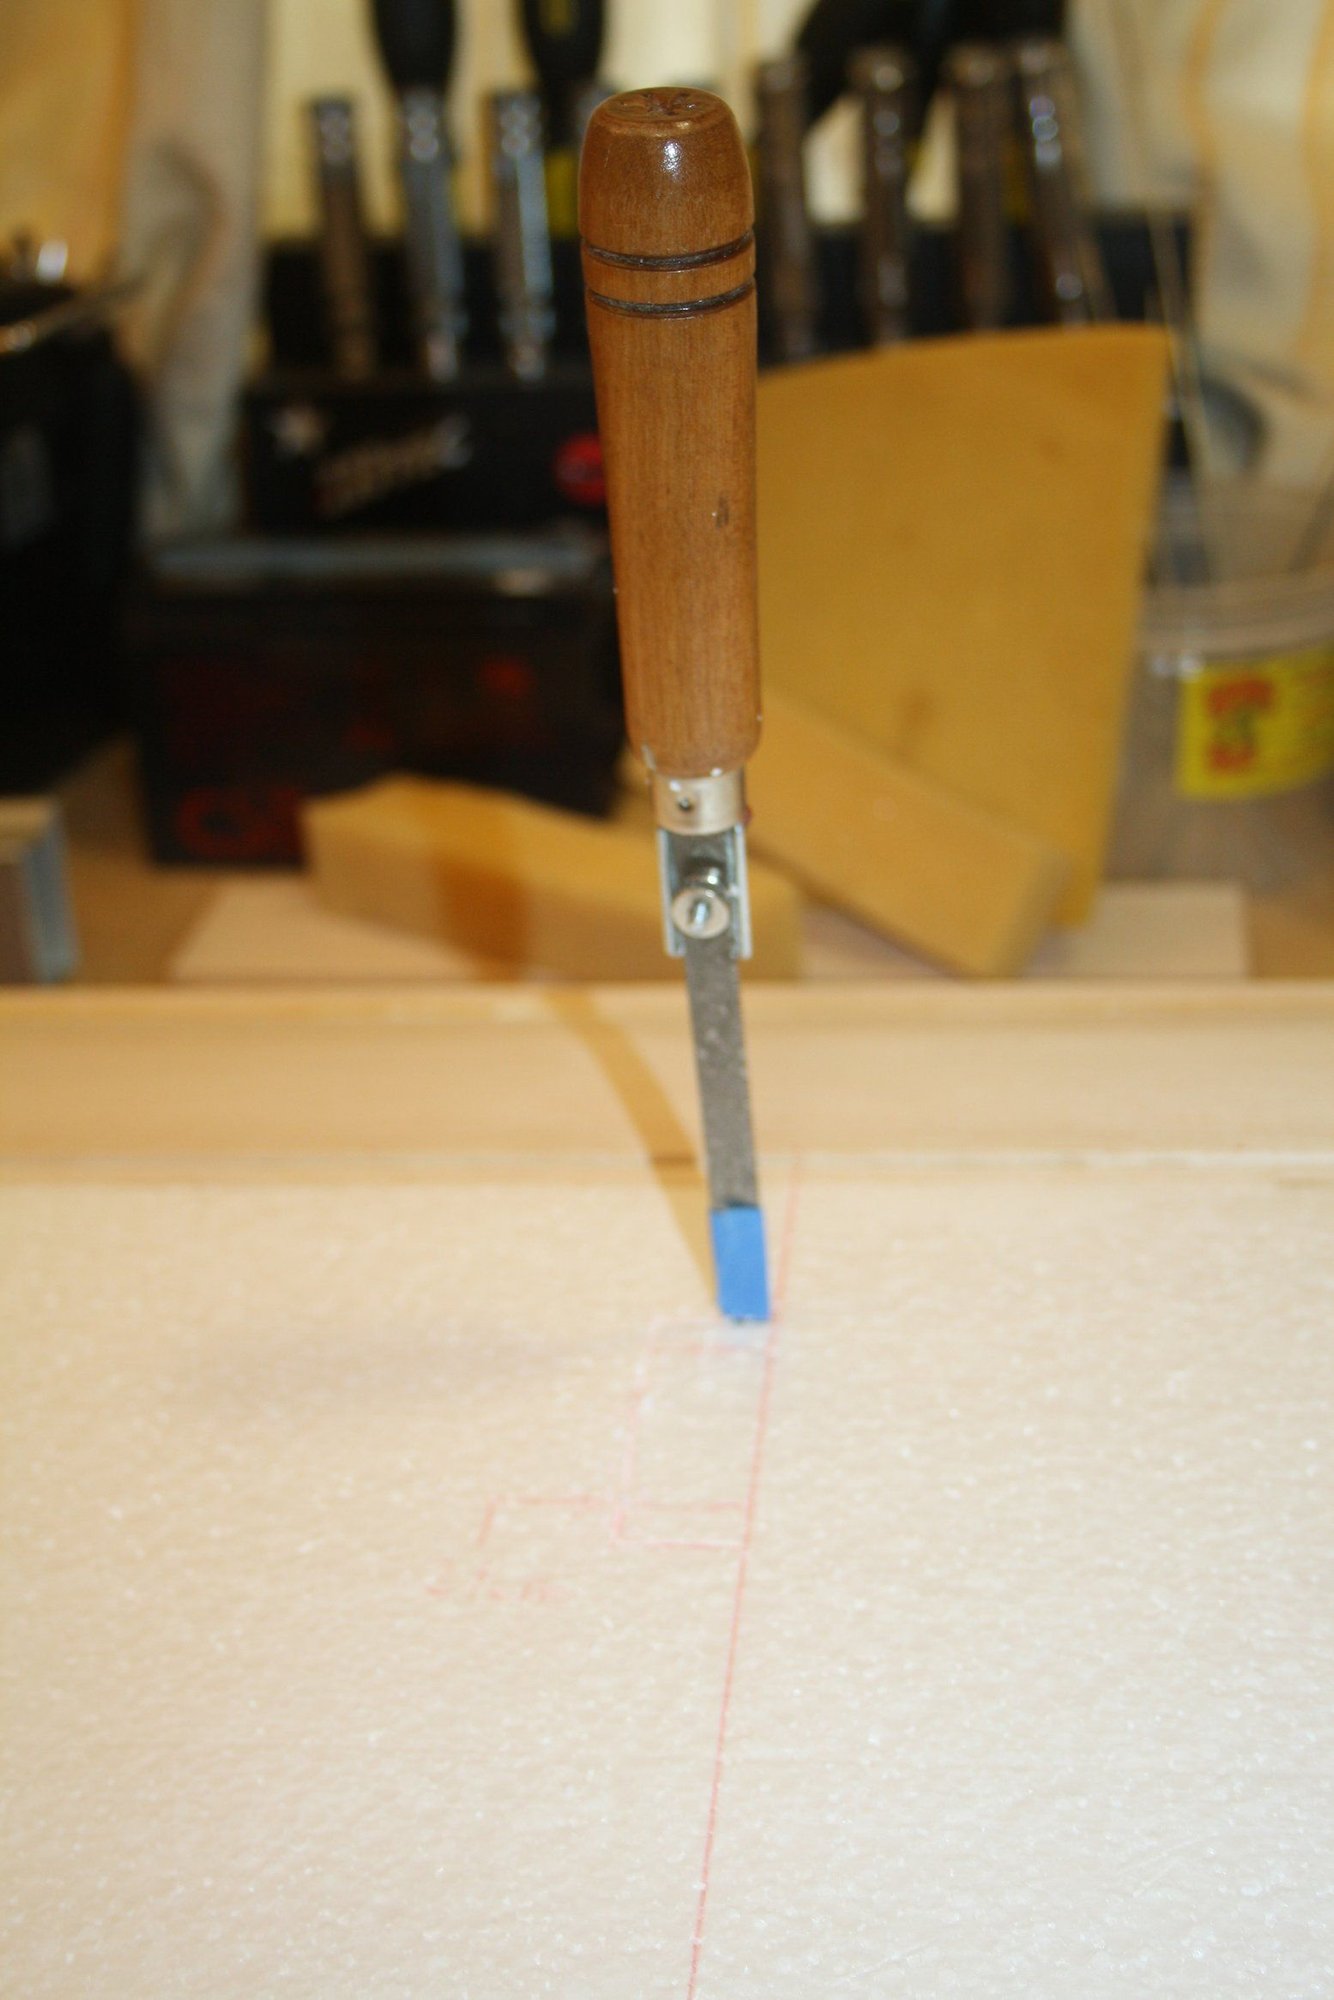
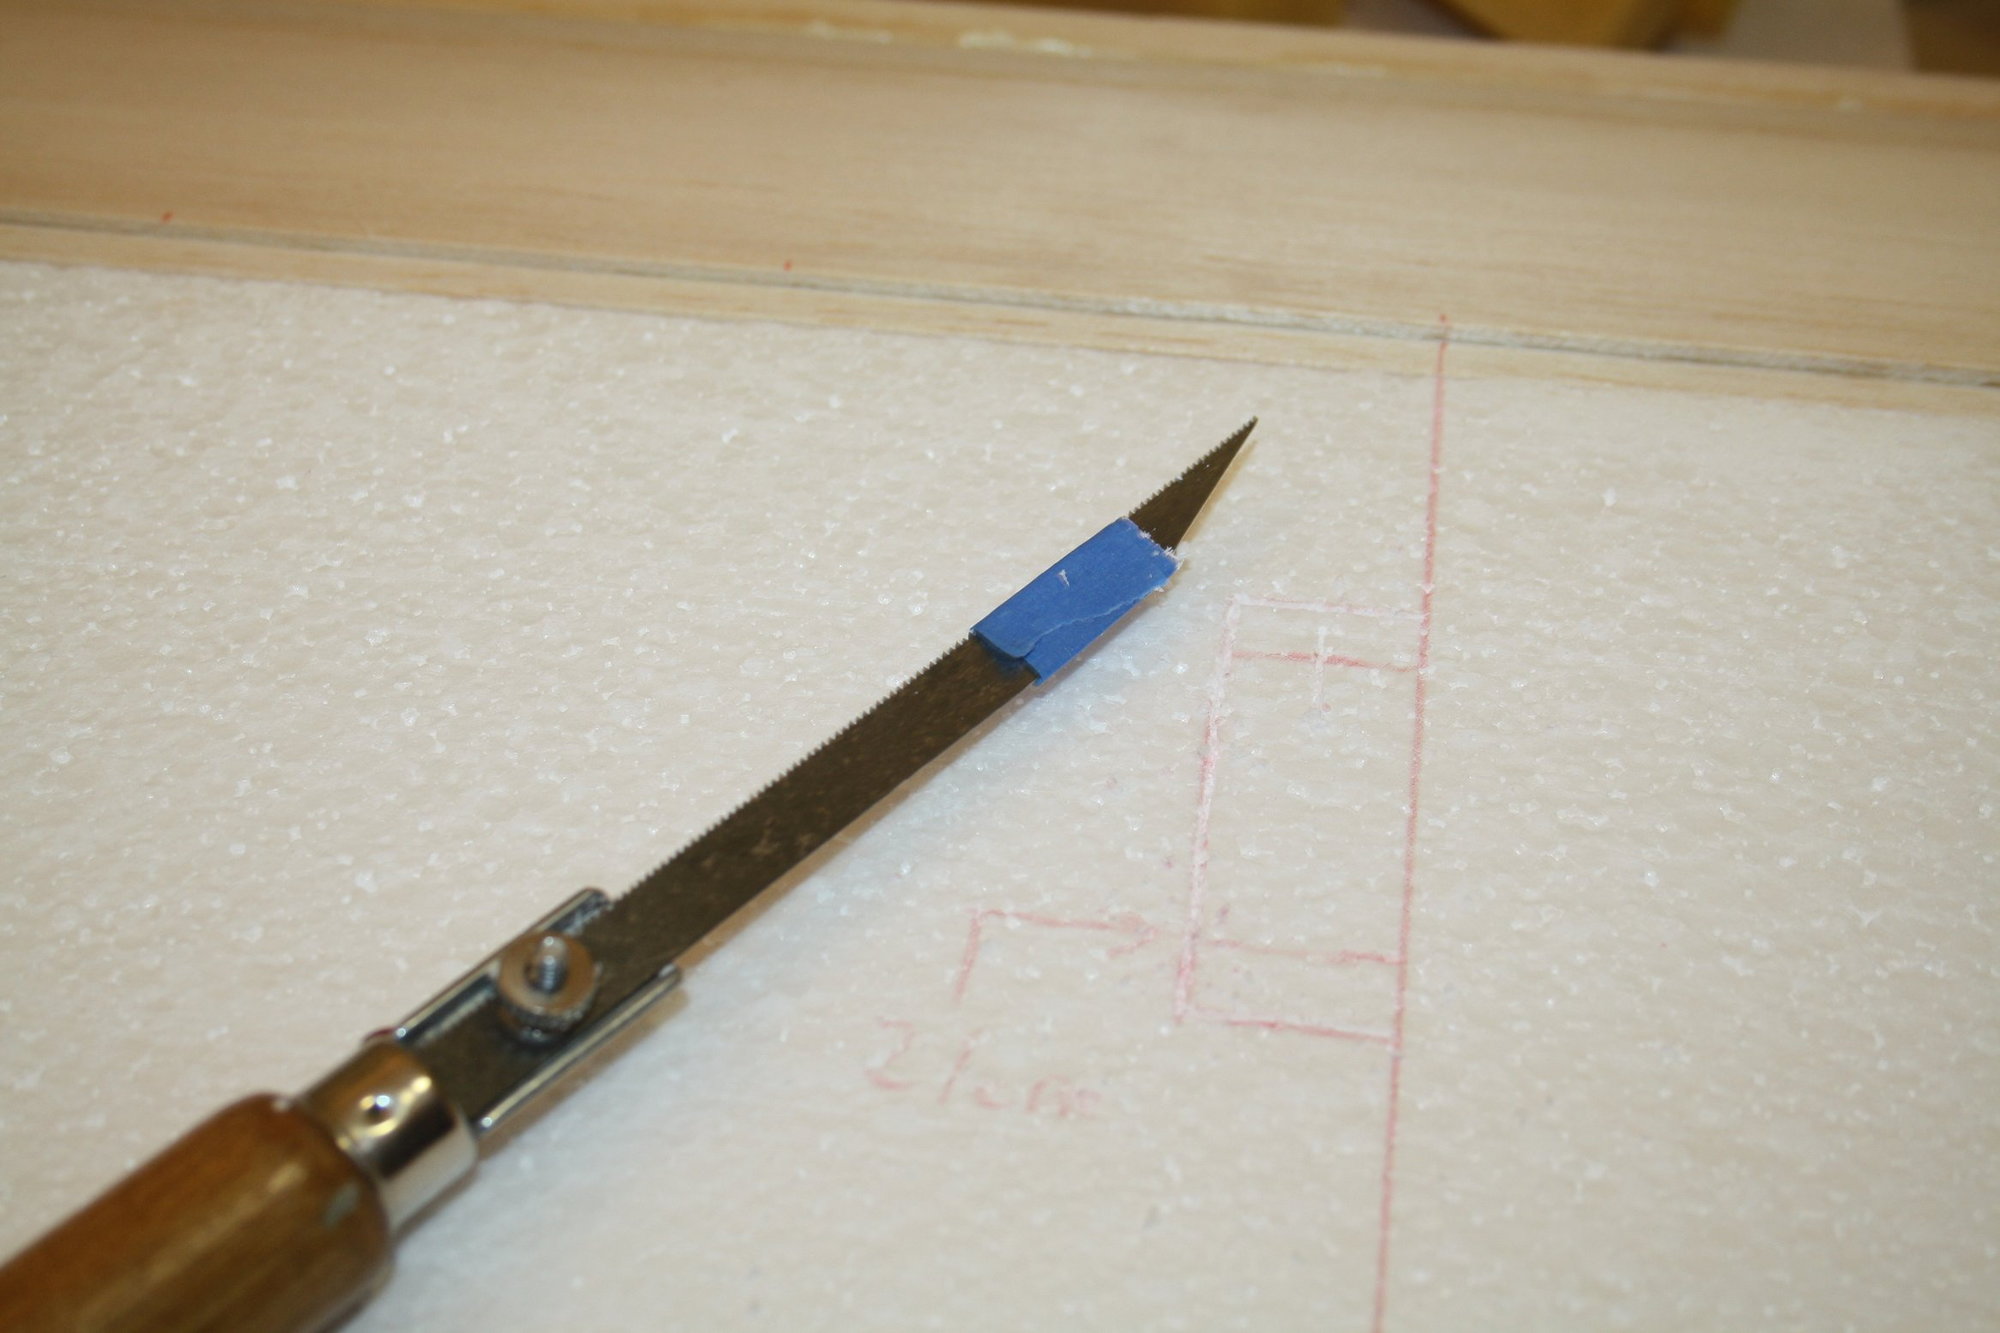
Preparation of the wings servos mounts is reasonably simple. Once the location is measured and marked, as well as the blade so the correct depth is not exceeded, the boundaries of the holes are cut into the foam.

Cheers,
Eran
Cheers,
Eran
05-31-2023, 11:05 PM
#13
Thread Starter
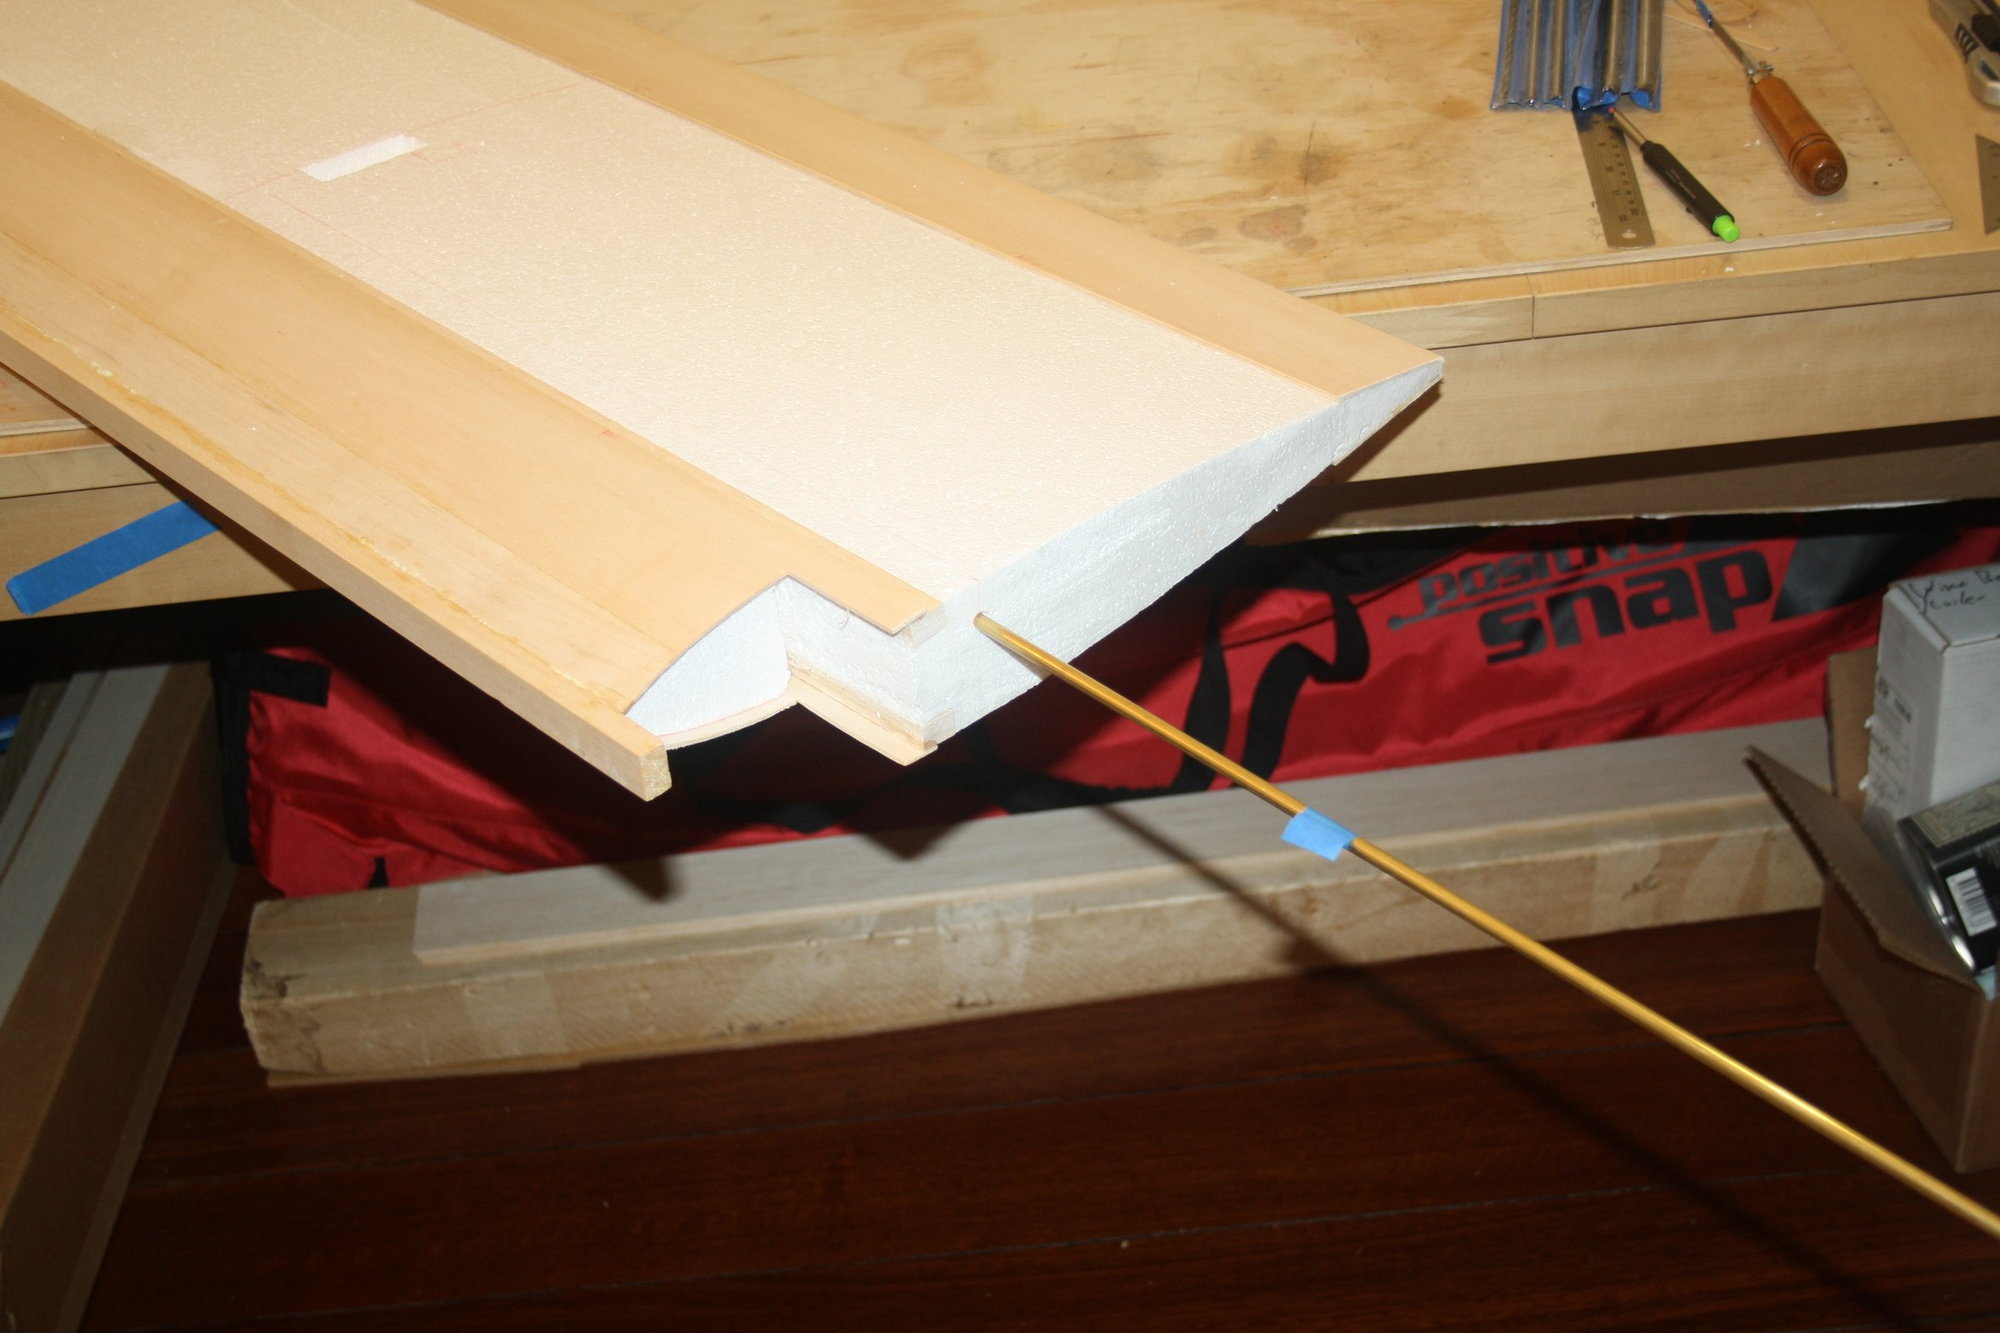
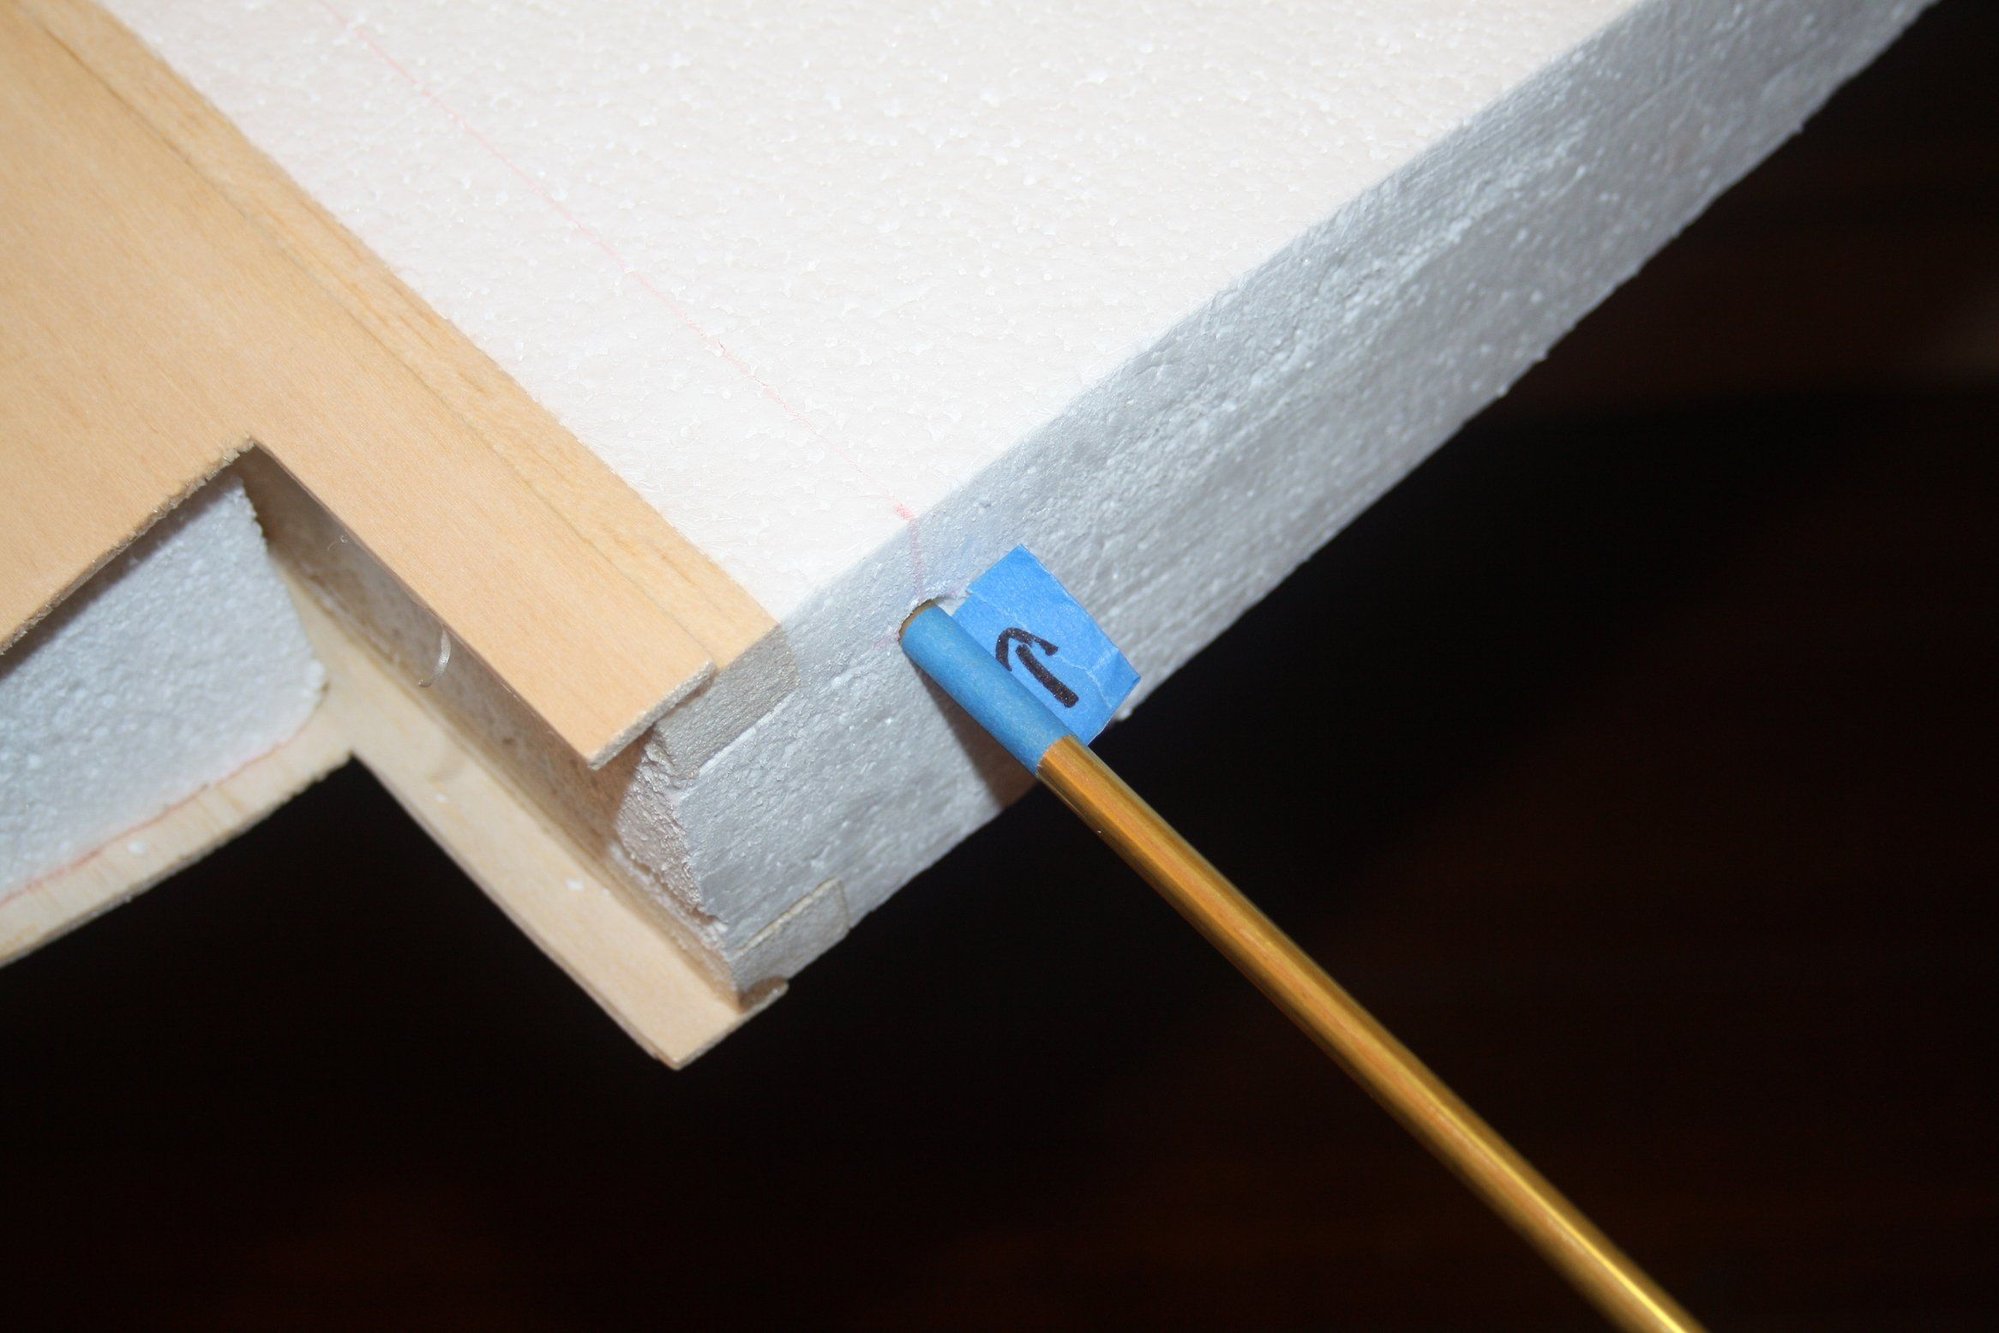
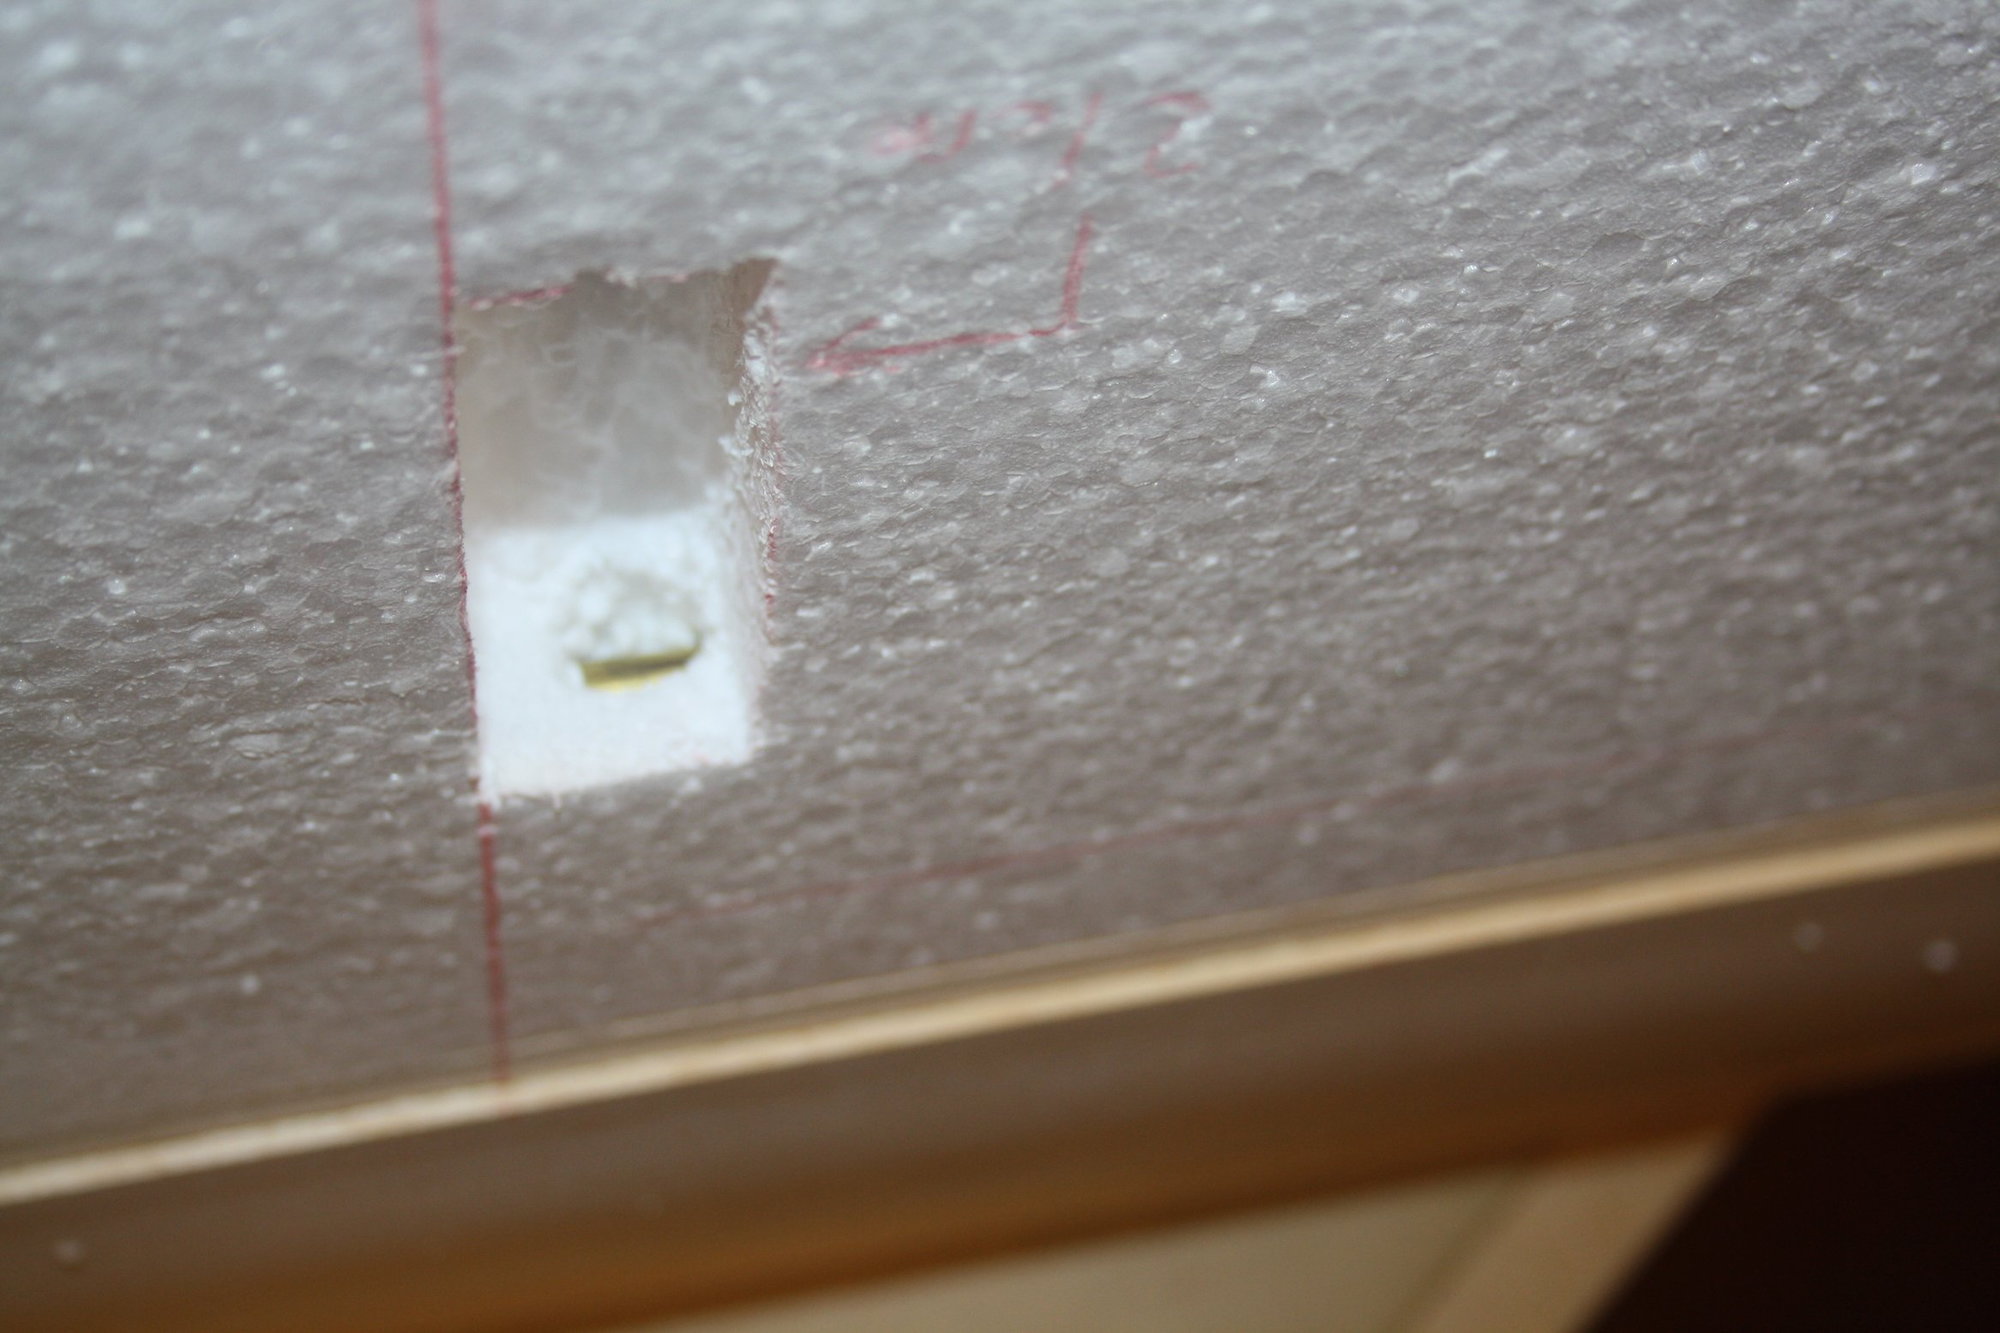
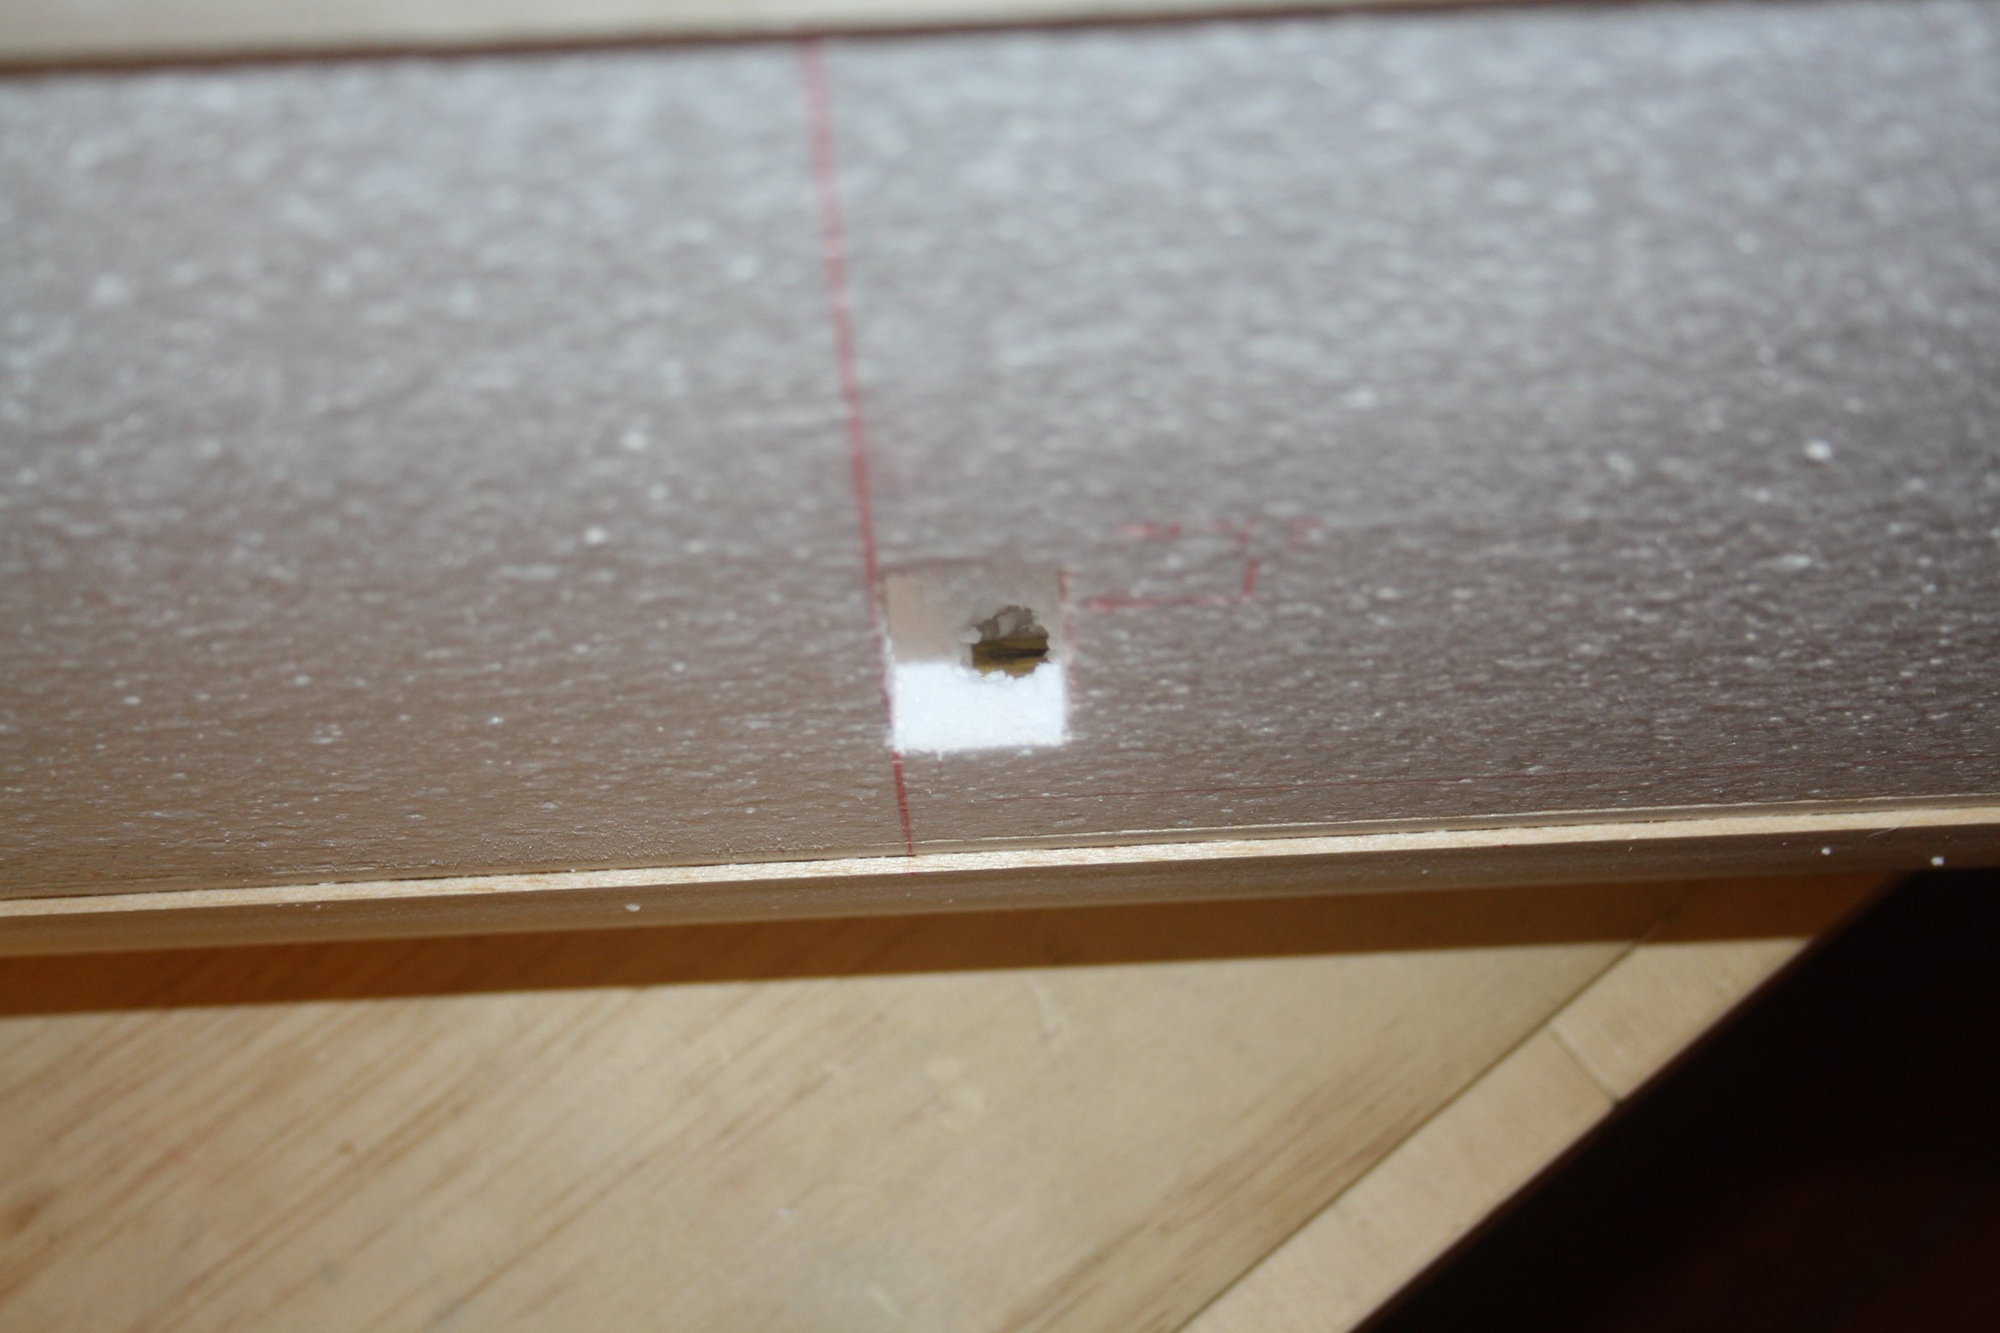
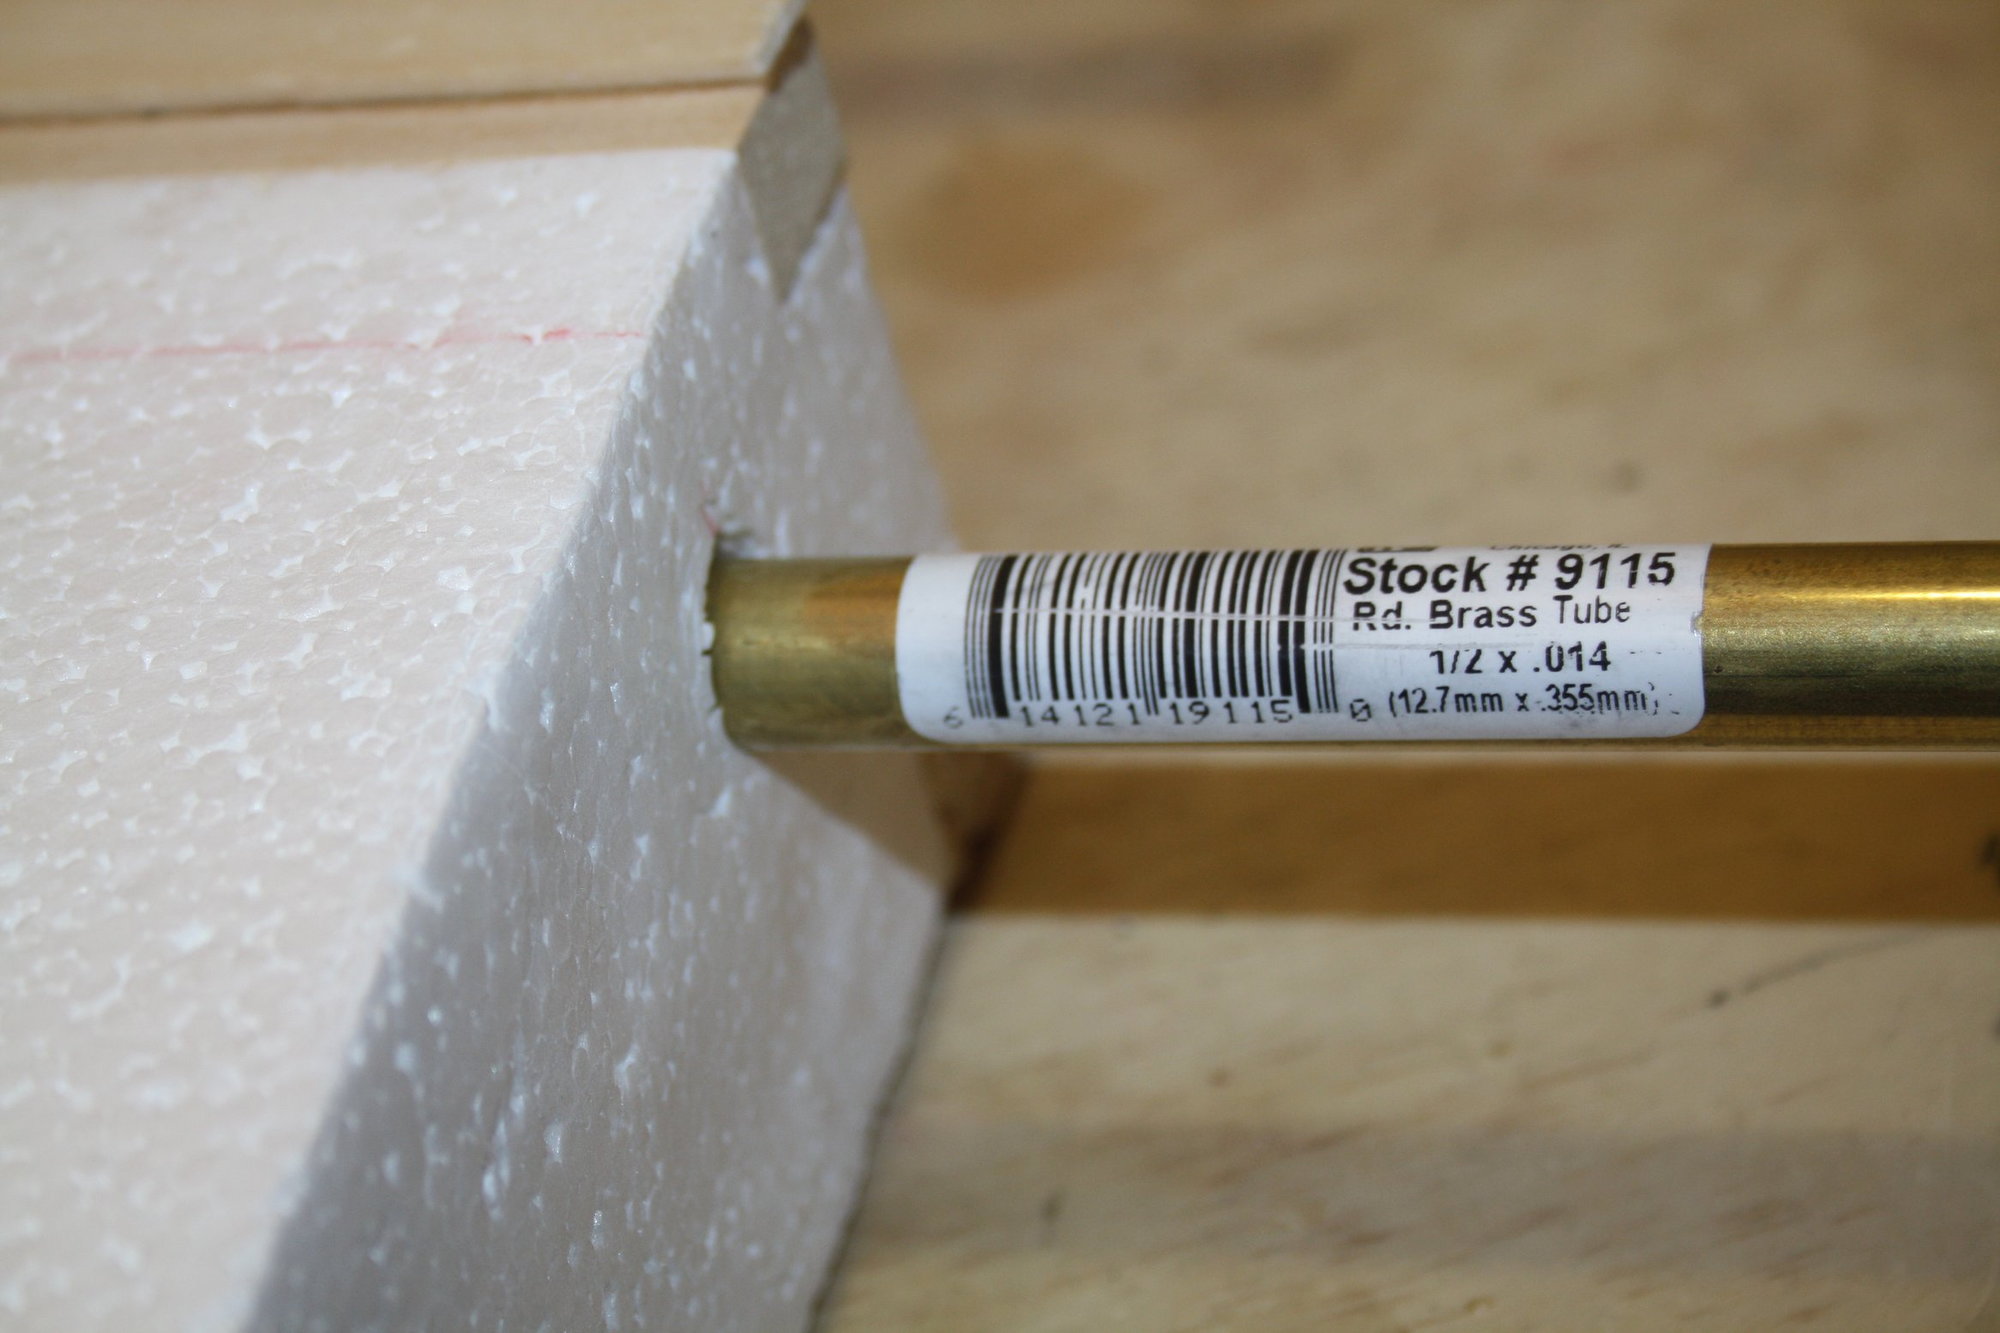
Next was "digging" the tunnel for the servo leads from the center section. The manual and the plans contain no information on how to do this step, so I made a "tunneling" trial by using 1/8" brass tube. It worked reasonably well, so I bought 1/2" brass tube and used it to perform this task. On one side my alignment was reasonably good and I managed to "find" the tube next to the servo mounting hole reasonably easily. On the other side I got quite concerned with the amount of "digging" that I was performing until to my relief I located the brass tube.

Cheers,
Eran
Cheers,
Eran
06-13-2023, 06:48 PM
#16
Thread Starter
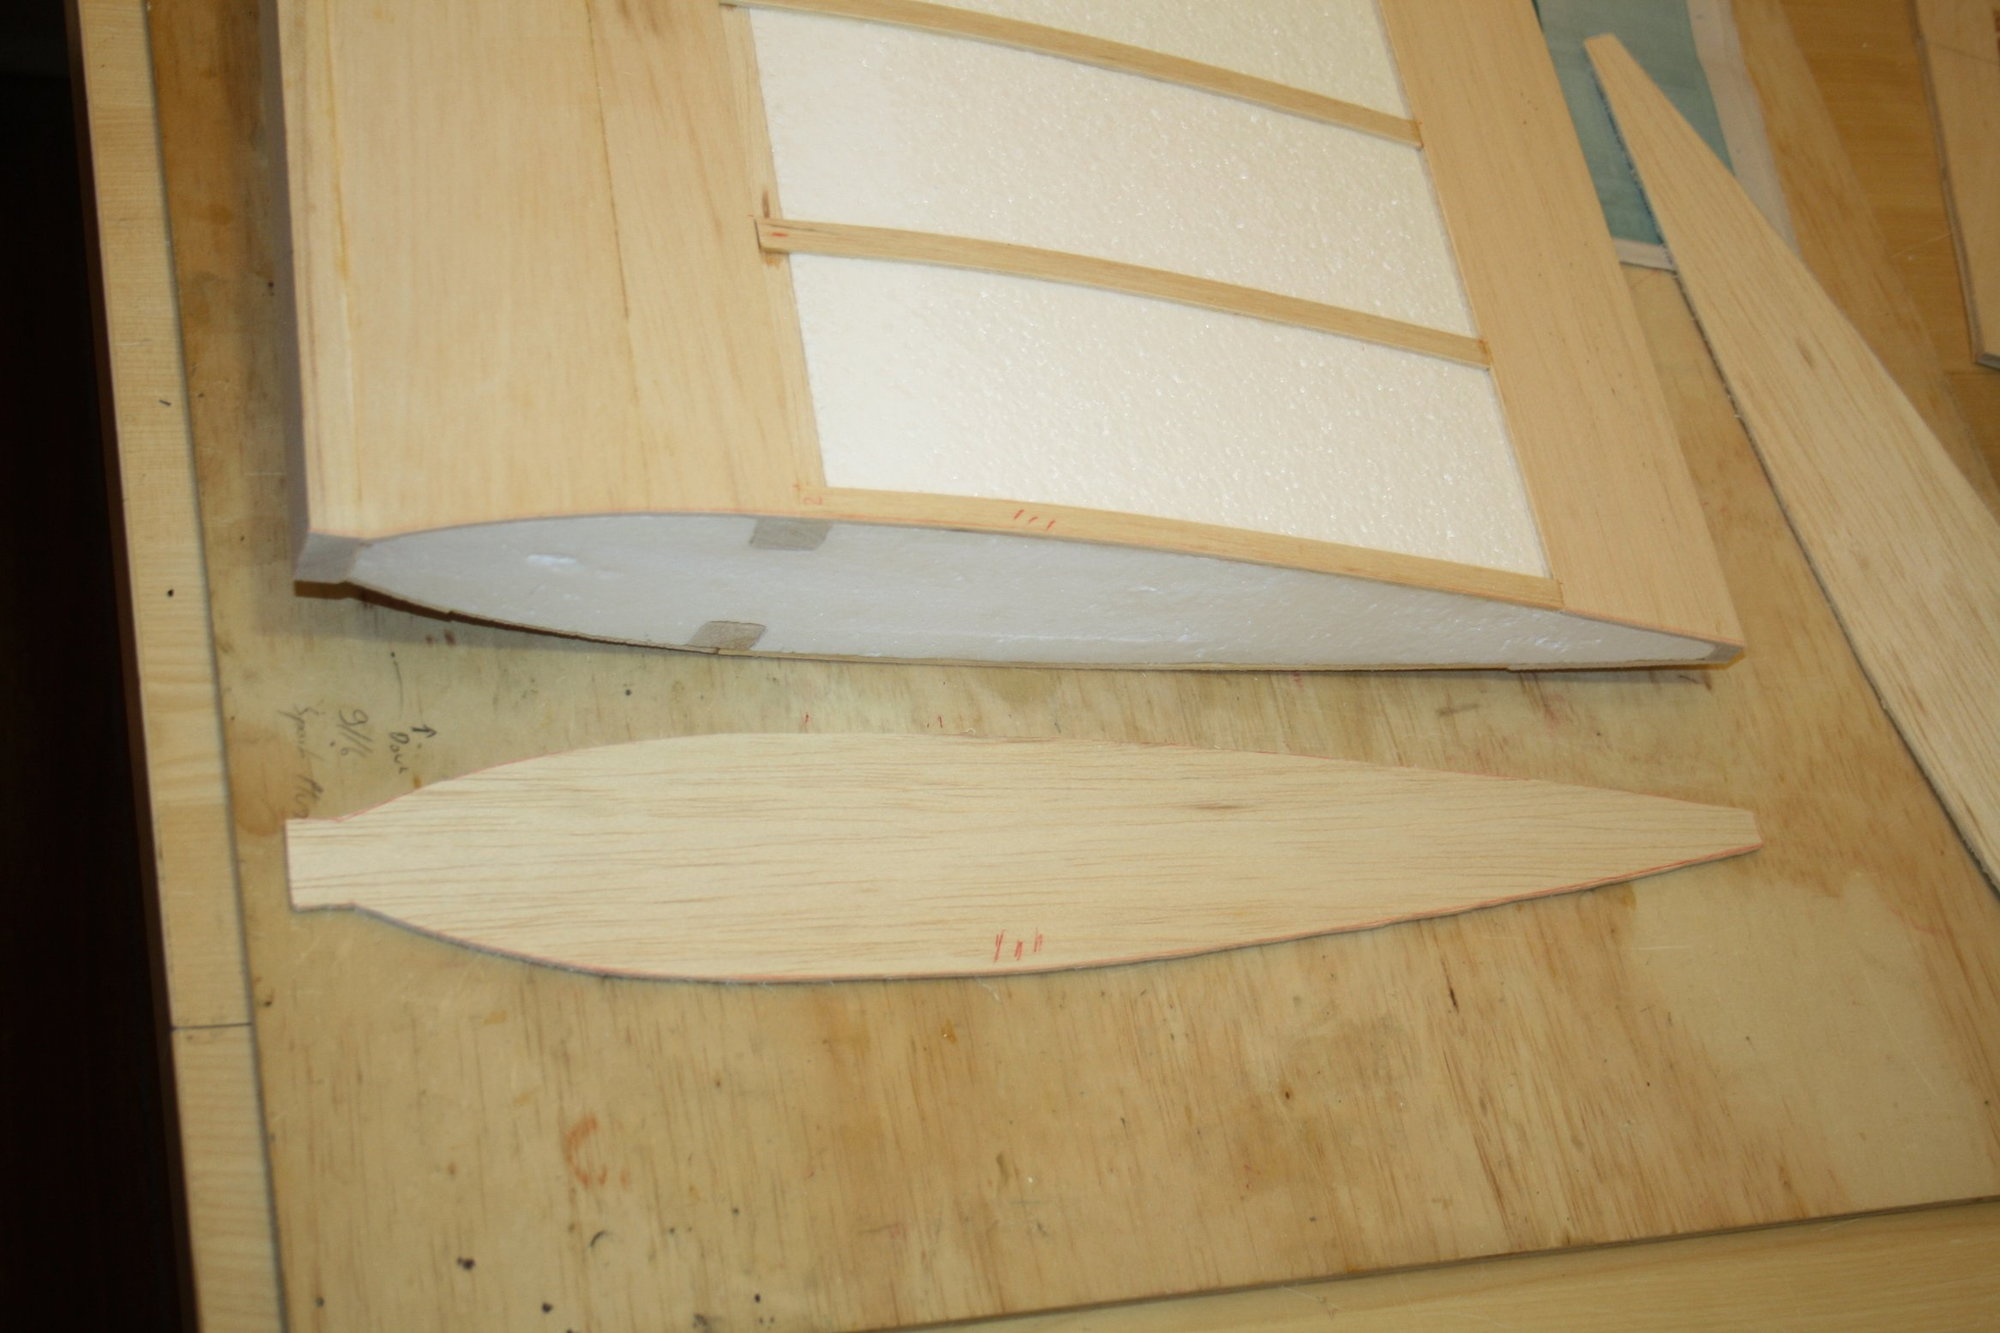
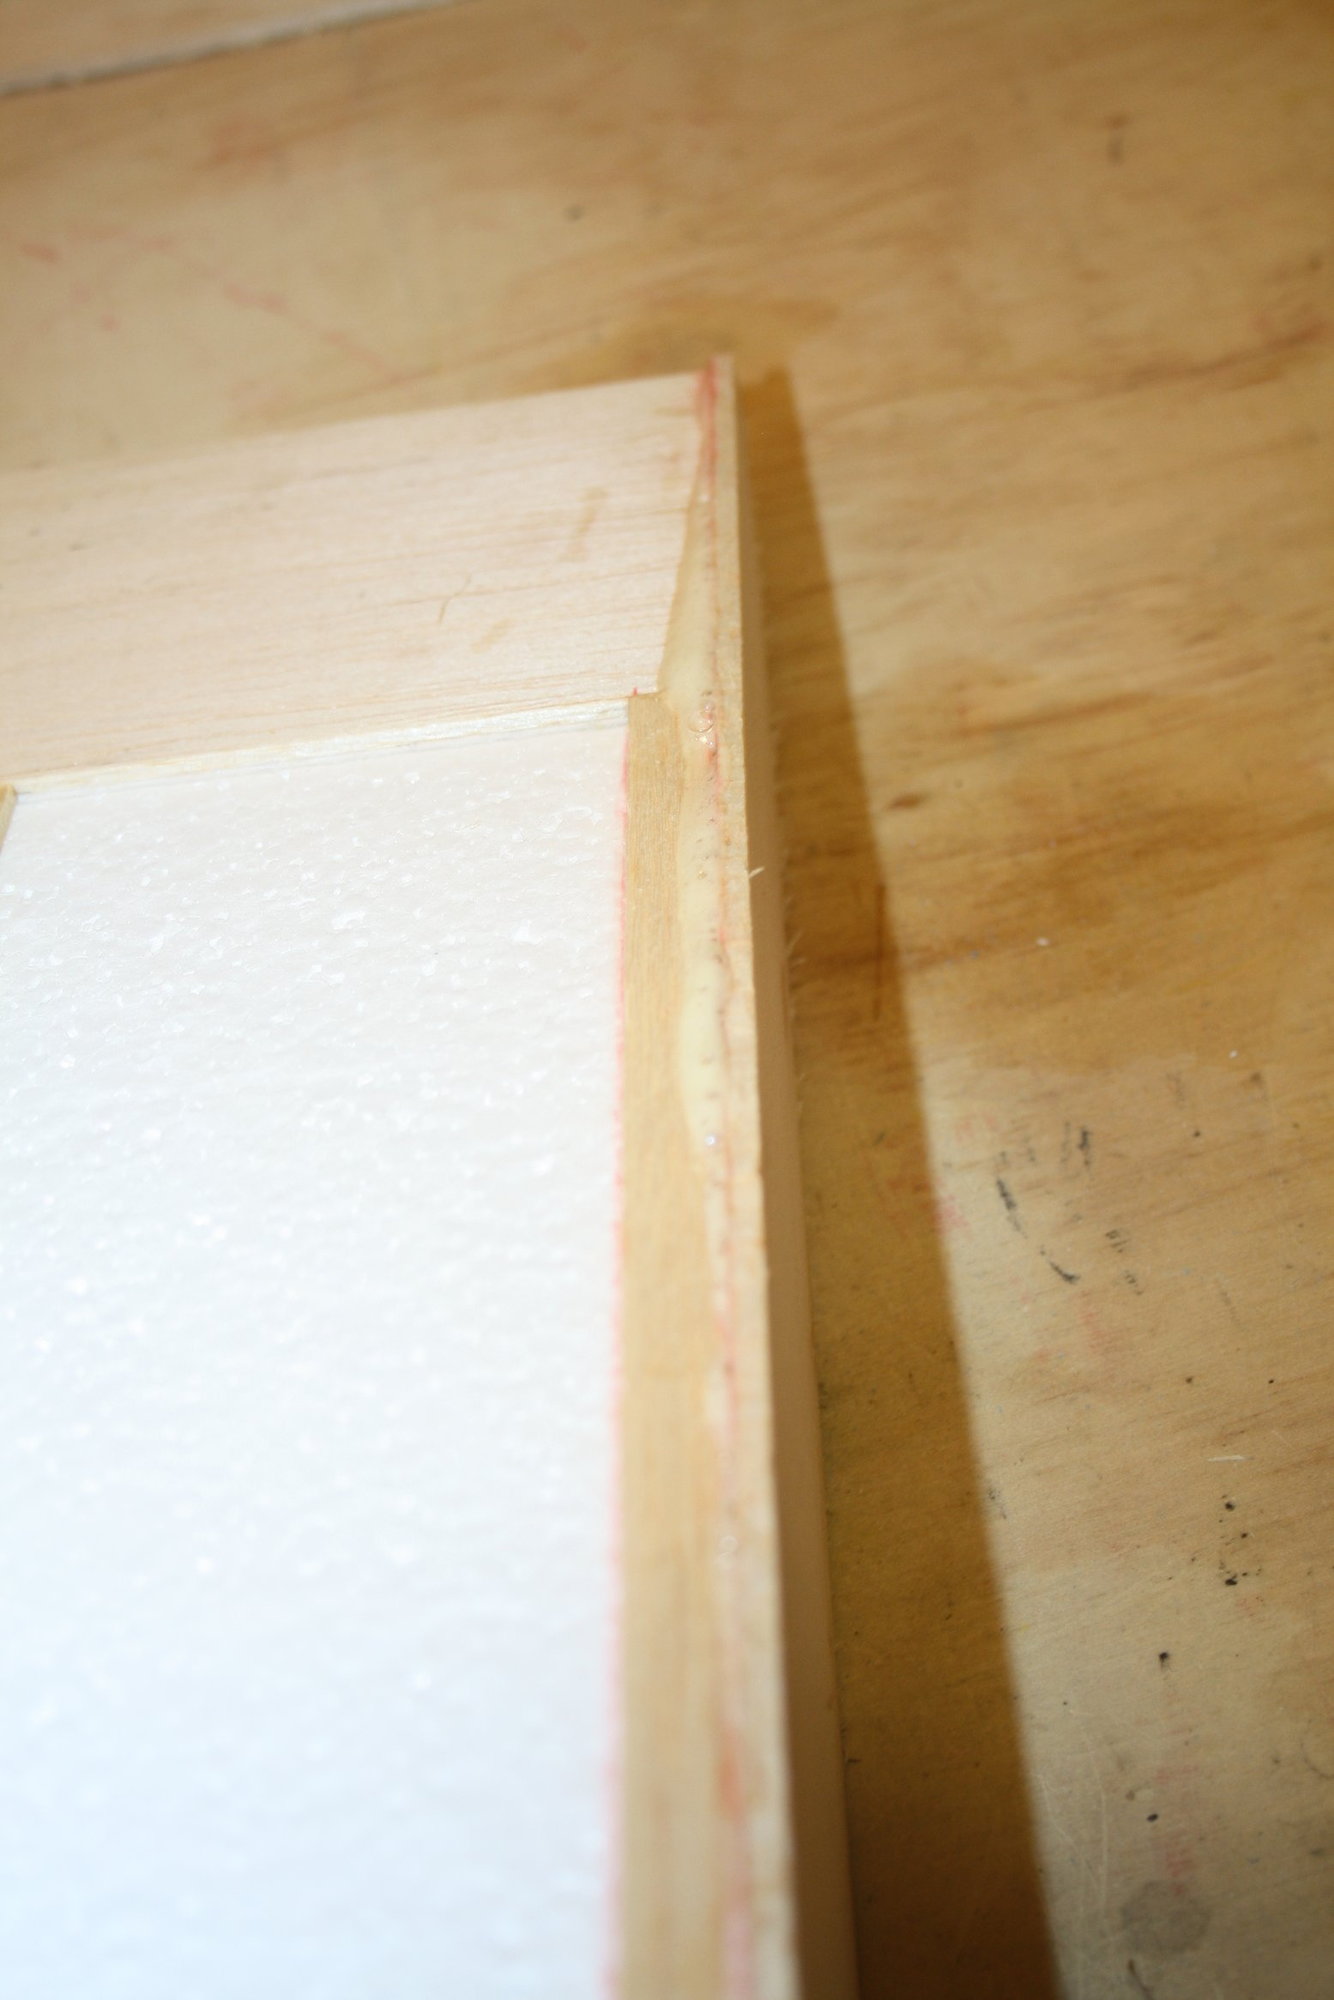
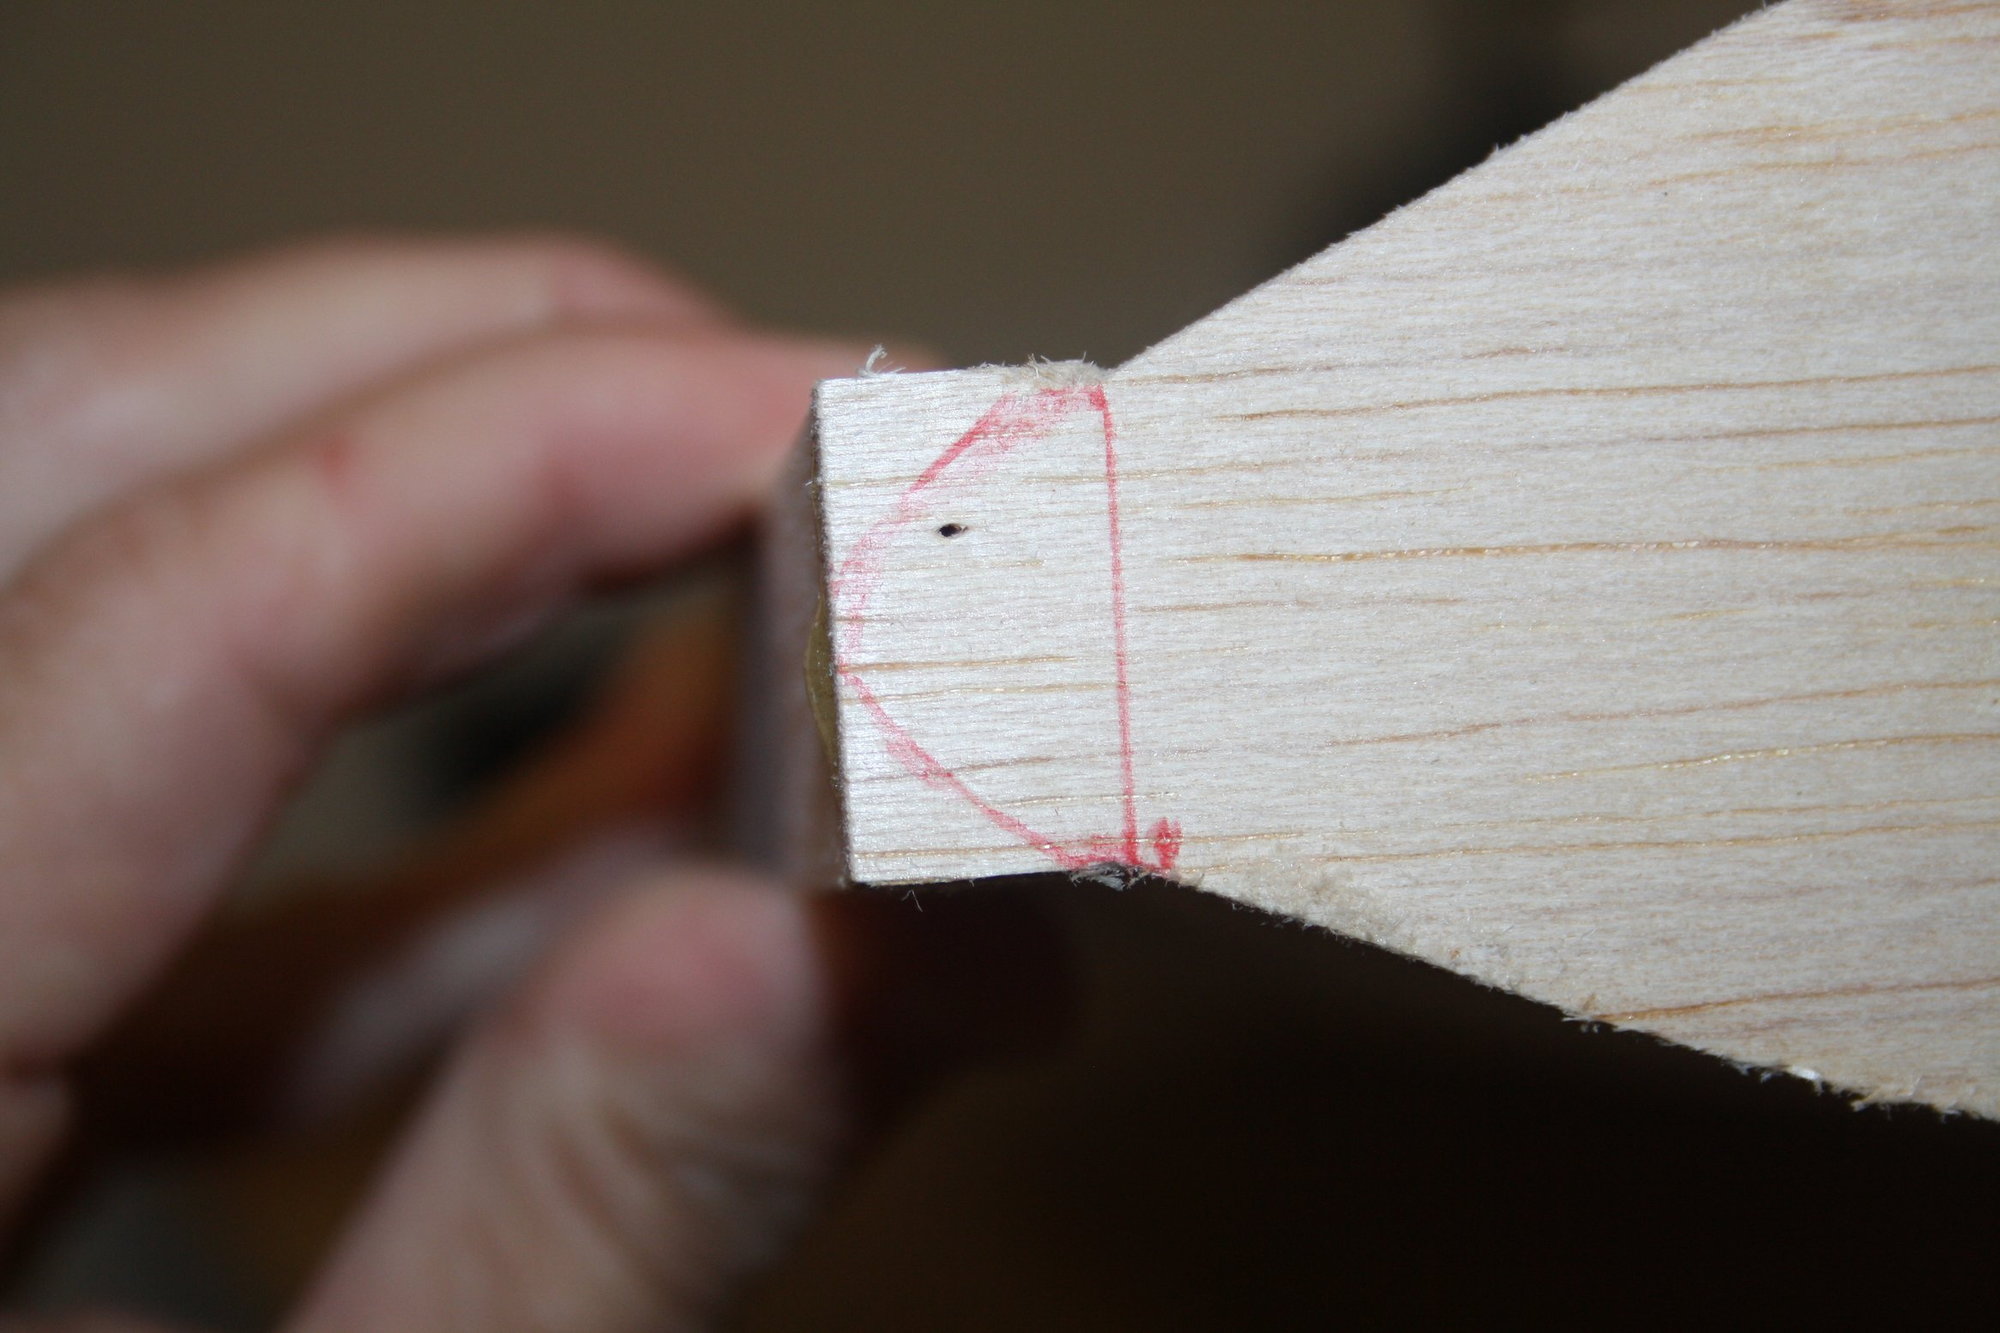
I glued the "rib cup-strips" to the bottom of the wings and the strips around the servo mounting bays.
I then traced, cut and glued the wing-tip rib using Polyurethane glue.

Cheers,
Eran
I then traced, cut and glued the wing-tip rib using Polyurethane glue.
Cheers,
Eran


 06-28-2023, 10:41 PM
#19
Thread Starter
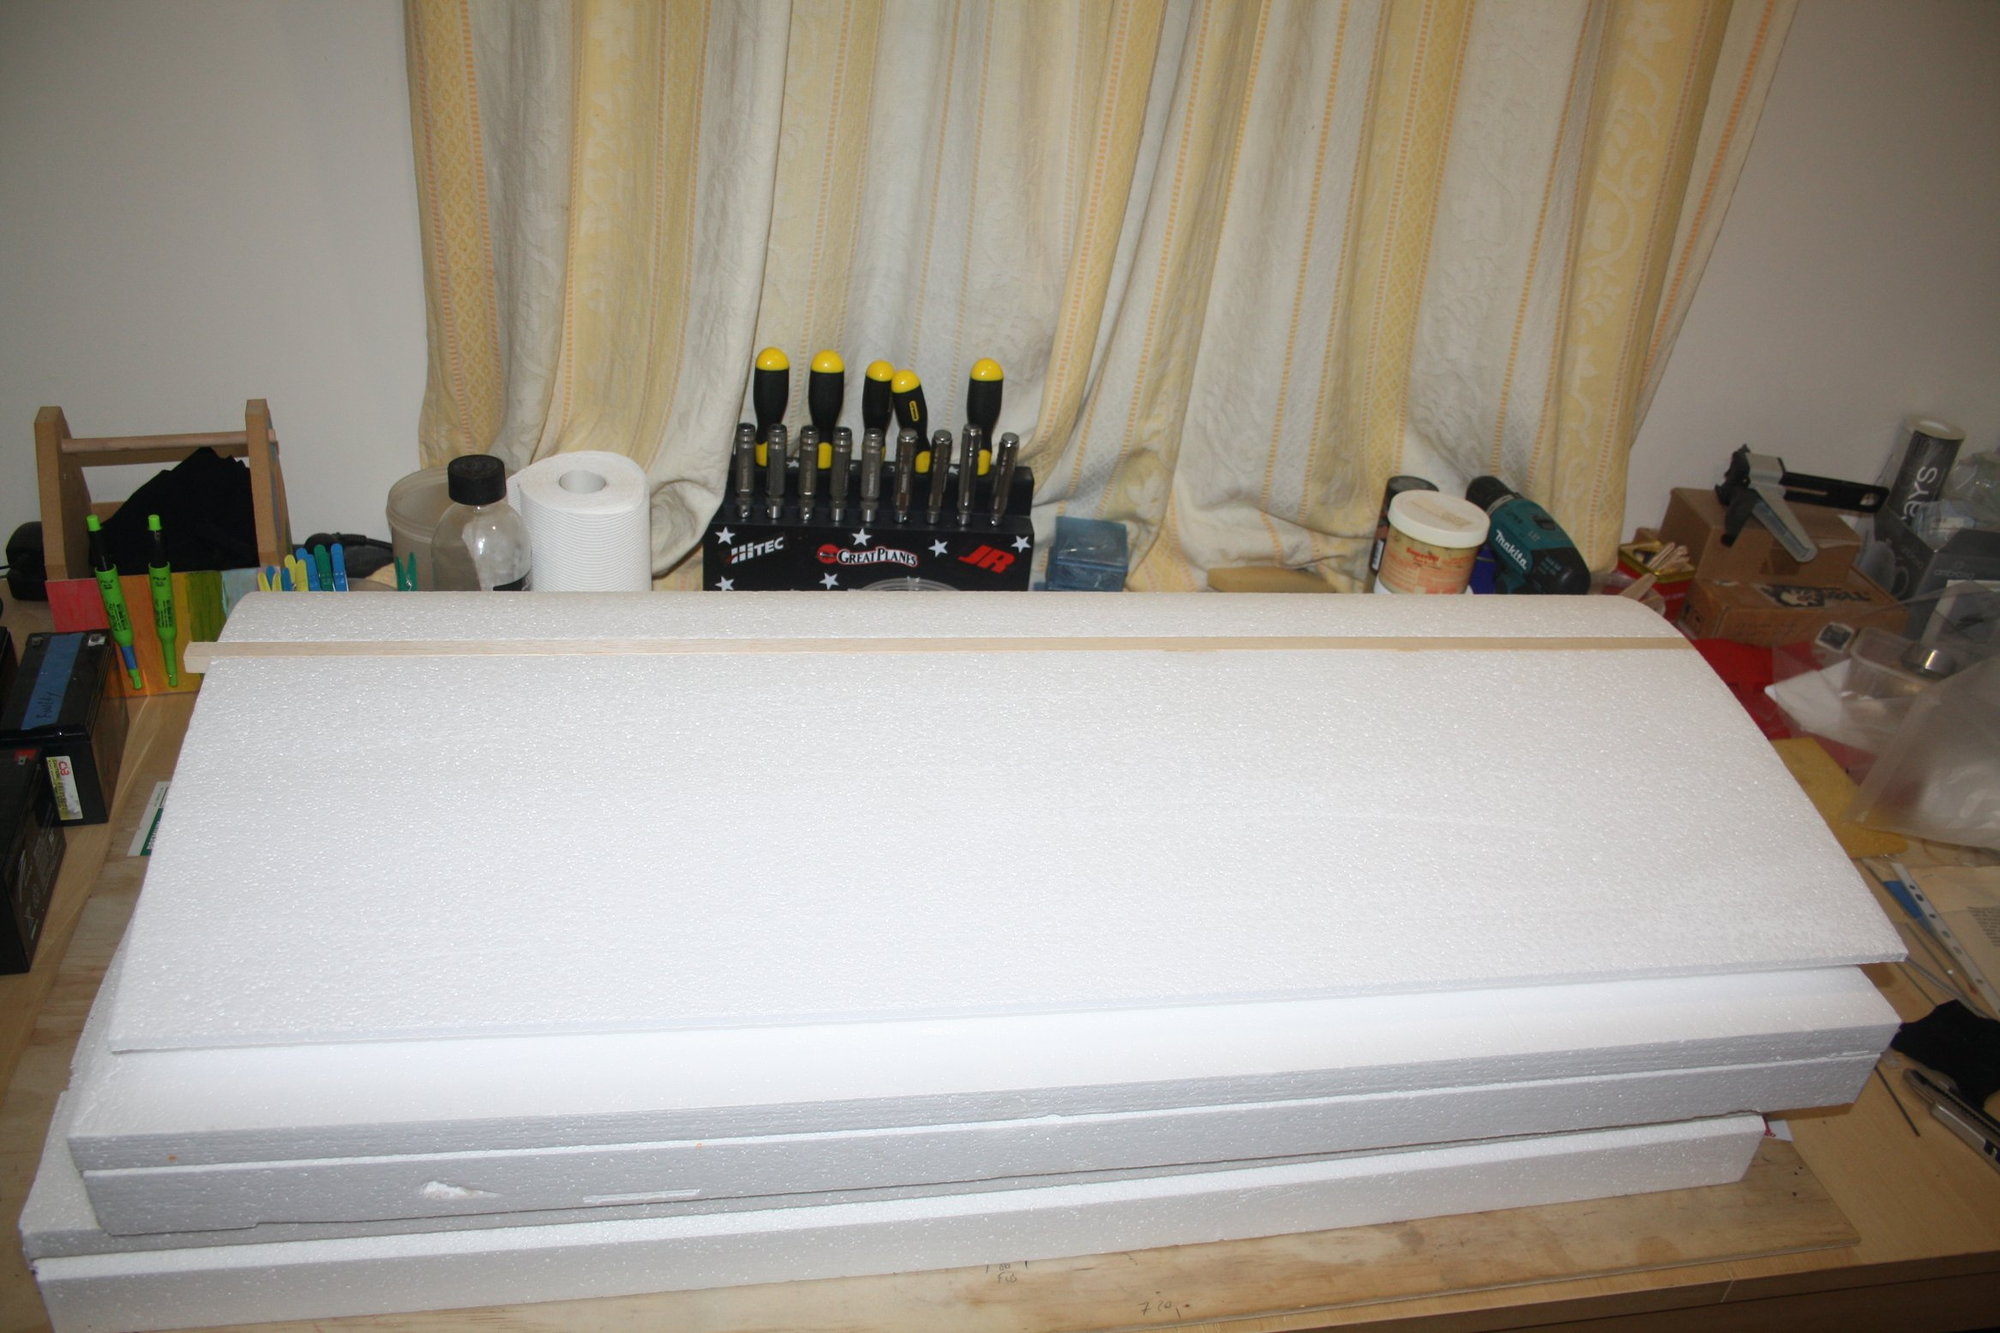
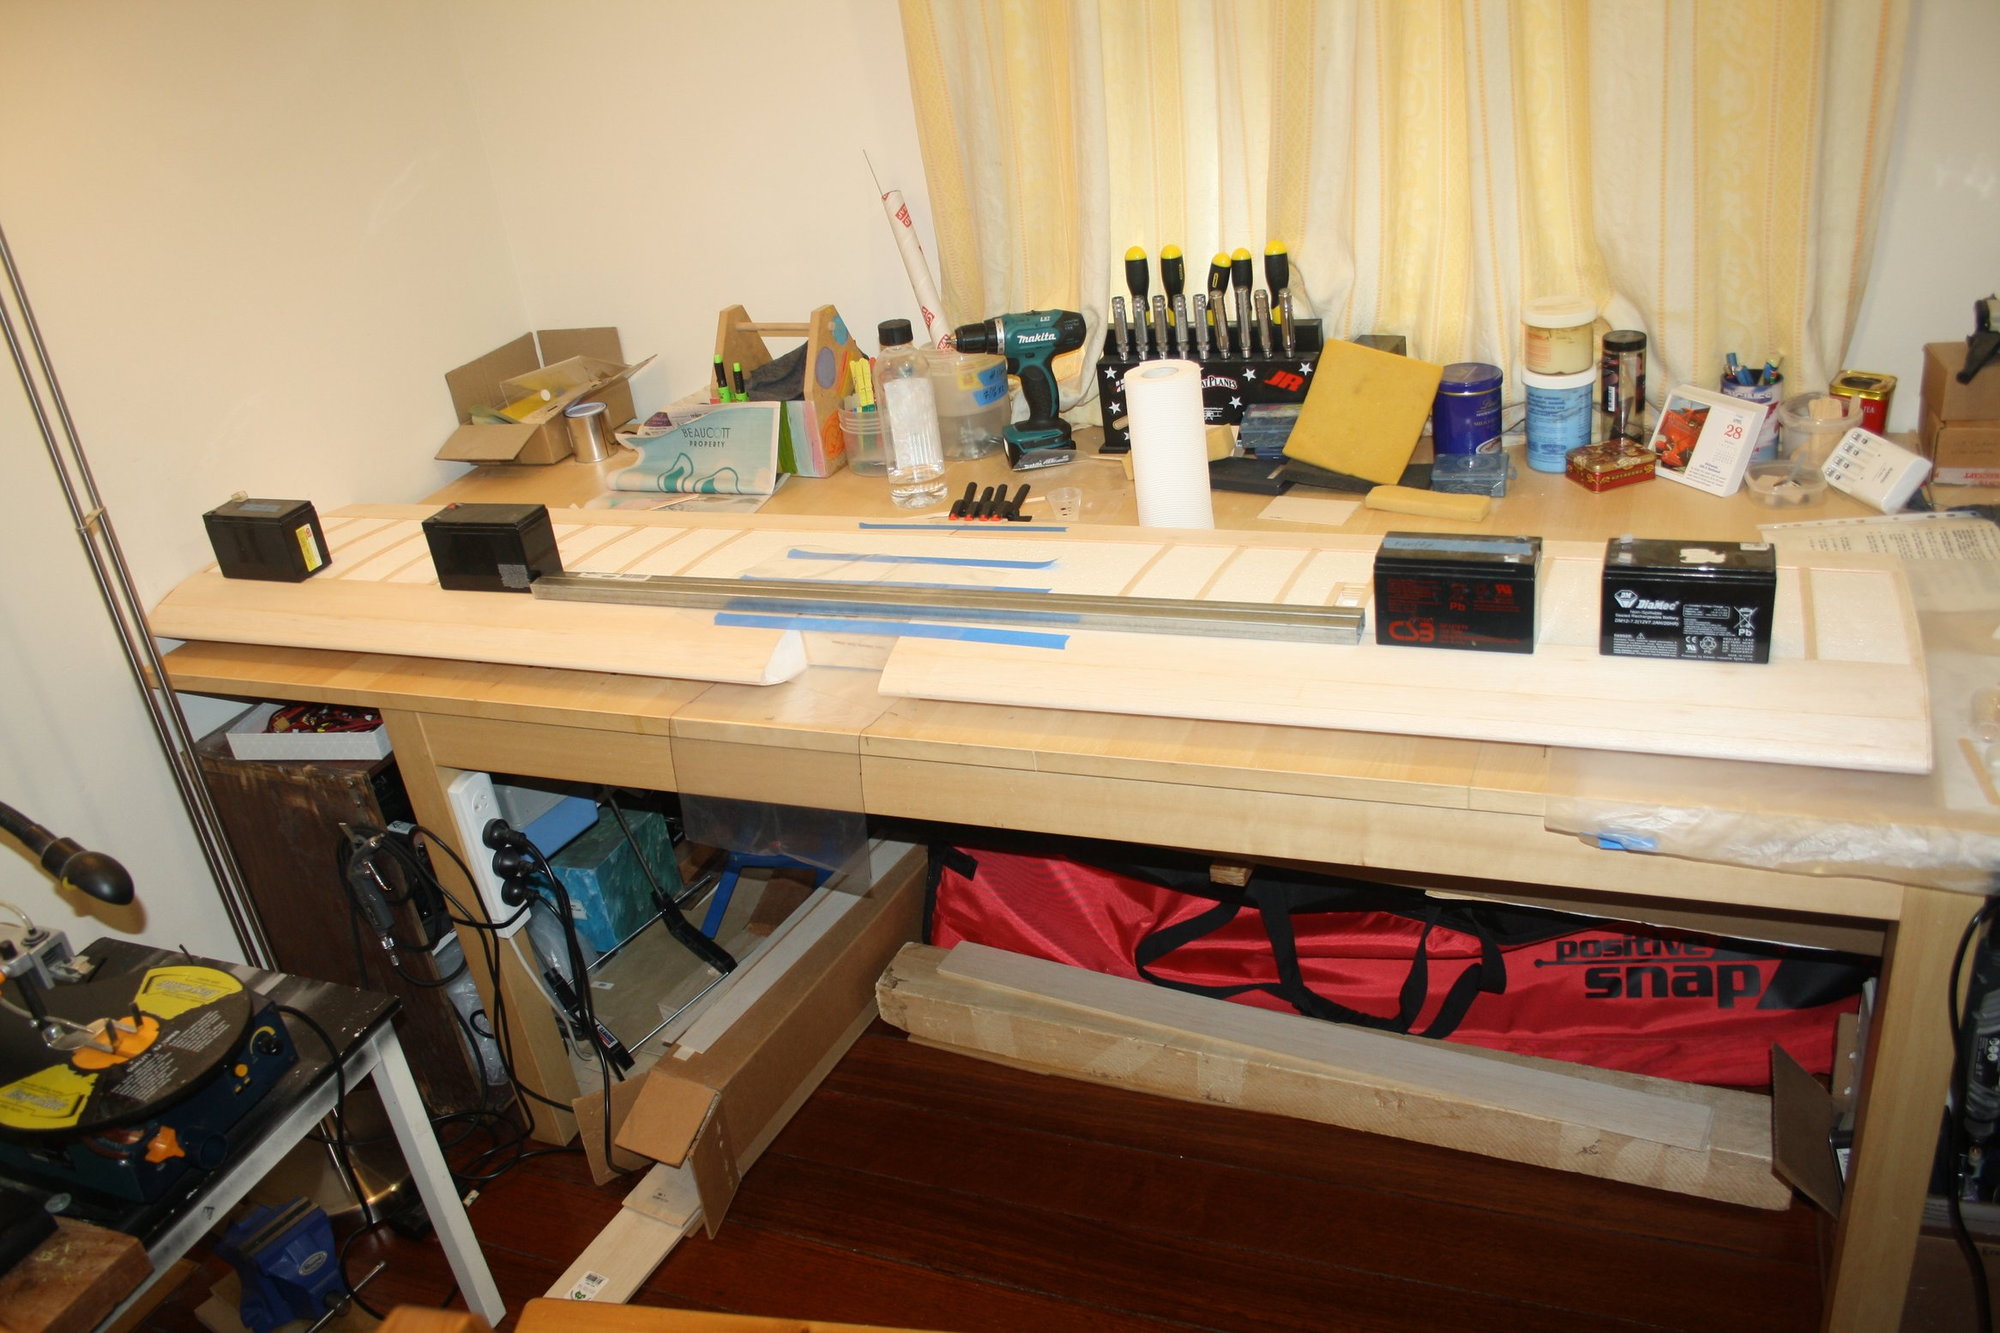
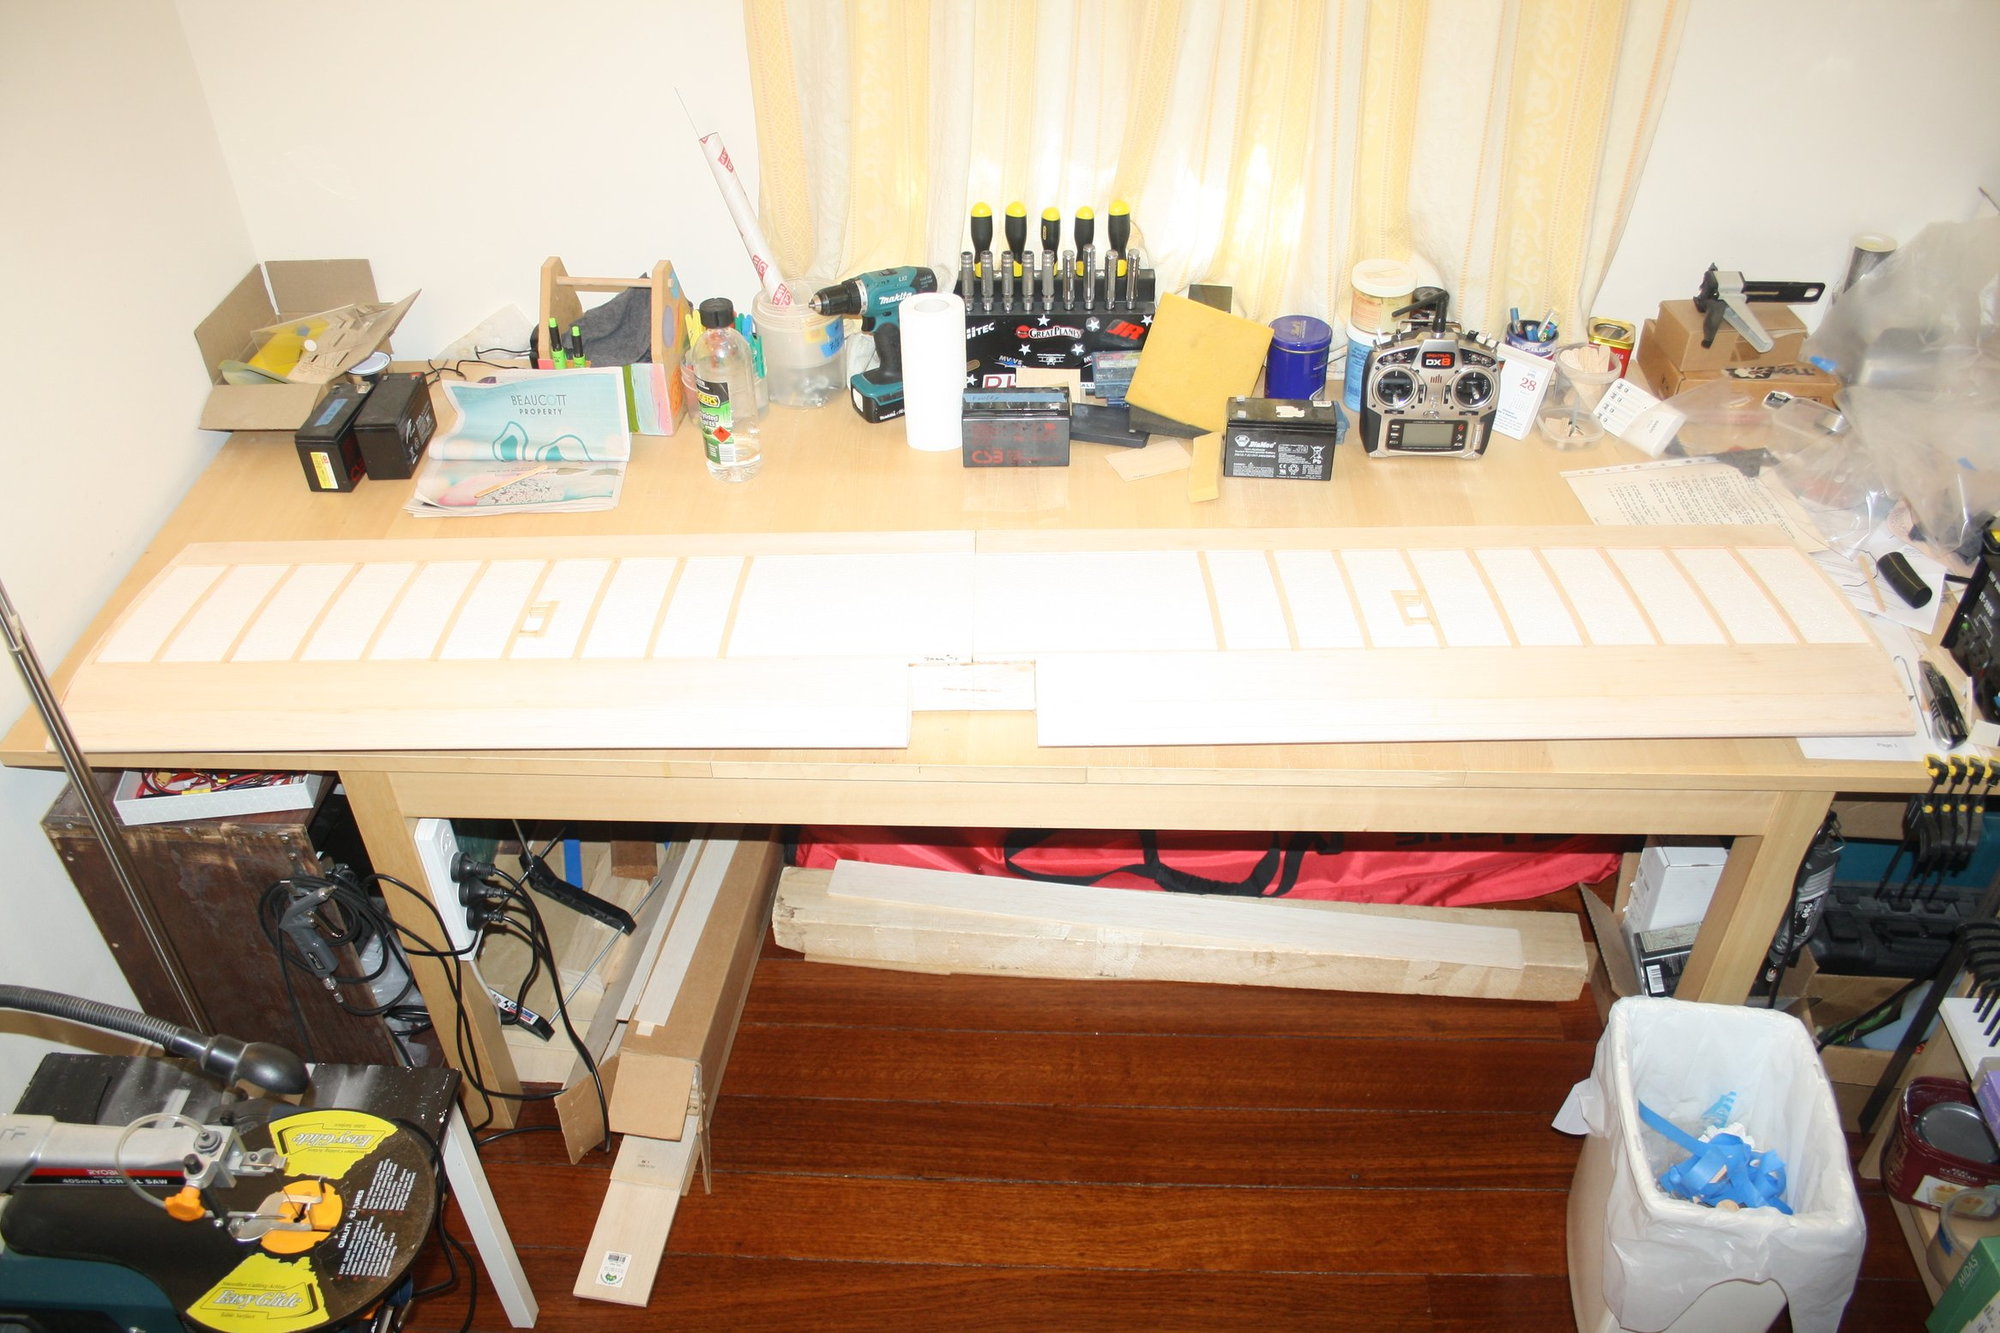
I joined the wing, making sure that it is flat and straight with two metal bars on the spar and the trailing edge held together.
The sheer size of this wing is now realised.
Cheers,
Eran
The sheer size of this wing is now realised.
Cheers,
Eran

 07-02-2023, 06:09 PM
#21
Thread Starter
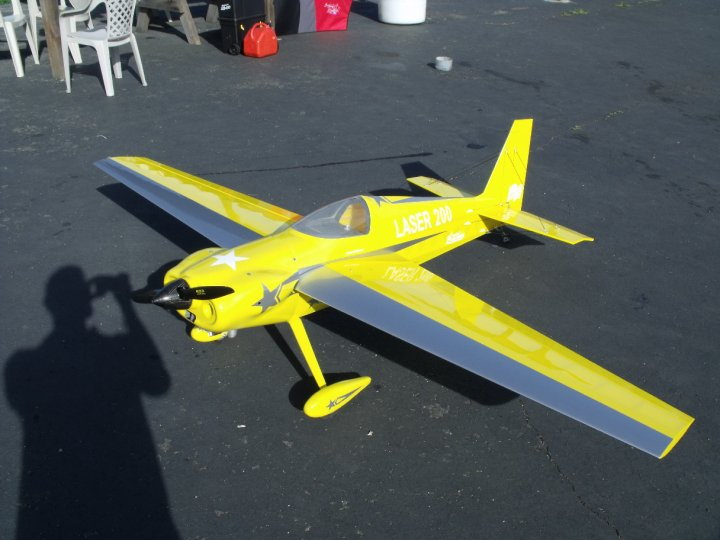
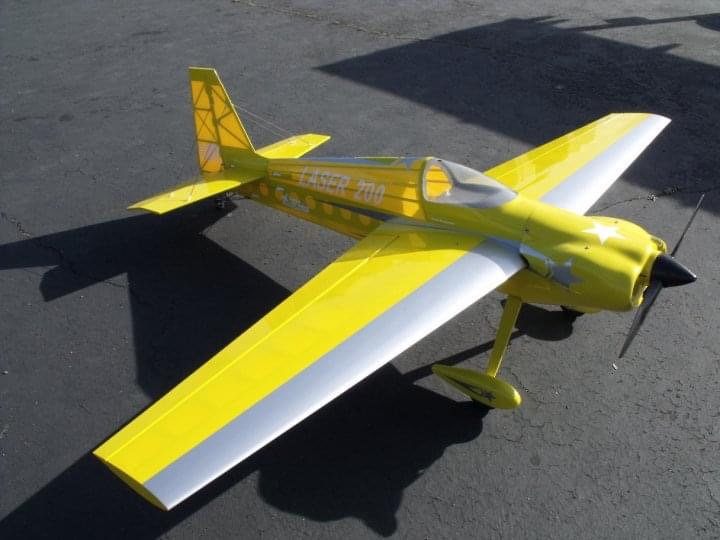
A very nice Laser 200 speedracemtrixie. My builds are more of a nostalgic affair and I try to build as intended where practical. I know that I will be paying a weight (and therefore performance) penalty. Saying that, I have great doubts regarding the longevity of the ABS plastic parts which form the fuselage curved section. I am thinking of reinforcing them with fiberglass prior to installation, which will make them even heavier. No final decision yet and what I will end up doing and all plans are subject to change : )
Cheers,
Eran
Cheers,
Eran
07-03-2023, 05:05 AM
#22
The one good thing about the ABS plastics is that they make excellent molds. All you need to do is get small quantities of mold release wax and PVA. Wax the inside of the plastic parts, apply a coat of PVA with a foam brush and when that dries apply the cloth. I would go with a surface layer of 1.4 oz cloth followed by a couple layers of 6 oz. The 1.4 keeps pin holes from forming. After a 24 hour cure, pop your new fiberglass part out. The cowl and wheel pants on my Laser were made using this system.
The following 2 users liked this post by speedracerntrixie:
G.F. Reid (04-10-2024),
RJStrickJR (09-24-2023)
07-03-2023, 03:55 PM
#23
Thread Starter
Thank you for the tip speedracemtrixie. I was wondering if PVA will work with fiberglass and was about to do an experiment.
Now that I saw your Laser, the idea of building up the "turtleback" similar to yours is planted in my head, but I am keeping my options open. It will be a while before I get to the fuselage and have to make these decisions. unfortunately this is a slow build due to other projects and commitments.
Cheers,
Eran