


TF Beechcraft Bonanza F33A Build
 06-27-2019, 02:44 PM
#26

Thread Starter
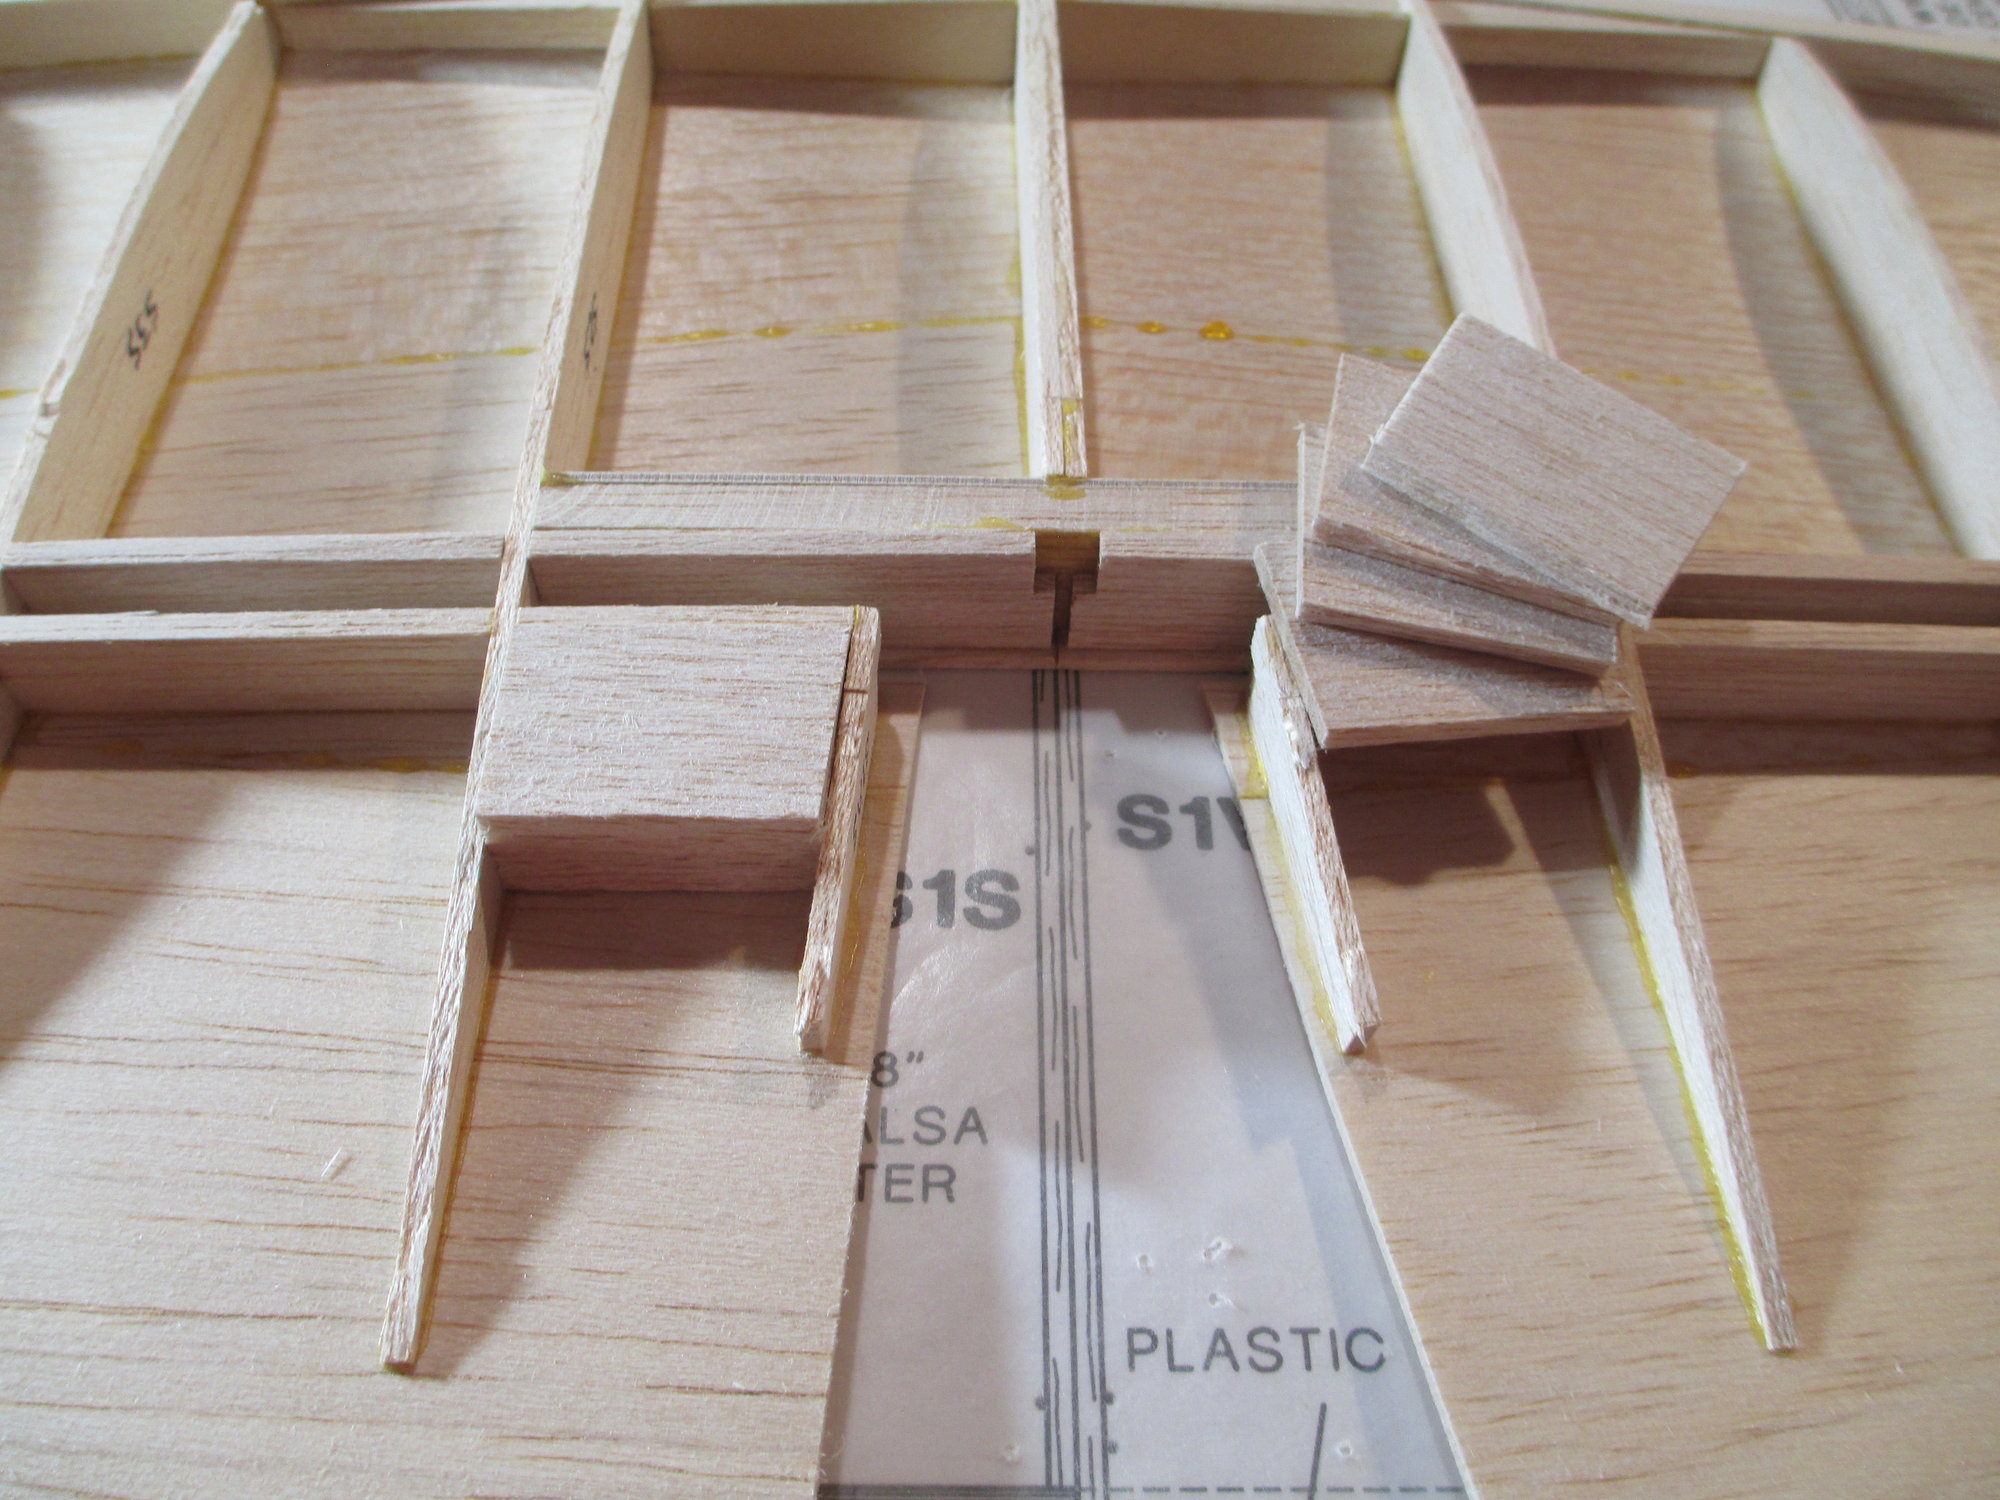
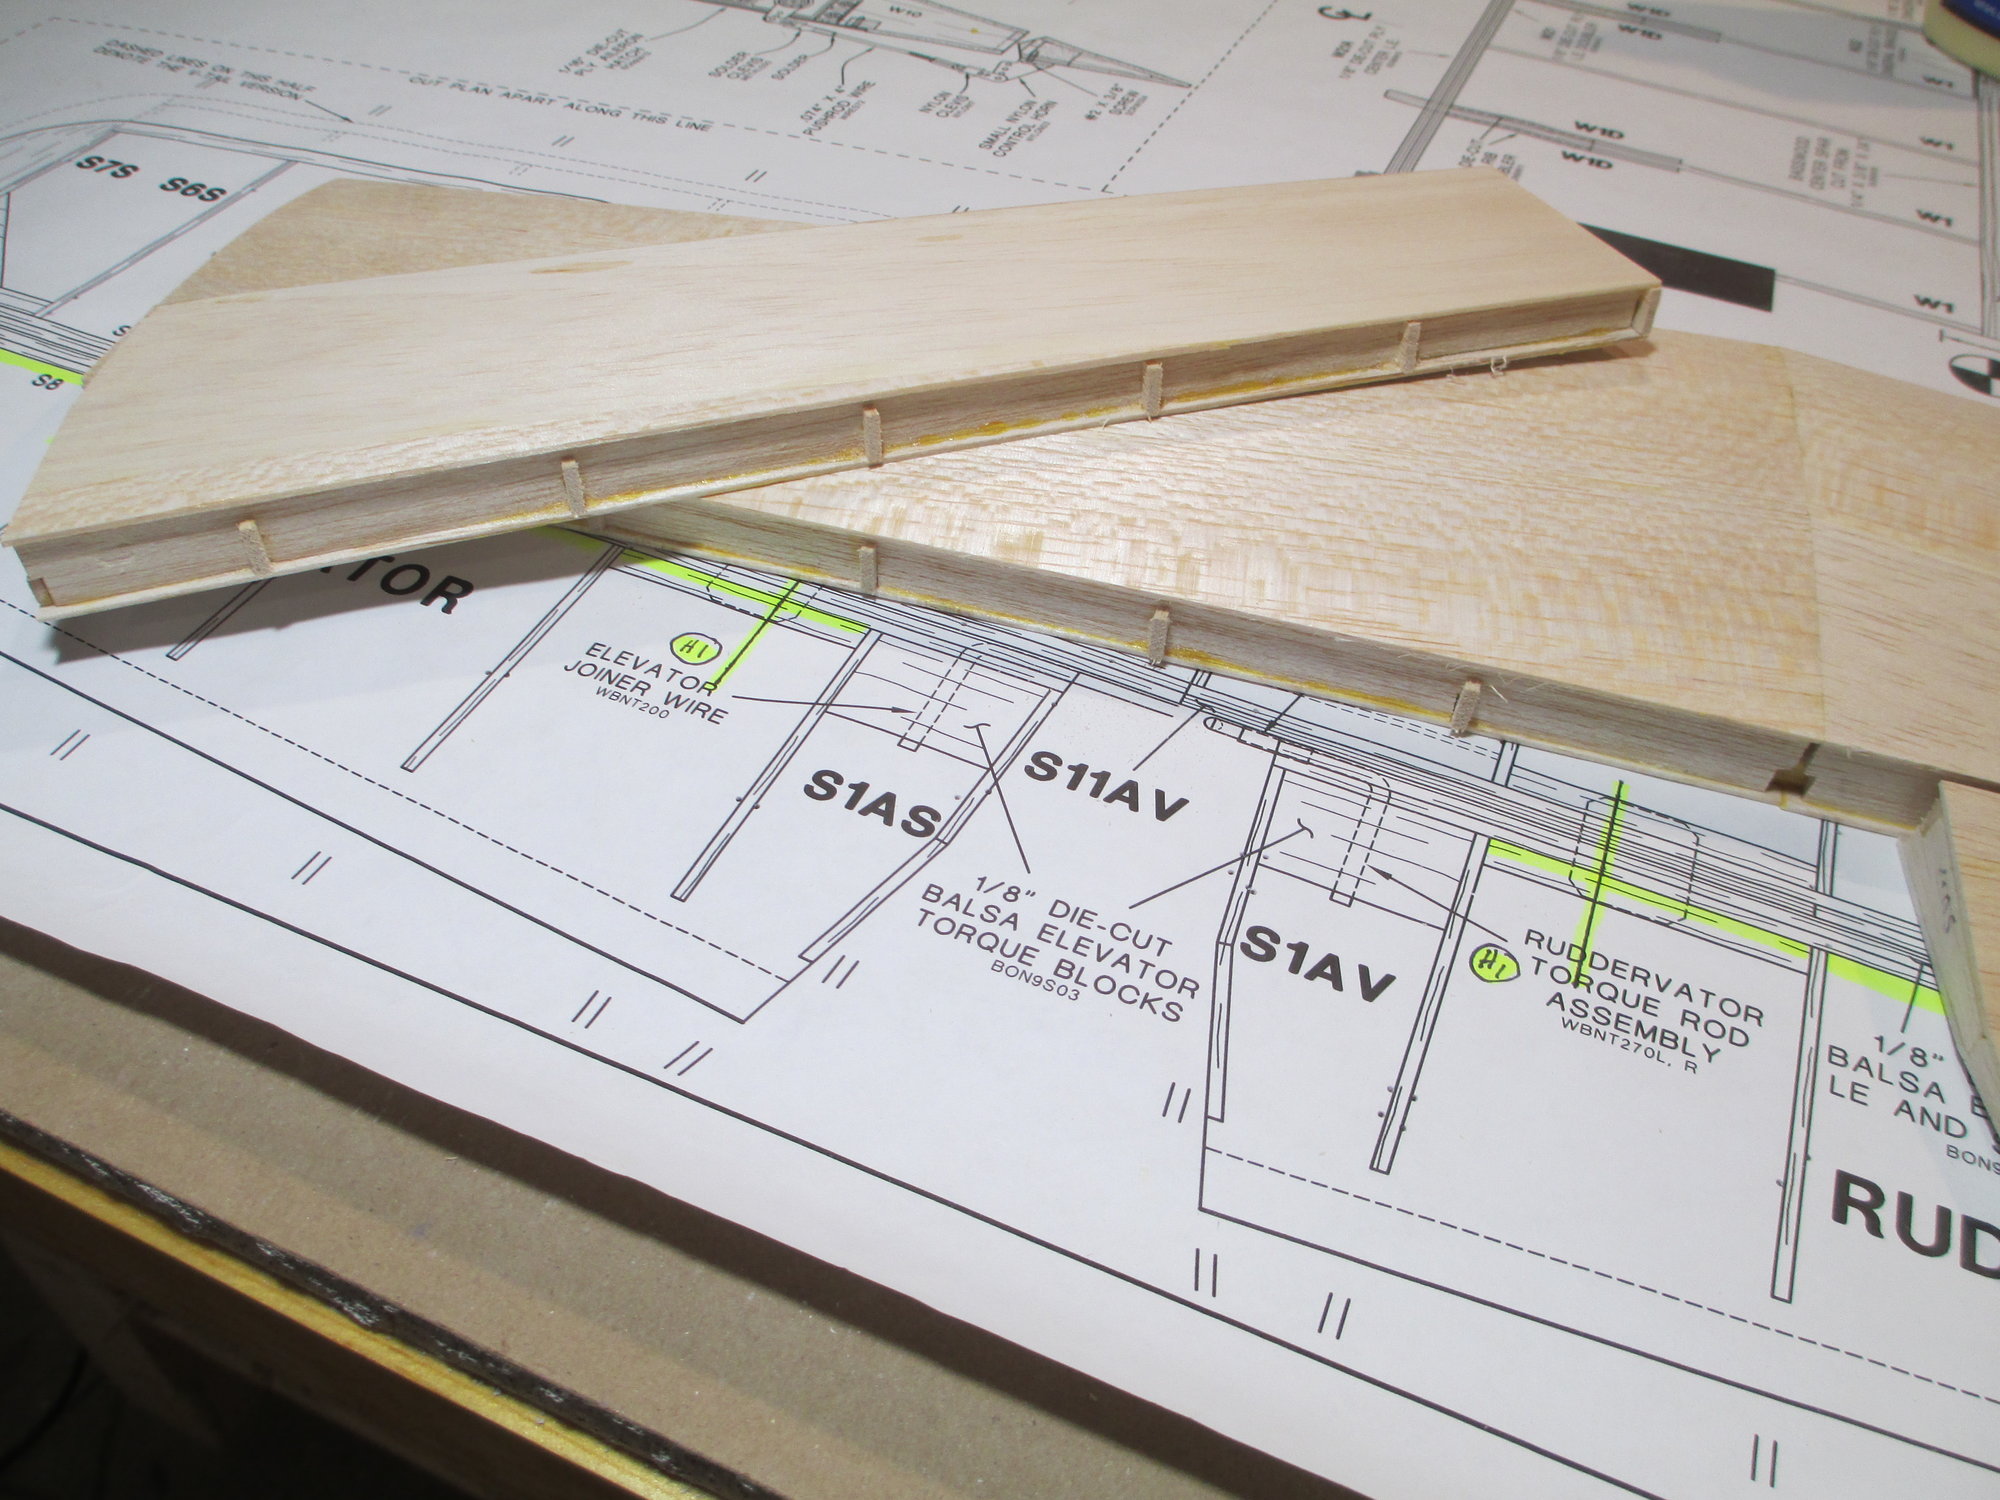
Before calling it a night, I decided to epoxy these elevator torque rod blocks (4 per side) in place.
Last edited by VincentJ; 06-27-2019 at 02:49 PM.


 06-28-2019, 11:21 AM
#29
My Feedback: (2)
Vincent, your building skills are amazing and I look forward to watching your build on here! It is real shame to go out to the field and there is very few builders left as they all have these big monster foamy things! It amazing to see something that you built with your own hands fly straight under power with out adding major trim! Thank you
Michael Johnston
Michael Johnston
06-28-2019, 04:01 PM
#30
Thread Starter
Vincent, your building skills are amazing and I look forward to watching your build on here! It is real shame to go out to the field and there is very few builders left as they all have these big monster foamy things! It amazing to see something that you built with your own hands fly straight under power with out adding major trim! Thank you
Michael Johnston
Michael Johnston
06-28-2019, 04:28 PM
#31
Thread Starter
Today Bob and I spent a fun day going to our not so near hobby shop with plans in hand to see if we could find an engine that would fit. From the start of this project I didn't want to use a glow engine, I wanted to use a gasoline engine. I have researched other Bonanza builds and none that I am aware of have used a gas engine, so we may be breaking new ground here!
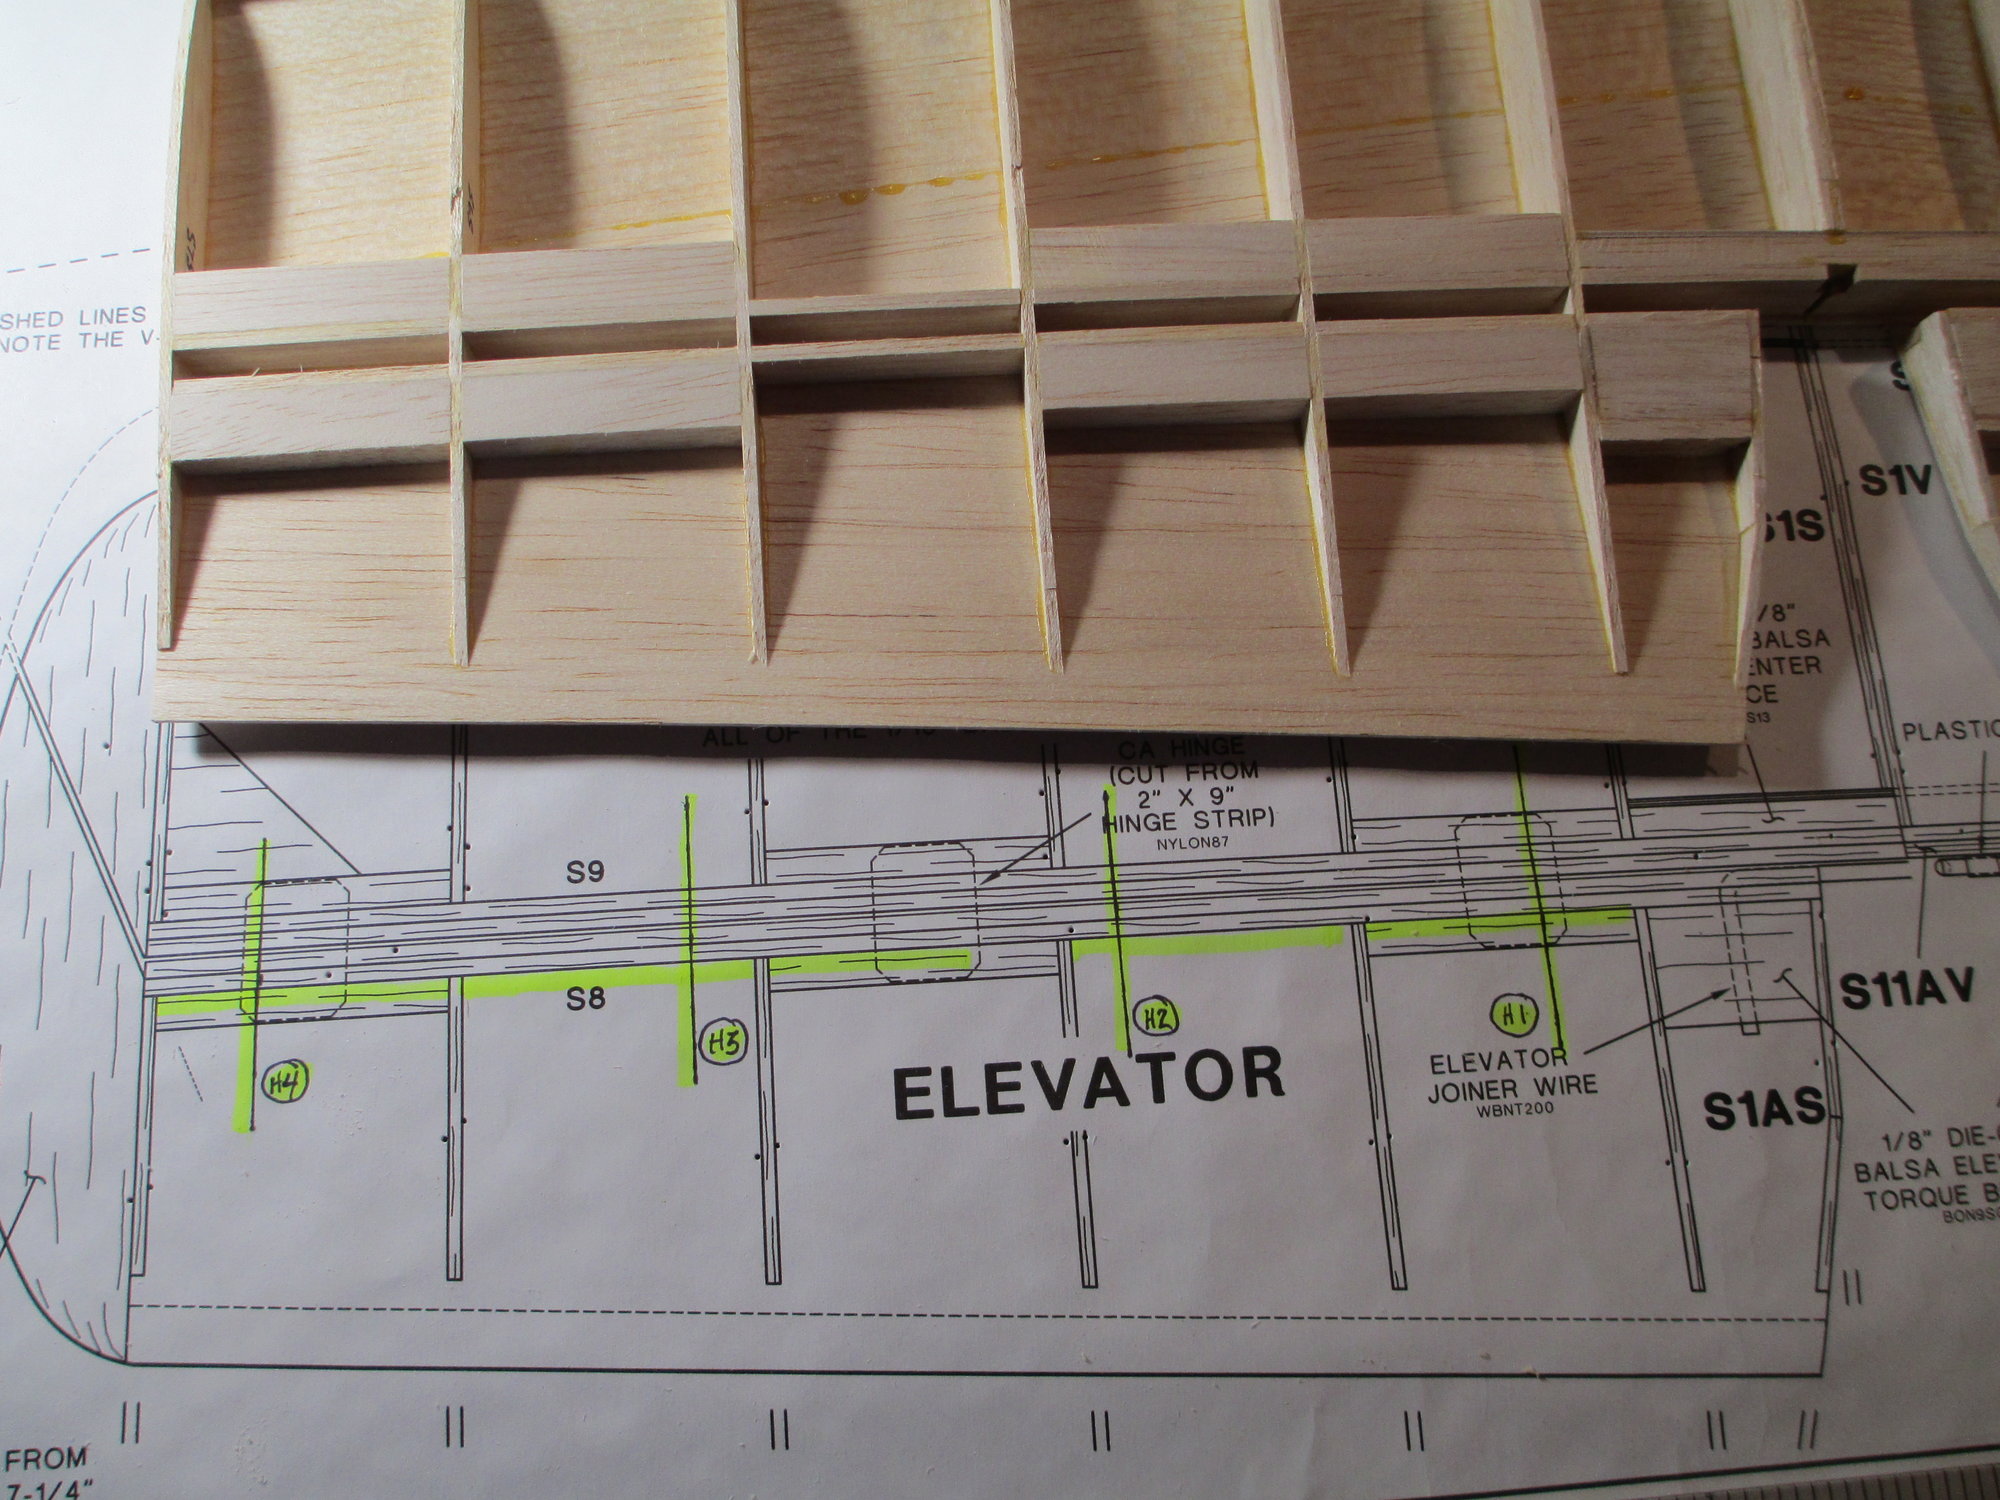
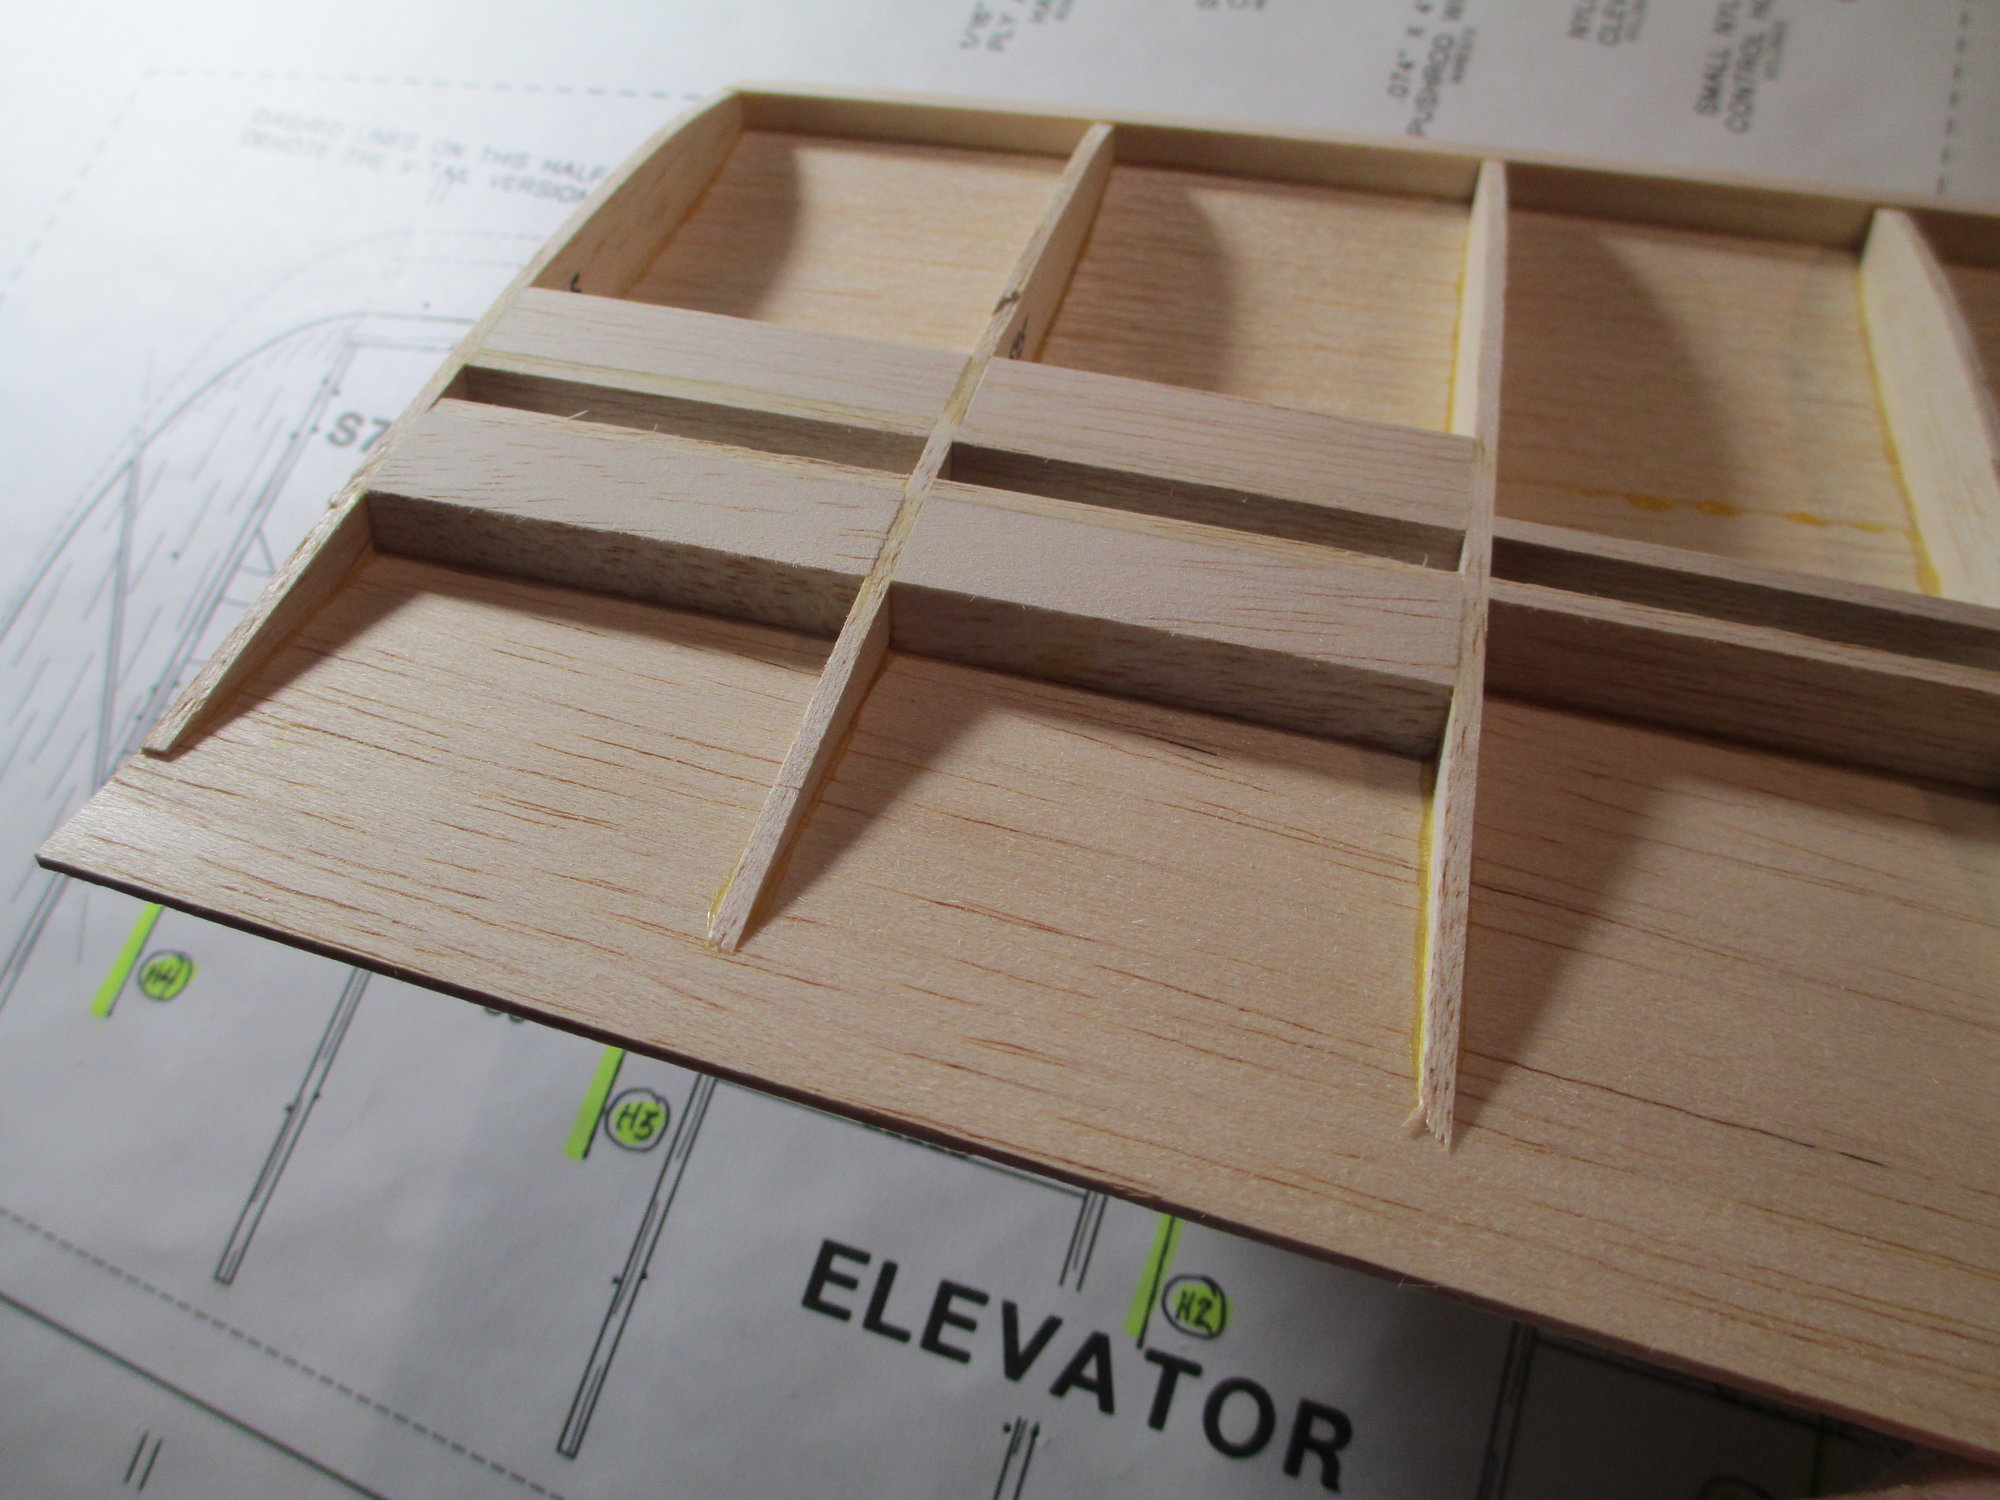
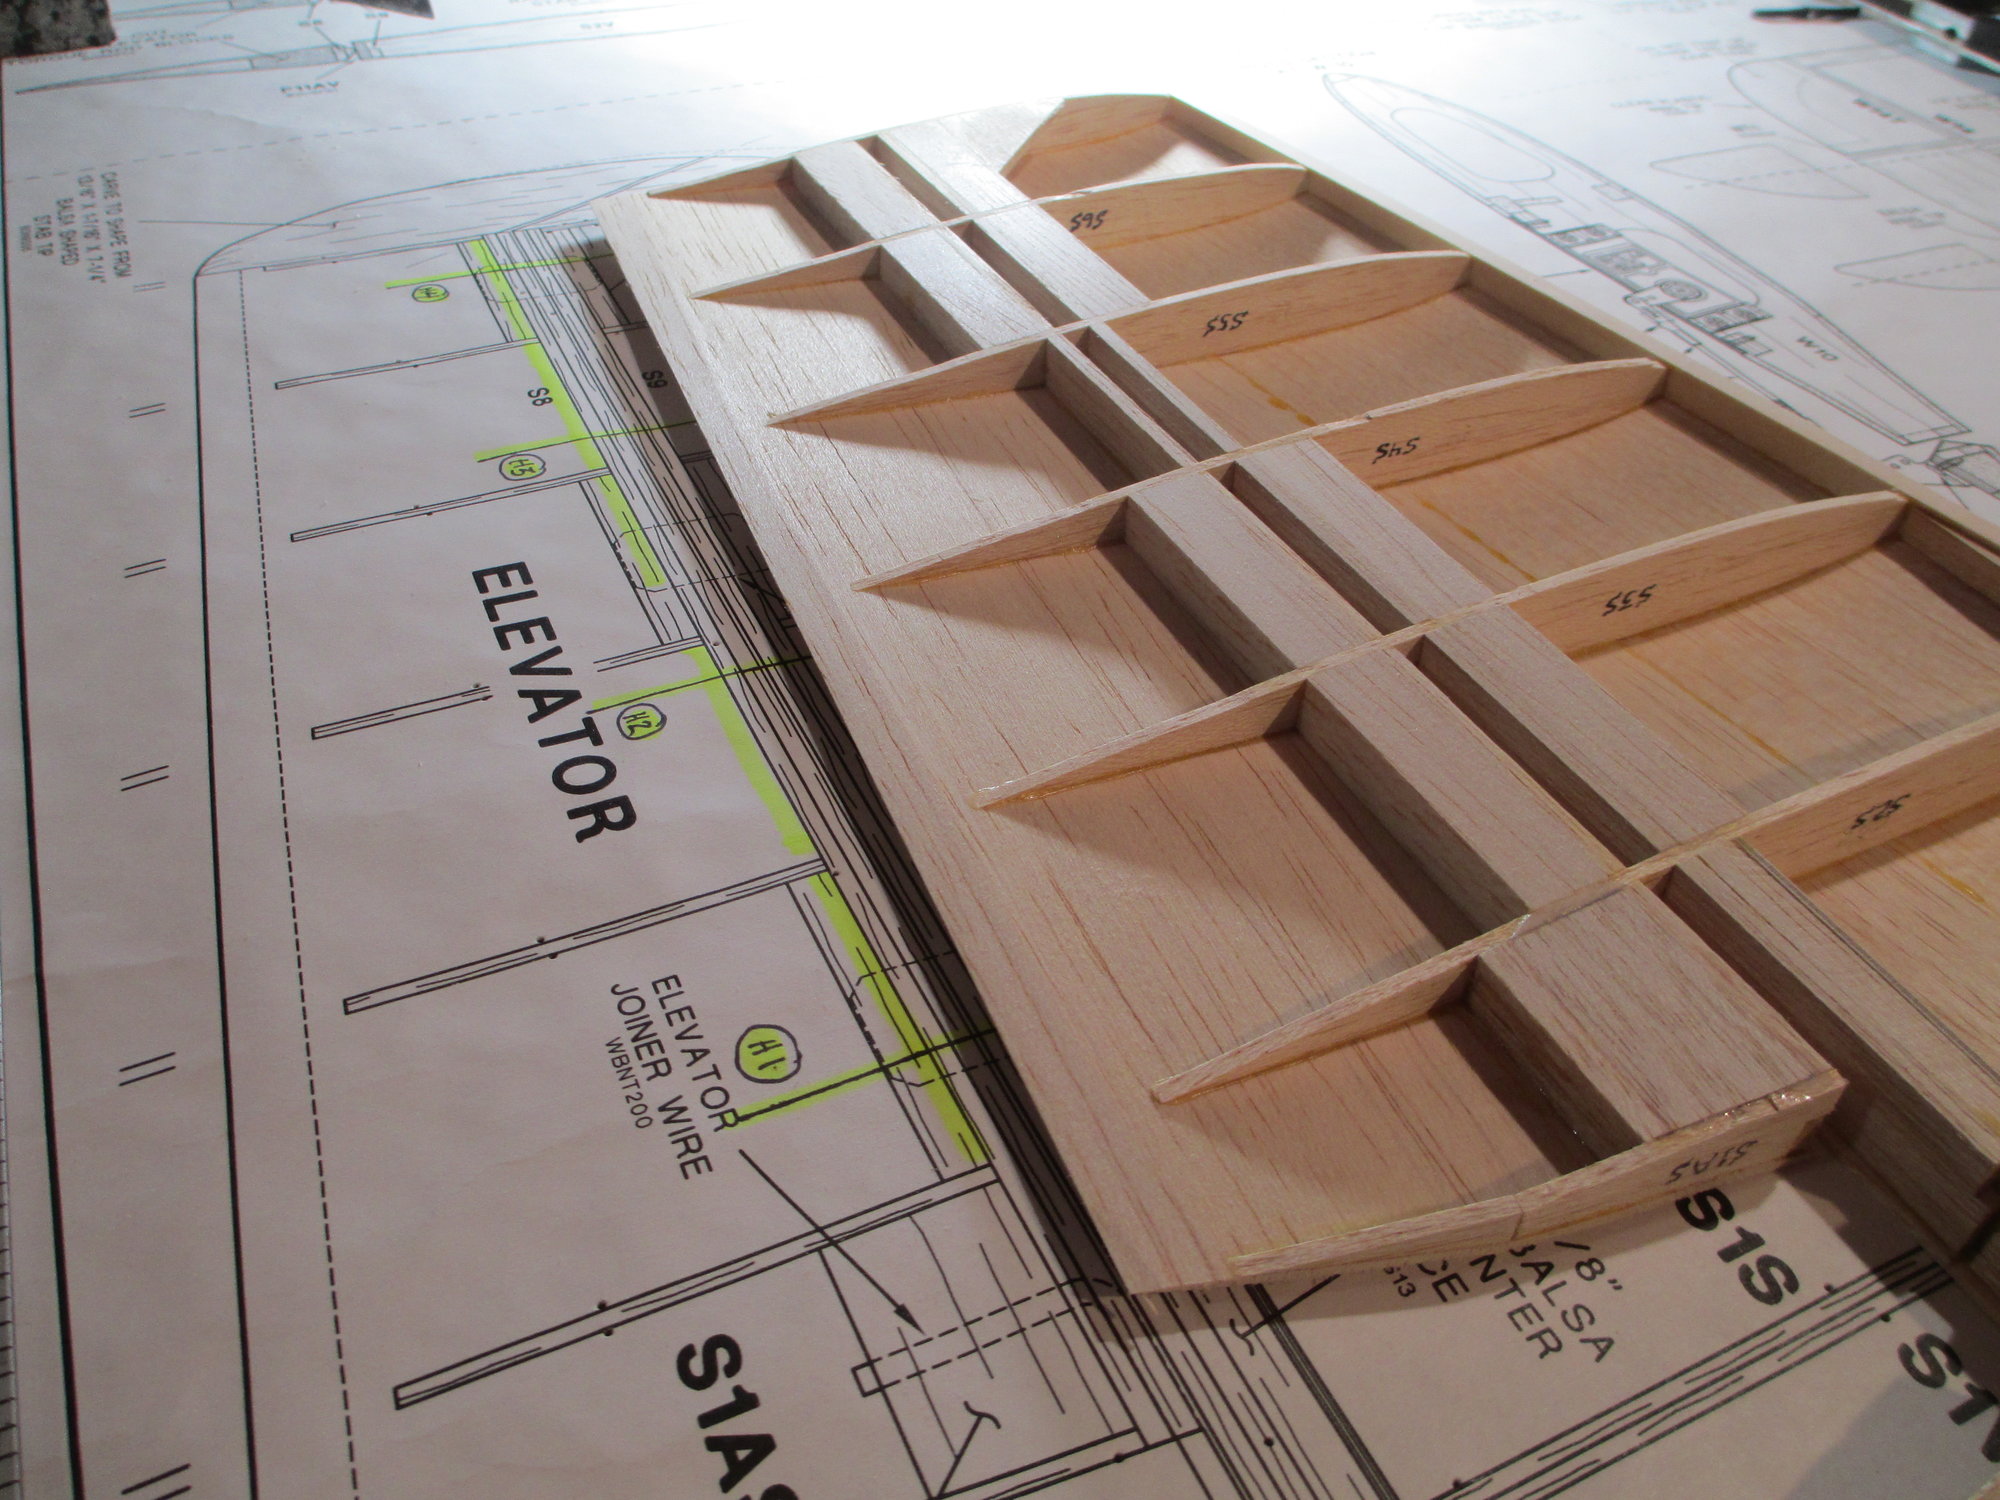
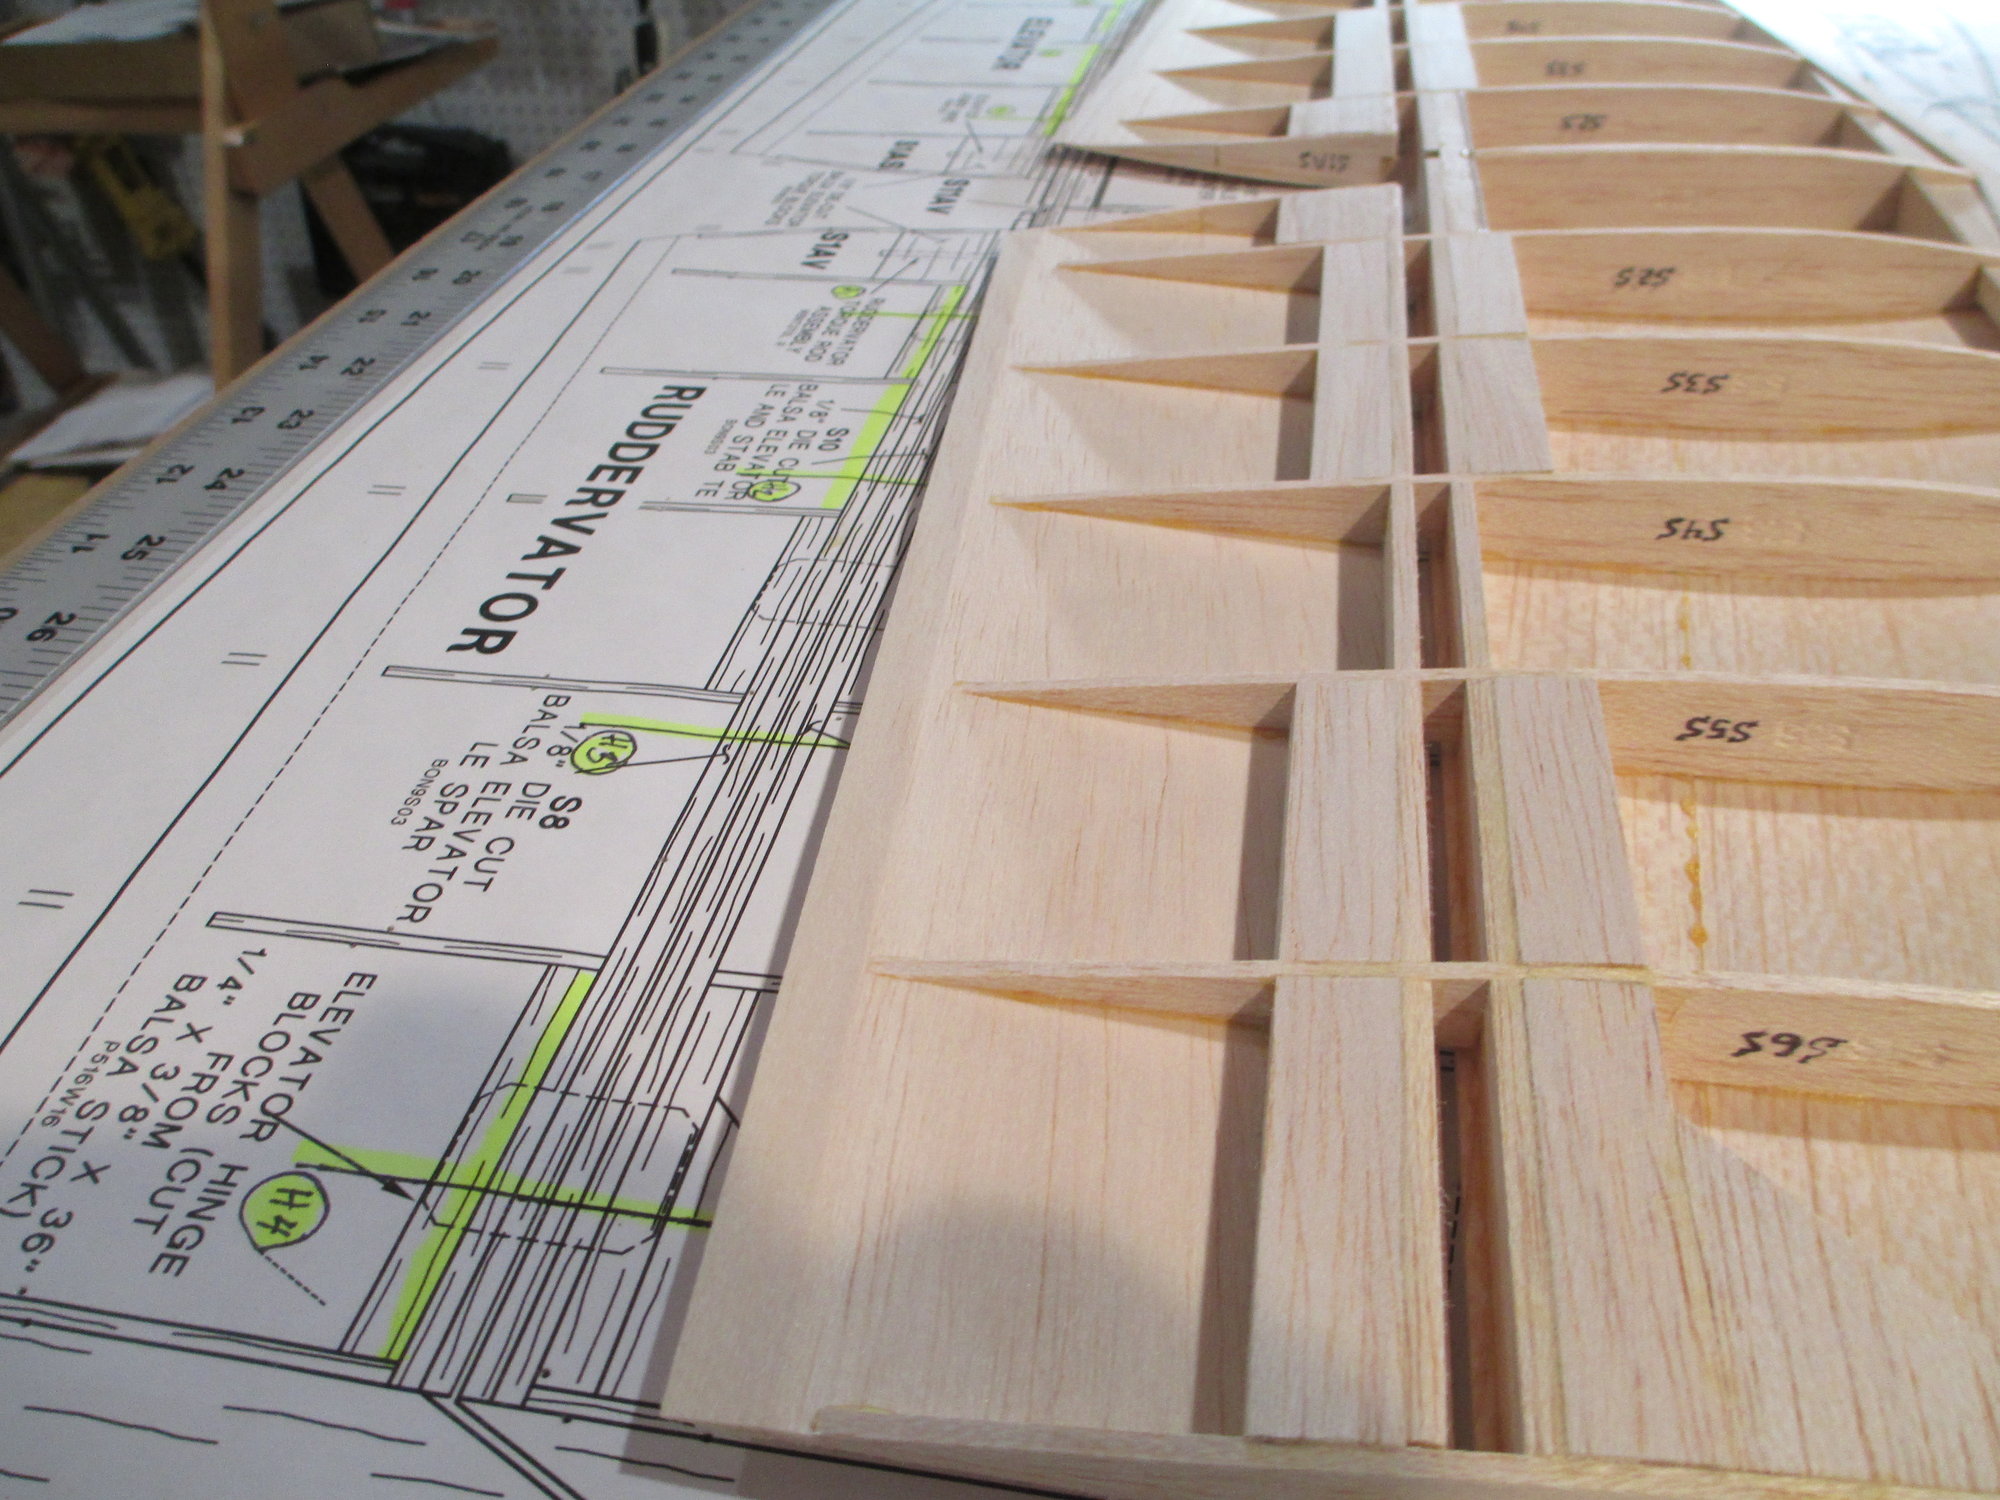
Plans show three hinges per elevator, but I will be installing four per elevator. 1/8" Robart steel point hinges will be substituted for the flat nylon hinges supplied in the kit. You can see their locations on the plans as I have highlighted the areas.
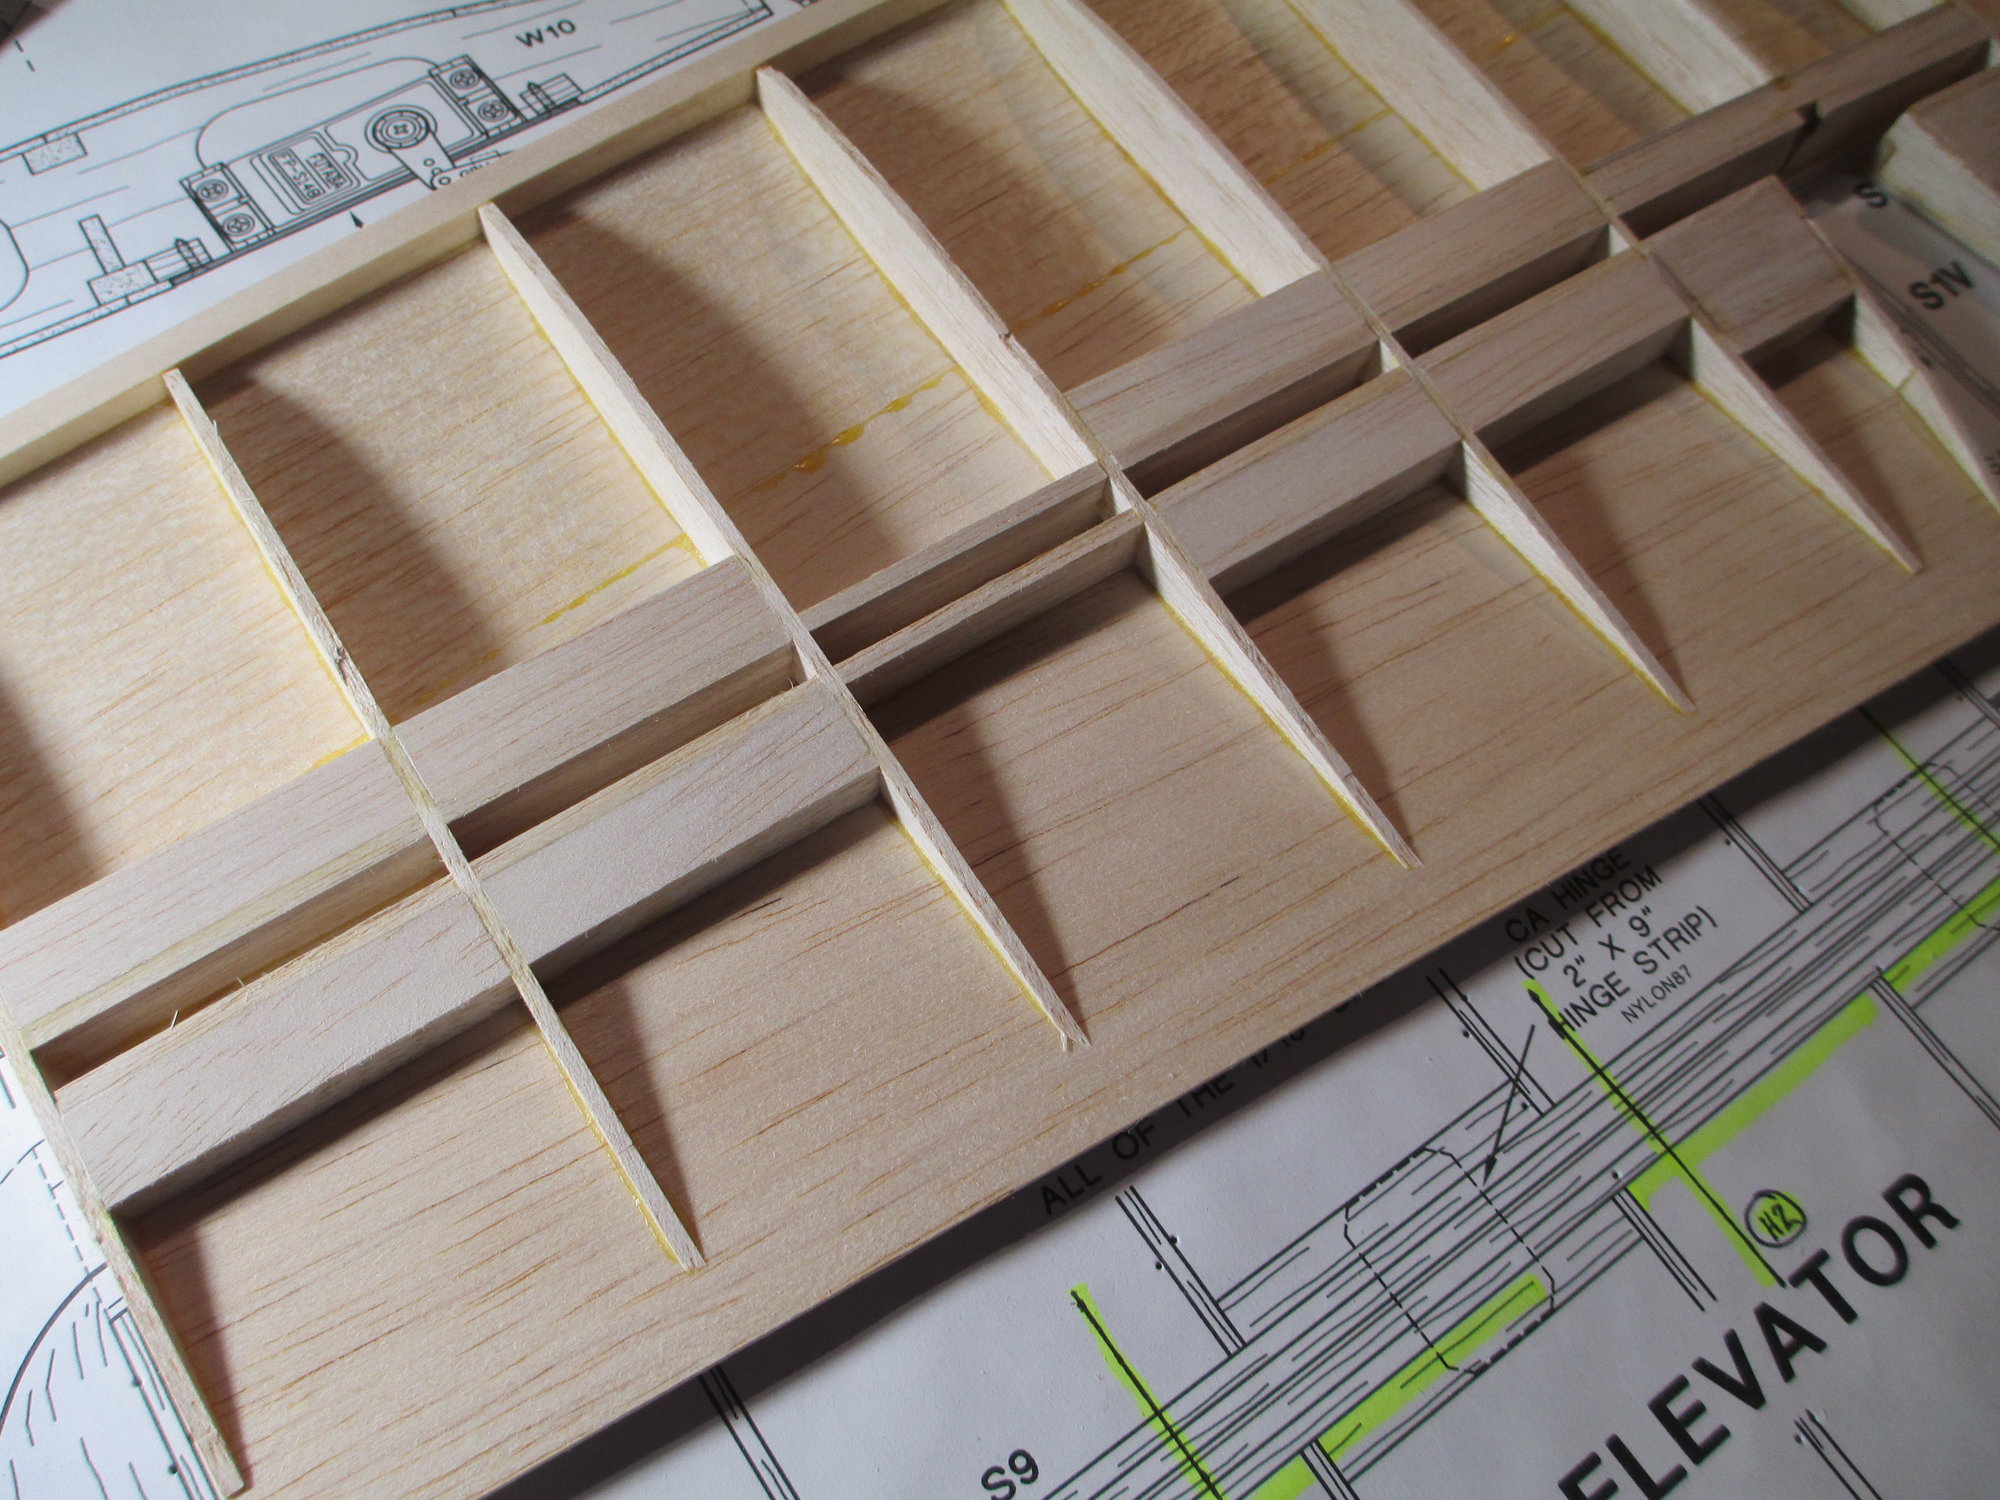
Using steel point hinges require structure to anchor into, so balsa hinge blocks were added in the appropriate locations. You may wonder why the hinge blocks are running the full span between rib bays when a one inch block would suffice. One word, insurance. If I make a mistake drilling for a hing point, I can easily abandon the hole and move the hinge location over without any trouble...
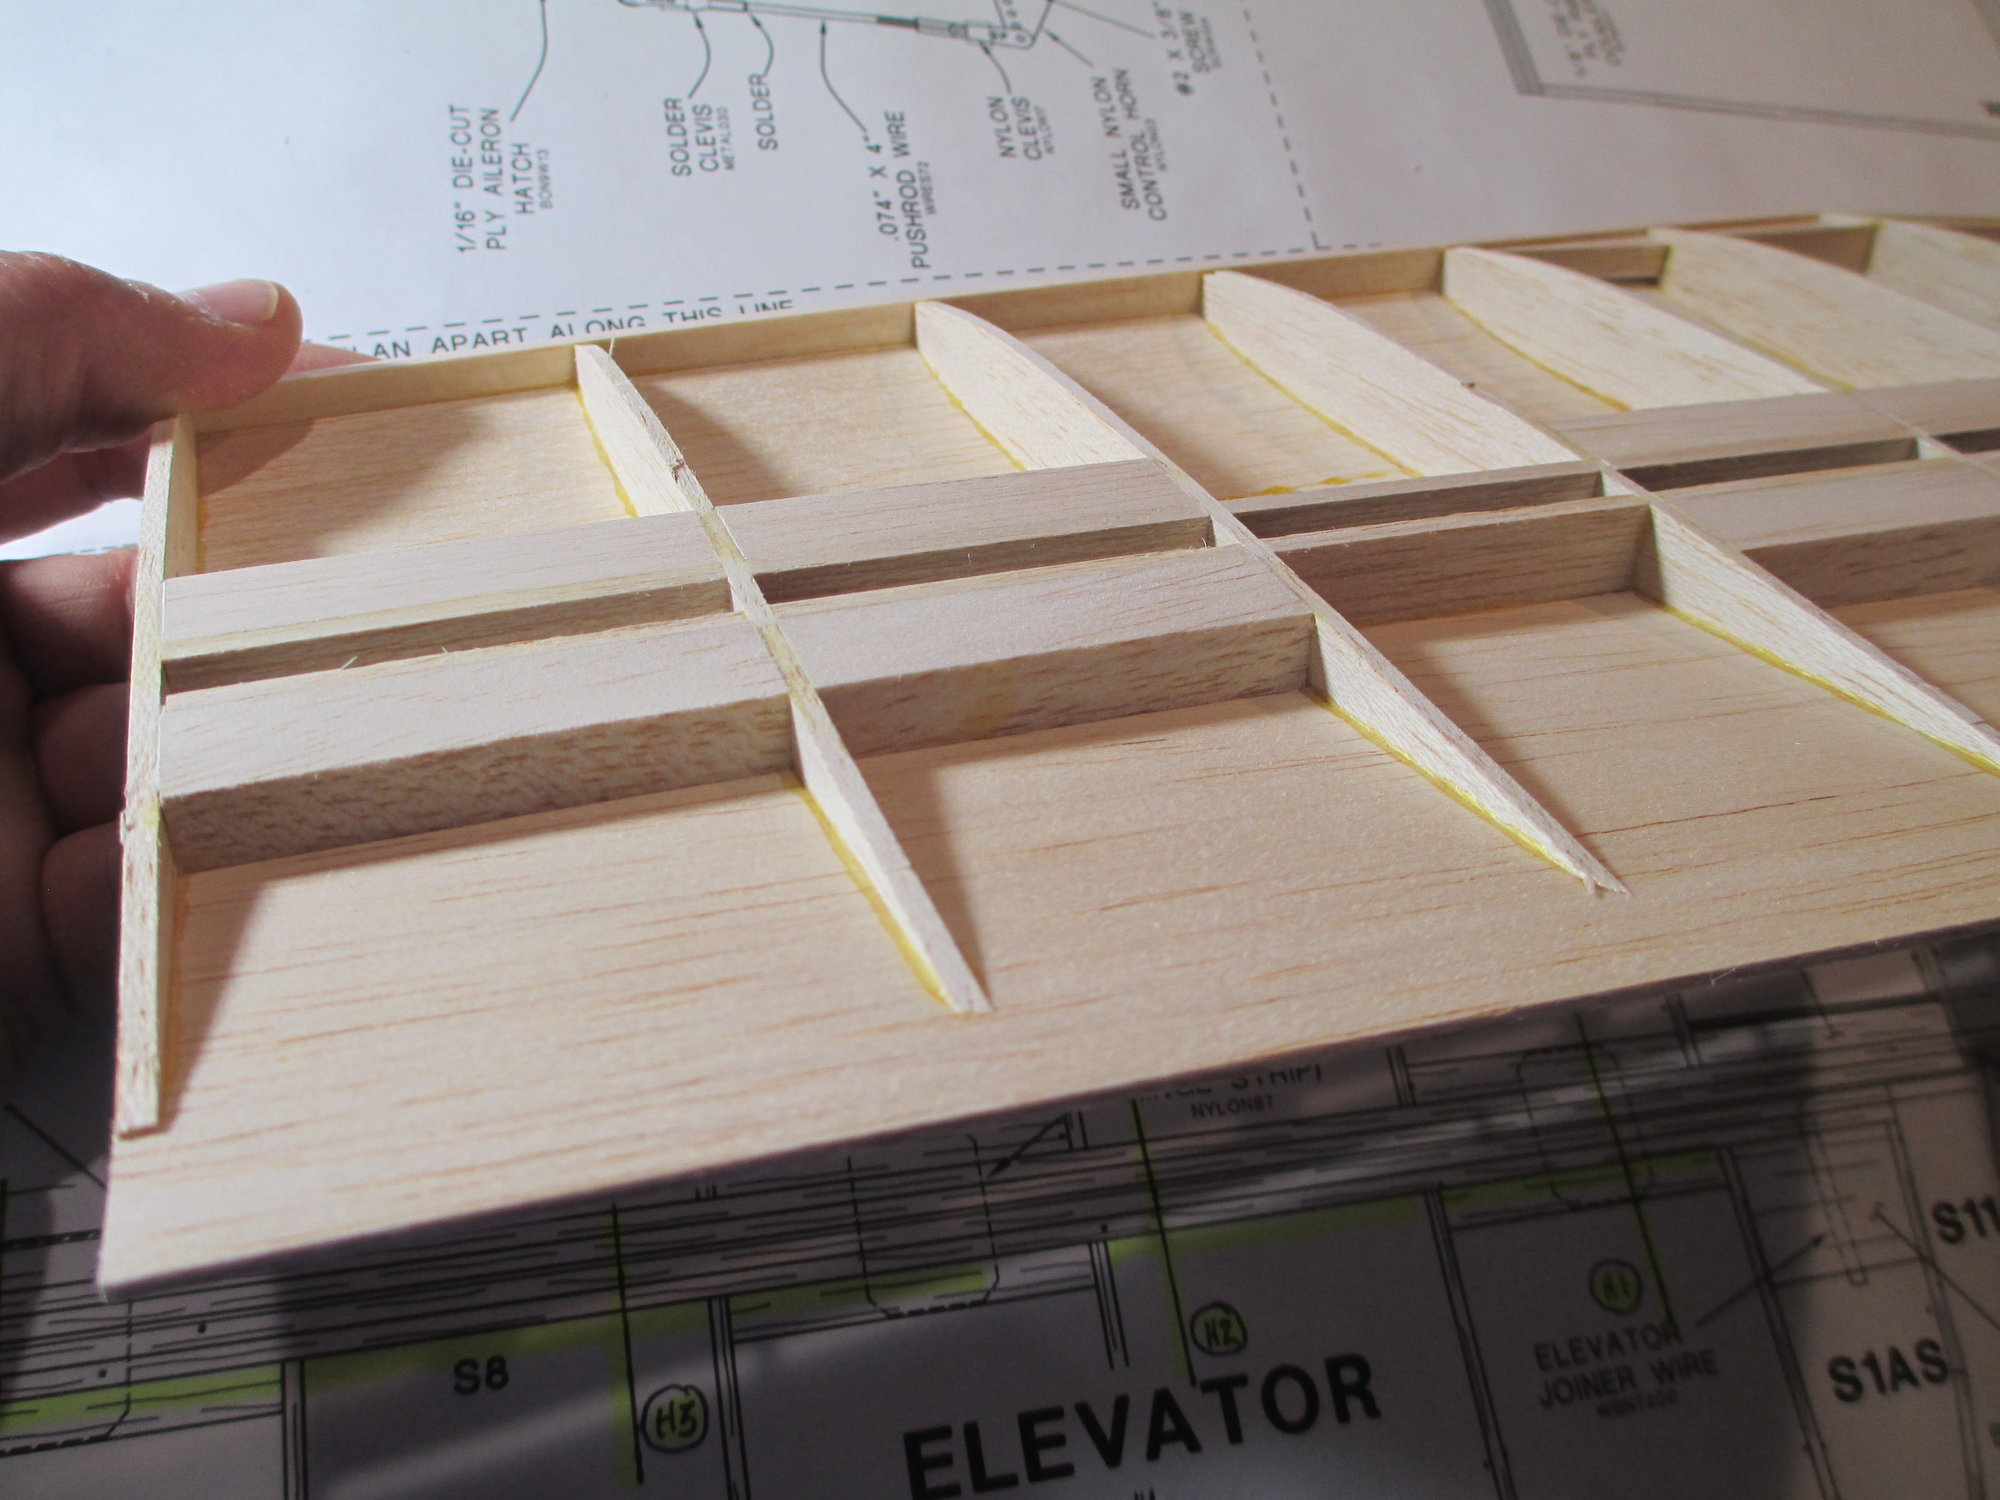
The hinge blocks were carefully fitted between each bay.
Plans show three hinges per elevator, but I will be installing four per elevator. 1/8" Robart steel point hinges will be substituted for the flat nylon hinges supplied in the kit. You can see their locations on the plans as I have highlighted the areas.
Using steel point hinges require structure to anchor into, so balsa hinge blocks were added in the appropriate locations. You may wonder why the hinge blocks are running the full span between rib bays when a one inch block would suffice. One word, insurance. If I make a mistake drilling for a hing point, I can easily abandon the hole and move the hinge location over without any trouble...
The hinge blocks were carefully fitted between each bay.
Last edited by VincentJ; 06-29-2019 at 09:27 AM.
06-28-2019, 04:38 PM
#32
Thread Starter
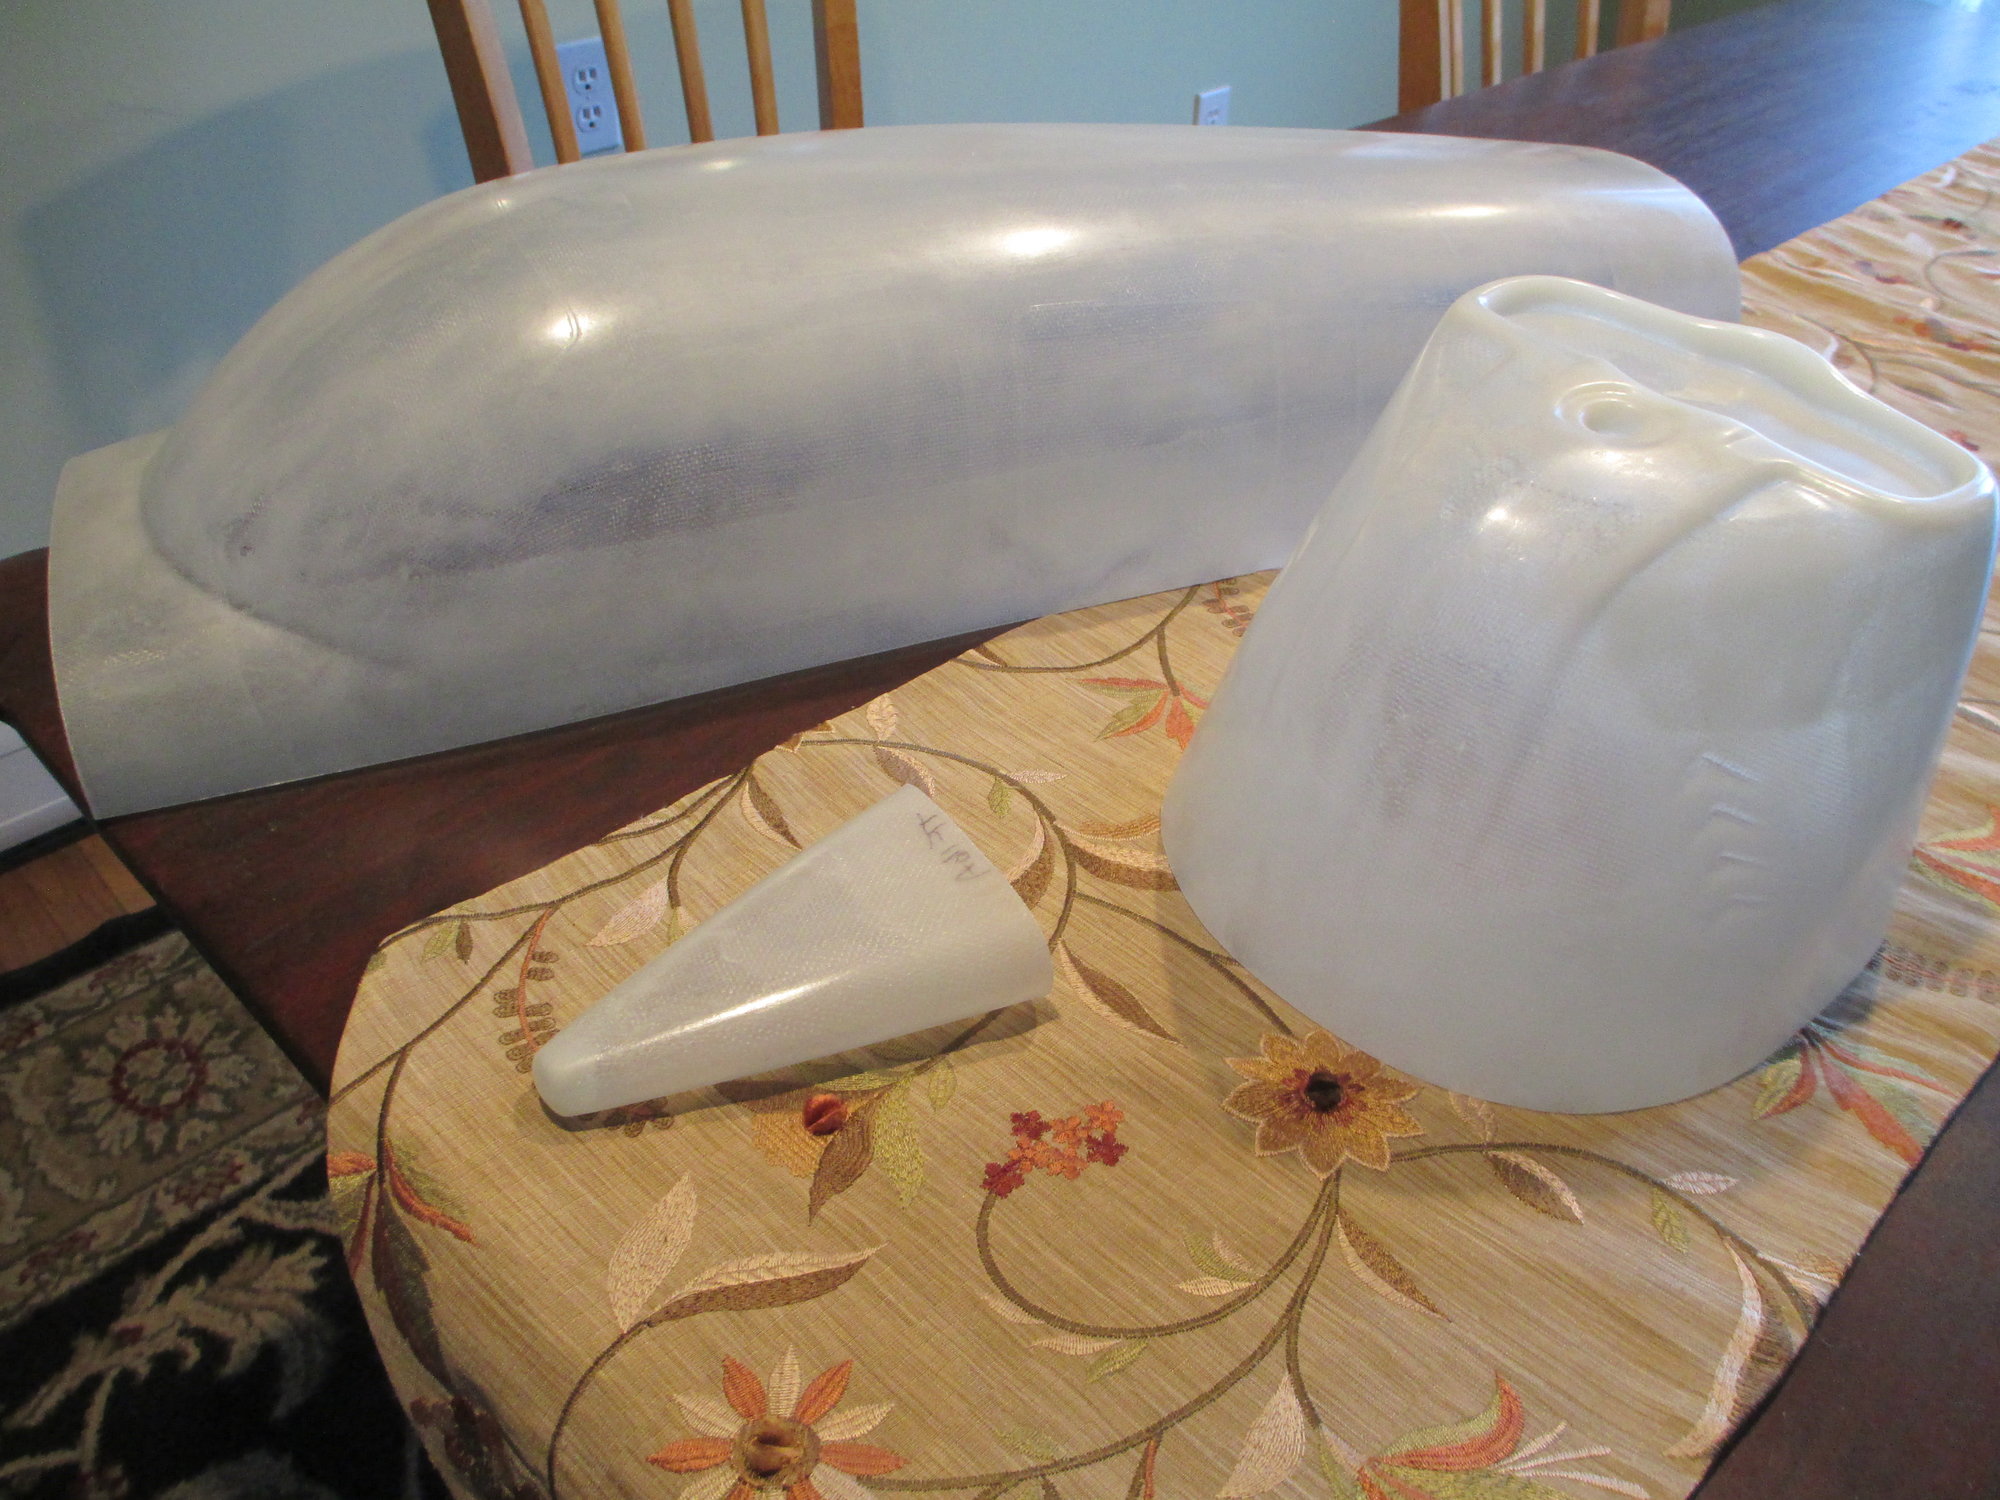
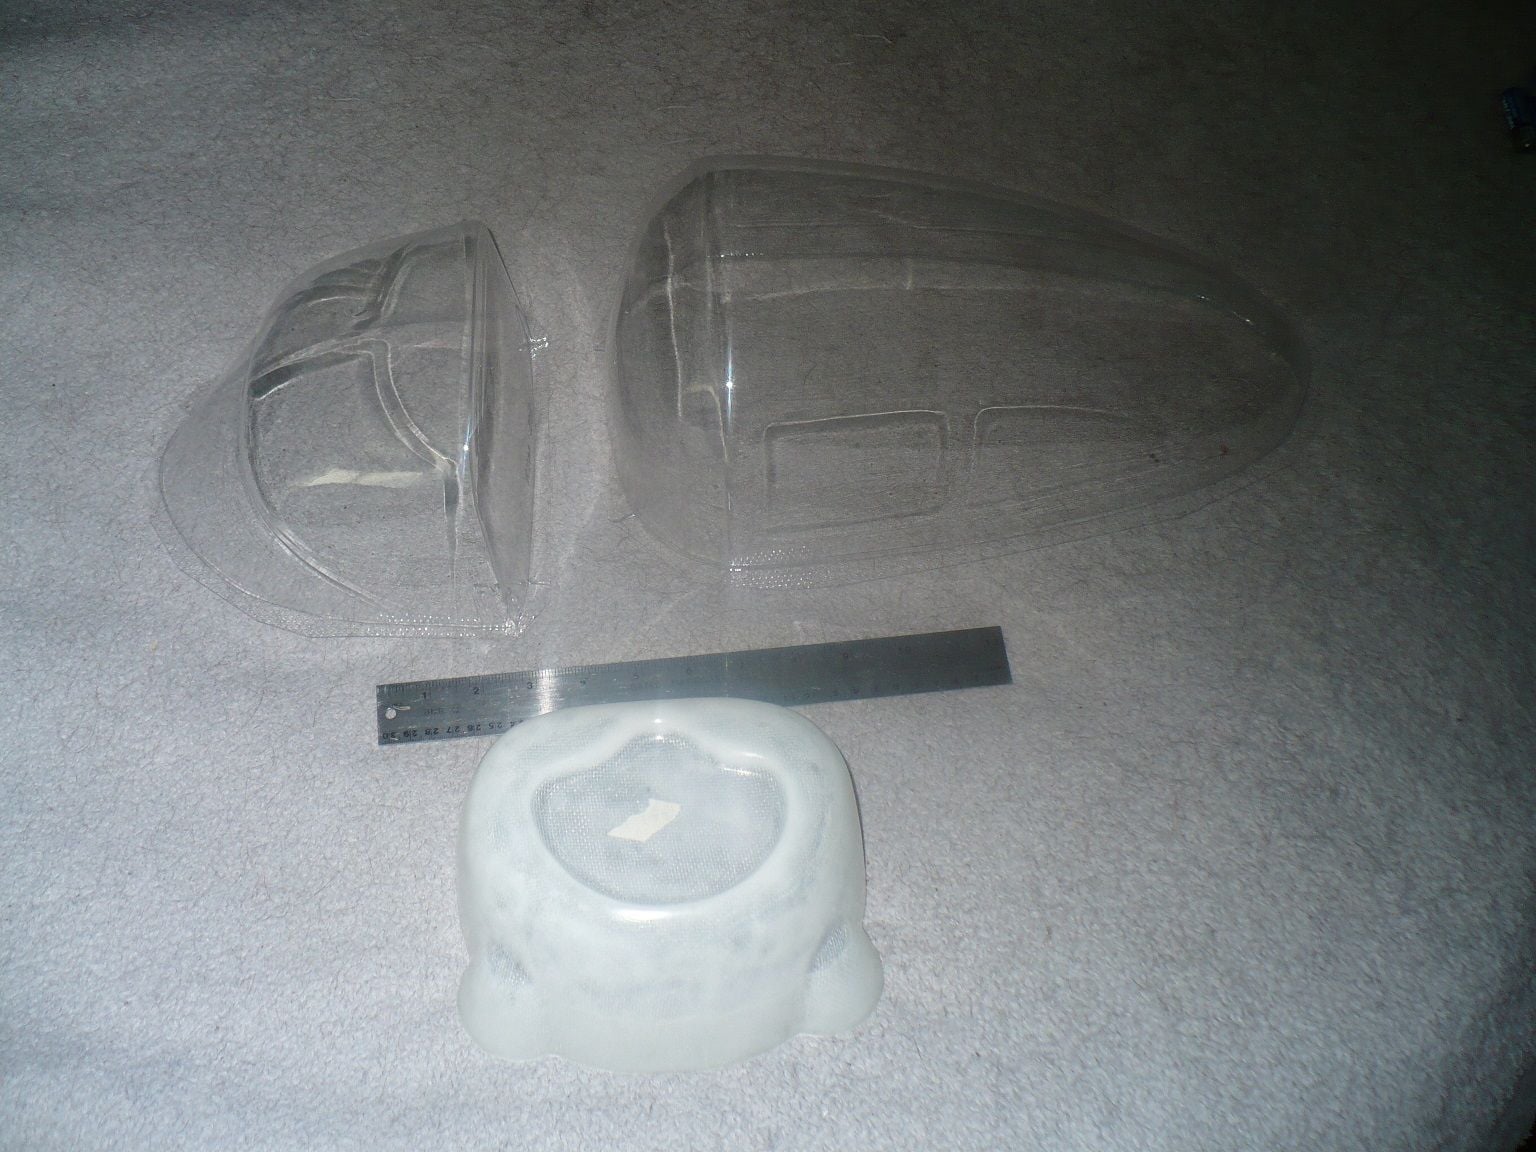
Our fiberglass parts came in today! I've used Fiberglass Specialties on a number of planes that I have built, but I have to say these are the nicest parts that I have received from them to date!
 06-29-2019, 05:25 AM
#35
Thread Starter
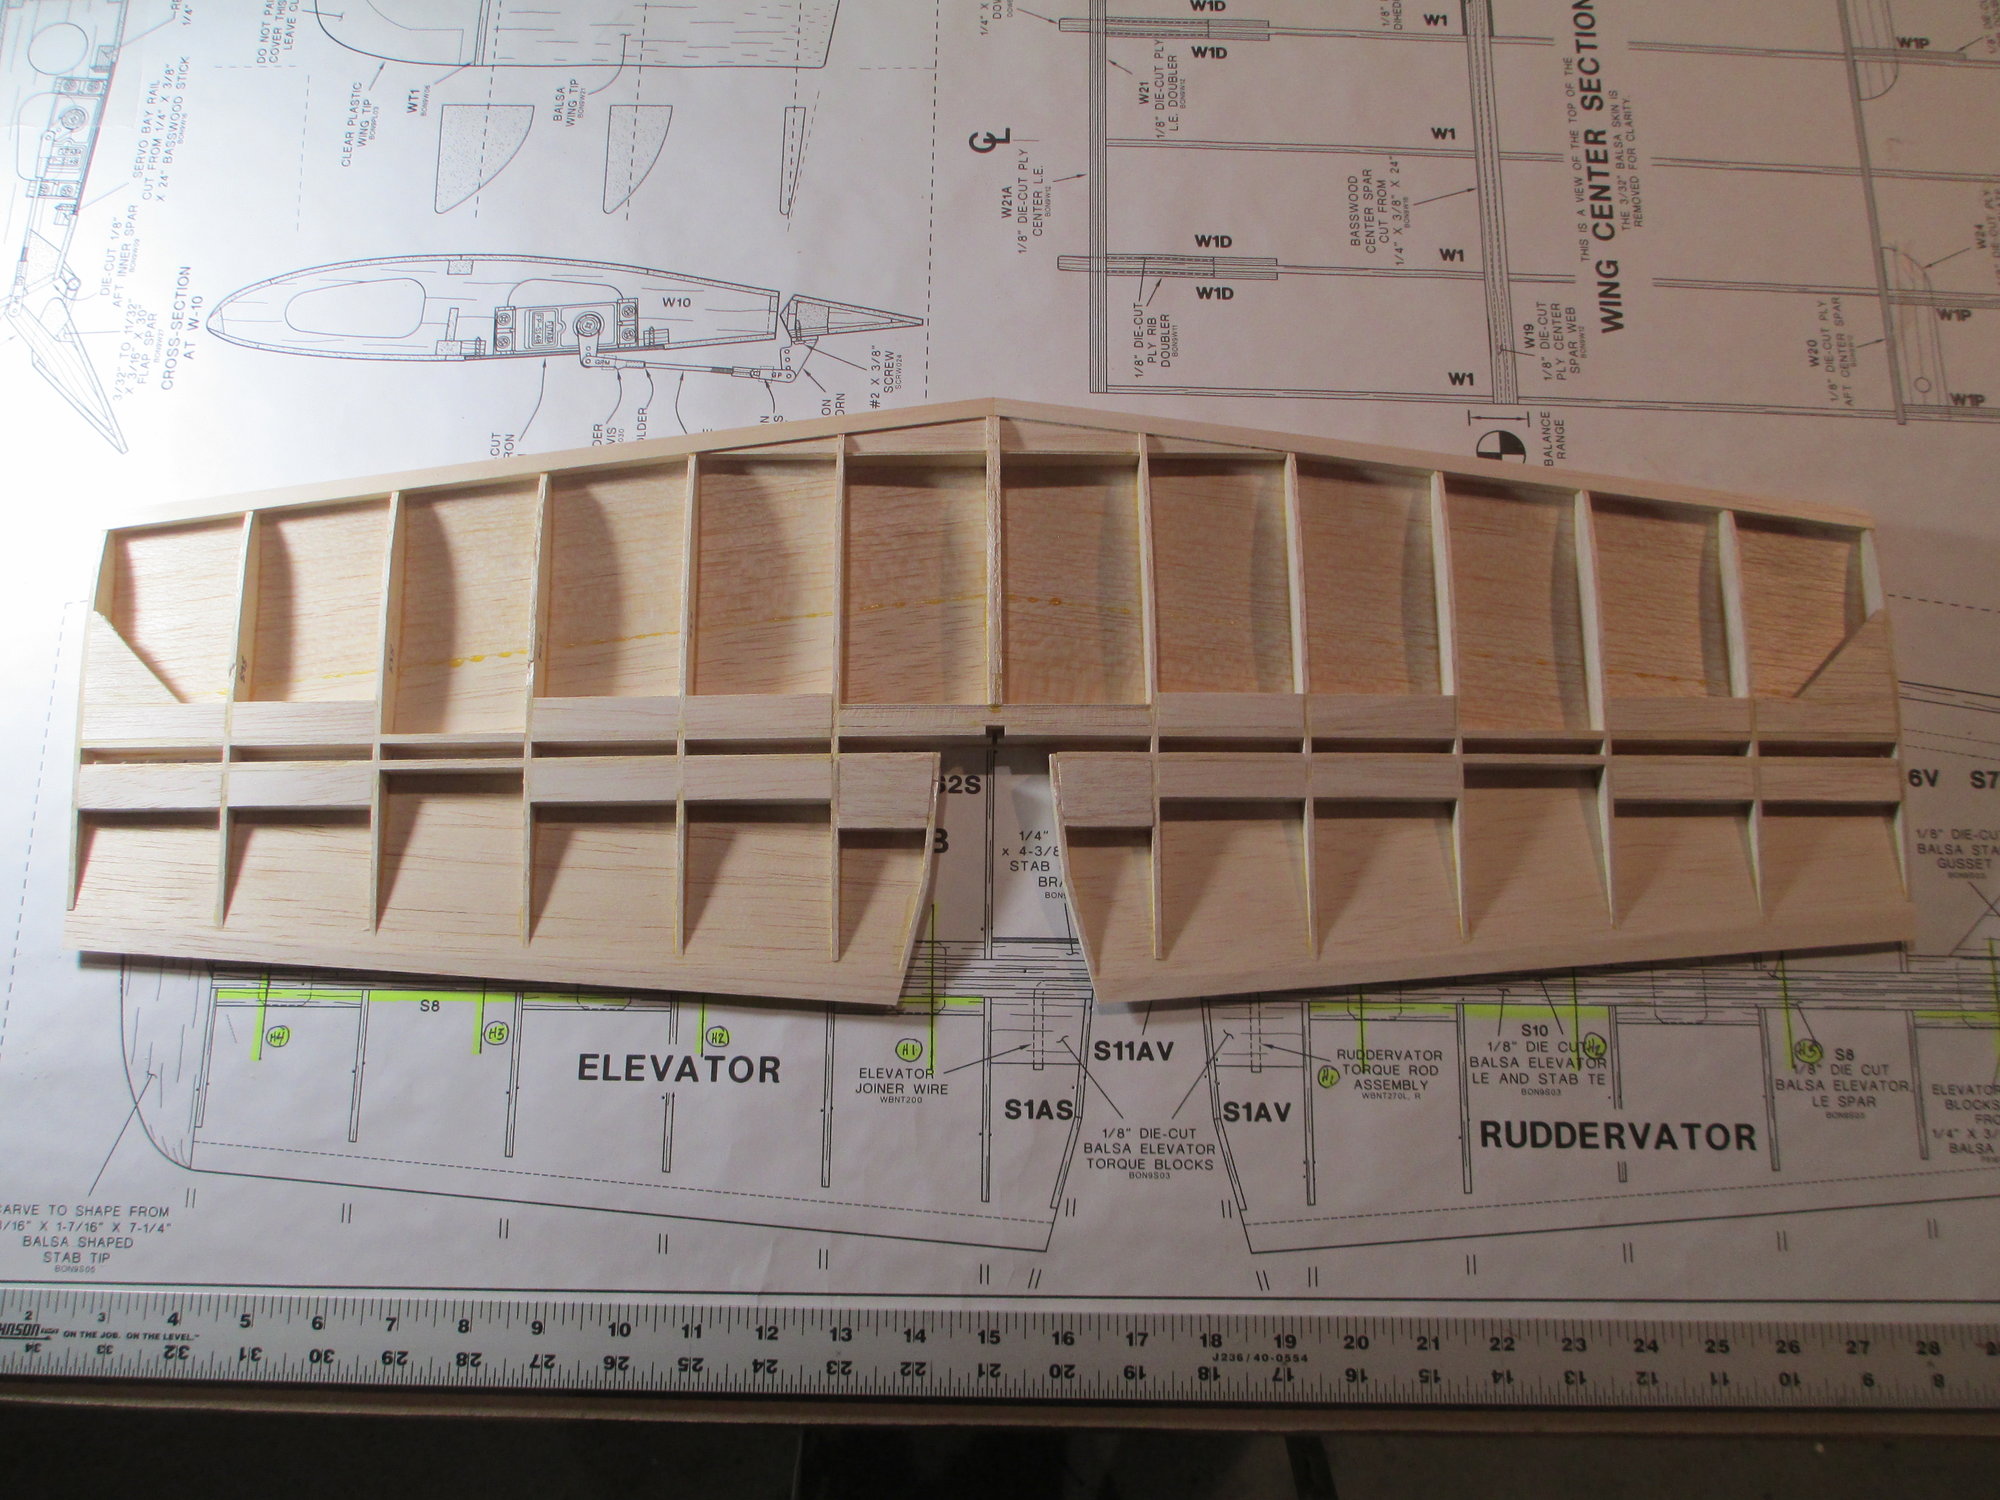
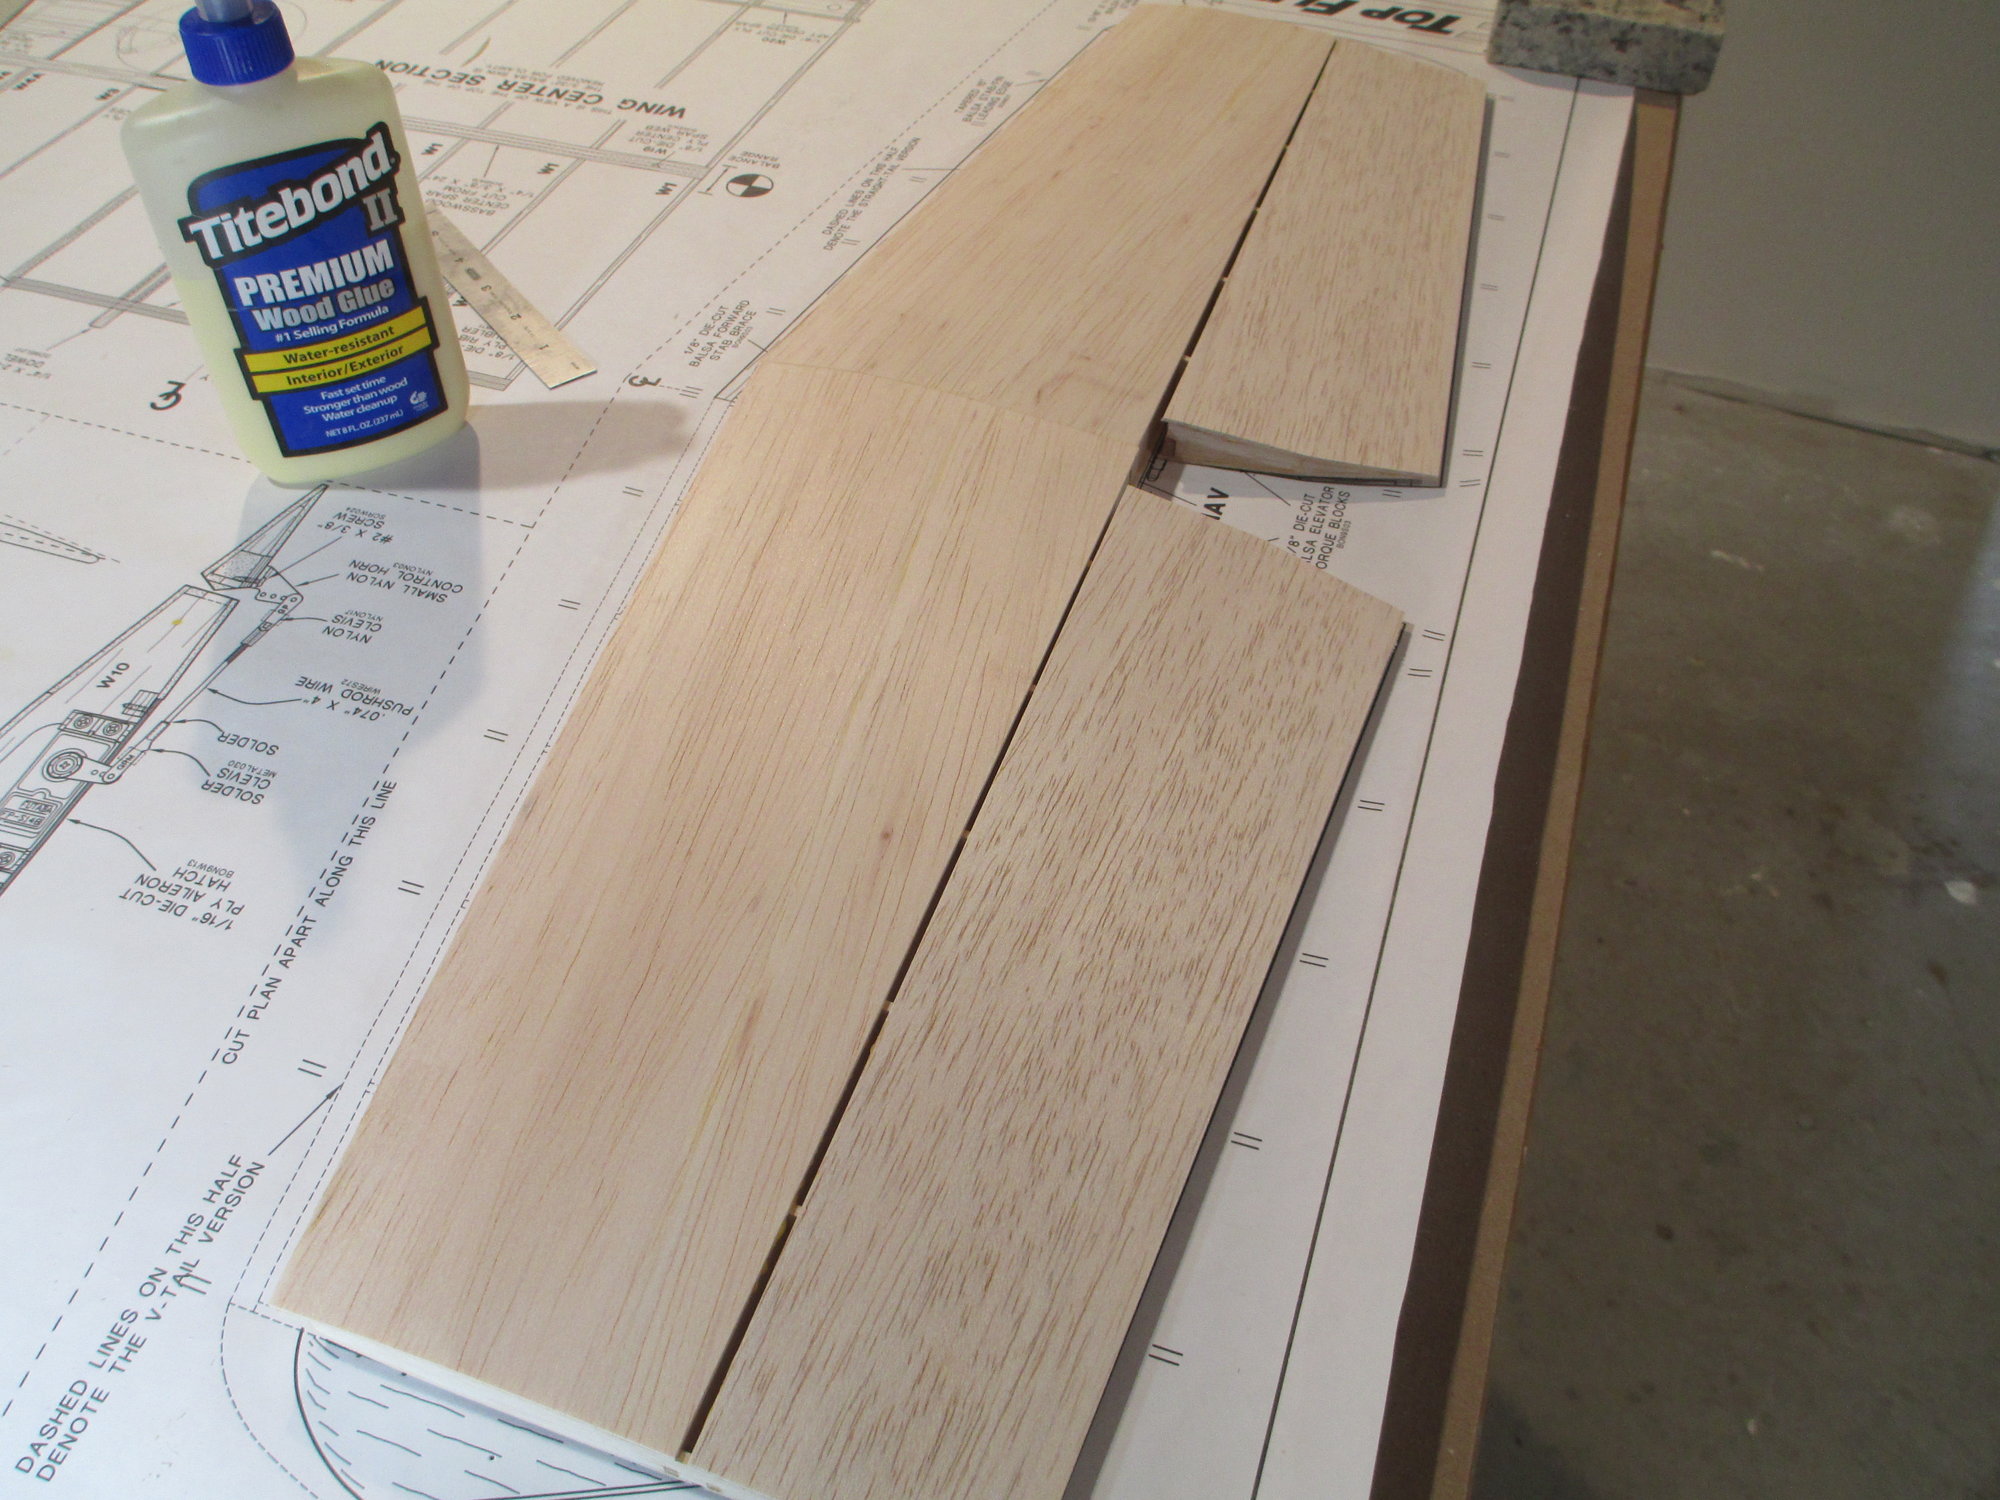
With all of the internal structure now completed, I'm ready to sheet the bottom half.
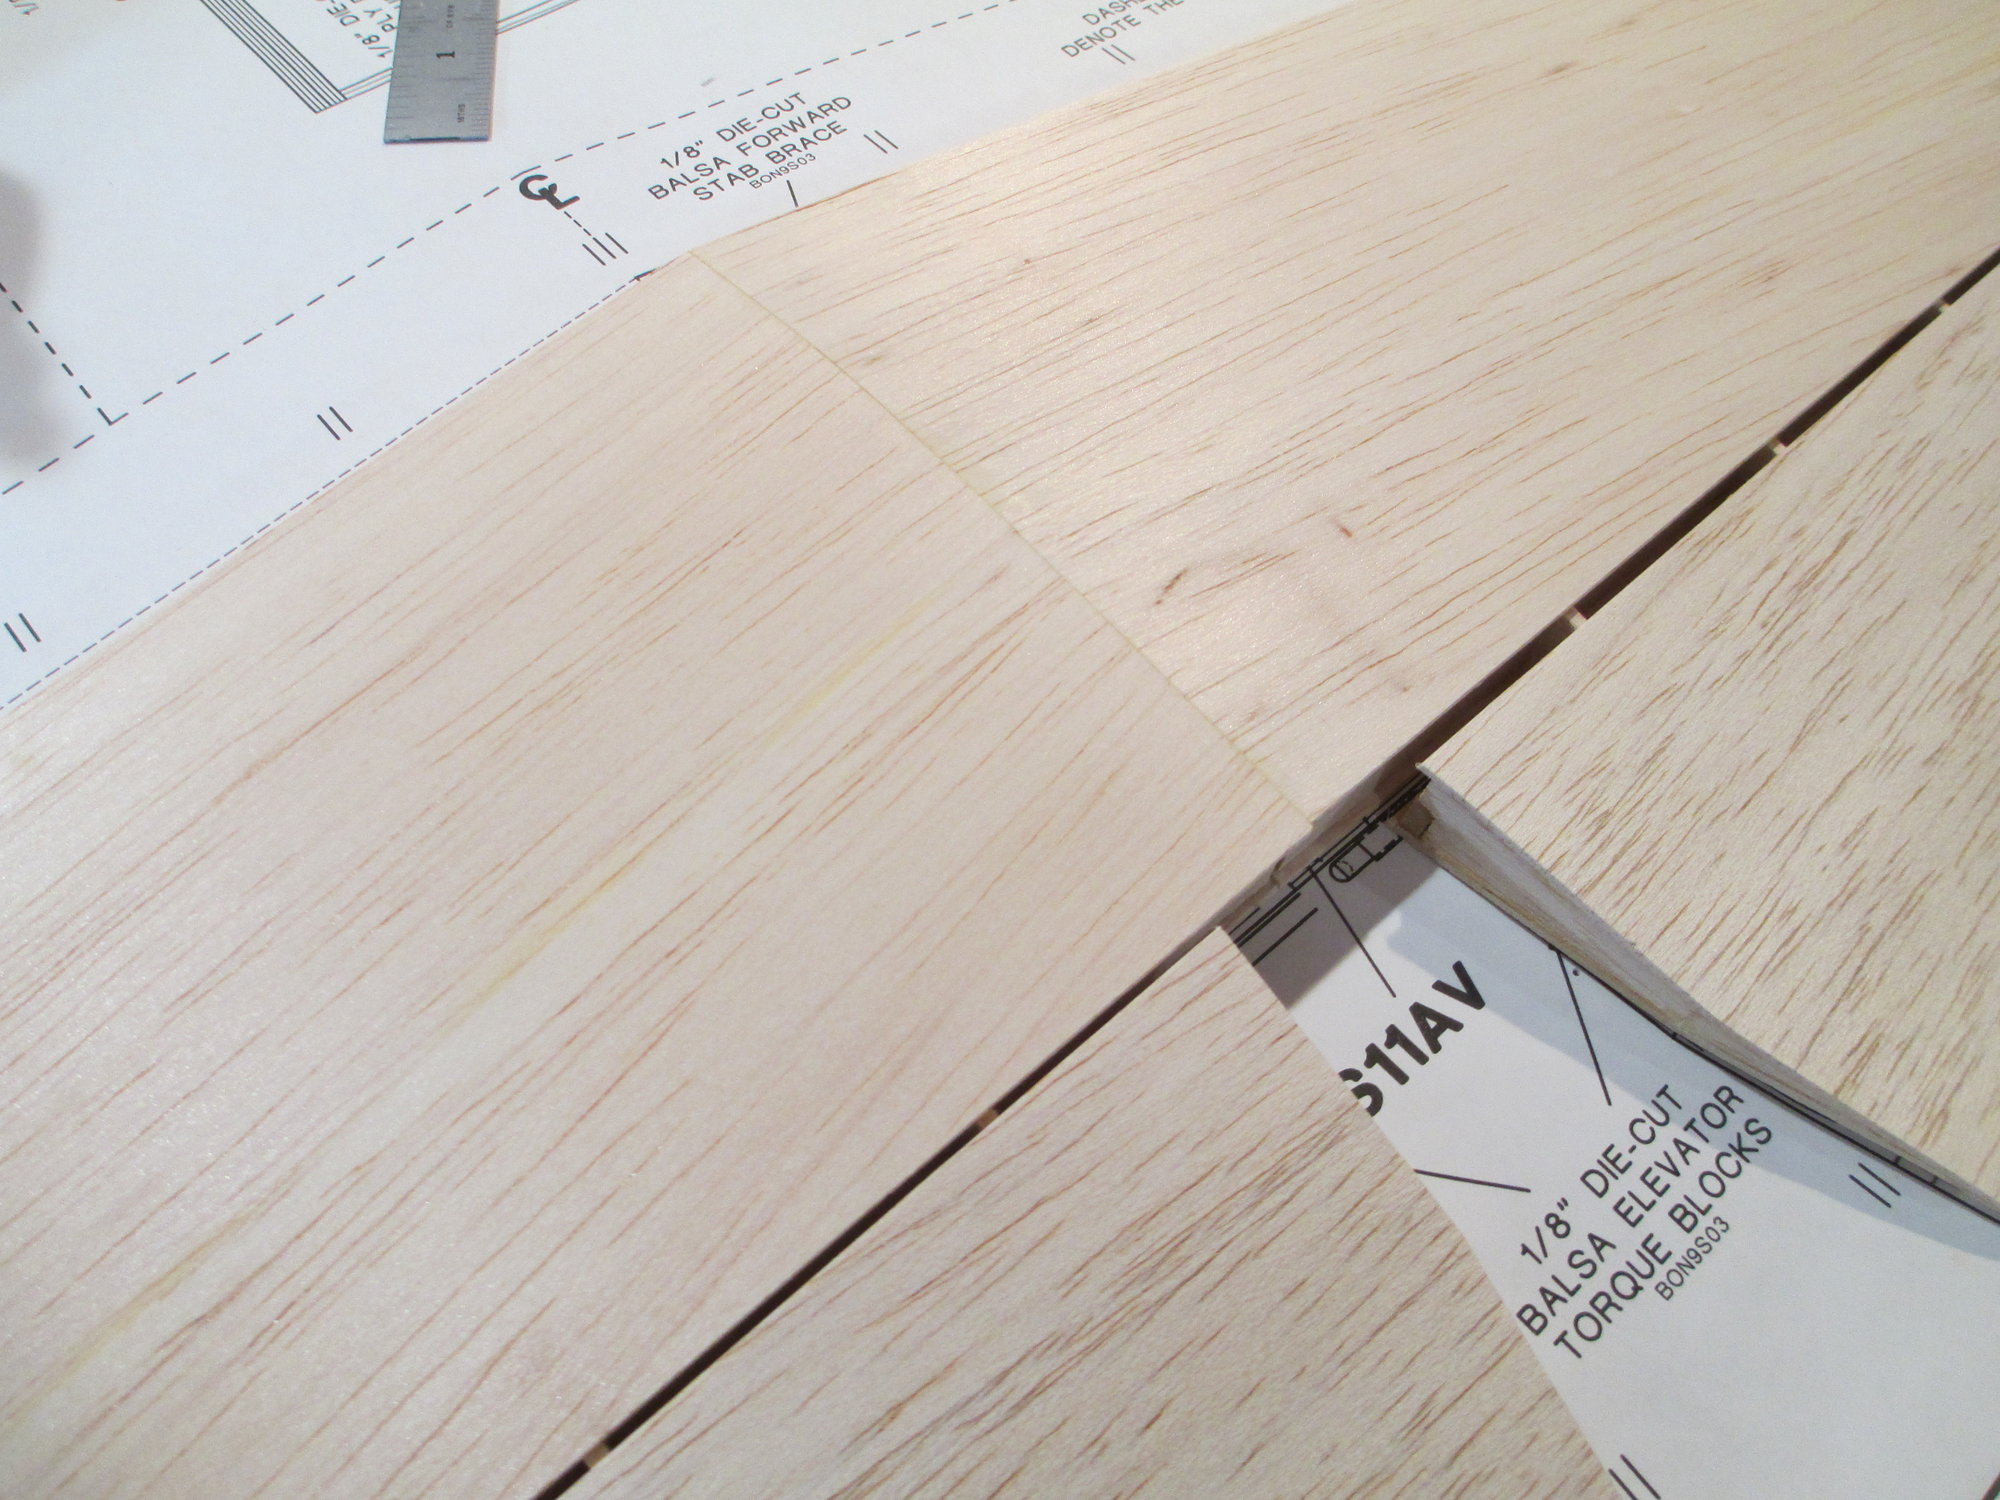
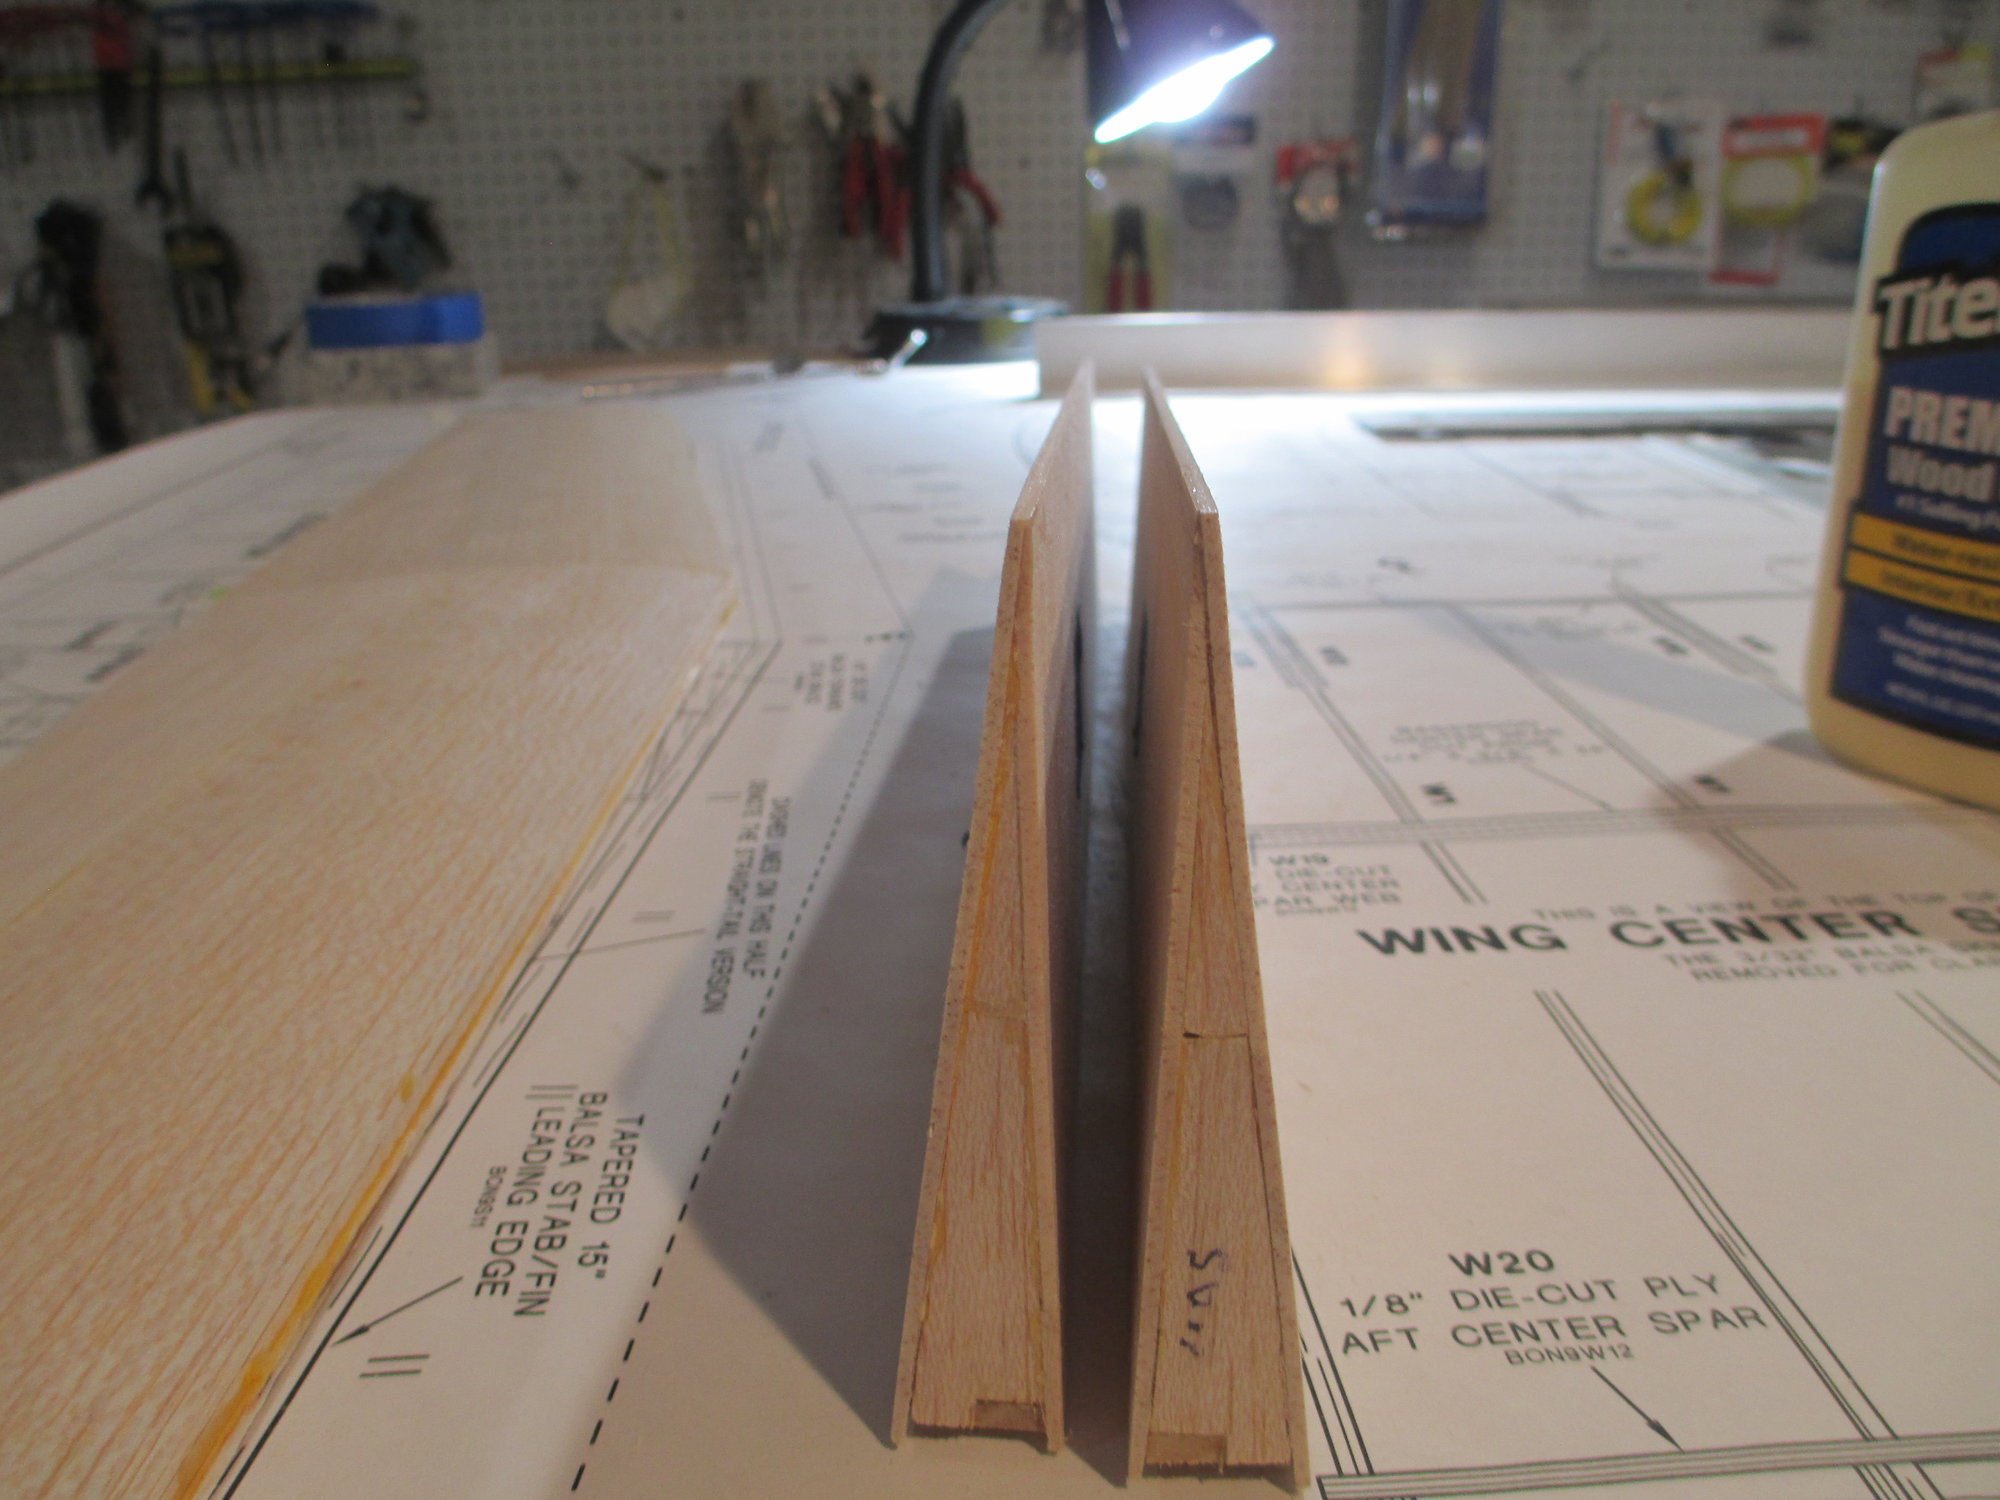
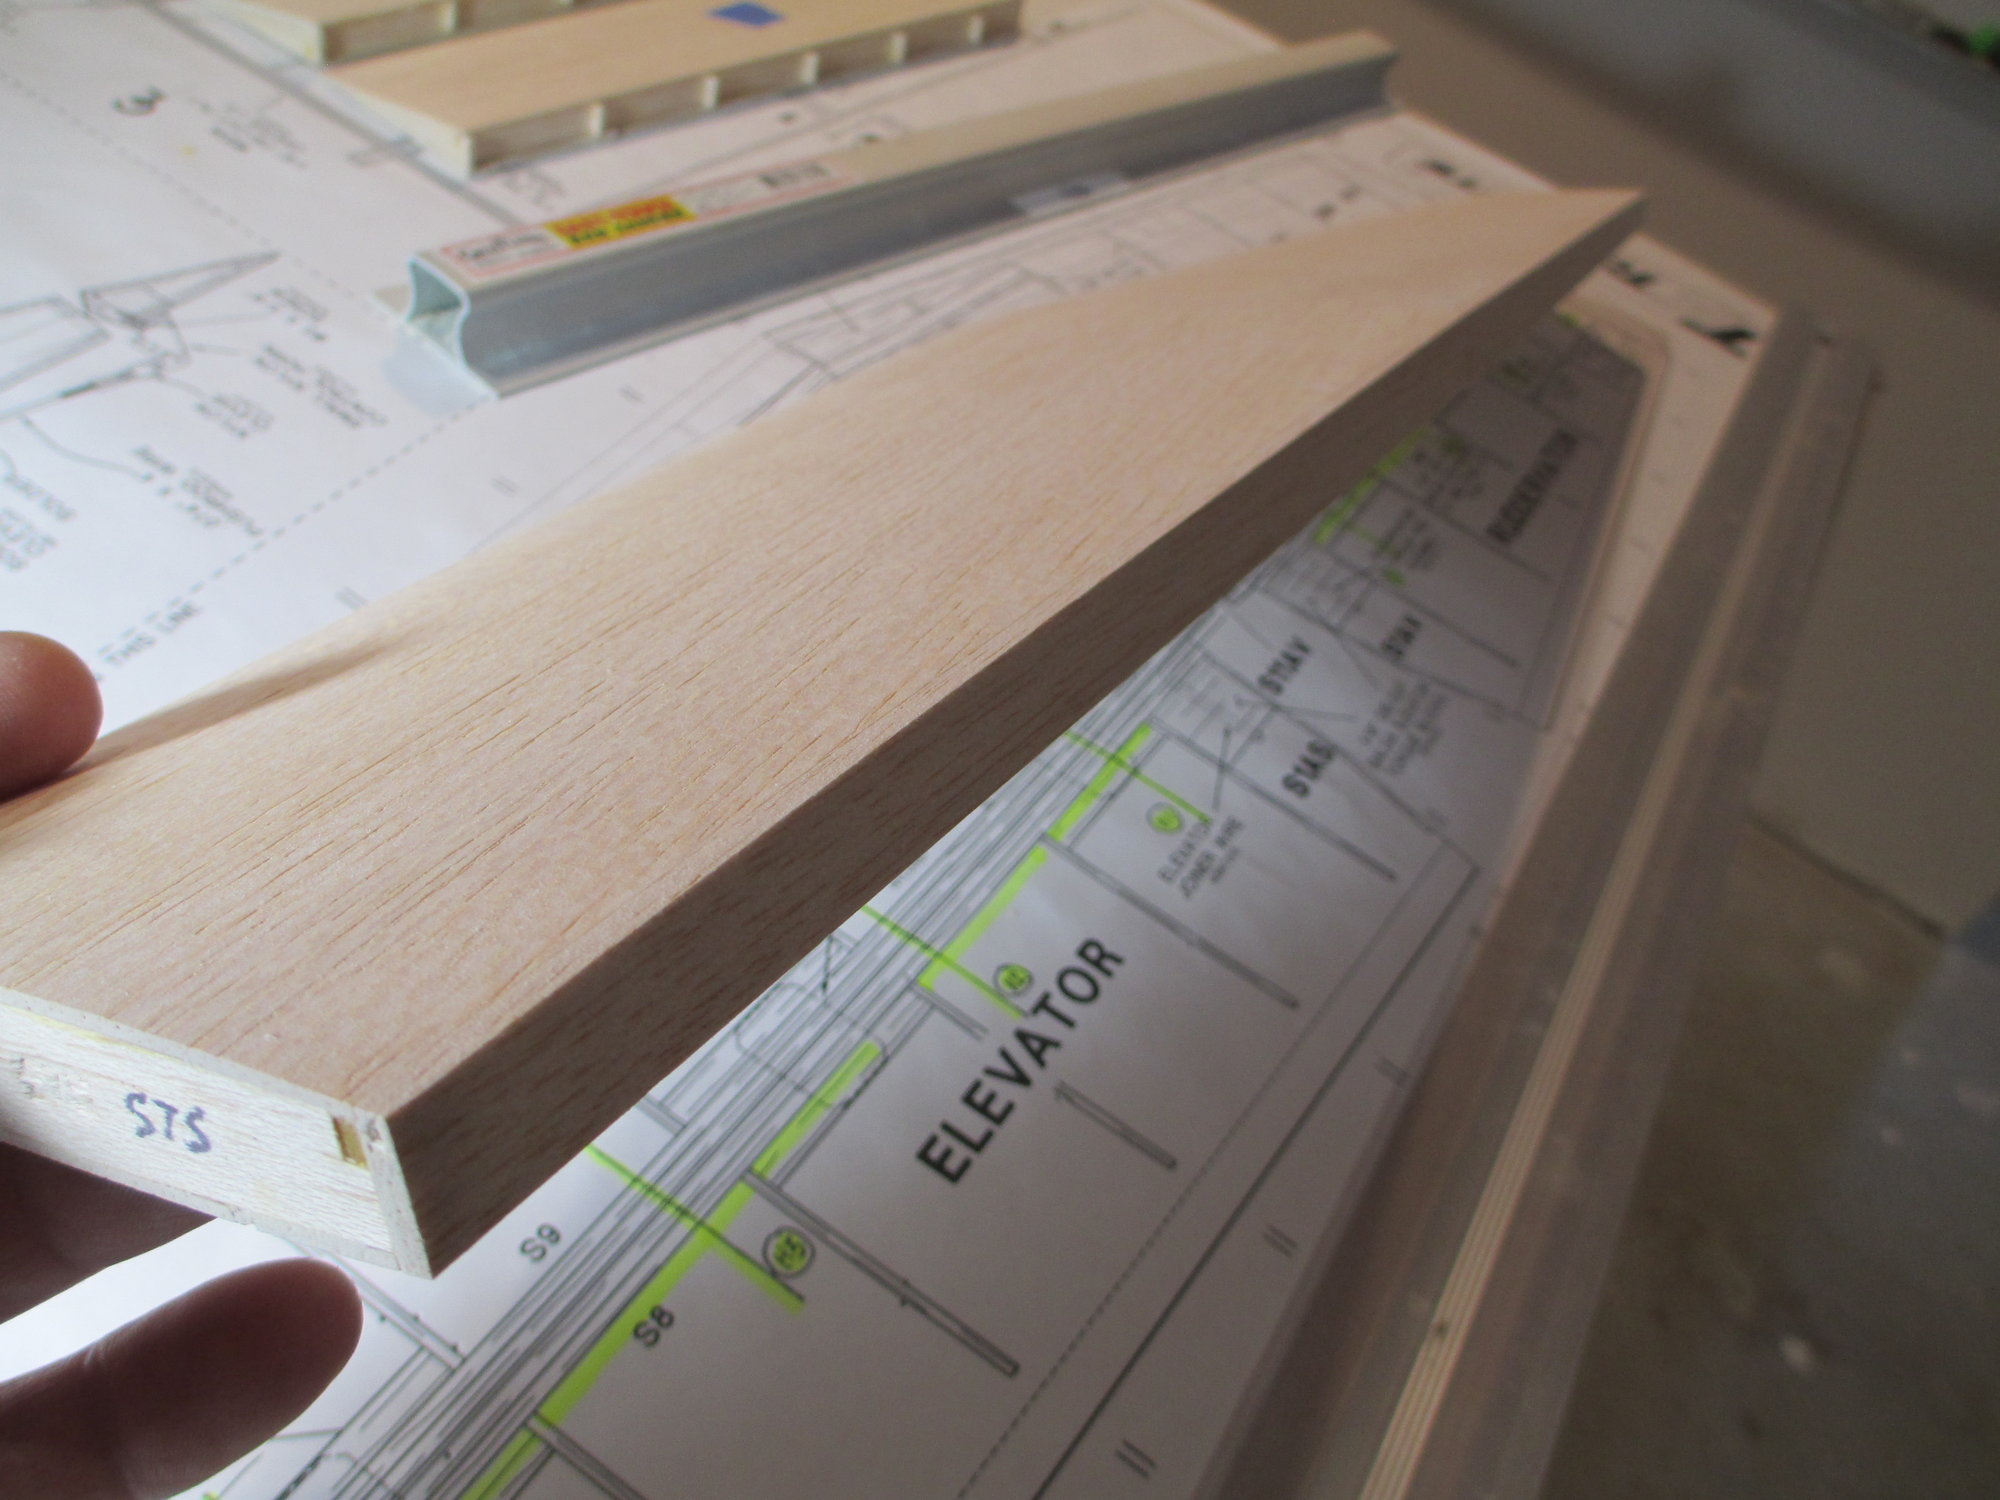
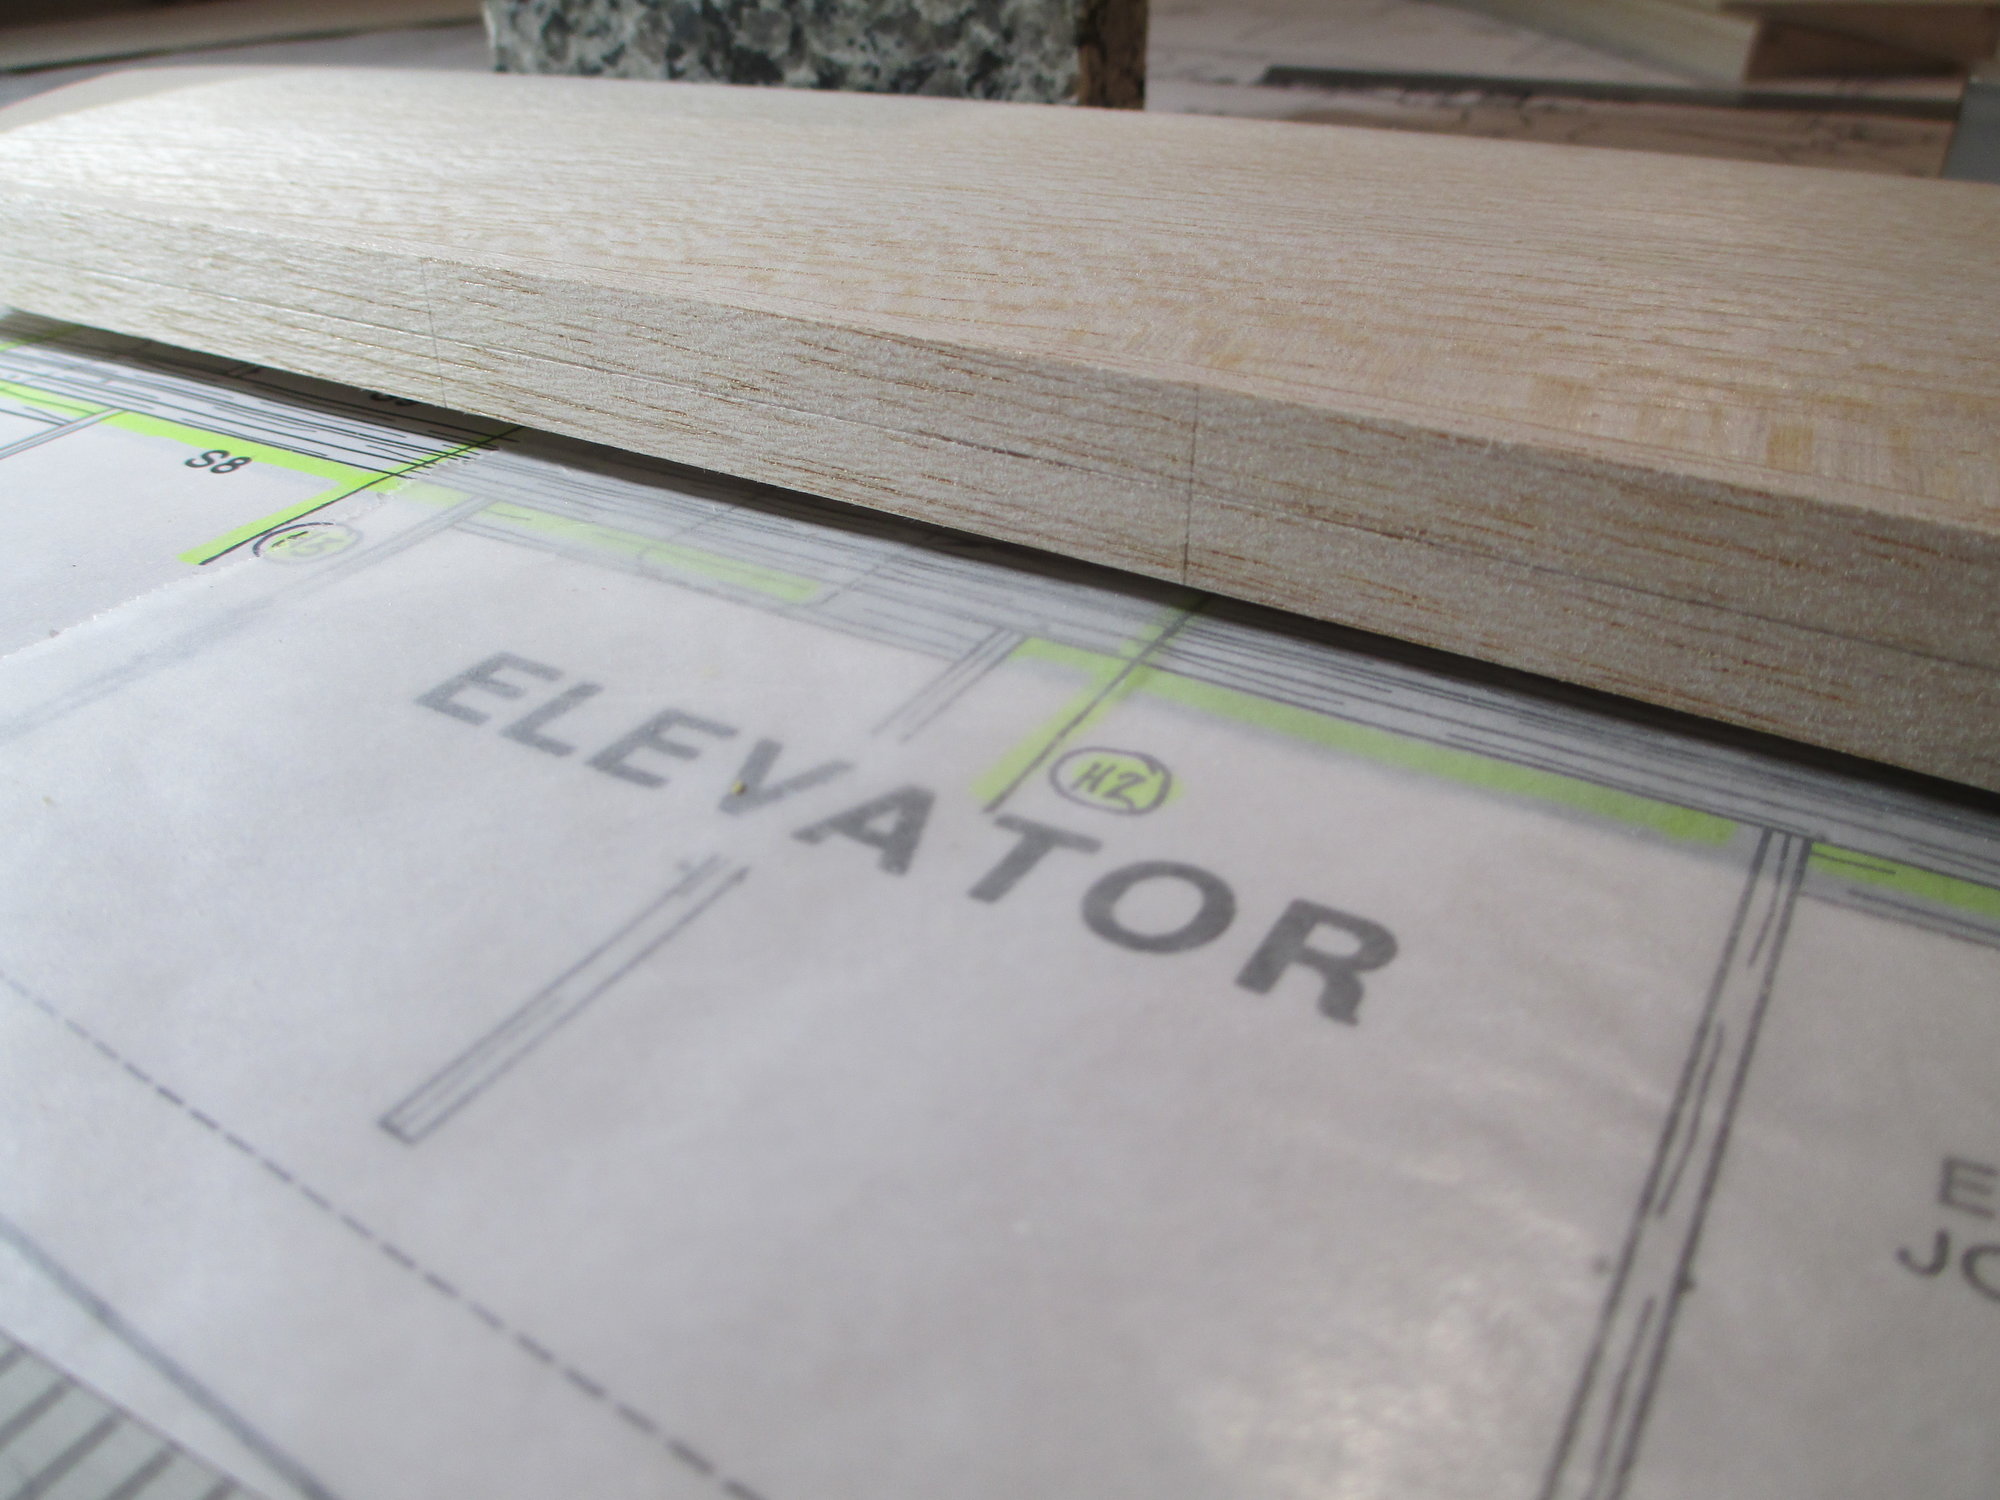
One detail that I would like to point out. If you look closely at the trailing edge on the elevator, you will notice how the bottom of the top sheeting has been beveled slightly. This will allow the top of the bottom sheet to mate correctly.
It was hard to get it to show on camera, maybe you can see it here a bit better...
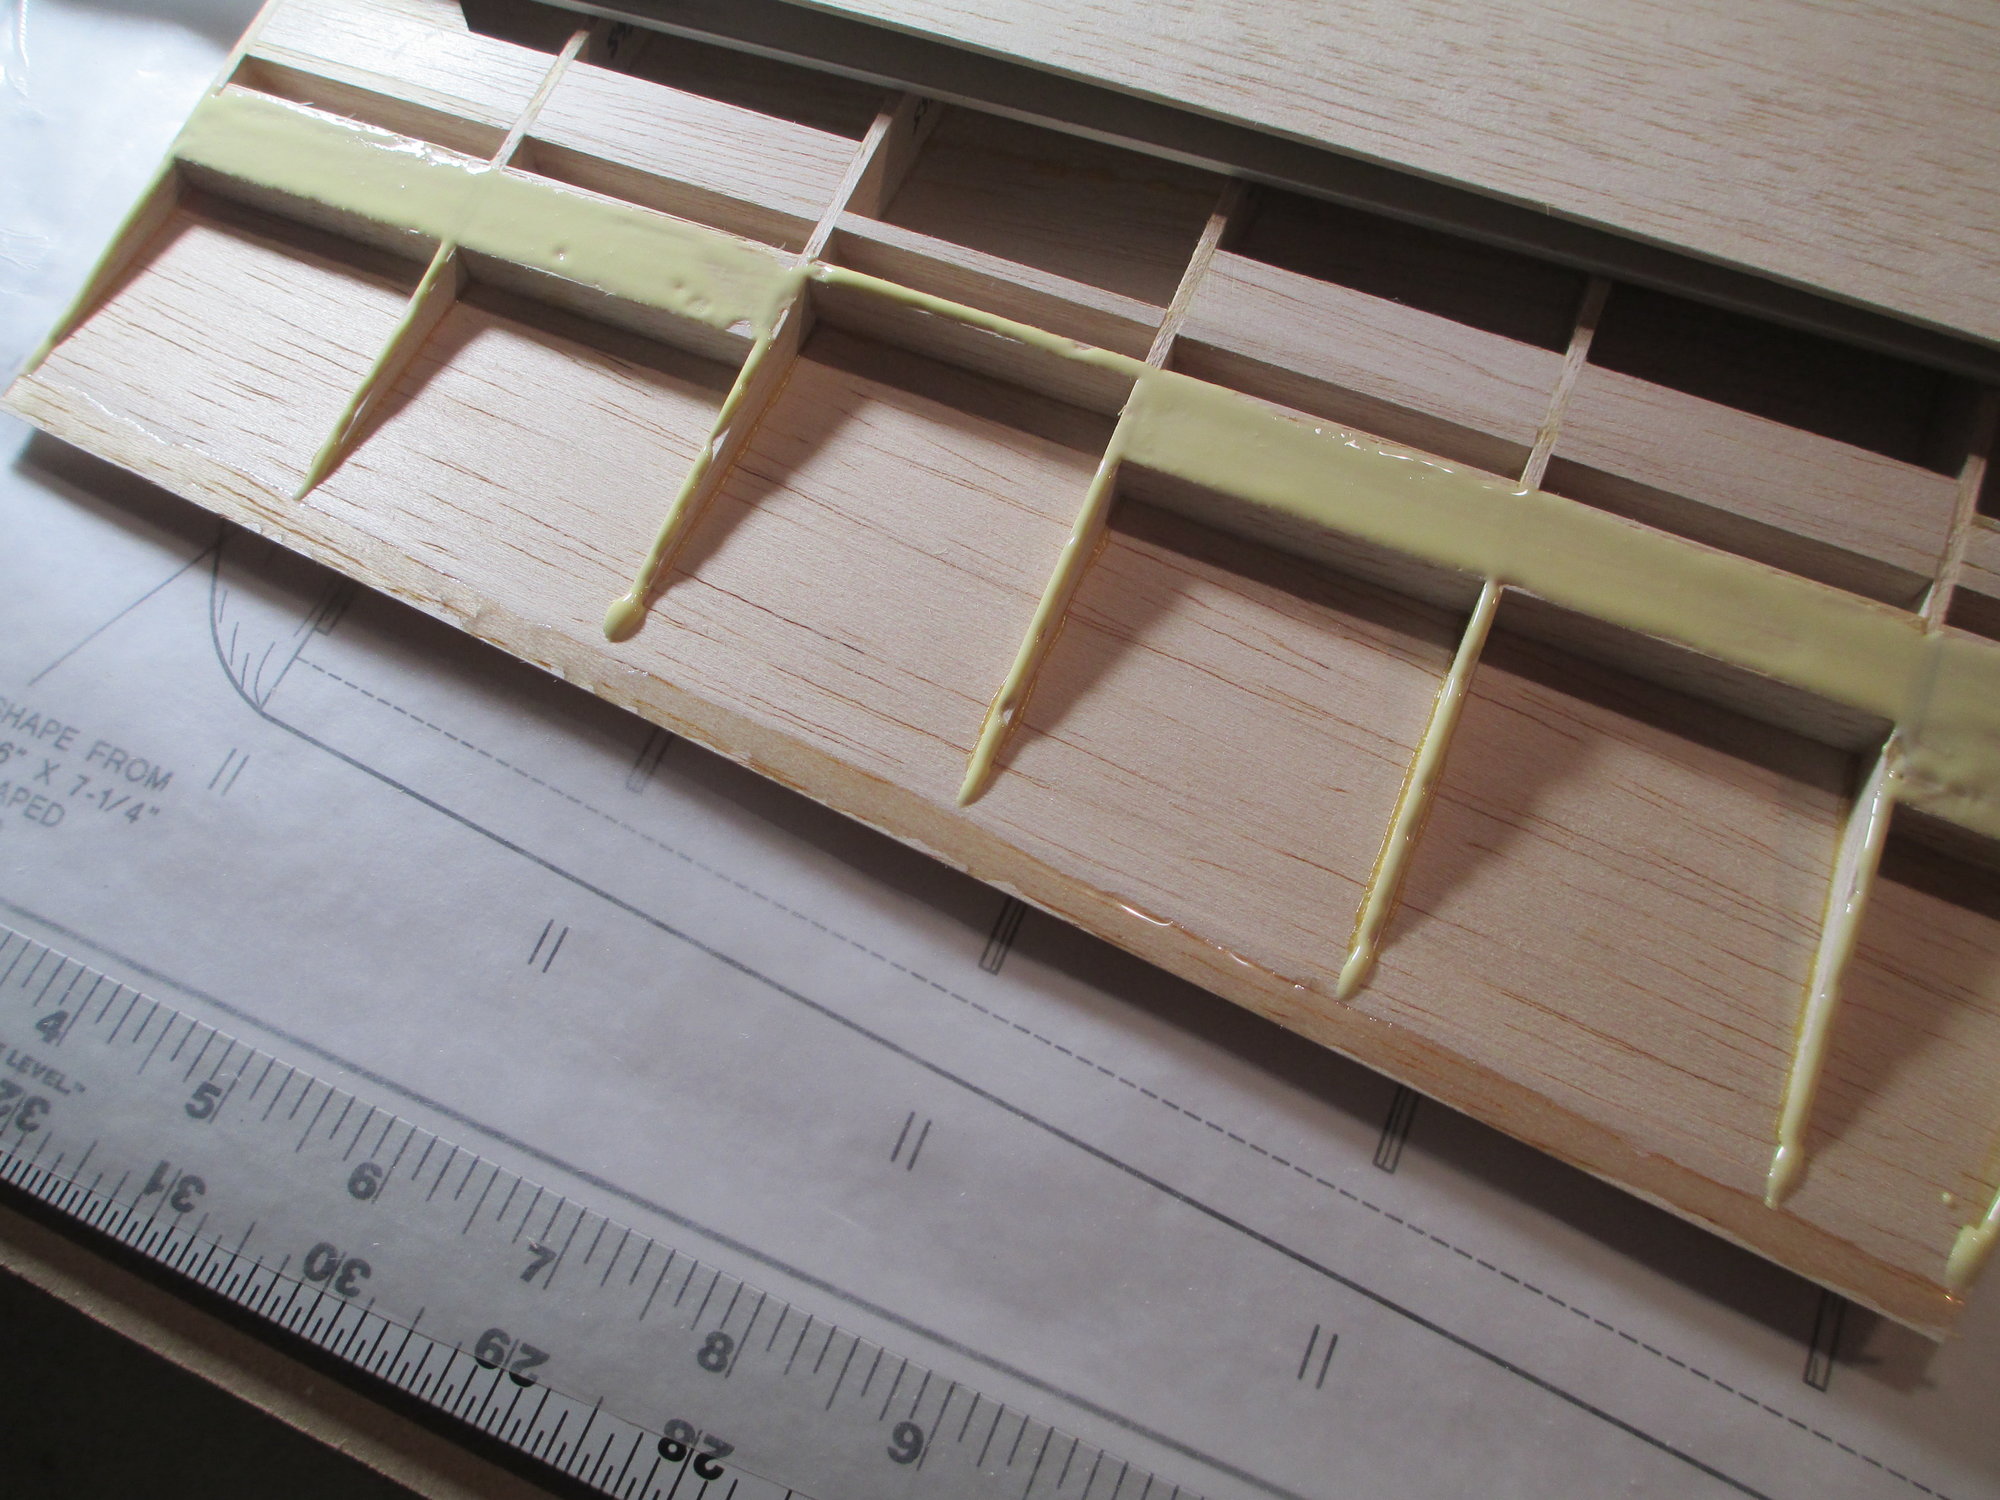
Beveling the top sheet can create a gluing problem if your not careful. A bead of water based glue (Titebond II) applied along the thin trailing edge, would more than likely warp the edge of the sheeting. To solve this problem, a thin layer of epoxy is applied along the edge preventing any warpage. The epoxy will also stiffen the thin edge of the elevator. For the rest of the glue-up, Titebond II was used.
Last edited by VincentJ; 06-29-2019 at 10:26 AM.
06-29-2019, 05:40 AM
#36
This set is a two piece affair to fit the Walt Musciano Ryan Navion. I believe they make others but I'm not sure which ones. I purchased their cowl and tail cone for my TF 182. I didn't get the wheel pants because the CA airplane I am modeling doesn't have them.
06-30-2019, 09:28 AM
#37
Thread Starter

Sheeting has been completed!
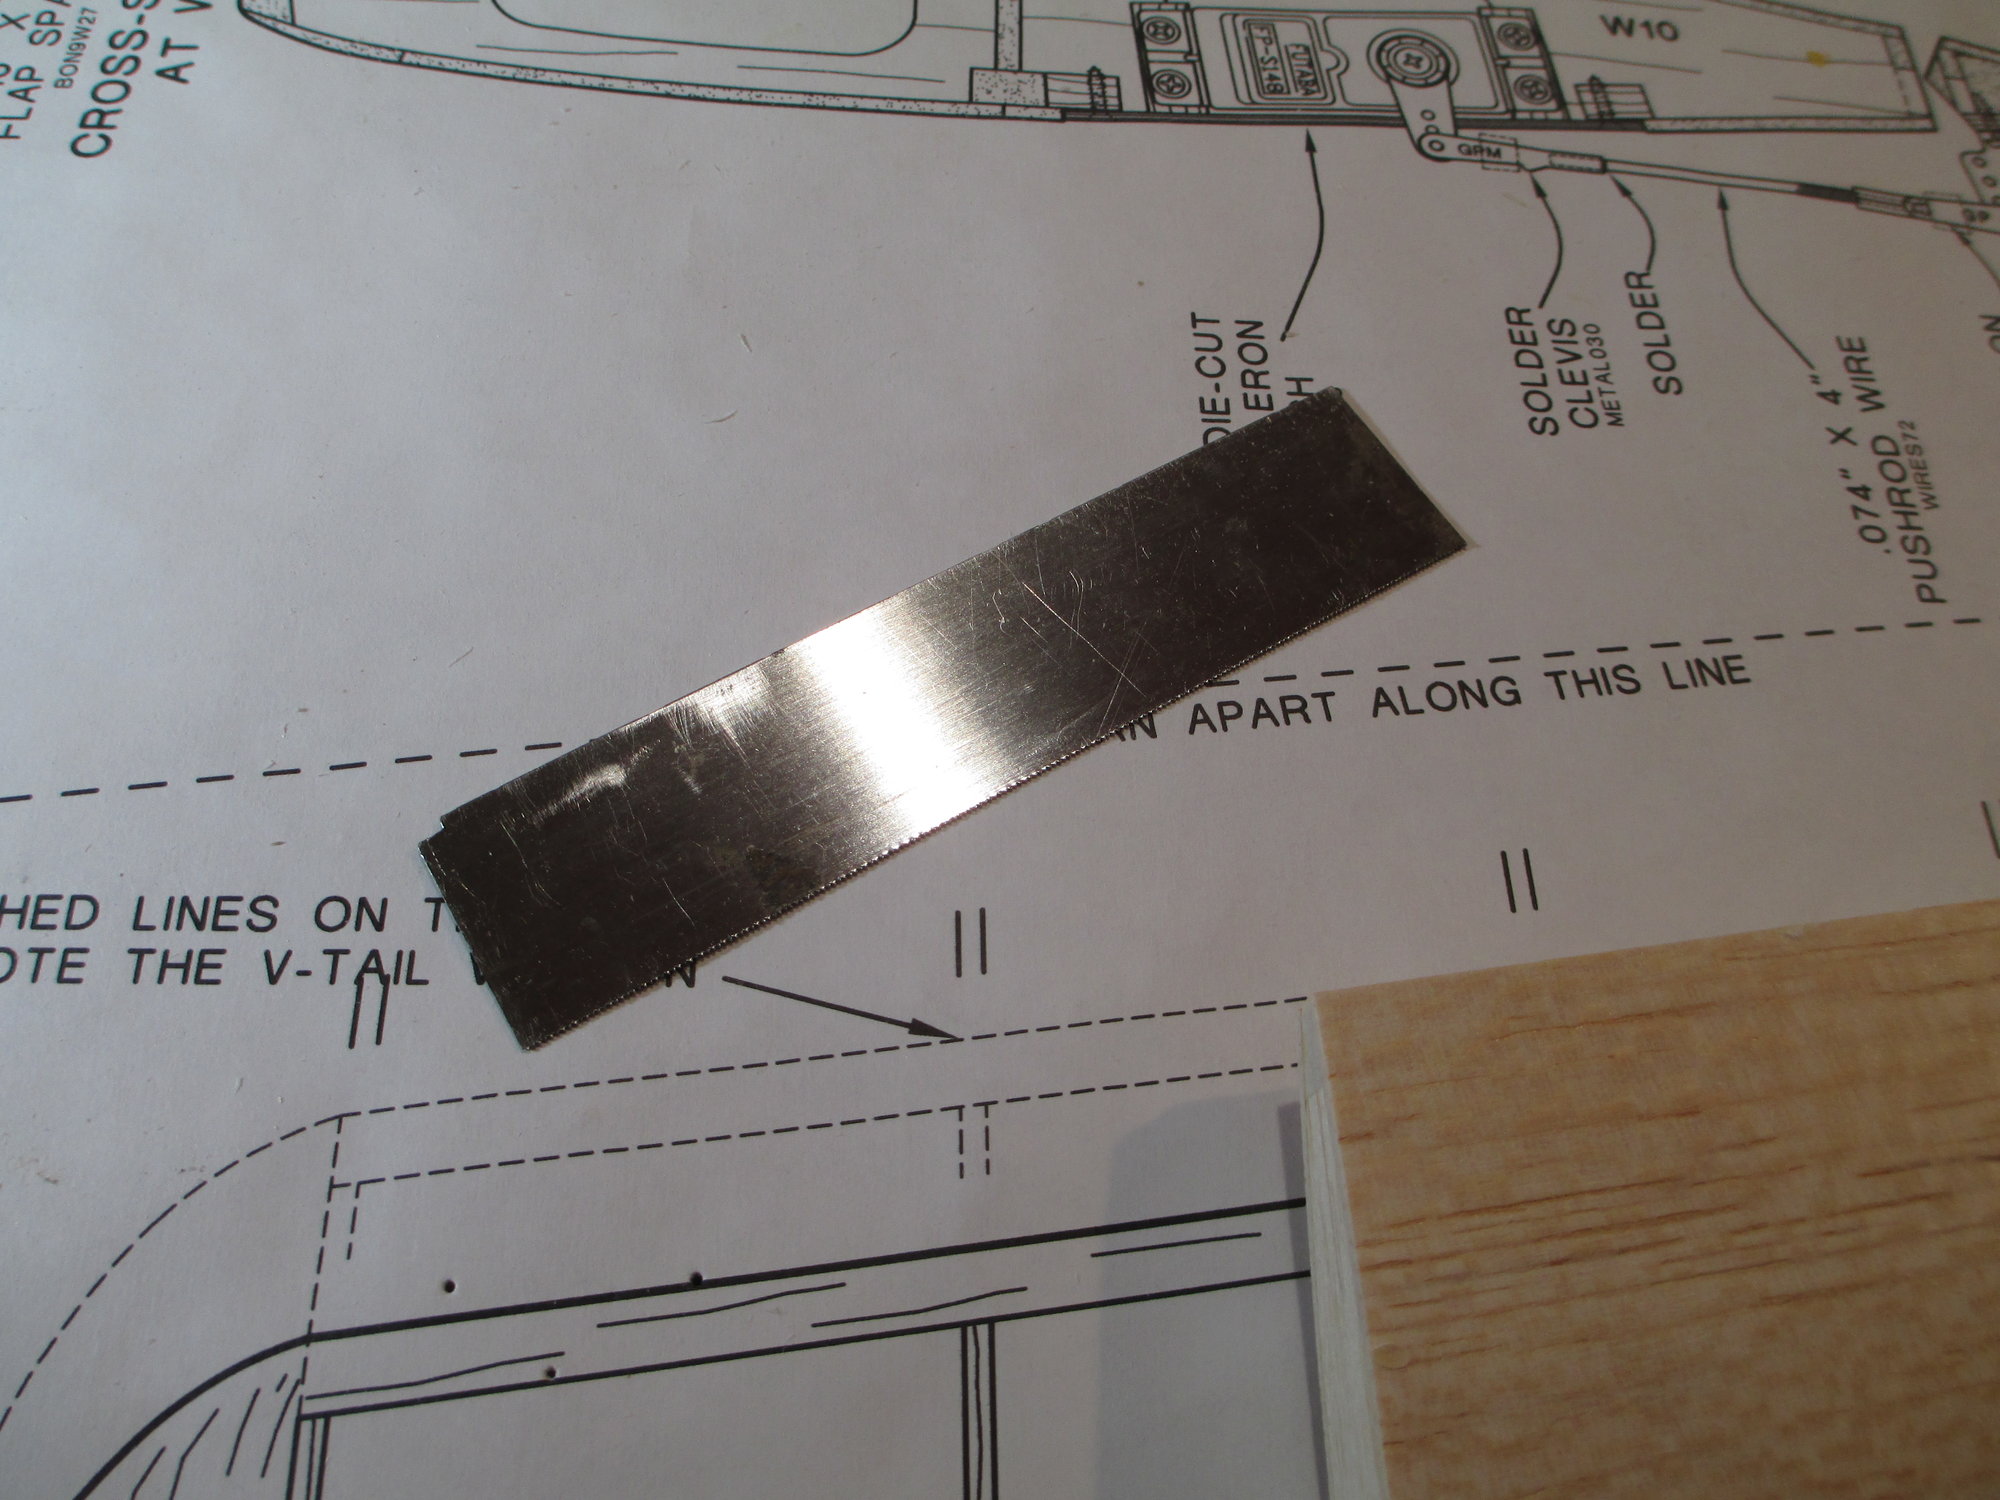
Now is the time to liberate the elevators from the stabilizer. My preferred tool to use is an old blade from one of my Zona saws.
No turning back now!
Success!
The elevator's trailing edges came out perfectly straight, and the epoxy has stiffened them up considerably.
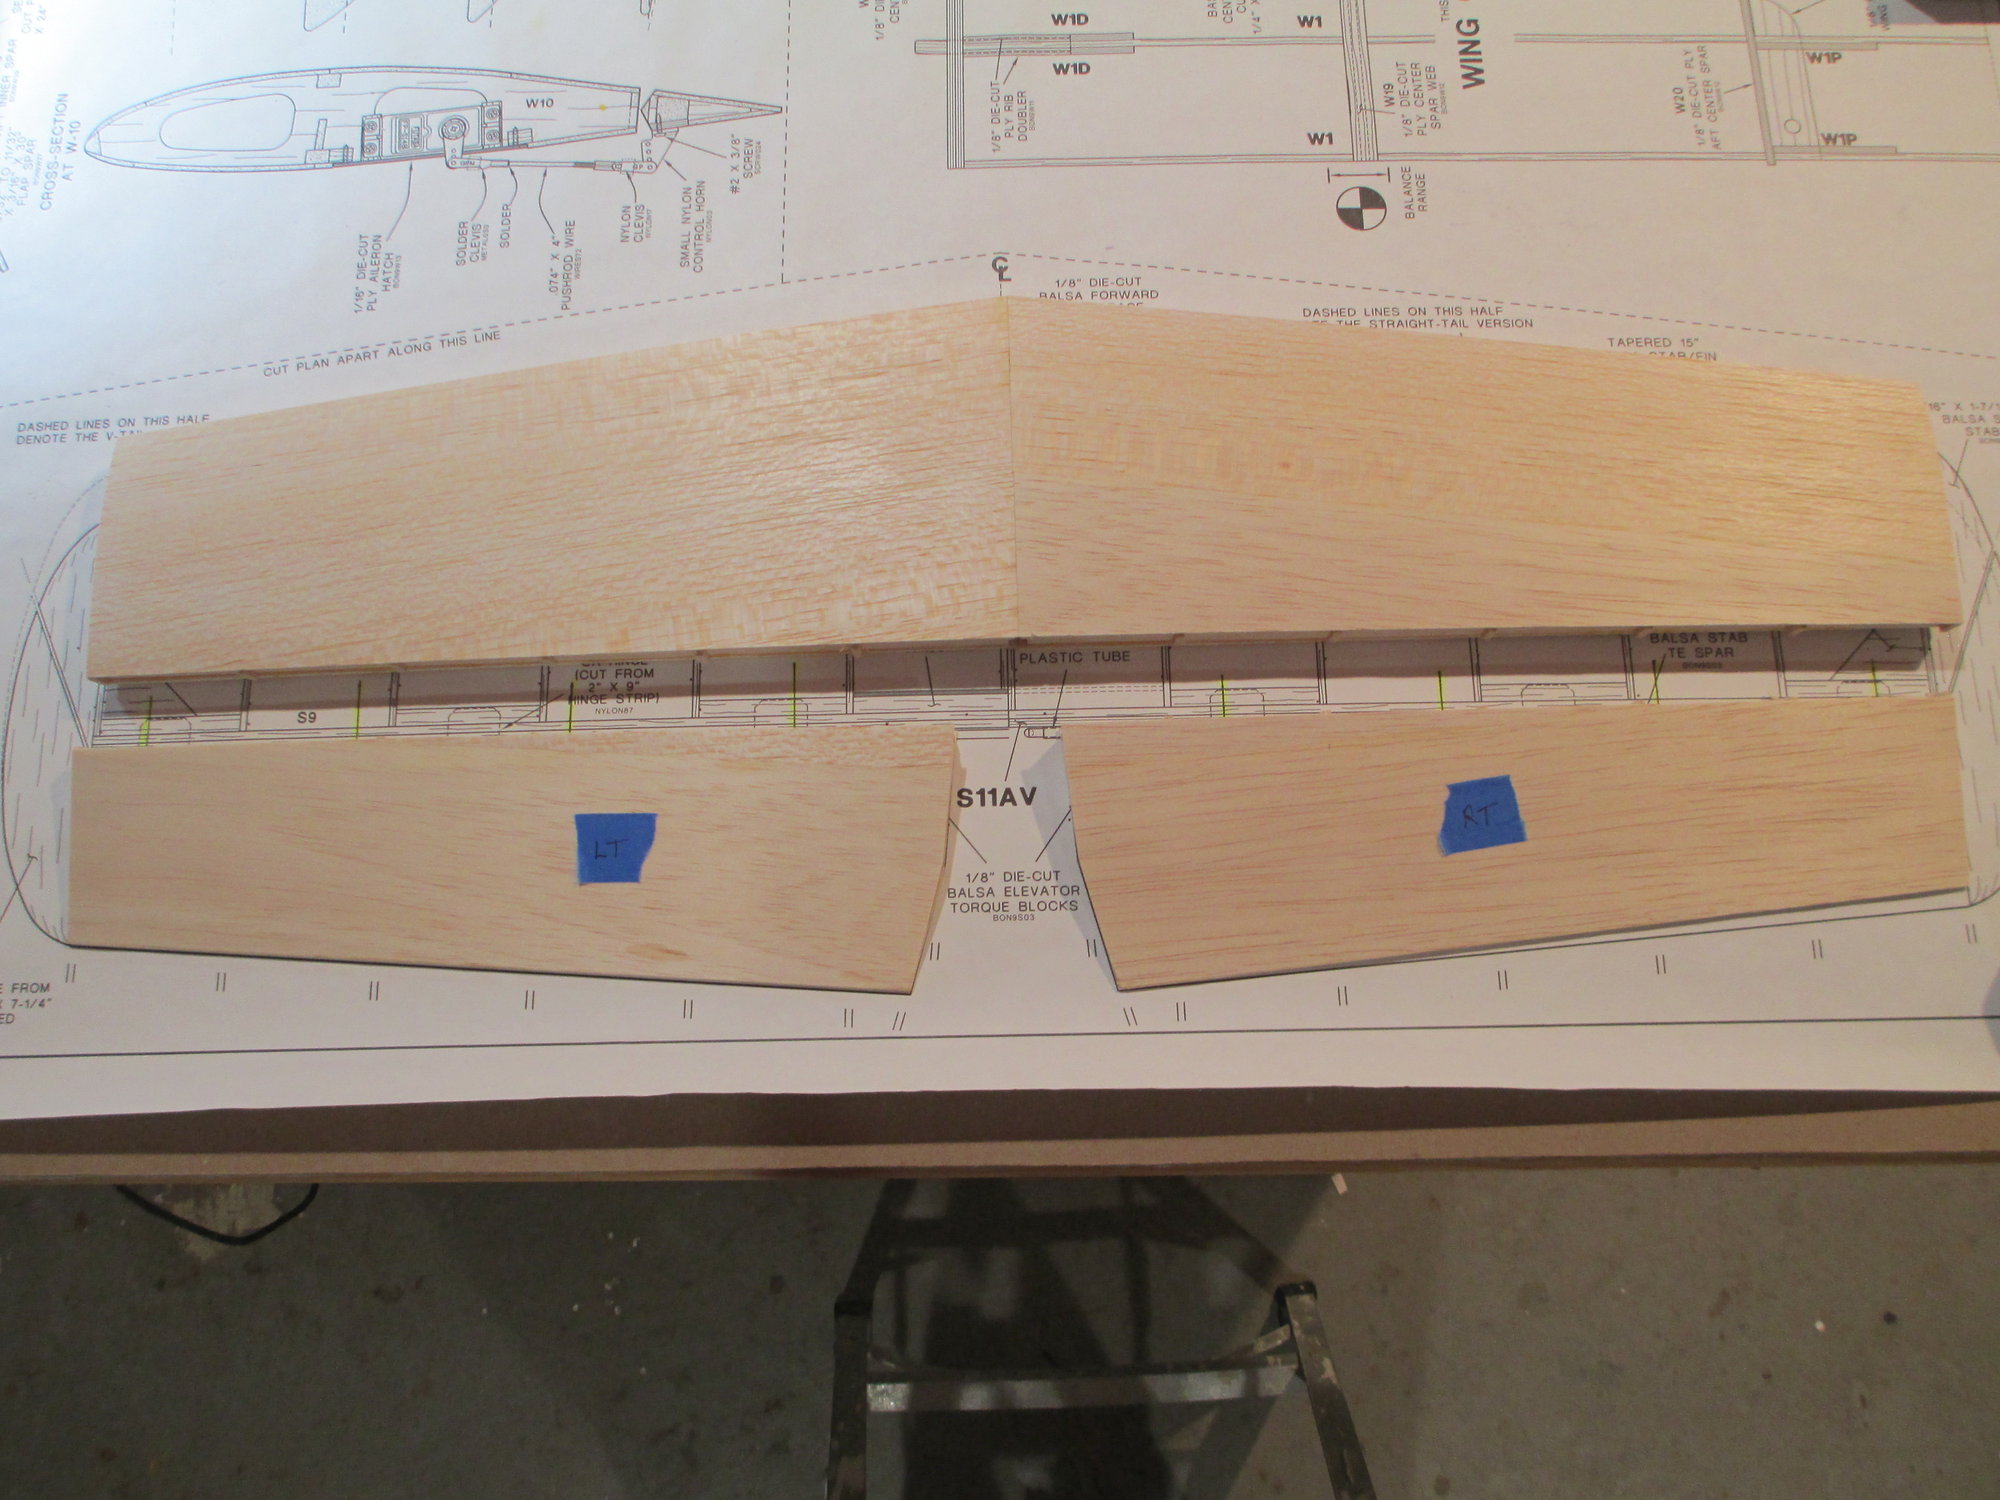
Before I forgot, I labeled the positions of the elevators in relation to the stab for future reference..
Last edited by VincentJ; 07-01-2019 at 01:35 AM.
 07-01-2019, 01:40 AM
#39
Thread Starter
Welcome GRANT ED. Yes, these kits are quite hard to find, but don't give up looking. Bob and I looked for quite some time before we were tipped off by a friend that there were two for sale on E-Bay. We immediately purchased one. They are pricey, but look at all the fun and enjoyment that you will get out of building it!
07-01-2019, 09:57 AM
#40
Thread Starter
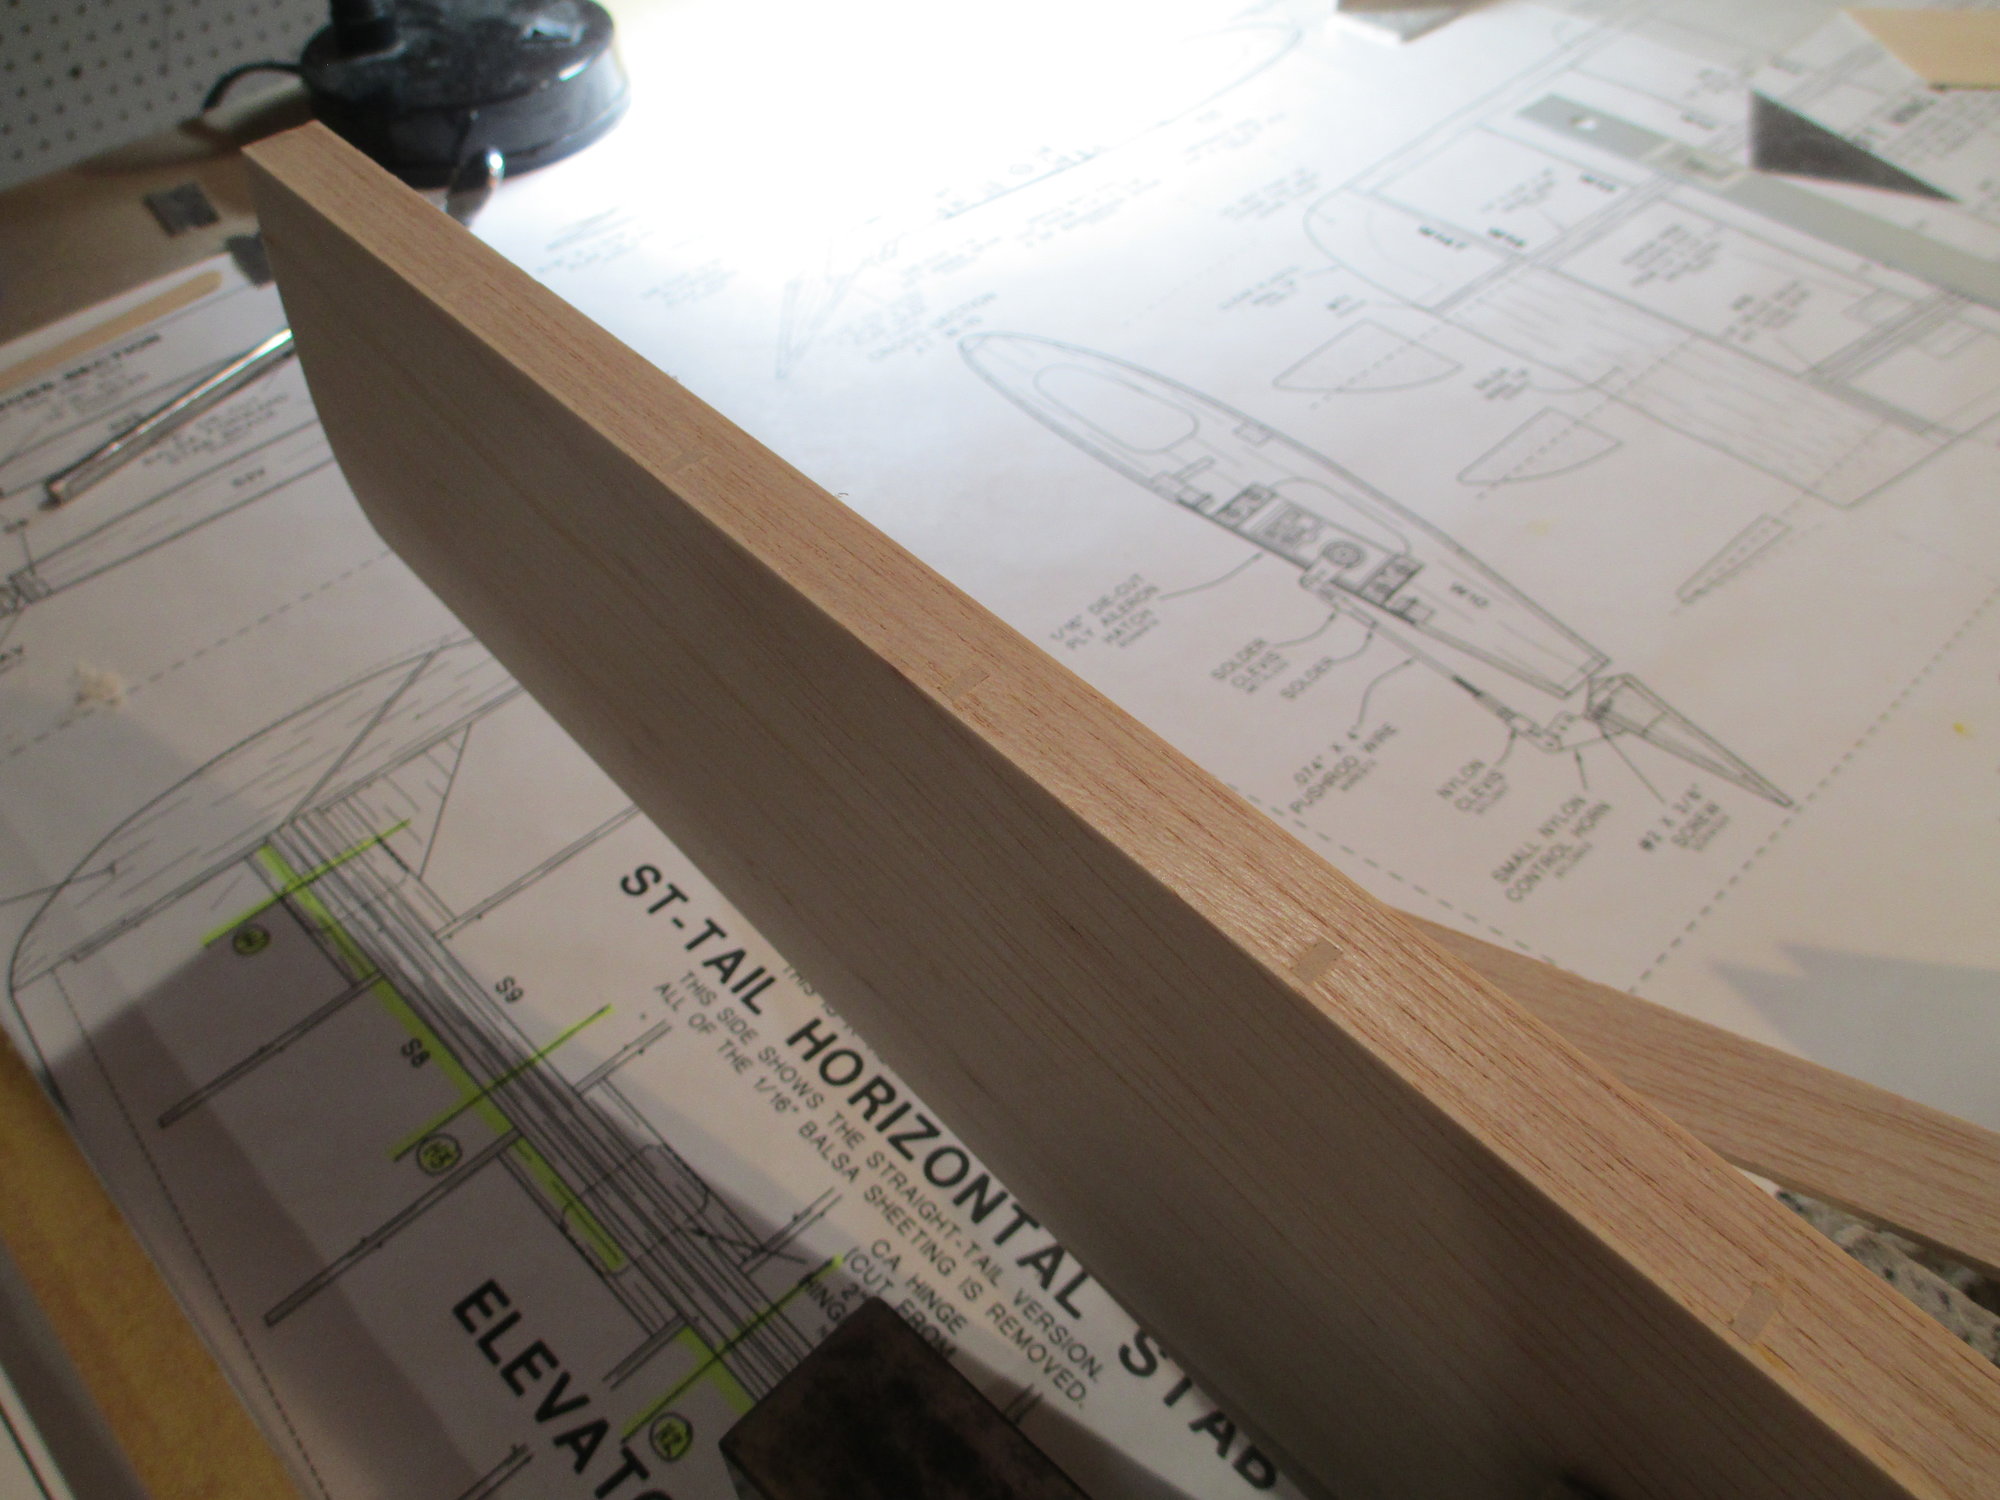
Trailing edge of the stab is sanded flush and readied for a final 1/8" thick cap strip.
Cap strip is glued and sanded .
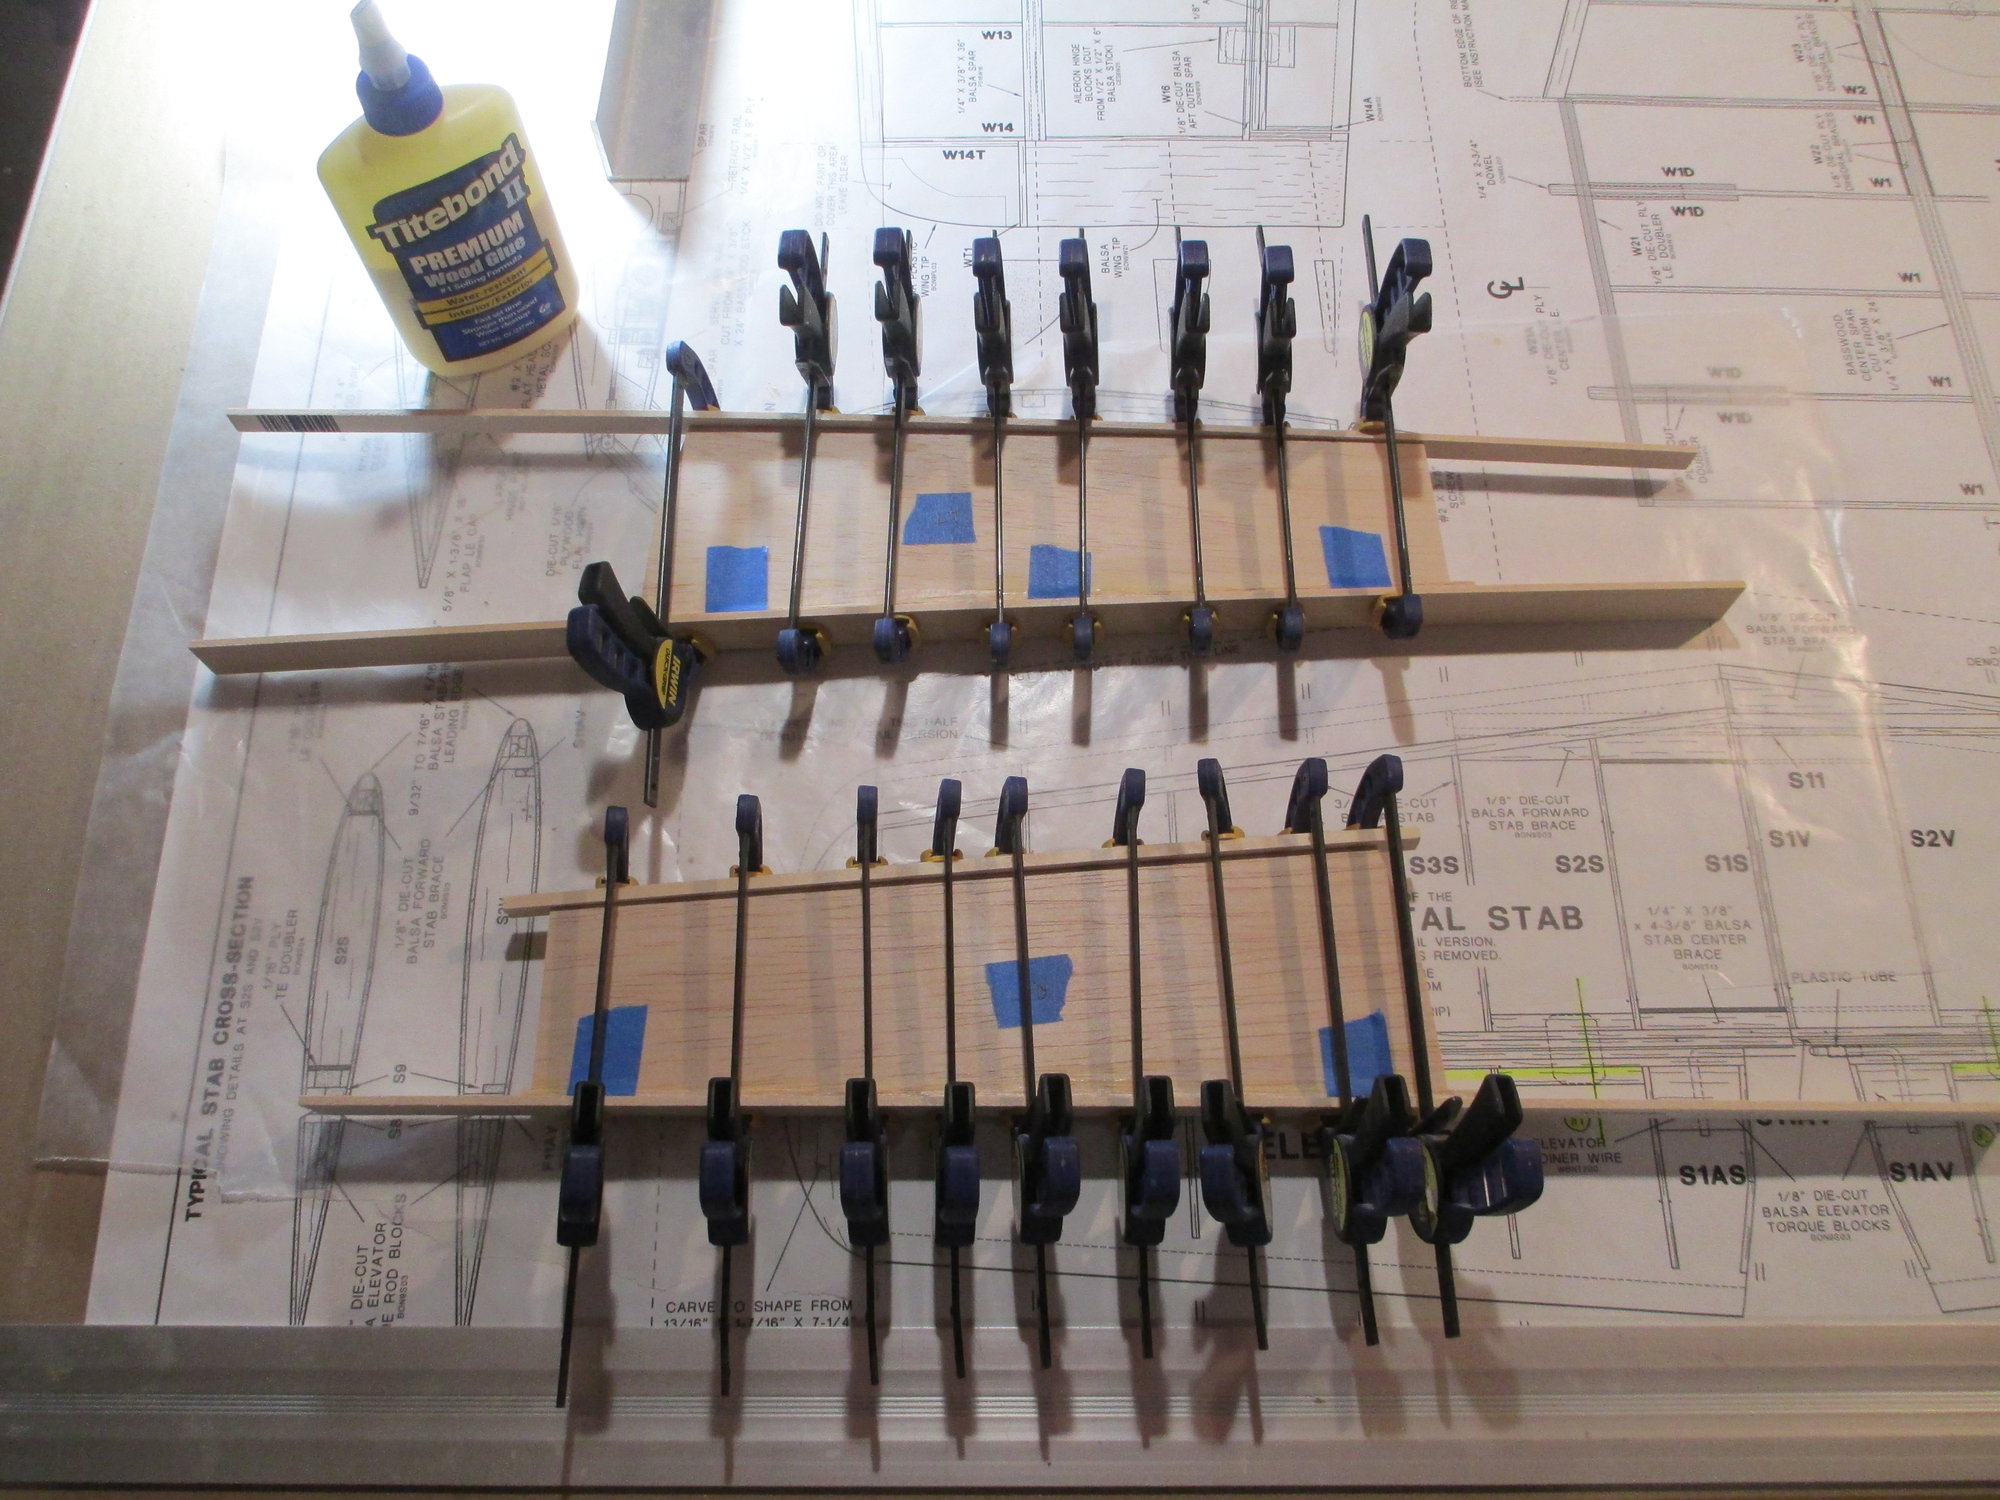
The elevators halves went through the same procedure as did the stab. I thought I would show how I clamped the cap strips in place while the glue dries.
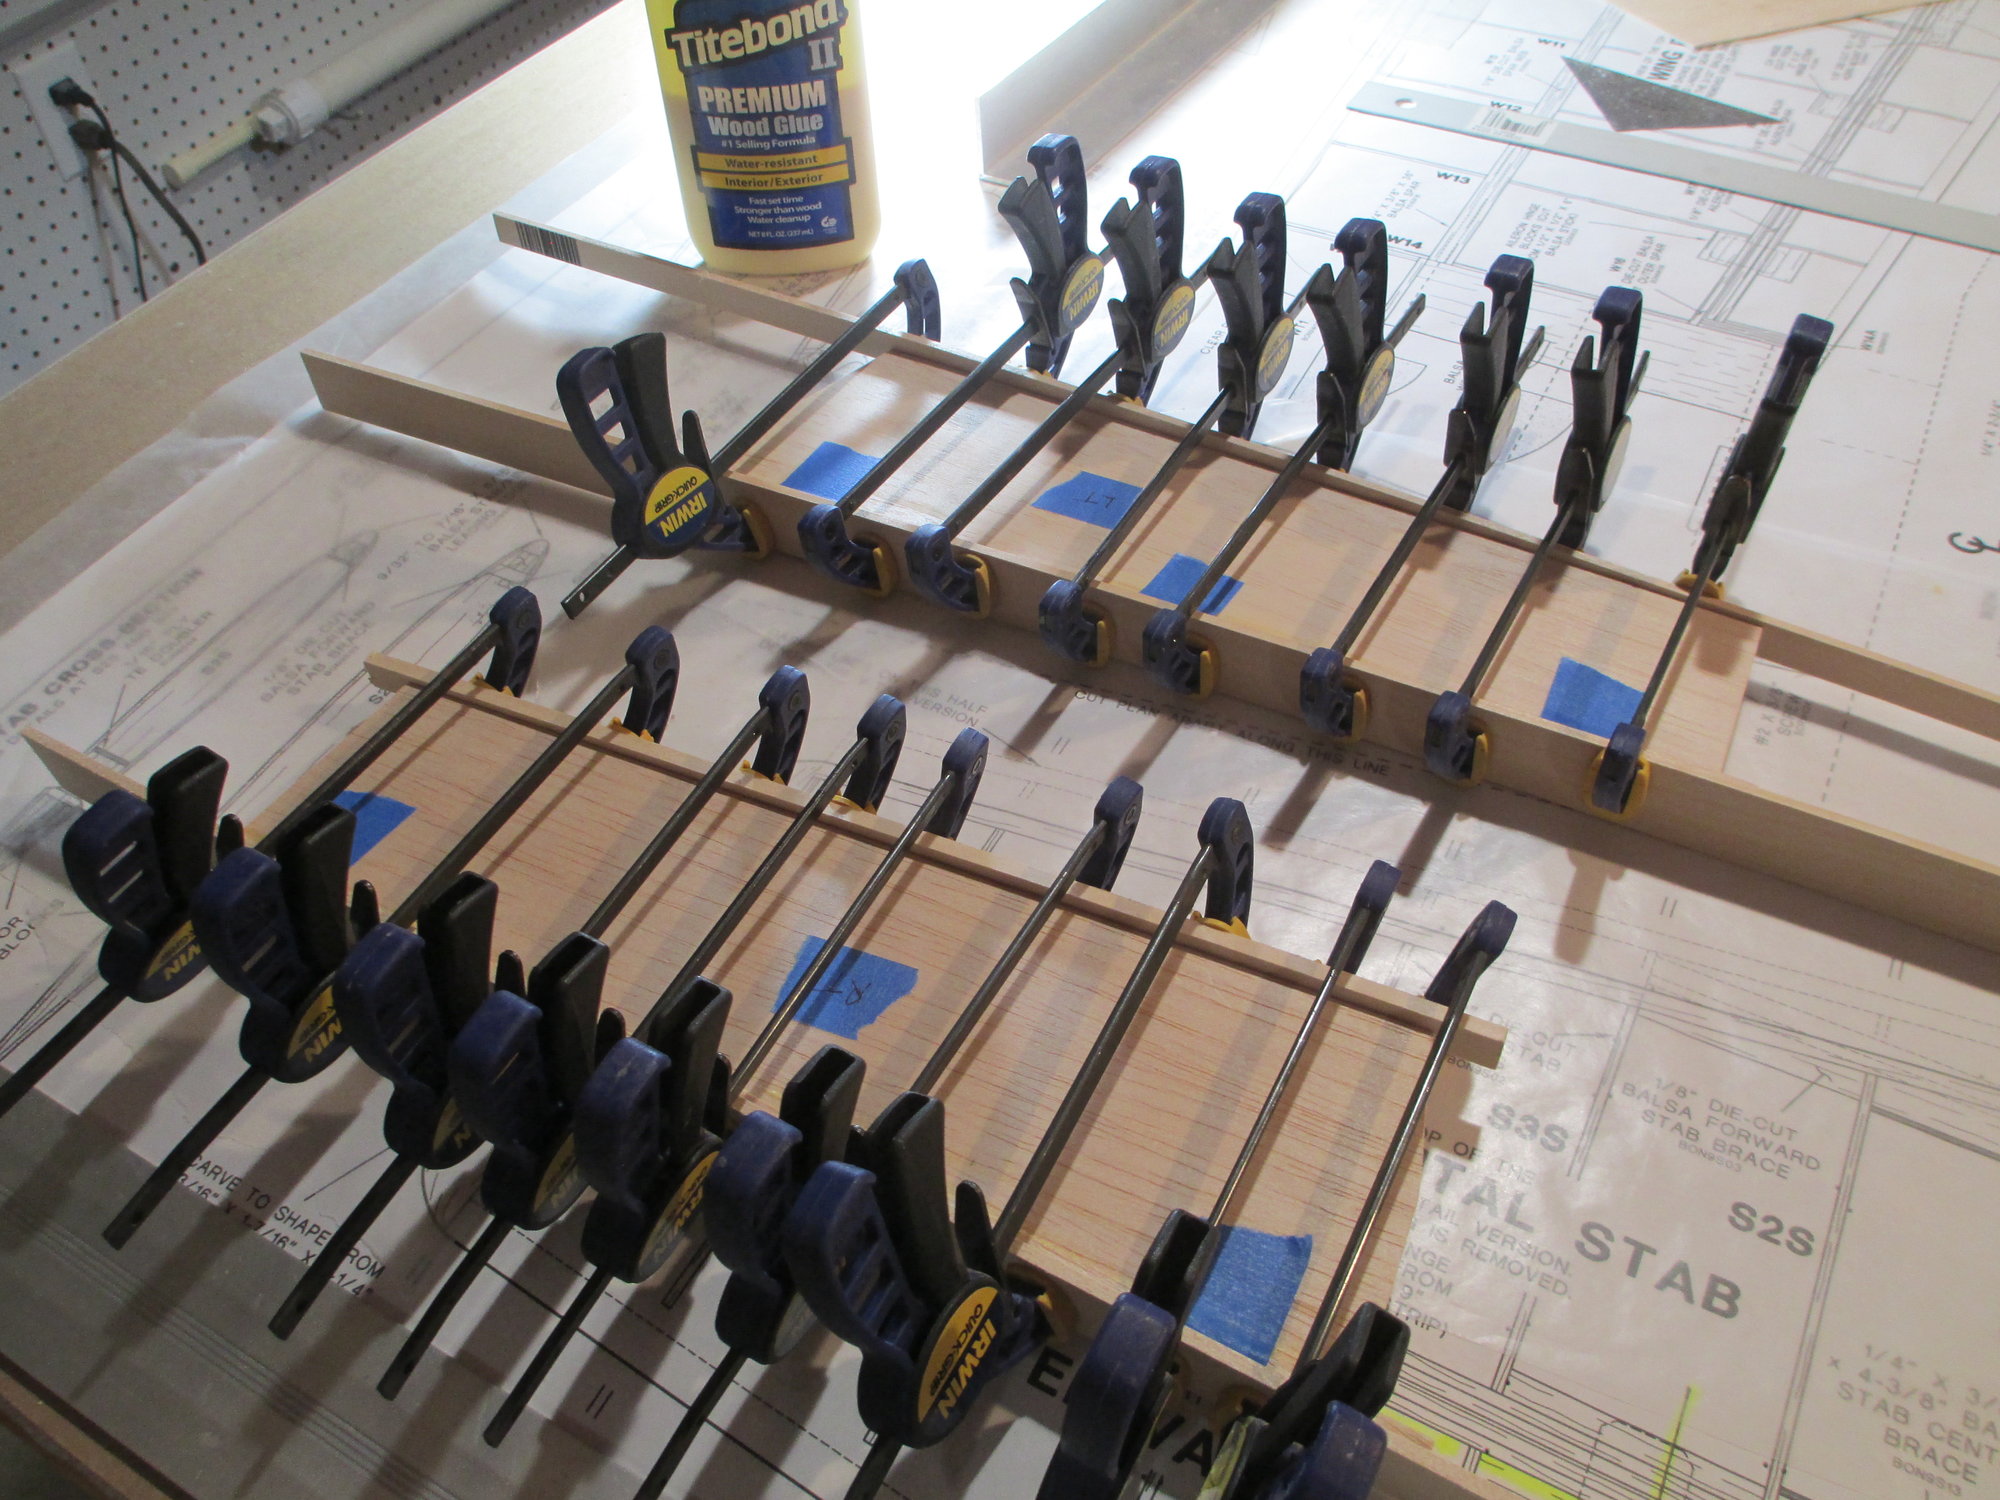
You can never have too many clamps!
Last edited by VincentJ; 07-01-2019 at 10:26 AM.
07-01-2019, 12:14 PM
#41
Member

I never tried those single handed clamp types until recently. I always owned the handle screw types. I tell you, I won't be going back to the two-handed handle screw types!
07-02-2019, 12:22 AM
#43
Thread Starter
Mike and Steve, These style clamps are invaluable to this type of building. They come in a variety of sizes as well as the bars coming in different lengths. By flipping the heads around they can clamp from the inside instead of the more normal outside clamping.
07-02-2019, 06:11 AM
#45
Member
I have a couple Irwin and a few other types like Dewalt and some really cheap ones from Harbor Freight. I didn't know the heads turned around! I used them to clamp the LE and TE when gluing and they helped a lot. But I did have to watch the tightness because the clamp faces didn't stay parallel if clamped too tightly and I;m not talking about much here. It helped when the heads were pushed a little more forward past then center of pressure. In the end they were much easier to use. I bought a few when I got to building again which is my current build now.
07-02-2019, 06:49 AM
#46
I have a few metal bar clamps and strap clamps as well. They bar clamps come in handy for wider surfaces and the strap clamps for odd shapes. I think most people including myself have a tendency to over tighten clamps.
I have a new building supervisor now. My wife finally got me to cave in and get a companion for our senior supervisor. Her name is Sandy.


I have a new building supervisor now. My wife finally got me to cave in and get a companion for our senior supervisor. Her name is Sandy.
Last edited by FlyerInOKC; 07-02-2019 at 06:52 AM.
07-02-2019, 09:07 AM
#48
Thread Starter
Much work and photographs have been taken, but I've been too busy to post it all! I want to hinge the elevator halves to the stab, but because of the unique tips and critical clearance involved, I have decided to attach the tips on the stabilizer first then proceed to the hinging. This will allow me to better and more accurately determine the clearance of the elevator tips. More to come...
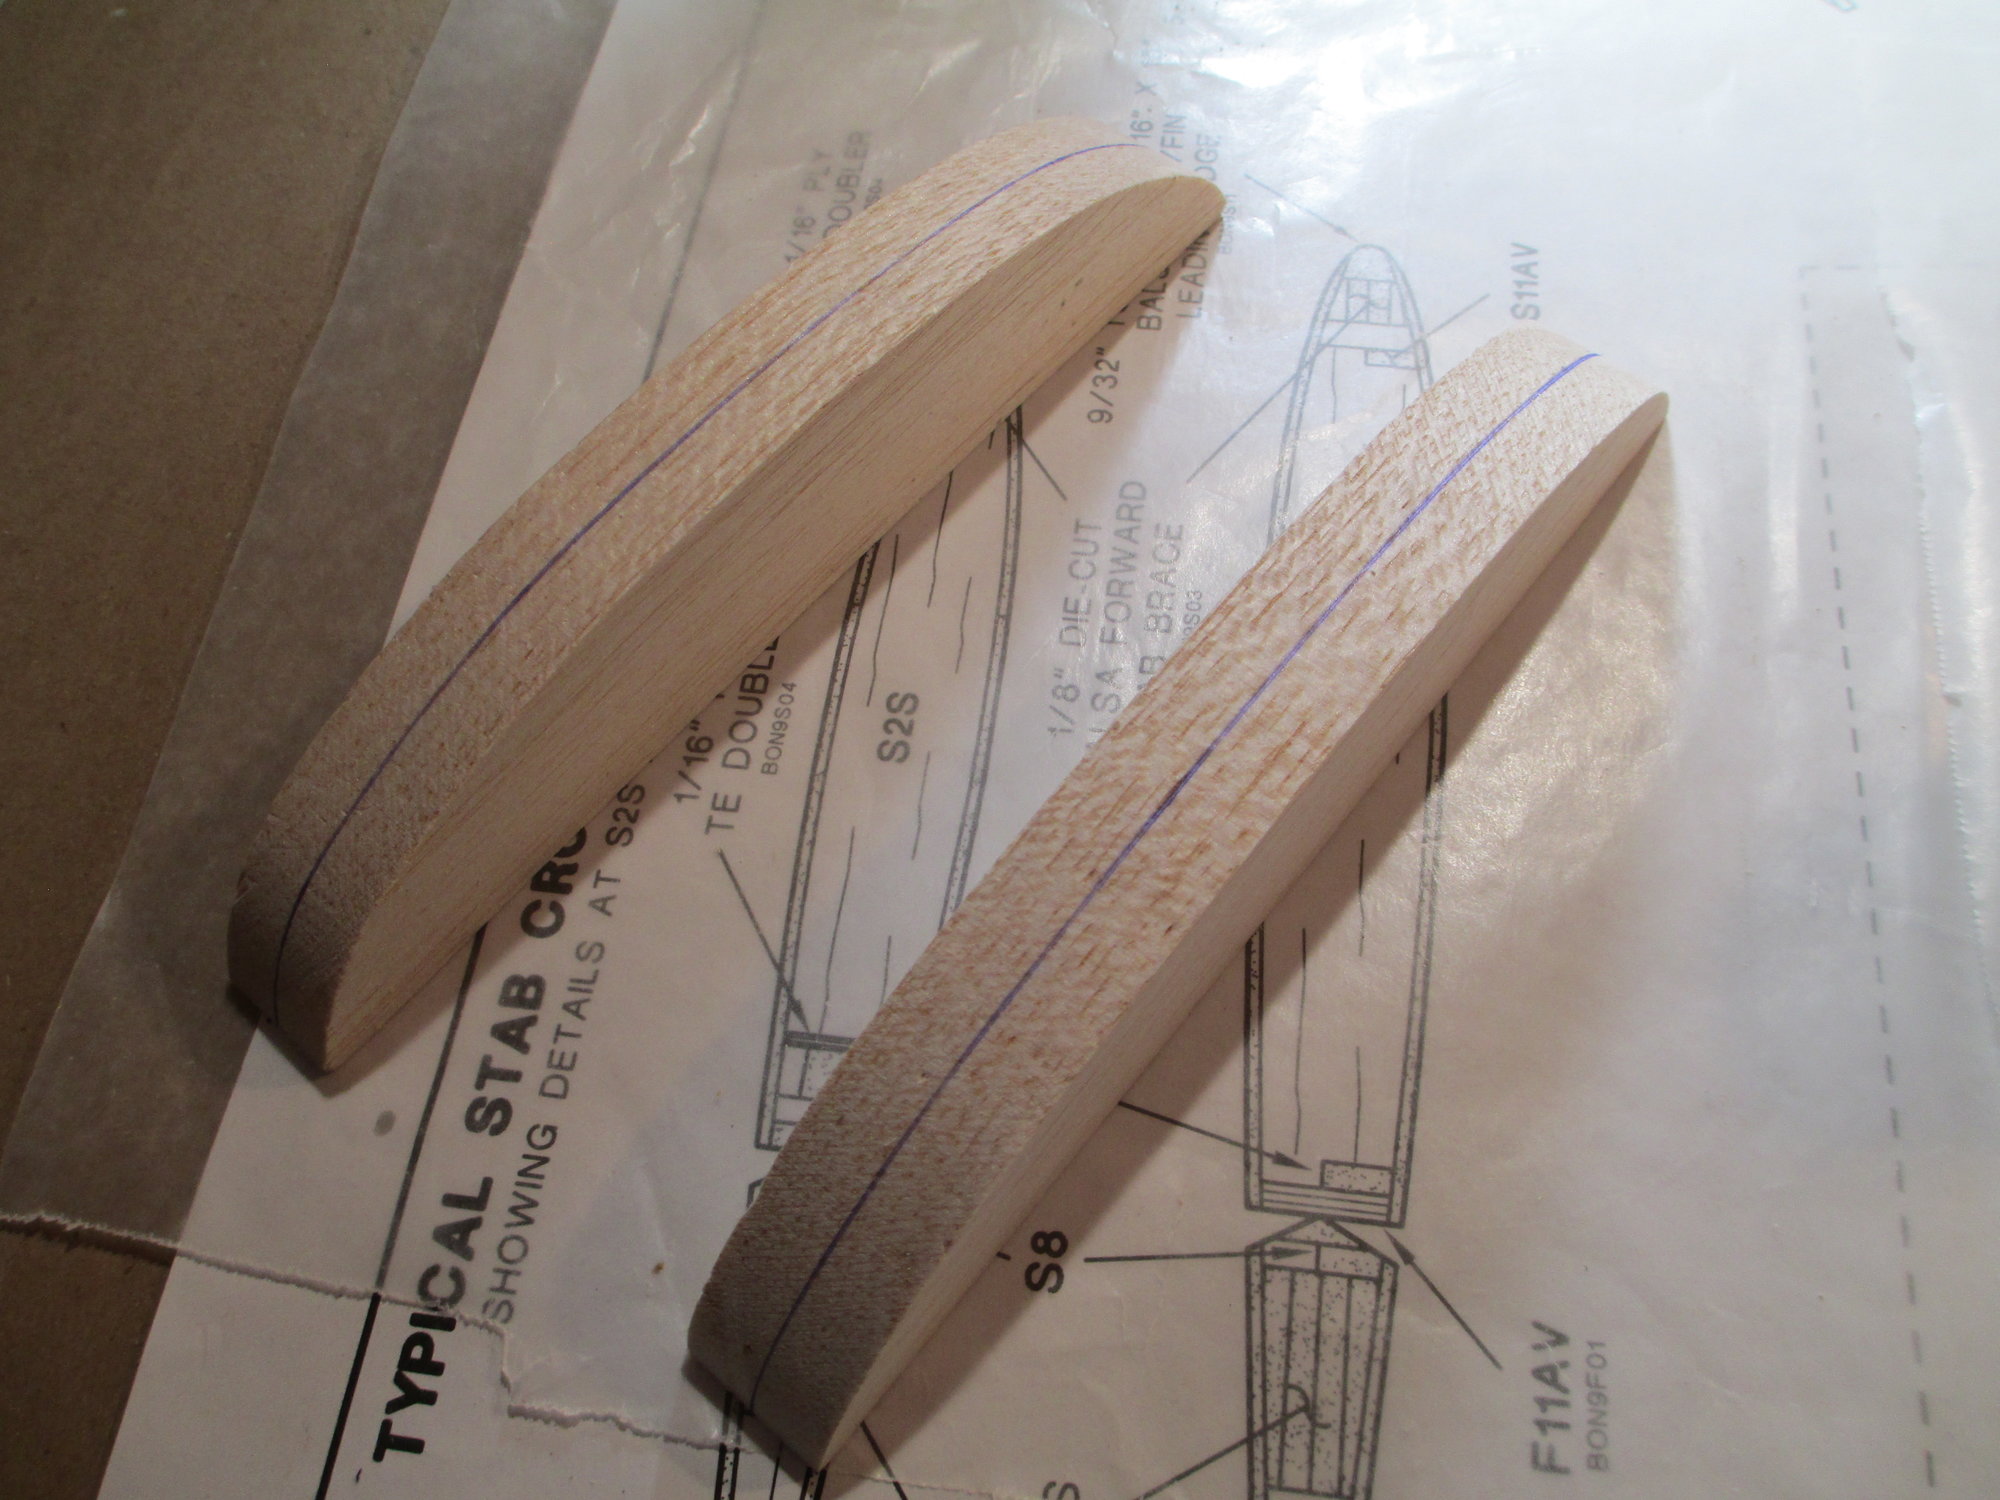
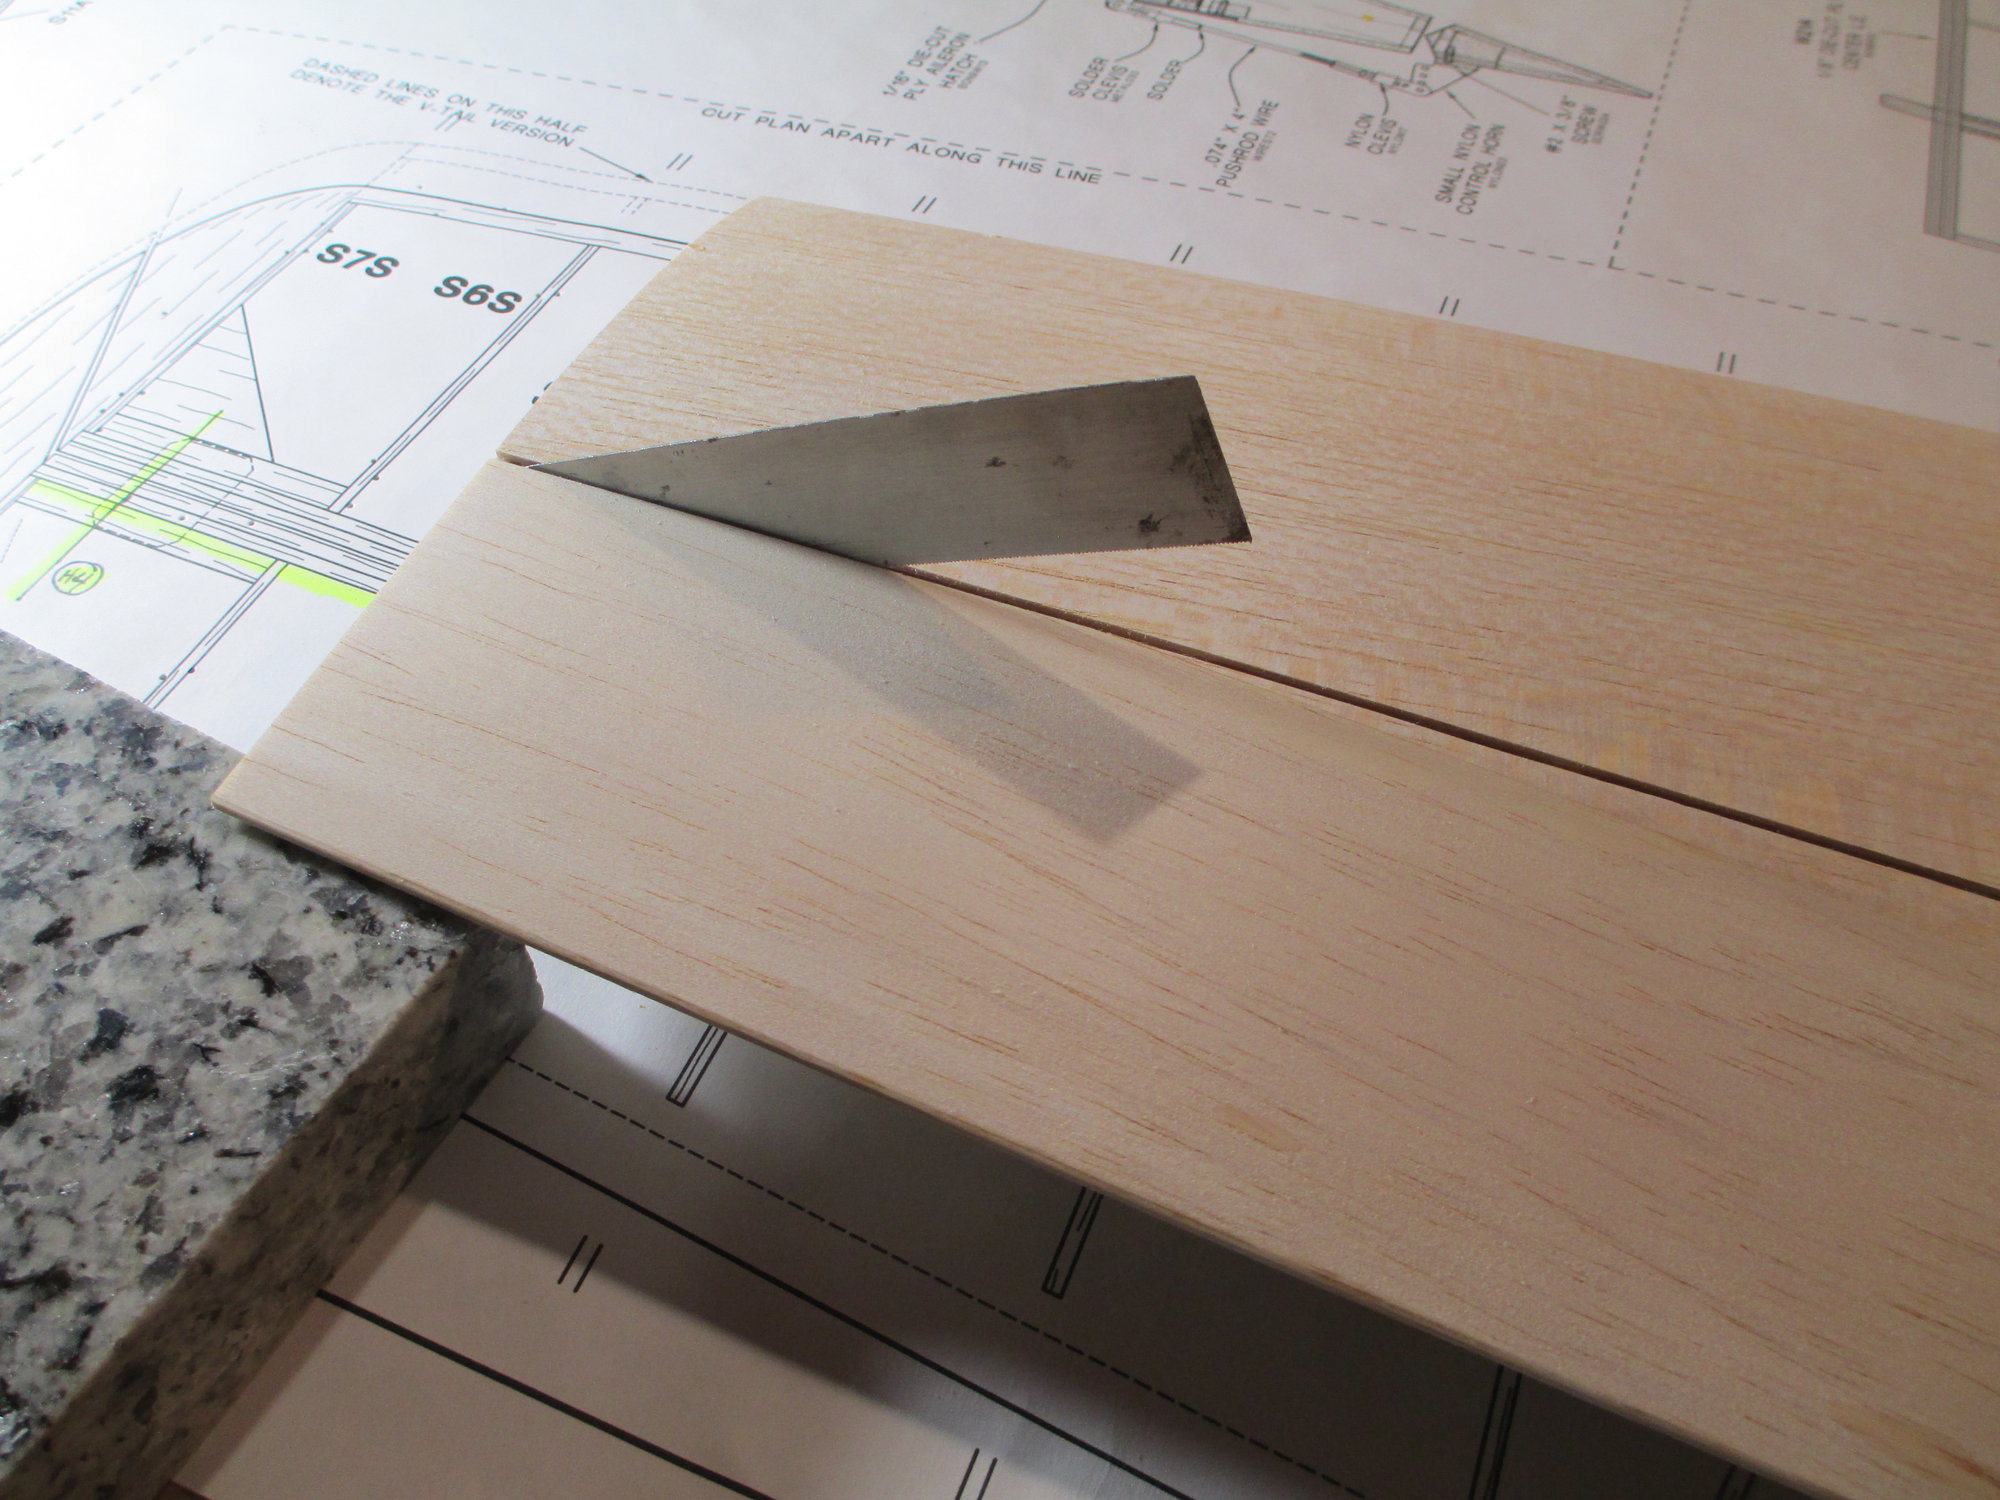
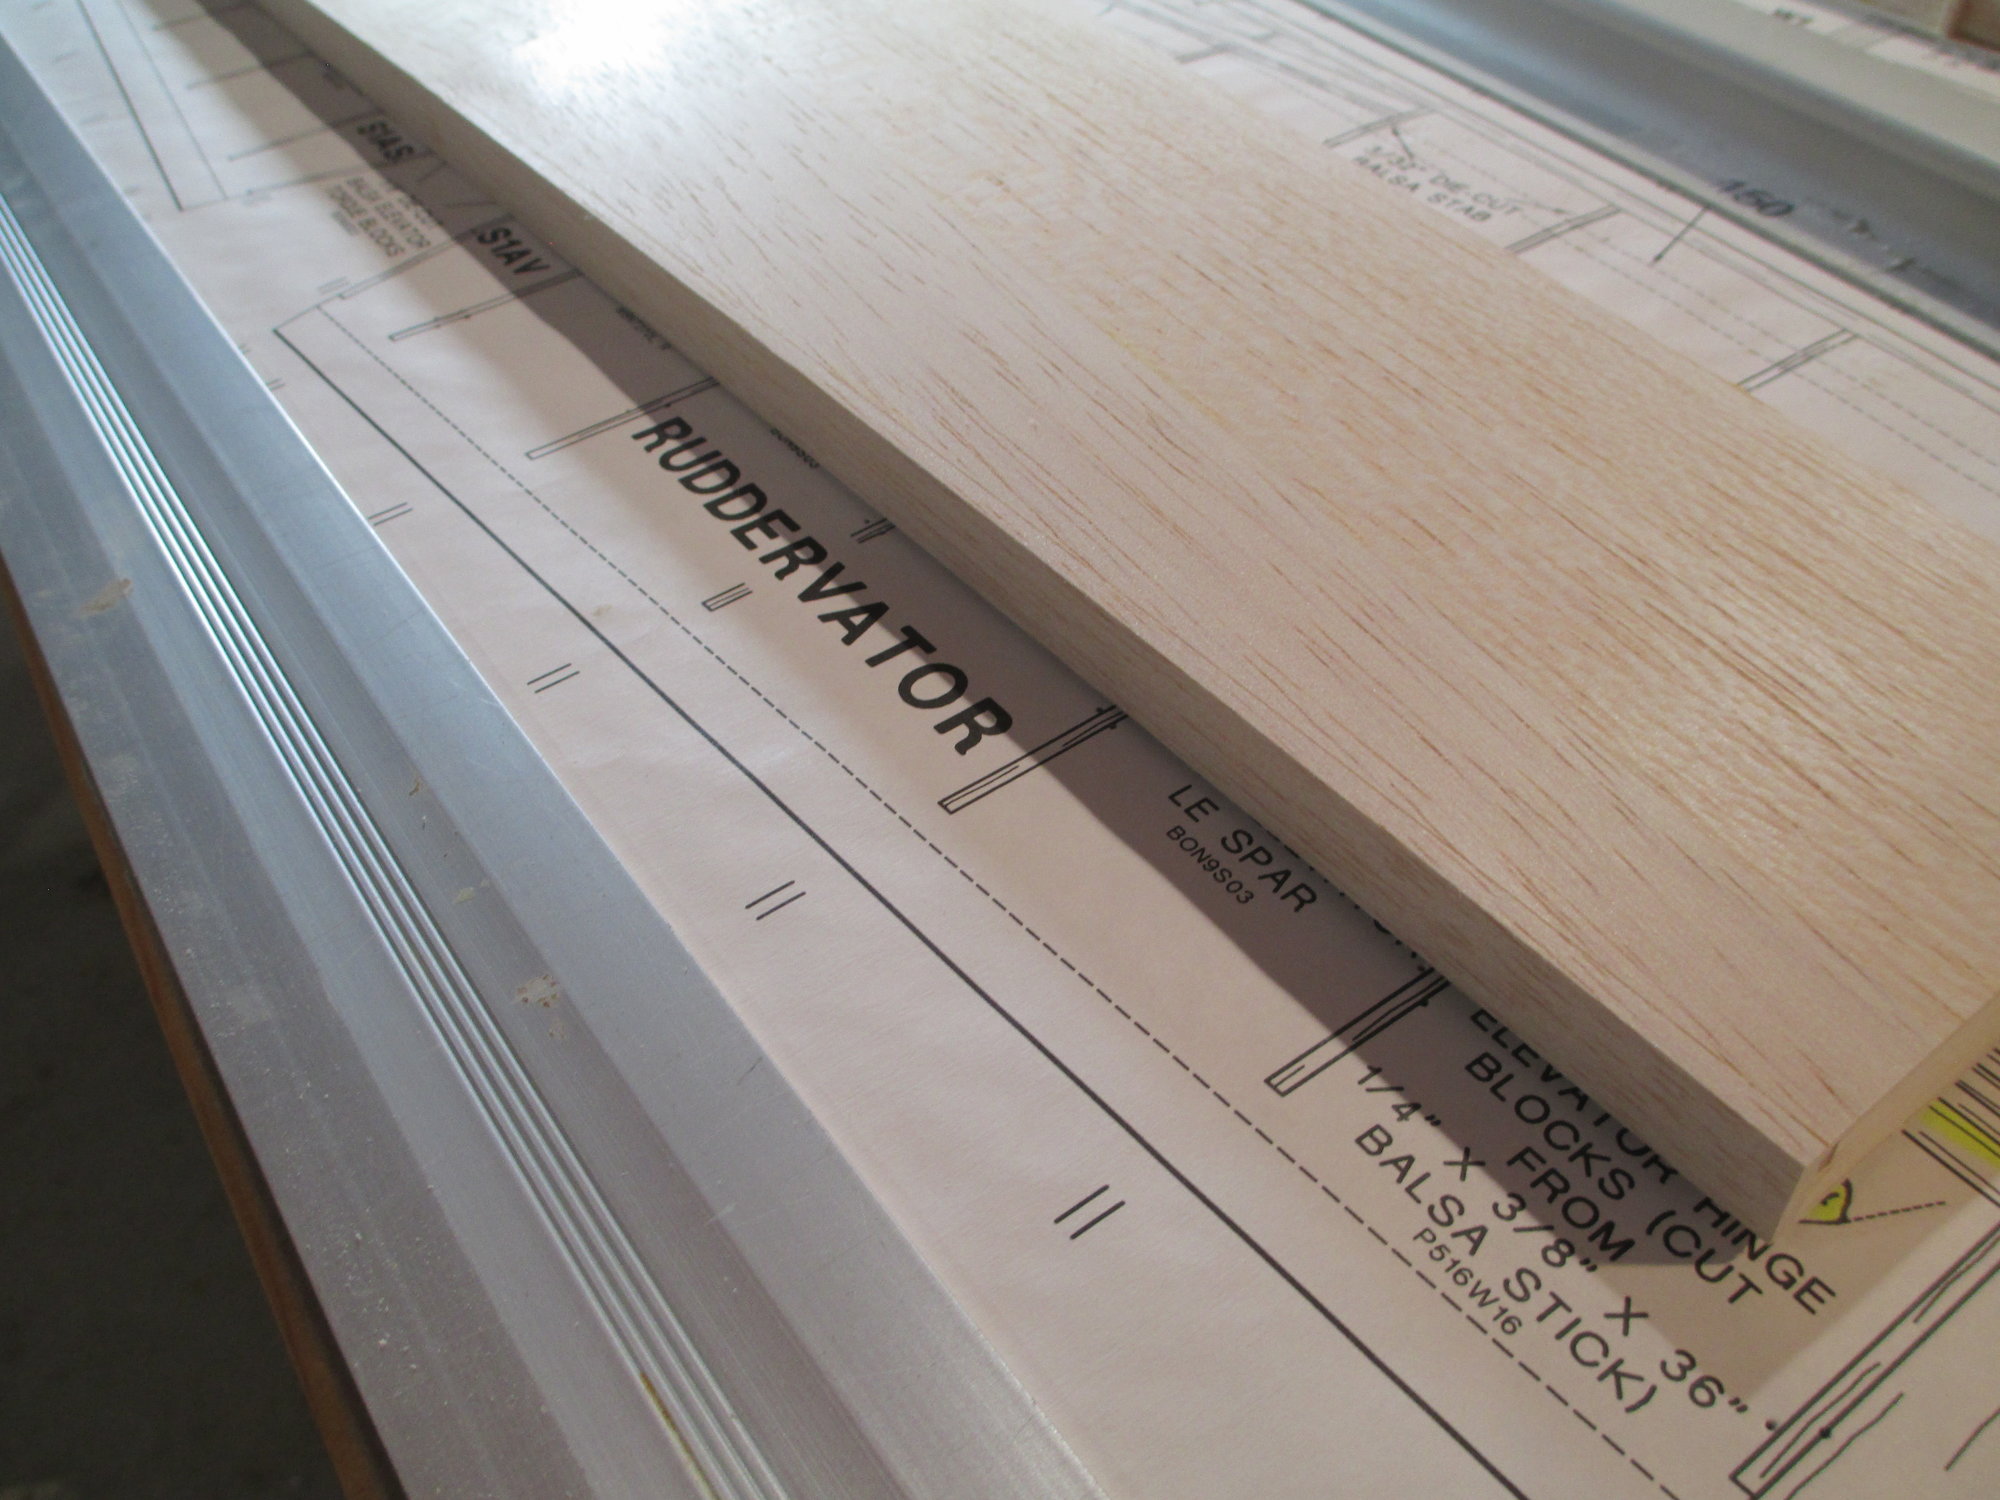
These are the tips for both the stabilizer and elevators. Solid 3/4" balsa. I've drawn a line that goes around the perimeter of each tip denoting the center.
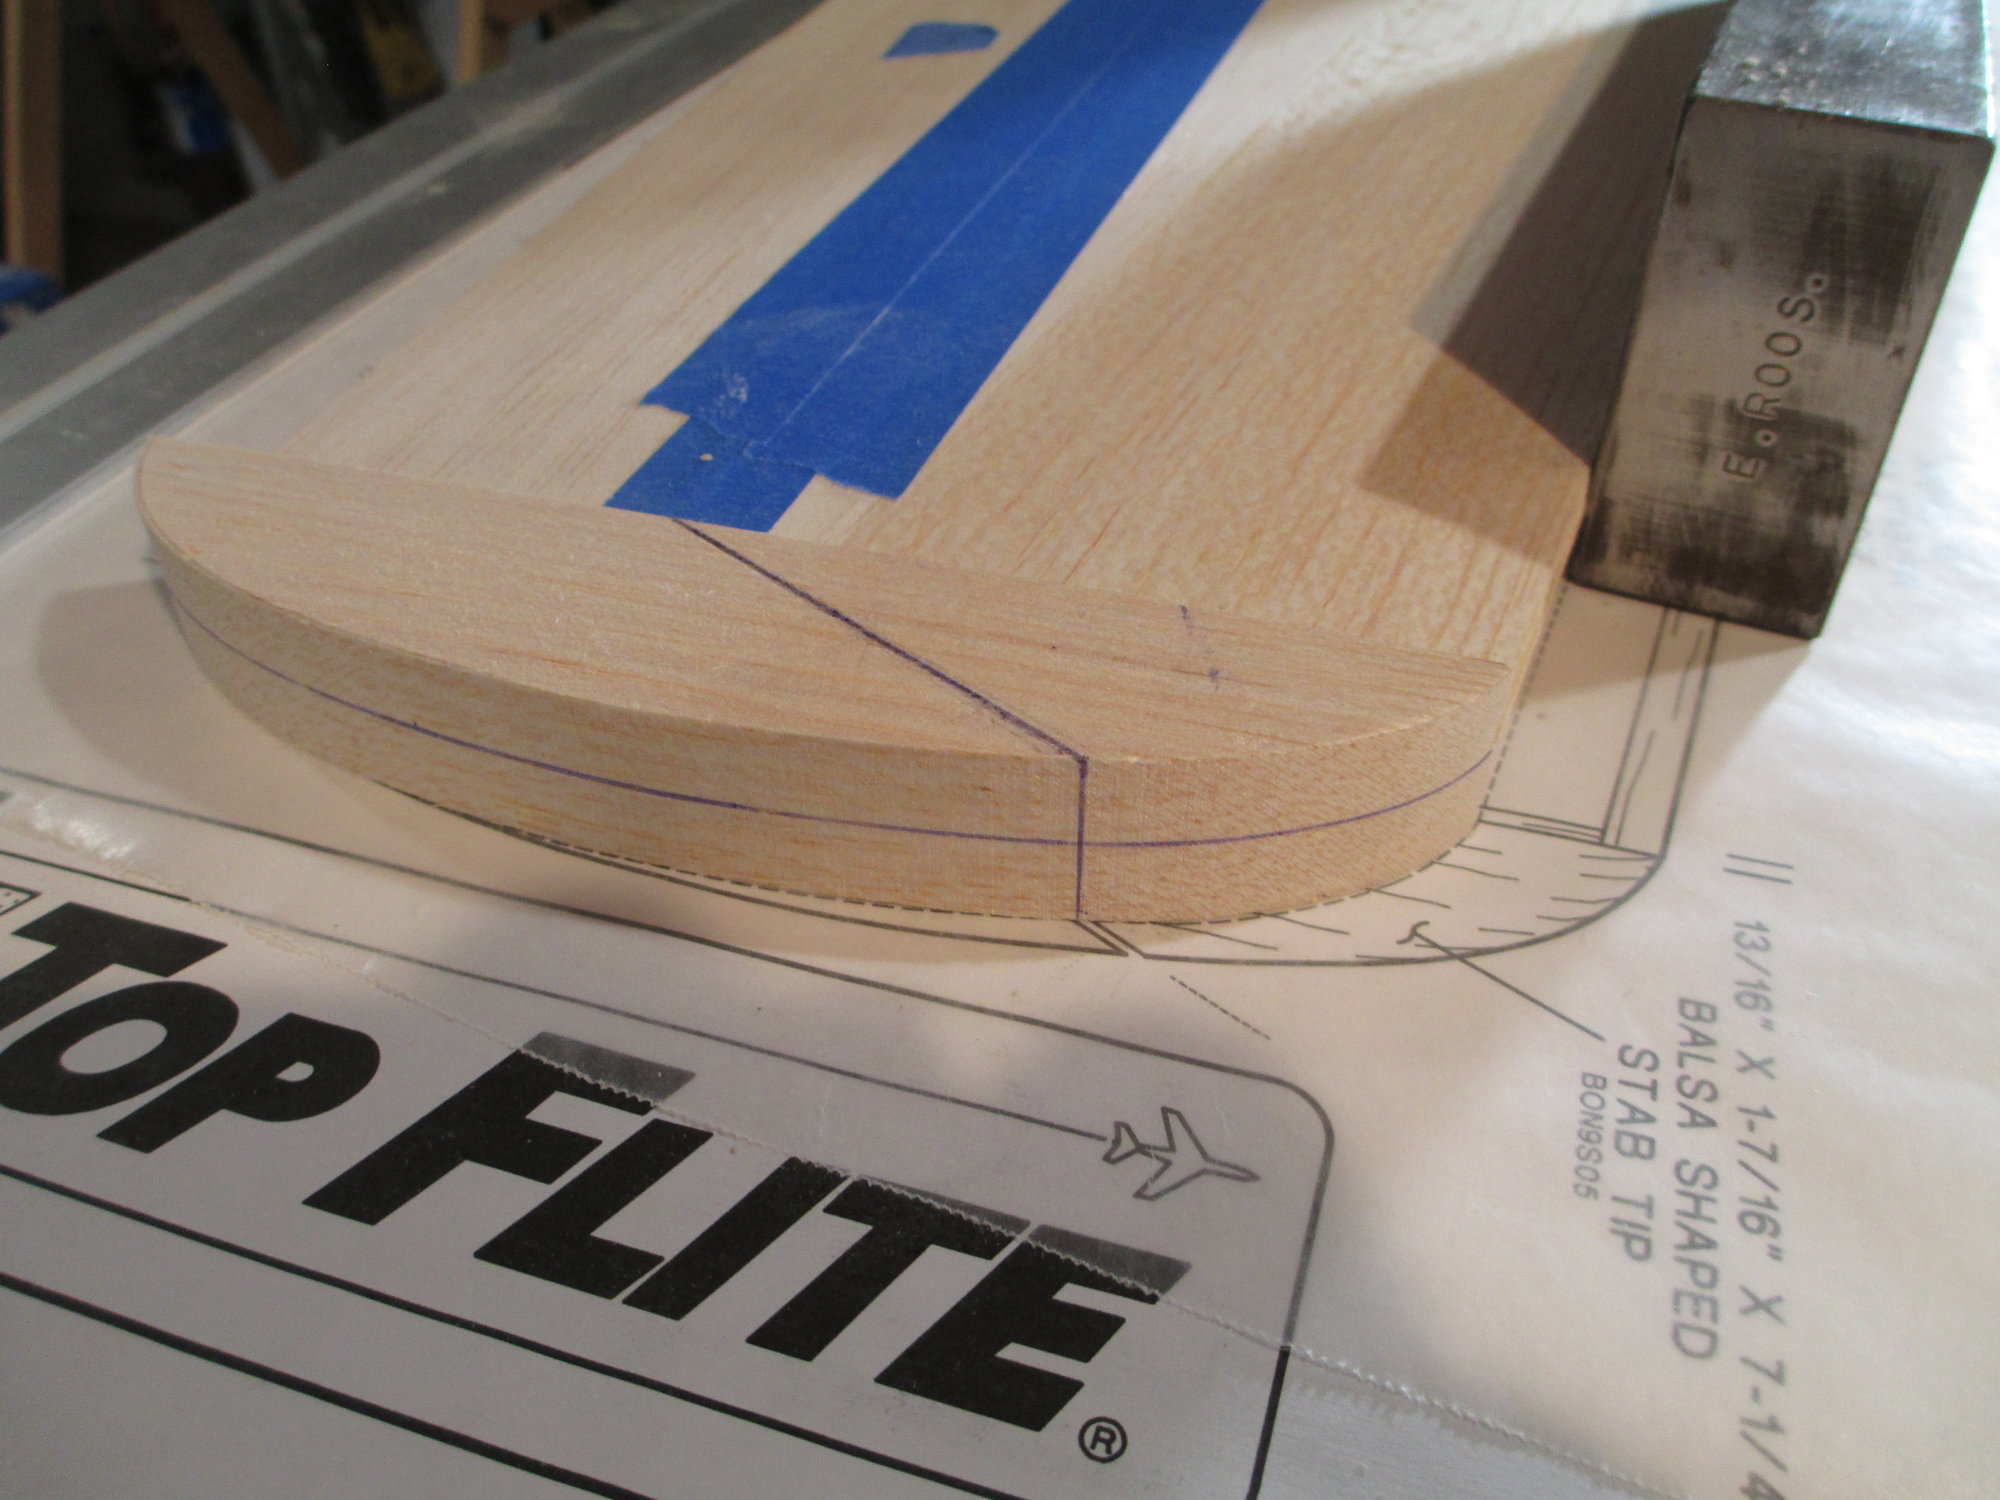
I've indexed off the plans the angle that I will have to cut each tip. I'm being careful with my measurements as I only have one try to get it right.
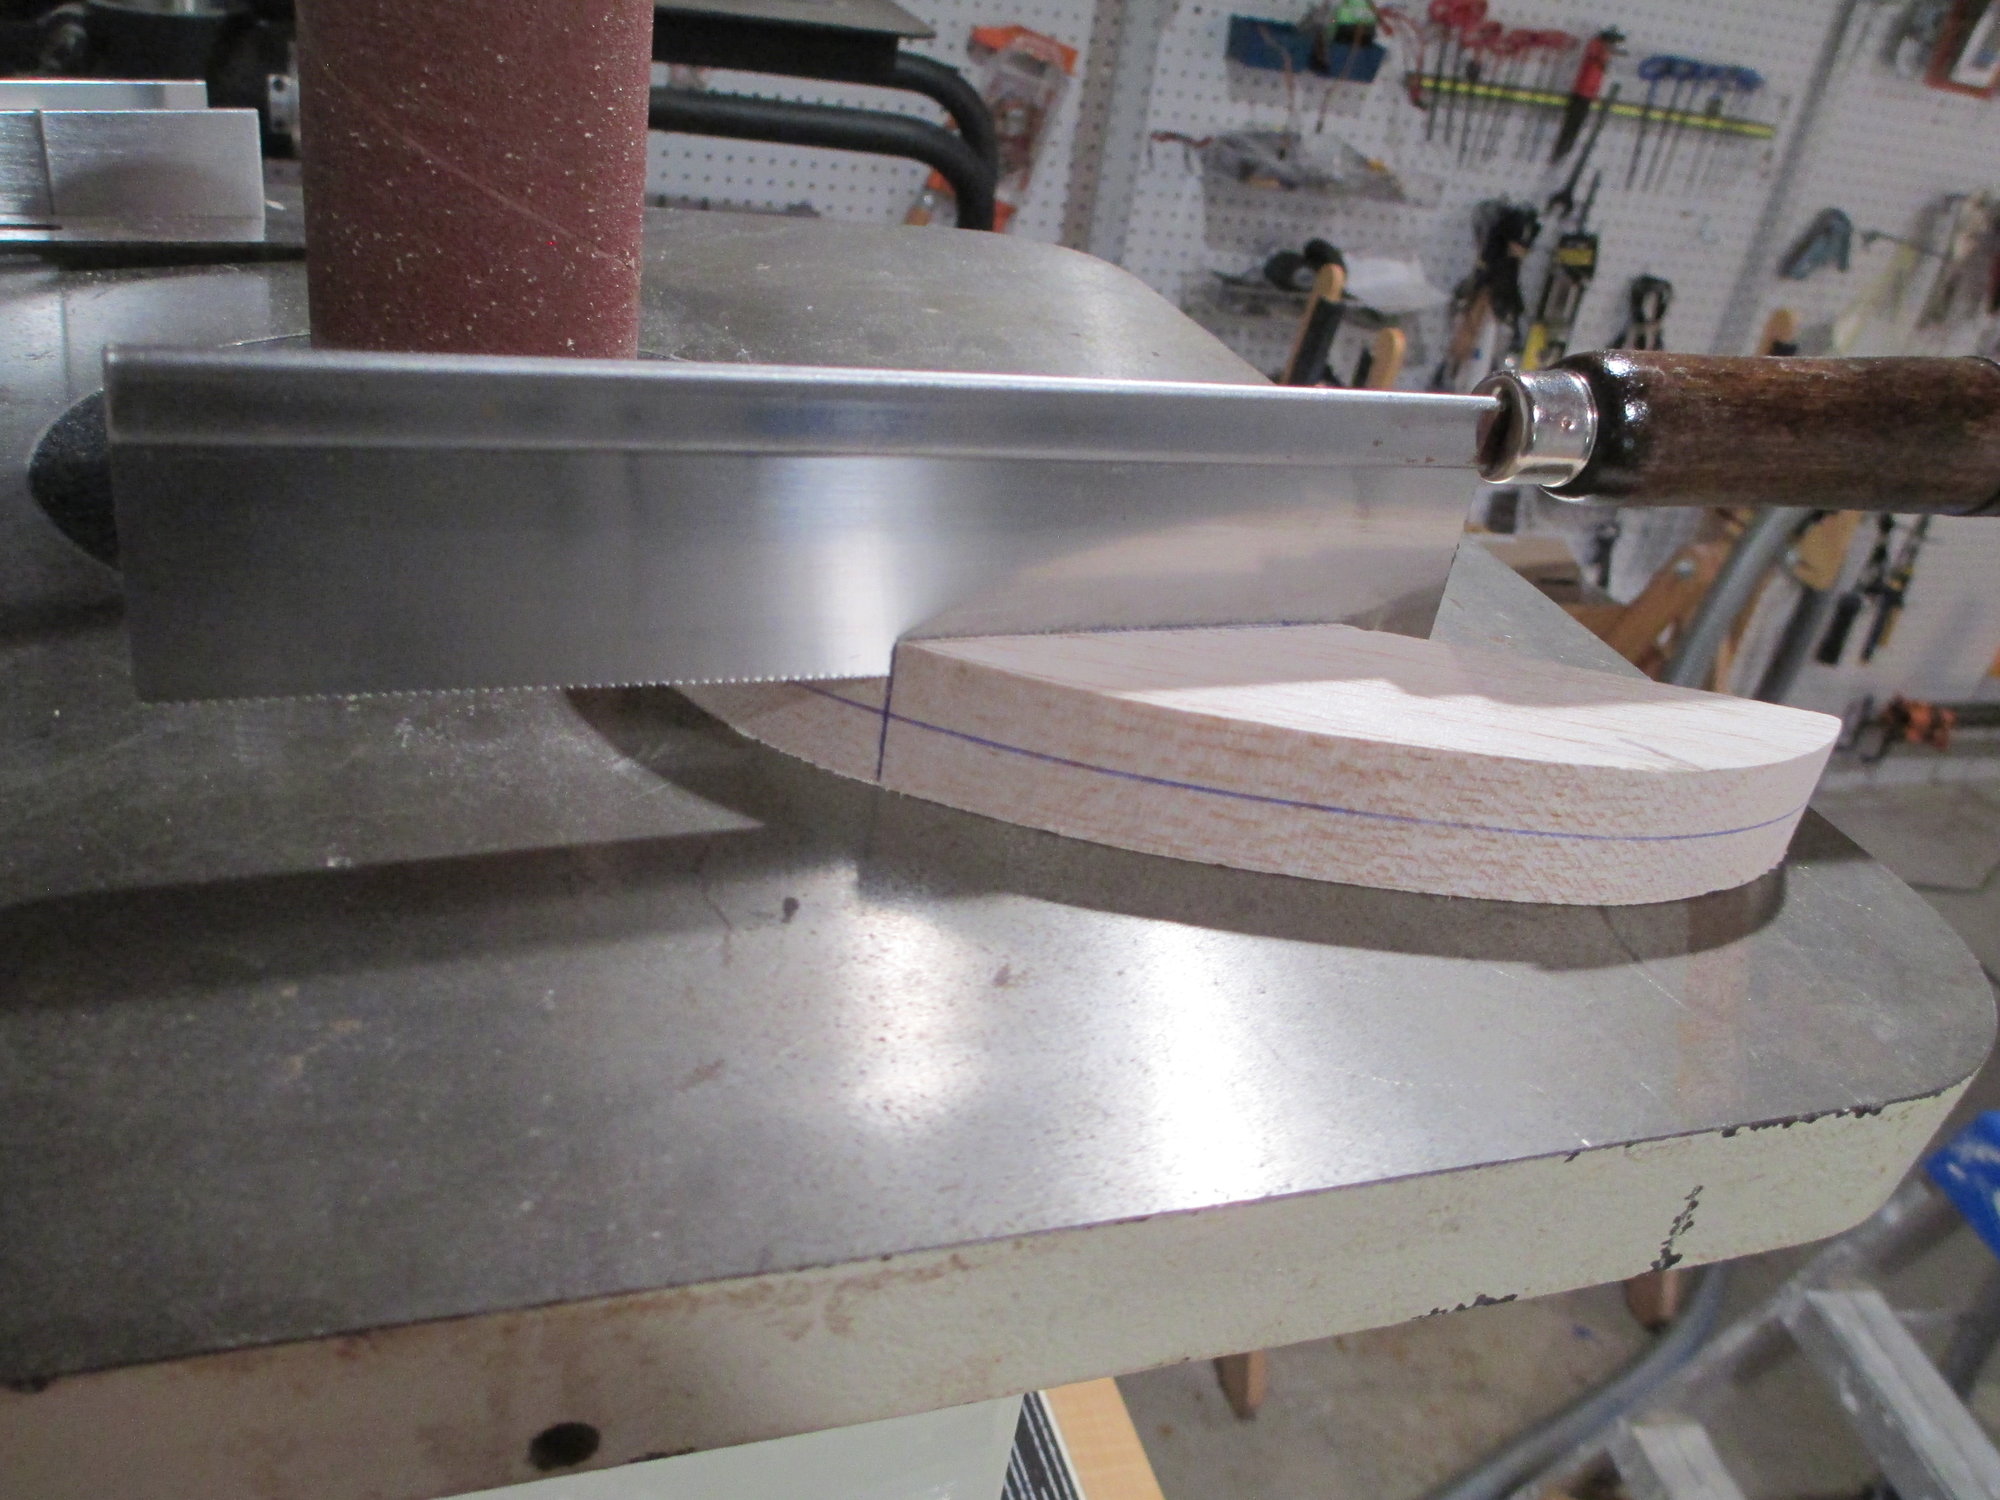
Using my Zona saw, I cut each tip on my mark.
These are the tips for both the stabilizer and elevators. Solid 3/4" balsa. I've drawn a line that goes around the perimeter of each tip denoting the center.
I've indexed off the plans the angle that I will have to cut each tip. I'm being careful with my measurements as I only have one try to get it right.
Using my Zona saw, I cut each tip on my mark.
07-02-2019, 09:28 AM
#49
Thread Starter
Part I - Hinging the Elevators to the Stabilizer
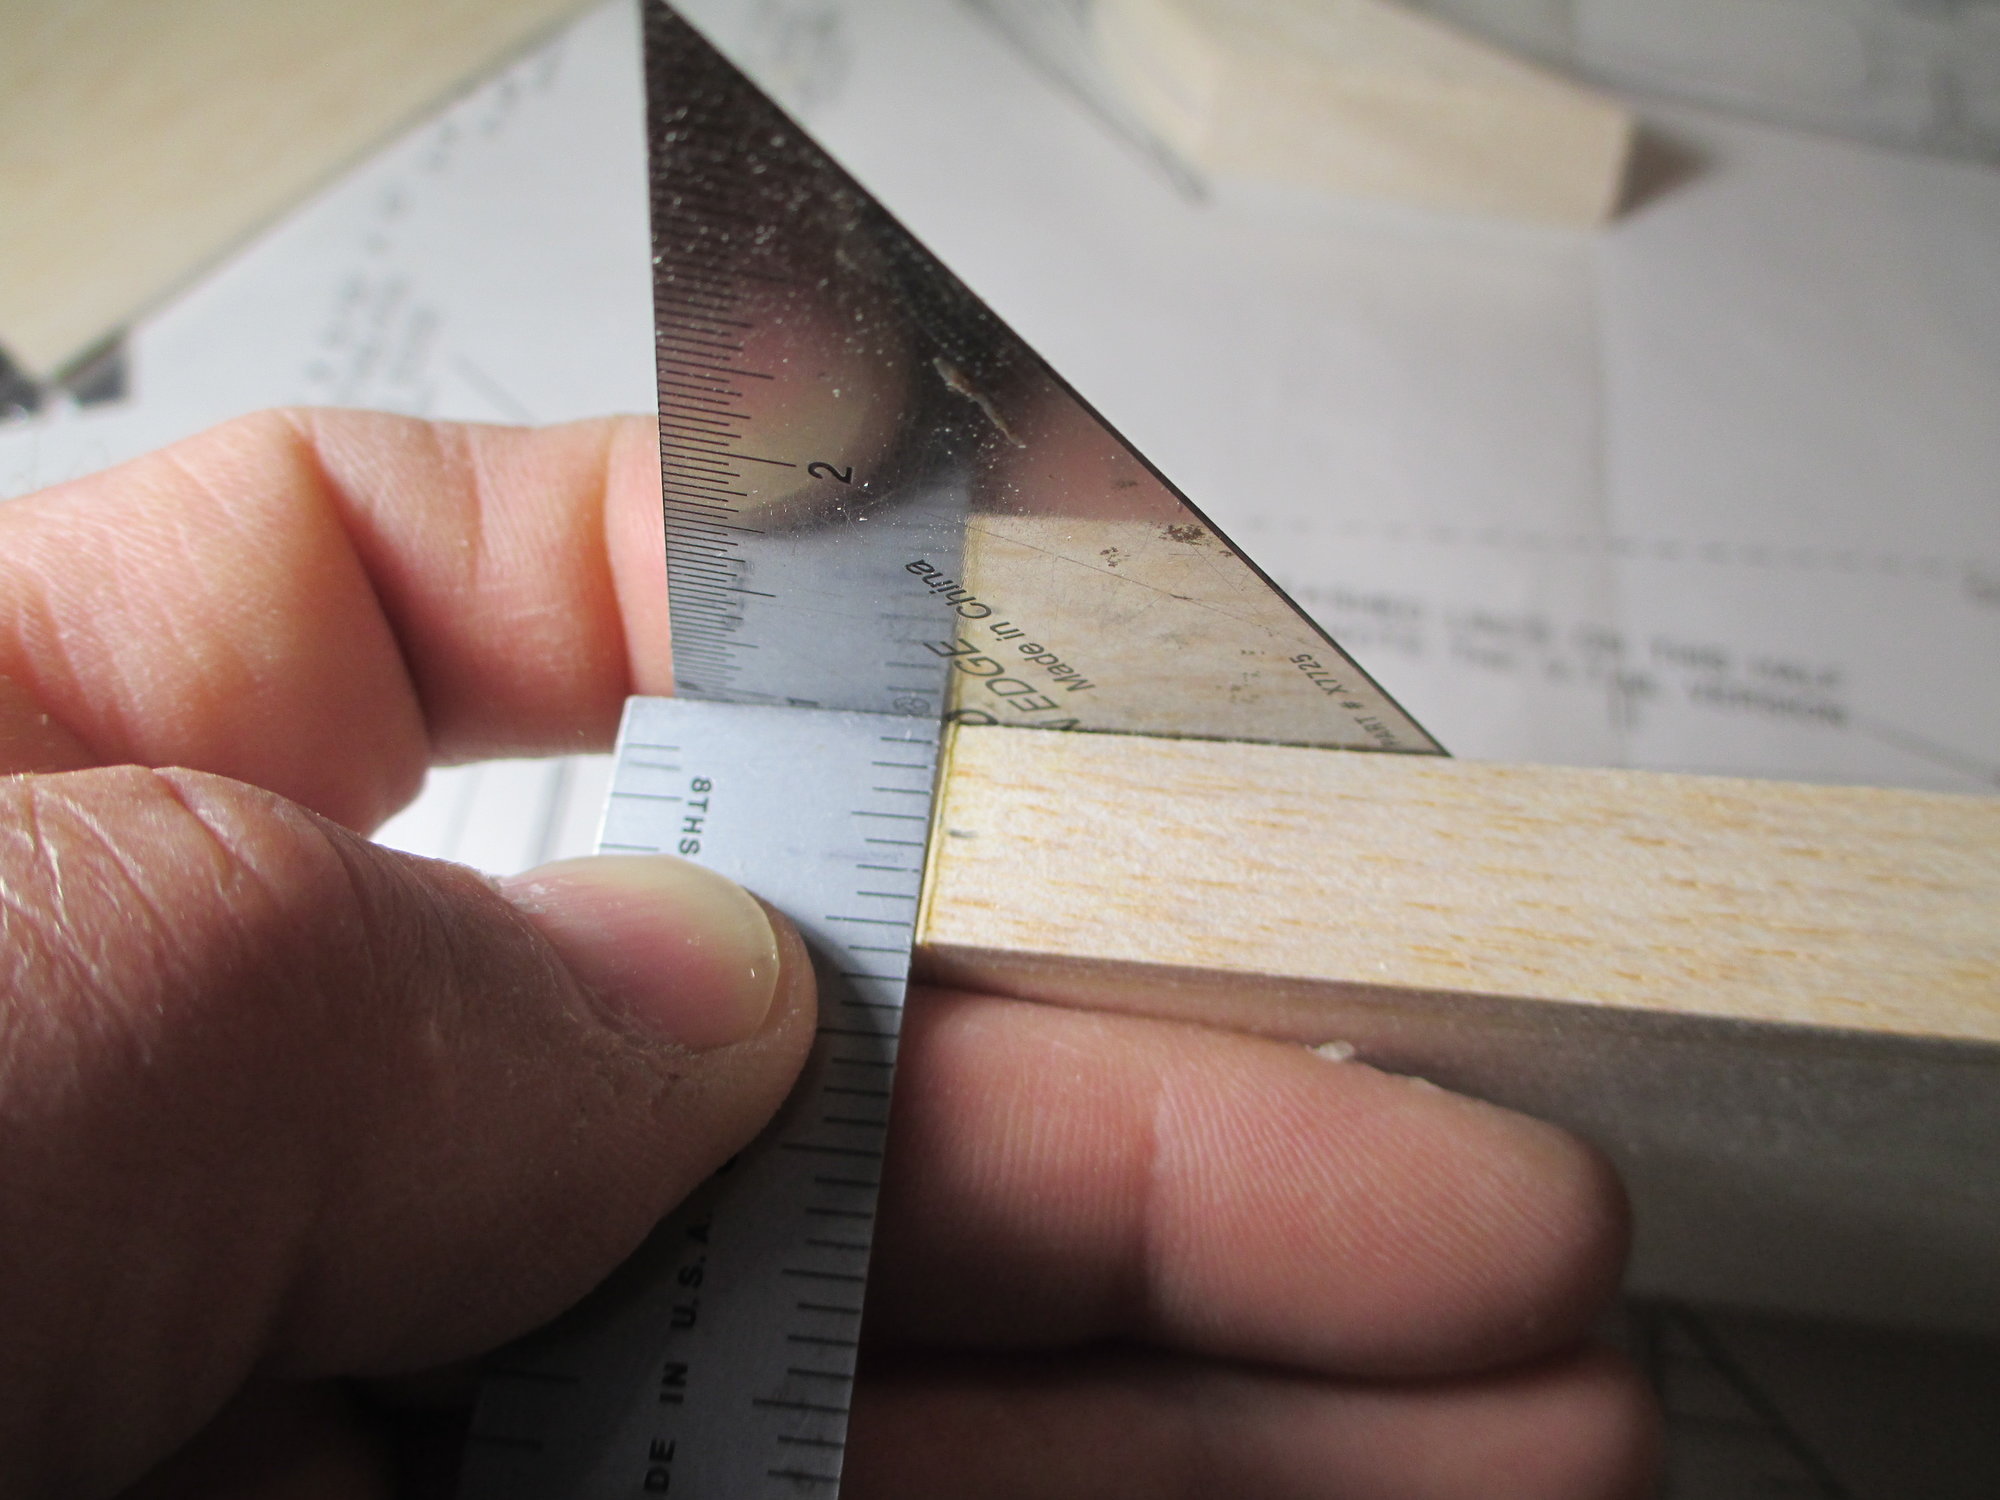
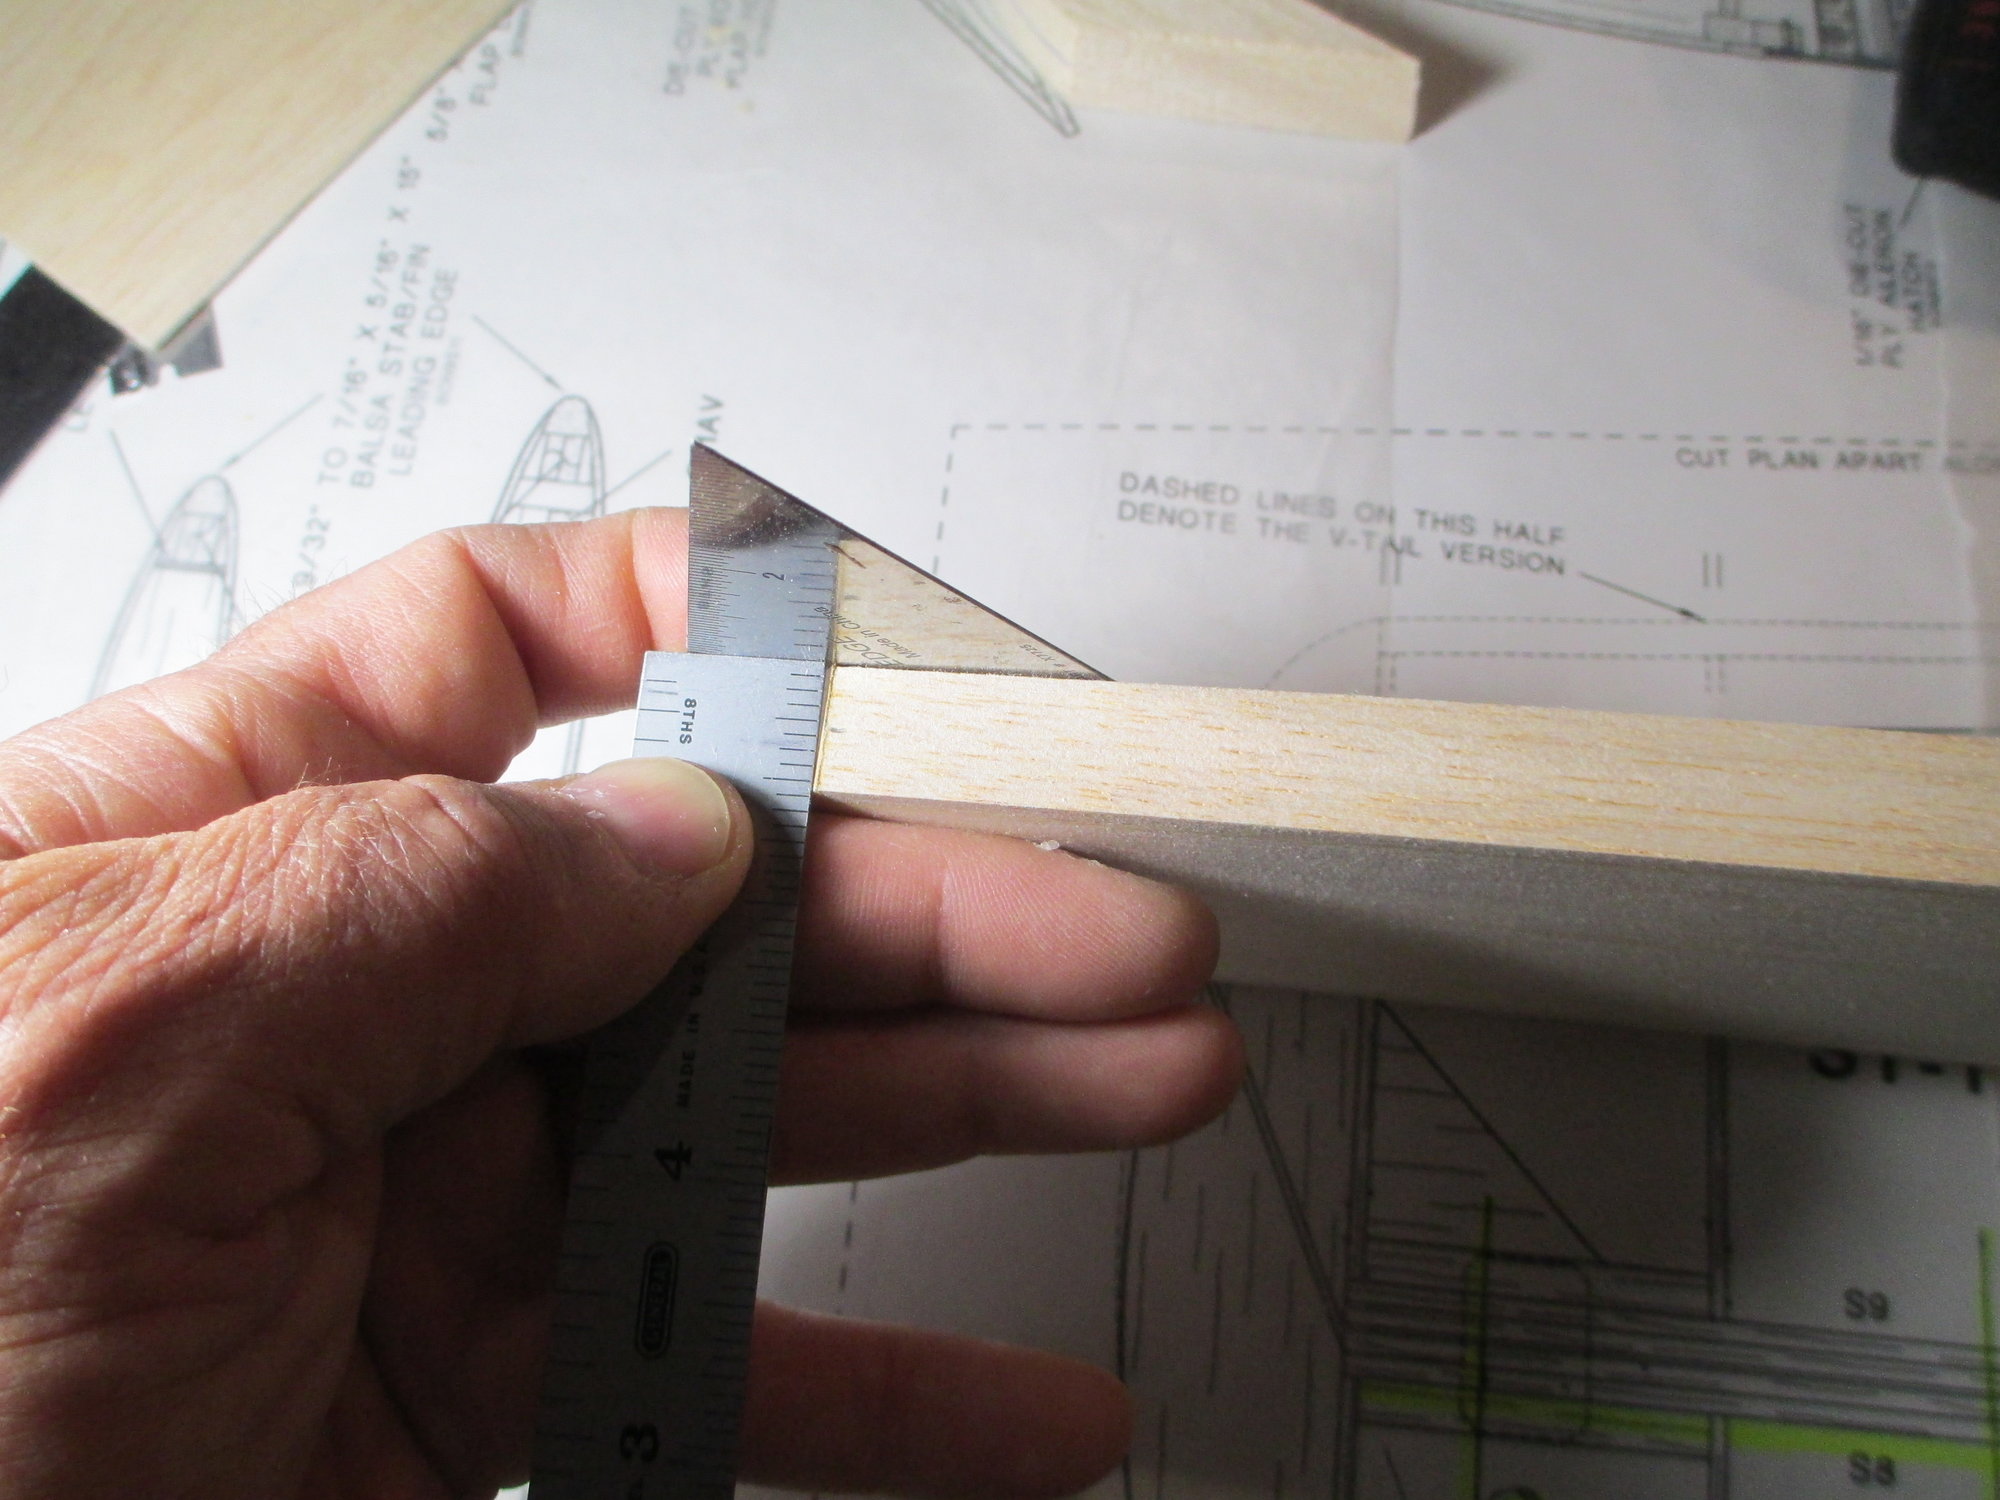
With the tips glued on the stab only, I can start on the hinging process. I need to find the exact center of the stab's trailing edge. Keep in mind, because the ribs are tapered on the stab, the measurement from one end to the other will be different. I want to index my ruler on the end of the TE. For an exact measurement, I am holding my metal square as a backer for me to butt my ruler up to.
The center is measured and marked using a sharp pencil.
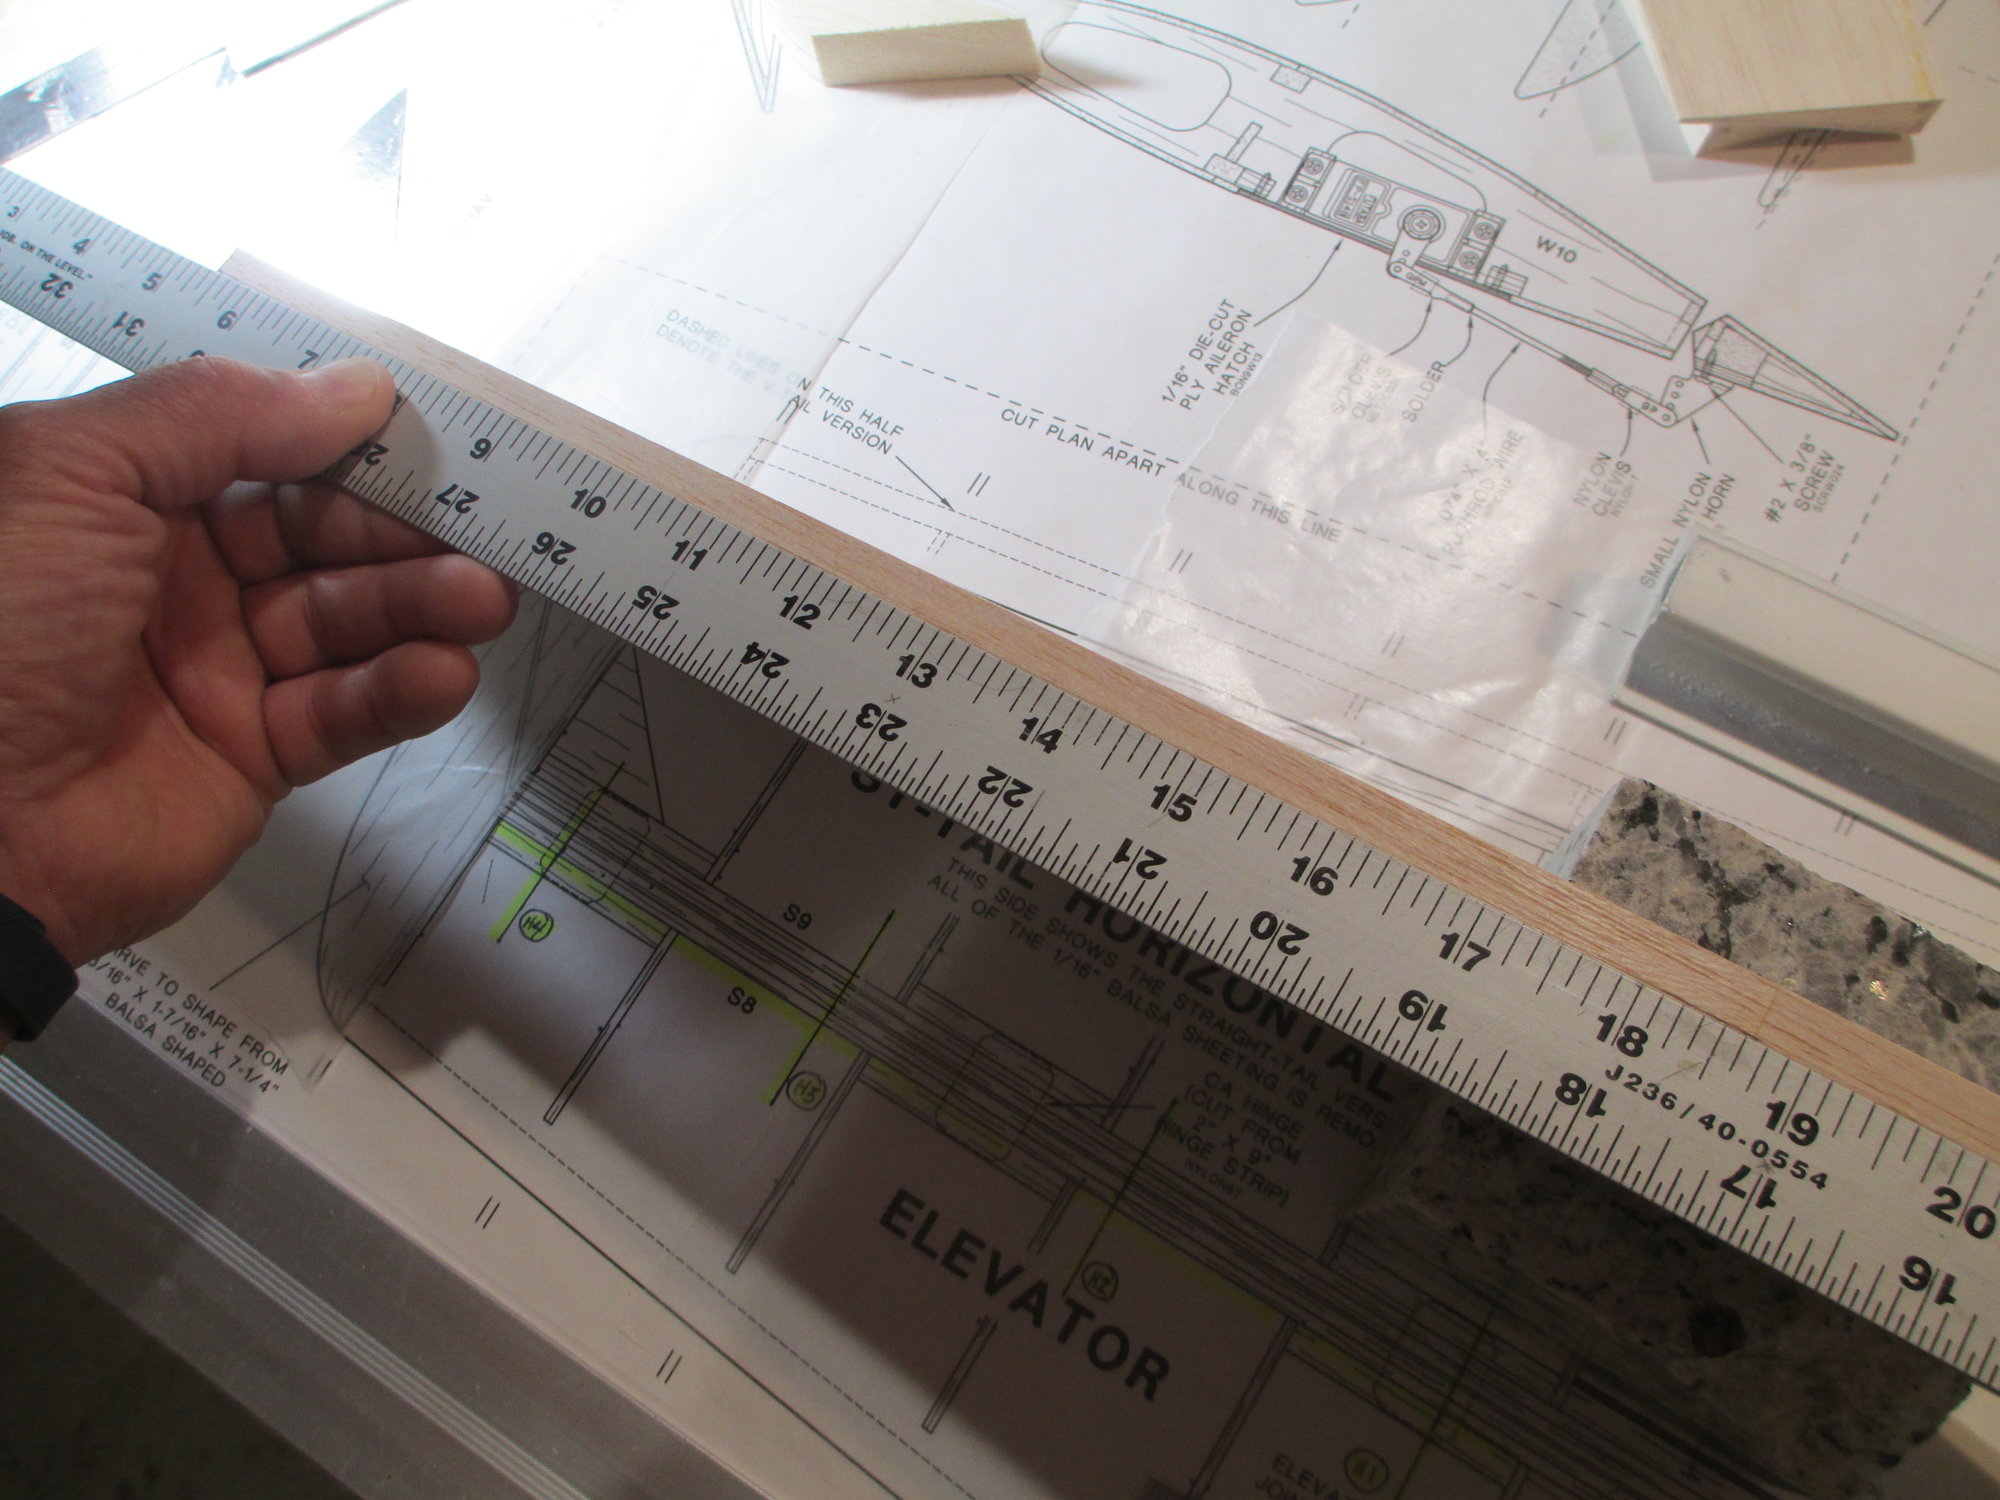
Once I have the measurements on each side, I use a straight edge to mark the center line.

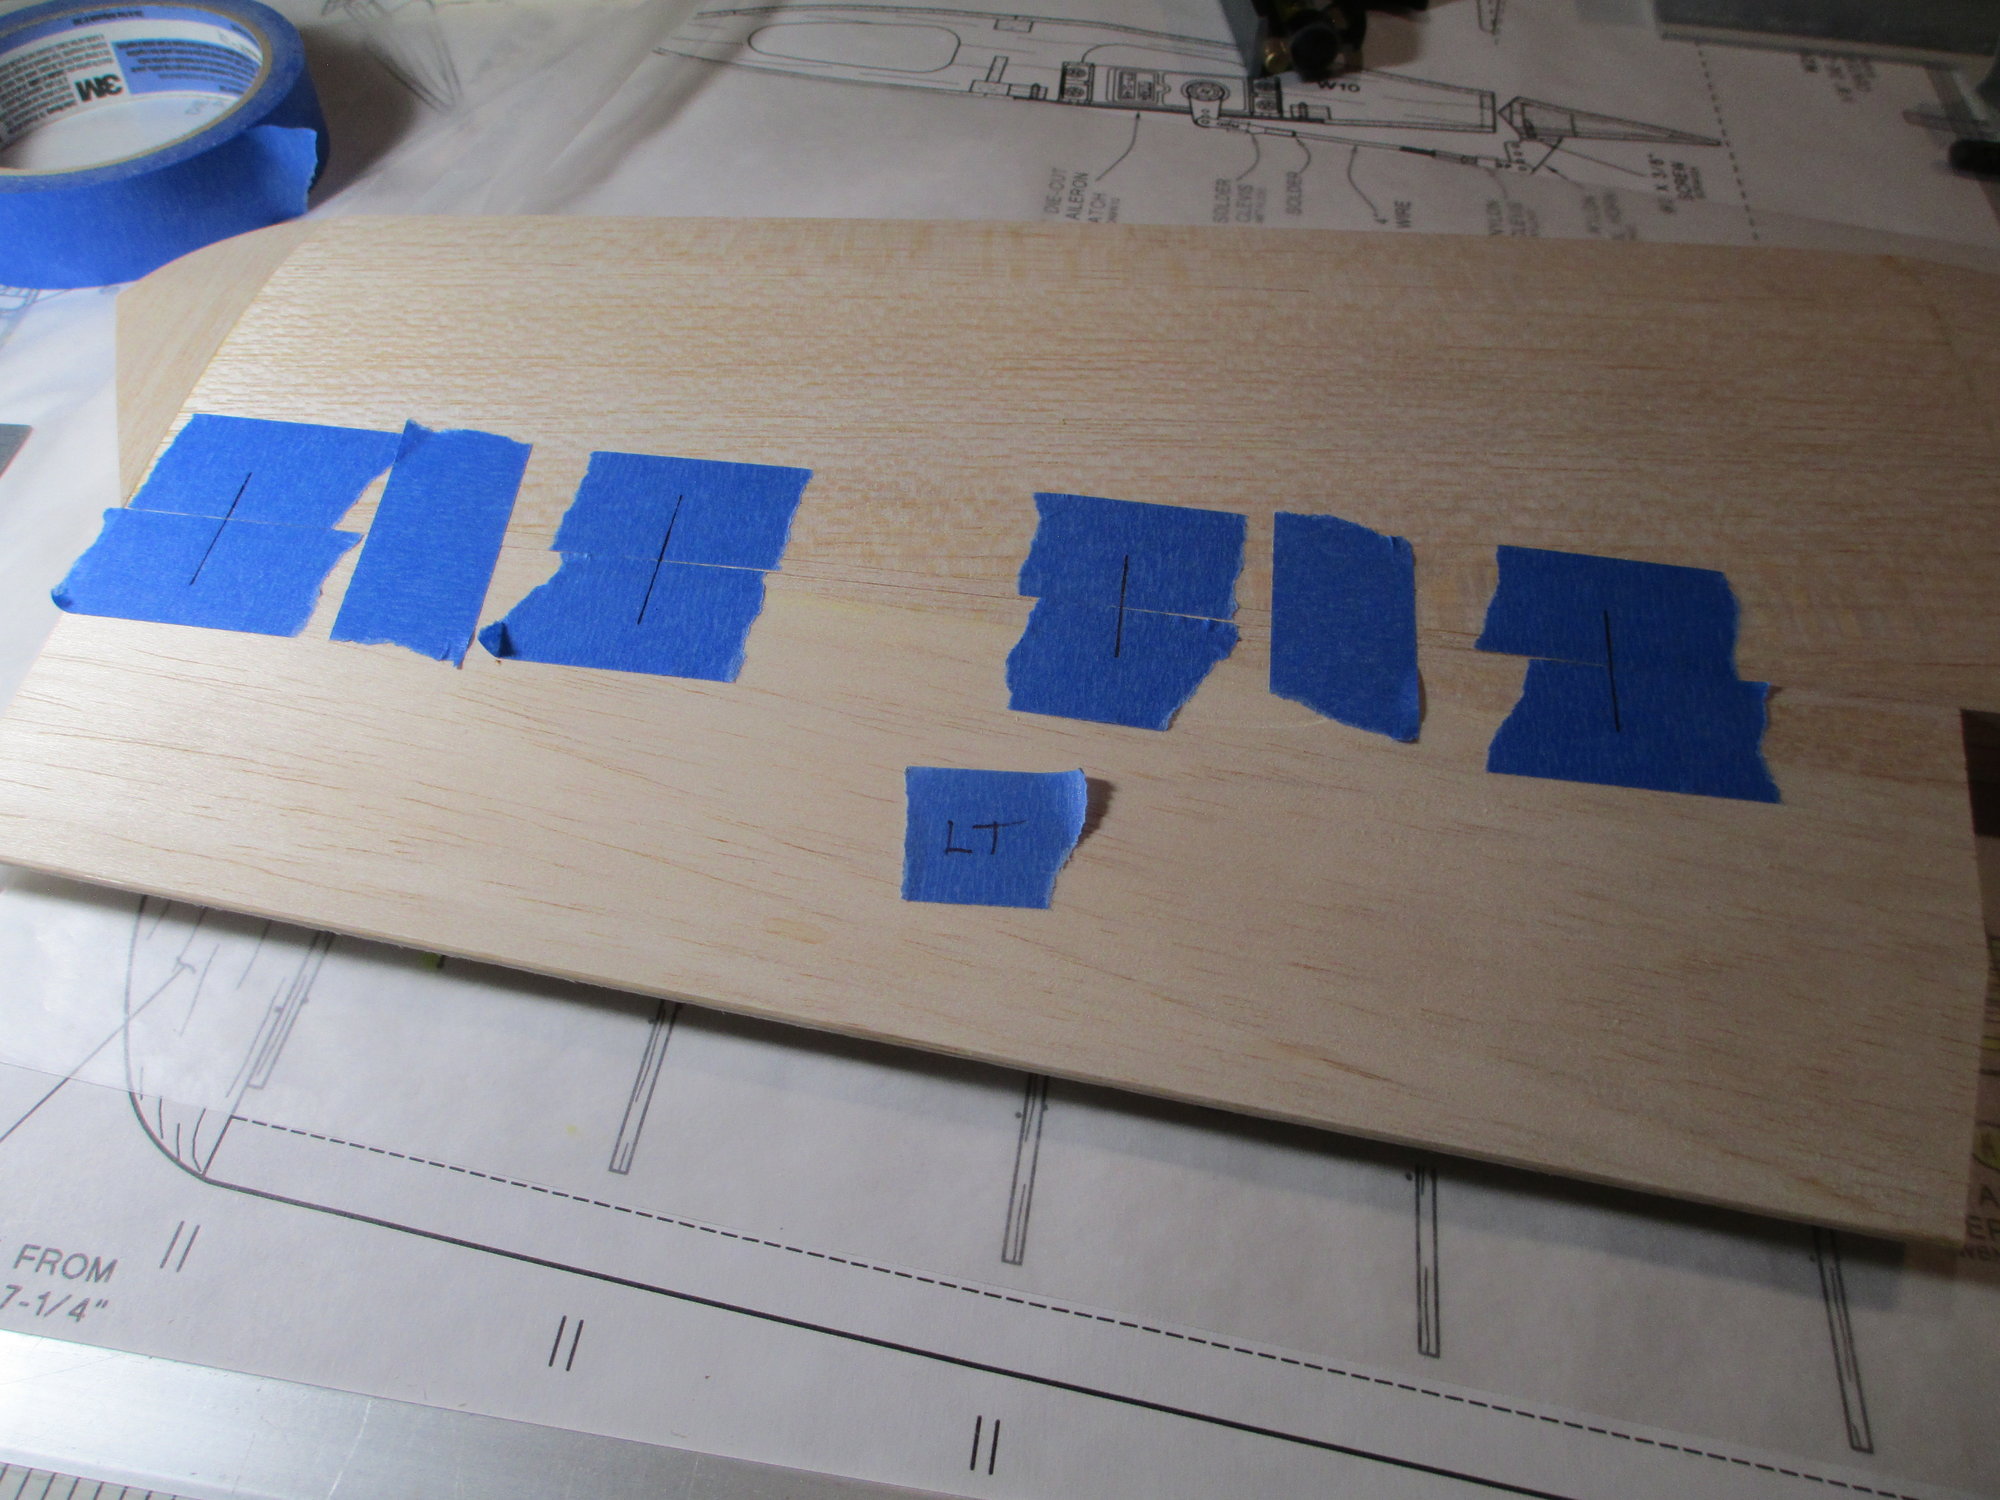
With the center line established, I'm using the plans for each hinge points exact location. There are four hinge points per elevator half.
Lines are faint but visible.
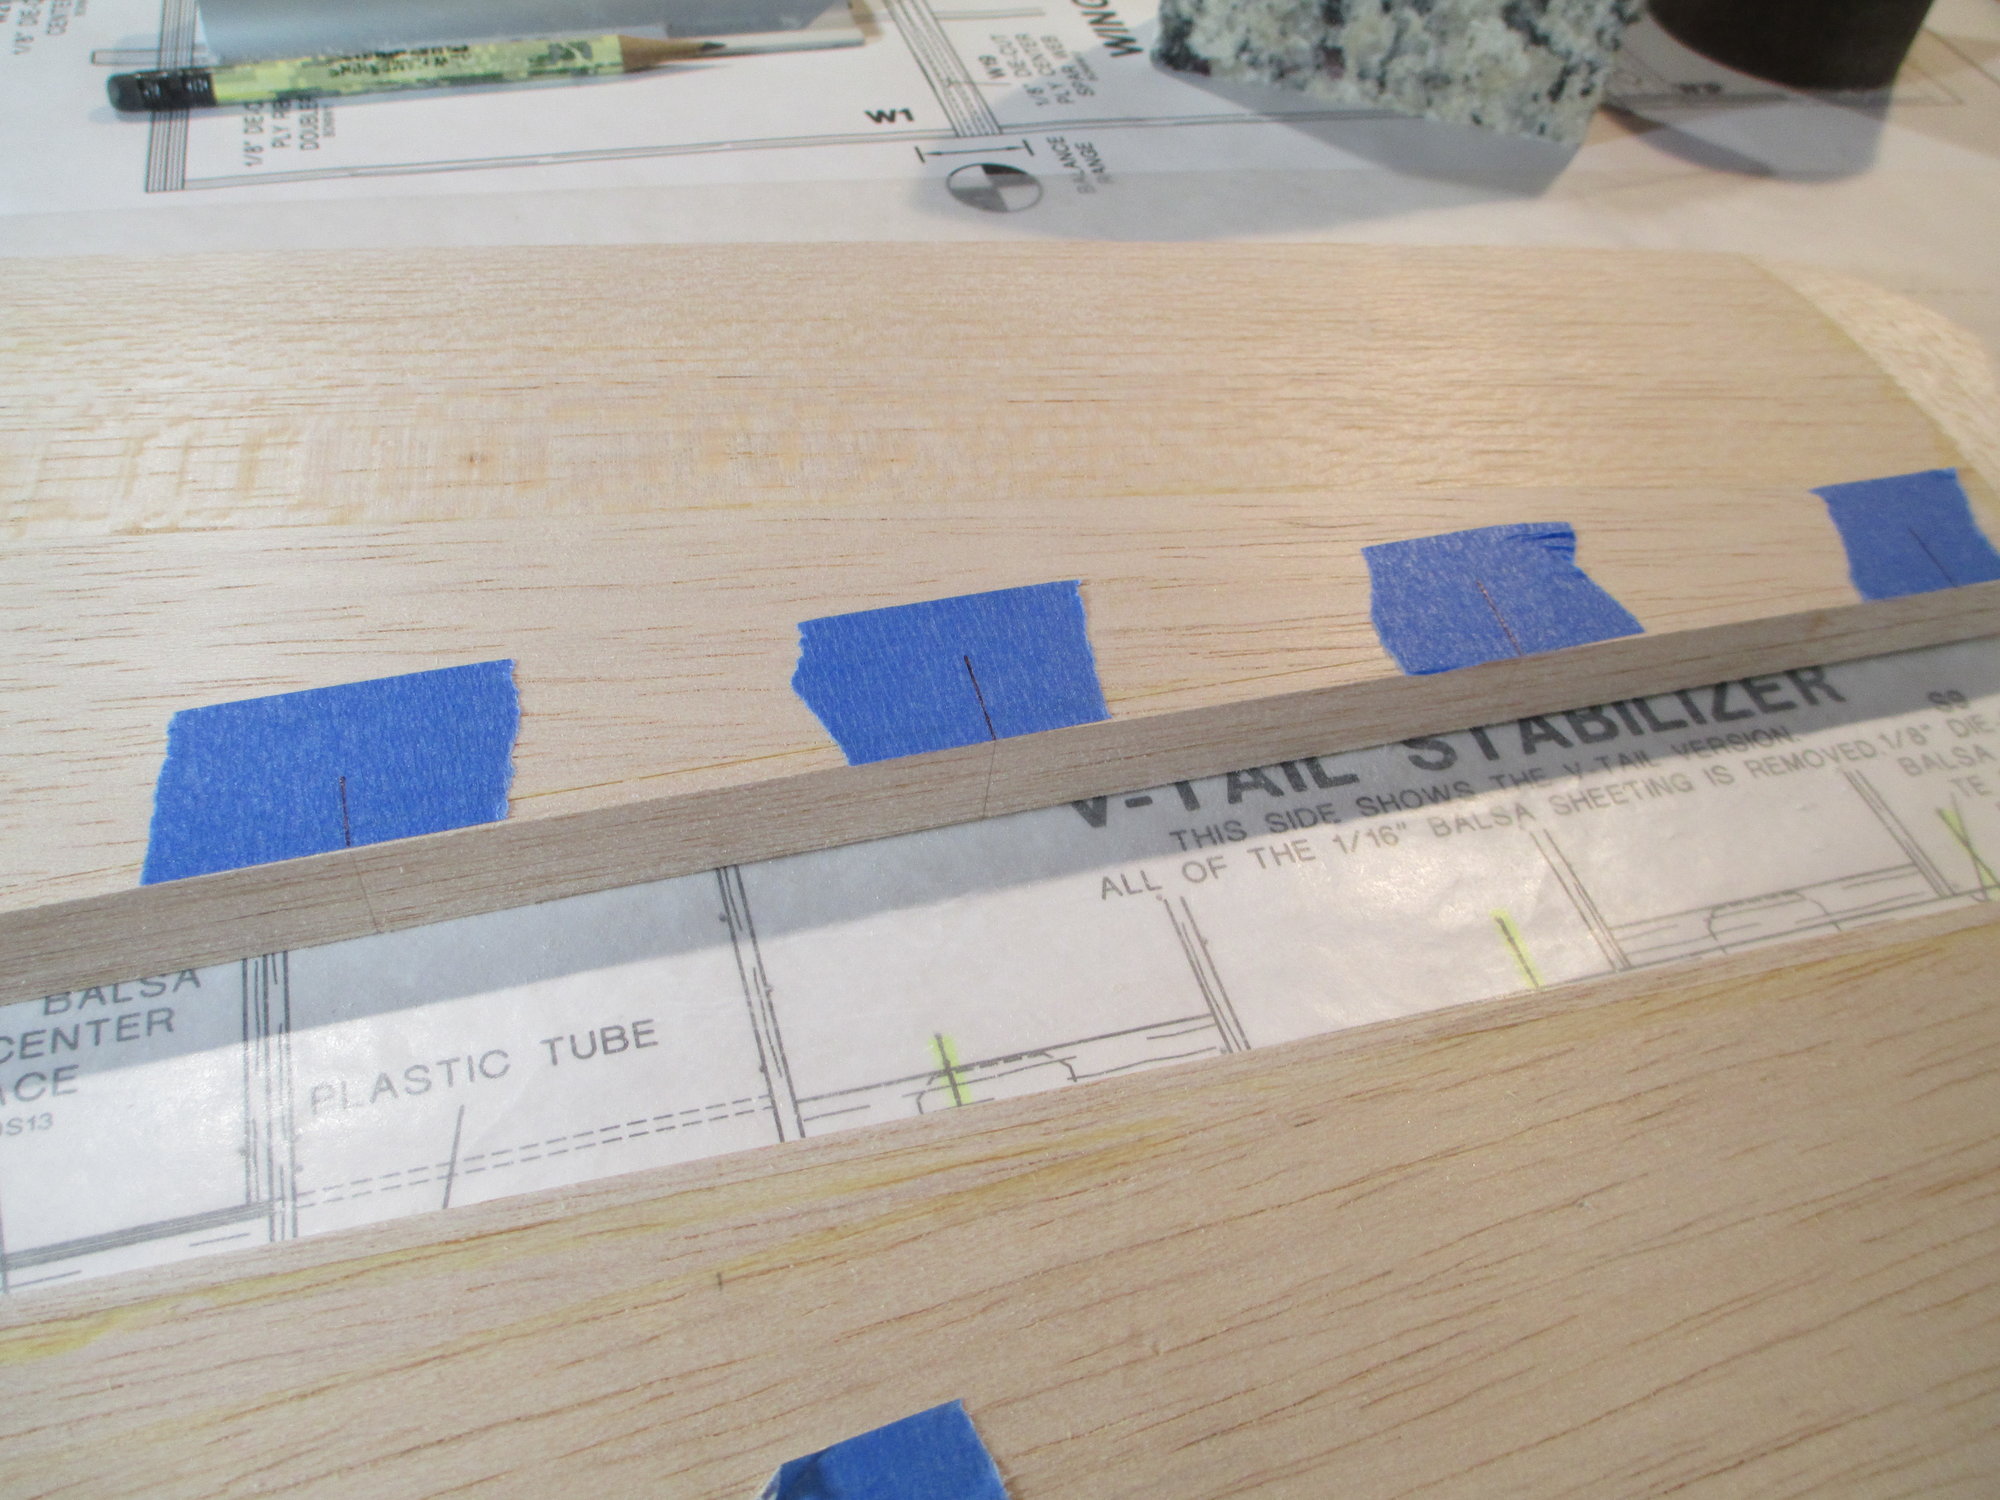
I've taken blue painter's tape and placed about a one inch piece directly above the hinge point line. I've extended that line onto the top of the tape using a fine tipped Sharpie.
Note: I prefer to use painter's tape rather than marking directly on the wood with a pencil. Removing the tape requires less sanding!
It's time to take the elevator half and tape it to the stab in its exact position. I've also transferred the hinge line from the stab to the elevator.
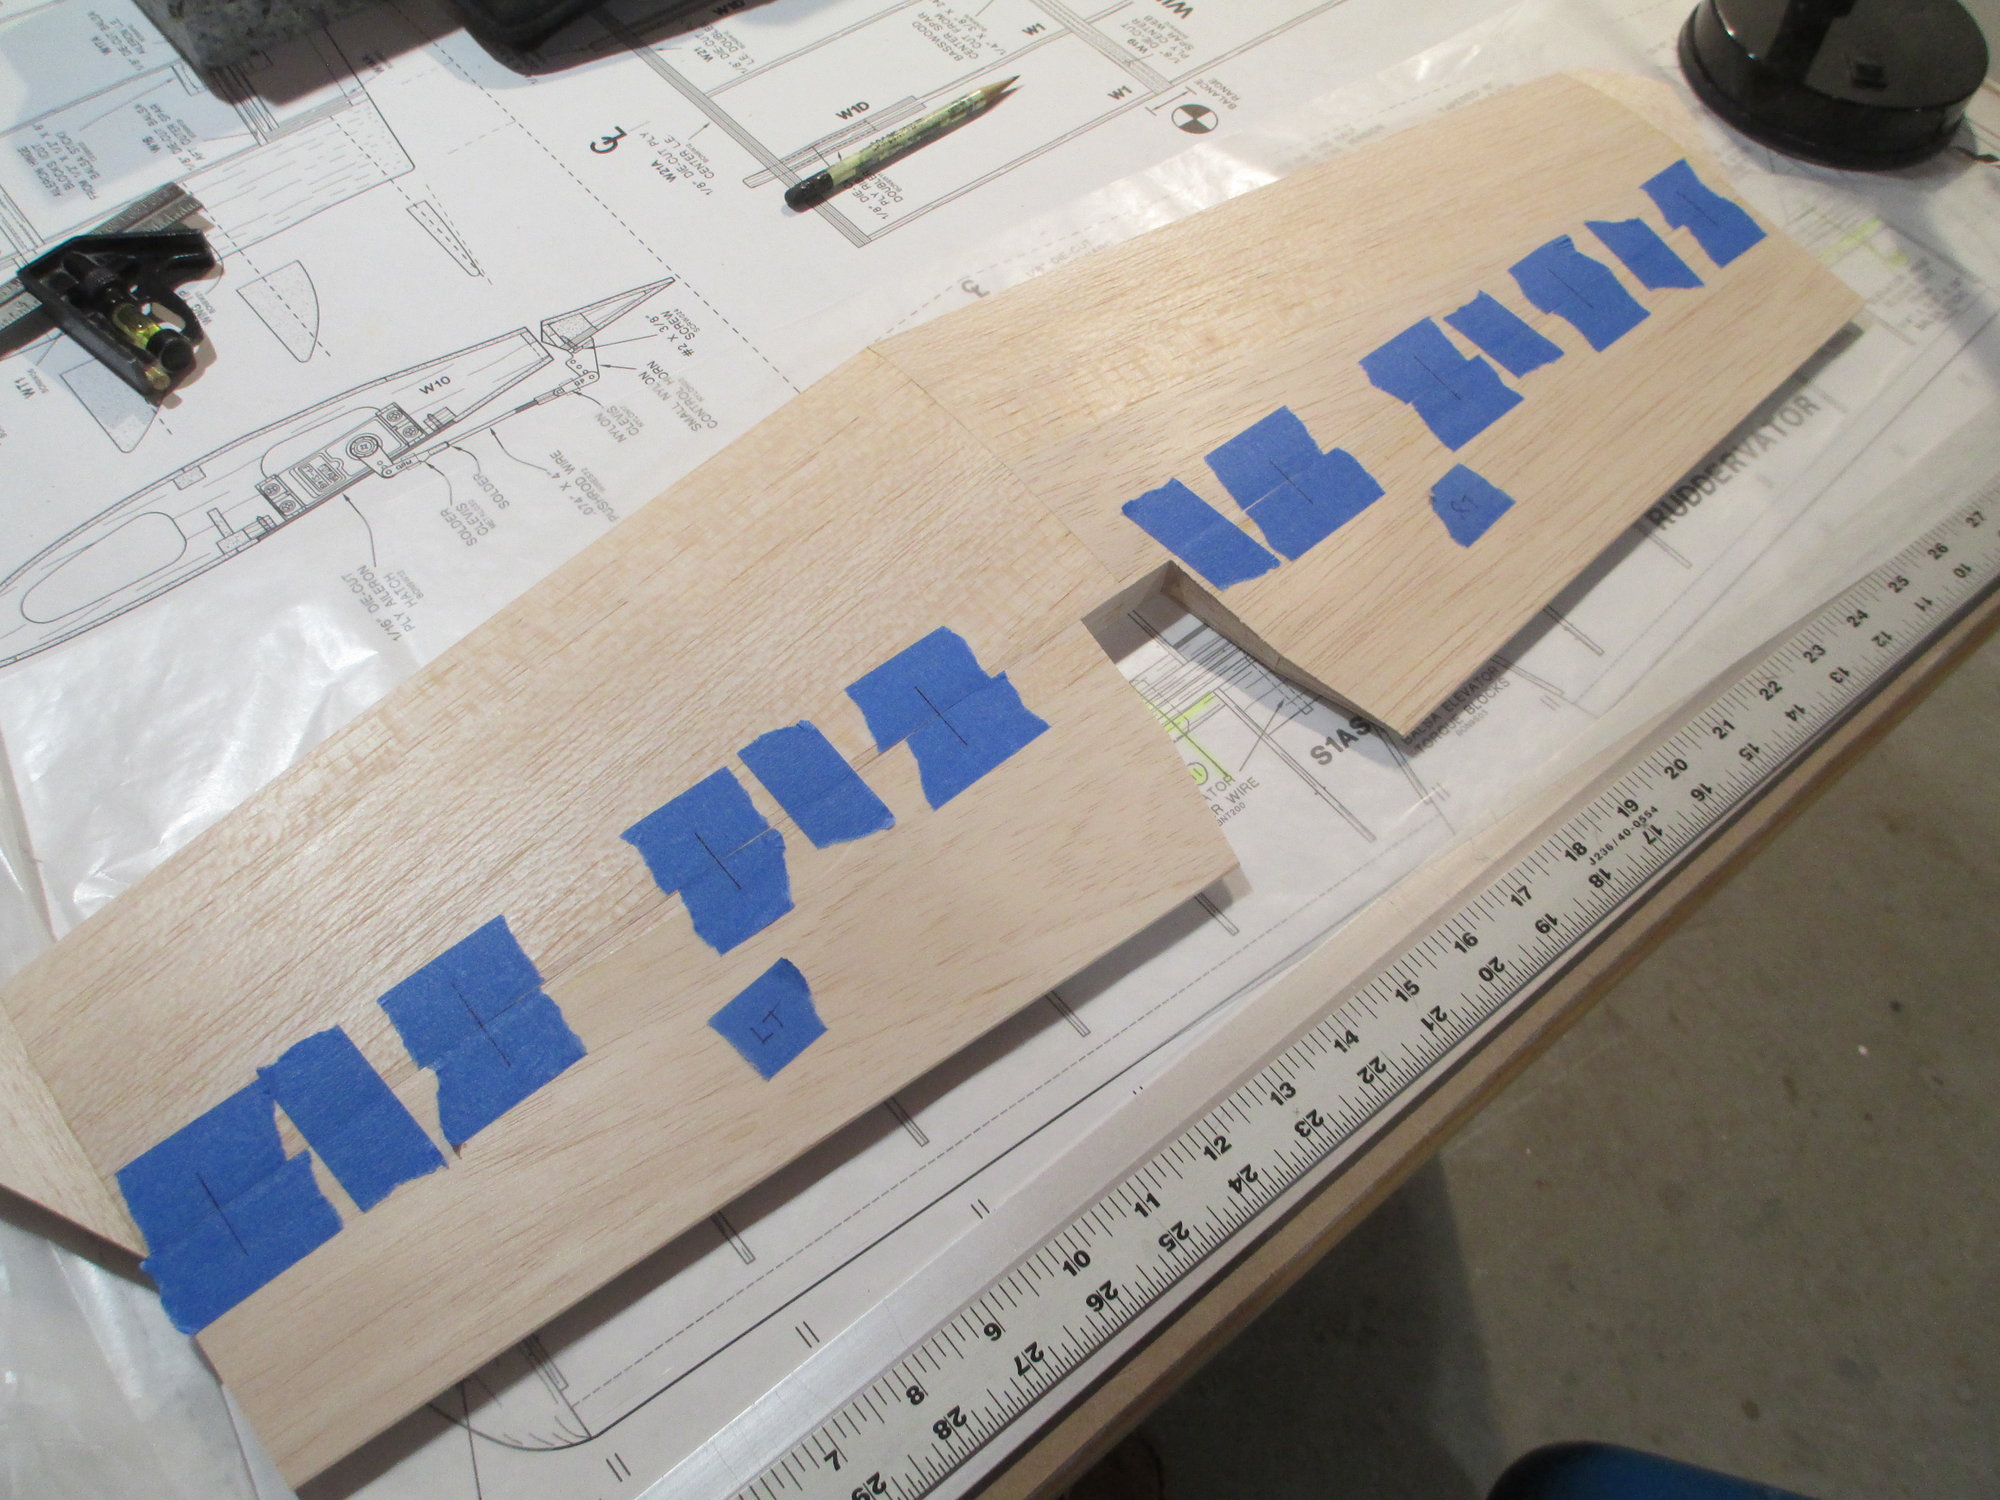
Stay tuned for Part II on Hinging...
With the tips glued on the stab only, I can start on the hinging process. I need to find the exact center of the stab's trailing edge. Keep in mind, because the ribs are tapered on the stab, the measurement from one end to the other will be different. I want to index my ruler on the end of the TE. For an exact measurement, I am holding my metal square as a backer for me to butt my ruler up to.
The center is measured and marked using a sharp pencil.
Once I have the measurements on each side, I use a straight edge to mark the center line.
With the center line established, I'm using the plans for each hinge points exact location. There are four hinge points per elevator half.
Lines are faint but visible.
I've taken blue painter's tape and placed about a one inch piece directly above the hinge point line. I've extended that line onto the top of the tape using a fine tipped Sharpie.
Note: I prefer to use painter's tape rather than marking directly on the wood with a pencil. Removing the tape requires less sanding!
It's time to take the elevator half and tape it to the stab in its exact position. I've also transferred the hinge line from the stab to the elevator.
Stay tuned for Part II on Hinging...
Last edited by VincentJ; 07-02-2019 at 11:50 PM.