


Divergent kits
 12-25-2019, 11:46 AM
#76


Got the fuselage joined and pulled it out of the molds yesterday and bonded in the gear plate. Came out at 900 grams complete and that is with the servo extensions for the elevator and rudder servos.

I'm going to try a new more cost effective finishing system. Got a couple cans of paint to experiment with.

 01-04-2020, 04:10 PM
#78
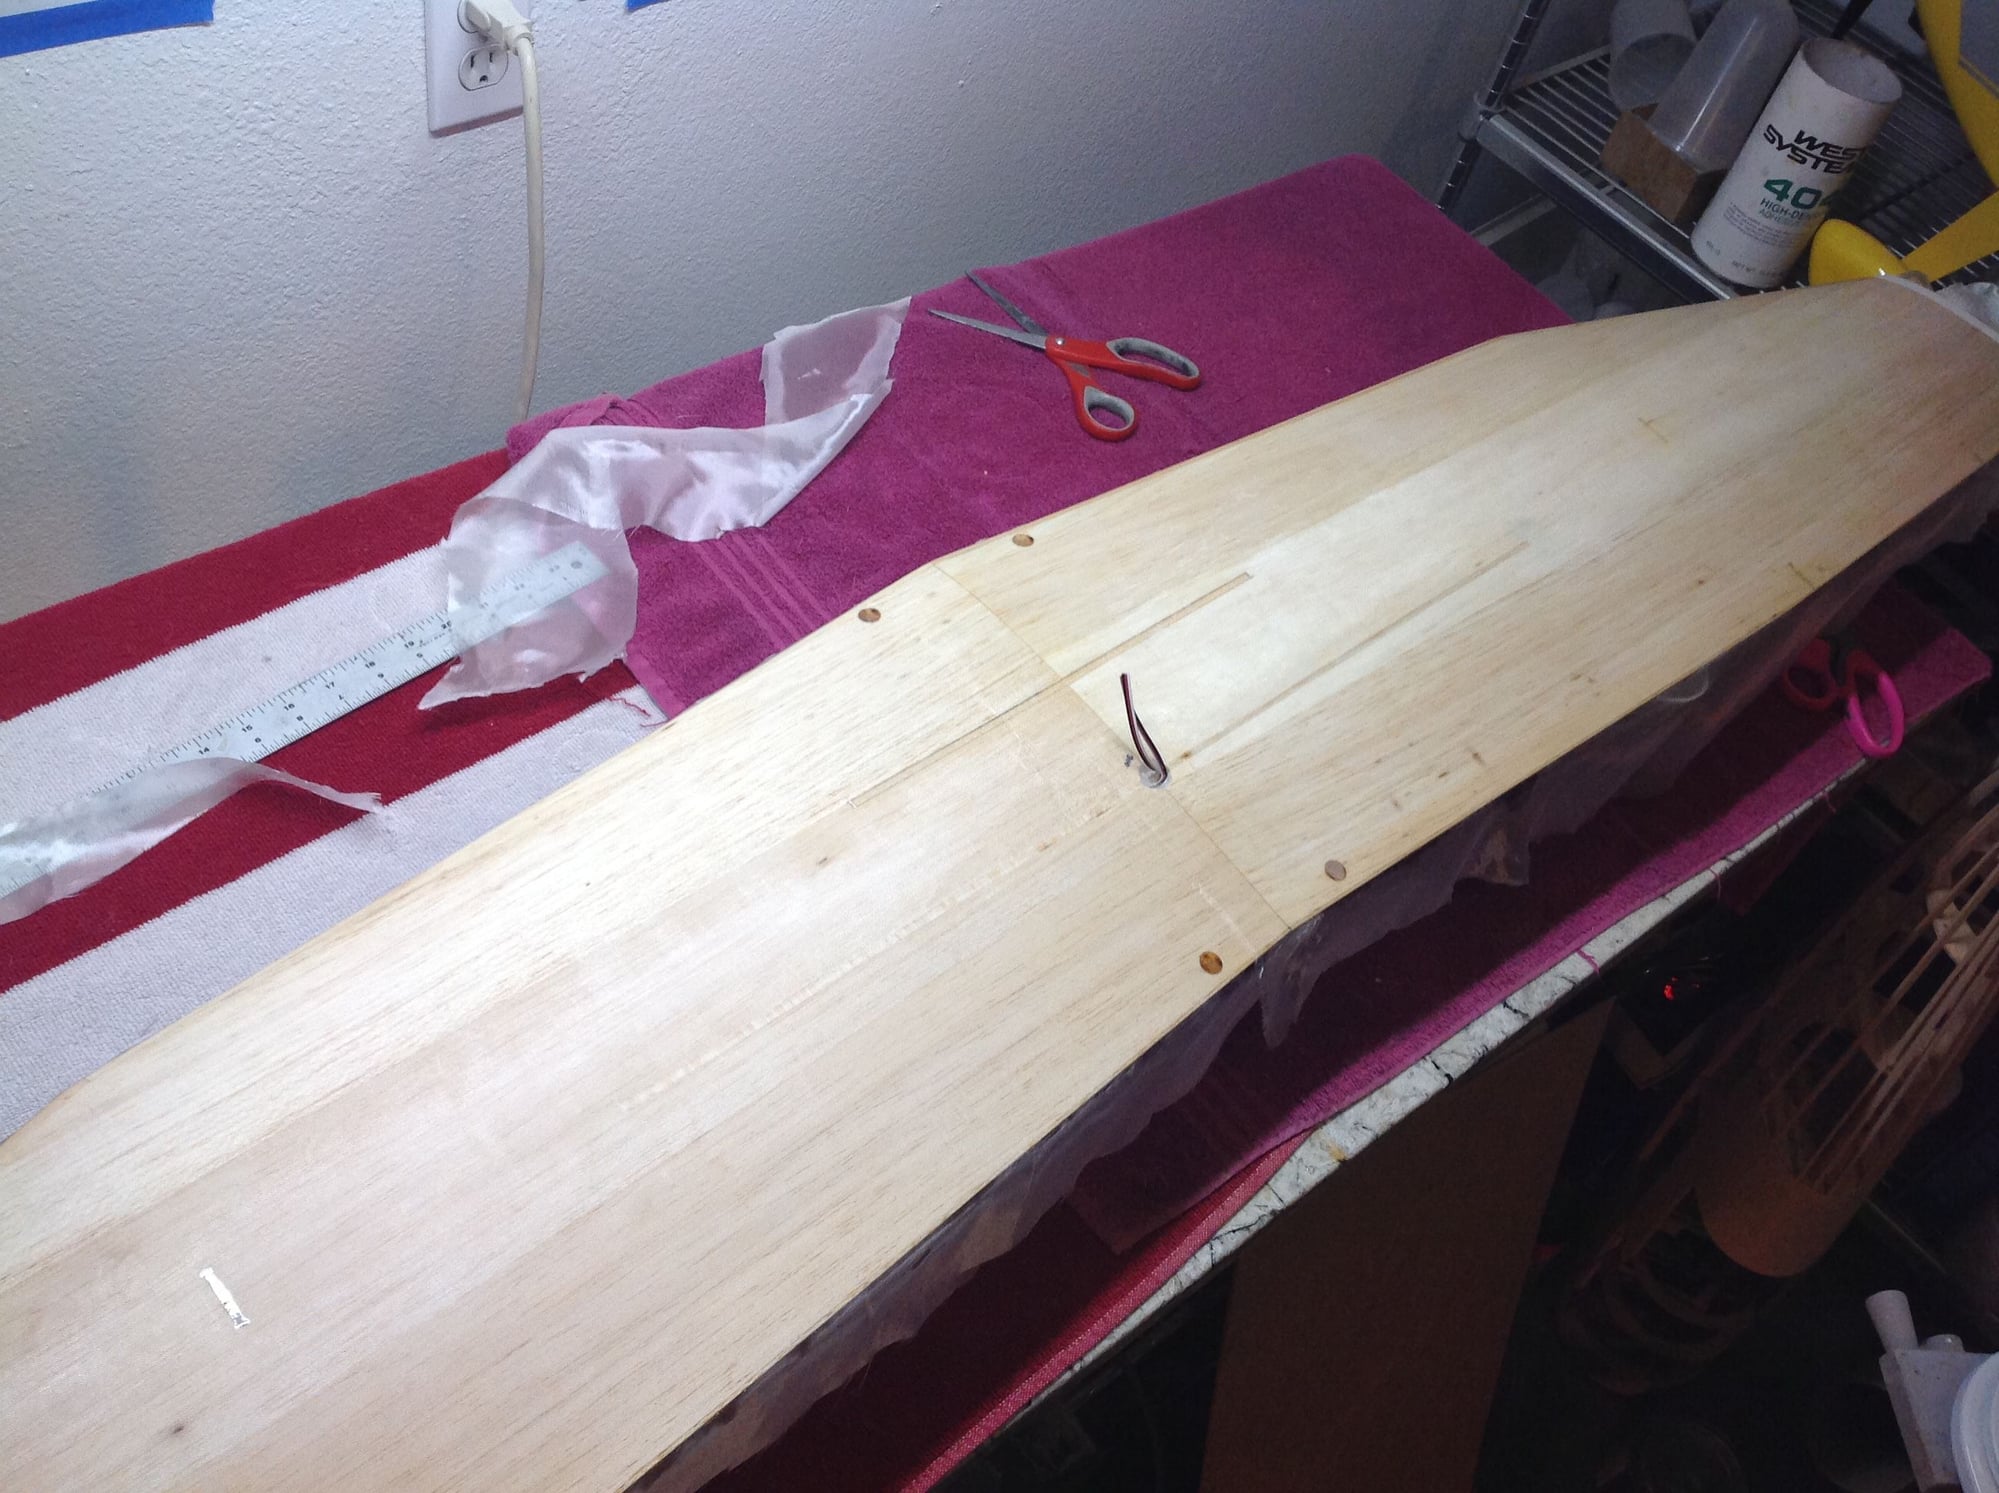
While waiting for some bagging tape to show up I moved back to the wings. I added the balsa stock for the leading edge and 1/16" sheet stock on the trailing edge. I'm trying something a little different with the wing and stab tips. I cut a slight angle at the tip and capped the foam with 1/16" balsa. I then cut a tip out of 1/8" balsa and glued it in place and added the LE and TE. After a few hours of sanding, I plan to cover the tips with iron on film. The film will get scuffed and glassed with the rest of the wing. My hope is that this will be a bit lighter and easier to make all the tips accurate to one another.


01-04-2020, 05:10 PM
#79

I can't tell you know where i read it..... A gentleman was using artist acrylic paint (not the craft paint) on his models. It is heavy bodied so needs considerable thinning. The pigment is quite fine so it still covers well. Many colors and of course blending your own color is a choice also. Hobby Lobby has a good selection and of course use their 40% coupon. It still needs a fuel proof clear on top if you are a glow fuel person. Not sure if it has a gloss or not.
Ken
Ken
 01-21-2020, 08:38 PM
#80
I'm starting to pick up the pace again. All surfaces have been sheeted and sanded. I am very happy with the weights. Next step is to get the surfaces glassed and then proceed with hinging the ailerons and elevators. Weights of all major components.
Fuselage: 900 gr
Bottom wing: 300 gr
Top right wing: 126 gr
Top left wing: 128 gr
Right stab: 65 gr
Left stab: 65 gr
Rudder: 35 gr
Landing gear: 150 gr
Wing struts: 50 gr
Grand total so far: 1909 gr

Fuselage: 900 gr
Bottom wing: 300 gr
Top right wing: 126 gr
Top left wing: 128 gr
Right stab: 65 gr
Left stab: 65 gr
Rudder: 35 gr
Landing gear: 150 gr
Wing struts: 50 gr
Grand total so far: 1909 gr
01-22-2020, 06:49 AM
#81

Good to see you're back on schedule. Also good to see that your rudder weighs 35 grams. Mine is a good bit taller [with the fuz mods and is also splayed at the TE], sheeted and sanded and it weighs 40 grams. I had no real frame of reference so now I can relax a bit. My design is about 18.5" tall, 7/8" wide at the splayed TE, and about 4 1/4" deep average. I chose to build it up from a plan using ribs and balsa sheet with carbon veil on the inside surface. Will send pix after I hinge it and do a preliminary install.
01-25-2020, 04:25 PM
#82

Started applying glass today. Both stabs started out at 65 grams, it will be interesting to see the weight difference after glassing
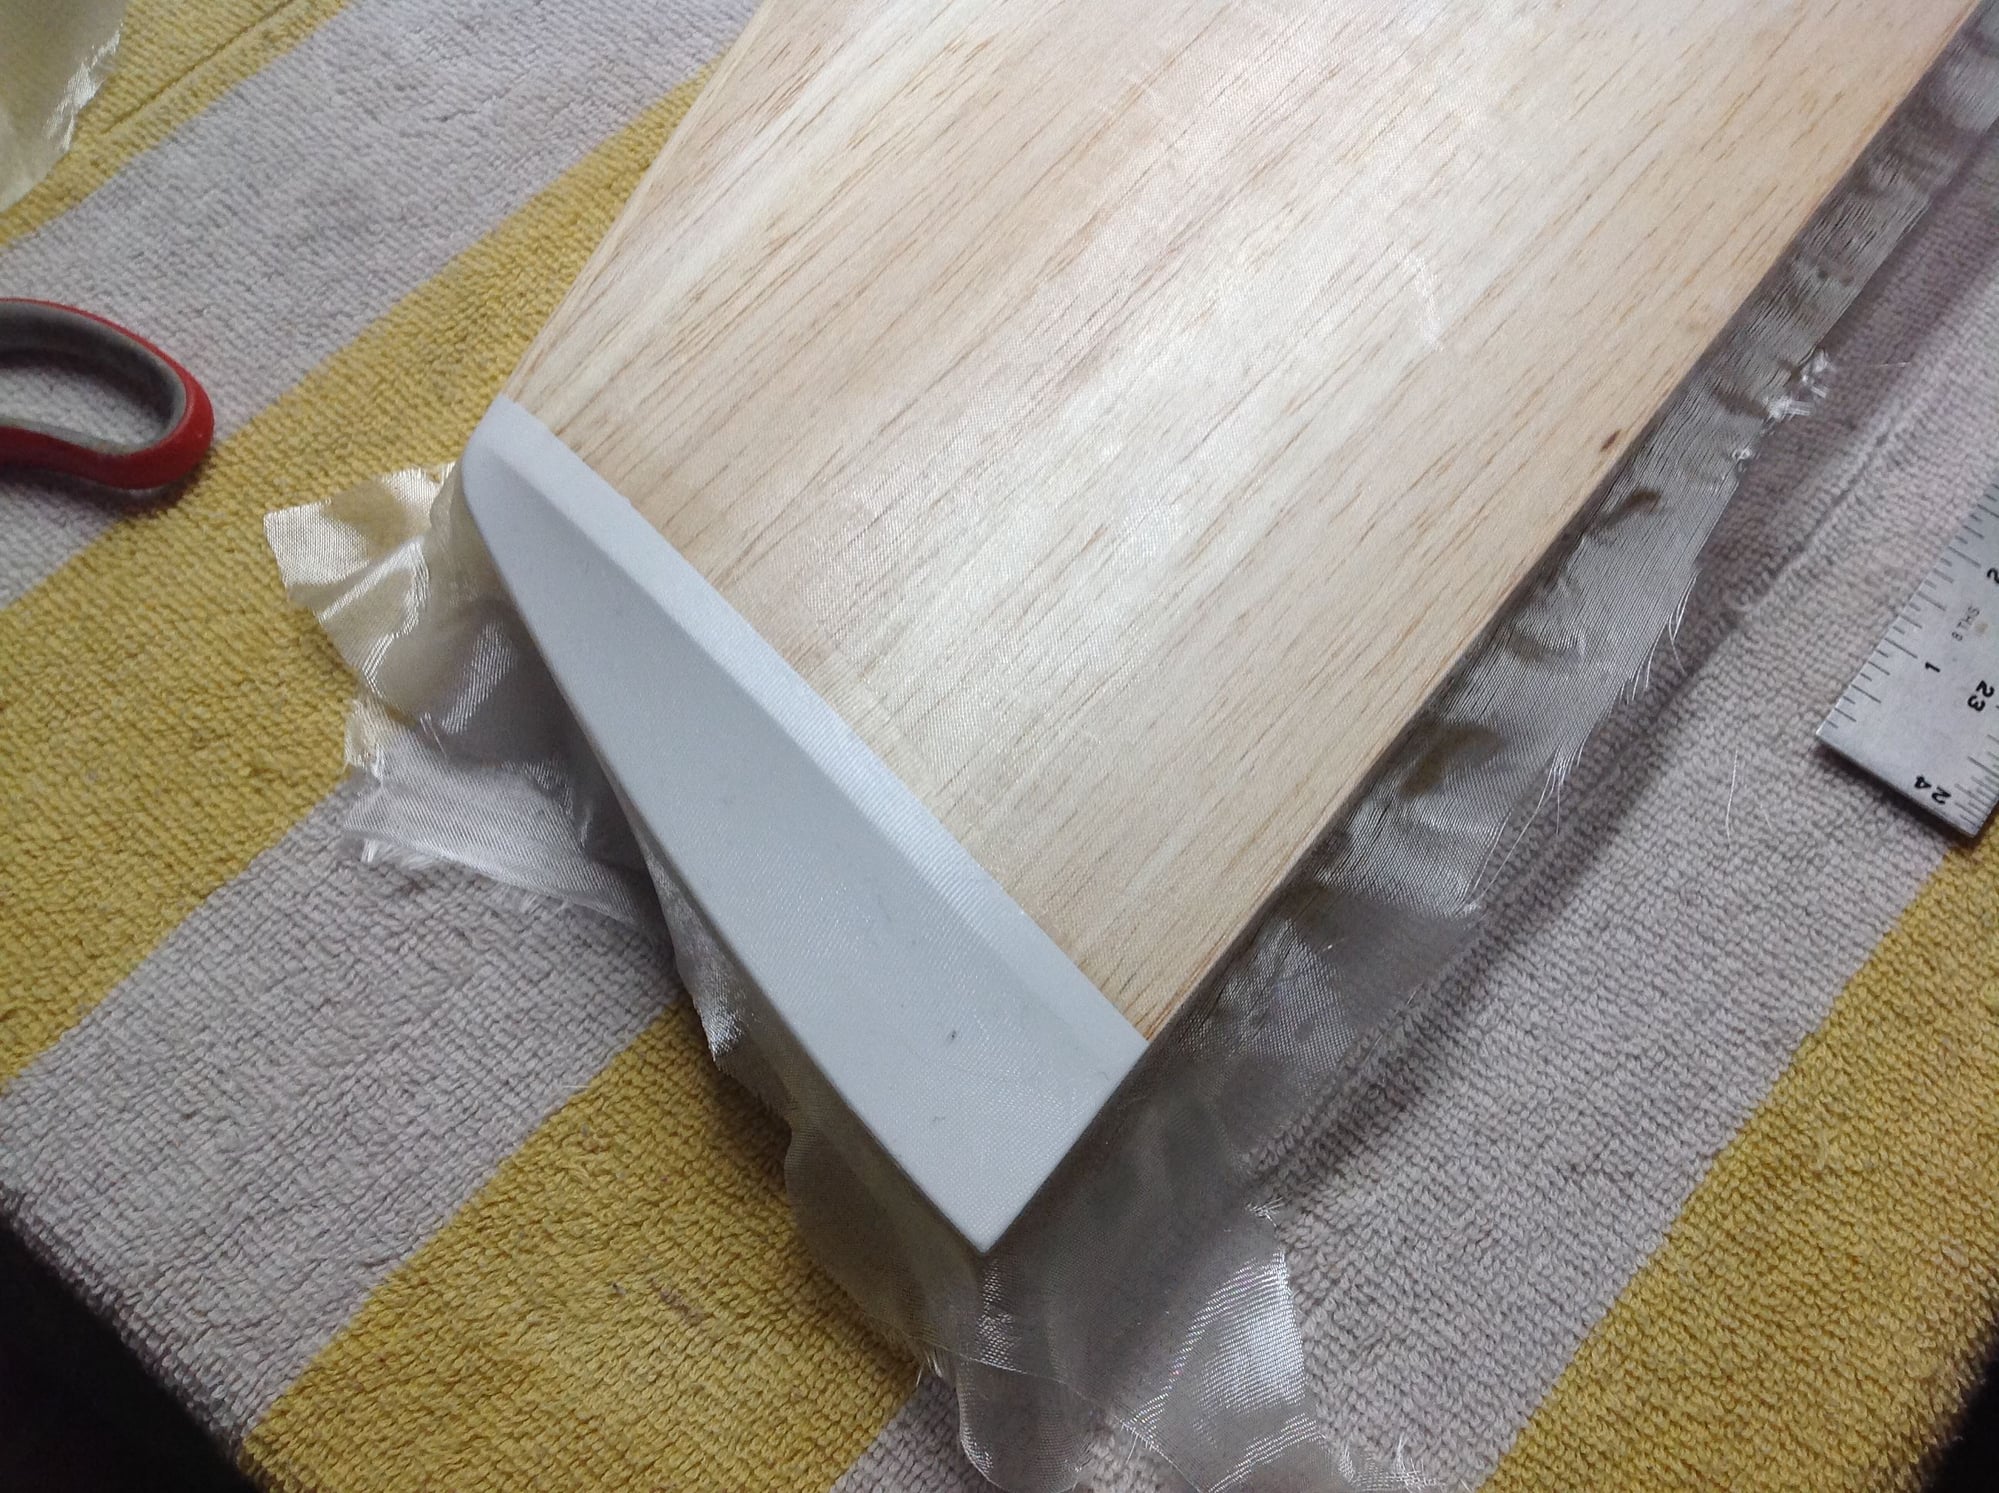
The stab and wing tips were done very much like the Ugly Stik tips. The tips were covered in Monokote that was scuffed.two layers of 3/4oz cloth was used on the tips over the Monokote.
01-25-2020, 06:46 PM
#83
I really like that glassed monokote tip idea. Don't know if that's a "Shawn original" but if it is, kudos for smart thinking on your part. Let us know how solid they are after the glass cures. Is that a single layer of .5oz or did you find something lighter and are you using something like Z-poxy PT-40 or something else?
01-25-2020, 07:16 PM
#84
Ted, I like to use 3/4oz cloth. When each application of primer gets sanded it cuts into the glass just a little. Using 3/4oz greatly reduces the chances of burning through the glass. The resin I use is the same US Composites 635 resin but for this task I thin it down with 97% IPA.
I have not seen tips done this way before, the motivation was to reduce the amount of sanding, make it easier to make them all the same and reduce weight. Laziness drives innovation LOL.
I have not seen tips done this way before, the motivation was to reduce the amount of sanding, make it easier to make them all the same and reduce weight. Laziness drives innovation LOL.
01-31-2020, 01:05 PM
#85
For the most part the tips are a success. I will need to be careful sanding on the tips during the primer stage as to not cut through the cloth. I'm not too terribly happy with the weight gain though. Without any sanding, I added 20 grams to each stab. The next step is to do the math and figure out how much weight the wings will gain during glassing.
02-06-2020, 07:30 AM
#86
Shawn, To what do you attribute the weight gain?
What percentage of alcohol do you use to thin the epoxy? Denatured alcohol would do the same job would it not? Could also use acetone to thin with but I feel the acetone evaporates much faster.
Ken
What percentage of alcohol do you use to thin the epoxy? Denatured alcohol would do the same job would it not? Could also use acetone to thin with but I feel the acetone evaporates much faster.
Ken
Last edited by kenh3497; 02-06-2020 at 07:34 AM.
02-06-2020, 08:19 AM
#87
I agree with the need to not cut through the cloth, but it's my experience that the voids within the weaves of the larger sized cloth [as well as the fact that it's woven differently from silk] will allow too much resin to remain on the surface. If you look closely at the various .5-.75oz fiberglass cloths with a jewelers loop, you'll see what I mean, especially compared to a very high grade imported 3-5 momme silk. This is what is commonly used by the Japanese pilots who seem to be experts in weight savings on built-up airframes.
02-08-2020, 04:42 AM
#89
The glassing is done on both upper wings, 30 gram weight increase each. Each wing is still under 200 grams. Over the weekend I will be glassing the bottom wing. I am expecting a 100 gram increase due to the slightly more surface area and overlapping the glass cloth 7" in the center. Then the fun begins, I will start assembling parts onto the fuselage. While resin cures I will be working on a project that I just got.

02-08-2020, 09:18 AM
#91
I couldn't pass it up, $125 to my door. I had an OS .61SX, muffler, a JR gyro and some servos just sitting on a shelf. For the most part it's going to take a complete rebuild but very few parts need replacement. Mostly a good cleaning and maintenance on the bearings. When I worked for Century it would annoy the heck out of him that whenever I wasn't at a fly in or trade show I was flying my own X-Cell and not his POS.


 02-10-2020, 03:59 PM
#94
The bottom wing is now fully glassed, added just 75 grams. Note that the post glass weights are without any sanding, the weight will drop slightly. I will be setting up over the next day or two to start getting things mounted onto the fuselage. I will be starting with the lower wing, then stabs, rudder and finally the top wing and wing struts. After those items have been mounted I will finish sand everything and start separating the ailerons and elevators. I find it much easier to get accurate measurements prior to removing them. Won't be too much longer and I will have her ready for paint.
02-11-2020, 09:29 AM
#95
Be sure to make those control surfaces extra large. This morning I heard from a reputable source more specifics on the "400ft ceiling rule".....turns out that the actual rule will be maximum 400ft from the operator in all directions! This will usher in a new "turn around pattern" like we've never seen before. Also, wonder how much weight will be added from the GPS transponder that is to be required on all RC aircraft. Really feeling bummed today.
02-11-2020, 04:47 PM
#96
That is what is proposed outside of a FRIA site. The FAA is going to get some serious pushback. EAA and AOPA are opposing the regulations and several state senators are as well. Worse case scenario none of this will take affect for a minimum of 3 years.
02-12-2020, 11:26 AM
#97
I agree that it'll take 3-5 years to implement but at a private AMA conference call involving manufacturers, importers and officials, the rules were clarified and it was made clear there will be ZERO flexibility. It would seem that commercial drone operators like Amazon and various others want 100% control of the 0-400ft airspace and it was stated that there is no flexibility on this point. As well, the govt is convinced that terrorists will use RC devices for attacks and they will not be flexible either. We should face the fact that, unless AMA is able to achieve some sort of clearance for isolated/designated flying sites and FAA remains underfunded/understaffed, the hobby is screwed. So far, all agencies involved have said outright that there will be no adjustments. Of course, that doesn't mean a change in administration might not become more agreeable but who knows. We in the hobby represent such a miniscule portion of the world and we have little or no money for such a fight. Clearly between commercial drone money and government desires, we will not prevail.
PS. I for one am really upset by this situation. I think there is no excuse for the way the general modeling public has either been misled or misinformed as to the severity of the situation. My best guess is that the powers that be are reluctant to say anything that can hurt sales as well as admit that they were totally inept at fighting this problem from the beginning. This would be a great time for me to be proven wrong but I just don't see it happening.
PS. I for one am really upset by this situation. I think there is no excuse for the way the general modeling public has either been misled or misinformed as to the severity of the situation. My best guess is that the powers that be are reluctant to say anything that can hurt sales as well as admit that they were totally inept at fighting this problem from the beginning. This would be a great time for me to be proven wrong but I just don't see it happening.
Last edited by ted32776; 02-12-2020 at 11:38 AM. Reason: additions
02-15-2020, 09:08 AM
#98
Shawn, am I right in thinking when you make your fuselage you wet out the cloth etc and the vacuum bagging is to consolidate the layers? Or do you pull a vacuum and then introduce the resin to the layers by way of resin infusion? I am looking to make a duplicate of a fuselage and thinking about the best layup process.