


Fms f3a olympus !
 06-08-2015, 11:57 AM
#51
Junior Member
Join Date: Apr 2005
Location: Decatur, AL
Posts: 13
Likes: 0
Received 0 Likes
on
0 Posts
I recently purchased and assembled a new F3A Olympus airplane and have noticed that the fuselage appears twisted where the horizontal stab isn't parallel to the wings and the tail leans in the same direction as the stab. Has anyone else had this issue and if so, what did you do to correct it?
 06-10-2015, 04:13 PM
#52


I have heard of one other Olympus with a similar issue. I recommend contacting the dealer you bought it from for resolution. I don't think you could effectively heat/twist the foam so it would take a new set without melting the foam in the process.
Woodie
Woodie
06-10-2015, 05:28 PM
#53
Junior Member
Join Date: Apr 2005
Location: Decatur, AL
Posts: 13
Likes: 0
Received 0 Likes
on
0 Posts
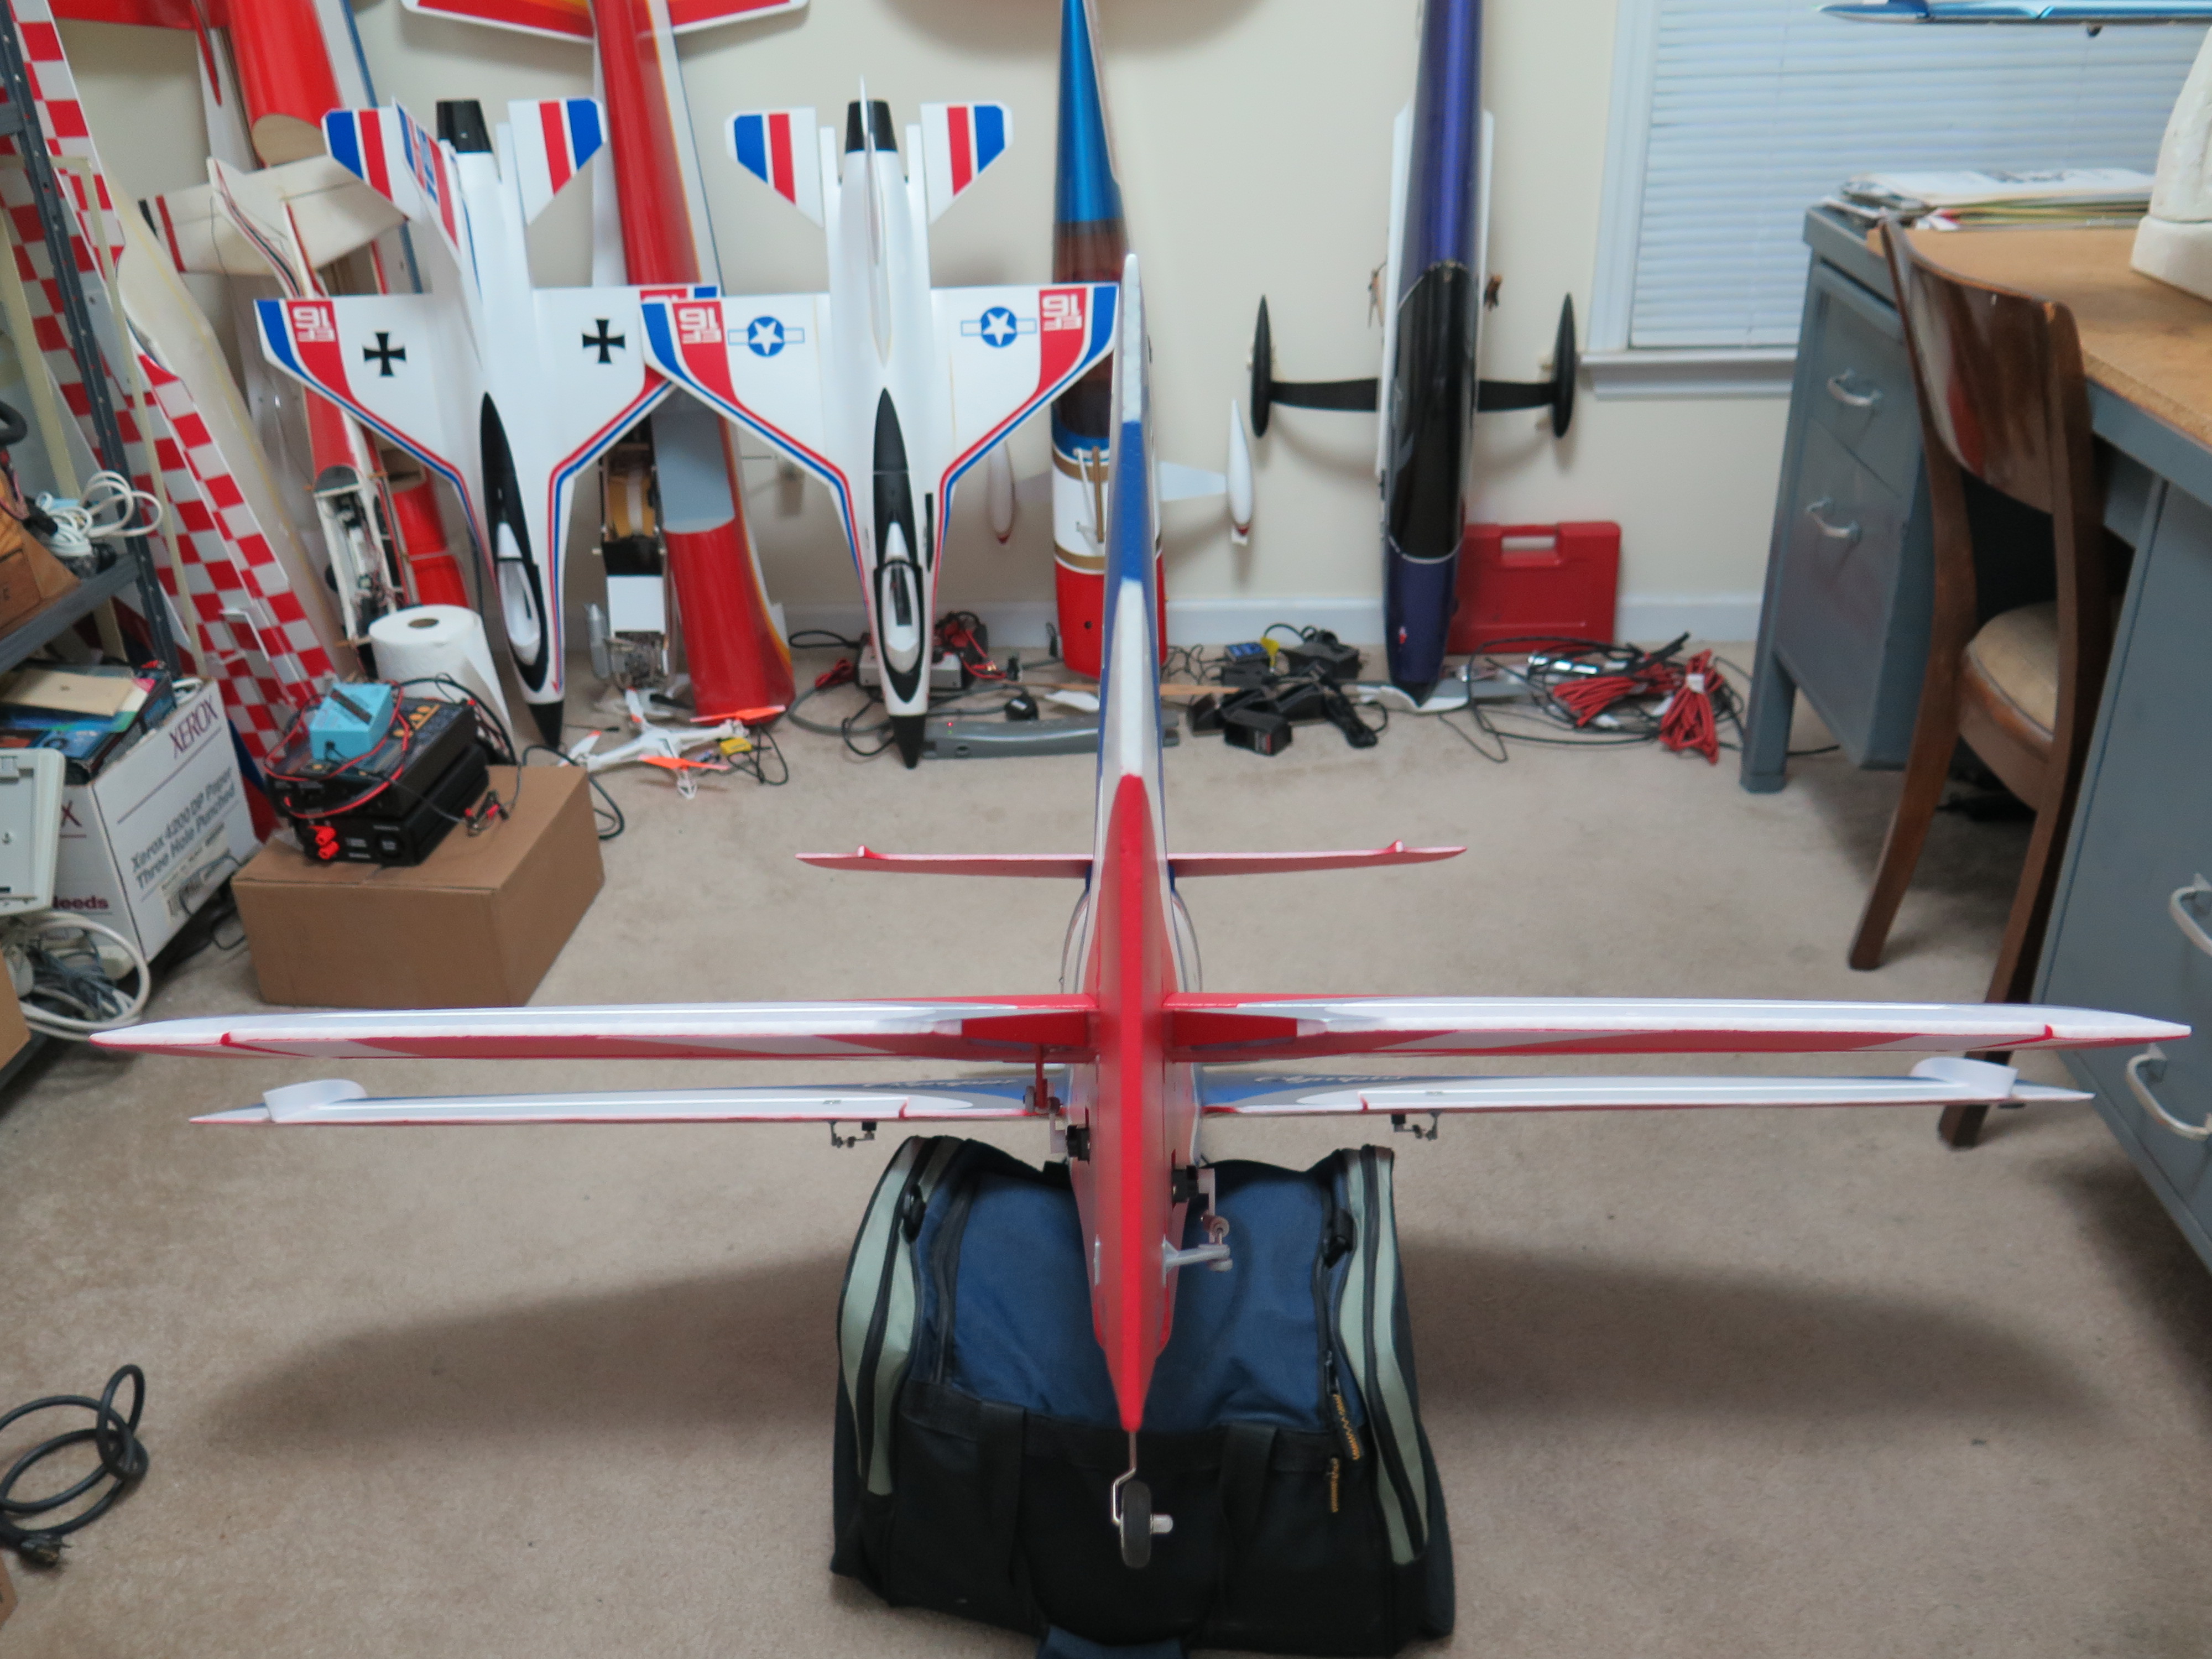
Thanks for your reply Woodie. Here are three photos that show what the fuselage twist looks like. You can clearly see that the horizontal stab is not parallel with the wings (the gap between wing and stab on each side) and if you look closely enough you can see that the tail leans the same direction as the horizontal stab. So do other Olympus airplane fuselages have a similar twist like this or is my fuselage something I should complain about to the dealer or manufacturer?
06-11-2015, 02:18 PM
#54
Junior Member
Join Date: Apr 2005
Location: Decatur, AL
Posts: 13
Likes: 0
Received 0 Likes
on
0 Posts
Today I contacted the dealer where I purchased my Olympus and also sent a photo that showed the twisted fuselage. In resolution, the dealer will replace the fuselage and I will return the twisted one.
Yea!! I am appreciative.
Yea!! I am appreciative.
10-18-2015, 11:20 AM
#55

Join Date: Sep 2004
Location: San Jose, CA - now in Colorado
Posts: 279
Likes: 0
Received 0 Likes
on
0 Posts
anyone have more CG / flying results? Spinner size? How was the wing / stab alignment?
Thanks
Thanks
Last edited by Pattern_is_Fun; 10-19-2015 at 07:35 AM. Reason: not much activity these days
10-21-2015, 07:09 PM
#56
Member
Join Date: Jun 2003
Location: Folsom, CA
Posts: 62
Likes: 0
Received 0 Likes
on
0 Posts
Still flying mine, and I really like it. I'm not sure on my current CG, but can check tomorrow. When I first started flying it, I just went with the recommended CG then adjusted it after some check flights. Just watch the plane during knife-edge... if it tucks to the belly, move the battery forward. If it pulls to the canopy, move the battery aft.
No alignment issues, other than my first one having a bowed fuselage which was replaced by the vendor.
Spinner size is 60mm (2 3/8"). The spinner is about 1/8" smaller than the cowl ring, so a 2 1/2" spinner would be perfect. Keep in mind that the stock motor's threaded prop adapter has a hexagonal base to it, so you would need to work around that somehow to use a normal spinner. I just use the stock one, it's not too bad actually.
10-22-2015, 02:39 PM
#57
Join Date: Sep 2004
Location: San Jose, CA - now in Colorado
Posts: 279
Likes: 0
Received 0 Likes
on
0 Posts
pshark - great.. looking forward to your results and info. My plane just arrived today w/o a scratch to the box - yes, I'm shocked. Frankly, I've never had a plane that does not need alignment - even the $3000 models need some tweaking - in alignment - so I'm a bit surprised you don't see any wing-to-stab alignment issues. If you measured wing tip to stab tip on both sides, what was the measurement (if you recall). Was it within 1/16" or so? How was the fin alignment to the stab? Did you measure from the top of the fin to each stab end? and were they the same - meaning the stab was square to the fin. That too would be amazing to me, but I hope it was good and that mine is very close (but I don't expect it to be). Thanks for the info on the spinner - now that I have mine, I can check very easy too. I see you are in Folsom - have we flown together at contests before? I flew out of San Jose for 25 years and moved to Colorado 4 years ago. Scott
10-23-2015, 09:41 AM
#58
Join Date: Sep 2004
Location: San Jose, CA - now in Colorado
Posts: 279
Likes: 0
Received 0 Likes
on
0 Posts
OK, I'm impressed! Just unpacked the plane and as so many have reported, it's a nice little kit. I was very worried about wing warps, stab warps, .. and warping - and this is very little. Elevator taper is straight - NICE! same with ailerons. Rudder has a slight bow in it and I can fix that. The wings weighed; left: 7.10oz, right:6.97. I will remove weight from the left wing at the cord but will more than likely do a combination of adding a little weight to the right wing and removing a little from the left wing. The wing CG's are also close and I will balance this out before I complete the model. The model is small, which means closer-in flying and I hope the speed envelope is slow enough this won't be a problem. The spinner is perfect for a 16x10E and I'm thinking of ways to raise the gear 1/2" or so to accommodate the larger prop. I think the 16x10E will be perfect for Colorado flying with 'less air' than at sea level. Lots of testing to do before I decide on this, but it will be the direction I head from the start. I'm keeping my fingers crossed on wing-stab alignment in all directions but expect I will have to make some mods to get it 'perfect'. more in the next days. (see updates below - fuselage is twisted and wing stops for carbon fiber tube (located inside the wing) are located in the wrong place - so the wing will not fit into the fuselage) -
Last edited by Pattern_is_Fun; 10-25-2015 at 03:22 PM. Reason: more information
 10-23-2015, 01:21 PM
#60
Member
Join Date: Jun 2003
Location: Folsom, CA
Posts: 62
Likes: 0
Received 0 Likes
on
0 Posts
10-23-2015, 01:32 PM
#61
Member
Join Date: Jun 2003
Location: Folsom, CA
Posts: 62
Likes: 0
Received 0 Likes
on
0 Posts
pshark - great.. looking forward to your results and info. My plane just arrived today w/o a scratch to the box - yes, I'm shocked. Frankly, I've never had a plane that does not need alignment - even the $3000 models need some tweaking - in alignment - so I'm a bit surprised you don't see any wing-to-stab alignment issues. If you measured wing tip to stab tip on both sides, what was the measurement (if you recall). Was it within 1/16" or so? How was the fin alignment to the stab? Did you measure from the top of the fin to each stab end? and were they the same - meaning the stab was square to the fin.... I see you are in Folsom - have we flown together at contests before? I flew out of San Jose for 25 years and moved to Colorado 4 years ago. Scott
Nope, I'm sure we haven't flown in any contests together. I started pattern exactly 2 years ago, after you moved to CO. I'm glad yours arrived safely. 15x10 should still be fine for you, more than enough power as it is. With a 16x10, you may go through motor bearings fairly quickly... they're pretty small in diameter. I've been though two sets of bearings so far. Cheap and easy to replace, though... or just buy a whole new motor at $28.
10-23-2015, 03:42 PM
#62
Join Date: Sep 2004
Location: San Jose, CA - now in Colorado
Posts: 279
Likes: 0
Received 0 Likes
on
0 Posts
My manual shows CG at 185.. was pasted over the original in the manual. Yes, a new motor for $28 may be worth keeping on hand. Where did you purchase your bearings? How much? Any replacement advise?
Last edited by Pattern_is_Fun; 10-23-2015 at 03:51 PM.
10-23-2015, 03:45 PM
#64
Join Date: Sep 2004
Location: San Jose, CA - now in Colorado
Posts: 279
Likes: 0
Received 0 Likes
on
0 Posts
Thanks for your reply Woodie. Here are three photos that show what the fuselage twist looks like. You can clearly see that the horizontal stab is not parallel with the wings (the gap between wing and stab on each side) and if you look closely enough you can see that the tail leans the same direction as the horizontal stab. So do other Olympus airplane fuselages have a similar twist like this or is my fuselage something I should complain about to the dealer or manufacturer?


10-24-2015, 08:35 AM
#65
Join Date: Sep 2004
Location: San Jose, CA - now in Colorado
Posts: 279
Likes: 0
Received 0 Likes
on
0 Posts
Encountered my first problem. I wanted to assemble the plane putting the wings and stab in position to check alignments and I can't get the wing tube (rear) all the way into the wing - on either side. As I look into the rear wing hole there seems to be another tube in the Styrofoam about 8" inside the hole. My thinking was that the wing tube would fit into that tube for a tight fit, but it appears to be the same diameter as the wing tube itself so the wing tube I push into the wing buts up against the tube already in the rear wing hole. It's the same on both sides and prevents the wing from pushing together to fit the fuselage. I have tapered the tube at each end thinking this might align the tube into the other tube in the wing, but it does not seem to work. I'm pushing pretty hard. I did insert a smaller diameter tube into the wing hole and it goes in very far before hitting the wing Styrofoam so the hole into the wing is clearly deep enough to accommodate the tube should I get it past that obstruction. I had a similar issue with the stab, but after working the tube *twisting it" into the hole, it cleared some Styrofoam out and went in fine. Anyone else had this issue?
10-24-2015, 10:32 AM
#66
Member
Join Date: Jun 2003
Location: Folsom, CA
Posts: 62
Likes: 0
Received 0 Likes
on
0 Posts
I checked mine, each wing spar inserts ~11.5" into the wing. Looking into the spar tubes (in the wings), there's a small piece of smaller tubing glued in that acts as the stop for the spars. I hate to say it, but yours has likely been glued in the wrong spot.
10-24-2015, 11:35 AM
#67
Join Date: Sep 2004
Location: San Jose, CA - now in Colorado
Posts: 279
Likes: 0
Received 0 Likes
on
0 Posts
Good info - Mine inserts 7" on one side and 8" on the other before it hits that 'hard stop" My total tube length is 18.5".. can you verify your tube length?
Pshark - also, if you can, look closely from the front of the plane to the back - does the fin look centered or is it a leaning little to the right? I'm looking at this close now - and if I line up the center glued section where the canopy sits (front of canopy and rear of canopy) - then sight backwards, the fin looks to be to the right - and this may be an illusion as the center of the fuse may not be the seams. When I look at the bottom, the fuse looks straight - but I'm trying to figure this out. My tip-of-fin to end of the back of the stab measures15" on both sides - as close as I can measure - which tells me the fin might not be off - but all my measurements for alignment start at the fin and work forward - so if it's off, it throws off all other measurements.
Pshark - also, if you can, look closely from the front of the plane to the back - does the fin look centered or is it a leaning little to the right? I'm looking at this close now - and if I line up the center glued section where the canopy sits (front of canopy and rear of canopy) - then sight backwards, the fin looks to be to the right - and this may be an illusion as the center of the fuse may not be the seams. When I look at the bottom, the fuse looks straight - but I'm trying to figure this out. My tip-of-fin to end of the back of the stab measures15" on both sides - as close as I can measure - which tells me the fin might not be off - but all my measurements for alignment start at the fin and work forward - so if it's off, it throws off all other measurements.
Last edited by Pattern_is_Fun; 10-24-2015 at 11:45 AM.
10-24-2015, 12:13 PM
#68
My Feedback: (4)
Scott,
I have one of these too, and it is a nice flying airplane, I think you will like it. Once you get it together and aligned, I would spend some time with the servos. I have an aileron servo and a rudder servo that do not center properly. Pouring through the forums it’s not a common problem, but there were other reports. Don Atwood’s were just fine, but mine make it unflyable. With the cannalizer, the rudder is SO sensitive that the plane just flys sideways.
I checked it on the bench and measured the horn each time it comes to center and it wasn’t consistent. I haven’t flown it since. I’m sure the store would have swapped out the servos, i heard they had good service, but it had been so long that I didn’t bother. Planning on replacing them with Hitecs this winter.
Tom M
10-24-2015, 12:27 PM
#69
Join Date: Sep 2004
Location: San Jose, CA - now in Colorado
Posts: 279
Likes: 0
Received 0 Likes
on
0 Posts
Thanks Tom - aren't you at Arvin? Districts? My goal is to get this plane flying better than the Venus. An interesting challenge for me. Yes on the Cannalizer, I hear 1" rudder throw - which is very intriguing to me for any reasons. I will be sure to check my servos closely - clearly they must center. If you read the above, I need to send my wings back as the rear wing tube does not insert all the way on either side. This is a bummer as the wings look very straight - not perfect, but very good. I will be connecting my elevator and doing all the normal adjustments with my parallel sticks - and this will tell me if this servo does not center properly. Putting on the Cant now and having trouble with one screw - not sure what it screws in to - I see now wood there. It better align with the stab when I get it mounted! Thanks for the info. sc
10-24-2015, 01:15 PM
#71
Join Date: Sep 2004
Location: San Jose, CA - now in Colorado
Posts: 279
Likes: 0
Received 0 Likes
on
0 Posts
Well, I have a few problems. Will contact MotionRC Monday for a new kit. 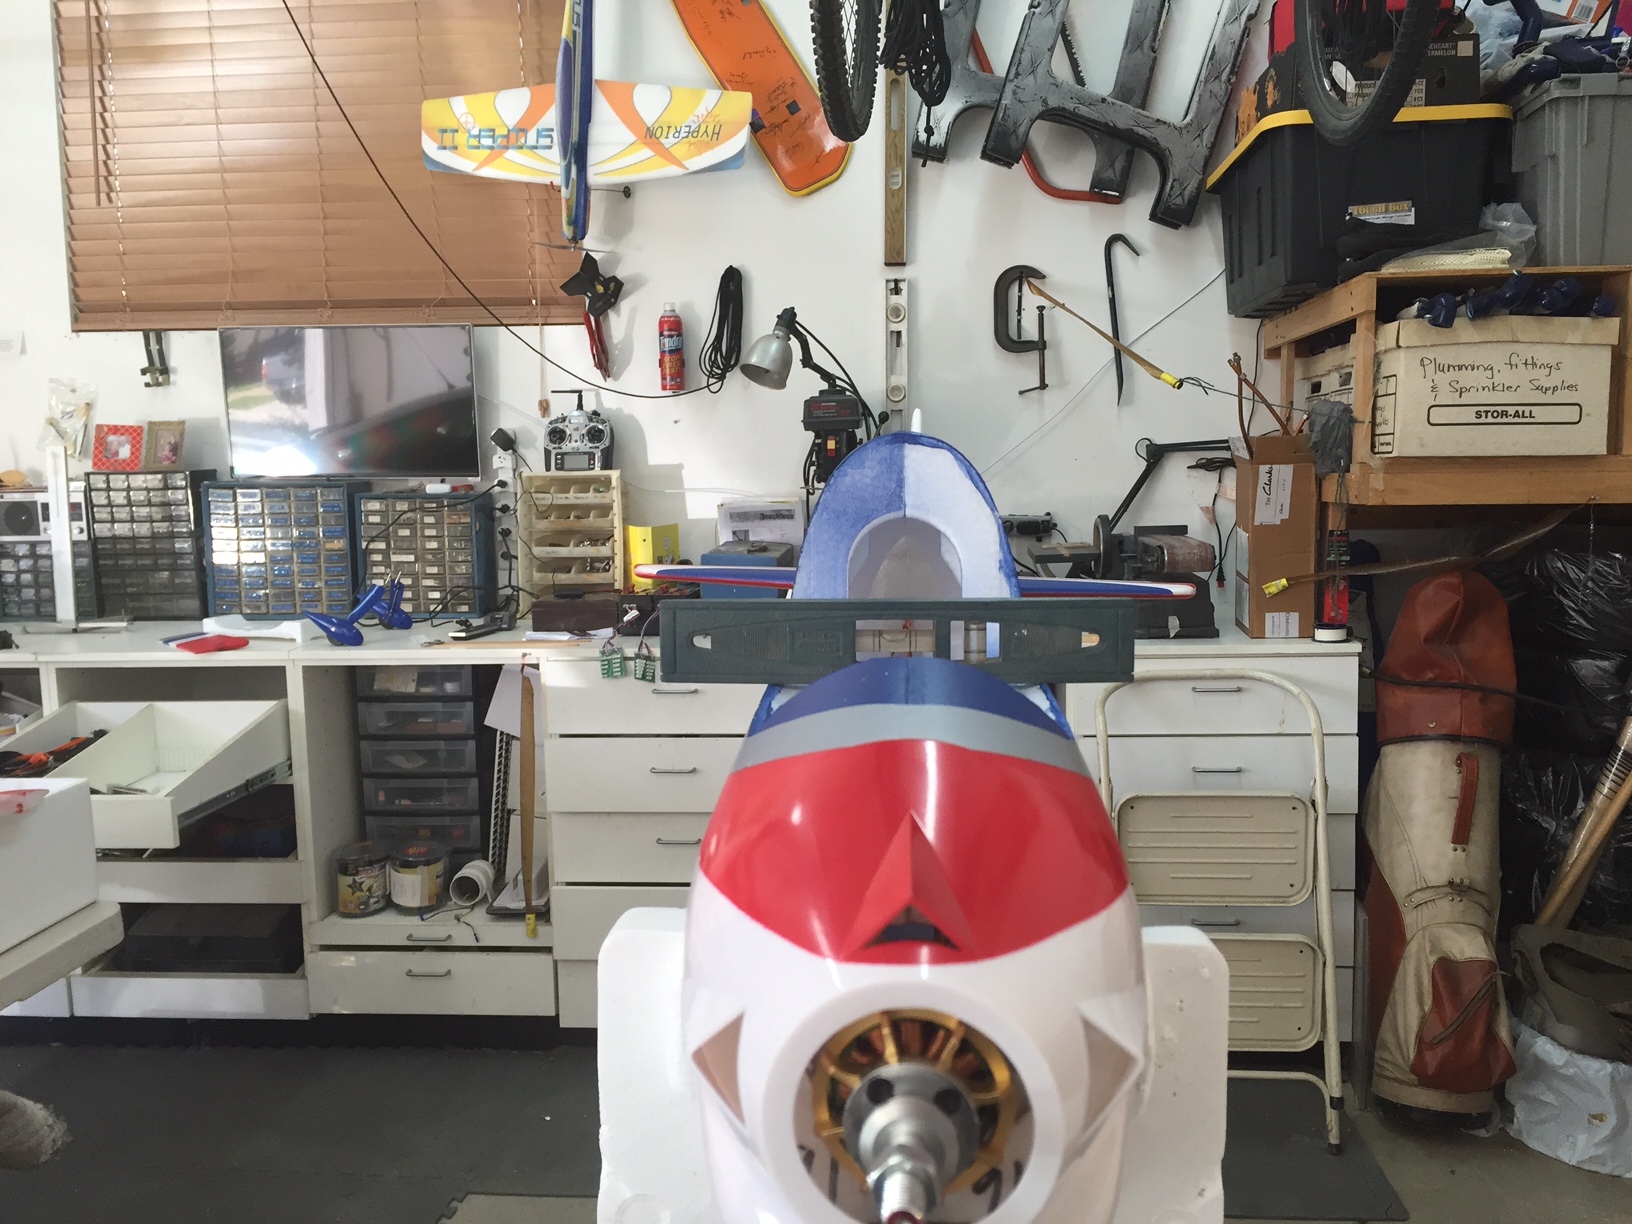

The level is 'level' and aligns correctly with the canopy base as "zero" and the cannalizer mount reads zero - but you can see the stab / fin not aligned. I mount the cannalizer and it shows the alignment issue with the stab clearly - as does the level. From the top of the fin to the stab ends, measures 15" so 'it's square' to each other but not to the rest of the fuselage. I could see the fuse 'bow' by sighting down the top of the fuselage, but I did not want to believe it - so I started assembling the plane and did not take long to see the alignment issue. This is a bummer - but winter will be here soon so I can take my time I guess. Along with the wings, that I can't plug in as the hard-stop plug is glued in the wrong place, this kit needs replacing.
The level is 'level' and aligns correctly with the canopy base as "zero" and the cannalizer mount reads zero - but you can see the stab / fin not aligned. I mount the cannalizer and it shows the alignment issue with the stab clearly - as does the level. From the top of the fin to the stab ends, measures 15" so 'it's square' to each other but not to the rest of the fuselage. I could see the fuse 'bow' by sighting down the top of the fuselage, but I did not want to believe it - so I started assembling the plane and did not take long to see the alignment issue. This is a bummer - but winter will be here soon so I can take my time I guess. Along with the wings, that I can't plug in as the hard-stop plug is glued in the wrong place, this kit needs replacing.
10-25-2015, 07:31 PM
#72
Member
Join Date: Jun 2003
Location: Folsom, CA
Posts: 62
Likes: 0
Received 0 Likes
on
0 Posts
Pshark - also, if you can, look closely from the front of the plane to the back - does the fin look centered or is it a leaning little to the right? I'm looking at this close now - and if I line up the center glued section where the canopy sits (front of canopy and rear of canopy) - then sight backwards, the fin looks to be to the right - and this may be an illusion as the center of the fuse may not be the seams. When I look at the bottom, the fuse looks straight - but I'm trying to figure this out. My tip-of-fin to end of the back of the stab measures15" on both sides - as close as I can measure - which tells me the fin might not be off - but all my measurements for alignment start at the fin and work forward - so if it's off, it throws off all other measurements.
10-26-2015, 11:39 AM
#73
Join Date: Sep 2004
Location: San Jose, CA - now in Colorado
Posts: 279
Likes: 0
Received 0 Likes
on
0 Posts
I sent an email to MotionRC with pictures on Saturday (2 days ago - the store is closed Sat/Sun). I spoke to Wayne from MotionRC this morning, he reviewed my pictures, and he's sending me a new plane - it's 'in the mail" I already have confirmation of shipment. I am pleased MotionRC is standing behind the product. I only hope I don't have to go thru this again - but Wayne told me he'll have someone check the new model before shipment - but not sure anyone can tell just by looking - w/o assembly. I know they don't have time to check planes to that detail but I'm keeping my fingers crossed. UPS will pick up the first plane at my door in the next days. Other than the hassle, so far, so good.
10-26-2015, 03:23 PM
#74
I know this is stating the obvious, but it is a 'foam' plane after all, so your expectations of it's physical characteristics may be a bit optimistic. Even after you get it 'right' you will need to be careful how you store it and transport it. Having said that, I was very surprised at how well mine flew, it far exceeded my expectations. I had to keep reminding myself not to say 'it flies very well for a foam plane' and just shorten it to say 'it flies very well' period.
And the expense is pretty amazing at less than $300 for a RTF (minor assembly required) that flies very well. Knife edge loops, rolling circles and loops are pretty easily done and the plane does them better than some much more expensive planes I have had. I just wish they made a larger version, my aging eyes would appreciate that.... ;-)
Woodie
10-26-2015, 03:38 PM
#75
Join Date: Sep 2004
Location: San Jose, CA - now in Colorado
Posts: 279
Likes: 0
Received 0 Likes
on
0 Posts
I have been assured by many that the above pictures are not 'common' - and alignment is typically much better than this. This will be all I ask. I will make minor adjustments to get alignment right. Once this is done, the balls in my court. I have a temperature controlled garage and will treat the plane as gently as I can. Yep, fly in close, control the airspeed, and all other 'pattern' presentation needed will be a fun challenge. The little Venus I flew did well and I have hopes this one will be a bit better - once the model is straight. Weight may be an issue, but we'll see. Similar to the Venus, one 5S pack, and the easy-on-the-wallet getting back into the sport, are true incentives. Then I have to talk Carter into selling me one of his 2M planes, and I'll be all set. I'm looking forward to the new model.